Landscape photography composition: fill the frame with a wide angle lens
Avoid lackluster landscape shots by paying attention to the foreground in your wide-angle compositions
Watch the video: filling the frame with a wide angle lens
Landscape photography is all about finding incredible views. Spot one and your natural inclination is probably to zoom out as far as you can, or fit a wide-angle lens to squeeze the whole glorious scene into one image. The trouble with this approach is that your compositions can end up looking rather empty – the bottom half of the picture is likely to have little of interest to look at.
• Landscape photography tips and techniques
You can, of course, crop out the acres of grass, sand or bush, leaving yourself with the more interesting top half of the frame. One of the best photography tips we can give you, though, is to search out a vantage point that means you can include something interesting in the bottom part of the picture. That might mean a good deal of walking, so if you don't have one already, check out our list of the best camera backpacks!
With wide landscapes, you can often move quite a long way without affecting how the distant view appears in the frame. This means you have plenty of opportunity to hunt out the much-needed foreground interest. Take a good walk around and search out the possibilities – farm gates, weathered trees and dry-stone walls are perfect examples of what you’re looking for, because they can be framed to fill gaps and create a stronger overall composition.
There’s no need for the object to be big. An interestingly shaped rock can give you all the interest you need, while a wild flower can be engineered to fill the empty space in the frame, even if it’s relatively small.
The secret to making the most of smaller foreground fillers is to get as close to them as possible so you can use perspective to your advantage, making a stone or flower appear larger in the frame. To do this, get low – you might need to lie on the ground. You now need to make sure your new foreground and the view on the horizon are both in sharp focus. Follow the steps here to see how it’s done.
01 Explore the scene
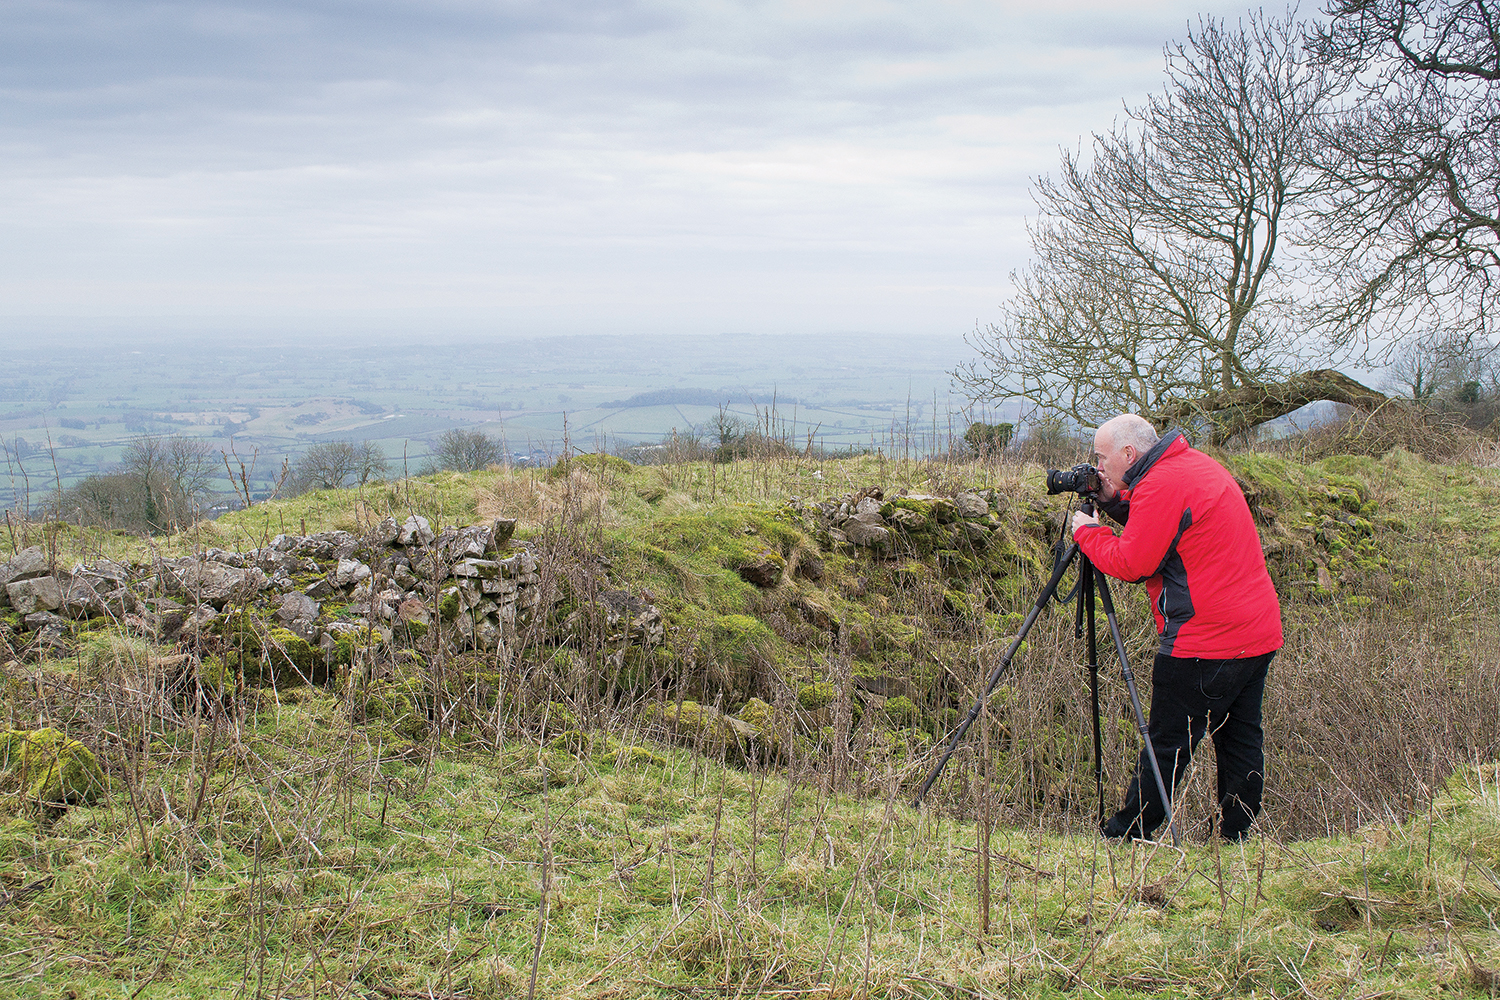
Finding good foreground interest means doing a bit of legwork! Don’t settle for the first spot where you find a clear view – just think of this as the backdrop for your shot. You now need to look around for a suitable foreground that will work well and fill the bottom half of the frame.
02 Get close to nature
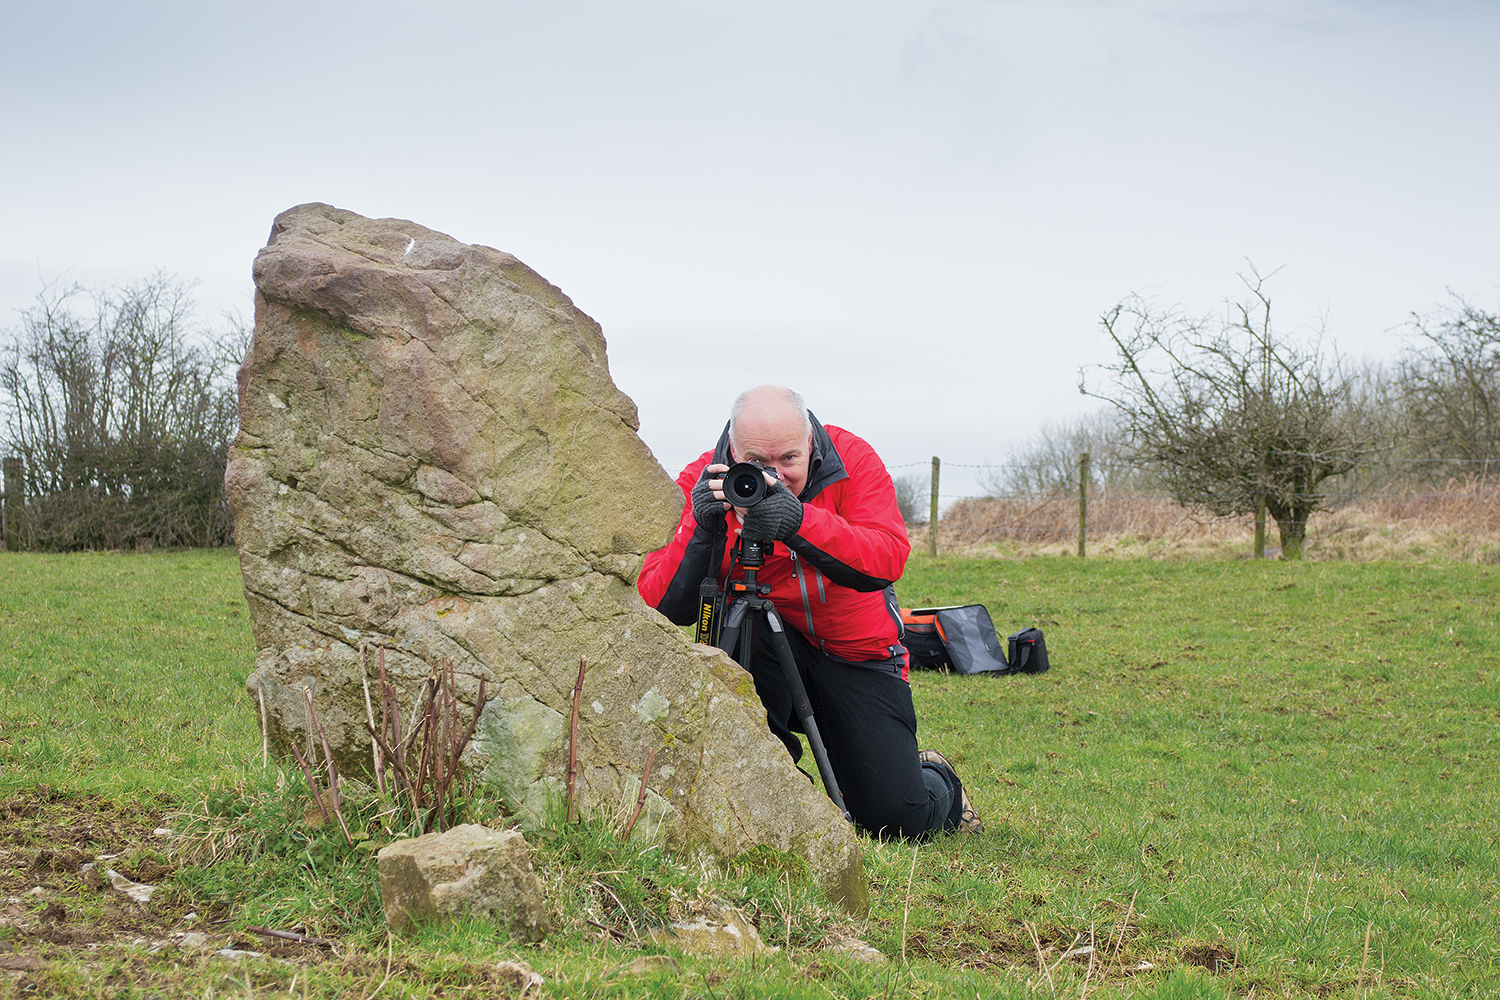
Unless your foreground object is large, you’ll need to get close to it if it’s going to fill enough of the photo to make an impact. Get down low so you can use perspective to ensure that your foreground subject is large enough. Use a tripod so you can check and correct your framing.
03 Add depth to focus
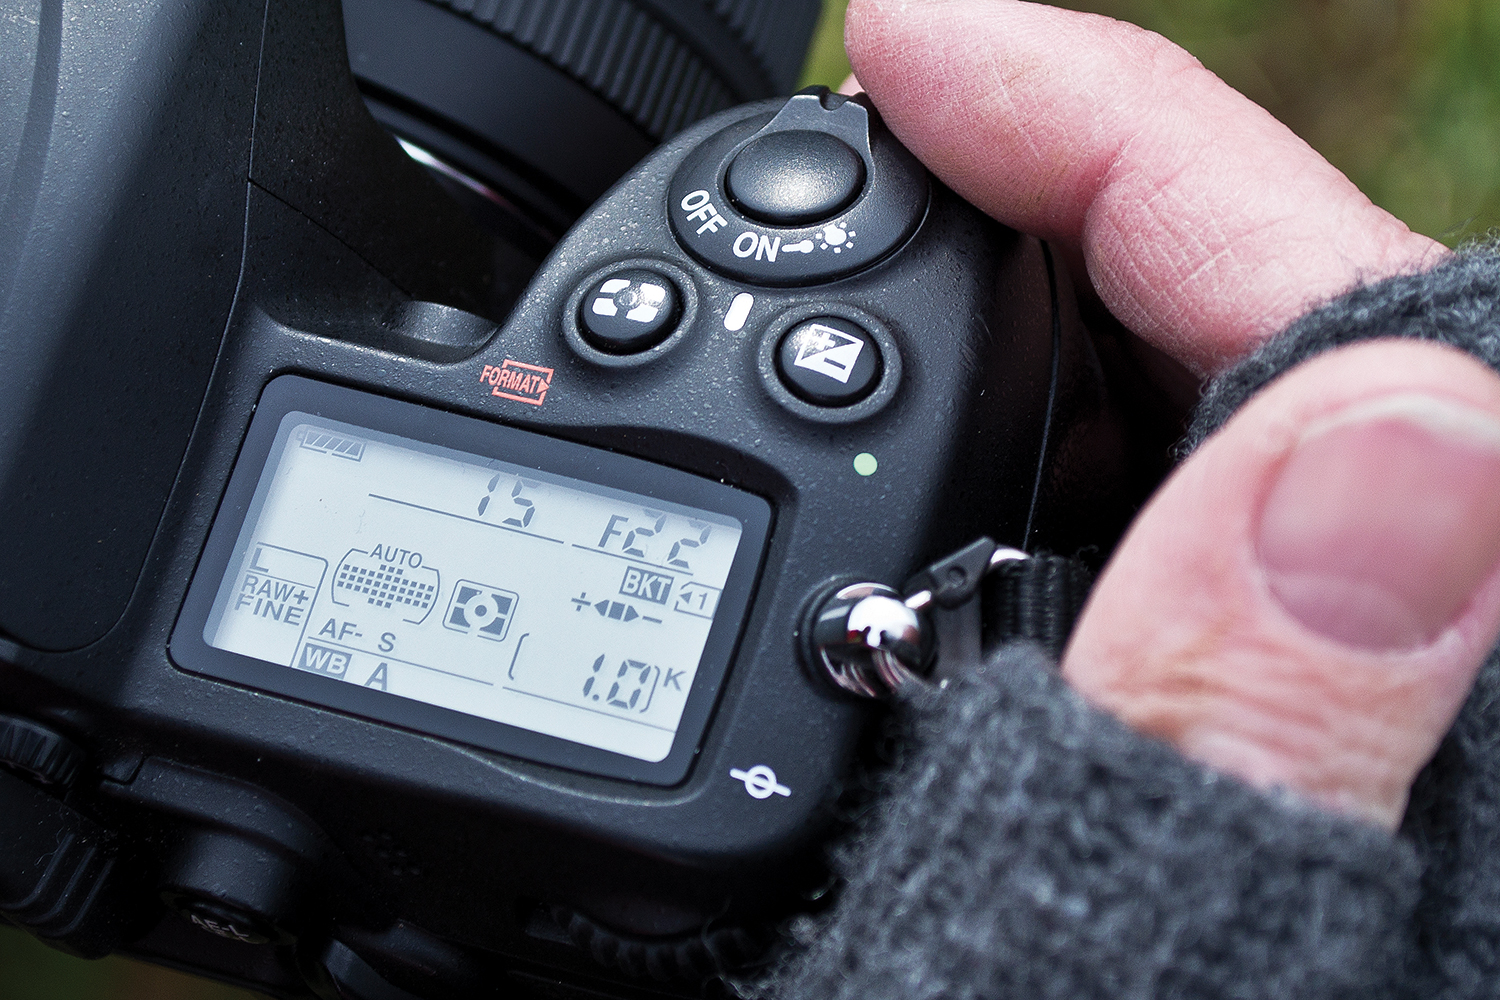
A tripod will enable you to choose an aperture and ISO to get the best results. Set the ISO to about 100 and then use Aperture Priority mode to set a narrow aperture of about f/22. This might mean a slow shutter speed, but this won’t be an issue as the camera is stable.
04 Stay sharp
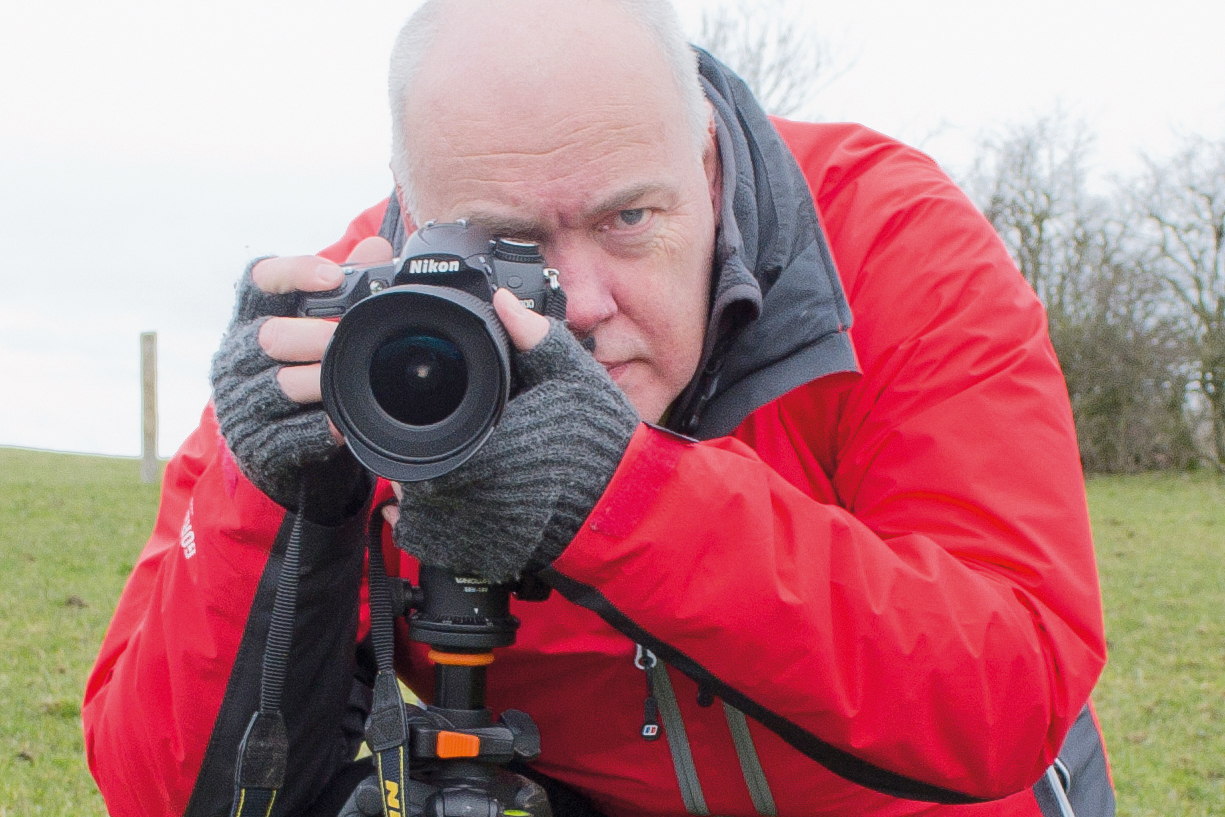
Your aperture should give you enough depth of field to make everything in the frame look sharp. However, to maximize the depth, focus on a spot just behind your foreground subject. You can check the sharpness by reviewing the image and zooming into it on-screen.
Landscape photography tips for filling the foreground
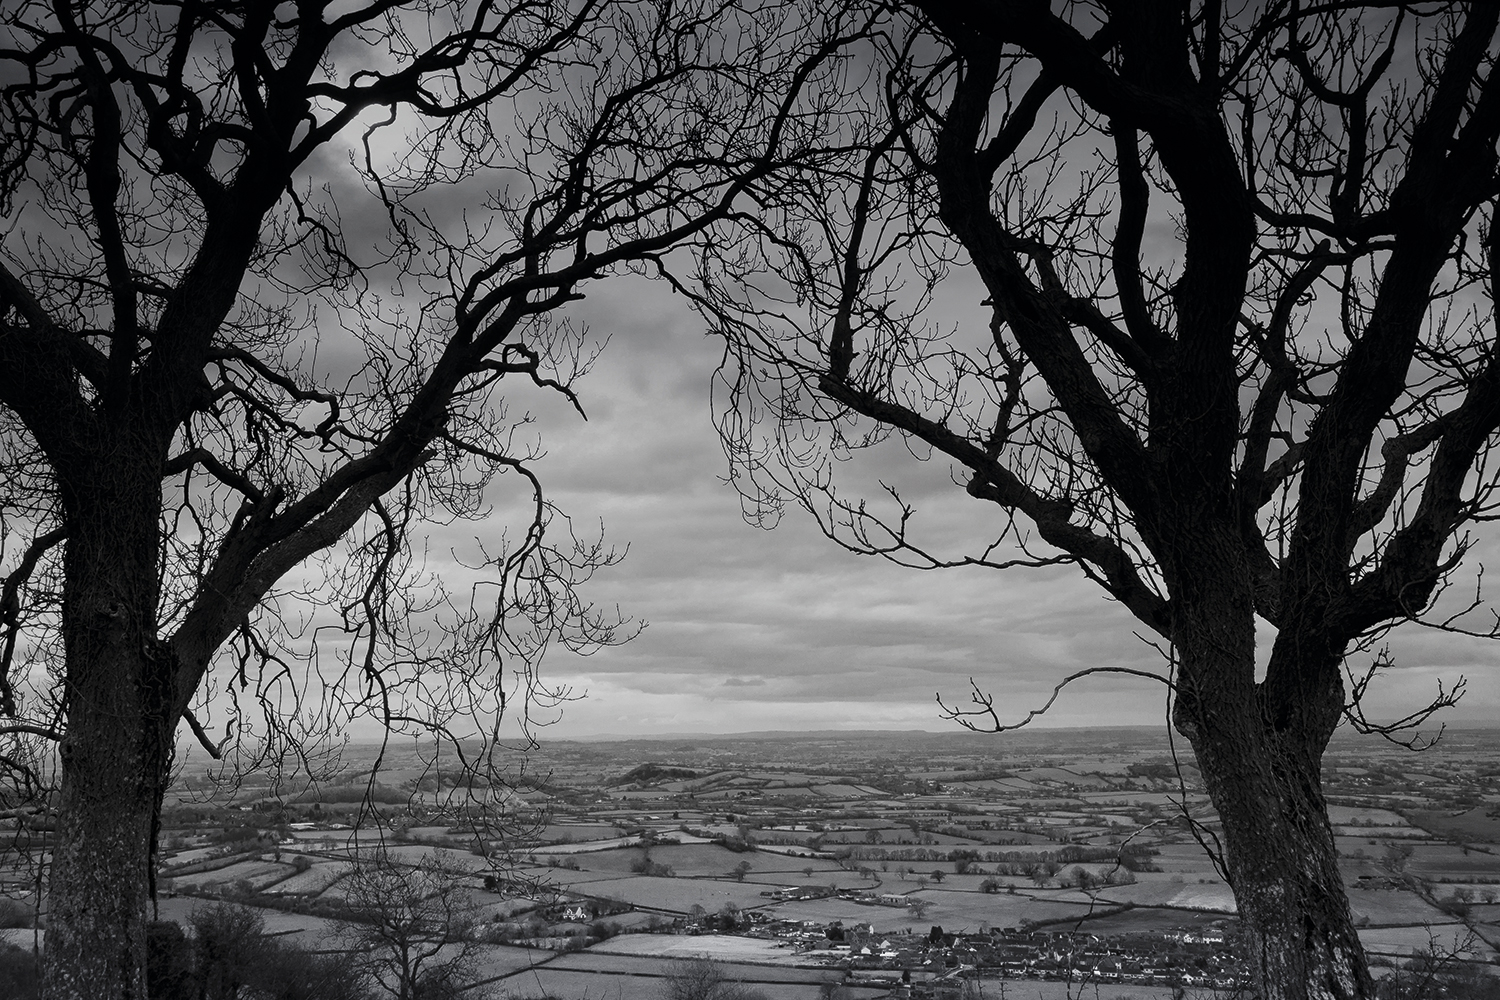
Natural frame
Overhanging branches or a break in a hedge can create a natural window to frame the subject and add foreground interest.
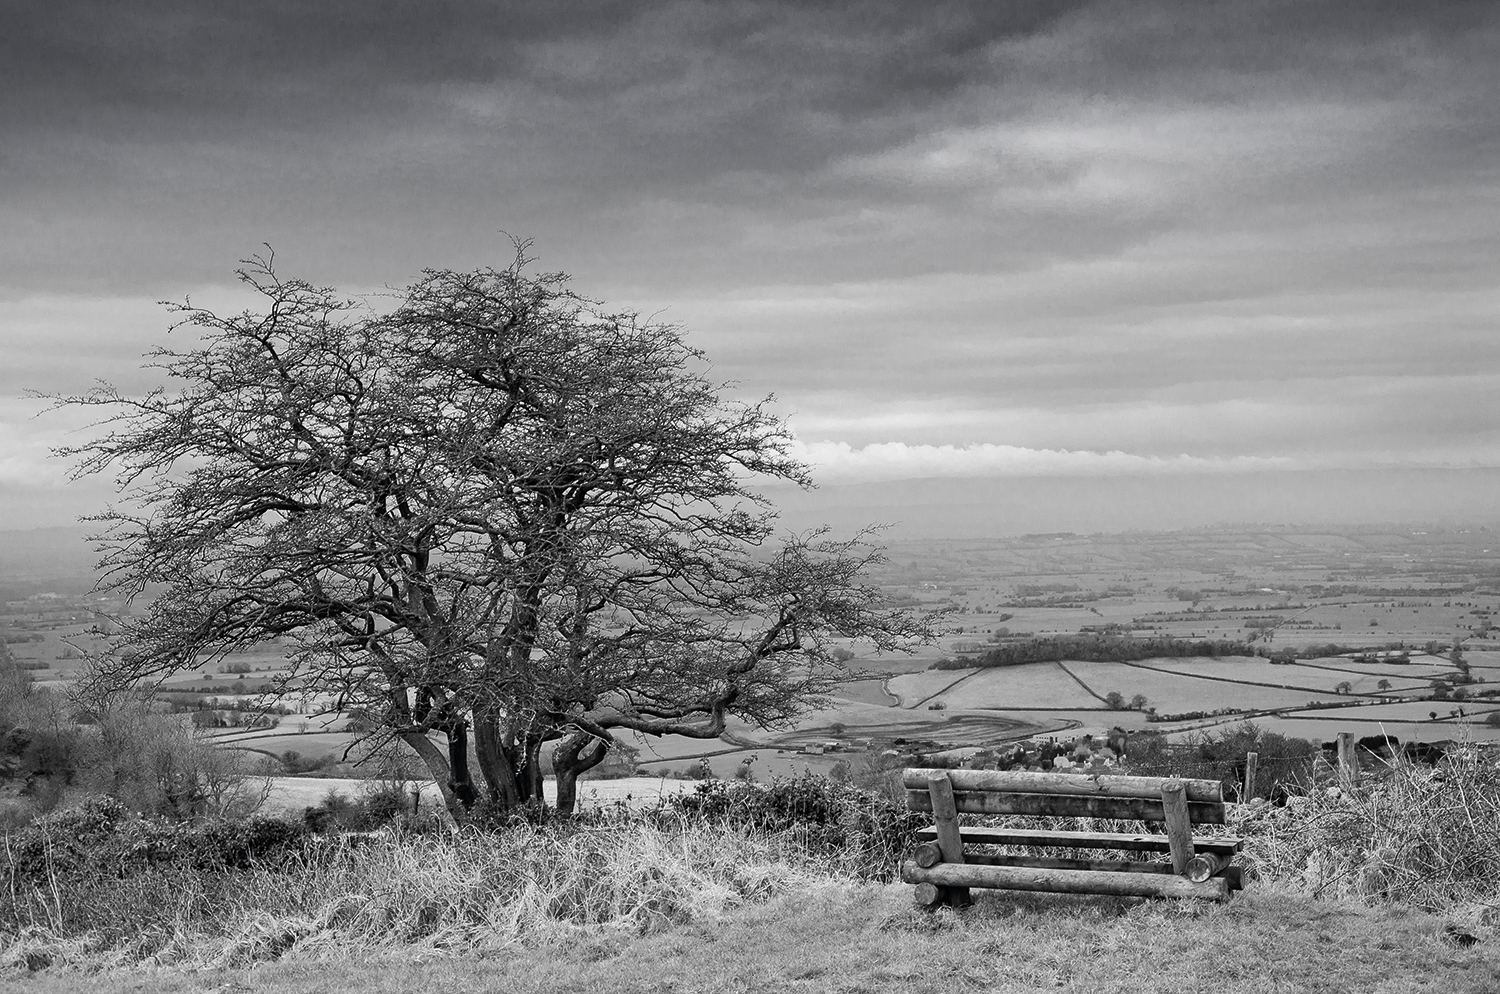
Manmade objects
Stiles, farm gates and benches can be very eye-catching, particularly if they’re in keeping with the surroundings.
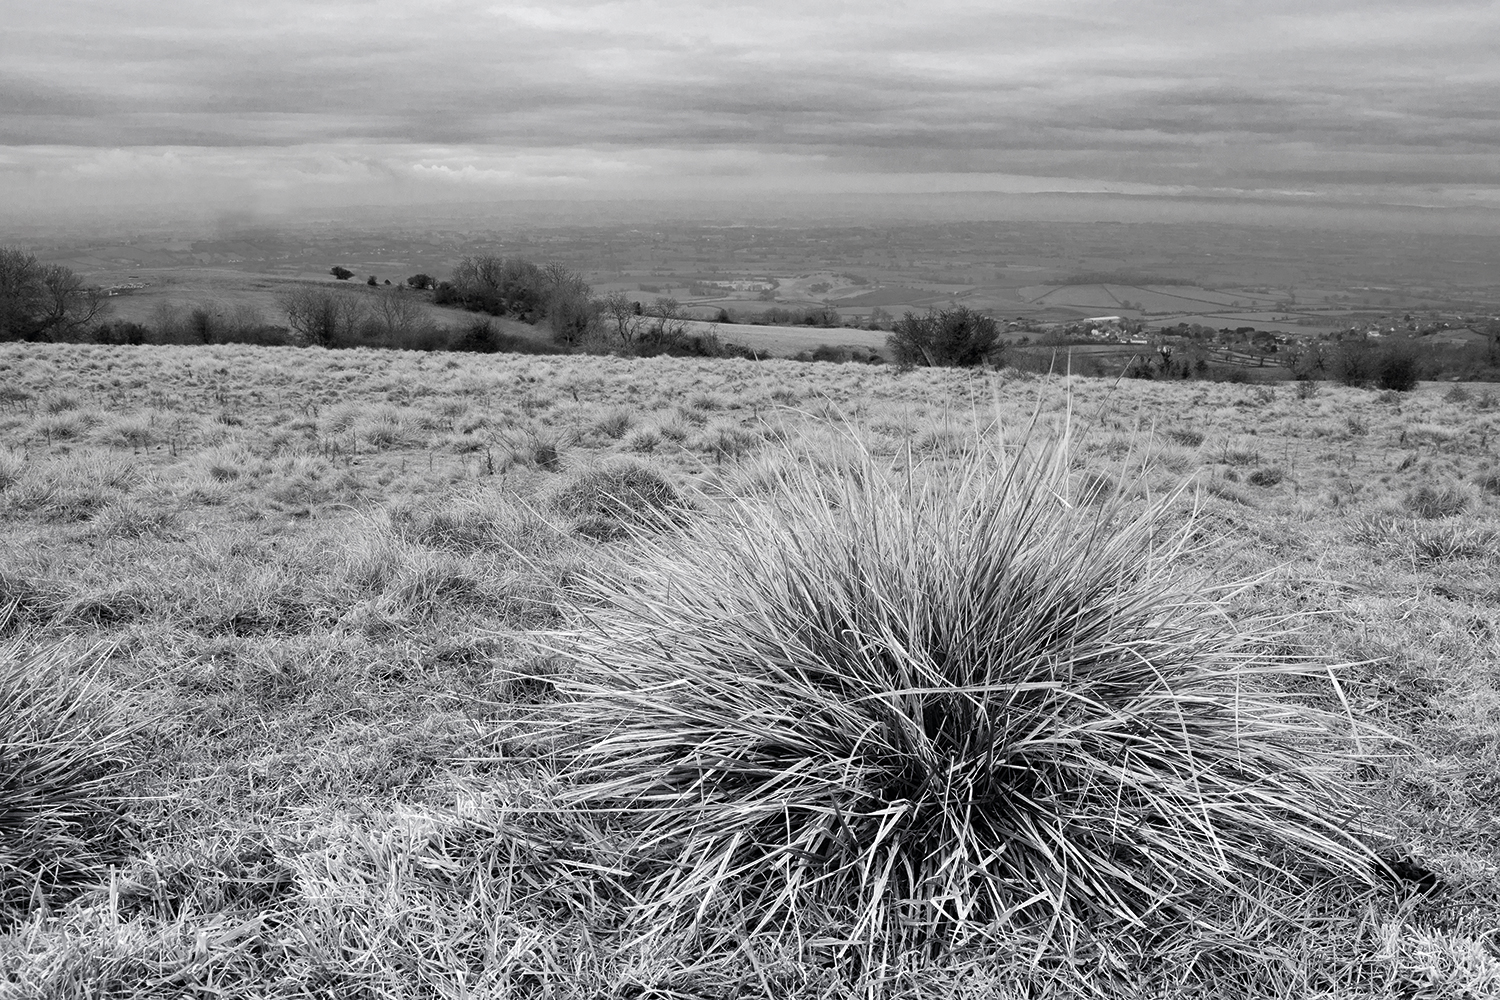
Tone and texture
Search for clumps of flowers that can add a splash of colour. If you’re working in mono, look for textures and patterns.
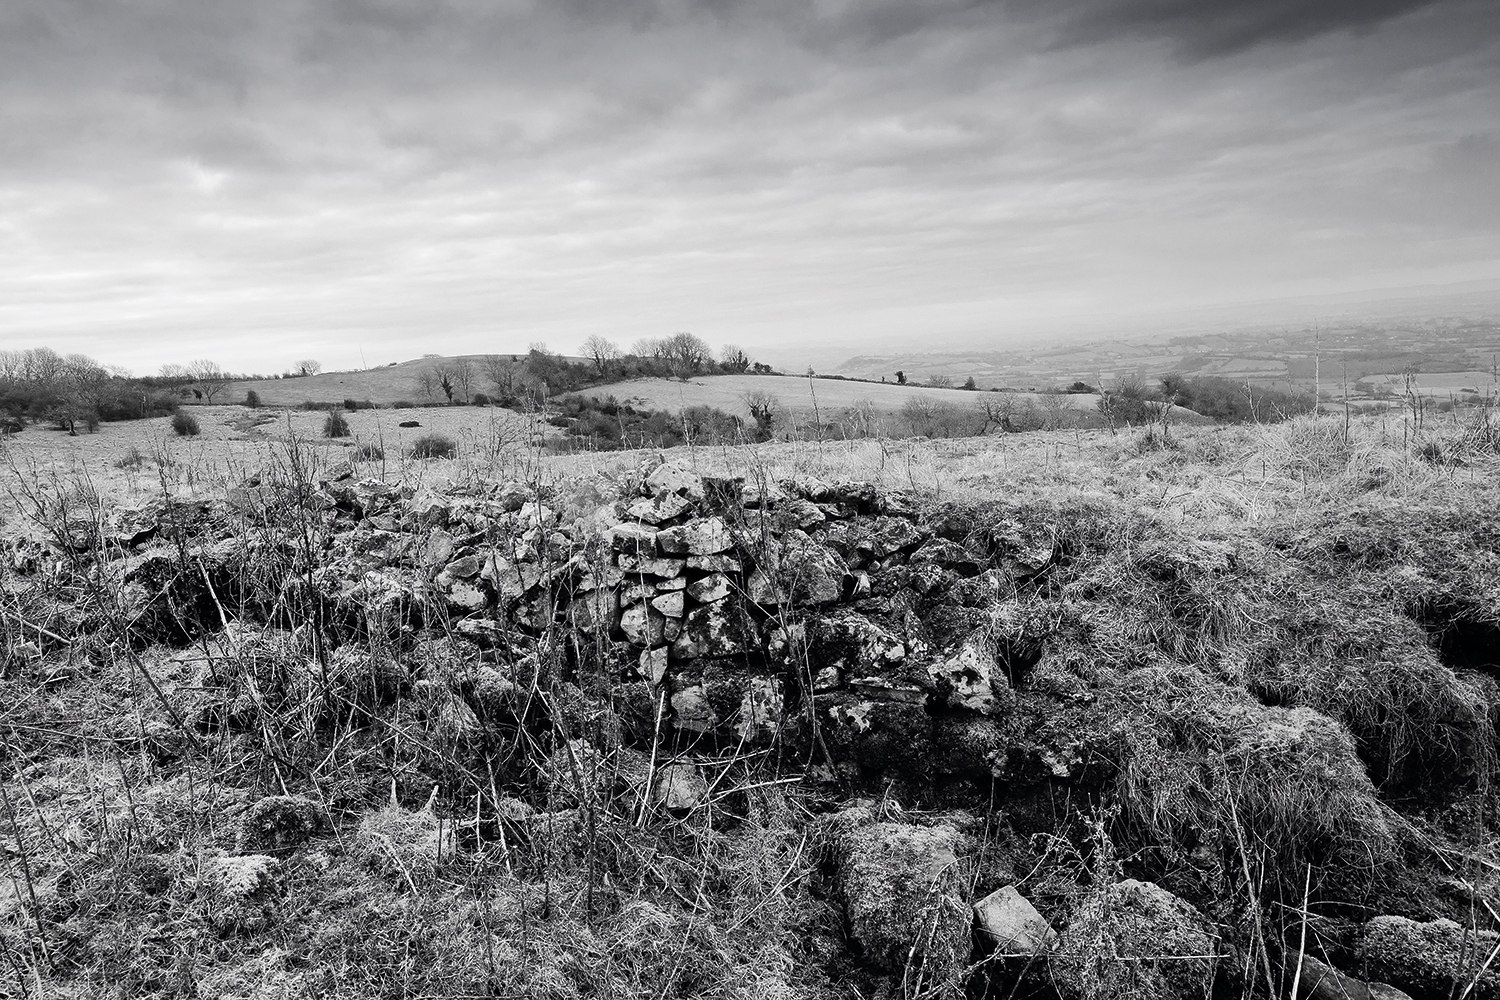
Look for lines
Paths or walls can be shot so they lead across the frame. These are visually intriguing, but you’ll need to get in close to them.
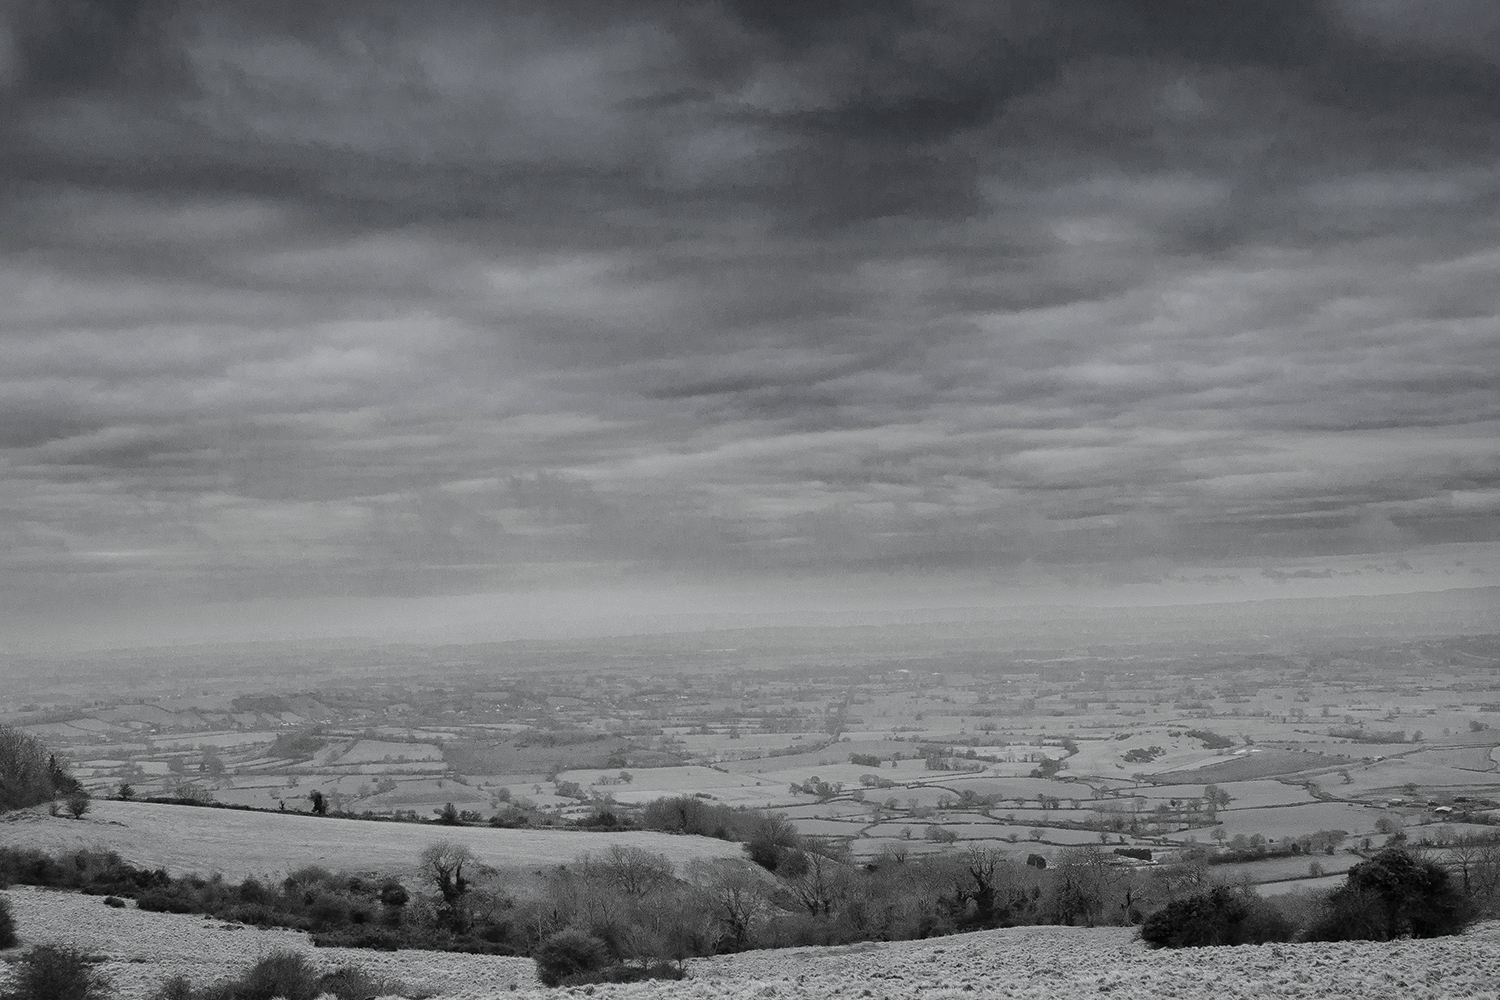
Go long
If you can’t find a suitable foreground, use a longer lens instead of a wide-angle, and pick out detail from the whole view.
More videos:
147 photography techniques, tips and tricks for taking pictures of anything
Depth of field and hyperfocal distance in landscape photography explained
Sunset photography: tips and settings for perfect pictures
How to use an ND graduated filter for stunning landscape photography
Get the Digital Camera World Newsletter
The best camera deals, reviews, product advice, and unmissable photography news, direct to your inbox!
Chris George has worked on Digital Camera World since its launch in 2017. He has been writing about photography, mobile phones, video making and technology for over 30 years – and has edited numerous magazines including PhotoPlus, N-Photo, Digital Camera, Video Camera, and Professional Photography.
His first serious camera was the iconic Olympus OM10, with which he won the title of Young Photographer of the Year - long before the advent of autofocus and memory cards. Today he uses a Nikon D800, a Fujifilm X-T1, a Sony A7, and his iPhone 15 Pro Max.
He has written about technology for countless publications and websites including The Sunday Times Magazine, The Daily Telegraph, Dorling Kindersley, What Cellphone, T3 and Techradar.

