Landscape shooters listen up: you NEED to use this technique!
Forget hyperfocal distance! Work double-distance focusing into your shooting process for quicker, easier & sharper photos
If you shoot landscape images then pay close attention – this is a technique that you absolutely have to try, as it could transform the way you take your photographs!
For decades the core technique for precision focusing was the hyperfocal method, especially in landscape images. This technique makes use of pre-calculated focus distances to quickly set a lens, for an acceptable level of sharpness throughout the final image.
It is calculated using the formula H = f² / Nc + f, where H is hyperfocal distance, f is focal length, N is f/stop and c is the circle of confusion. While generally suitable, however, hyperfocal focusing does not always deliver the optimal results. The values used are based on outdated parameters – namely the circle of confusion, which refers to the physical size of a blurred point of light, measured in millimeters.
Read more:
• Best cameras for landscapes
• Best lenses for landscapes
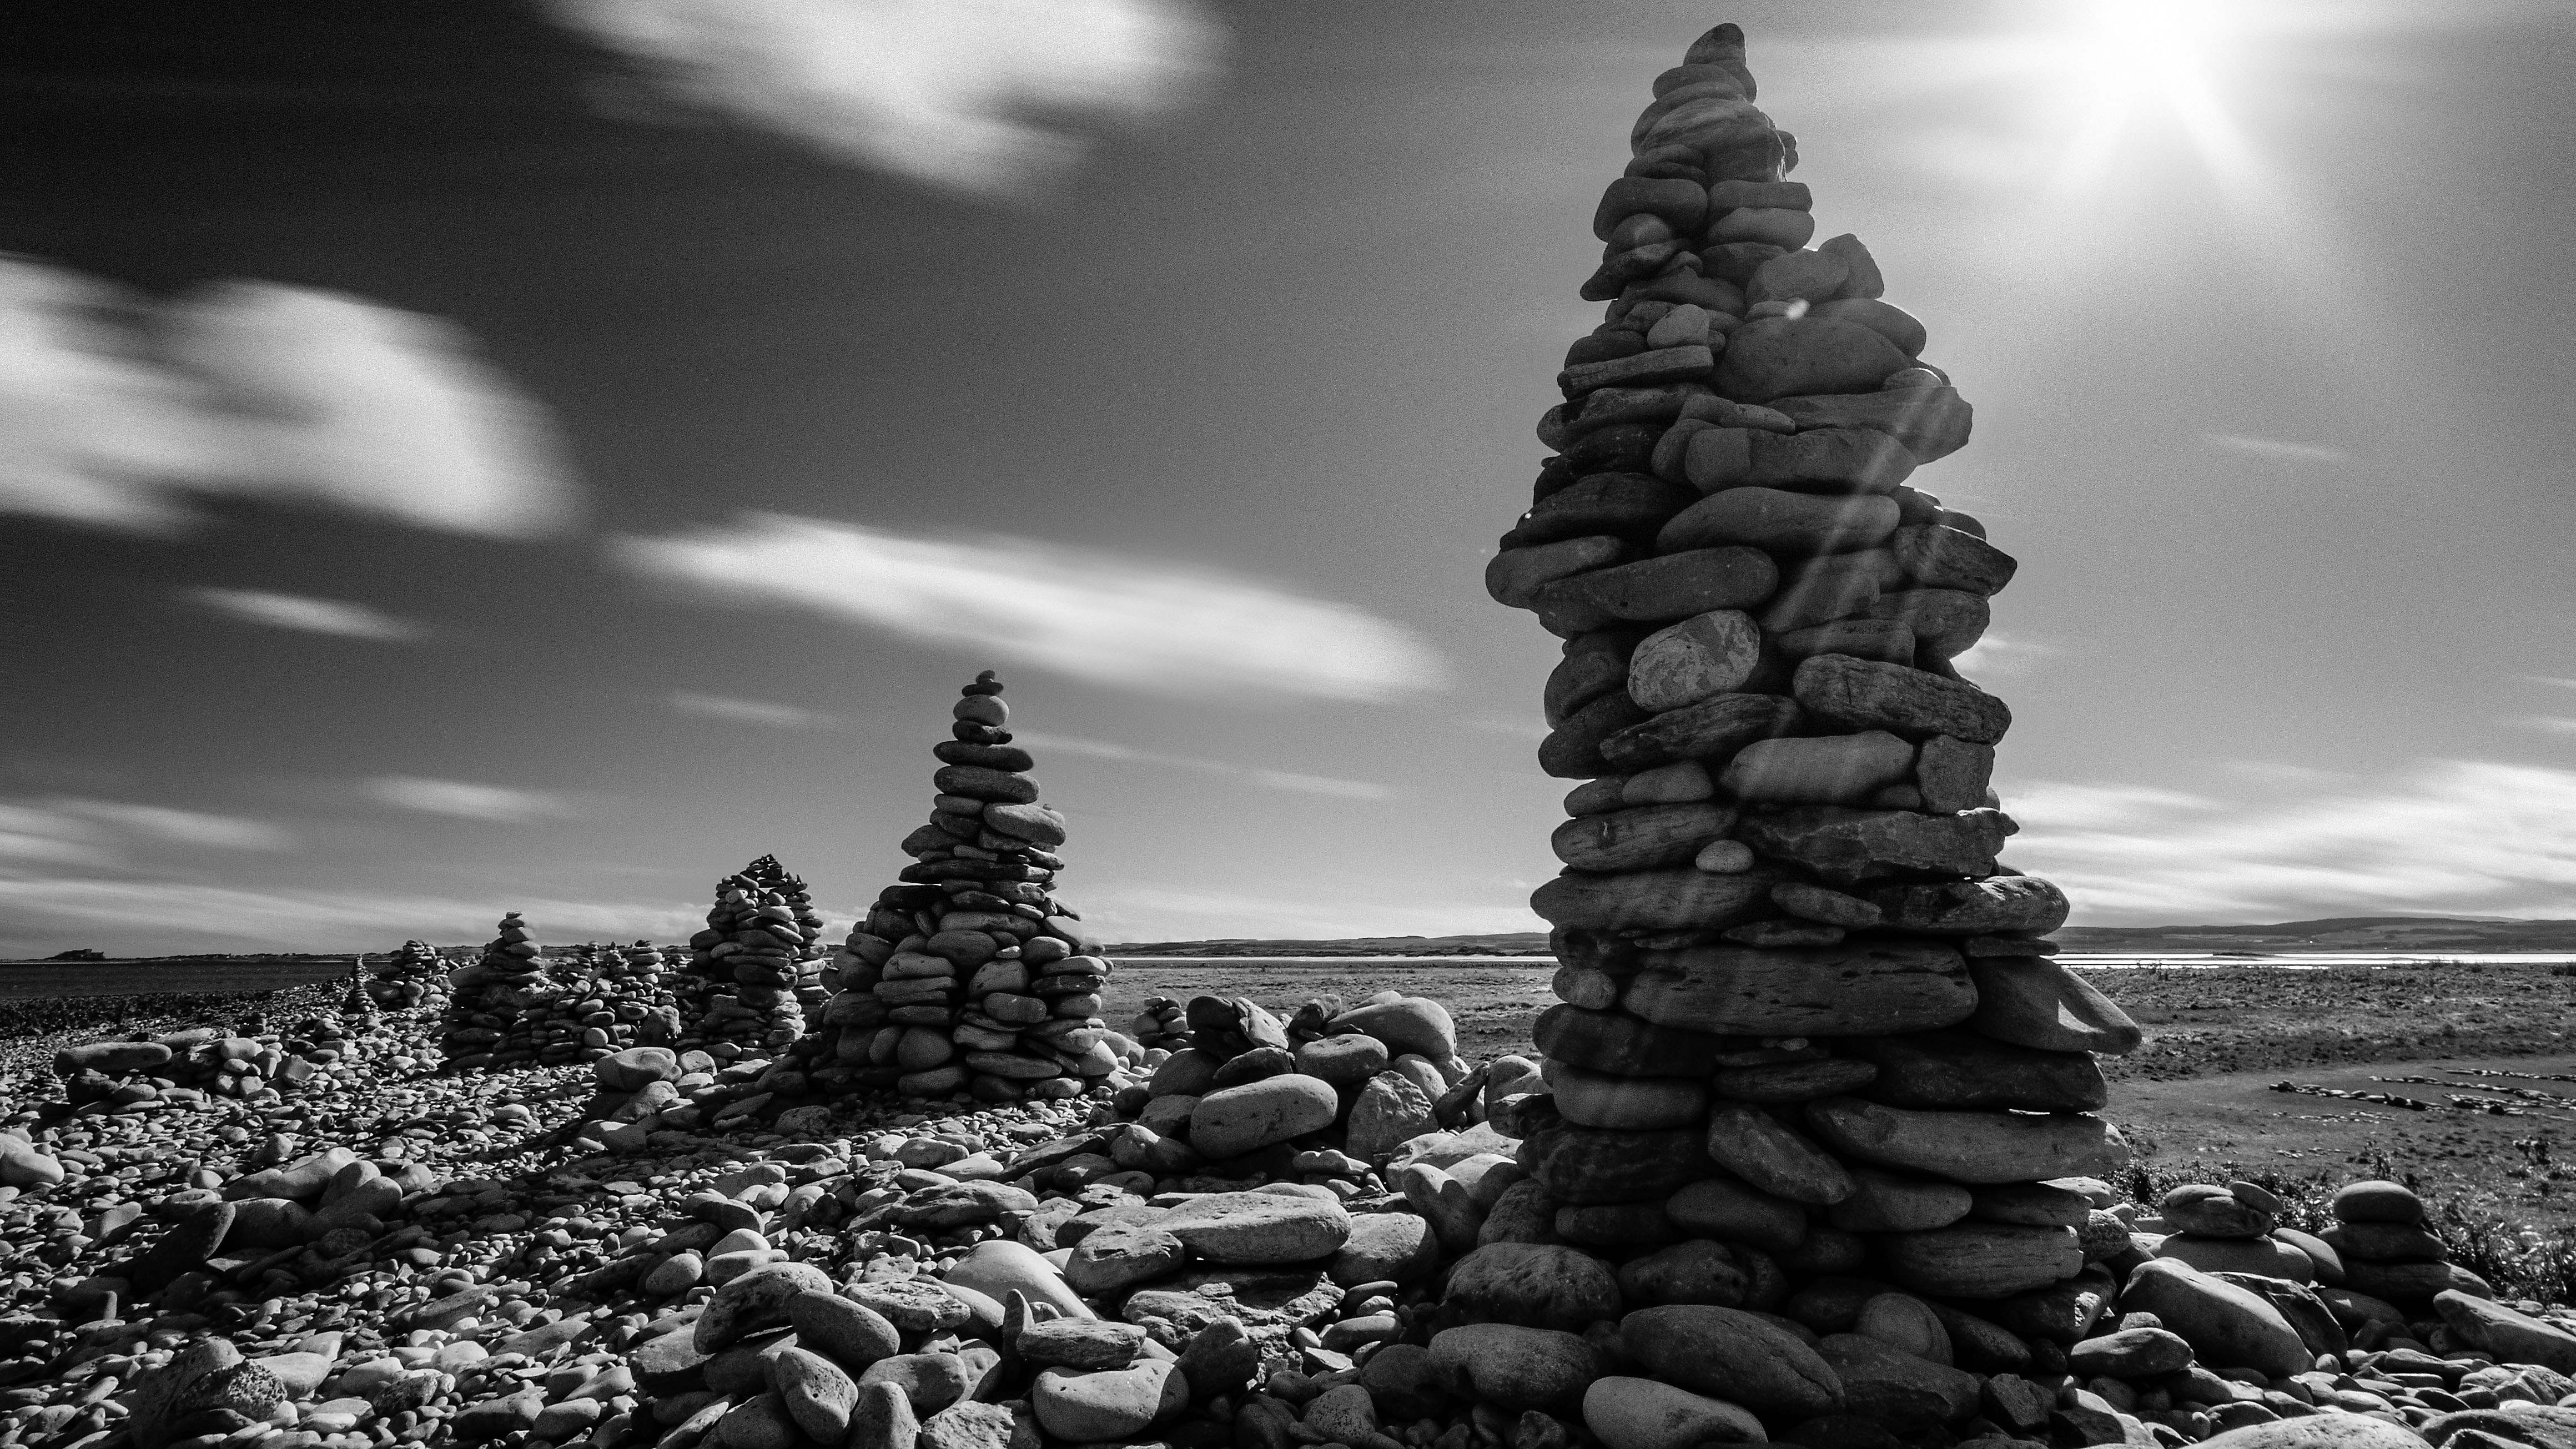
The term “acceptable sharpness” is variable and based on the quality of lenses and film available in the Nineteenth Century. In today’s world of ultra-precision optics and high resolution sensors, though, the values produced will not make the most of the total quality possible.
The issue is compounded by the variability of scene components; not all scenes are equally structured, which often results in detail loss in the foreground.
Here we discuss an alternative method, which is effective at producing a better equality of sharpness from foreground to background, helping us to get more from our expensive equipment. This technique is increasing in popularity among professionals and is an easy all-round solution…
01 Compose the shot
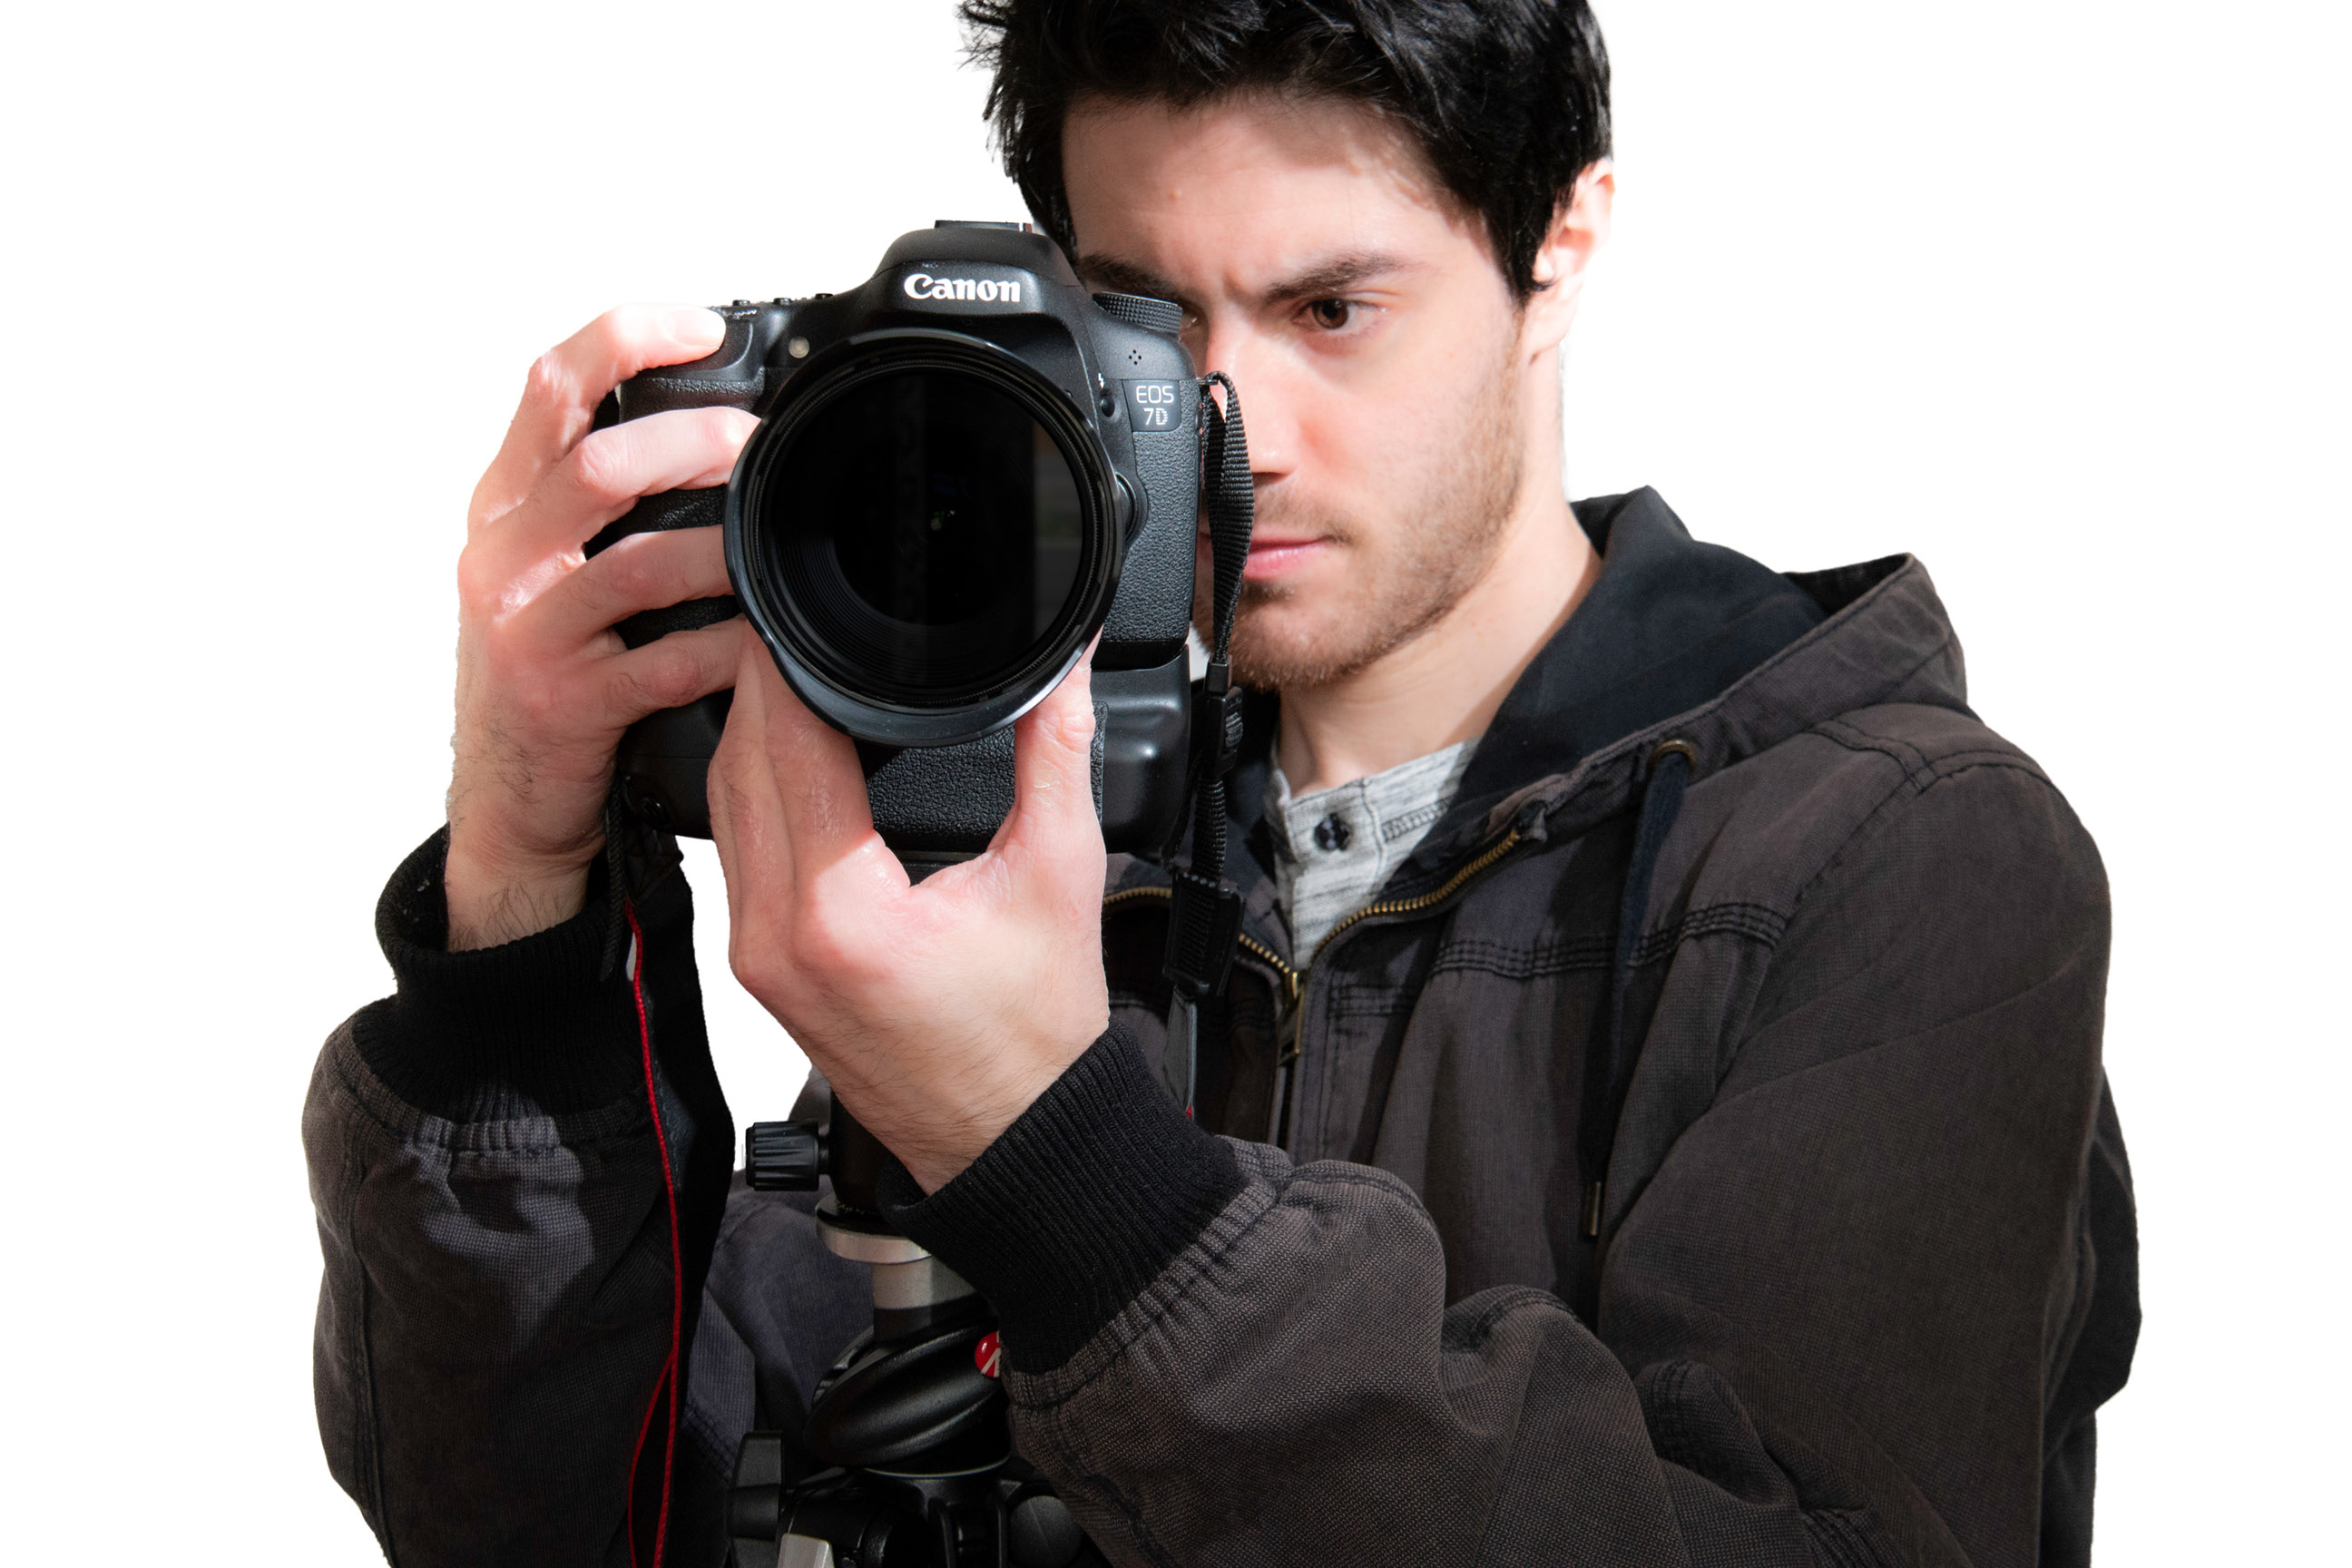
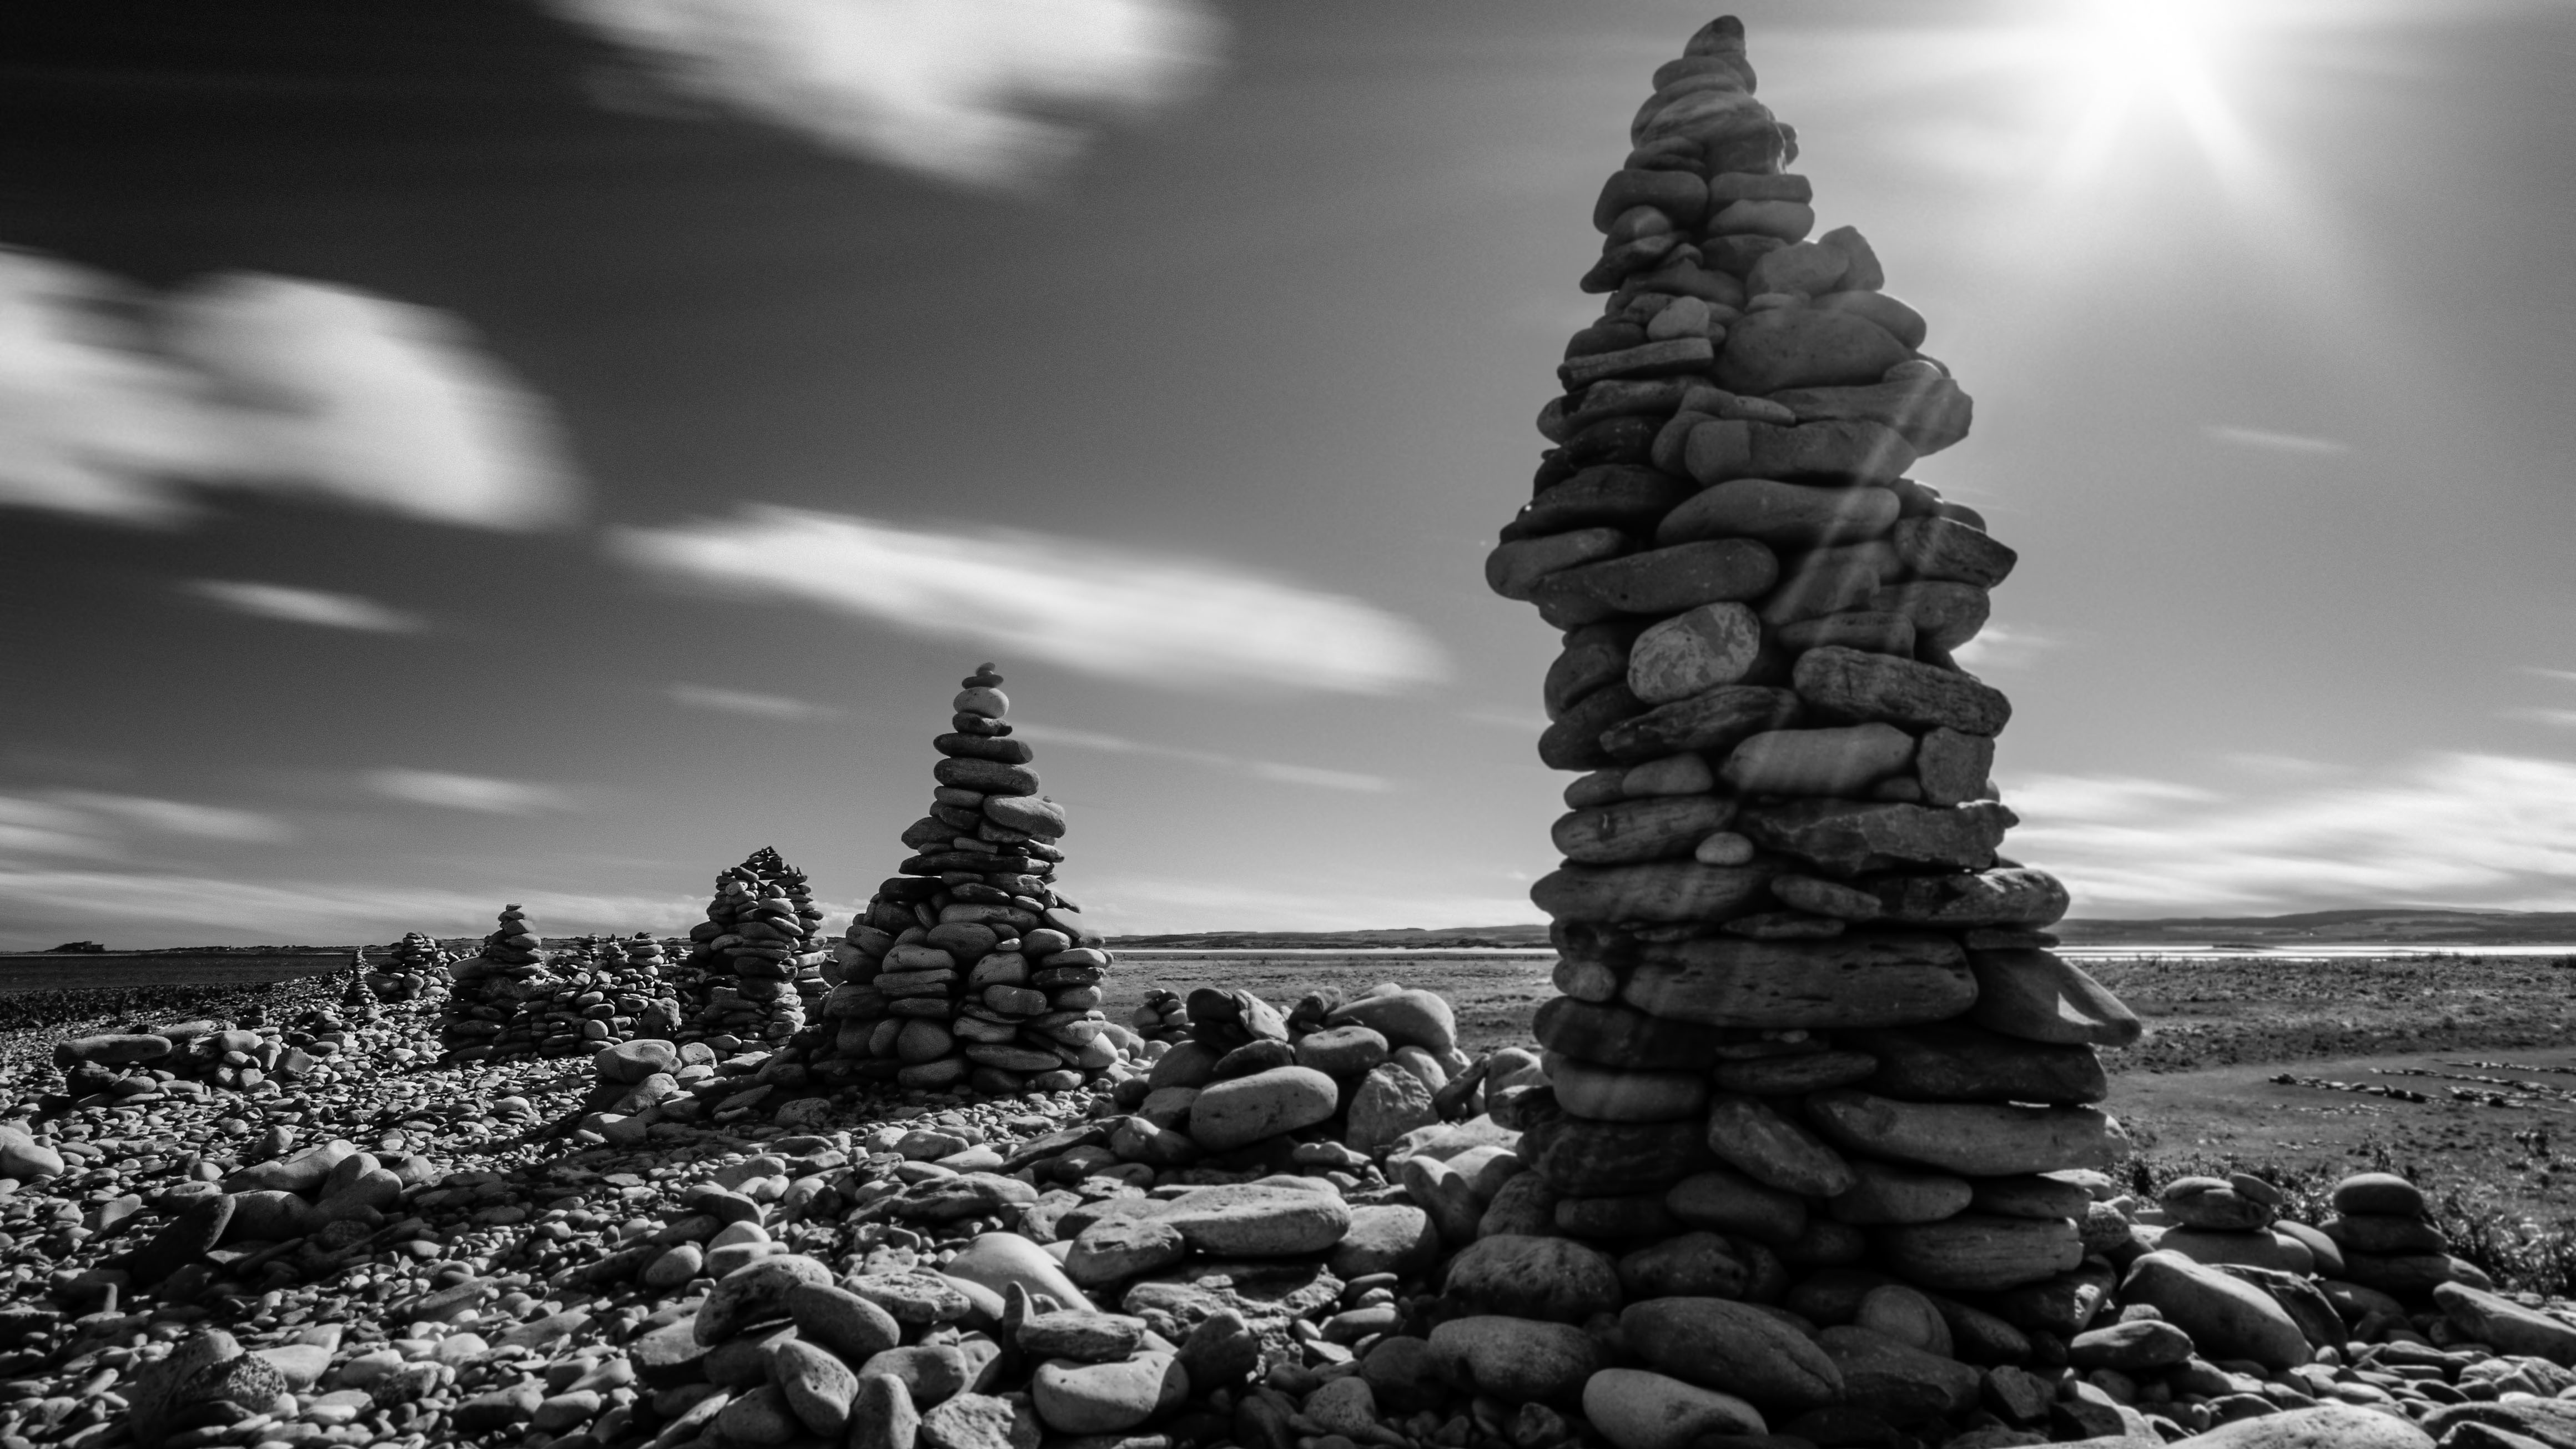
We're using the Sigma 10-20mm f/4-5.6 EX DC HSM lens. Start by arranging the frame to your liking, taking note of the spatial separation of foreground and background elements. Here it was obvious that there would be focus challenges with the receding stacks.
02 Set your f/stop
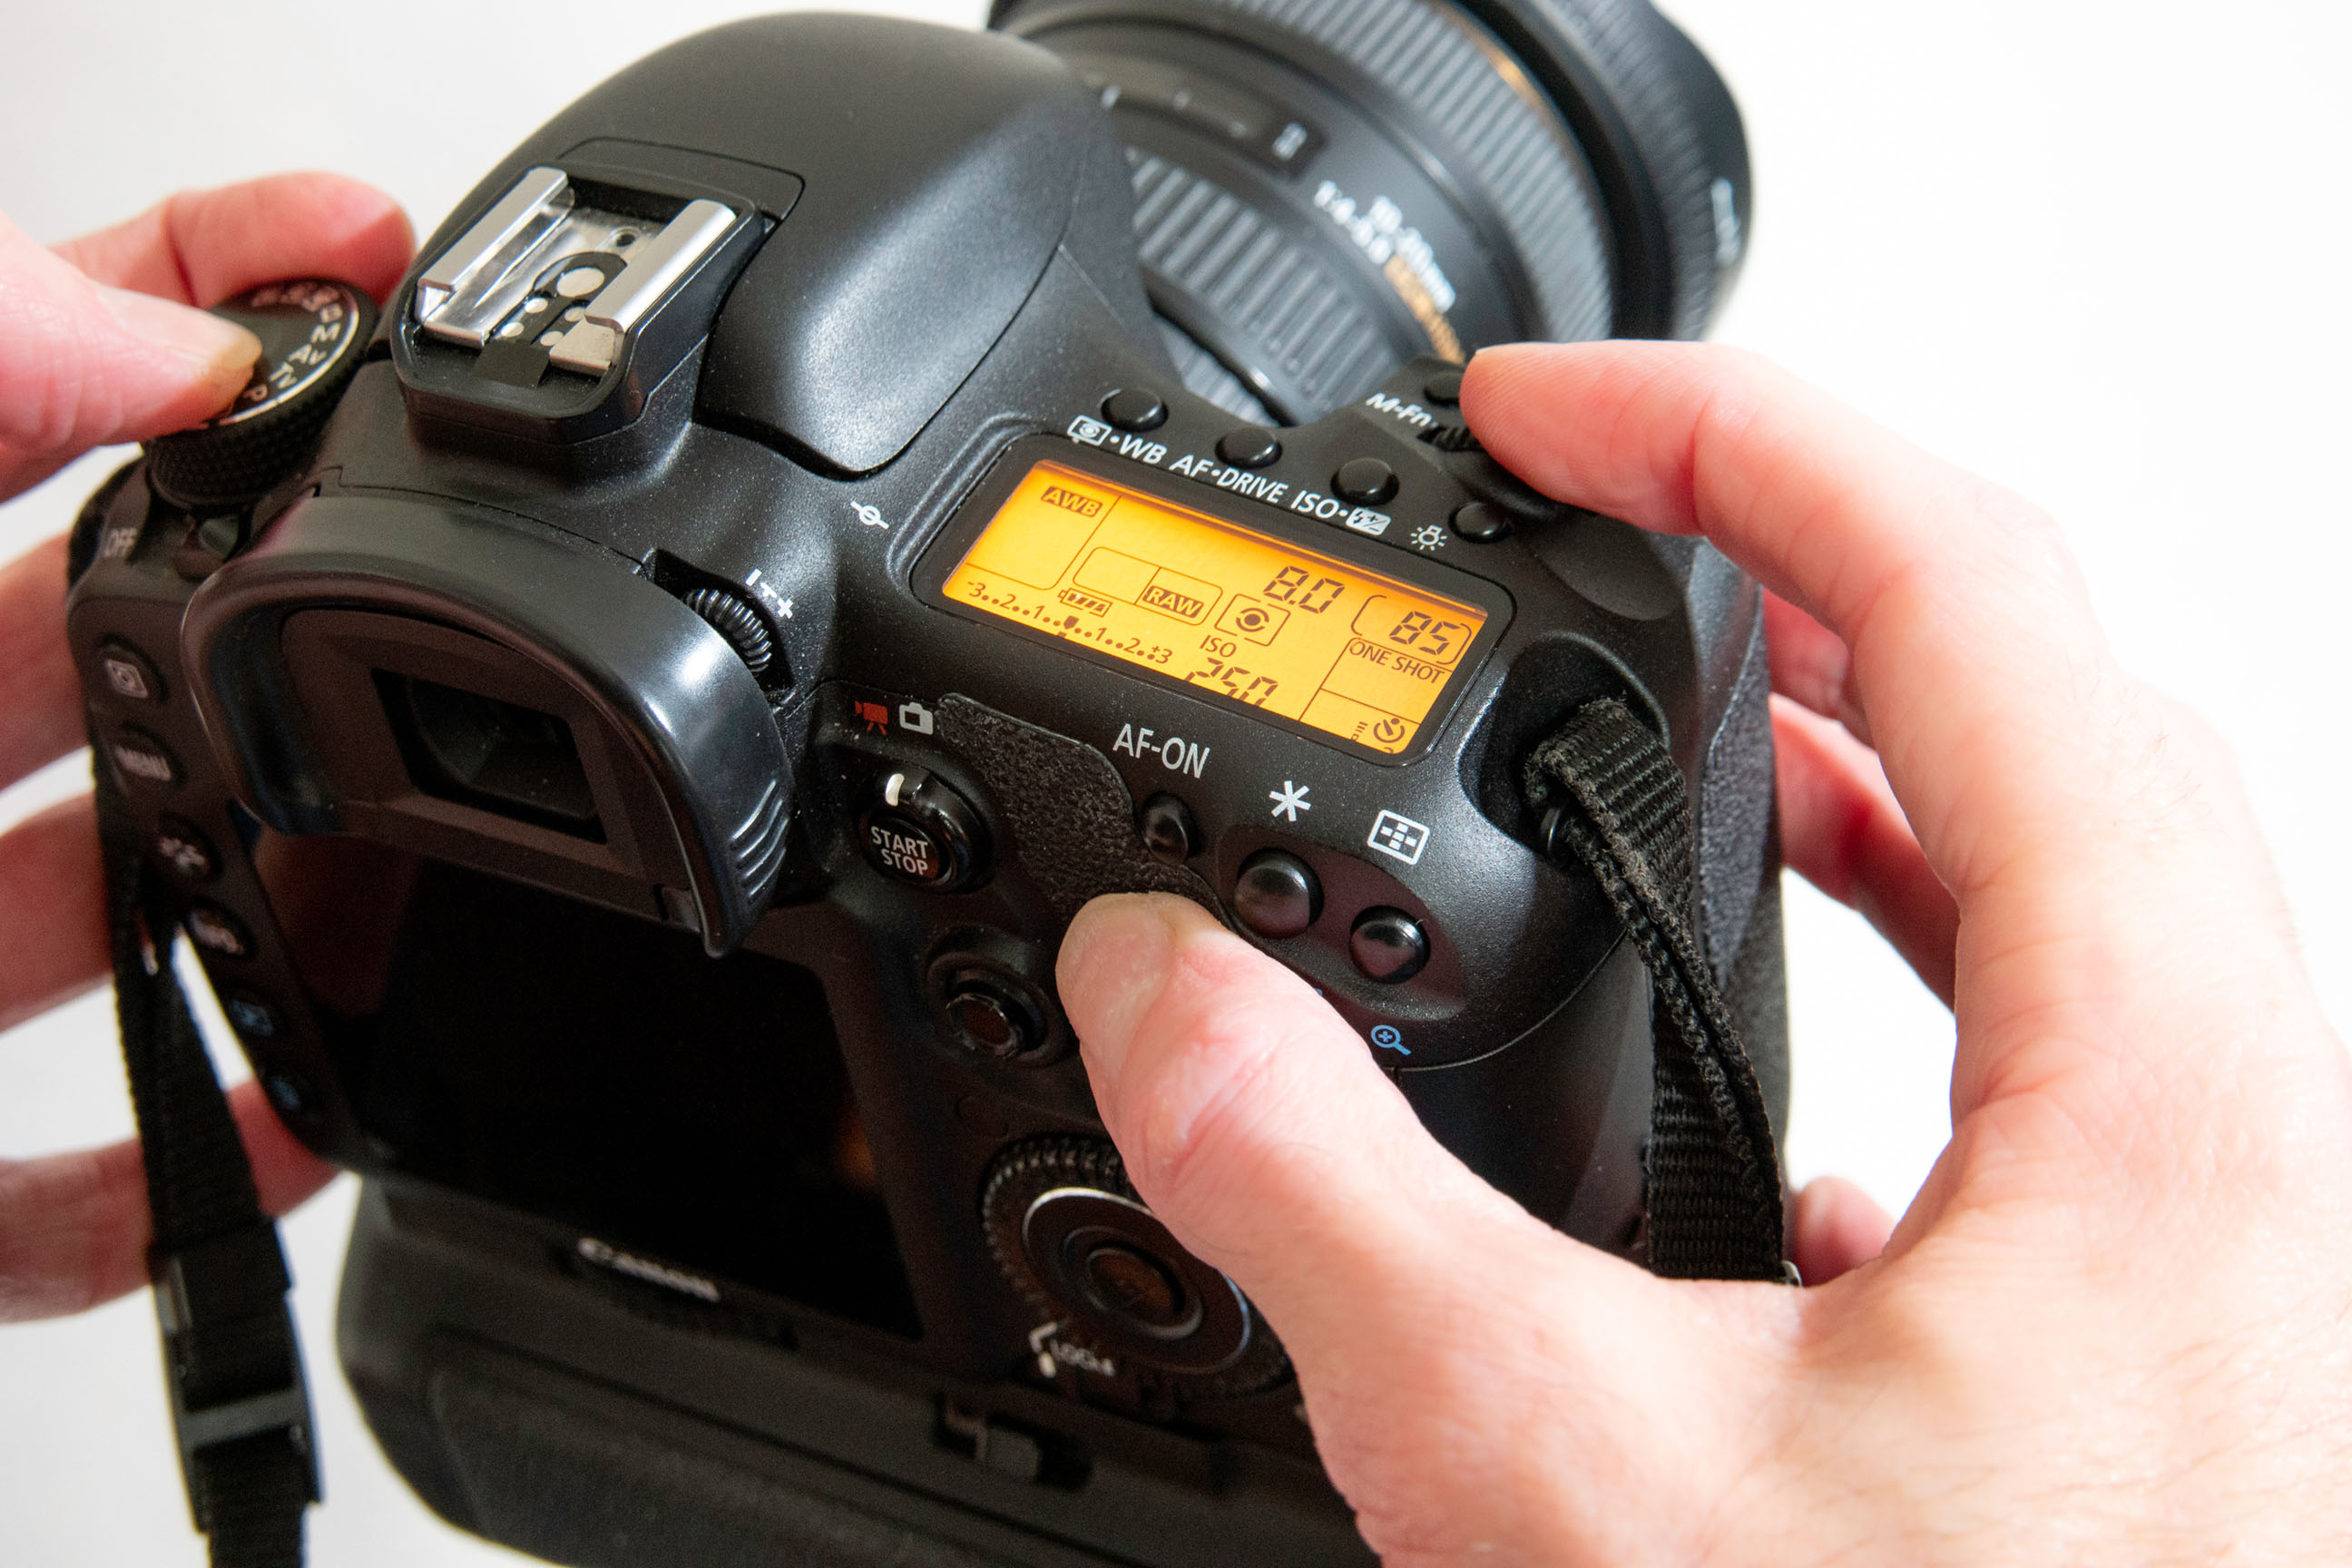
Select an aperture that provides a balance of depth of field and resolution. Here we stopped down from f/8 to f/11, as this produced minimal diffraction but deeper focus coverage, for better overall detail.
03 Measure foreground distance
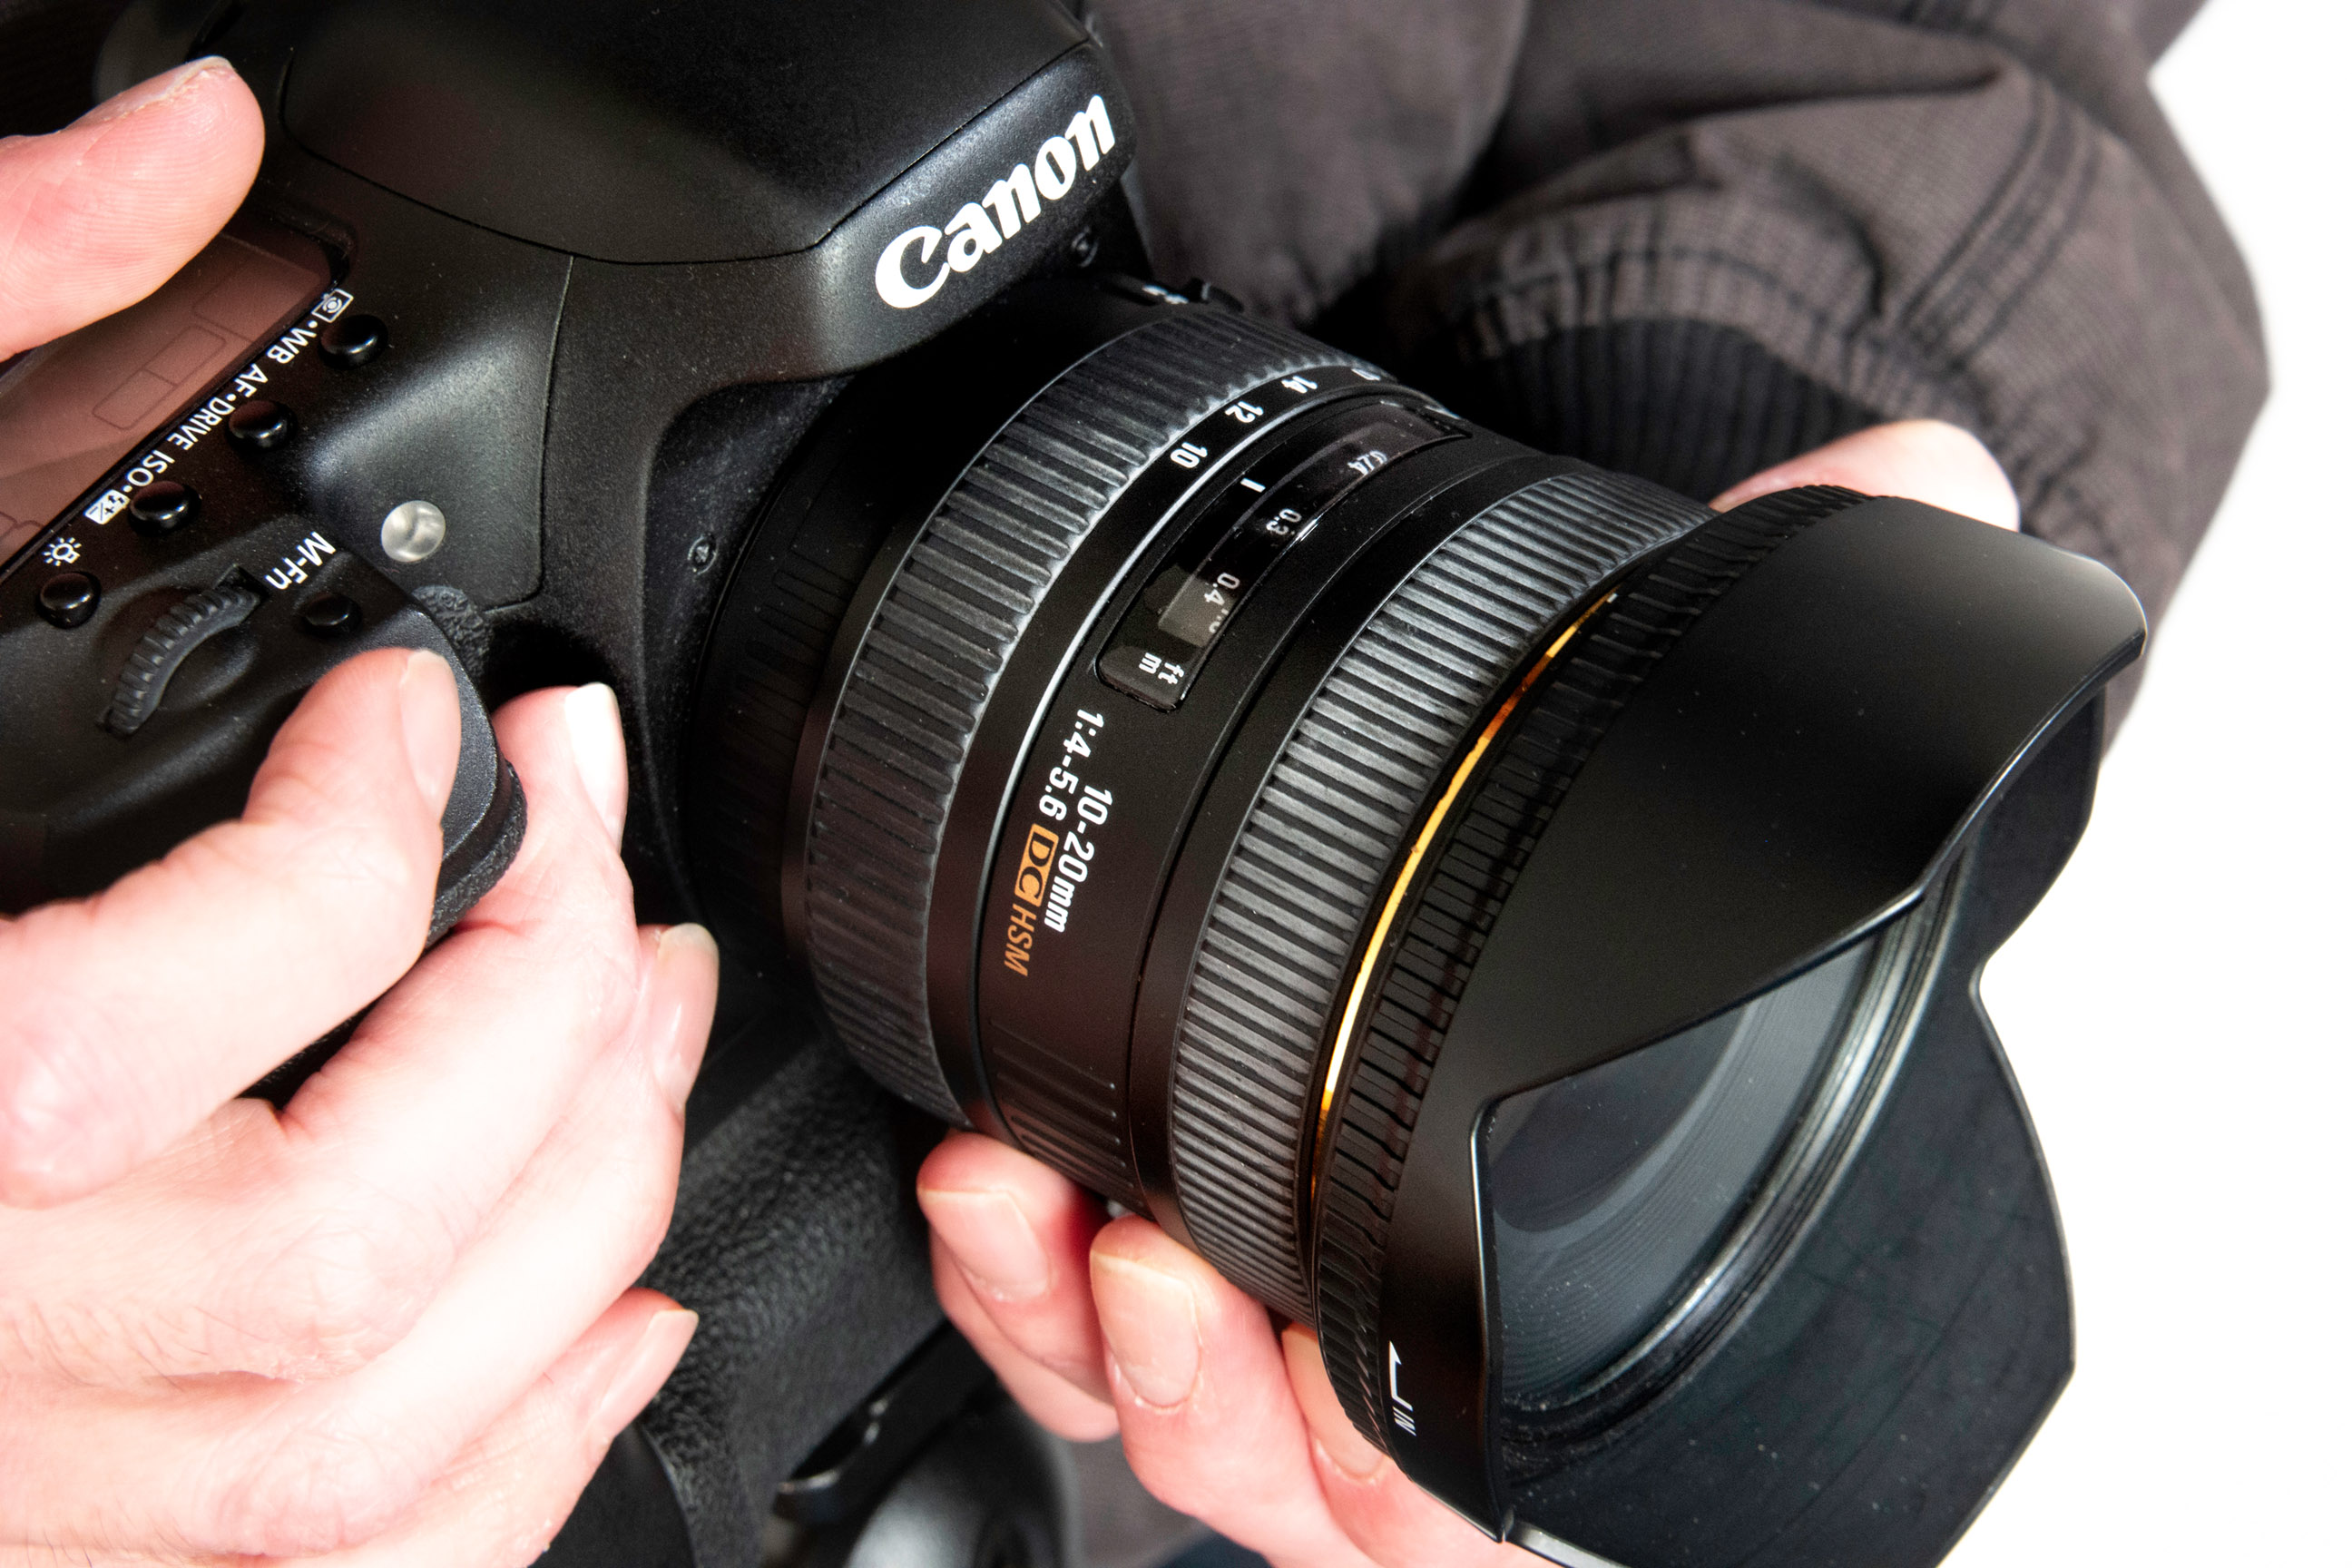
Use Live View to focus on the closest visible object – in this case, a rock at the very bottom of the frame. This will quickly set the lens at the initial focus distance, likely producing a blurred background.
04 Double the value
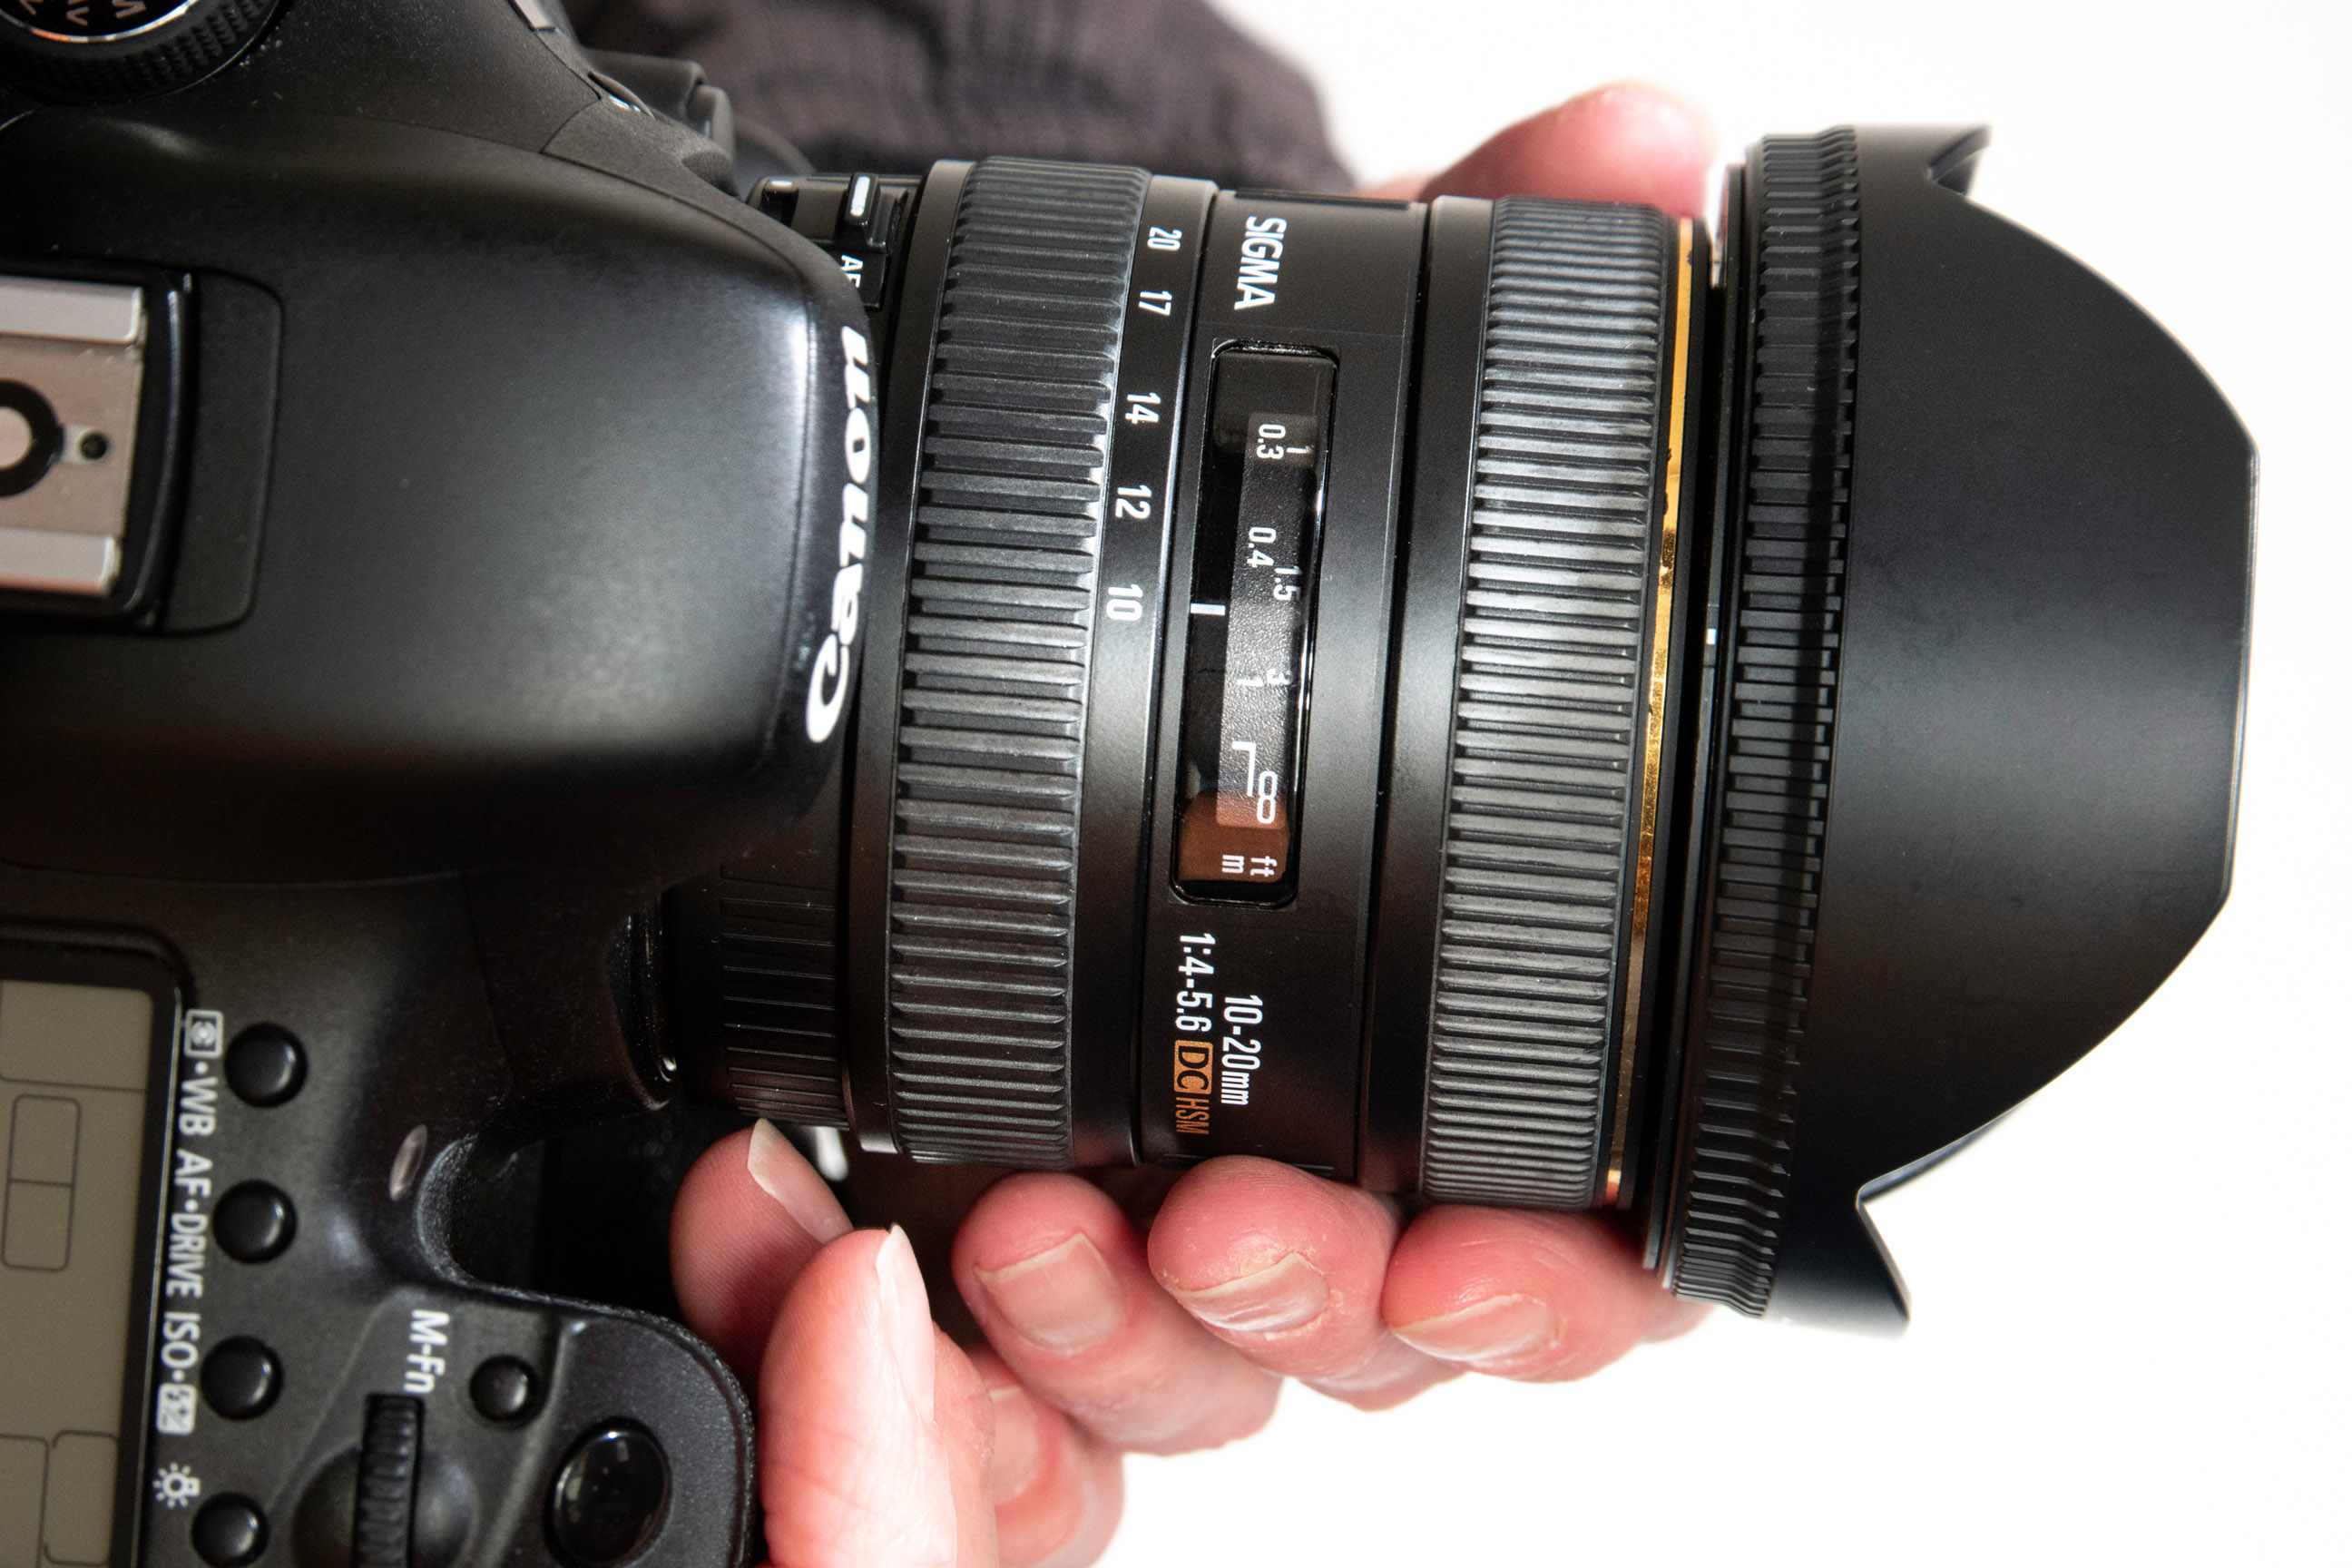
Referencing the lens’ focus window, refocus at a distance twice that of the current setting; the closest rock was 0.3 meters away, so we focussed to 0.6m. Without a focus window, simply estimate object distance.
05 Shoot a test
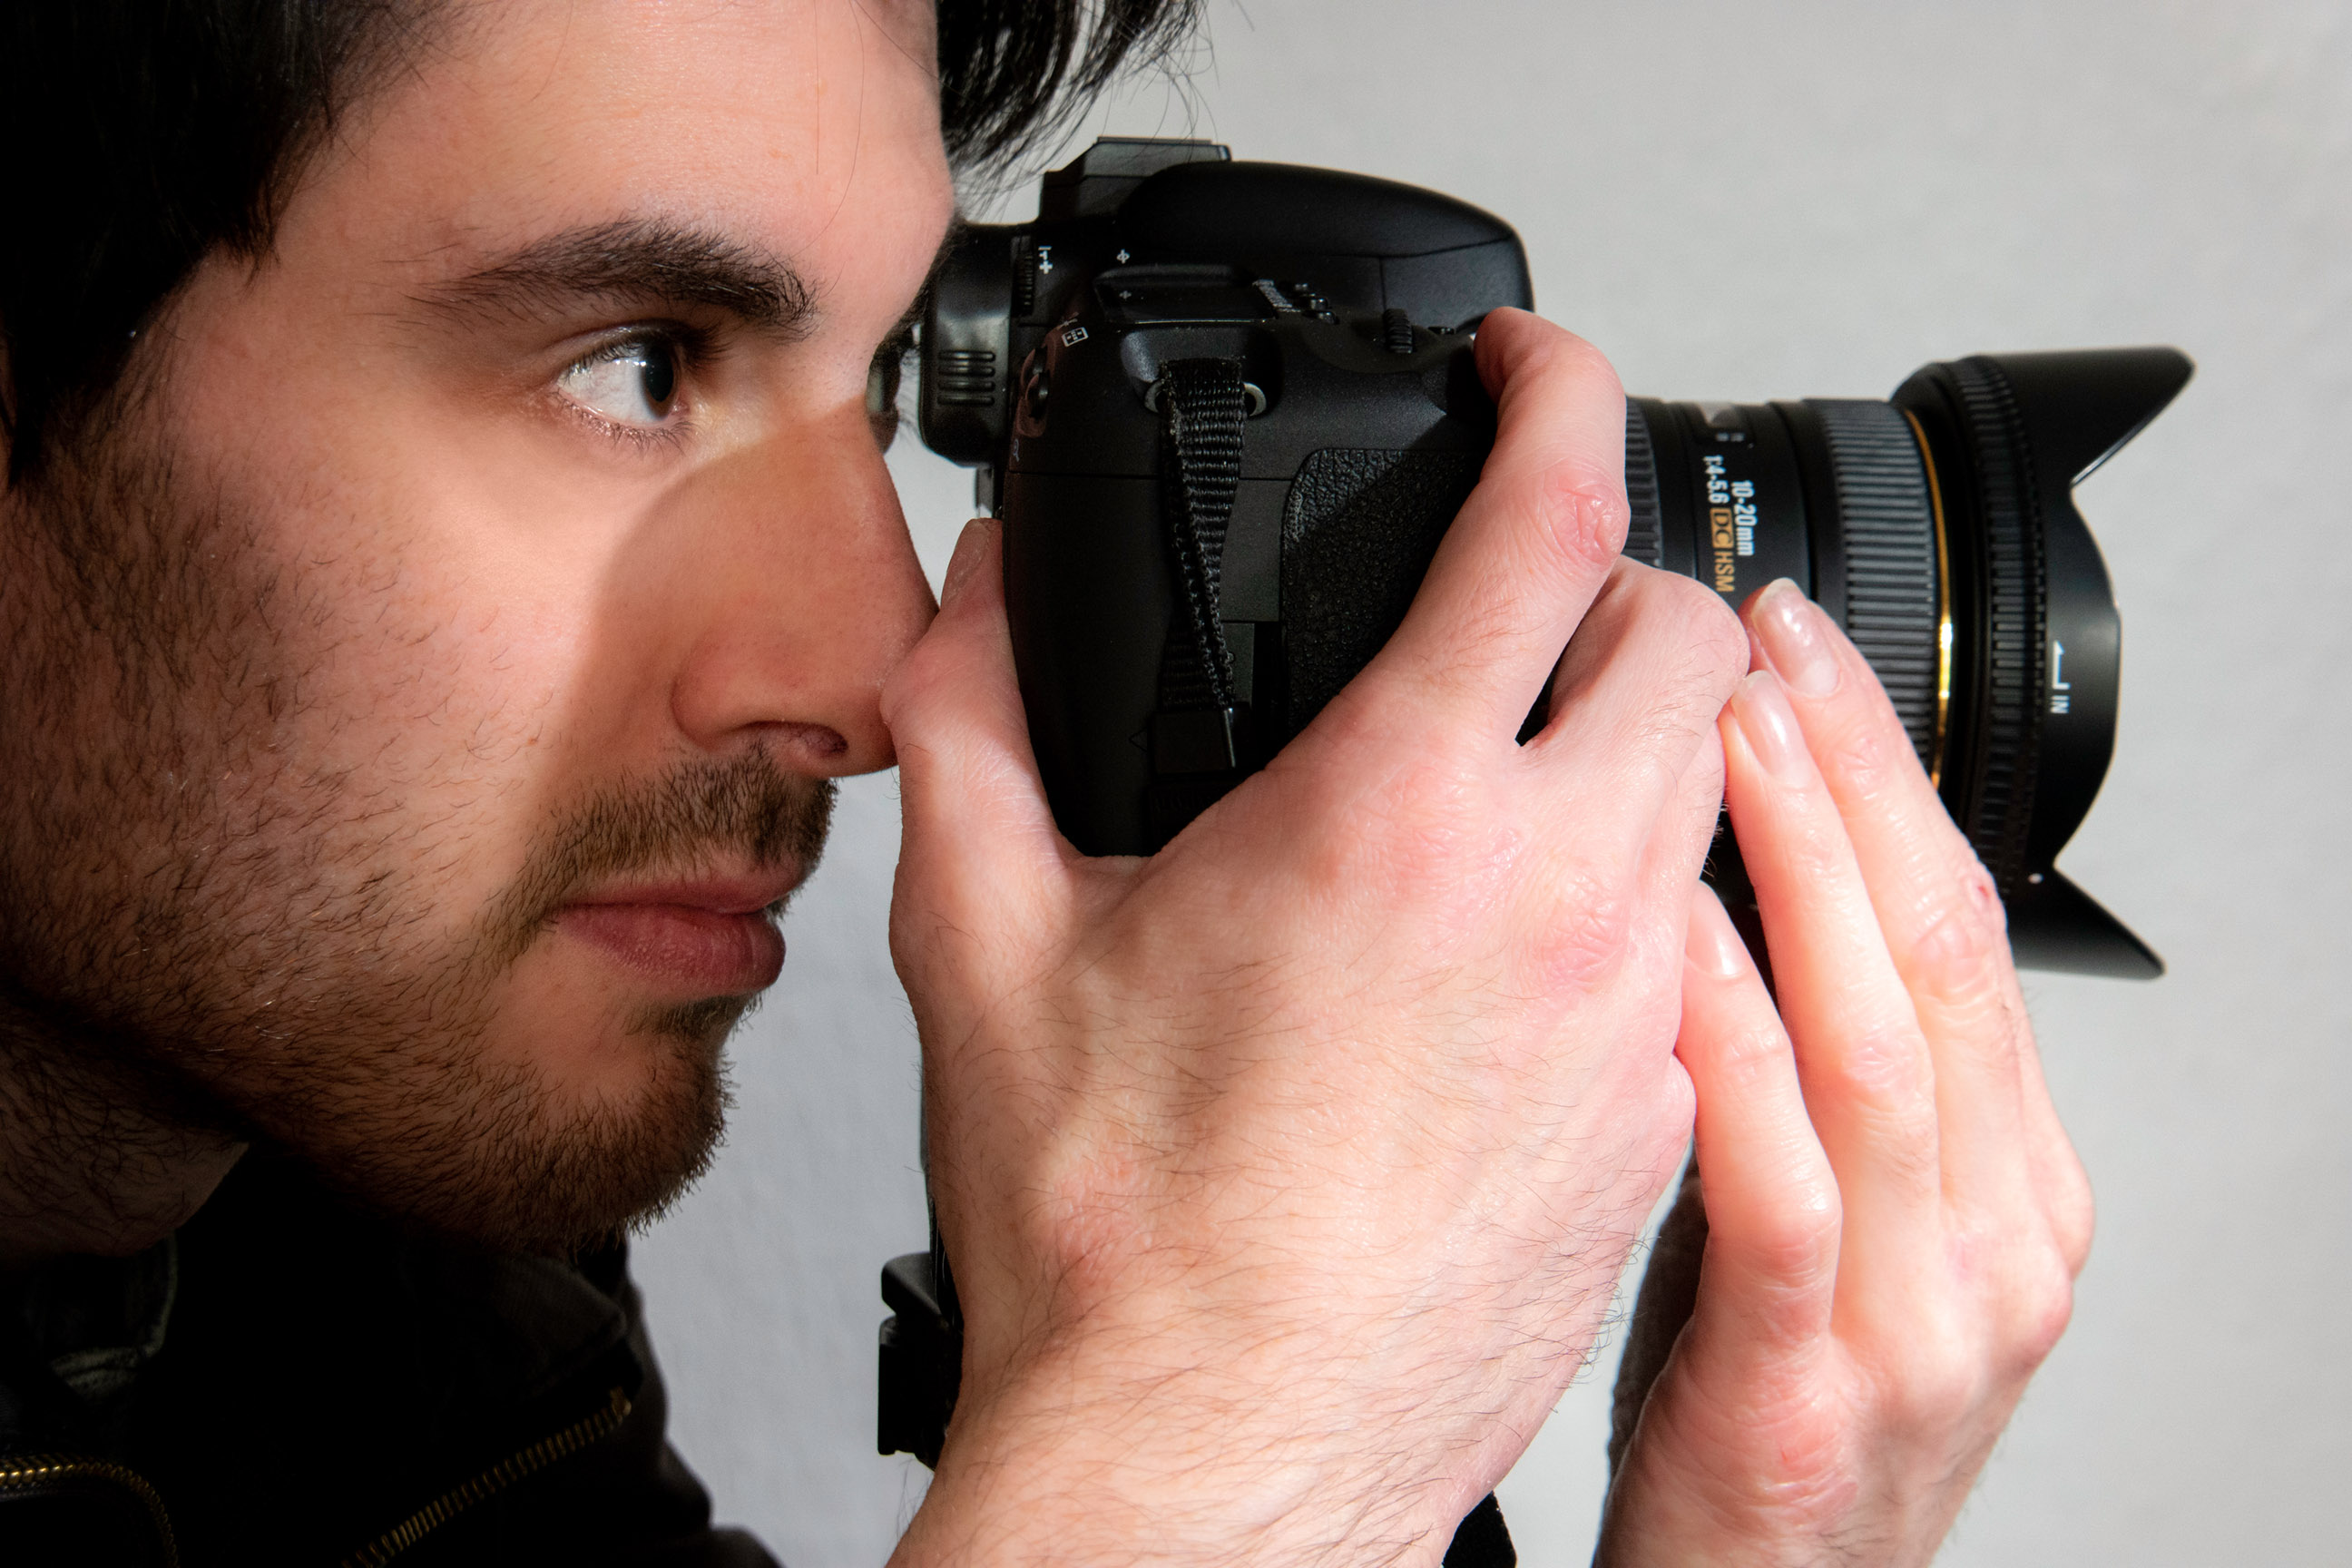
Take an image at the current aperture setting, then review at 100% on the rear LCD. Check both foreground and background for your own level of ‘acceptable’ sharpness, which should be roughly equal in all frame areas.
06: Adjust aperture
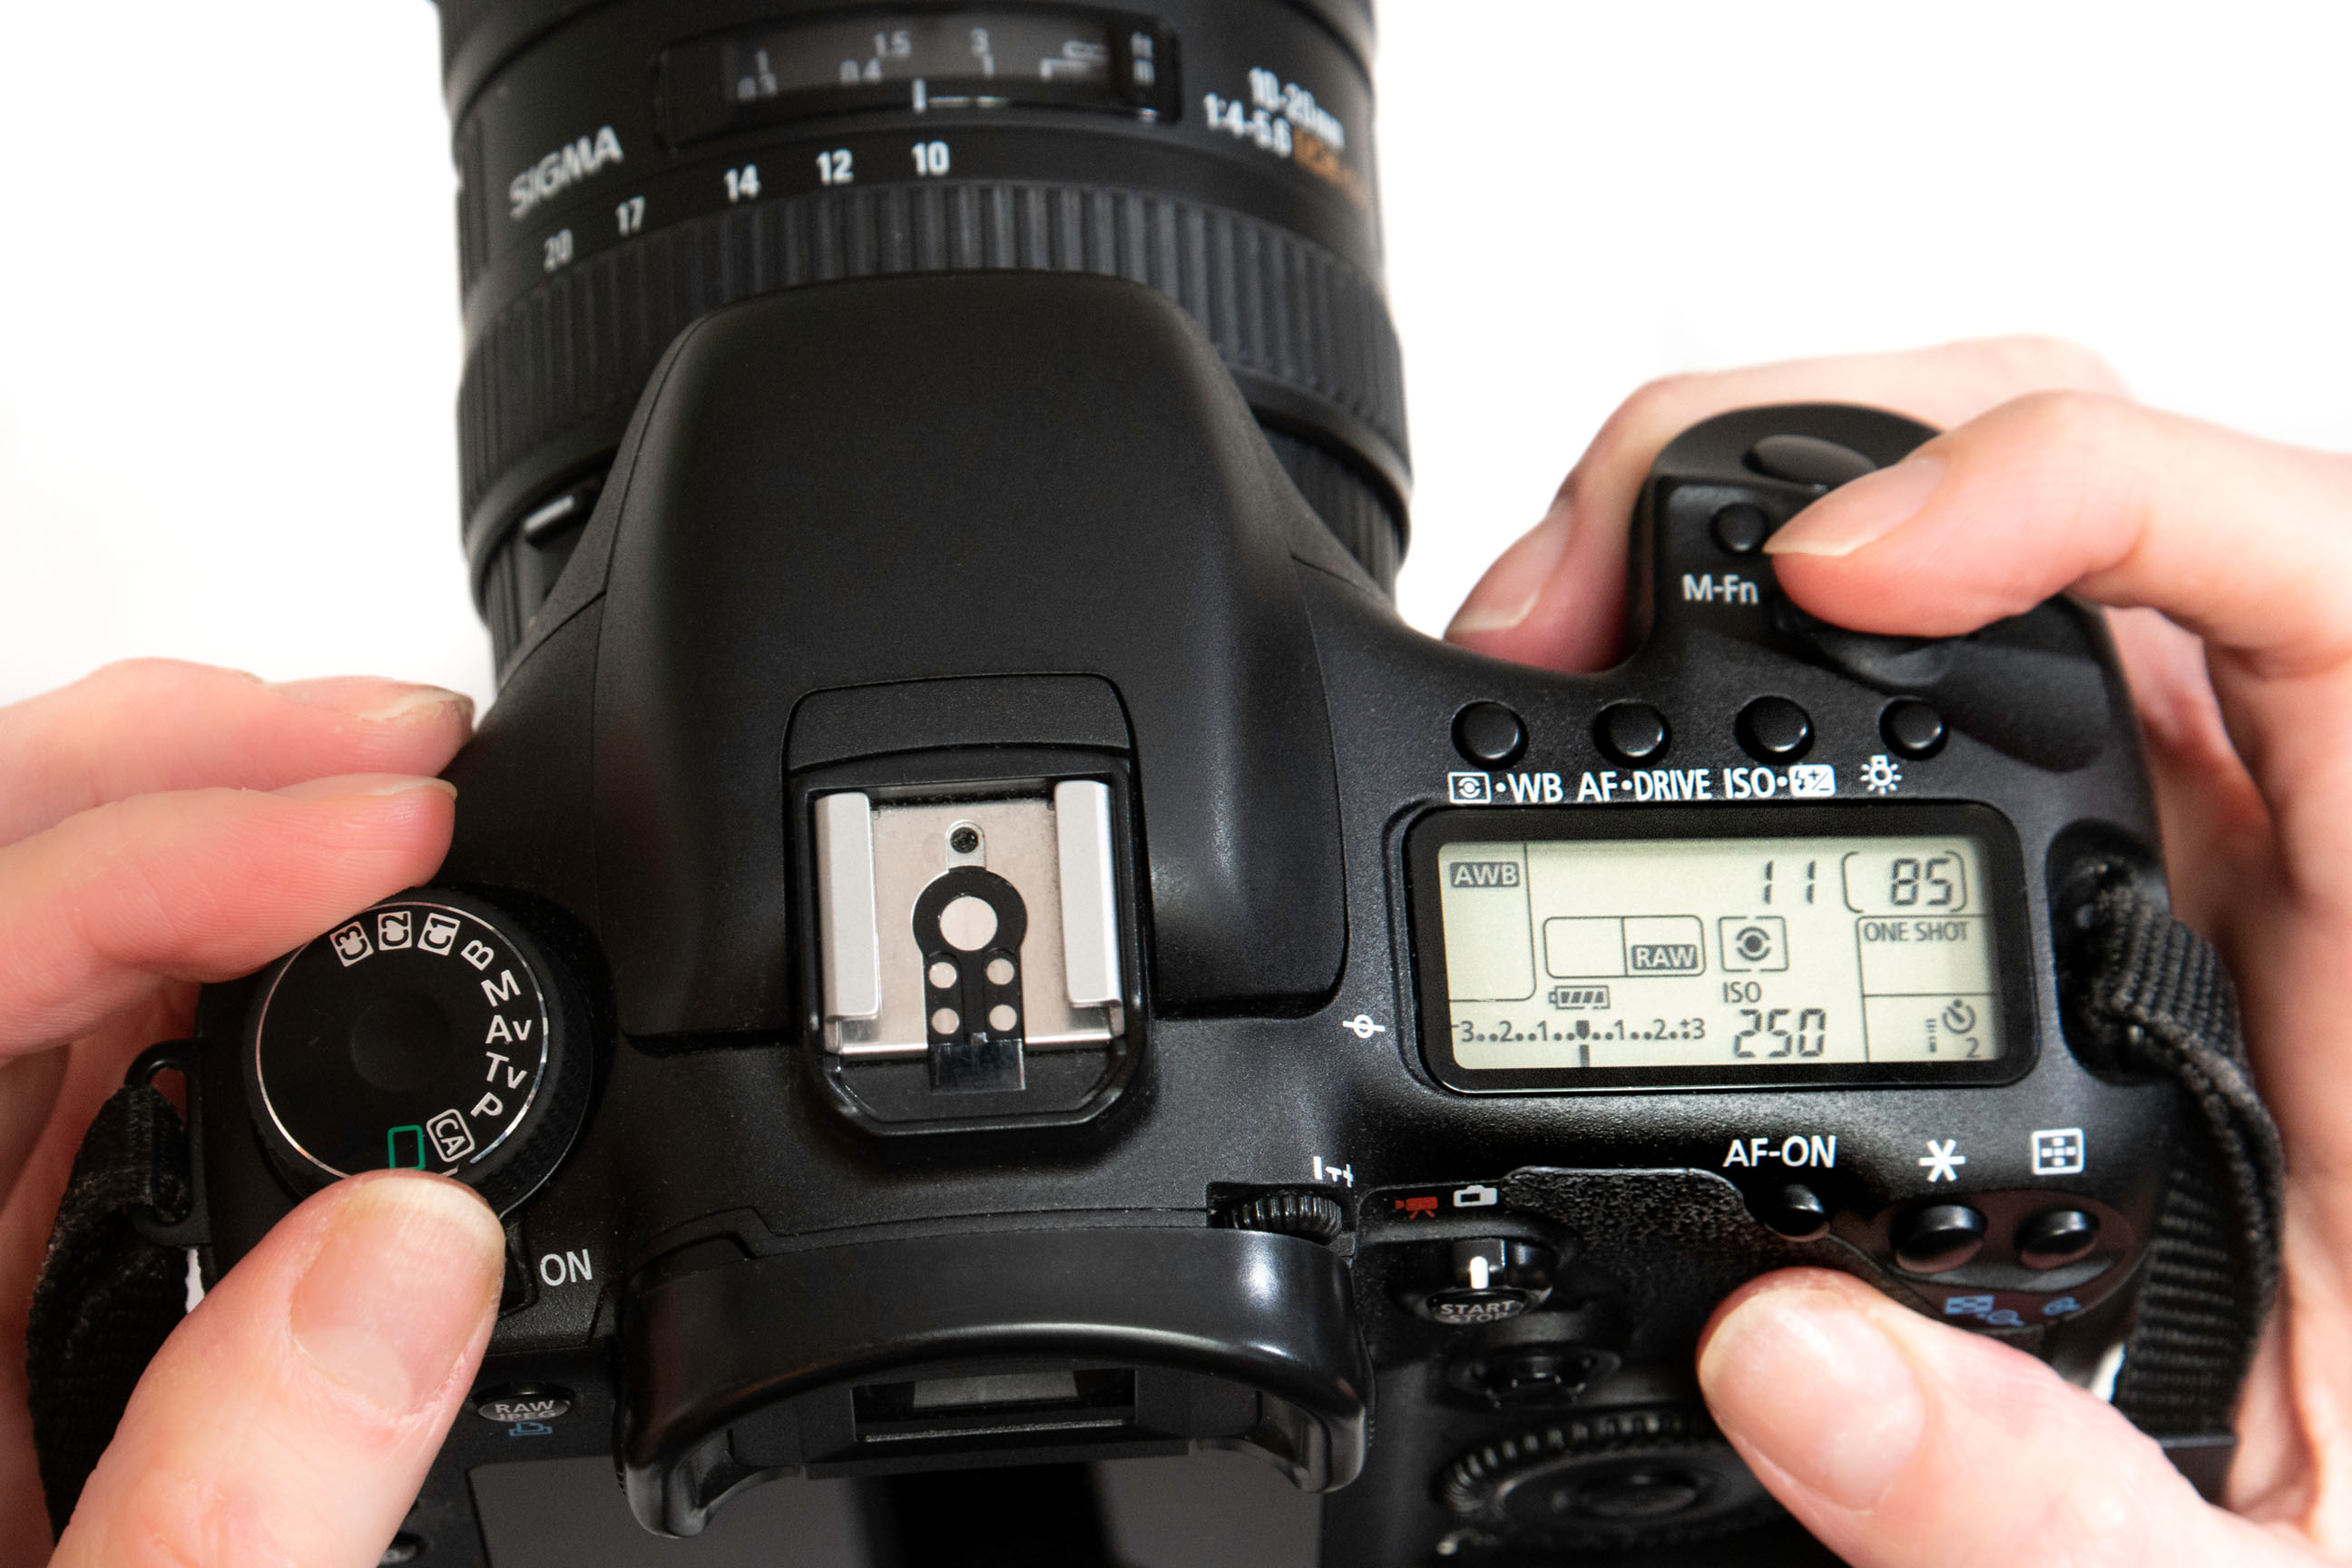
If your foreground or background is not as detailed as you’d like, stop down slightly and reshoot. If this is ineffective, nudge the focus forward or back until happy, prioritizing frame zones if required.
Digital Photographer magazine is the monthly kitbag essential for pro and enthusiast photographers. Be challenged and inspired to get the best results from your gear.
Read more:
Landscape photography tips: 16 essential tips for great outdoor photography
The best lenses for landscapes: get ready for the great outdoors
The best camera gear for landscape photography: kit for the great outdoors
Get the Digital Camera World Newsletter
The best camera deals, reviews, product advice, and unmissable photography news, direct to your inbox!
Digital Photographer is the ultimate monthly photography magazine for enthusiasts and pros in today’s digital marketplace.
Every issue readers are treated to interviews with leading expert photographers, cutting-edge imagery, practical shooting advice and the very latest high-end digital news and equipment reviews. The team includes seasoned journalists and passionate photographers such as the Editor Peter Fenech, who are well positioned to bring you authoritative reviews and tutorials on cameras, lenses, lighting, gimbals and more.
Whether you’re a part-time amateur or a full-time pro, Digital Photographer aims to challenge, motivate and inspire you to take your best shot and get the most out of your kit, whether you’re a hobbyist or a seasoned shooter.
