Last minute gift: make your own DIY photography candle!
Running out of time to find that one special gift? This quick and easy tutorial will help you create a perfect candle photo gift
Christmas gifts can be one of the hardest things to buy especially for a fussy relative. No matter how organized you may be, someone nearly always gets missed off the list. If you've found yourself in that unfortunate situation then we've got you covered.
• Read more: Best photo gifts: Create a personalized photo gift
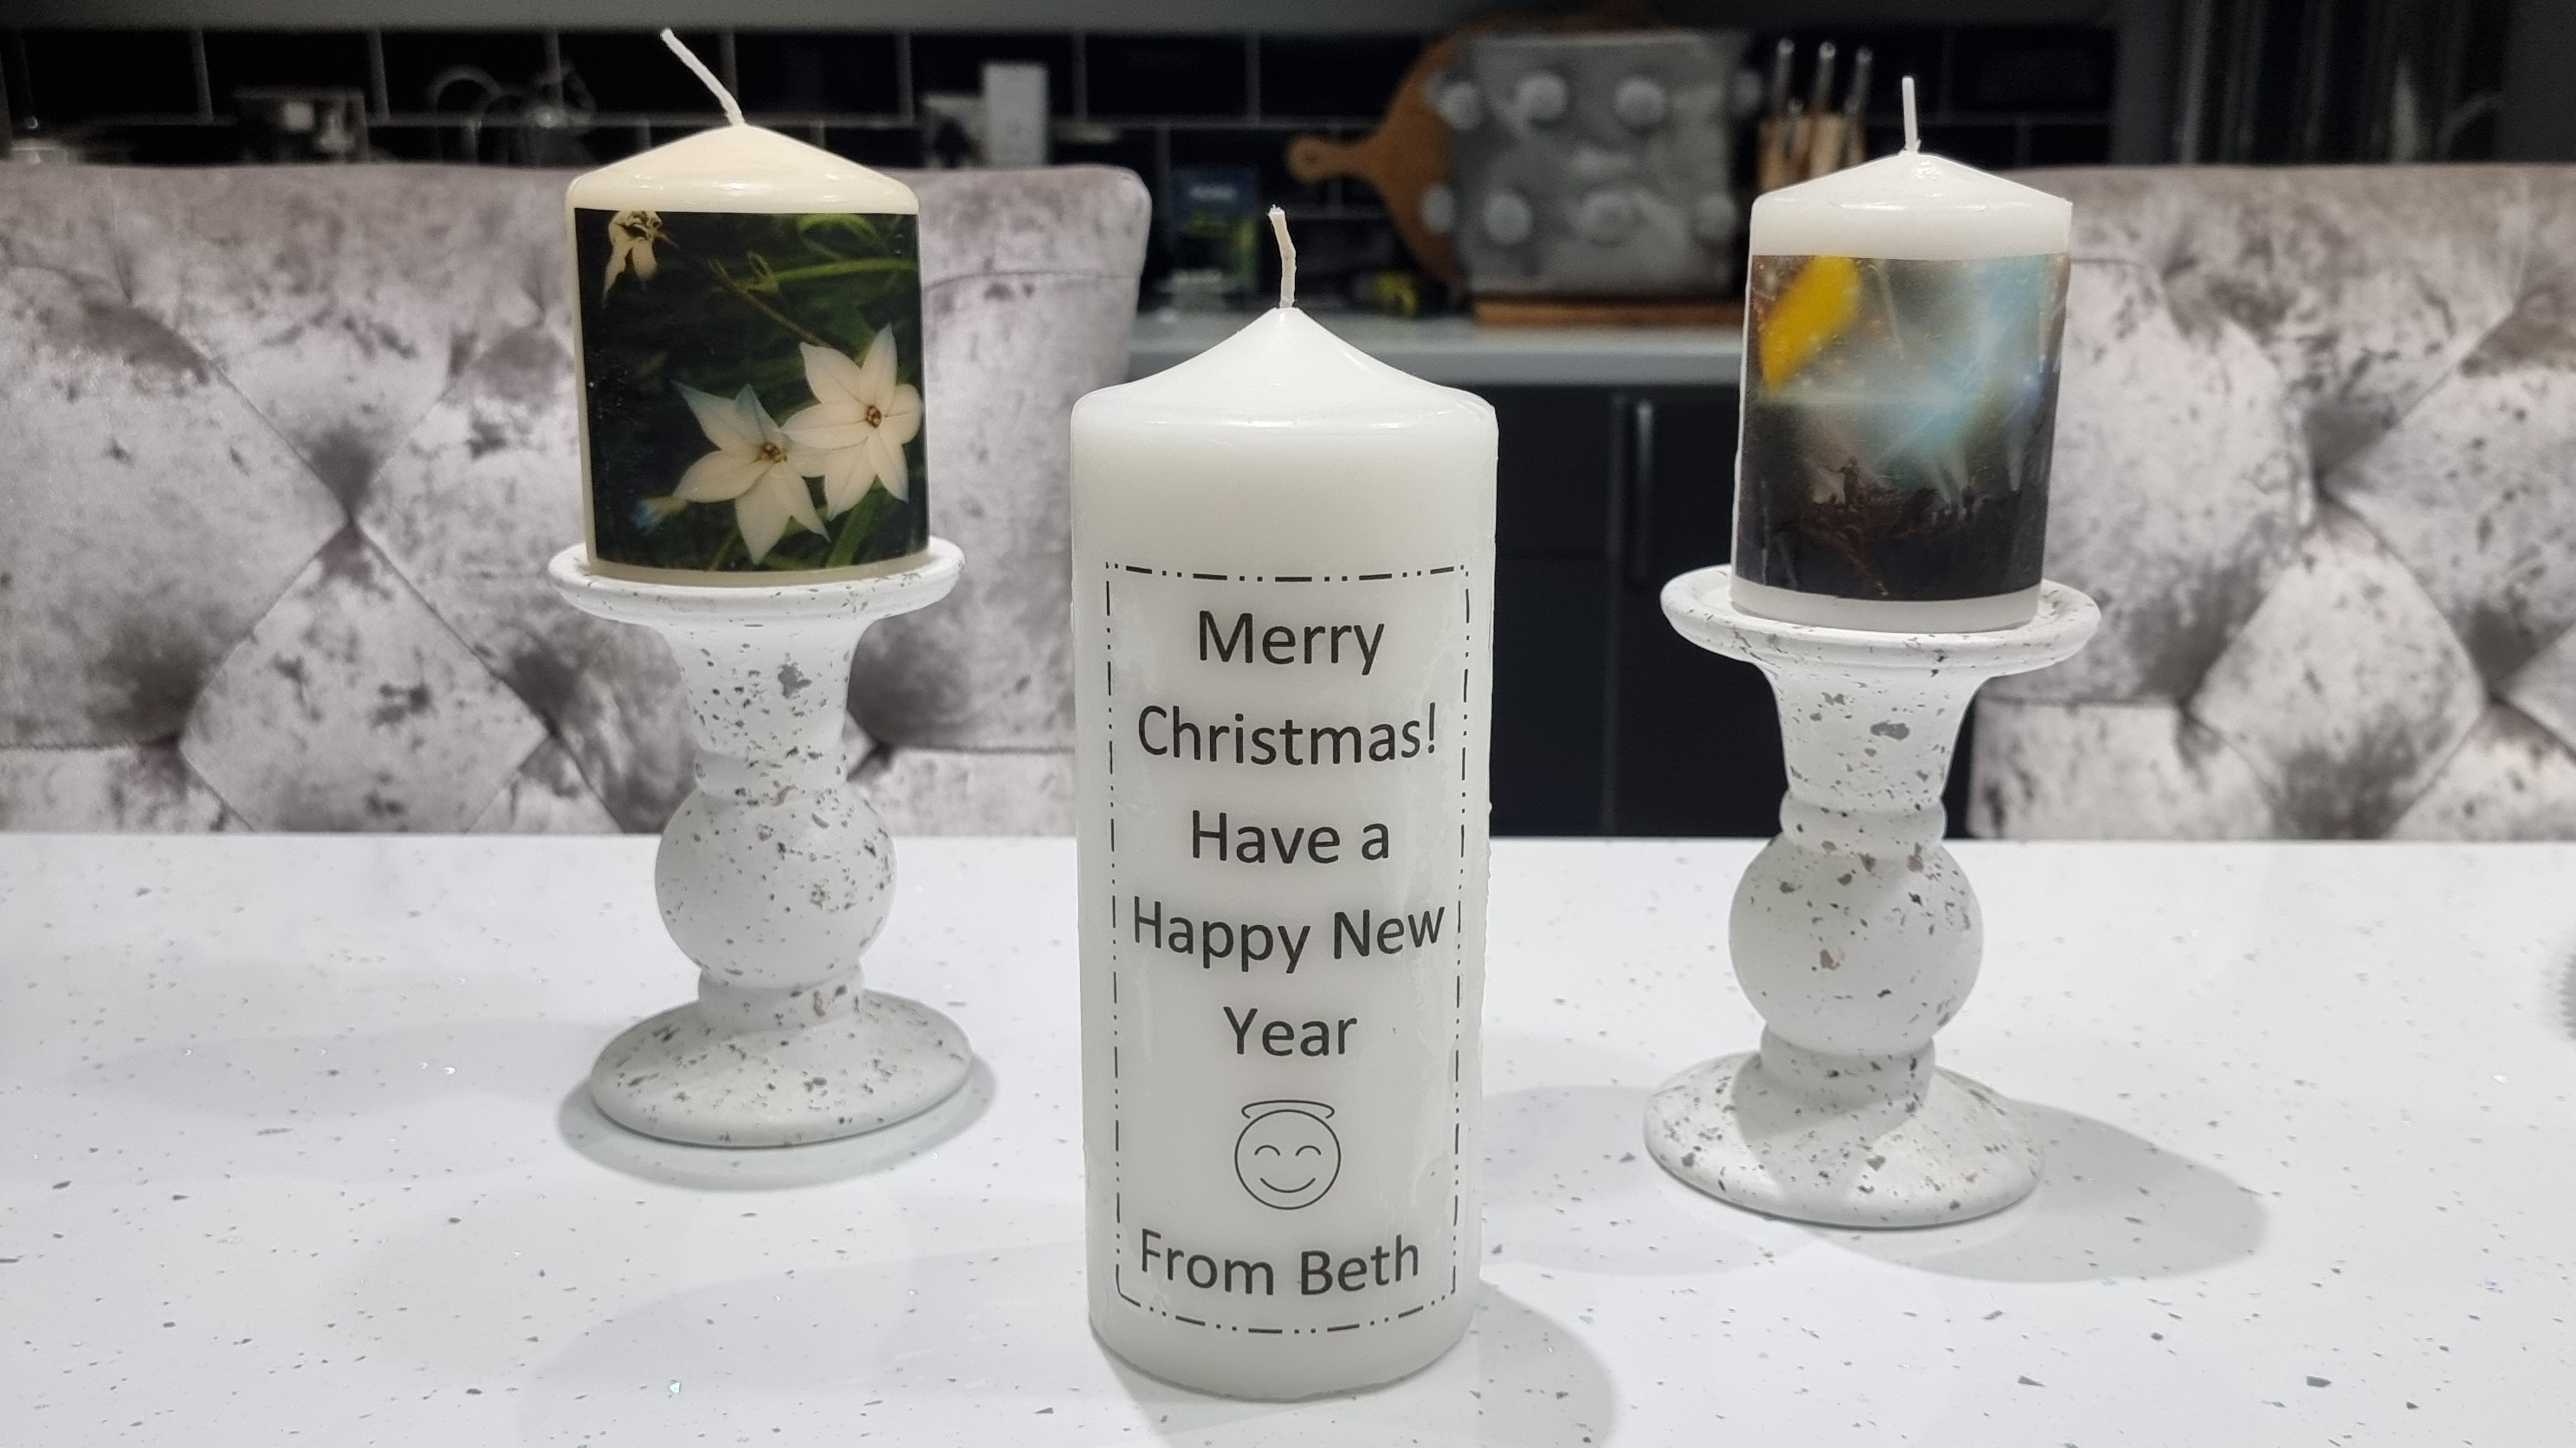
Photo gifts make for perfect presents, but none are as unique as creating a candle with your own spectacular photography on the front to gift to grandma.
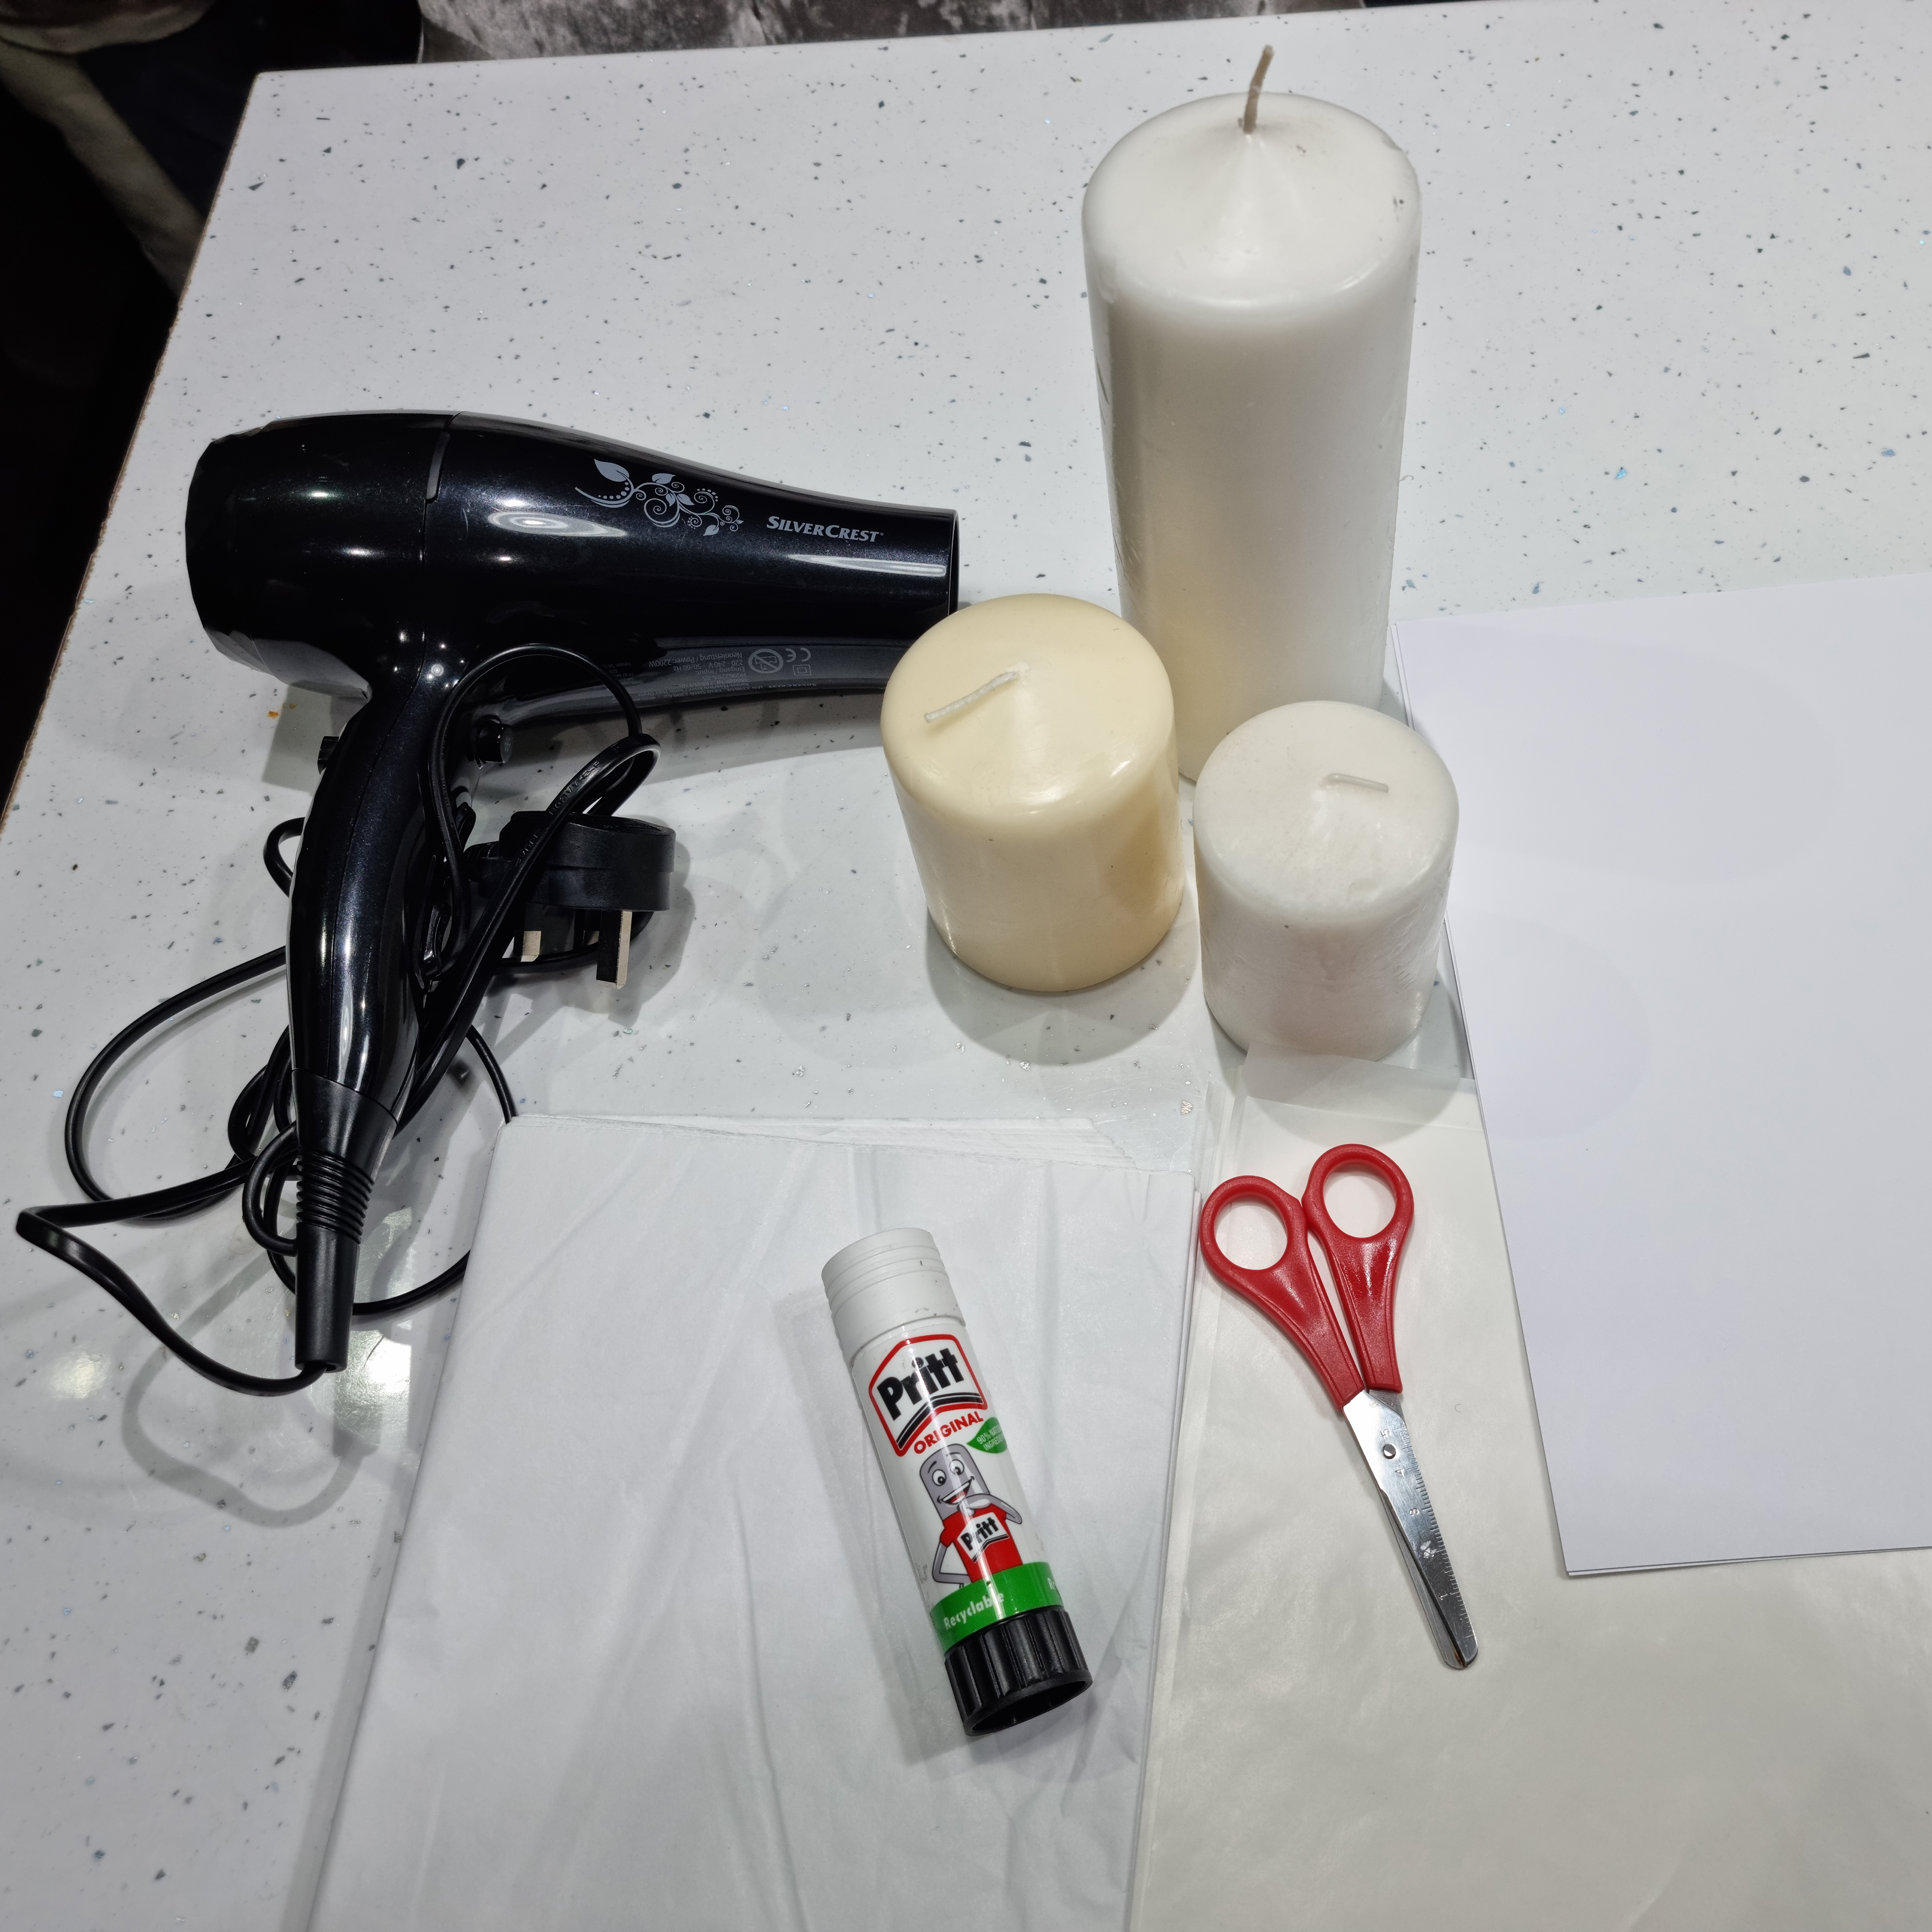
Things you will need
- A plain candle (white / beige works best)
- Wax Paper
- Tissue paper
- Scissors
- Card or strong paper
- A glue stick / sticky tape
- Digital images on a Word document
- Gift-wrap (optional)
- Access to a printer / laptop or computer
- Hairdryer
1) Choose your images
Depending on the type of gift you'd like to create and who the recipient is, you need to decide which image you'd like to convert onto the candle. The size of the candle can vary; you could have one large image that wraps slightly around the center or maybe even one image on the front of the candle and another on the back.
One important thing to be aware of is image sizing. If you're unsure on how big to print your images, I'd suggest adding multiple sizes and variations of the image to the document so that you can measure up what looks best once printed. You can also include text!
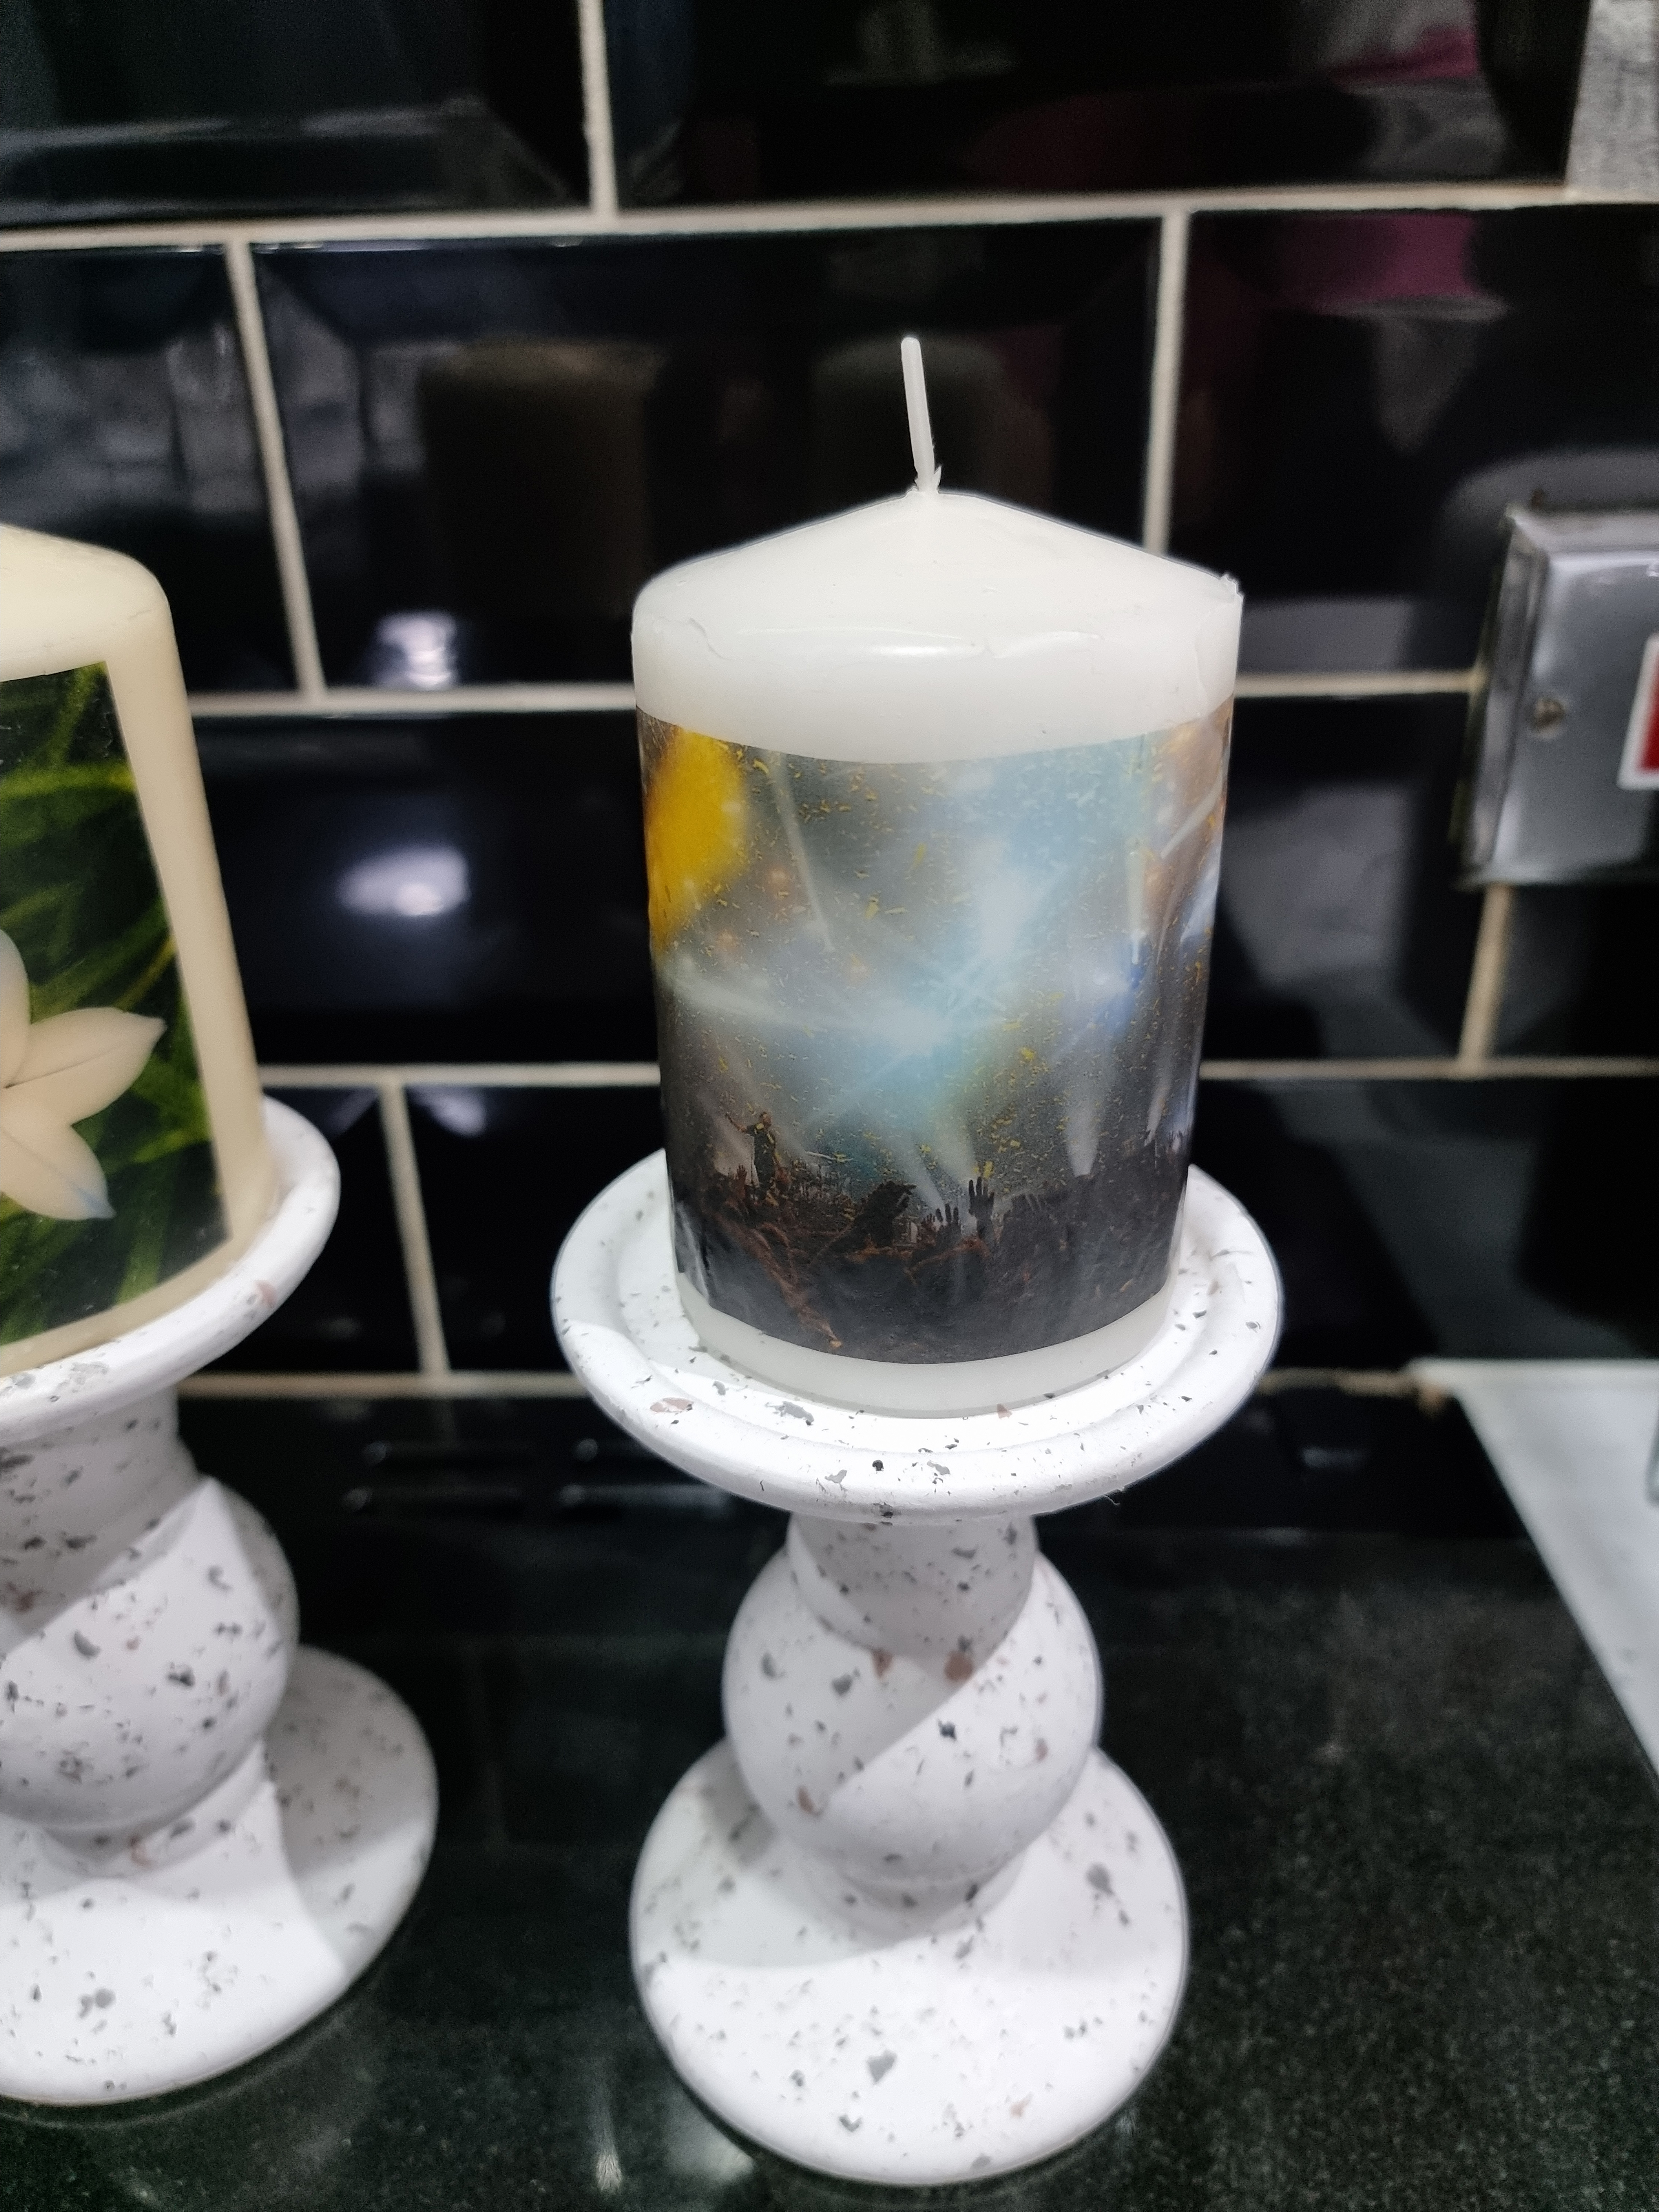
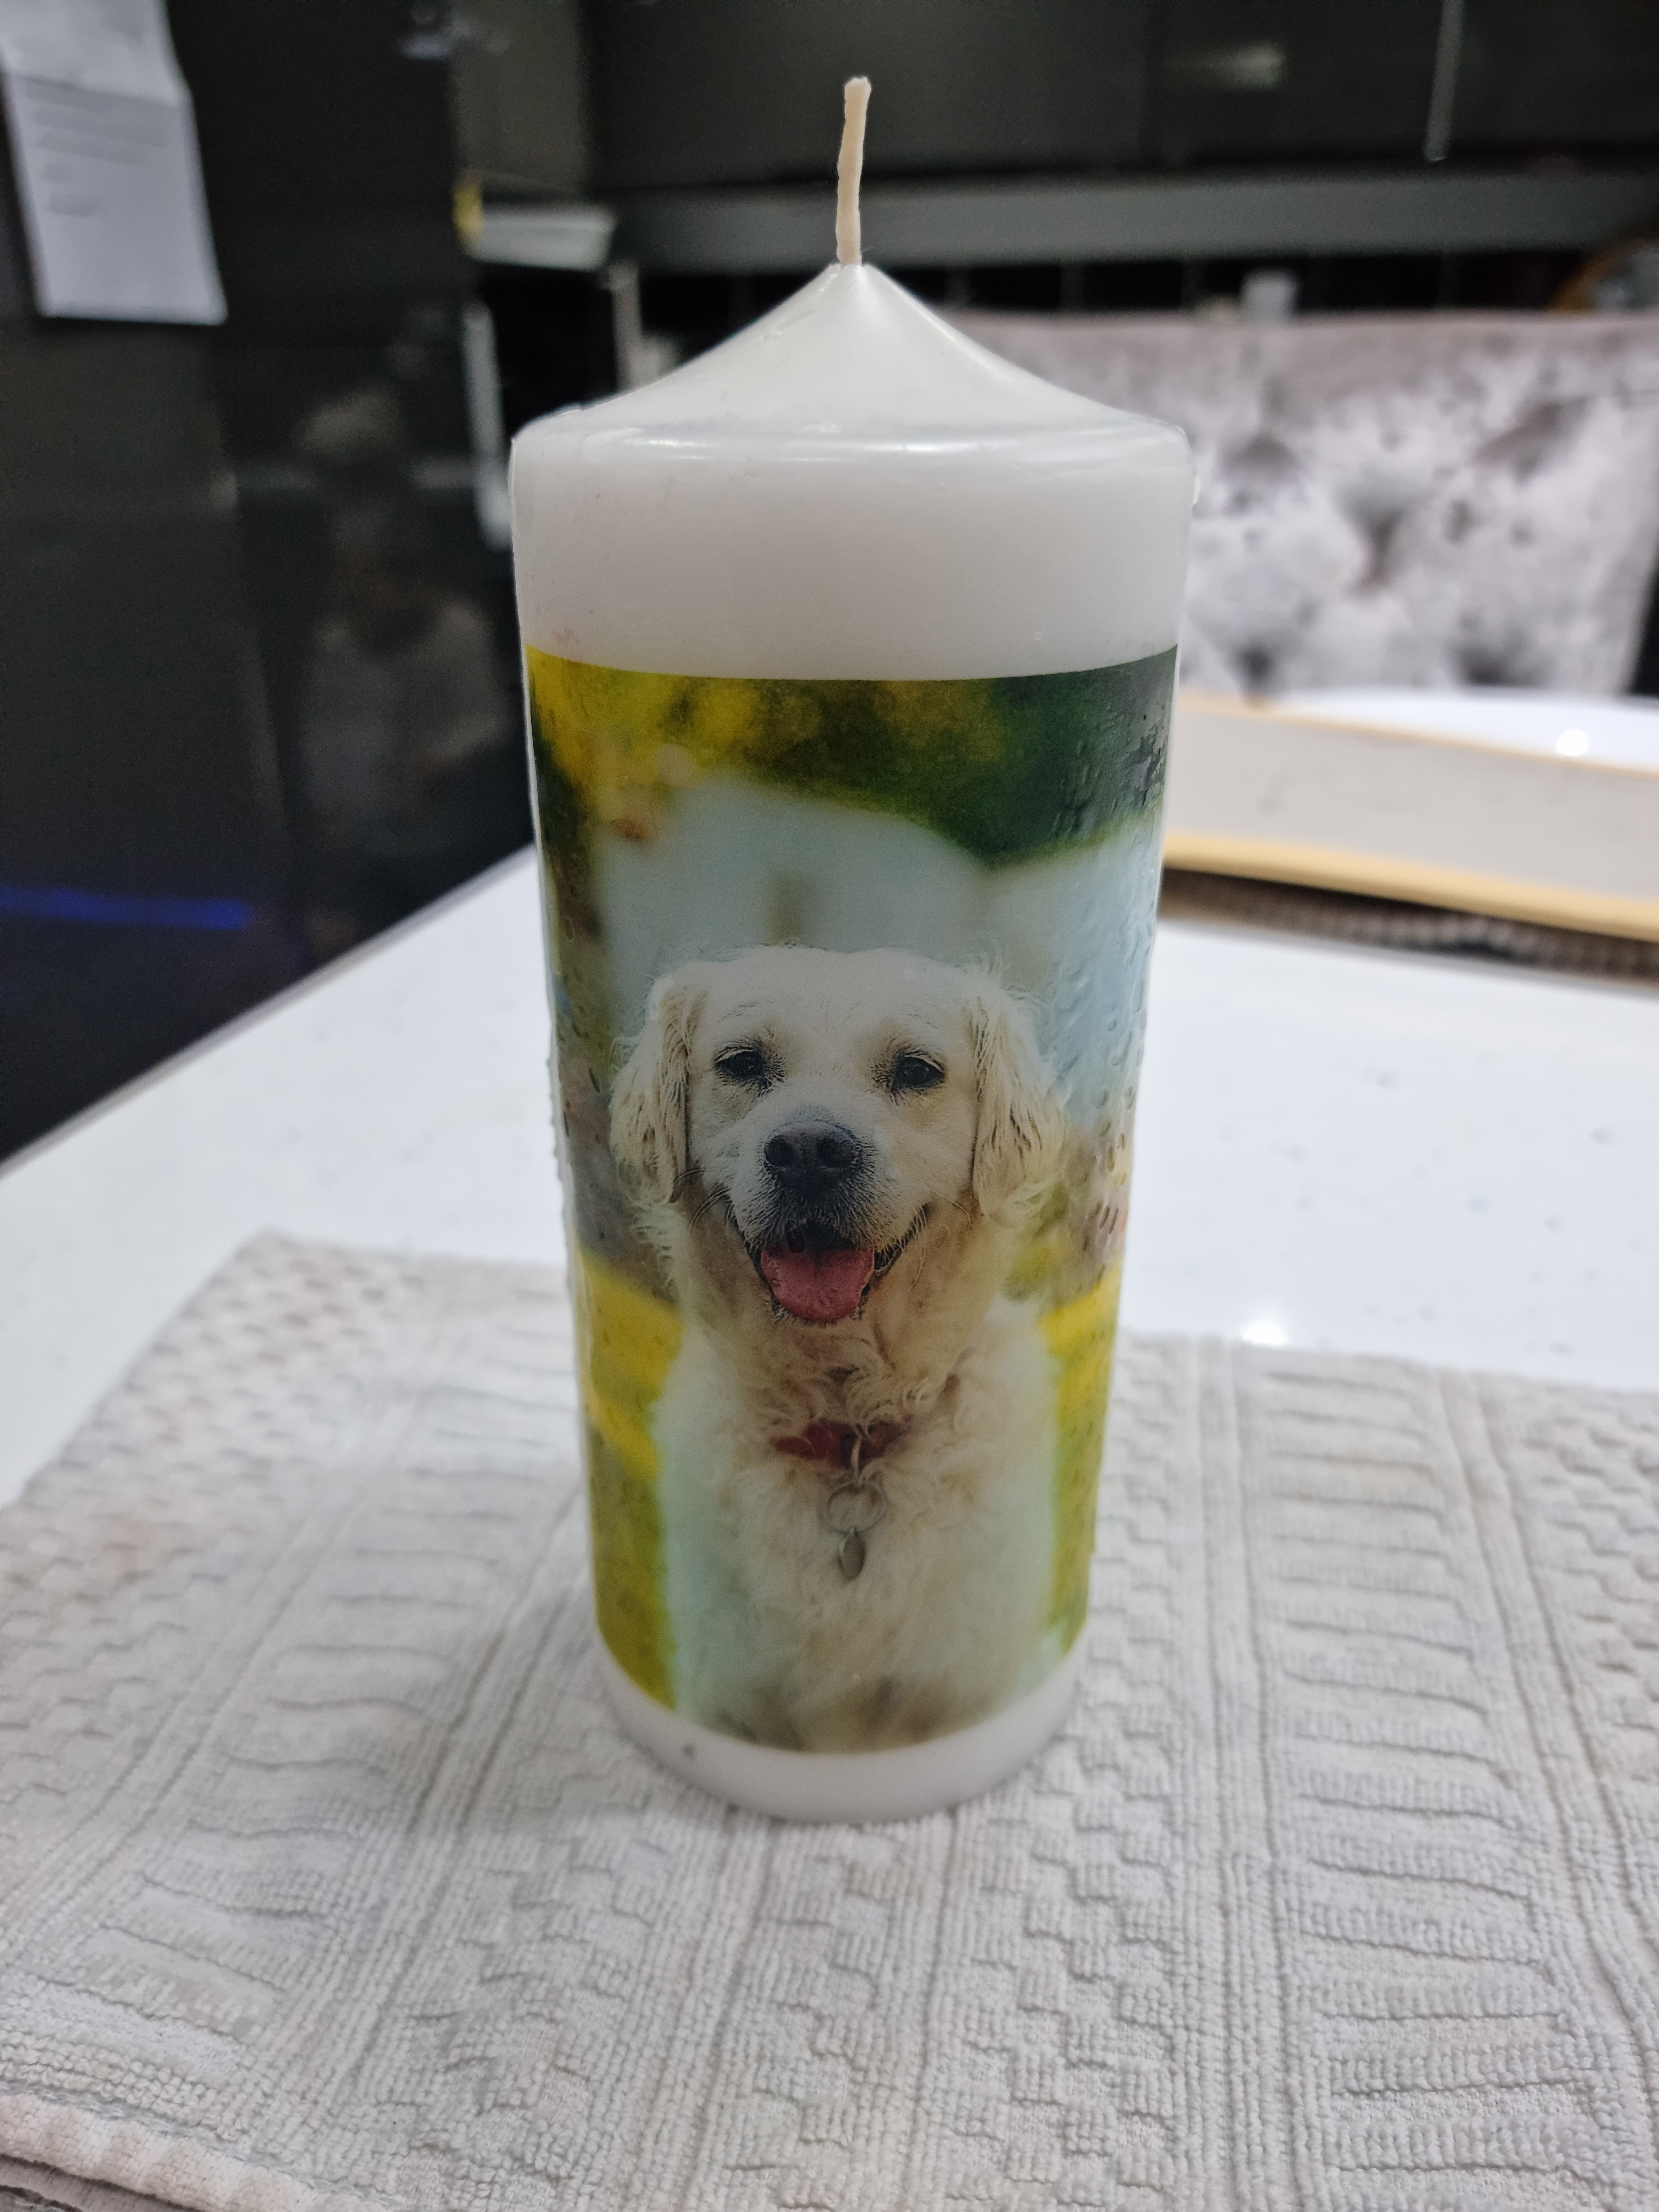
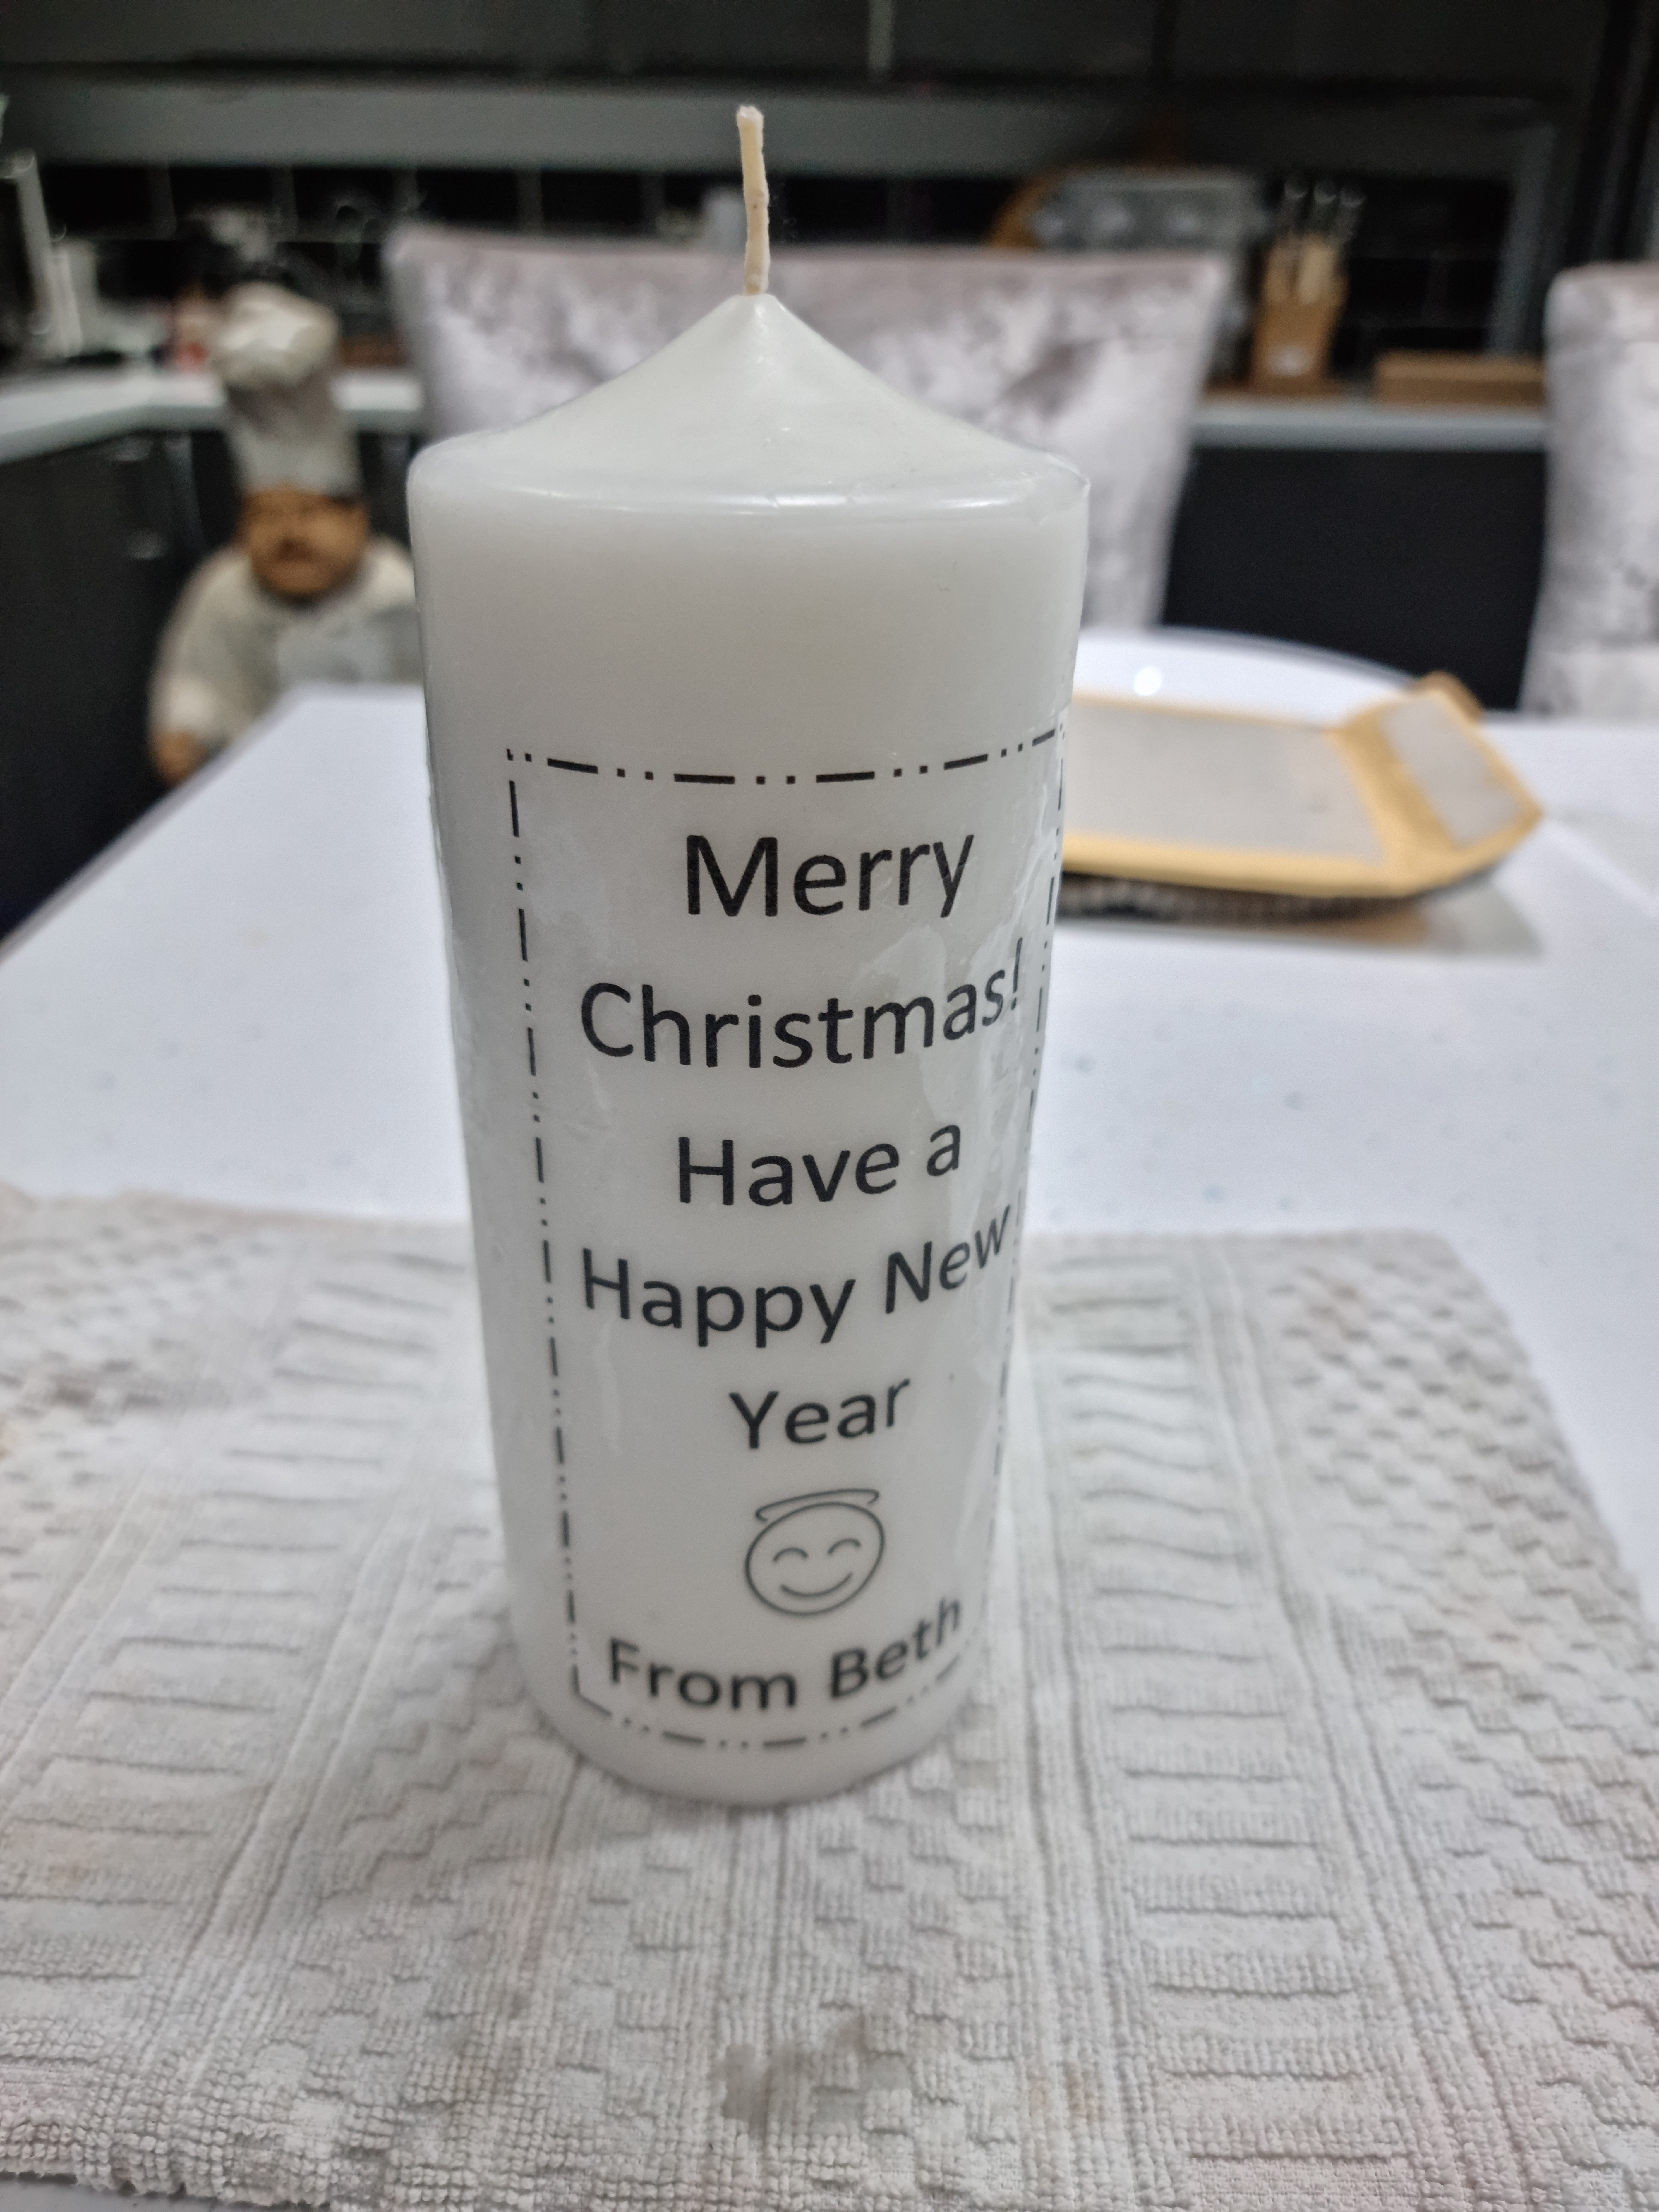
For this example, I have chosen an image of a flower, a crowd shot from a gig and a tall portrait of my boyfriend's dog with text in a box to attach on the back of the candle.

2) Prepare the paper and print
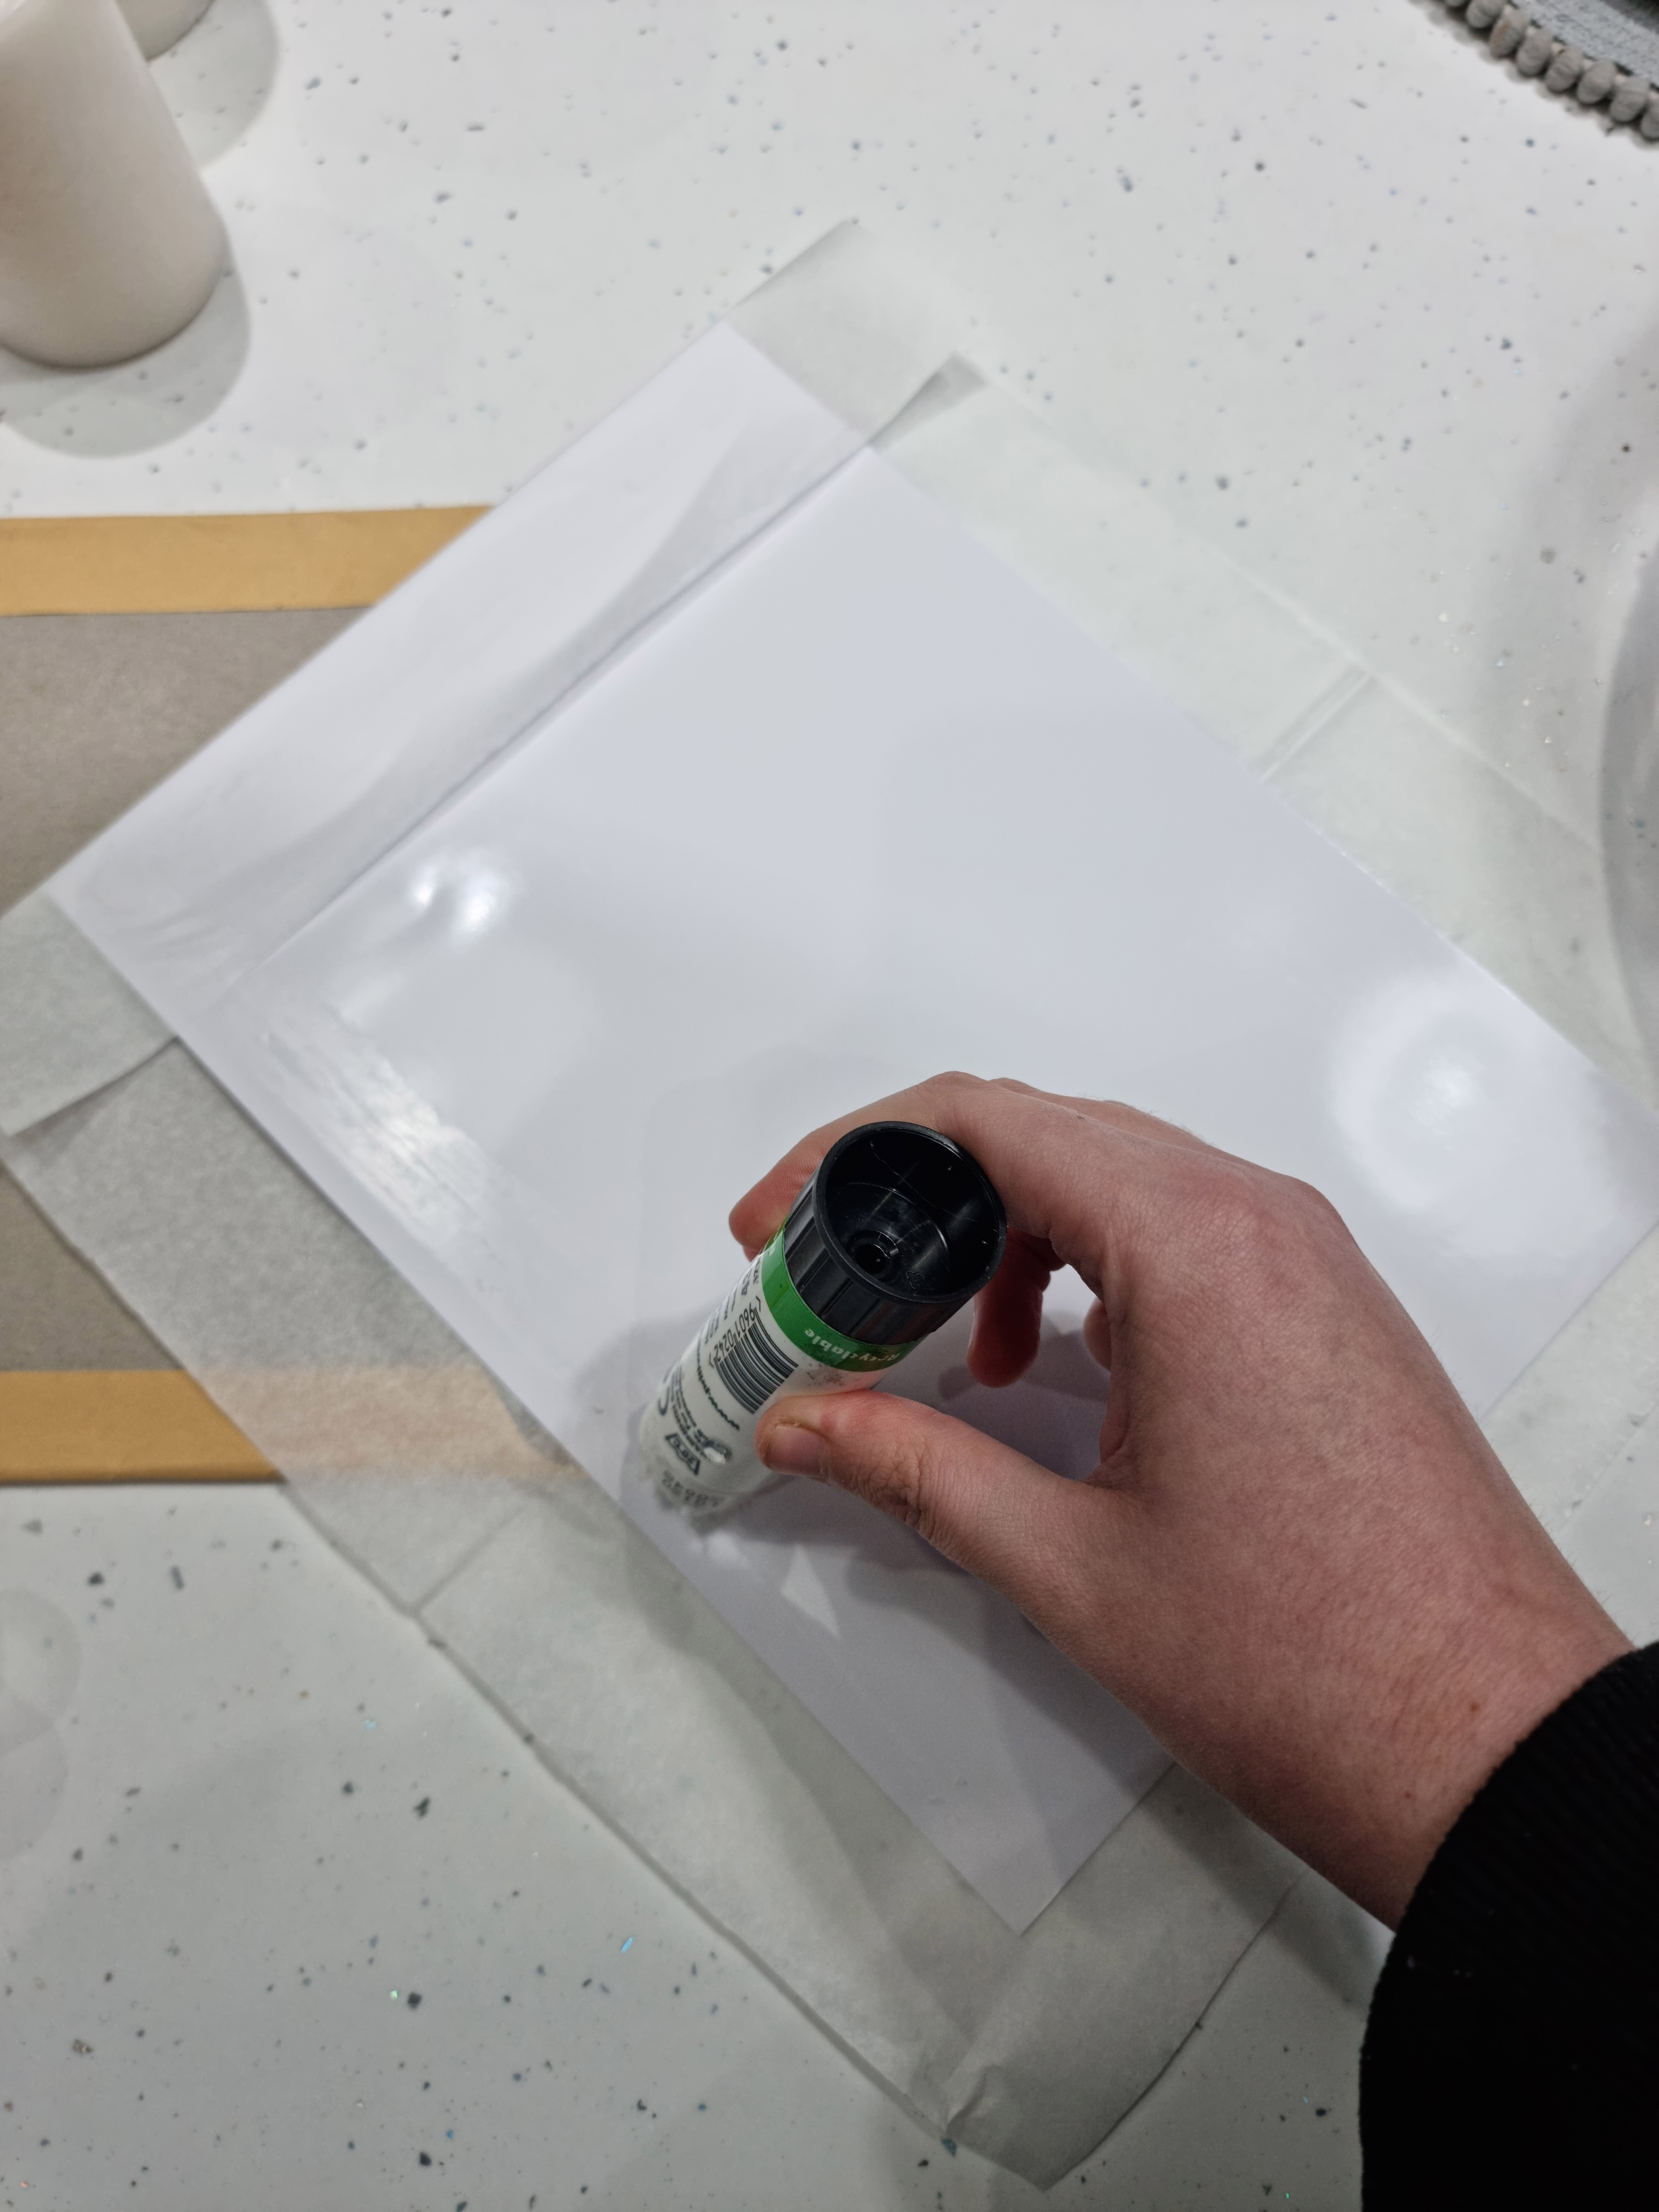
The next step is to attach the tissue paper as securely as possible to a plain piece of card or strong paper as a backing (I used glossy photo paper as it was the strongest material I had). This can be done using a glue stick or sticky tape by cutting a slightly larger area of tissue paper, and folding the excess tissue paper over the folds of the backing card / paper. Be sure not to use a glue stick or tape on what would be the front of the tissue paper, as this will be going through the printer.
Print off your image document onto the tissue paper, once placed securely in the paper tray of your printer. For better results, use your document settings on the device you are printing from to choose the best print quality and paper type.
The image printed on tissue paper should be clear enough to use but note that it likely won't be as sharp as displayed on the screen due to the paper quality. Don't worry about any creases or folds in the paper as this shouldn't affect how it prints.
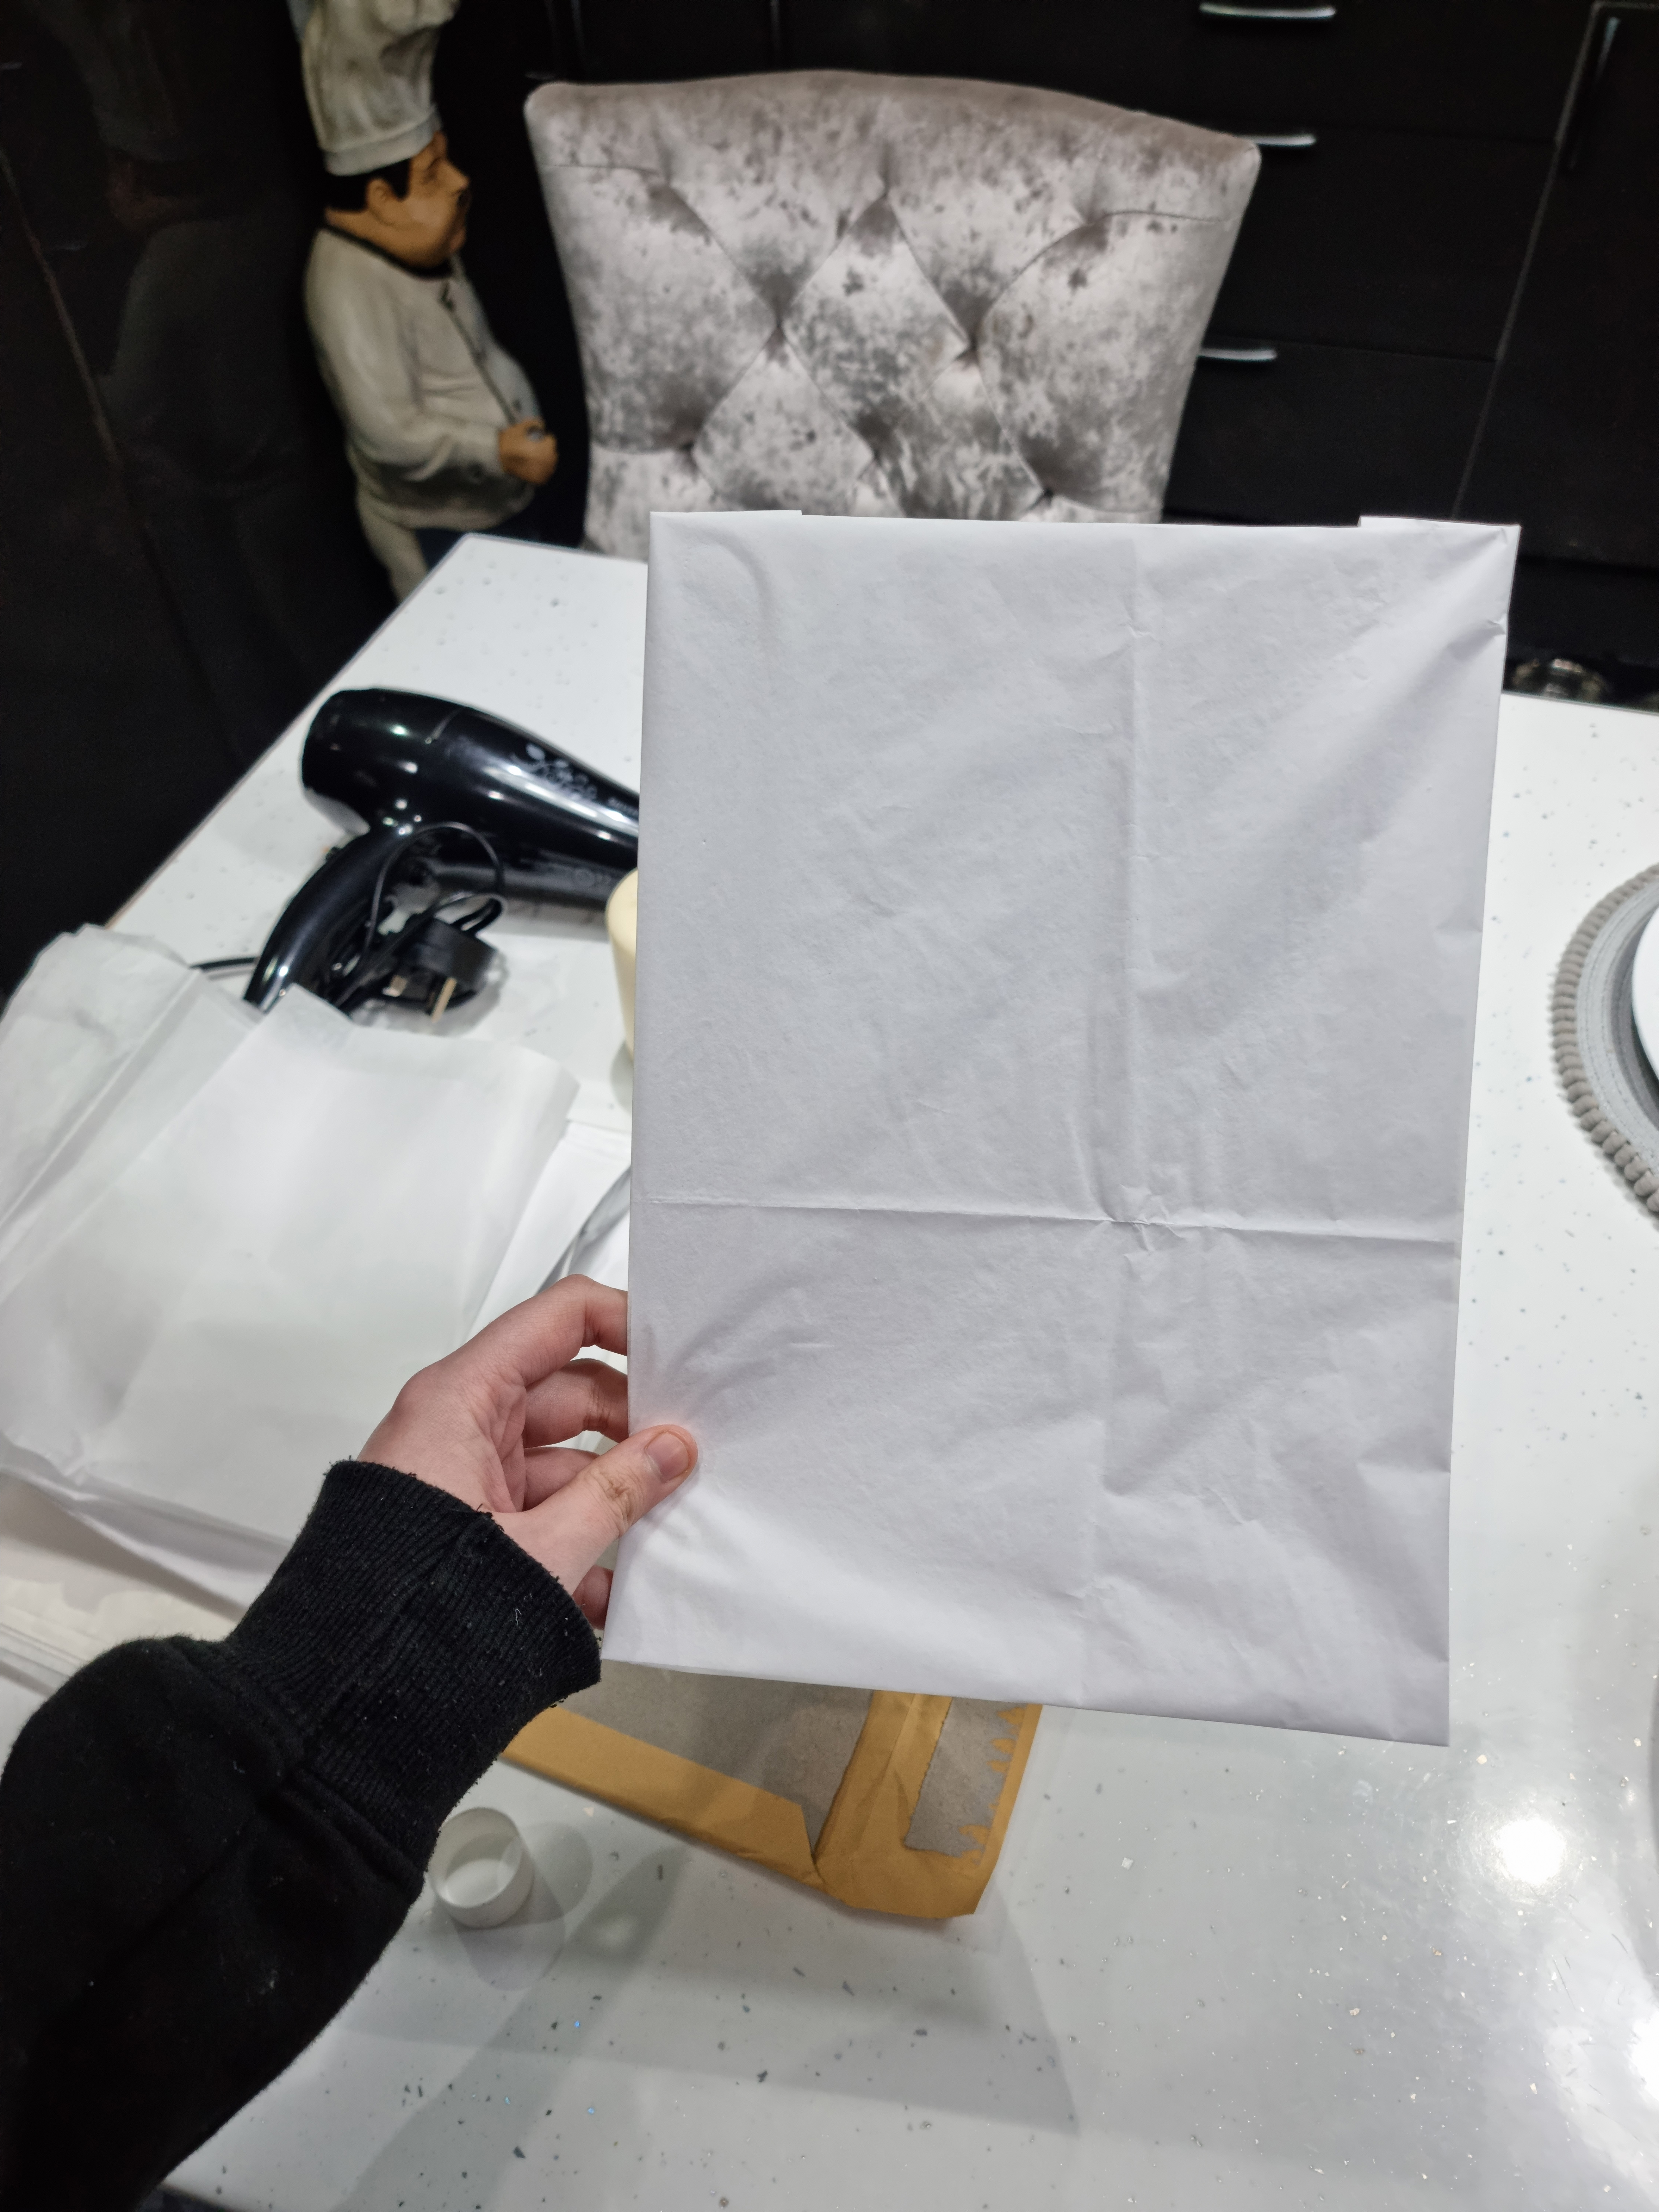
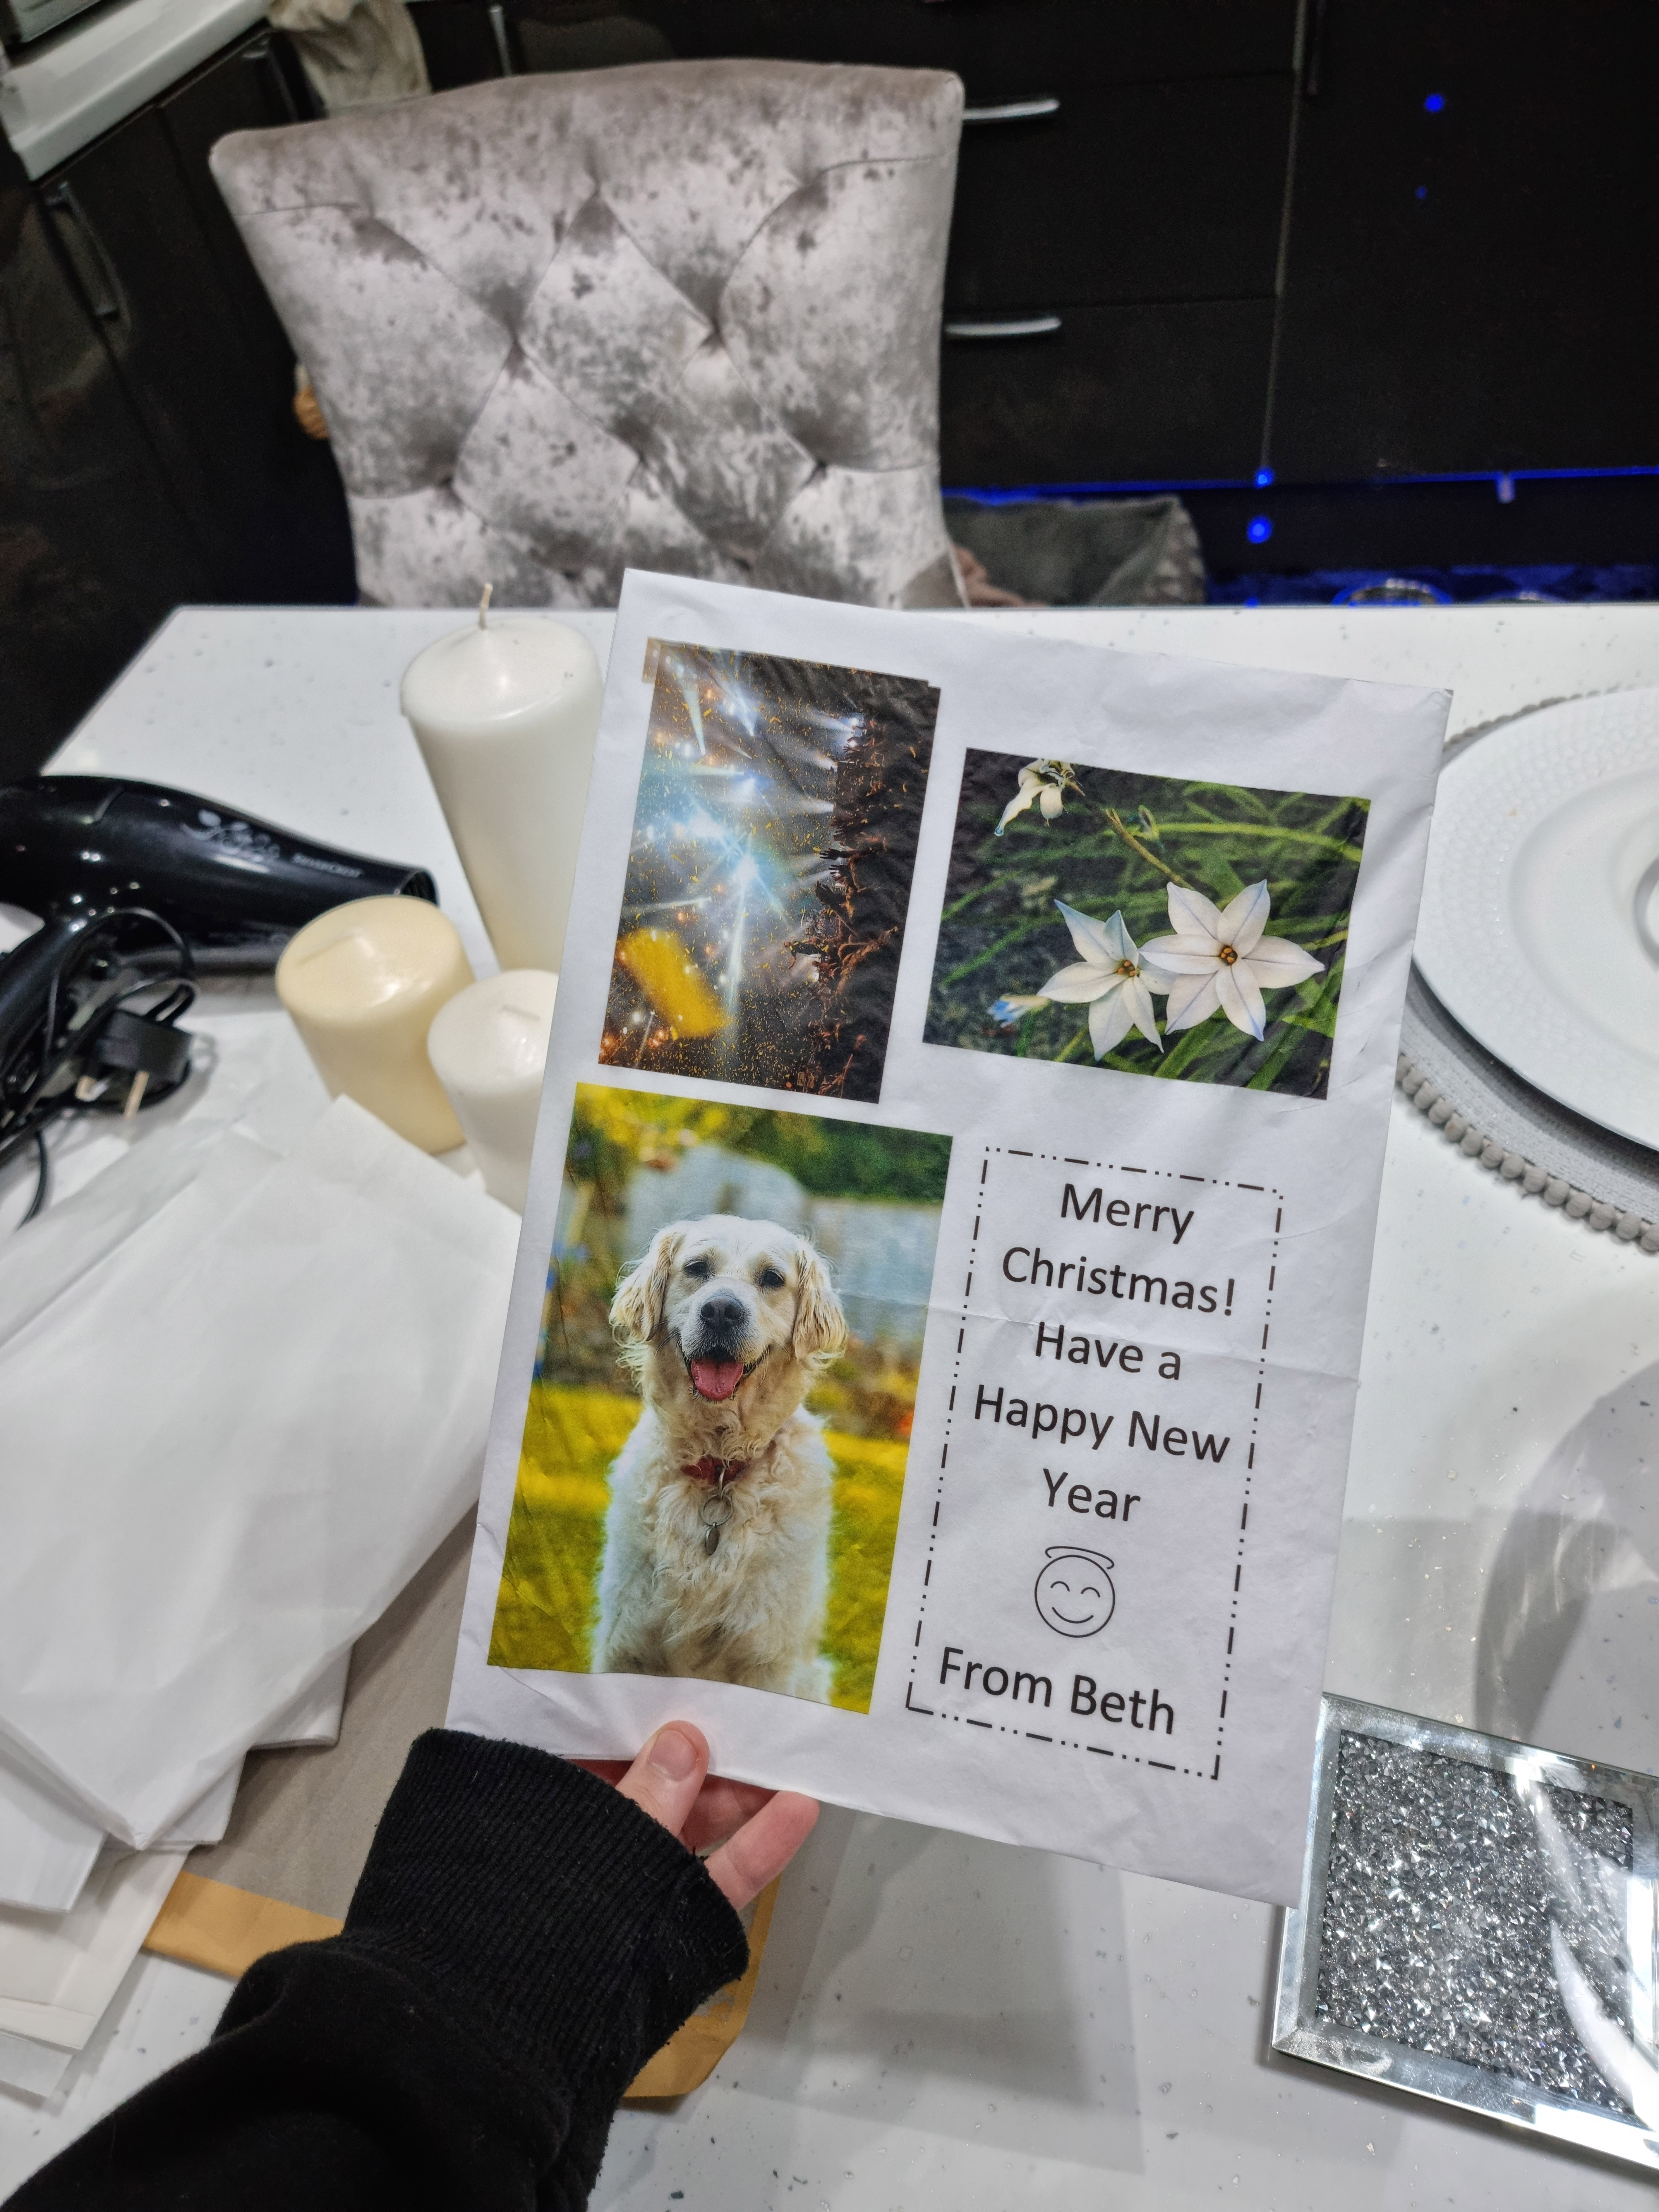
3) Cut out your image and wrap it with wax paper
Cut out your printed image, separated from the card backing, and align the image with where you'd like it to situate on the candle. Next, take a sheet of wax paper and wrap it around both the candle and your image, with the waxy side of the paper facing towards the candle.
Ensure that enough wax paper fits around the candle for you to grasp it securely at the back to hold comfortably with the image in the exact angle and place of where you want it to stick.
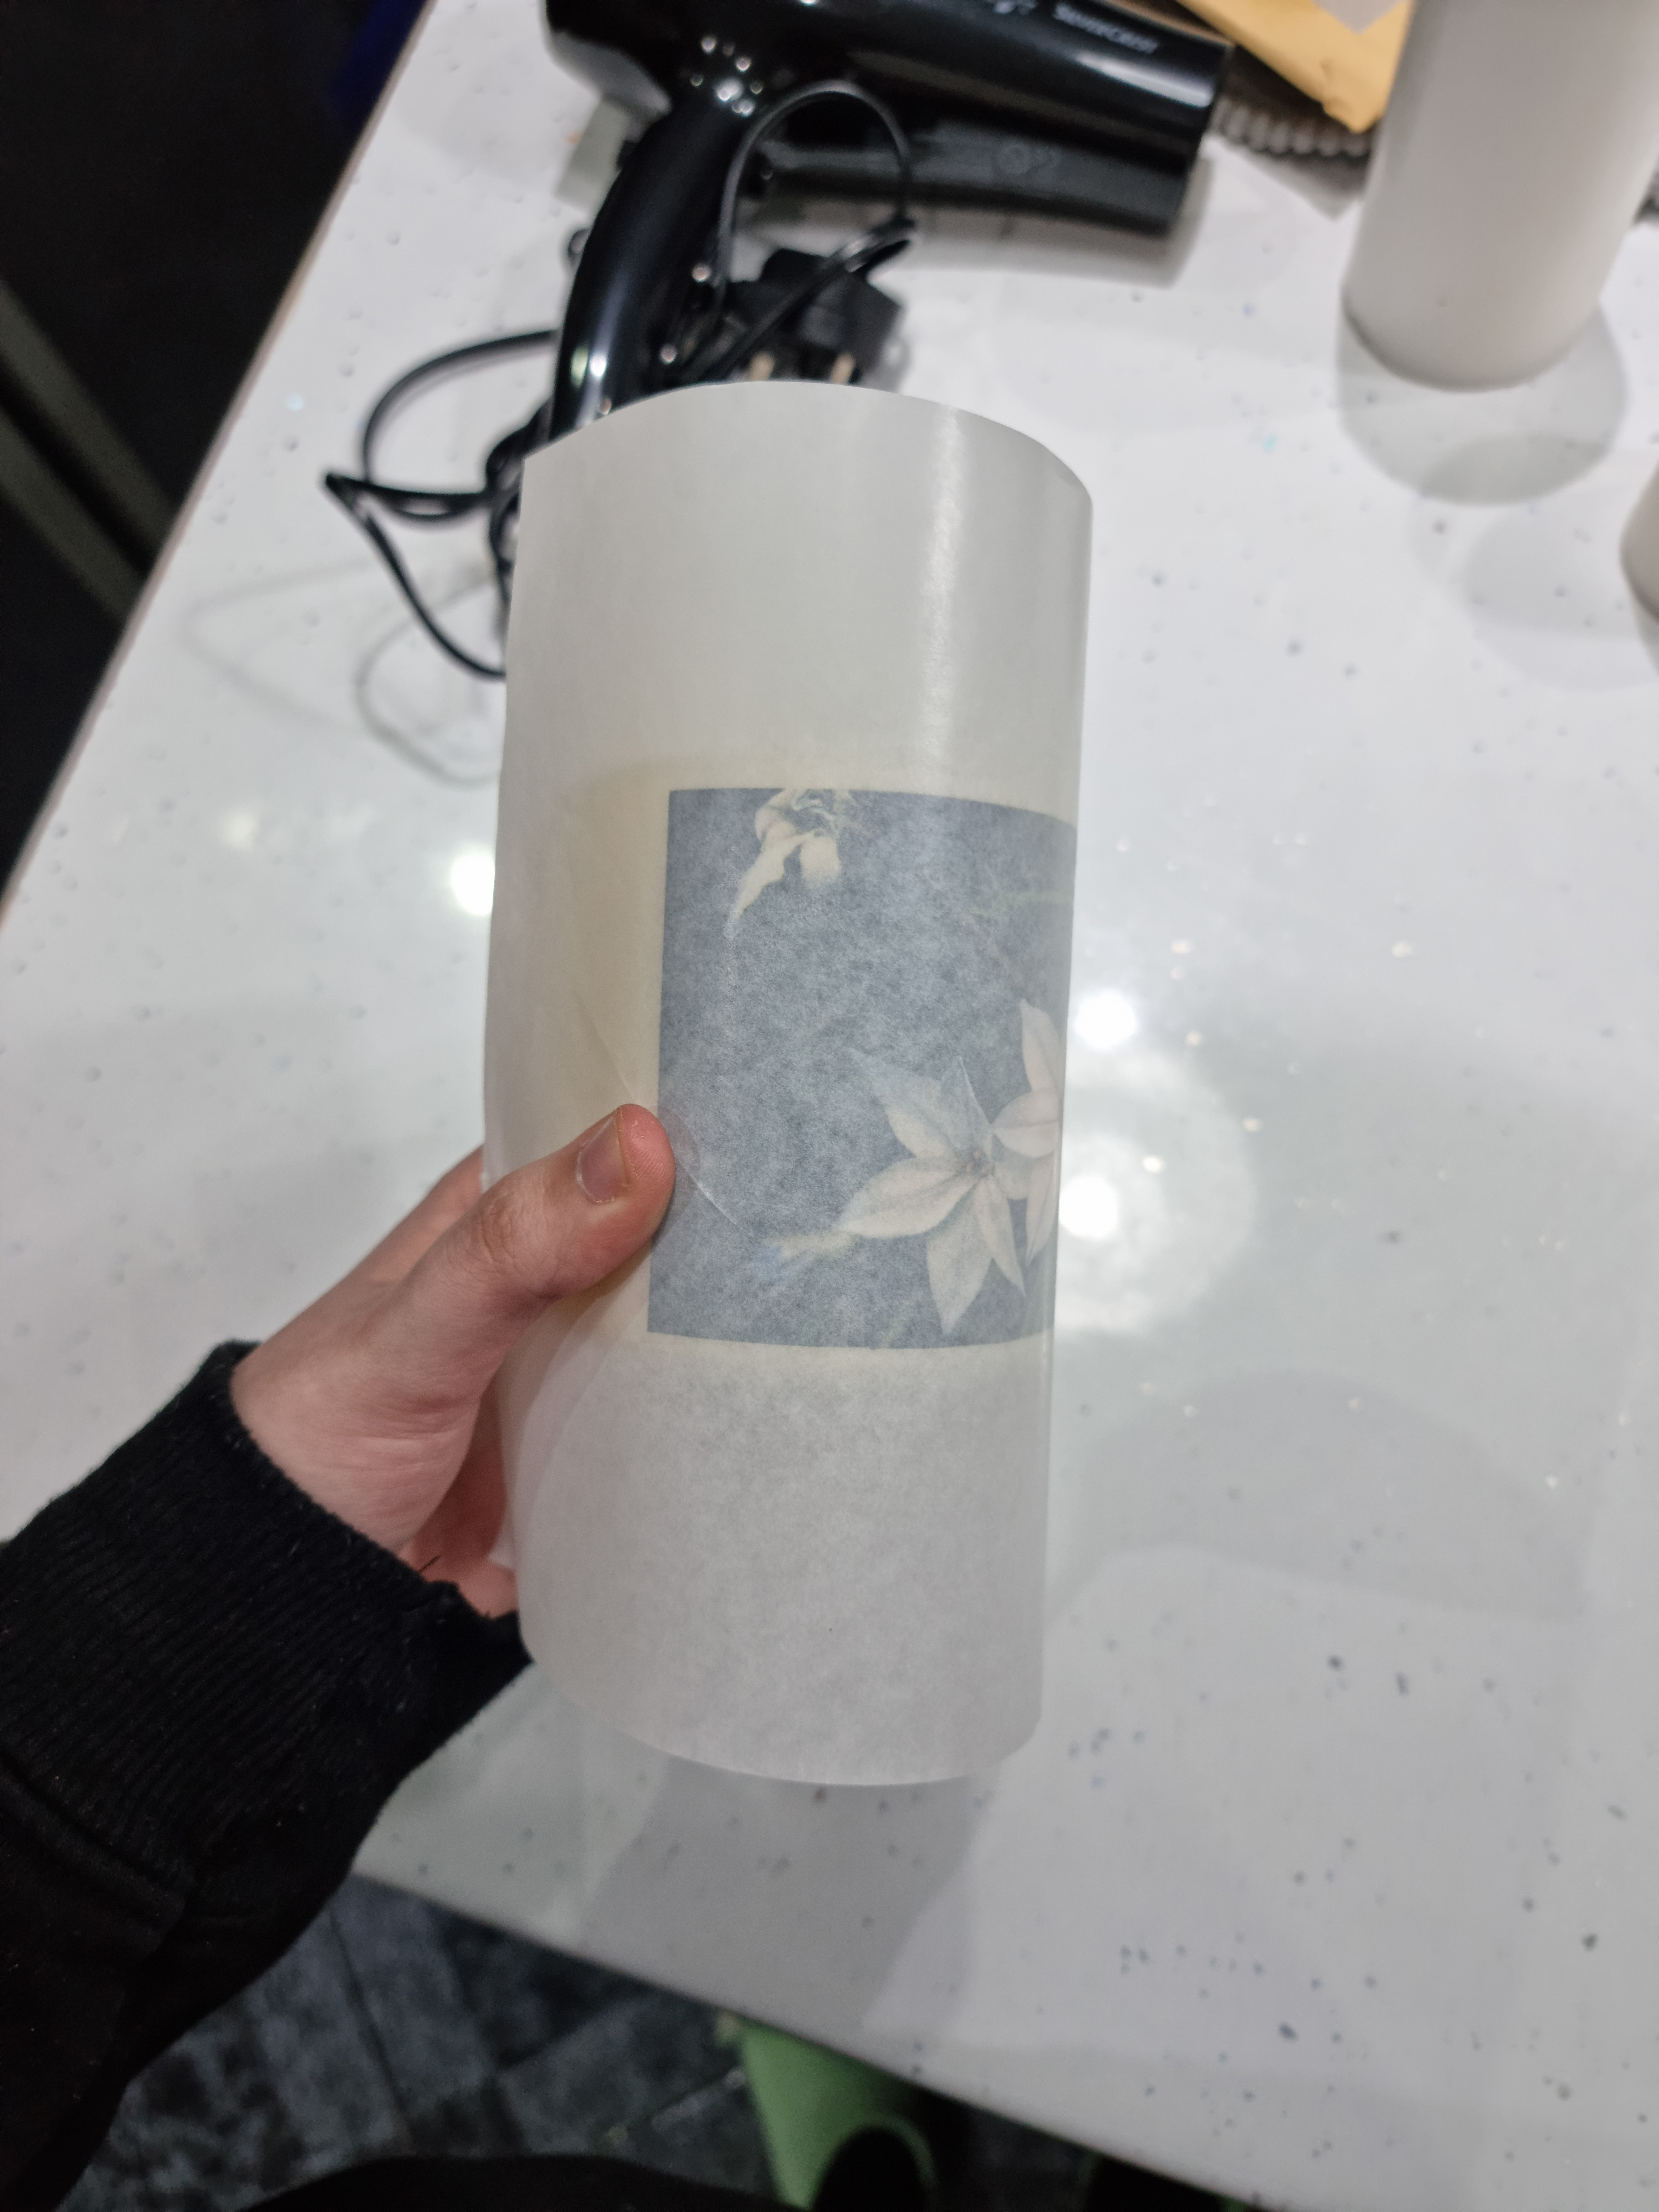
4) Use the hairdryer
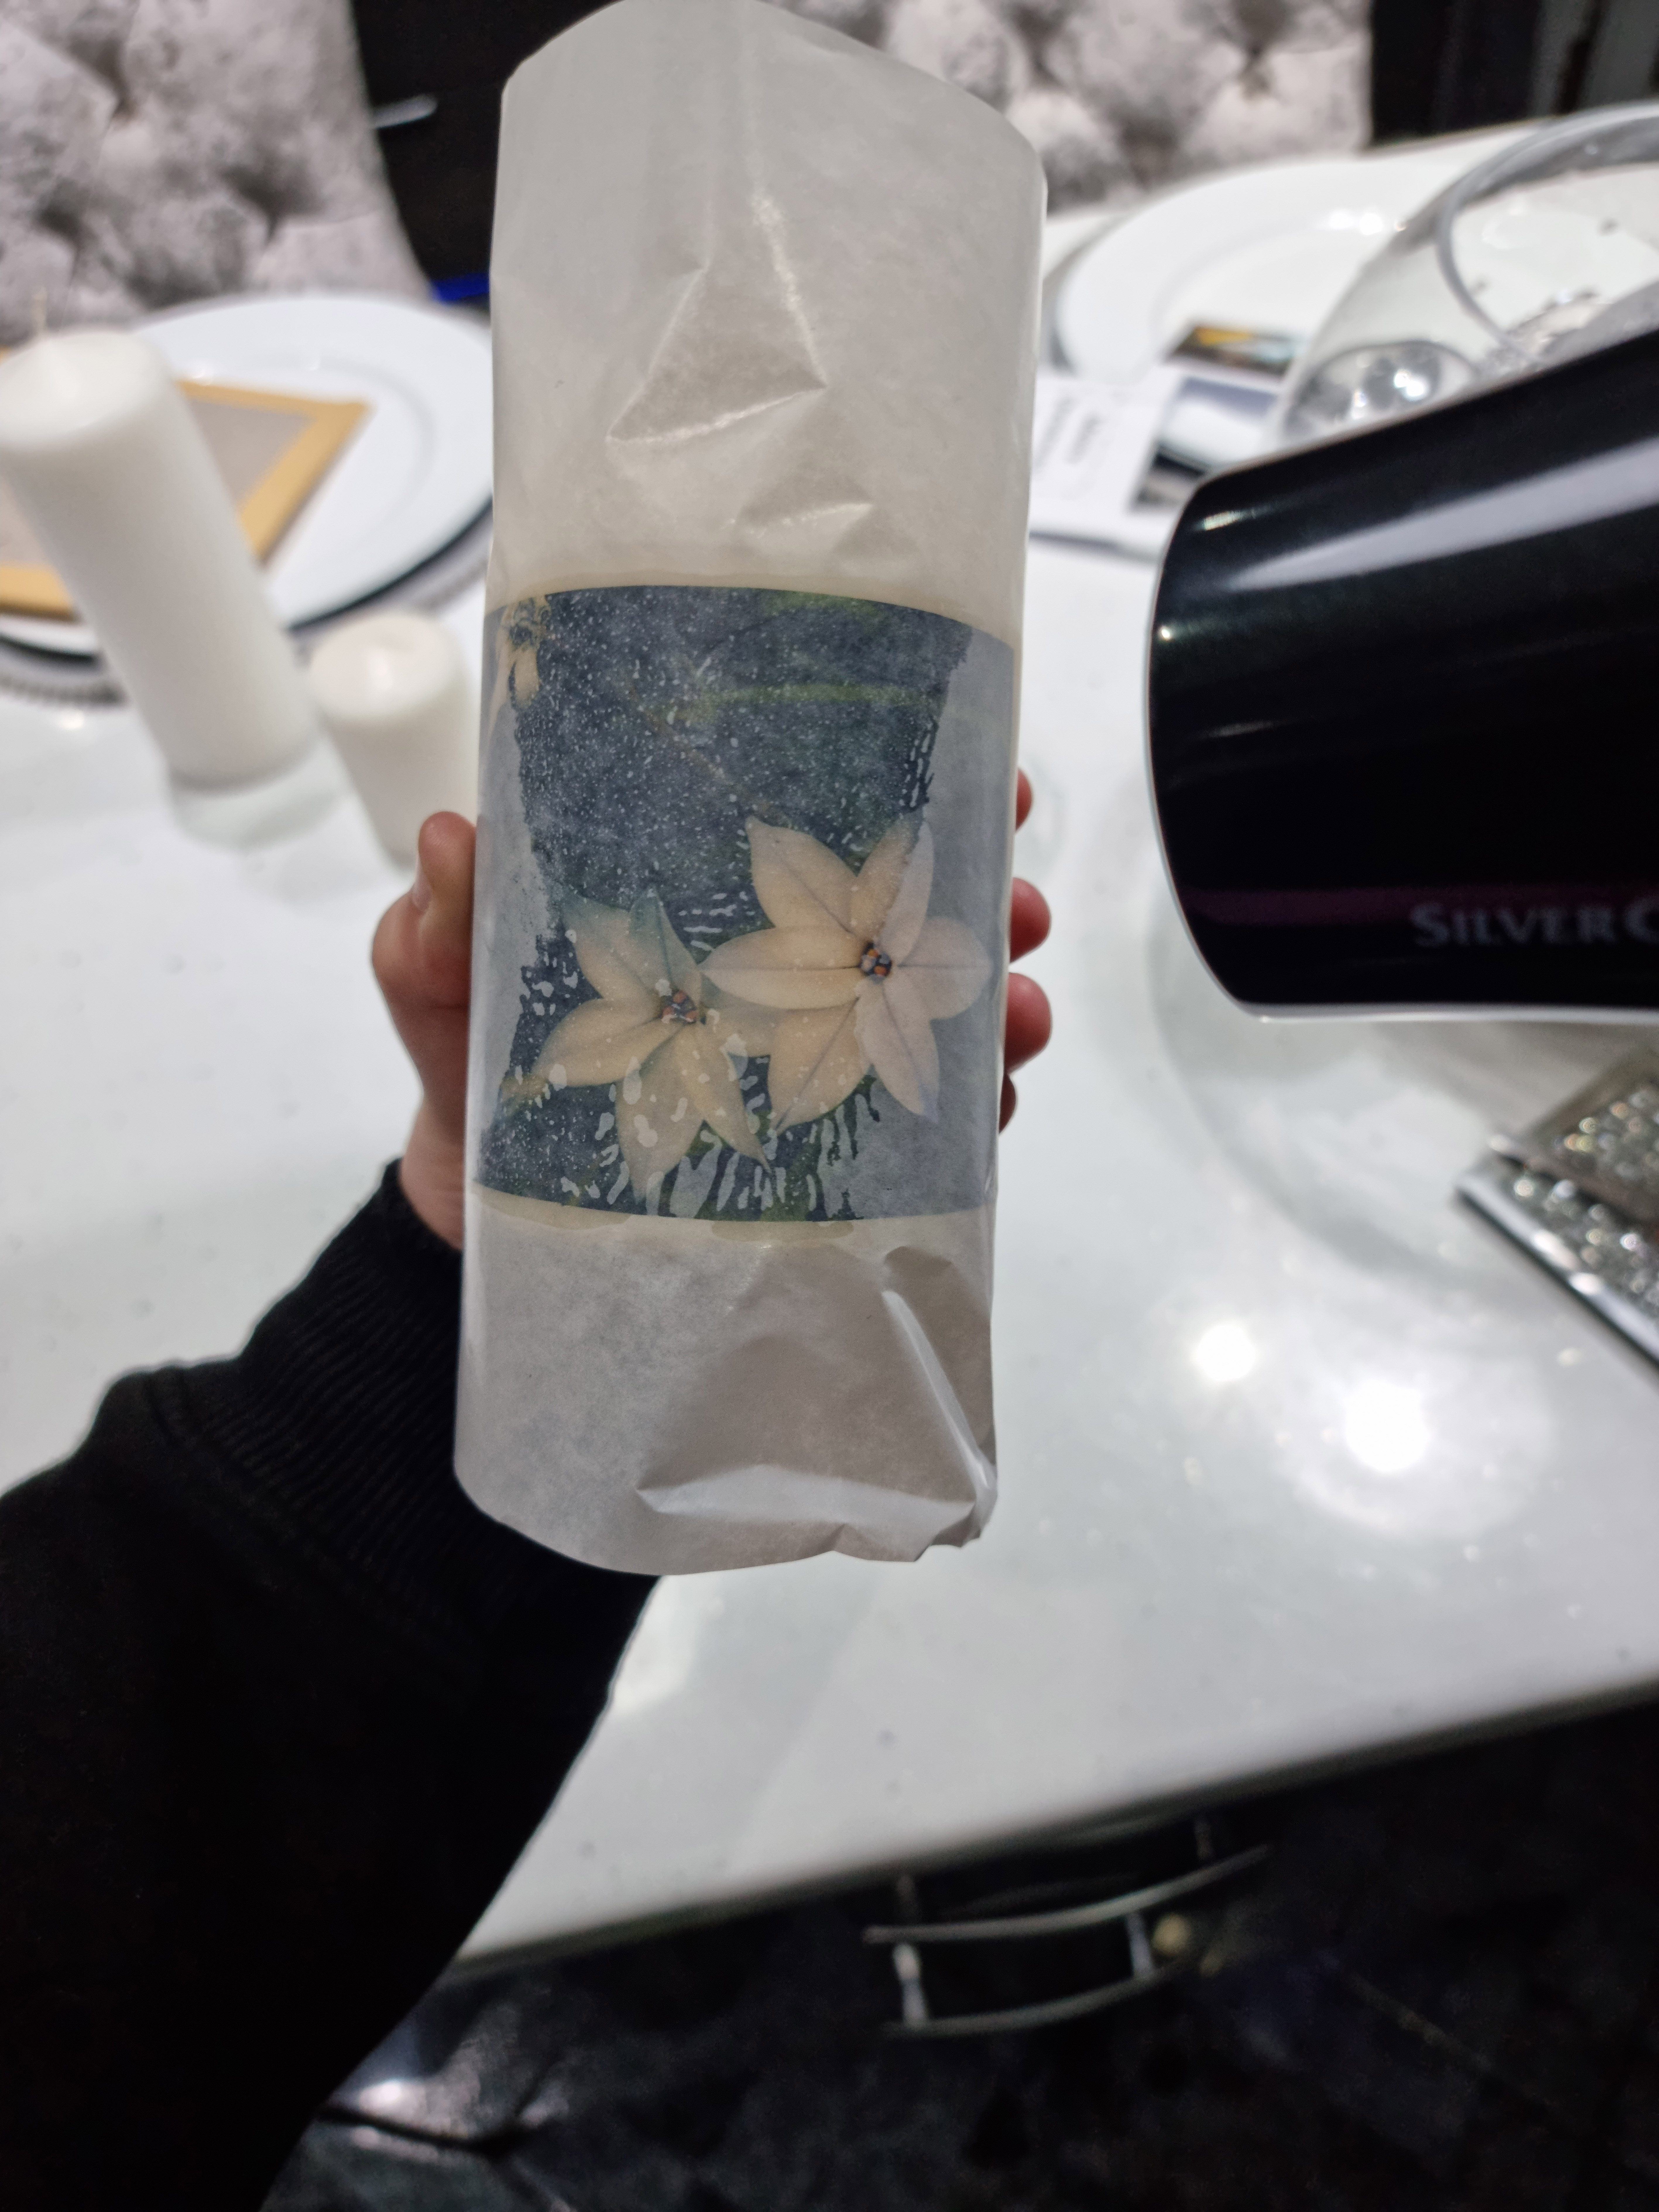
Holding the candle securely in one hand with the wax paper tightly around the image, take a hairdryer and begin to melt the wax paper using the heat from a hairdryer over the image until it sets into the candle.
This may take up to five minutes and can get very hot, so consider using an oven glove if you have one to protect your hand. You should be able to tell when the image has set as it'll look a little glossy.
5) Peel away the paper and gift-wrap!
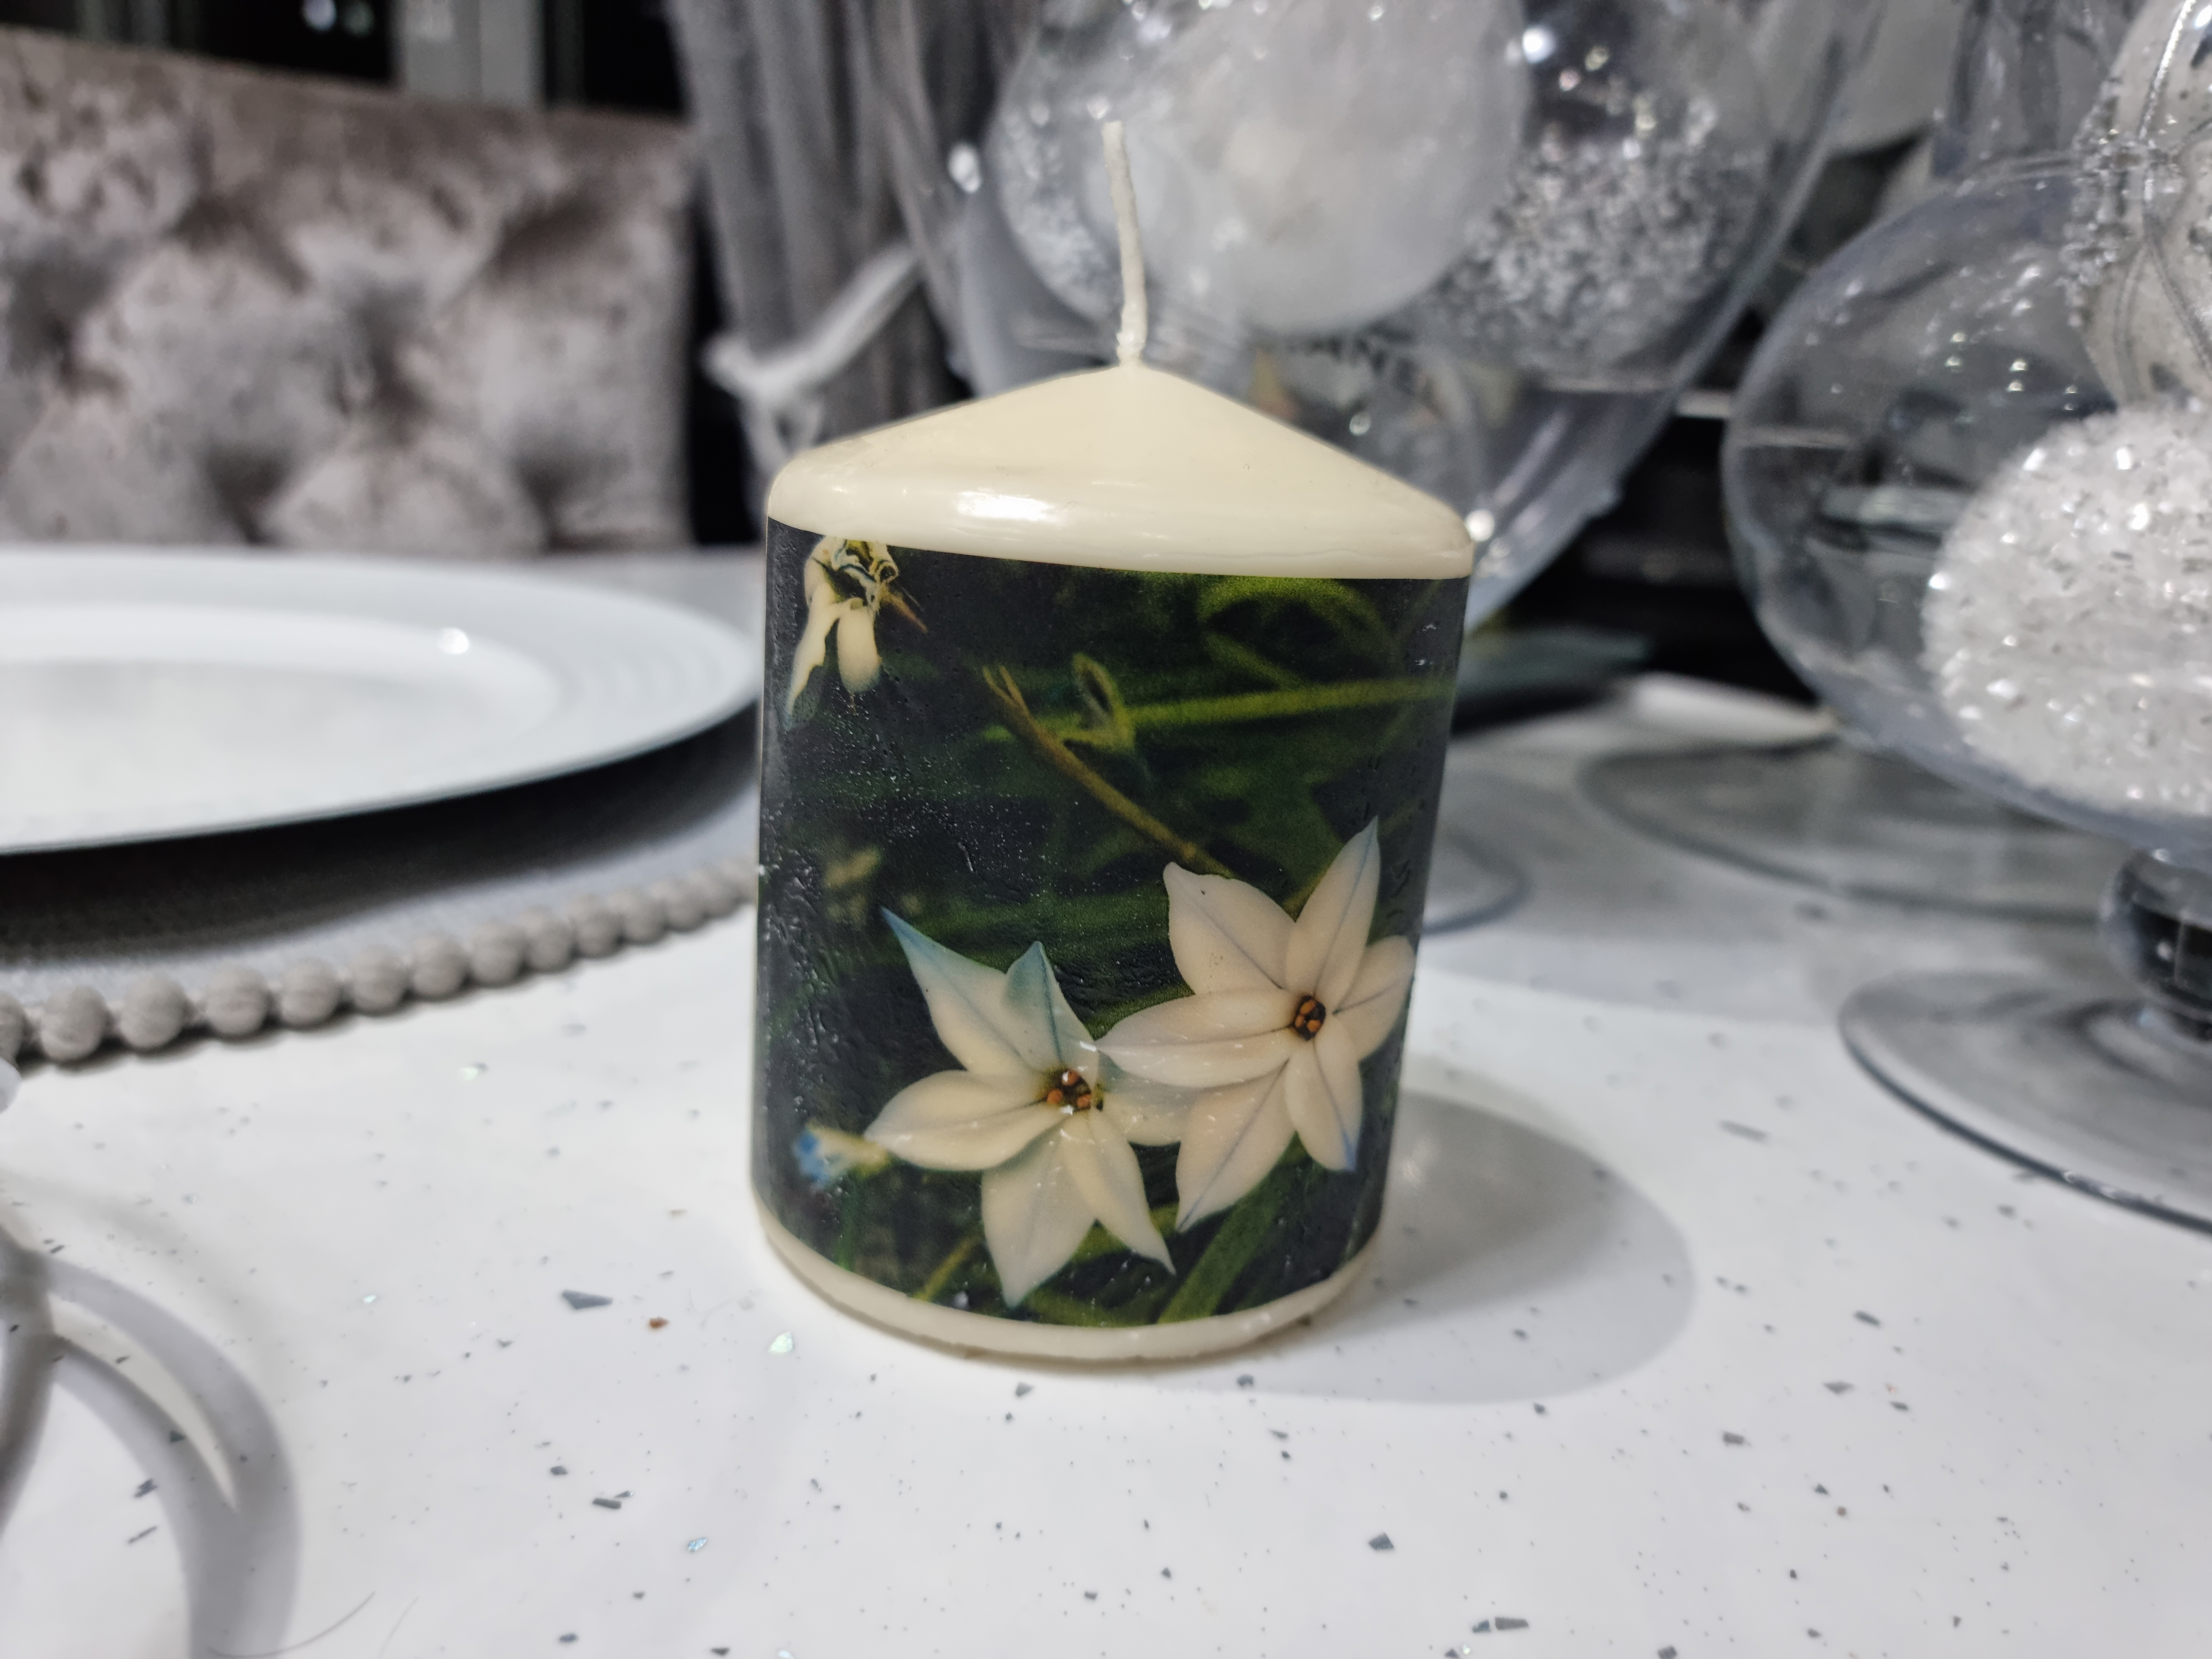
Peel the wax paper gently away and you should have a set image on your candle! Now you can gift wrap the candle however you please, to give to a loved one for Christmas. Using a box, velvet cloth, netting, ribbon or other fabrics might be a better option than using wrapping paper to preserve the candle and image.
The image may appear a little bubbly or distorted at first – if this is the case, leave it to cool for 20 minutes and apply more wax paper and heat if necessary.
Read more:
Best wireless printers
Best portable printer for photos
The 47 best Christmas gifts for photographers
Home photography ideas: photo projects to try indoors
Get the Digital Camera World Newsletter
The best camera deals, reviews, product advice, and unmissable photography news, direct to your inbox!
Beth kicked off her journalistic career as a staff writer here at Digital Camera World, but has since moved over to our sister site Creative Bloq, where she covers all things tech, gaming, photography, and 3D printing. With a degree in Music Journalism and a Master's degree in Photography, Beth knows a thing or two about cameras – and you'll most likely find her photographing local gigs under the alias Bethshootsbands. She also dabbles in cosplay photography, bringing comic book fantasies to life, and uses a Canon 5DS and Sony A7III as her go-to setup.
