Learn how to use Instagram Reels
Make the most of the short-form video content on your Instagram account
Instagram started out life very much as a photography platform, but over the past couple of years there’s been a big push towards different types of content - particularly video.
Reels were introduced by the company in August 2020, and are often seen as a reaction to the success of TikTok, which also uses short-form video. Since then, Reels have become hugely popular - especially as they can be shared not only with your own followers, but the wider Instagram community (assuming you have a public account).
But, if you’re not used to using Reels and wondering how to get the most from them, it can be a little overwhelming. That’s why we’ve answered a few common questions which will hopefully get you started.
Keep reading to discover more…
What are Instagram Reels?
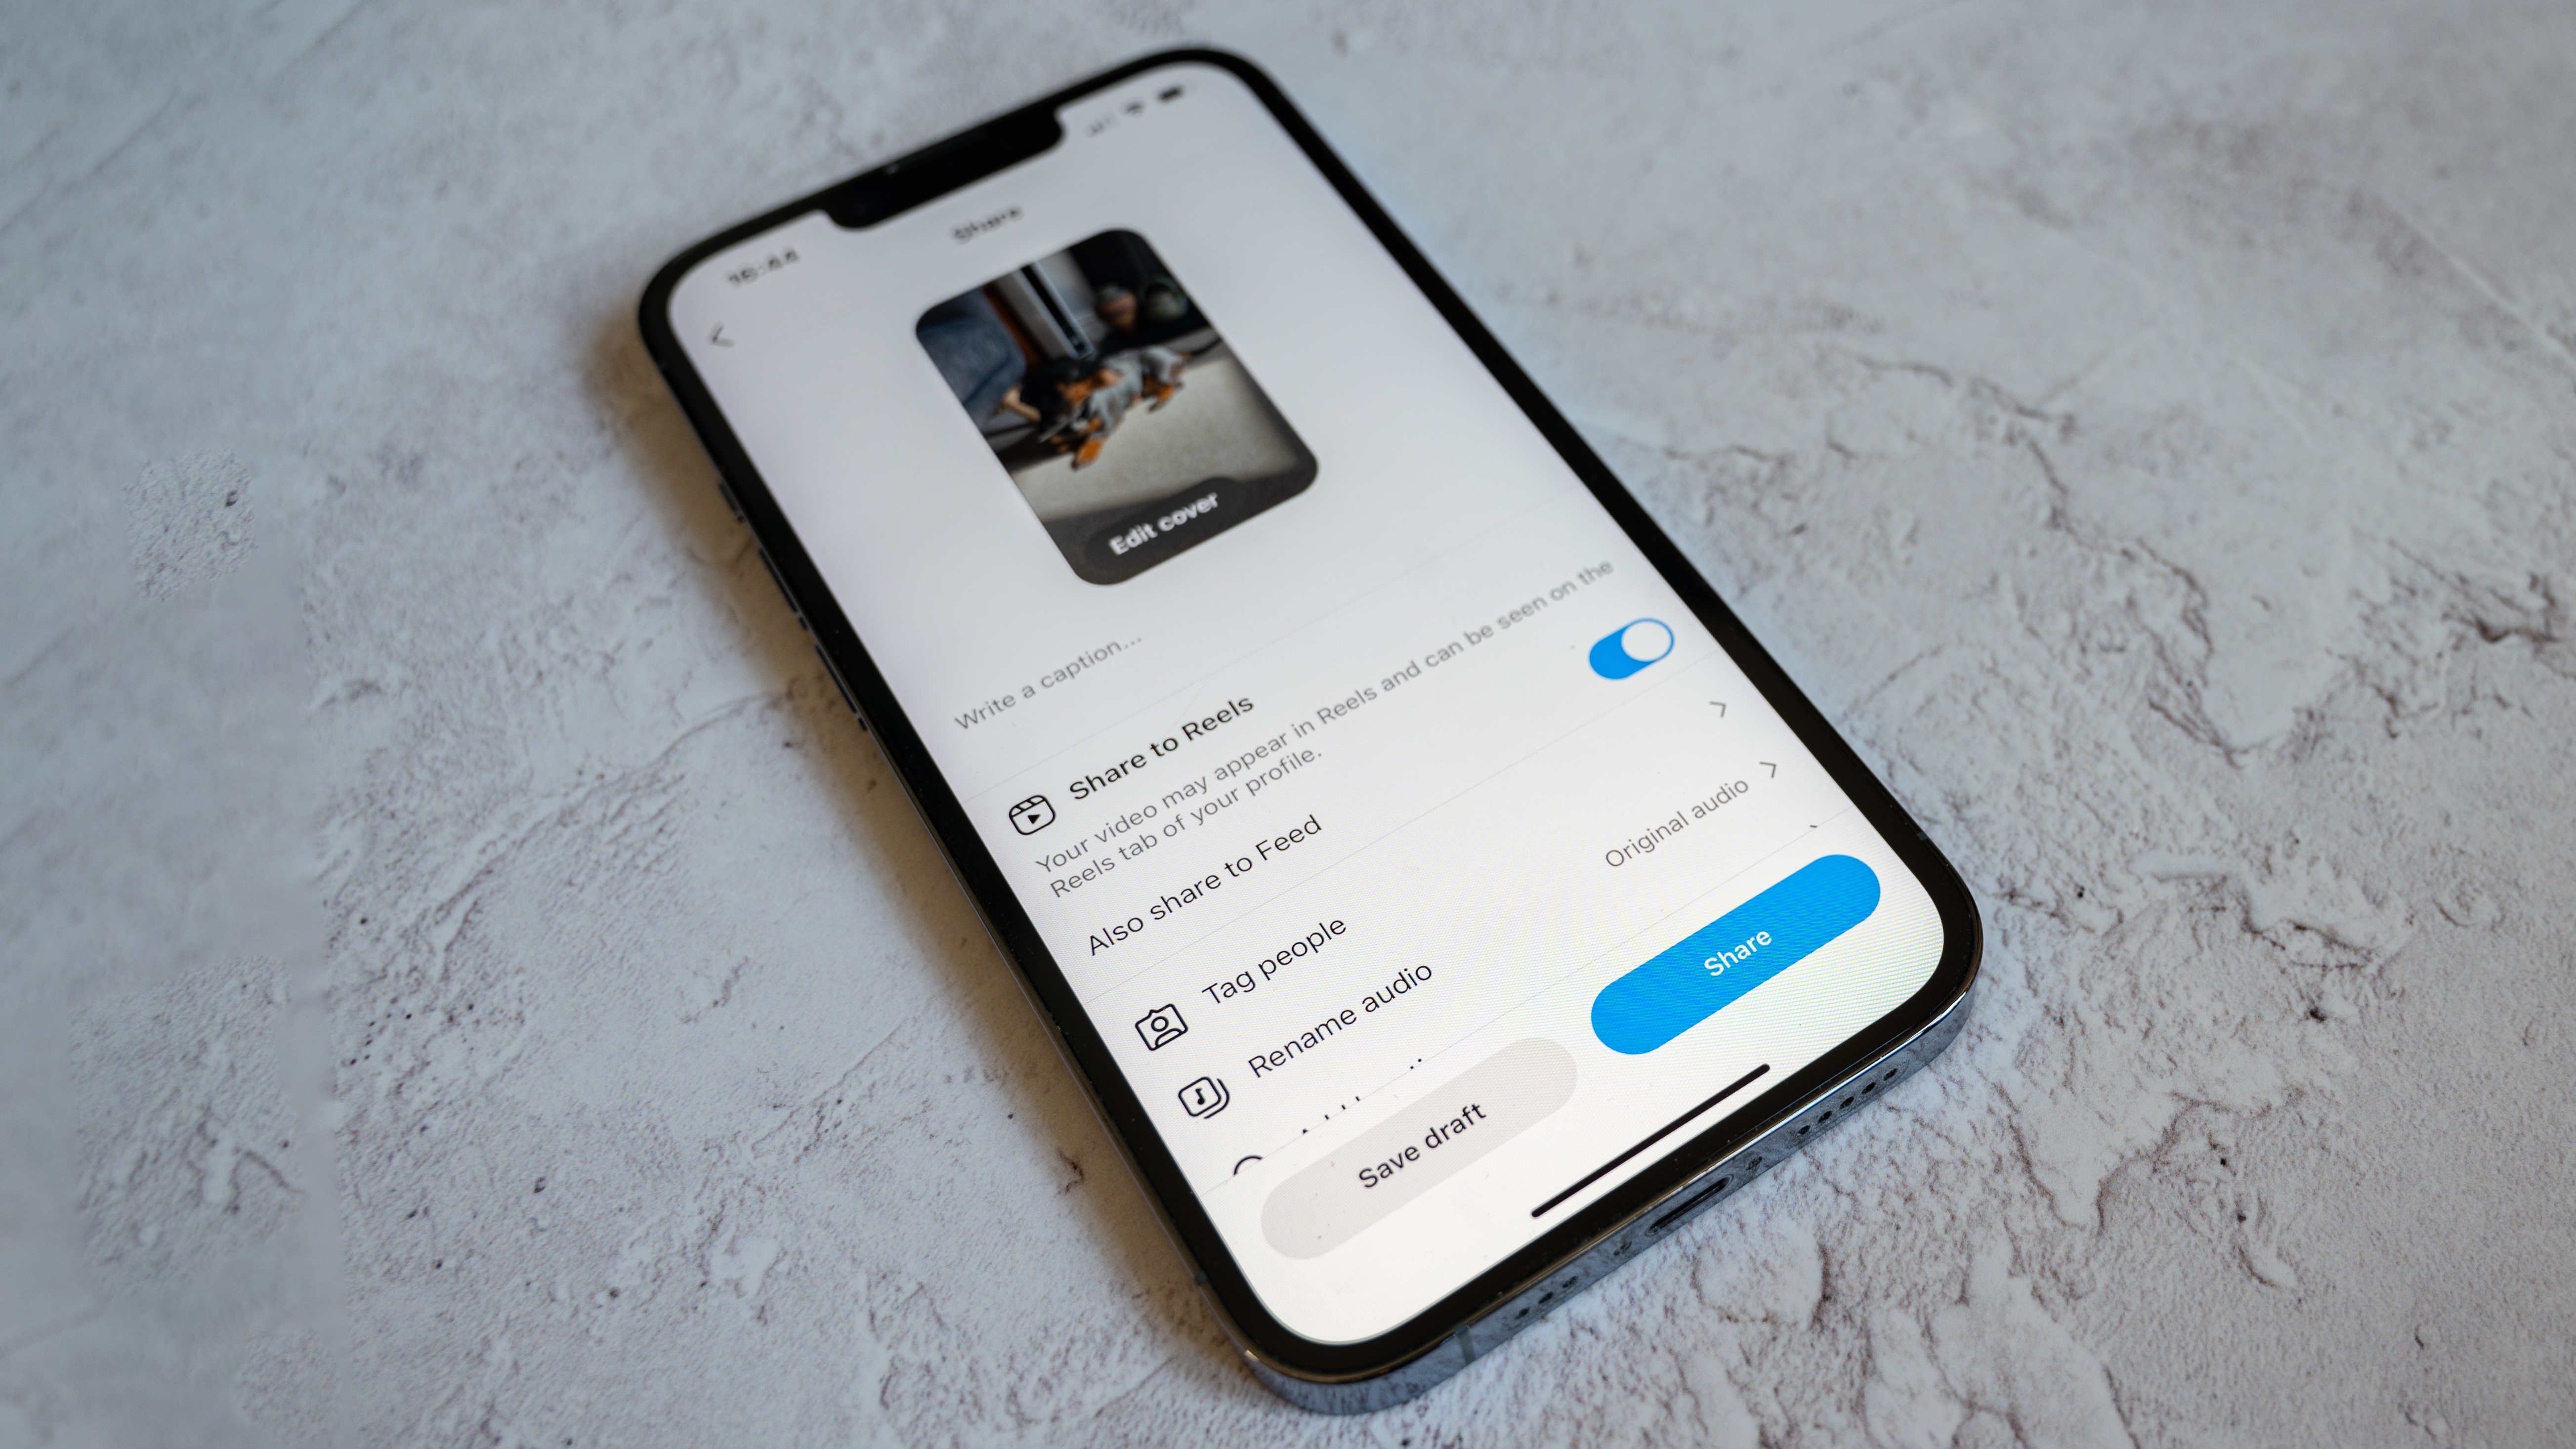
In short, Instagram Reels are 15-second multi-clip videos. You can use original audio, or use audio over the top of your video content, as well as audio, effects and other creative tools. Reels can be shared on your standard Instagram Feed, and they can also be found via the Explore tab within the Instagram app.
2. How are Instagram Reels different from Instagram Stories?
The two types of content are quite similar, but there are some important differences. Reels are video only, whereas Stories can contain stills. Reels are also much longer, allowing you to go up to 90 seconds. Reels also stay on your account permanently, whereas Stories are intended to be a more transitory post that disappear after 24 hours. You can post your Reels to your Stories to boost engagement however.
3. When should I use Instagram Reels?
Instagram Reels are great when you want to promote some video content, especially if you want to make something which is more permanent (and longer) than an Instagram Story. You should also consider using Reels if you want to boost your follower account and reach people beyond who already follows you. Since Reels can appear on the “Explore” tab, it’s easier to get discovered and draw in an entirely new audience. When it comes to exactly when you should post, there are several competing arguments online - but prevalent advice seems to be morning-midday is the best time to post Reels. Be mindful of where your target audience is located however, and take into account any time differences.
4. How are Instagram Reels different from TikTok?
Both TikTok and Reels have a lot of similarities - and indeed there’s nothing to stop you from being on both platforms and using the same content on both. Both have the same video dimensions so plenty of content creators do just that. There are some key differences between the two platforms, though. With TikTok you can post even longer videos, there’s a more extensive audio library and more effects to choose from. It’s worth experimenting with both platforms to find out which you prefer (or if you want to stay on both).
5. How do I create an Instagram Reel?
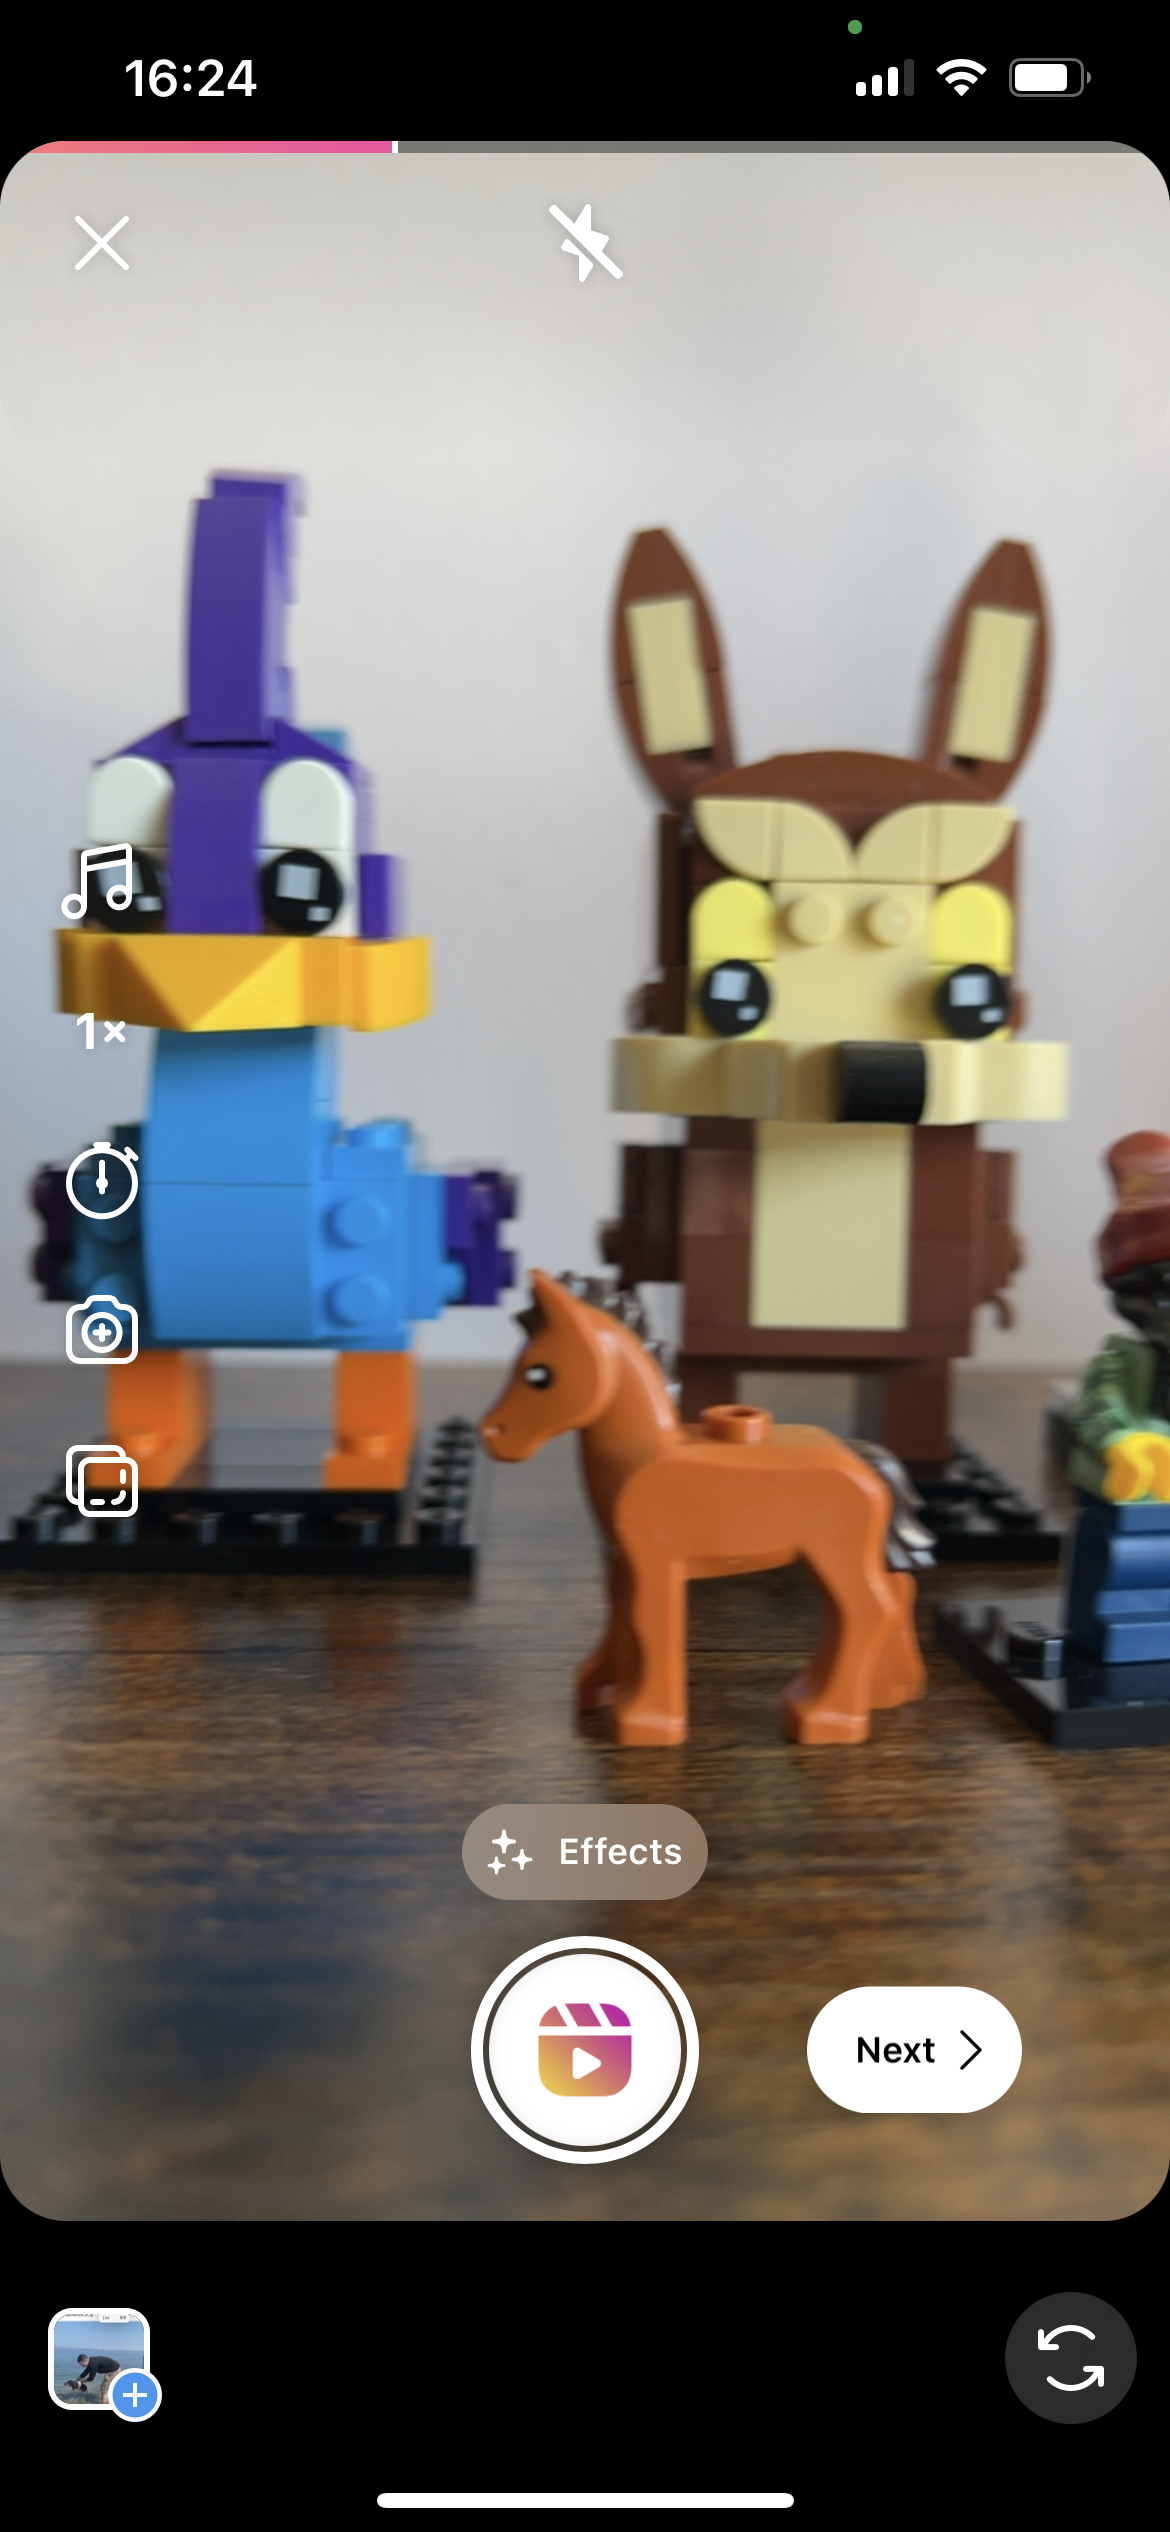
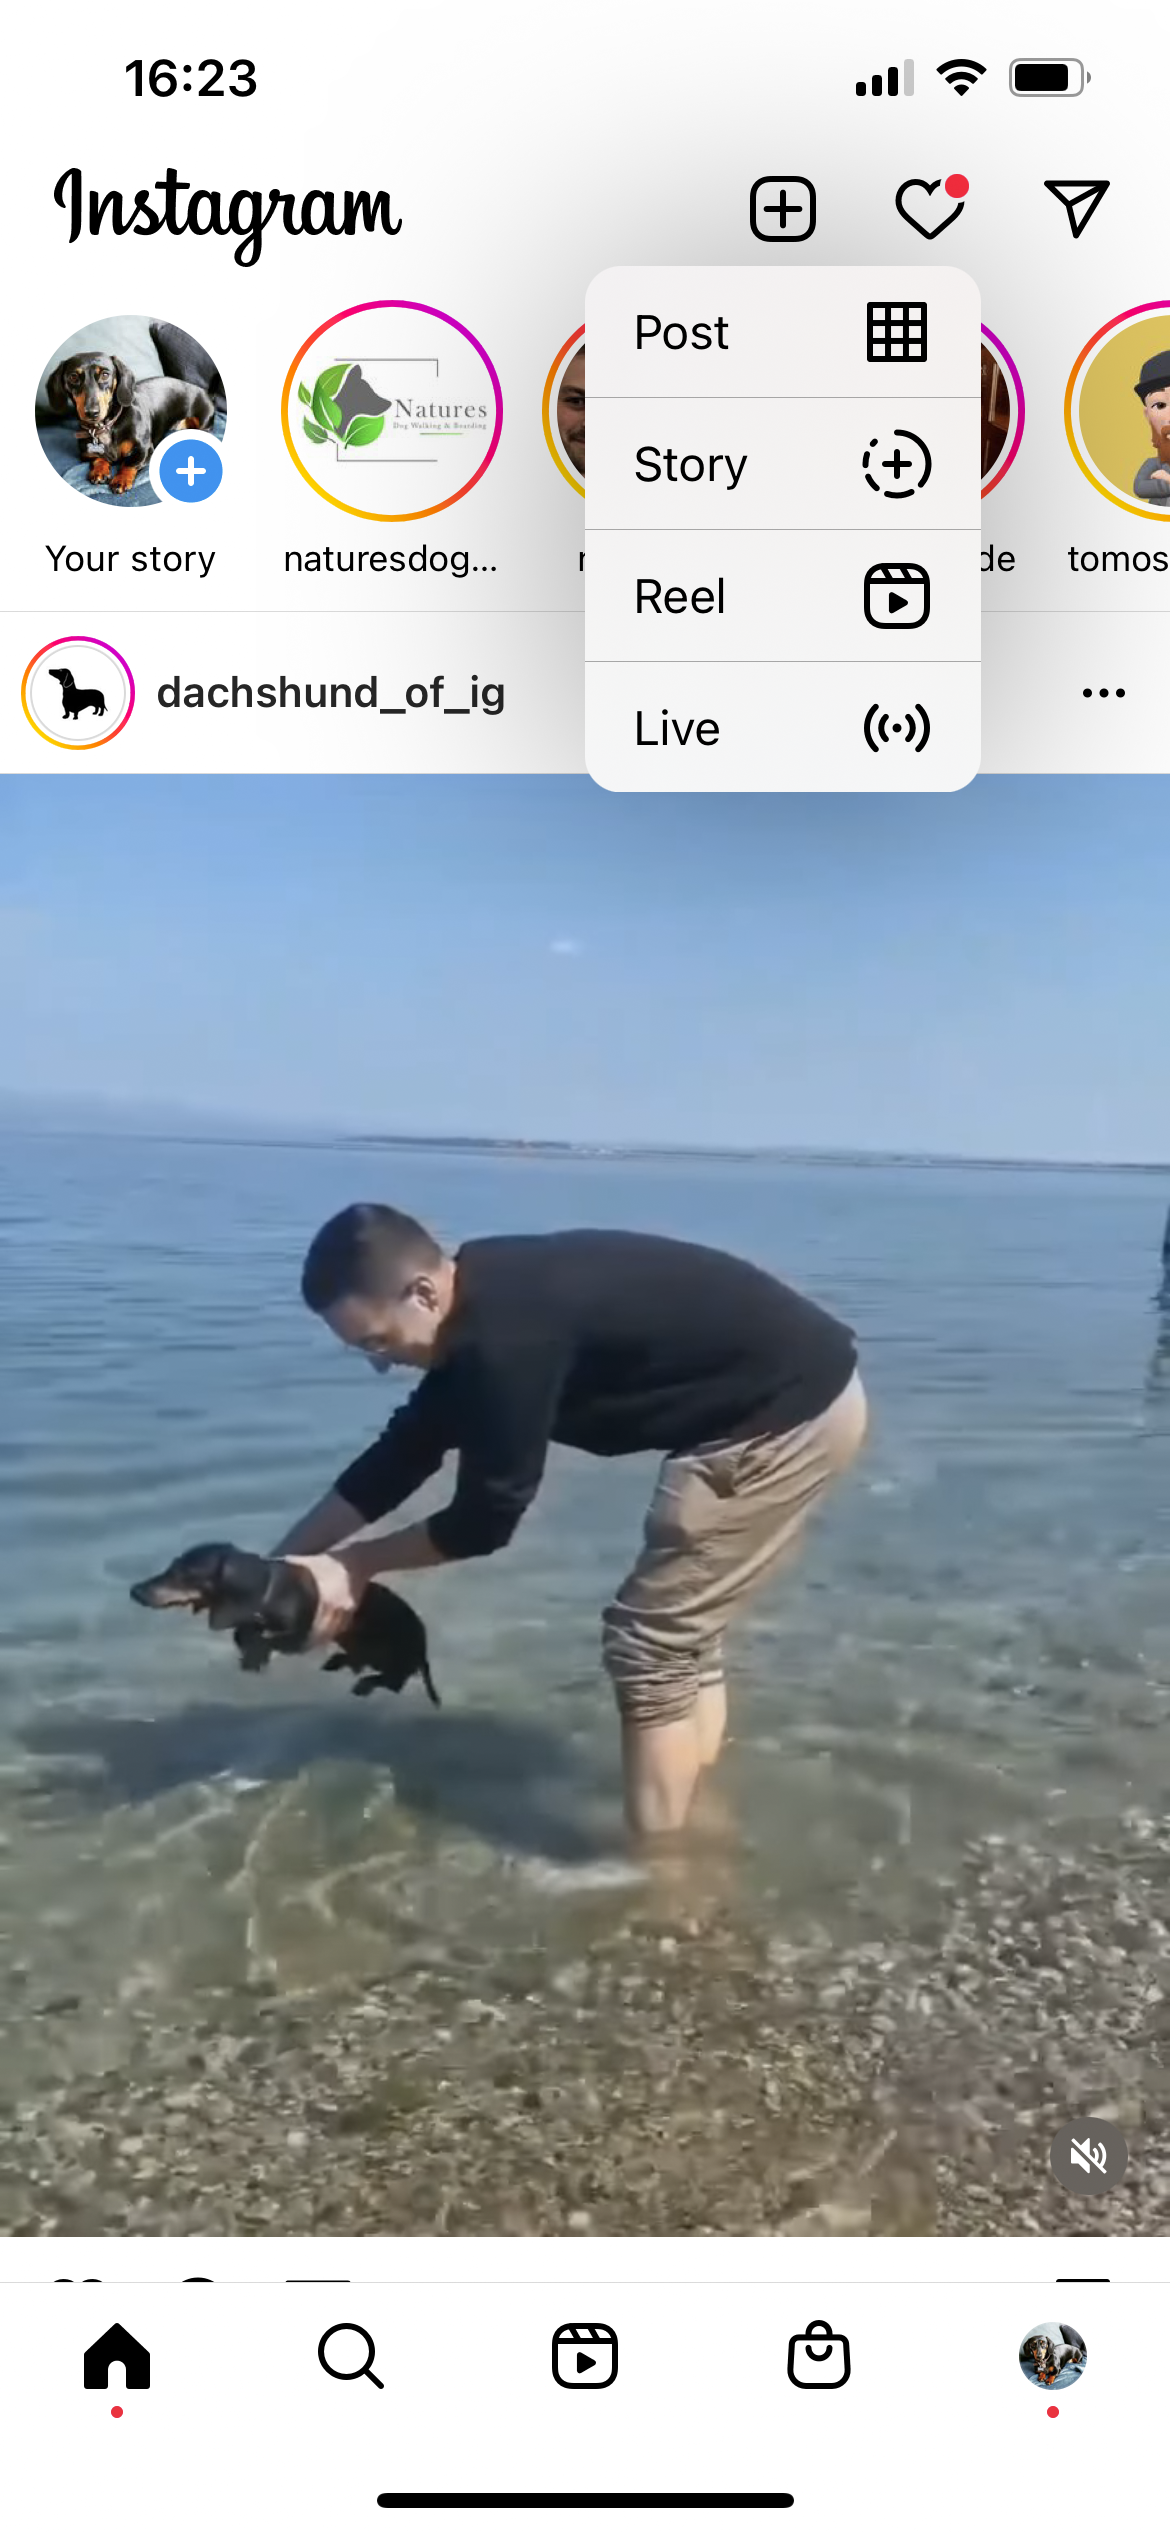
There are two main ways to create a Reel. From the home section of the Instagram app, tap the small “+” icon in the top right hand corner, and from here you can choose to upload a Post, a Story or a Reel. Tap Reel to begin. Alternatively, you can also create a Reel by tapping the Reels icon at the bottom of the screen, then tapping the camera icon to start creating your own. From here, you’ll notice a number of different options. It’s worth taking some time to experiment with how these work - especially since they can and do change from time to time. The icons to the left will allow you to choose a video length, search for music to use as audio, choose a playback speed, create a Layout, and add a timer to give yourself time to ready yourself before recording. Along the bottom you’ll see various effects that you can add to your videos - again it’s worth having a play with all of these to see which ones you like.
You can use either the front facing camera if you want to record a piece to camera, or flip to the rear facing camera if you’re showing off something going on in front of you. Once you’re ready to film, tap the large icon at the bottom of the screen and it’ll start recording (unless you’ve got a timer delay on it). You’ll see a countdown displayed at the top of the screen so you’ll know how long you’ve got left too (you can also press stop at any time).
6. How do I edit my Reels video?
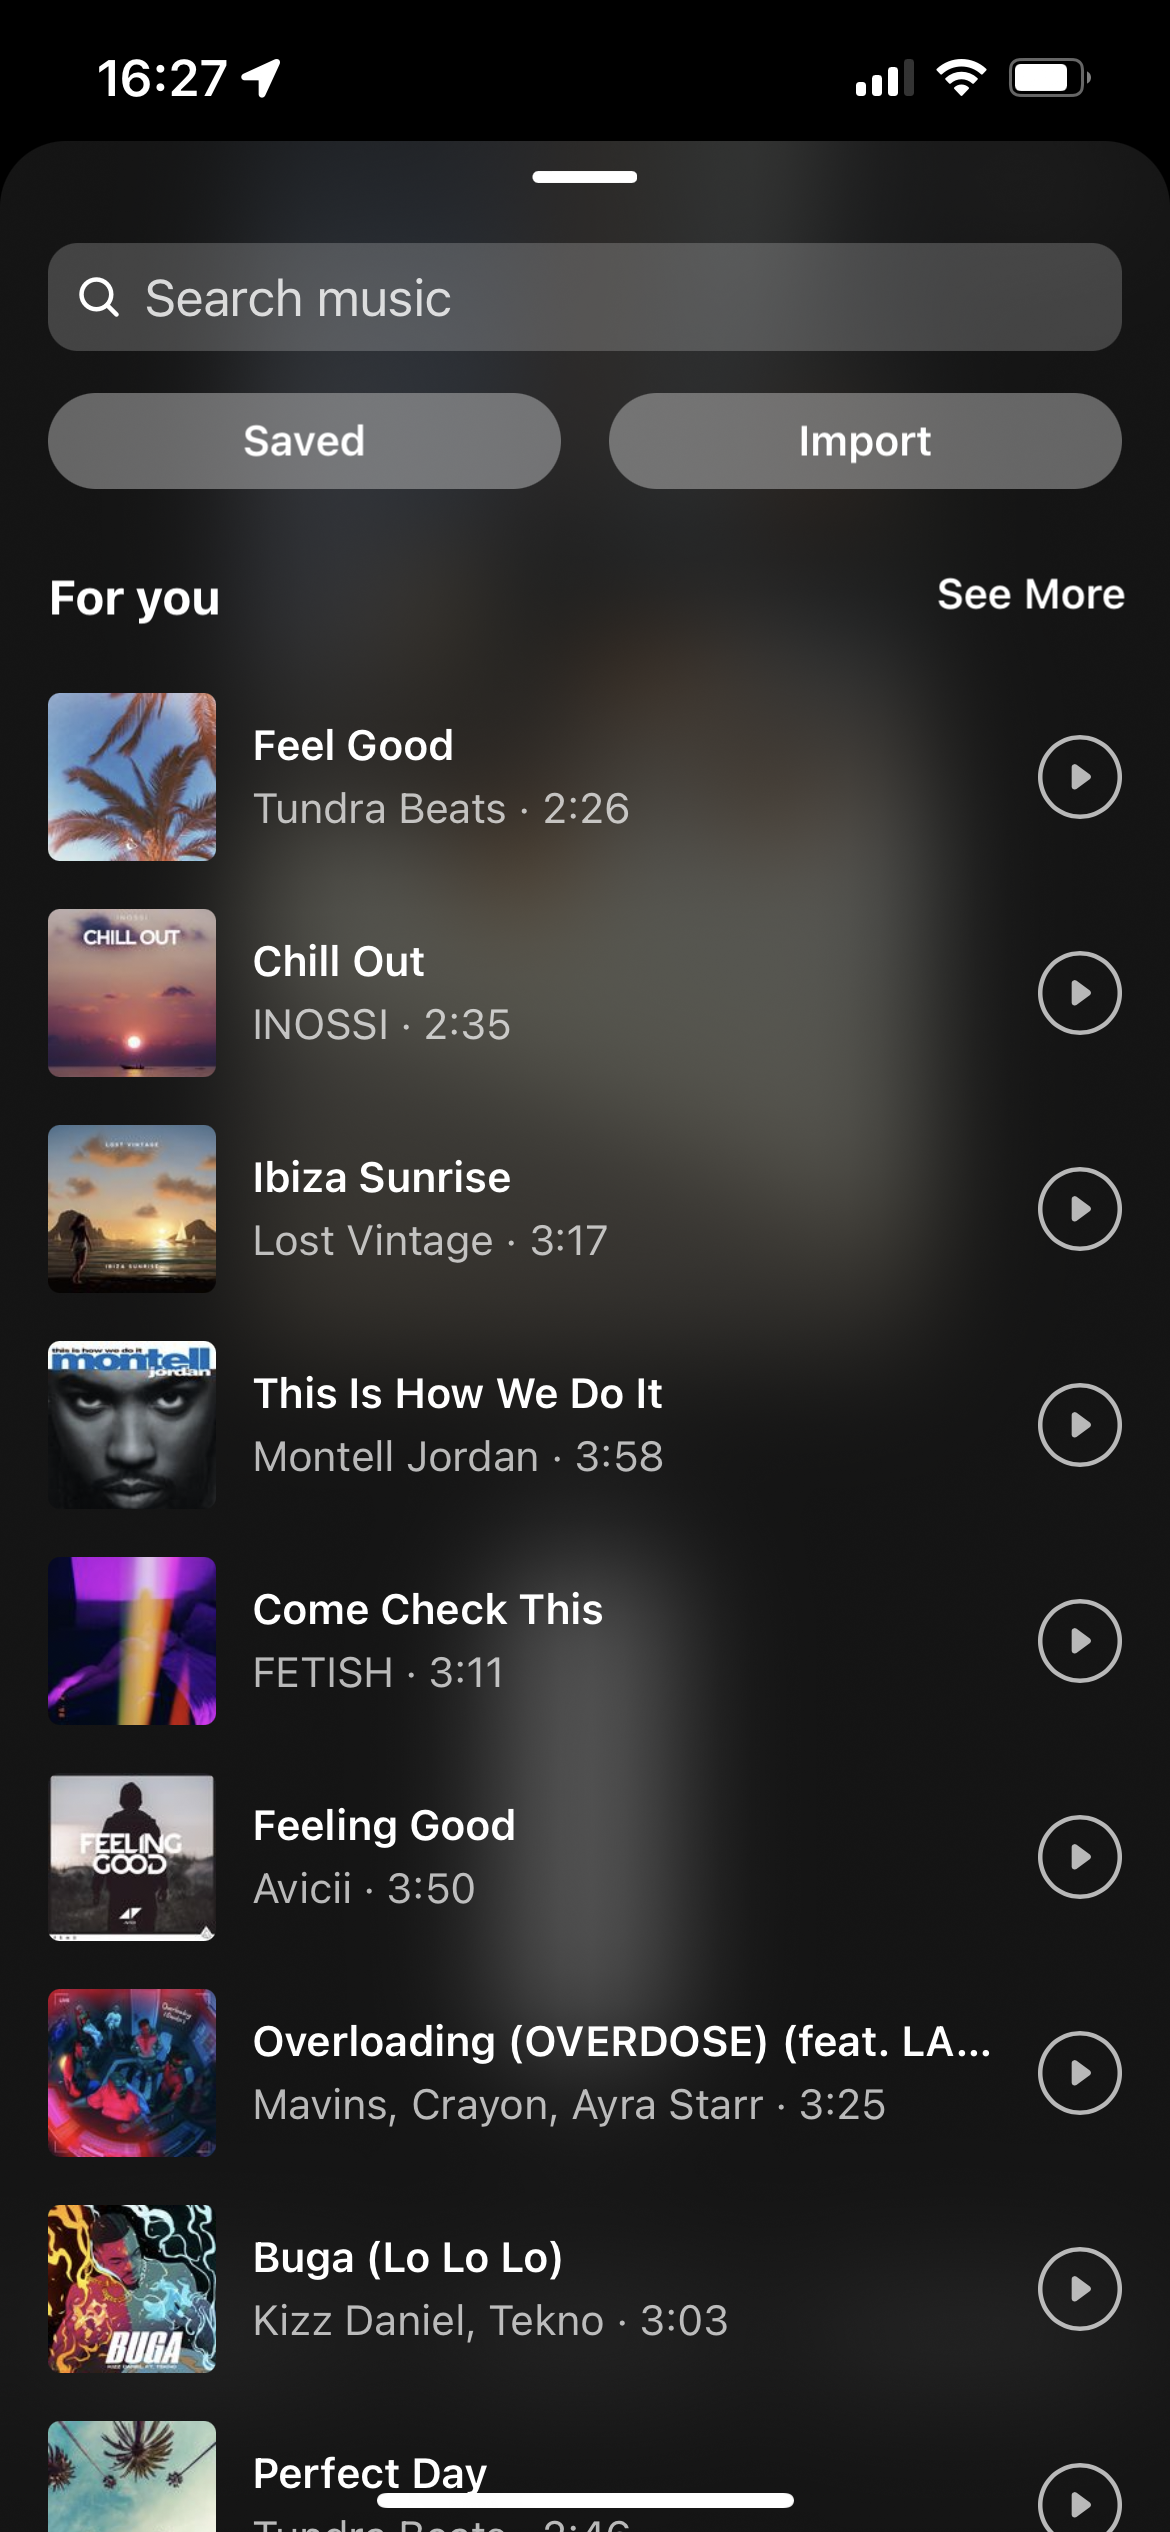
Once you’ve recorded your Reels, you’ll be taken to another screen where you can make edits. Options here include the option to add music, reduce the sound of the recorded audio, add a VoiceOver or add some sound effects. You can also add additional filters and effects, and other options such as stickers and captions. Again, it’s worth experimenting with all of the different editing options to get to grips with everything which is available.
7. Can I use existing videos for my Reels?
Yes, if you tap the icon in the bottom left hand corner you’ll be able to add existing videos (and stills) to your Reels. This is probably a preferable way for serious content creators to work, since you can create videos to perfection outside of the app, without the risk of it crashing and losing your work and so on.
You can add most of the usual effects and edits mentioned above to existing video content too, with the exception of filters which are added at the point of capture.
8. How do people find my Reels?
Once you’ve finished editing your Reel and have shared it, it will be added to a separate Reels tab on your profile. You can also choose to add it to your Feed so that anyone browsing through their general Instagram Feed will come across it, too. You can also share your Reels to your Story too, giving users the option to tap through to watch the full Reel. Another place where people might find your Reel is via the Explore and the dedicated Reels tabs, which both generally pick up on trending topics, and things which the individual user is likely to be interested in. Make sure to add hashtags to your Reels to make sure the right kind of people find it, as well as tagging anybody appropriate and adding location tags too. You’ll need a public account if you want anybody other than your followers to see your Reels.
Read more:
Best cameras for streaming
Best vlogging cameras
How to use Instagram filters
How to use Instagram Stories
How to use Instagram for photography
Get the Digital Camera World Newsletter
The best camera deals, reviews, product advice, and unmissable photography news, direct to your inbox!
Amy Davies has been writing about photography since 2009, and used to be a colleague on Digital Camera magazine and Techradar.com. She now works as a freelance journalist writing for nclude Amateur Photographer, Stuff, Wired, T3, Digital Photographer, Digital Camera World, TechRadar, Trusted Reviews, ePhotozine and Photography Blog. She has an undergraduate degree in journalism and a postgraduate diploma in magazine journalism, both from Cardiff Journalism School.

