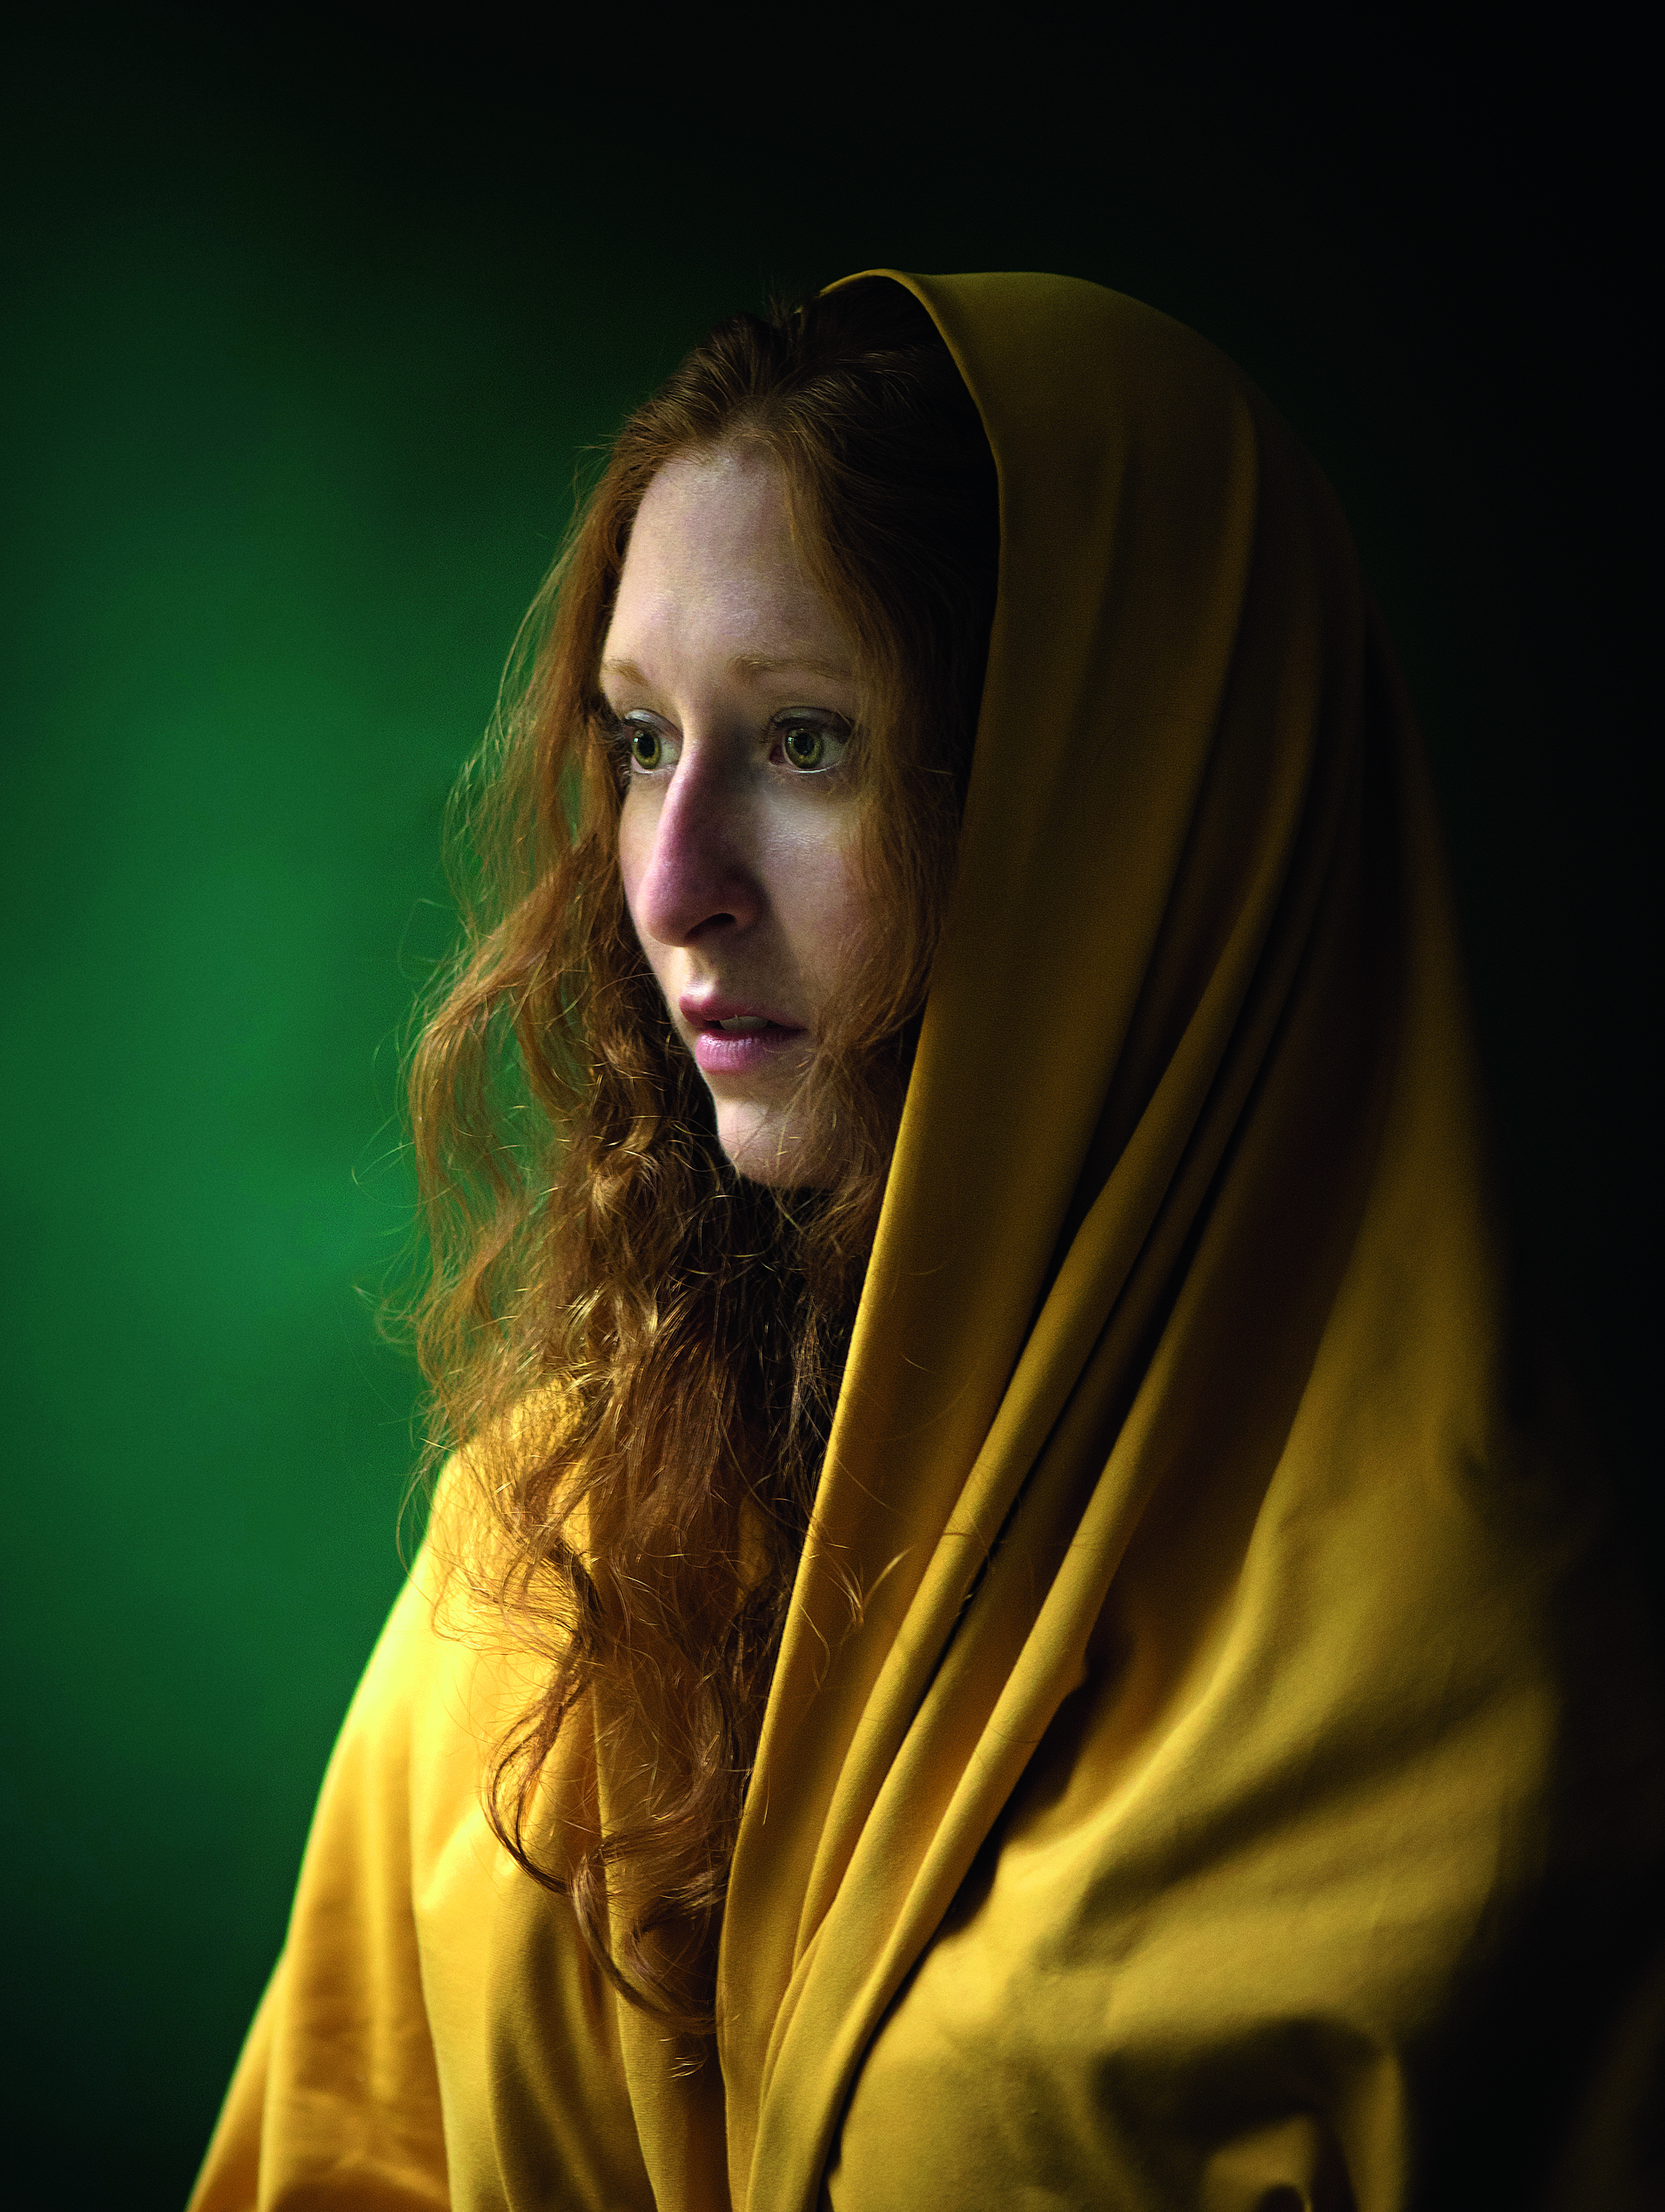
To shoot a photo lit like a Dutch Old Master painting
Time: 30 minutes
Skill level: Beginner
Kit needed: D-SLR, Fabric, Paper backdrop, Reflector (optional)
Have you ever tried to make a photograph look like a painting? Perhaps you’ve taken an old photo into Photoshop and added some filters and textures to give the impression of brush strokes and art paper. However, you don’t really need any computer wizardry. By borrowing a few simple techniques from the classic artists we’re going to create a simple set-up that consists of nothing more than a window, a model, a backdrop and some fabric. The end result is a portrait that replicates the look and feel of a 17th-century Dutch painting.
• Essential portrait photography tips
• Get more photoshoot ideas
Windows give wonderful diffuse light that wraps around your subject. The trick is to stand your model by the window, dress them in some fabric and position them to get the shot you want. So let’s unravel the mysteries of getting a classic painterly portrait…
STEP BY STEP: A work of art
If your model gets hot underneath the fabric they’ll have reddened cheeks and a sweaty brow in the final image. Let them take plenty of breaks
1 CLOTHING AND BACKDROP
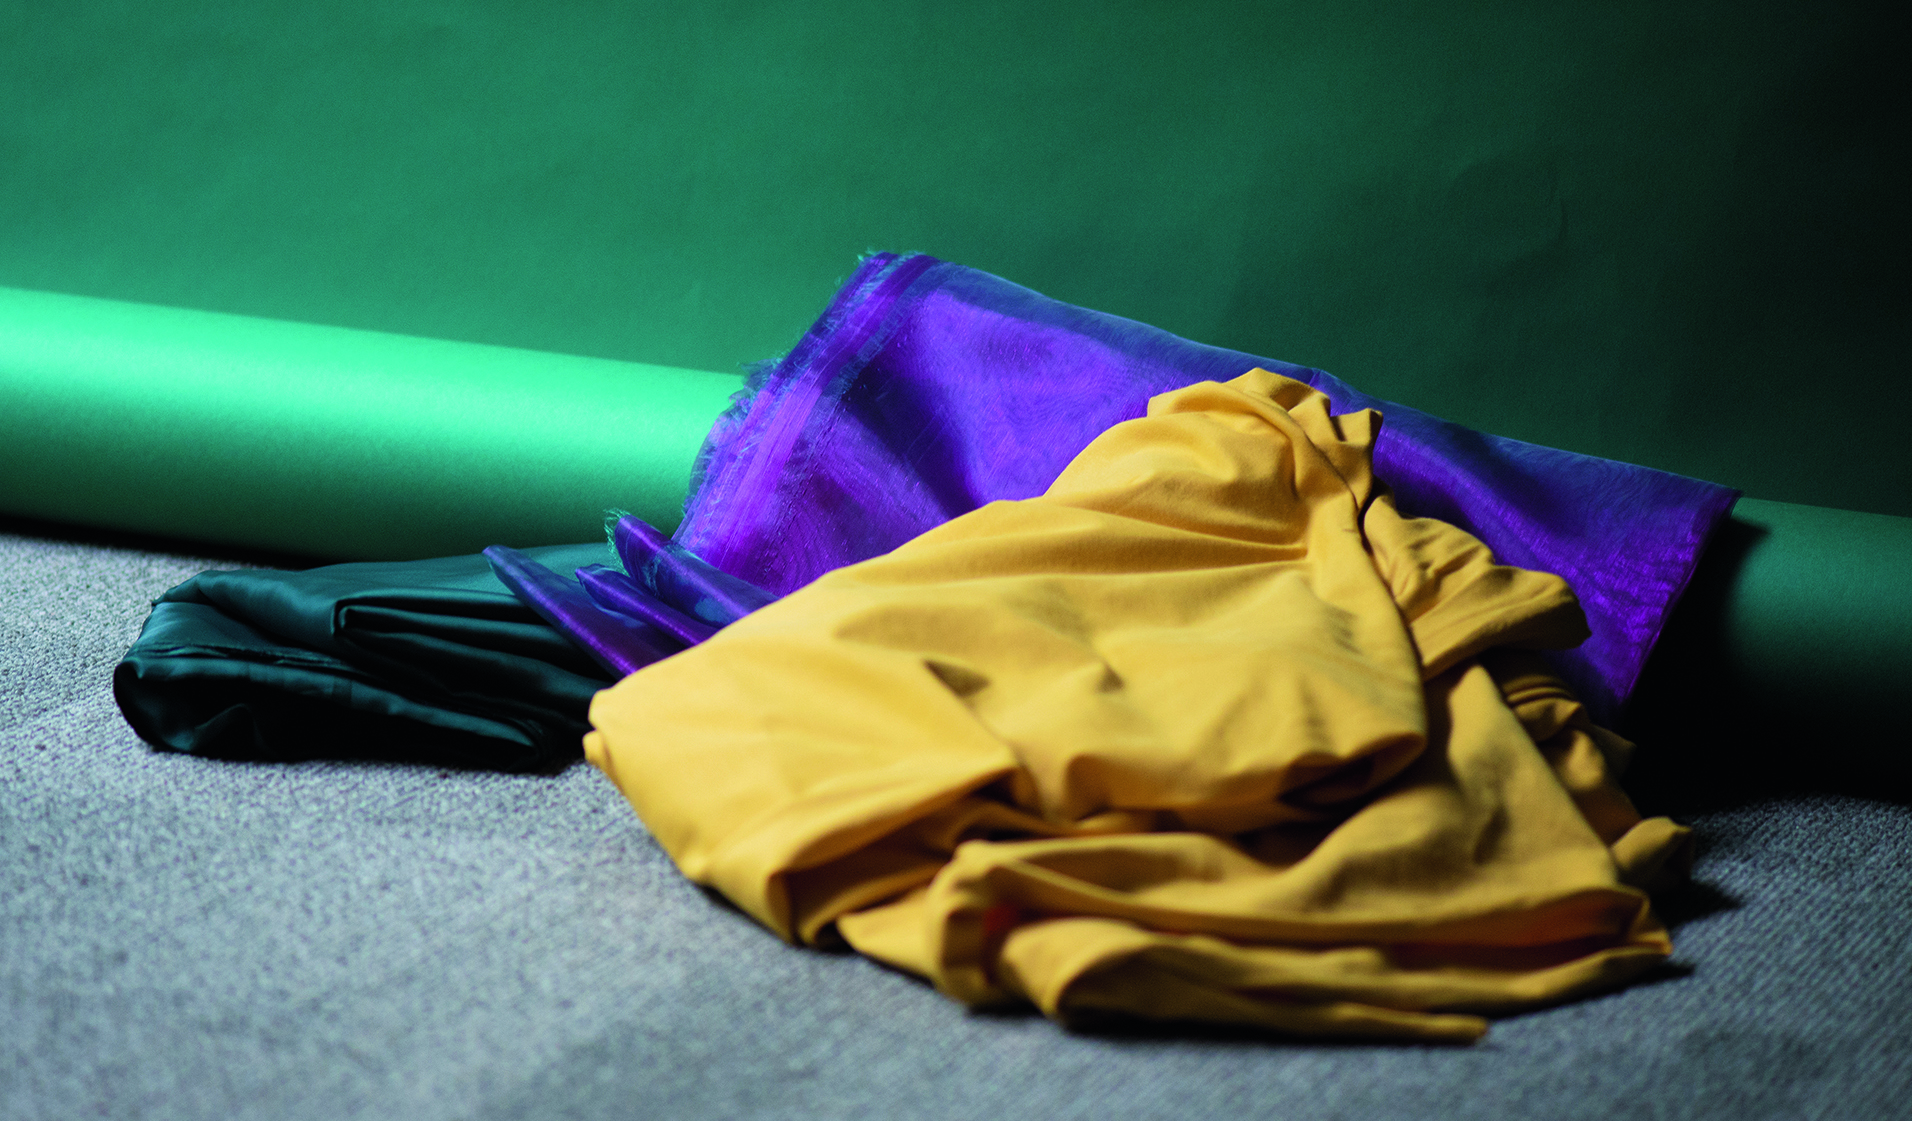
The brightest part of the image should be your model’s face, so make sure that the fabric you choose for the shoot is relatively dull and the colour isn’t too similar to your model’s skin tone. A plain paper roll backdrop is useful if you have one, but you could use a plain wall.
2 WINDOWS TO THE SOUL
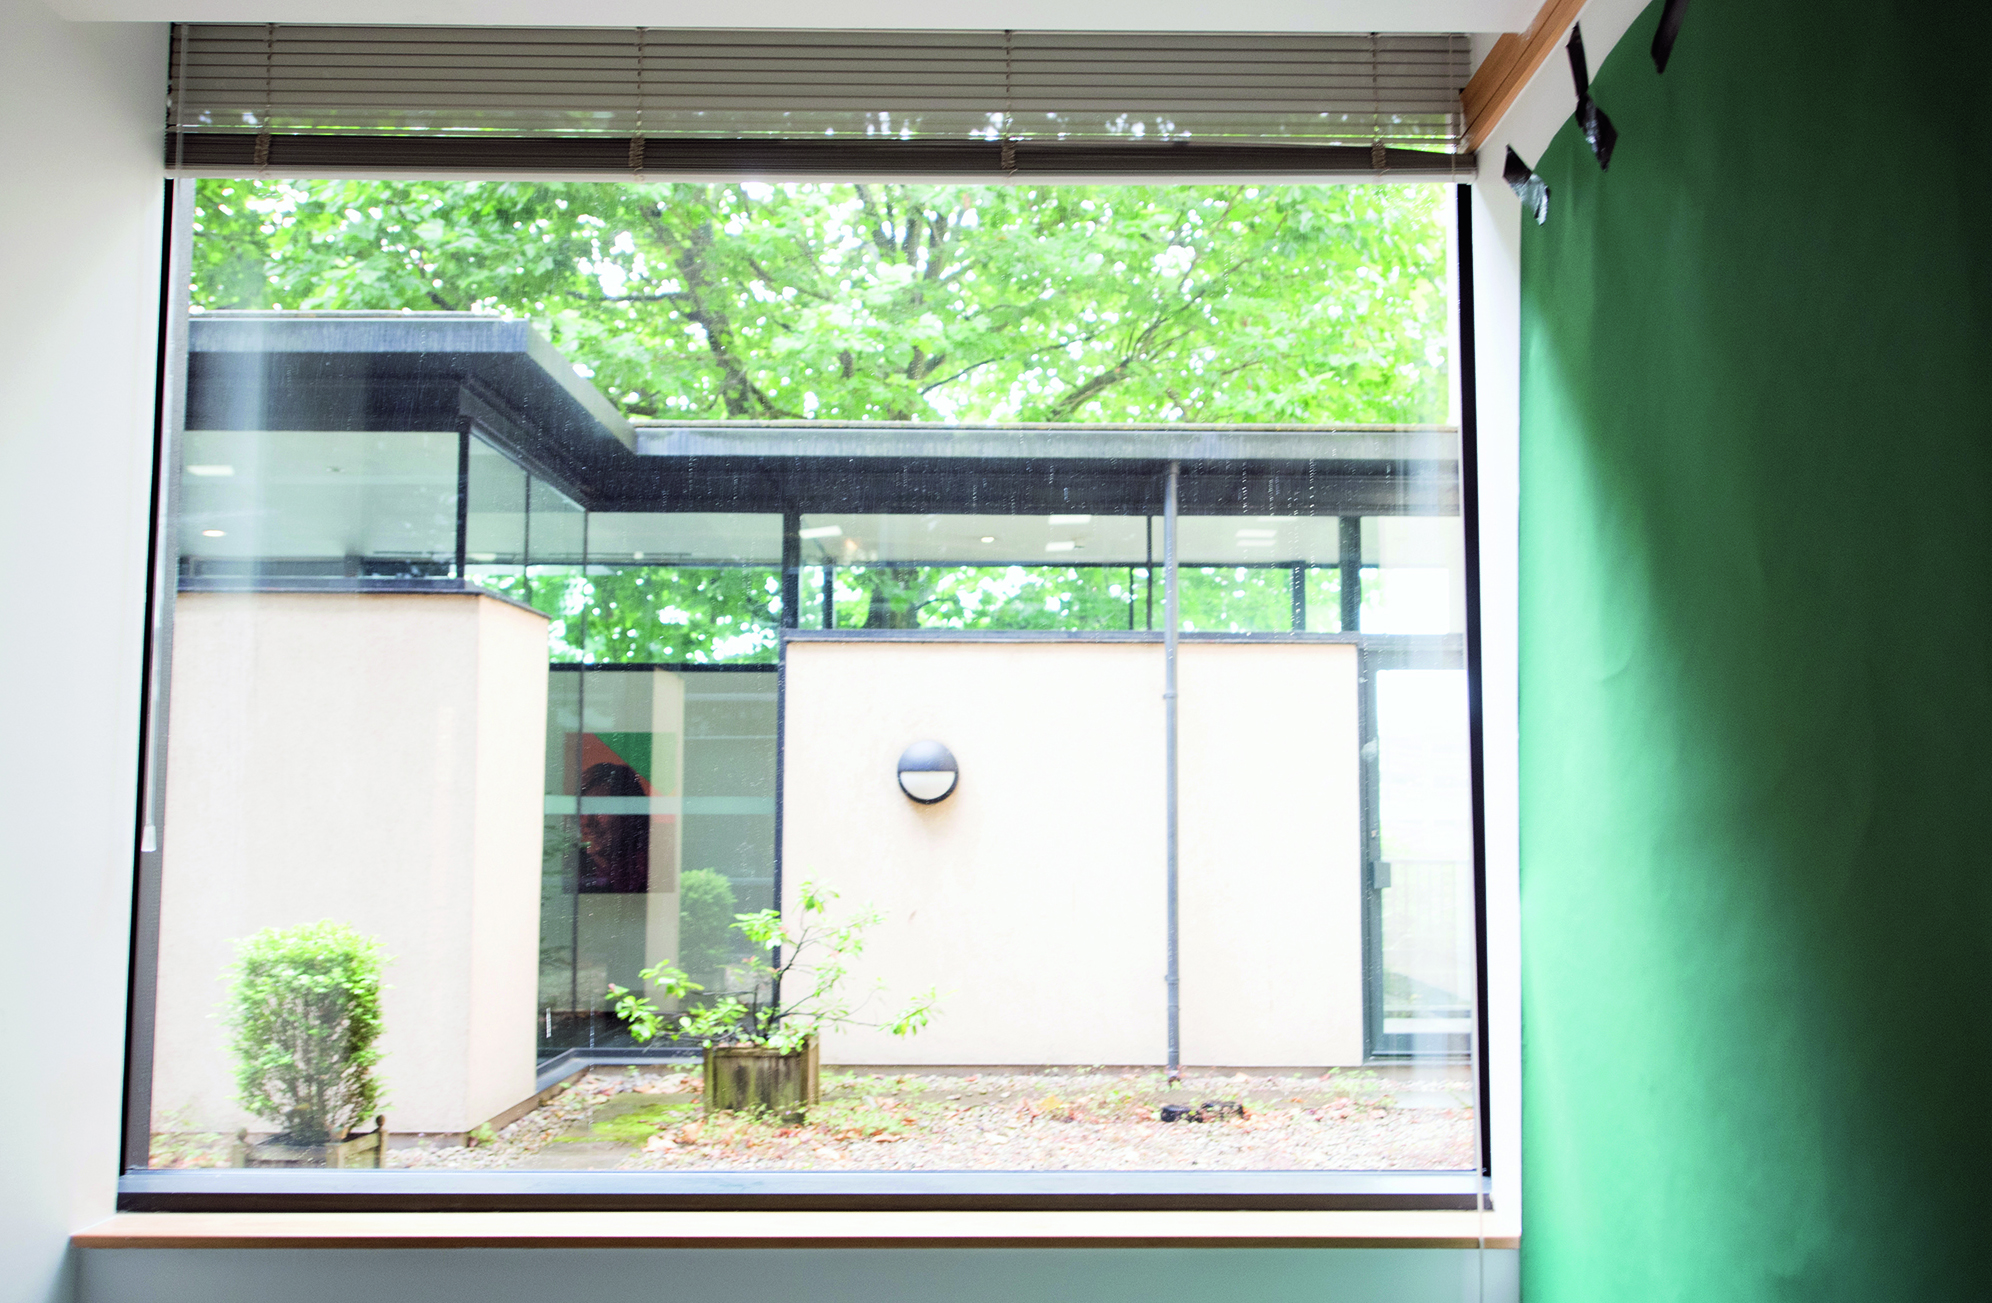
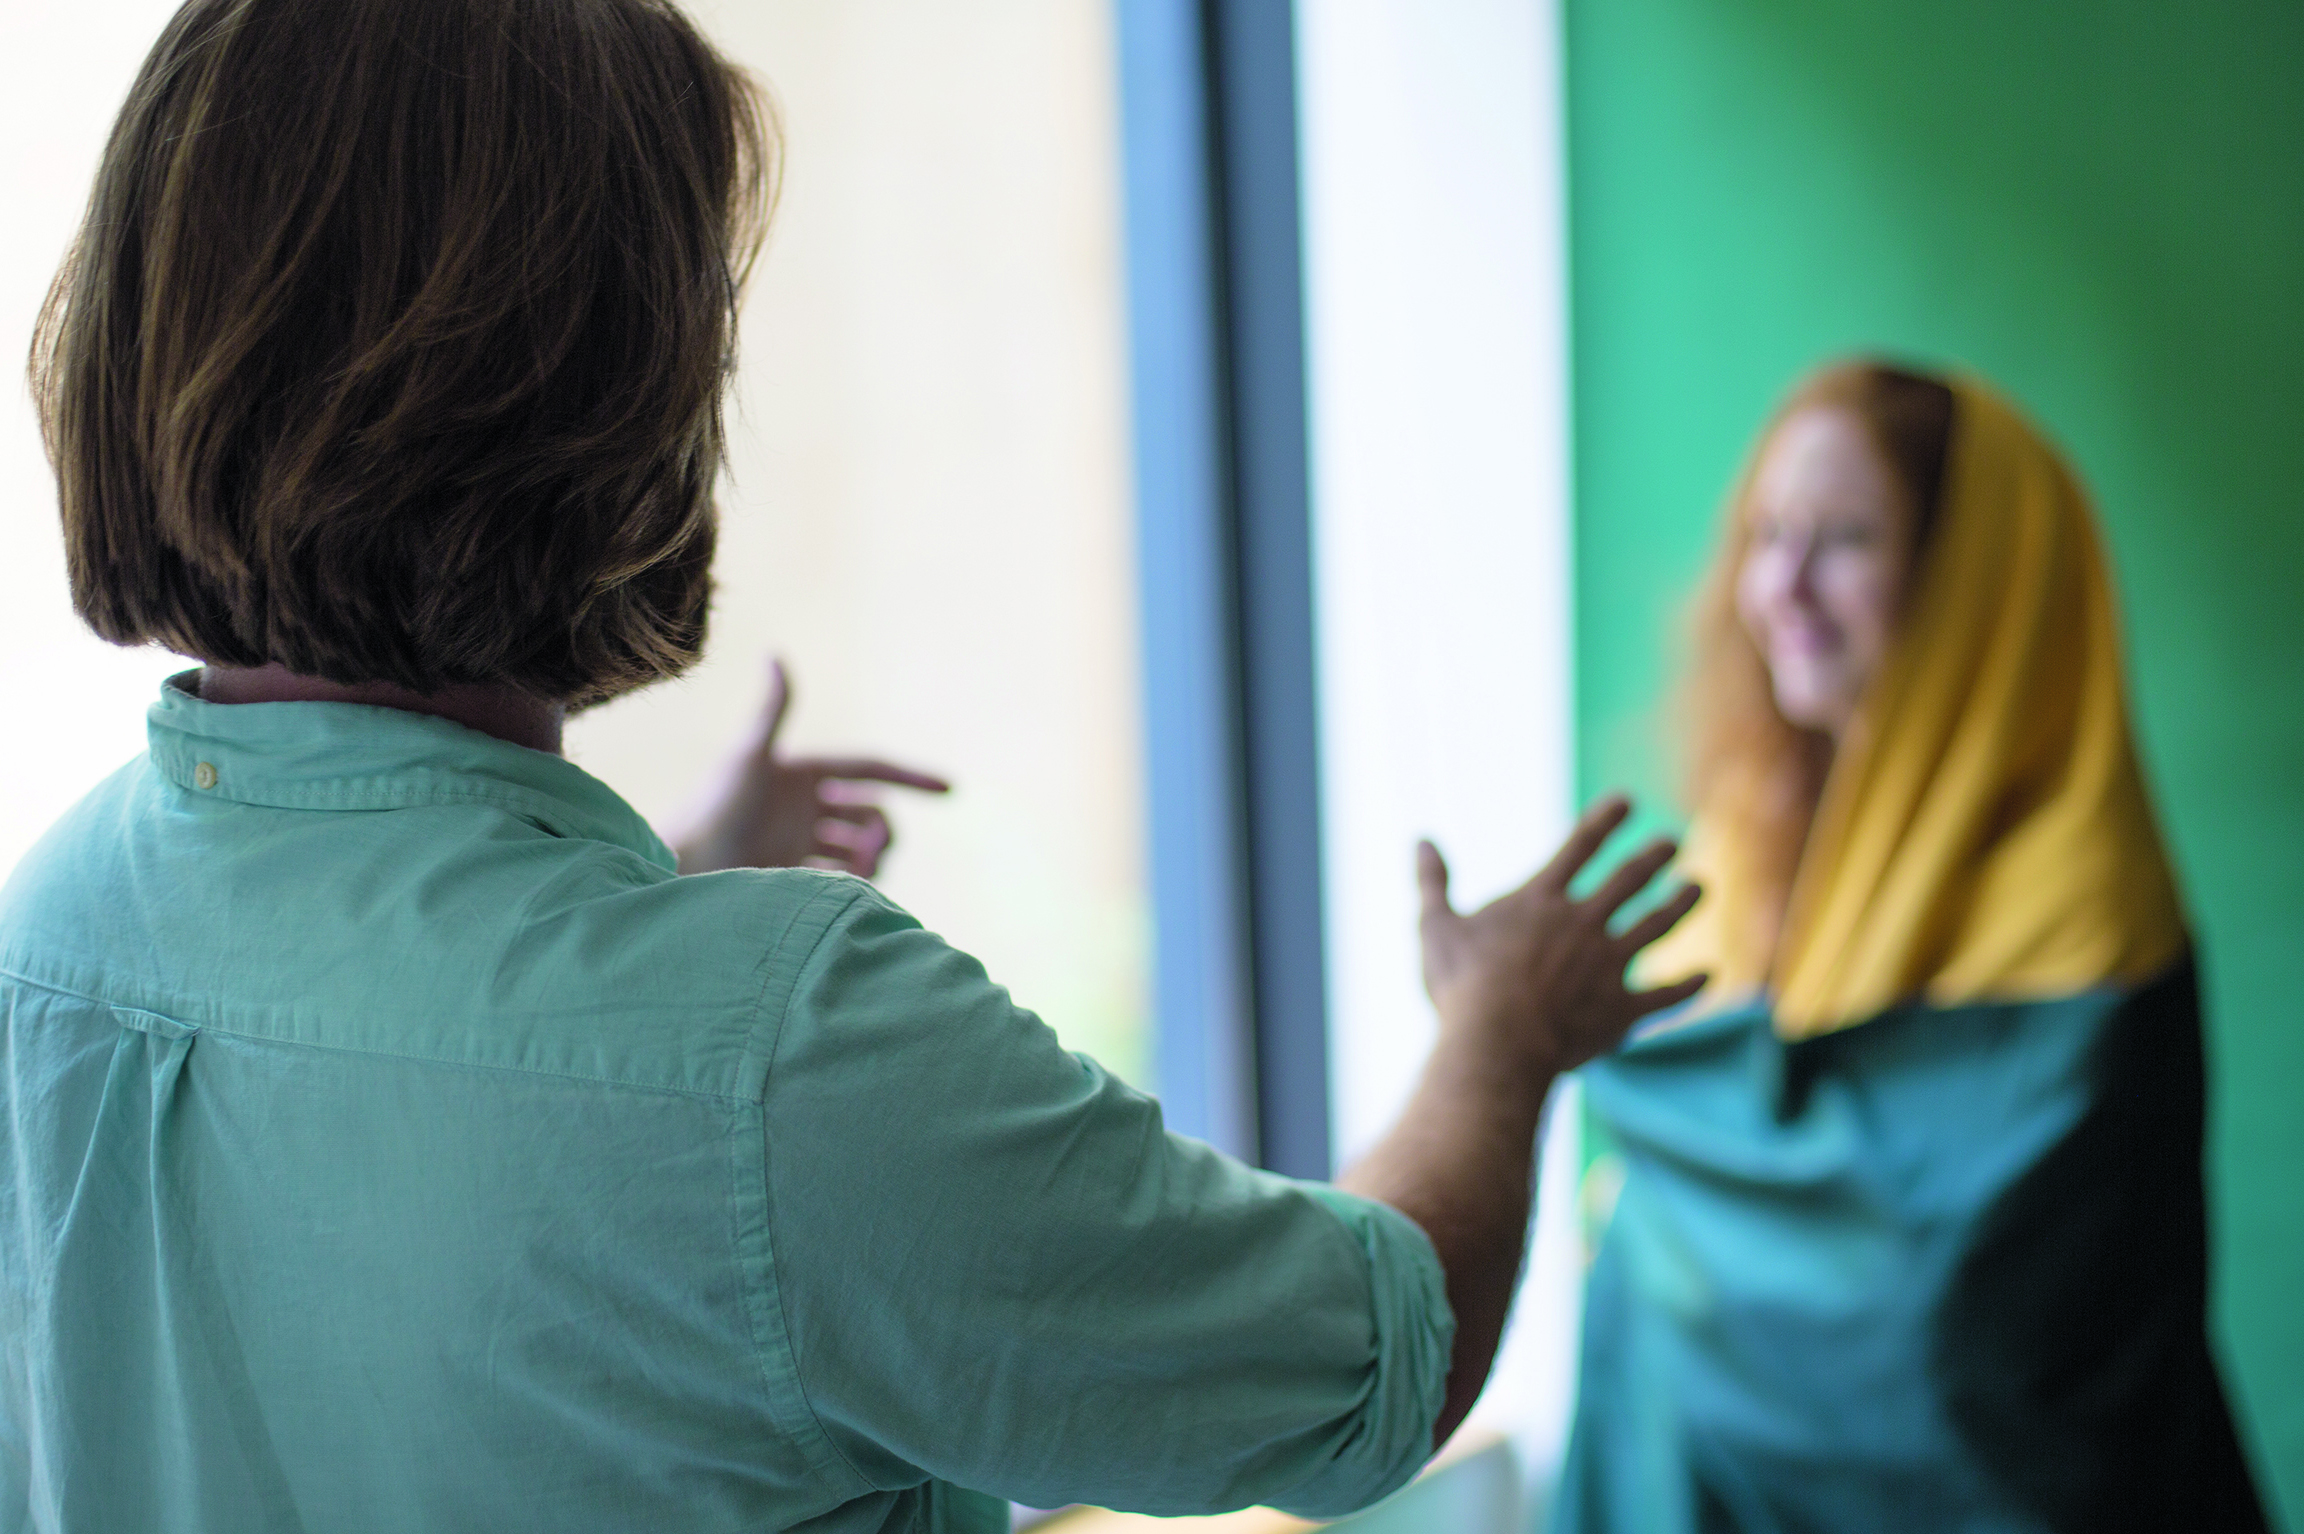
South-facing windows will provide the brightest light during most of the day in the northern hemisphere (the opposite is true for southern hemisphere). The bigger the window, the softer the light – and this technique works on overcast, rainy days as well as clear ones.
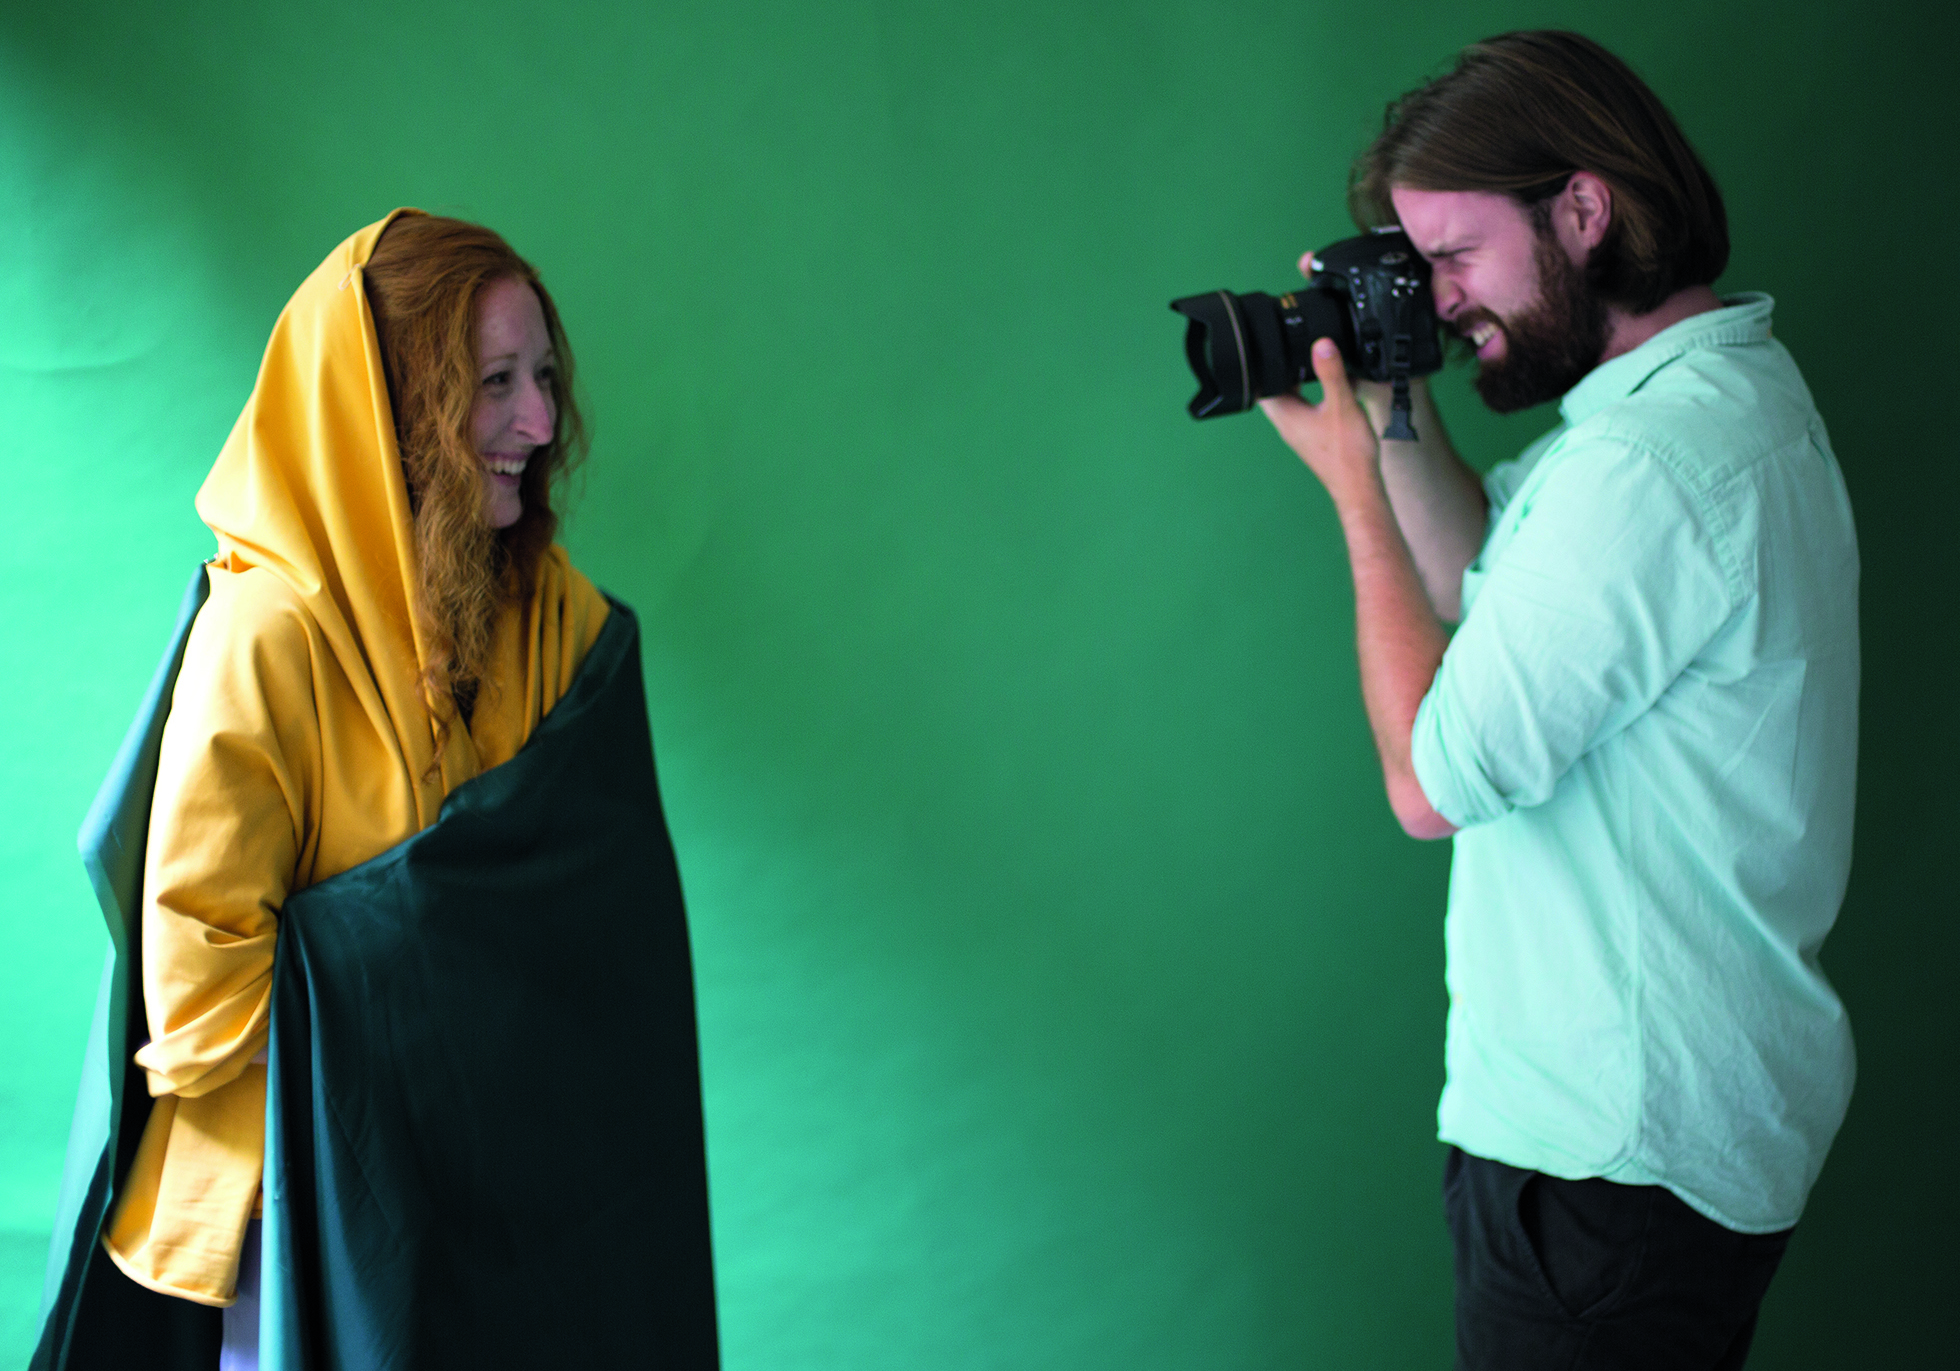
If you’re in a tight space, experiment with a wider focal length lens to fit everything in. You might not want to go down to the feet, but take enough shots to find a crop that you’re happy with. Longer focal lengths, on the other hand, will flatter the model’s features more.
3 LOCATION, LOCATION, LOCATION
Position your model a few steps from the window. Any further and the light falloff will be too great – you’ll end up having to raise the ISO and lose some dimensionality in the facial features. Stand the model a foot or so from the backdrop, turned three-quarters towards the camera.
4 SETTINGS
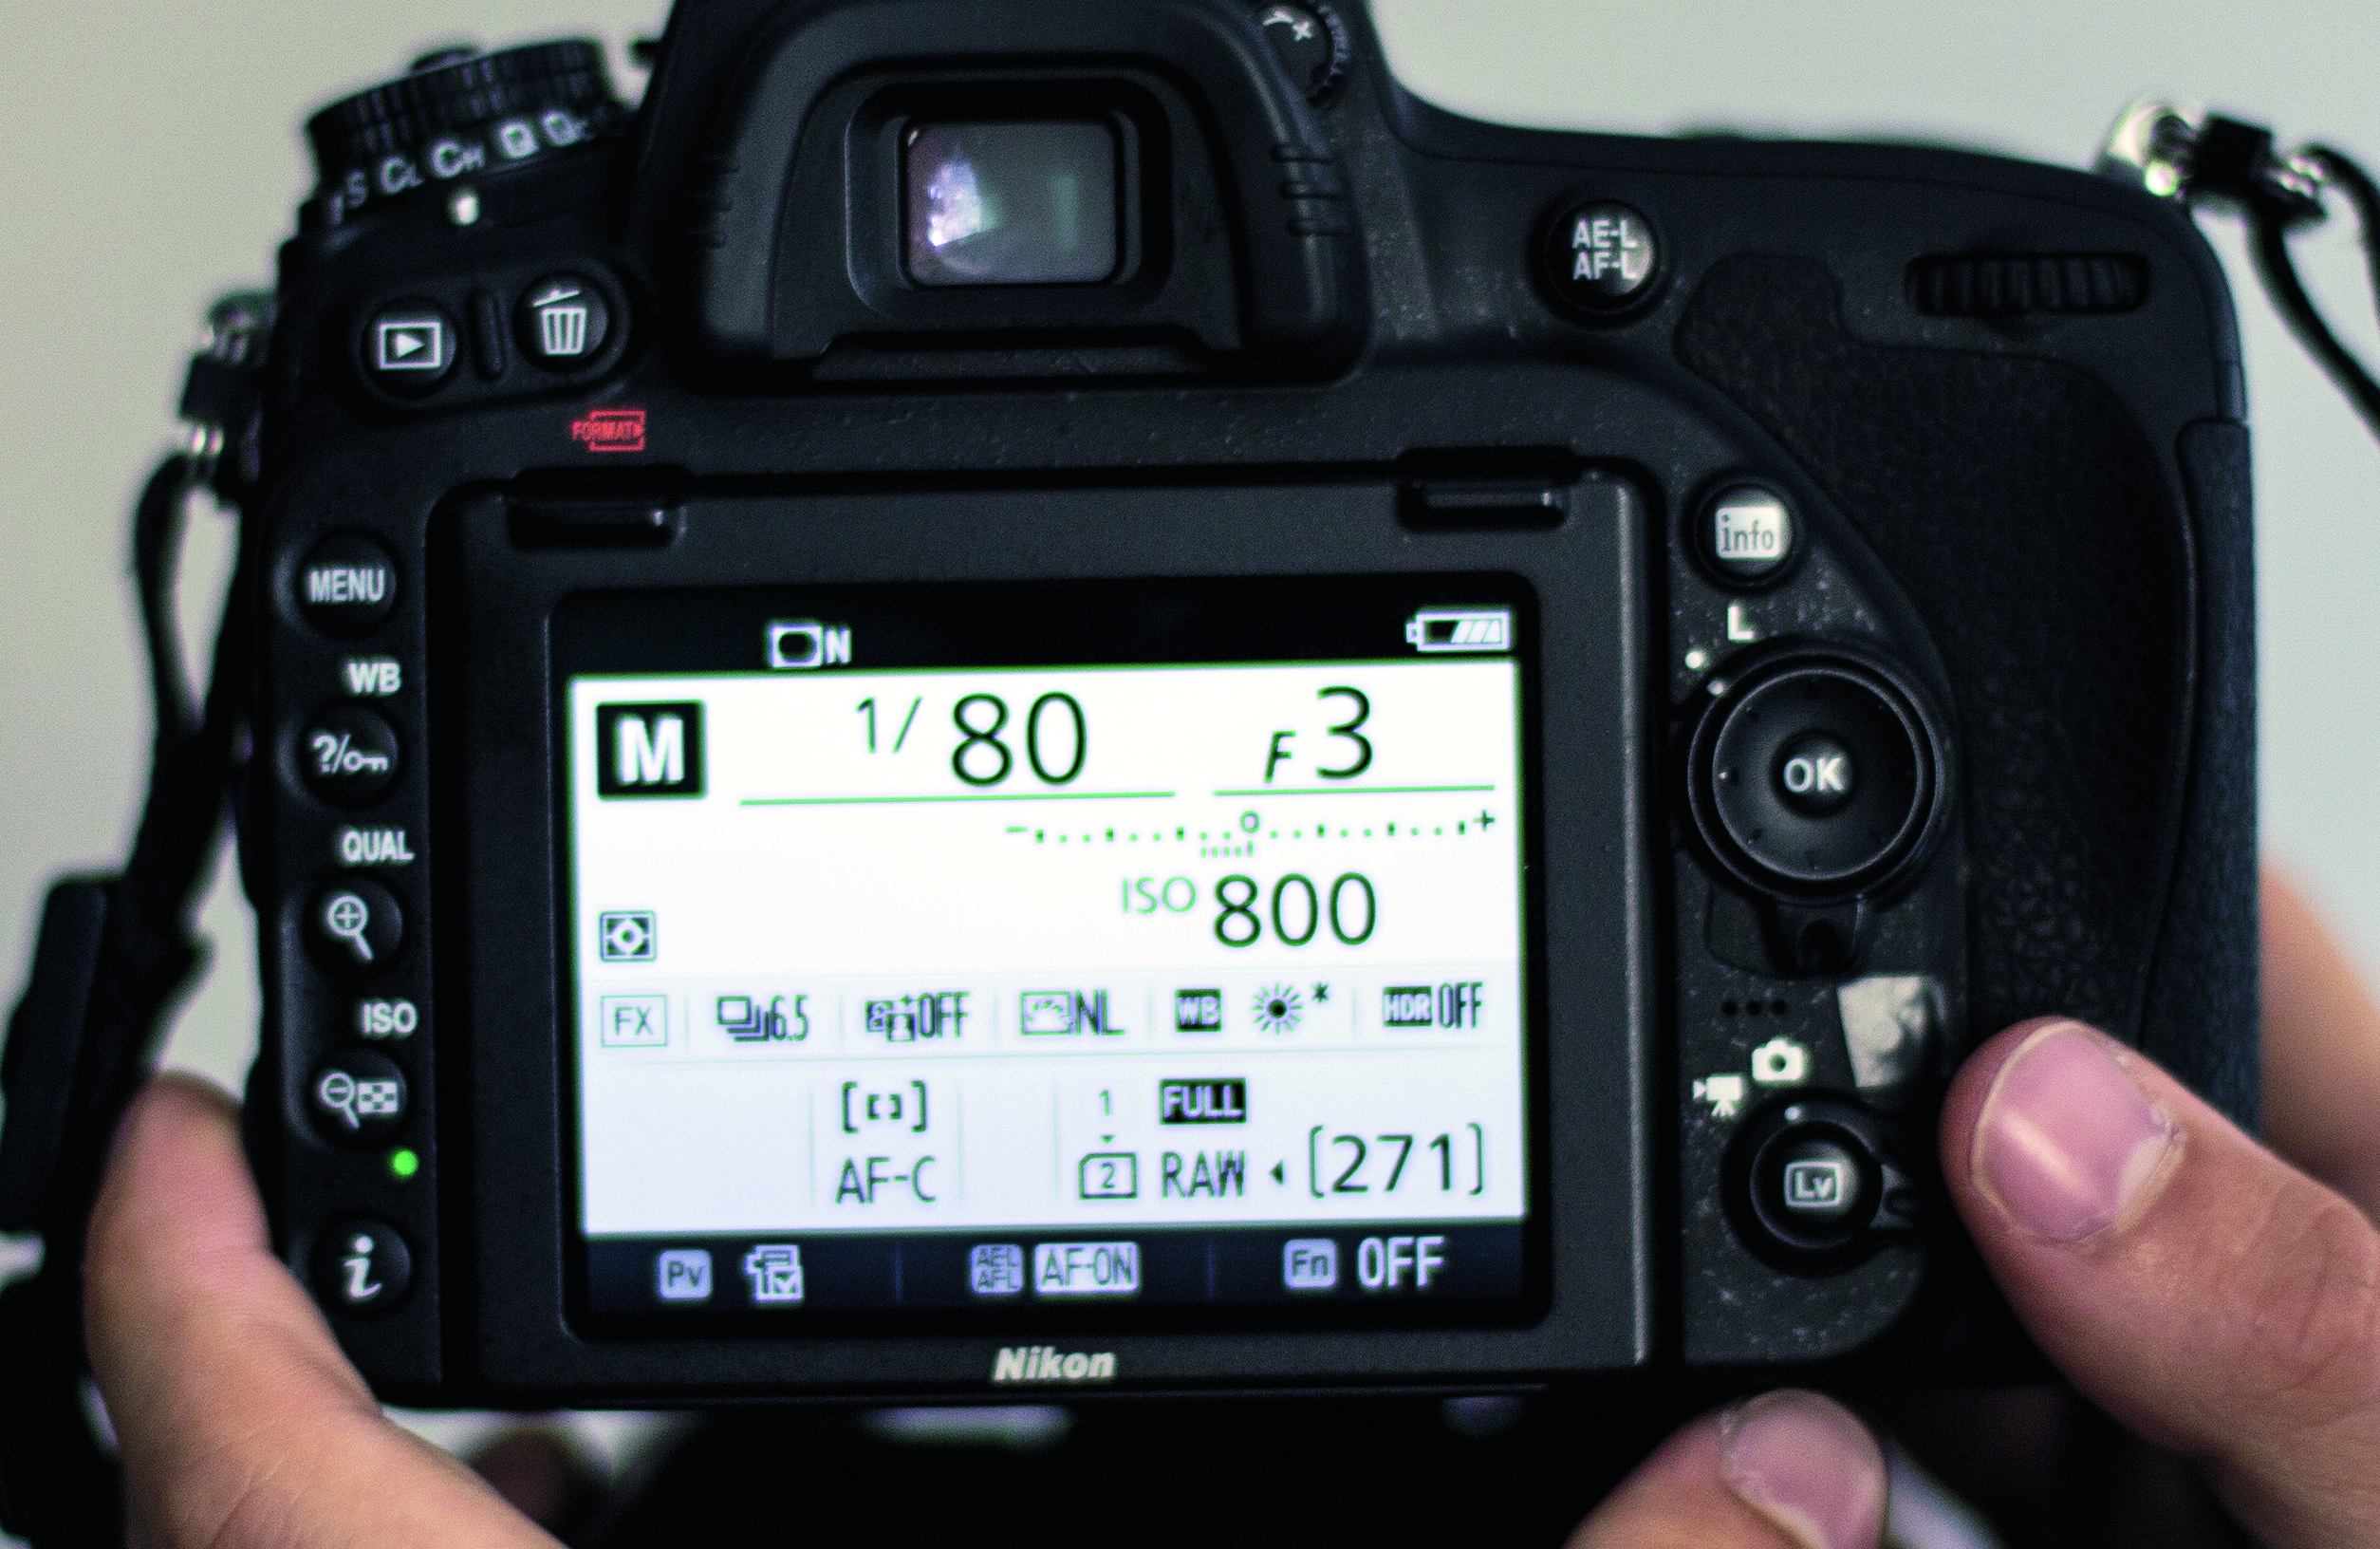
Set an aperture of f/5.6 or wider. The shutter speed should follow the law of reciprocals to your focal length (so, 1/50 sec for a 50mm lens) to avoid camera shake. Raise the ISO as needed, though if you need to go above ISO800, move your model closer to the window.
5 BREATH OF FRESH AIR
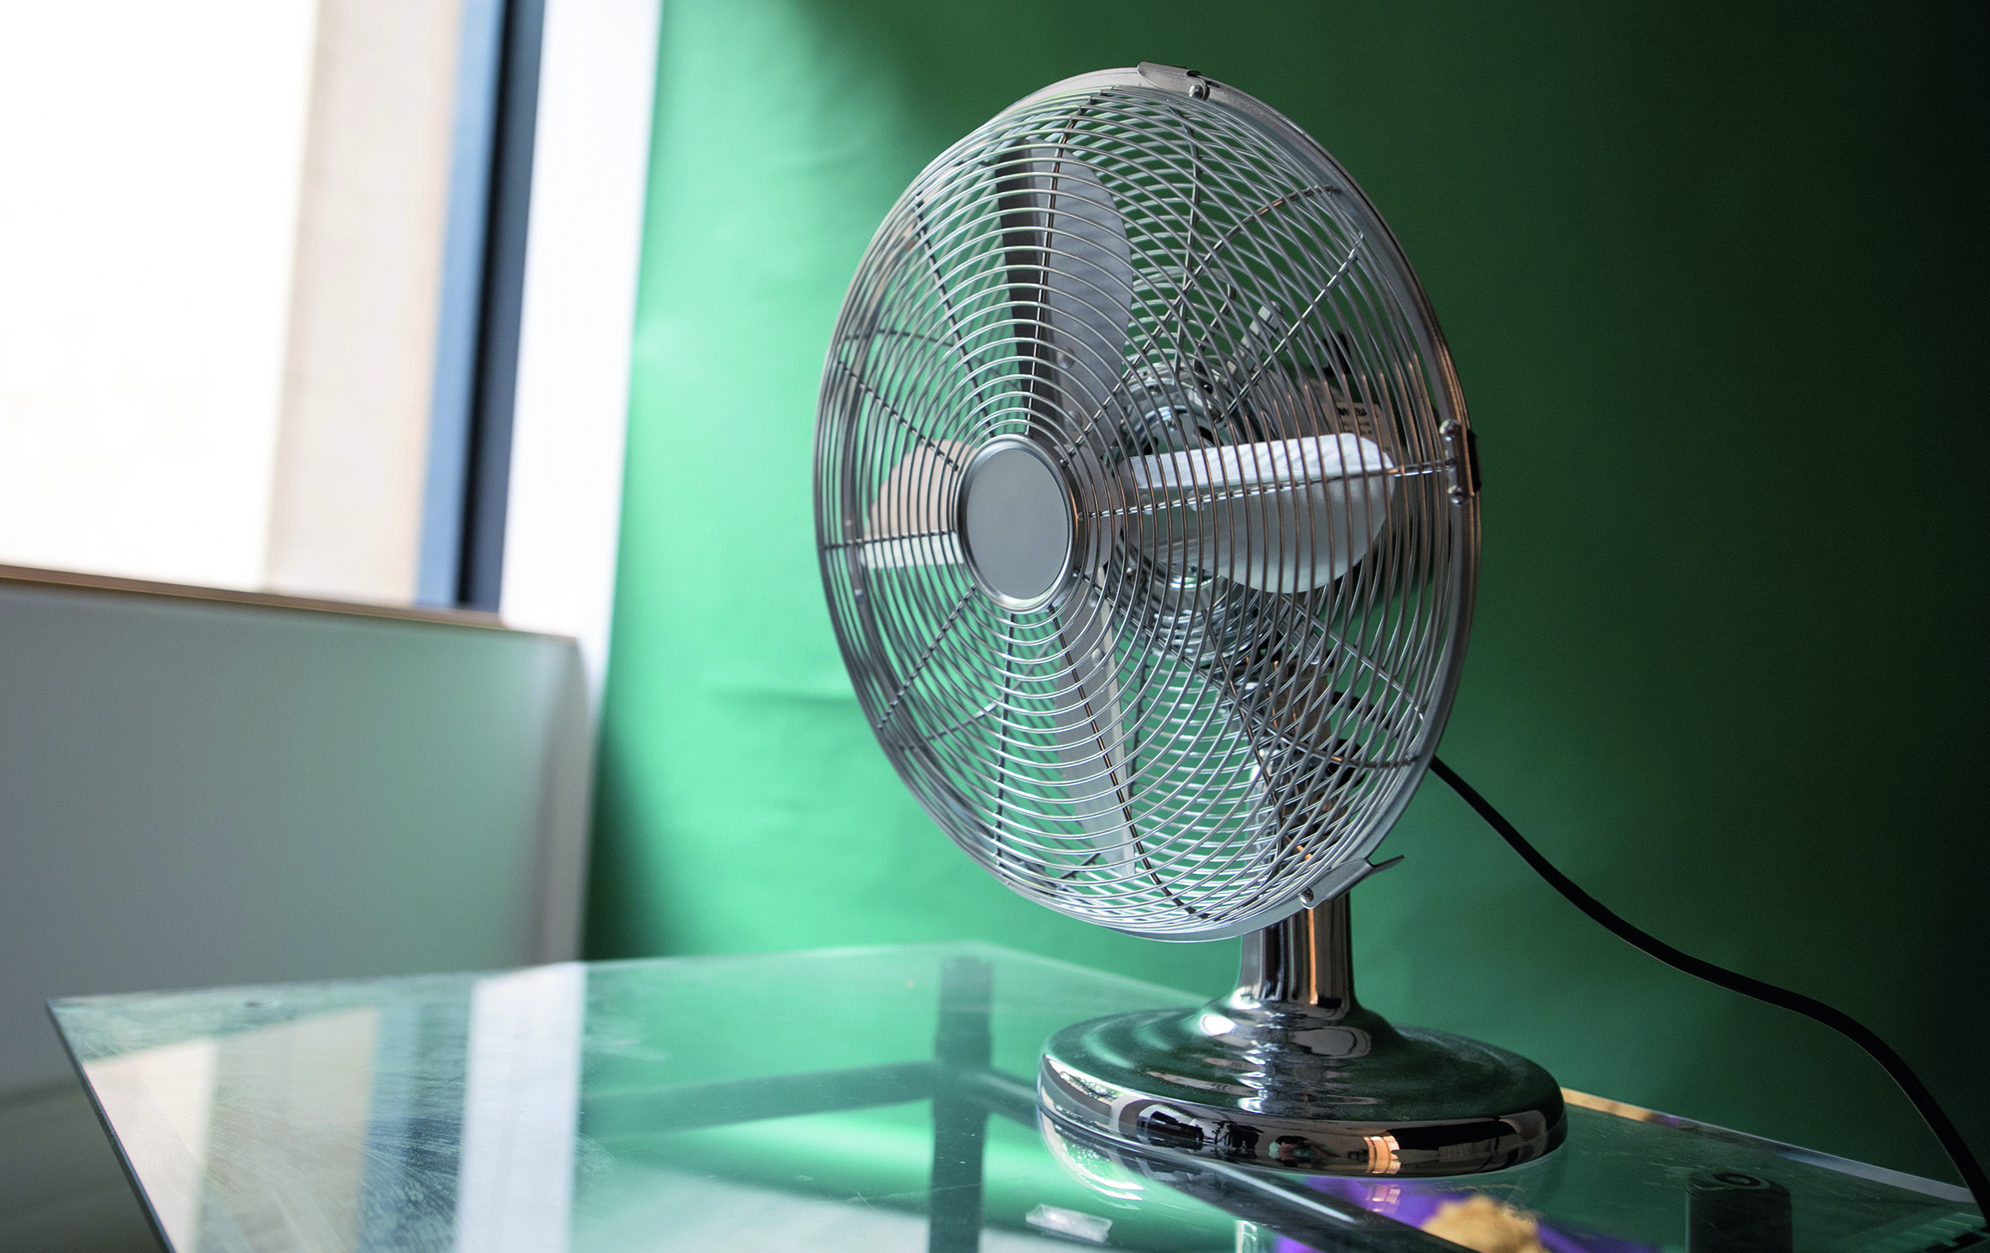
With the simple lighting set-up and plain backdrop it’s easy for this to become a still-life. To add dynamism to your portrait, introduce some wind to move the hair and fabric. Alternatively, you could have someone waft air in your model’s direction with a reflector.
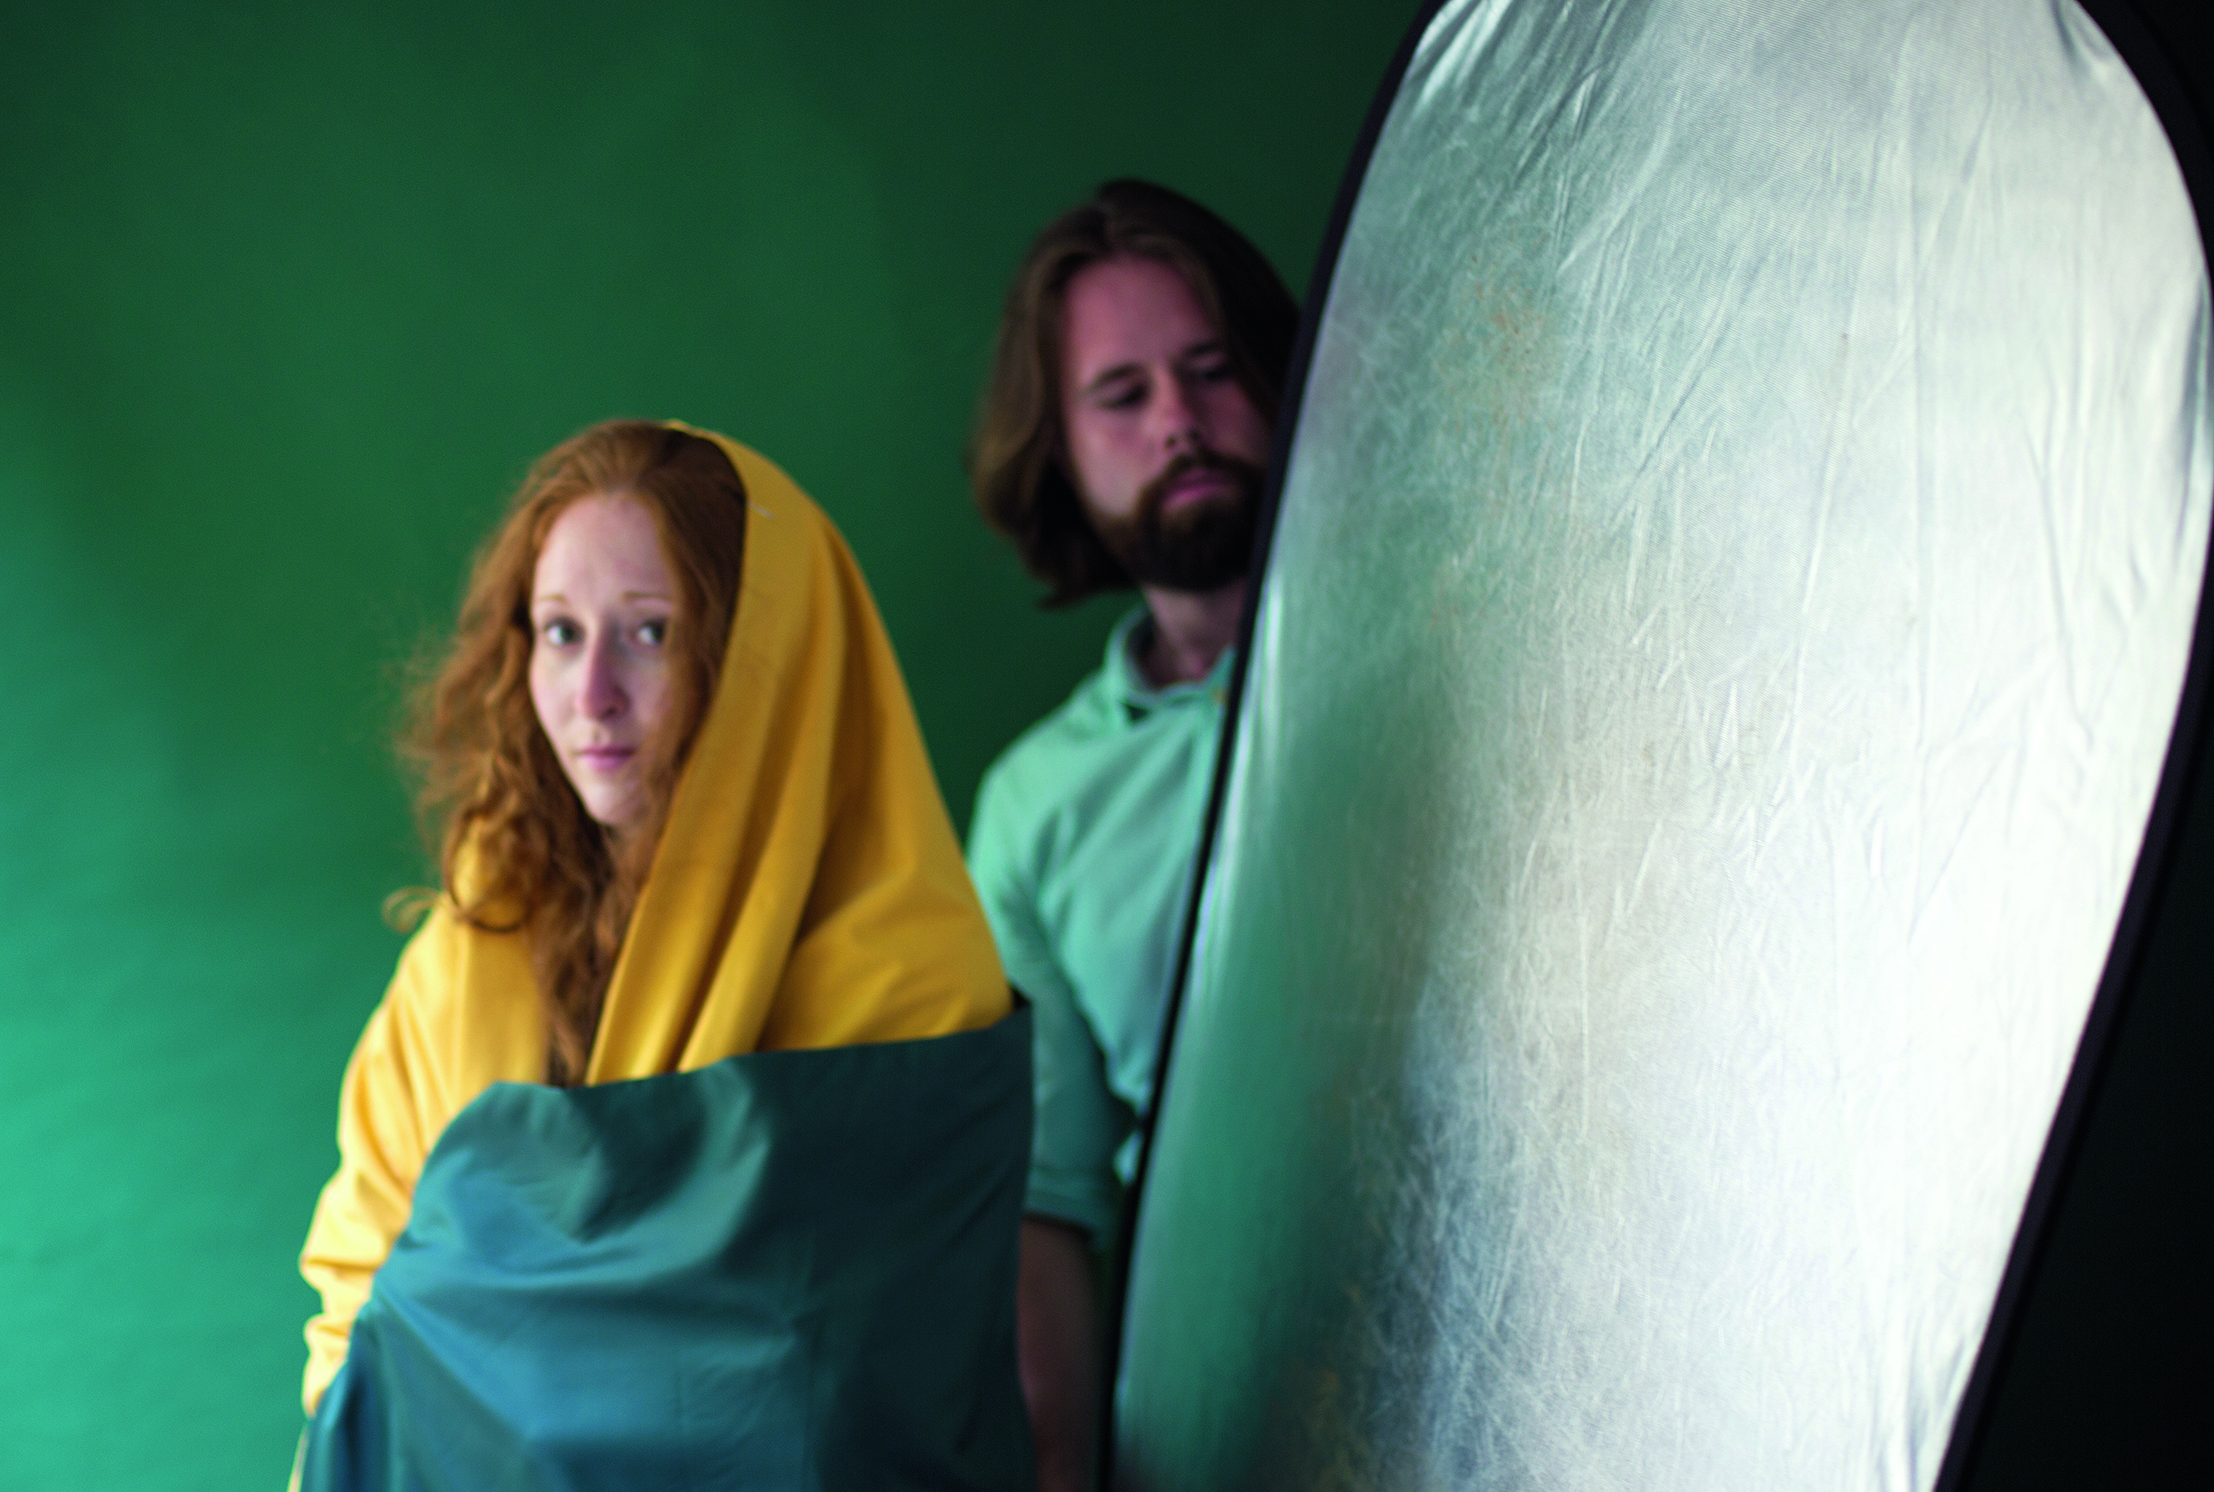
6 BOUNCE SOME LIGHT
If the shadows are too dark on the side of your model’s face, use a reflector to bounce some of the sunlight back in. Be careful not to rid your image of all shadows, though, because the shadows add depth and form to the fabric, and give that Old Master look.
Get the Digital Camera World Newsletter
The best camera deals, reviews, product advice, and unmissable photography news, direct to your inbox!
N-Photo: The Nikon Magazine is a monthly publication that's entirely dedicated to Nikon users. As a 100% independent magazine, you can be assured of unbiased opinion from a trustworthy team of devoted photography experts including editor Adam Waring and Deputy Editor Mike Harris.
Aimed at all users, from camera newcomers to working pros, every issue is packed with practical, Nikon-specific advice for taking better photos, in-depth reviews of Nikon-compatible gear, and inspiring projects and exciting video lessons for mastering camera, lens and Photoshop techniques.
Written by Nikon users for Nikon users, N-Photo is your one-stop shop for everything to do with cameras, lenses, tripods, bags, tips, tricks and techniques to get the most out of your photography.

