Lockdown projects: Create amazing abstracts at home
Bored of shooting the same stuff at home? Get out of that creative rut, without having to get out of the house
More lockdown projects
• Home photography projects
• Photo projects to try indoors
• Photography tips, tutorials and videos
Useful home photography kit
• Best tripods
• Best lighting kits
• Best reflectors
• Best macro lenses
While it can be hard to follow the latest lockdown logic, one thing you can rely on is our content dedicated to enjoying photography at home. No mixed messages from us – just regular encouragement to keep calm and camera on!
Here we'll show you how to shoot abstract images of everyday objects in your home, and exercise your creative muscle at the same time – and of course, the most difficult part of being creative at home is getting started.
As a portrait photographer I mainly work outdoors, or on location with a larger team, so I initially felt a little stuck creating a project at home. This is usually the case when I’m presented with a project that doesn’t involve other people to photograph or bounce around a few ideas.
I always intended to create an abstract project. In the past we used to joke that if something didn’t quite go to plan, “Just turn it black and white, add some grain and call it art.” Joking aside, it’s best not to think about it for too long – just pick up your camera and start taking photos.
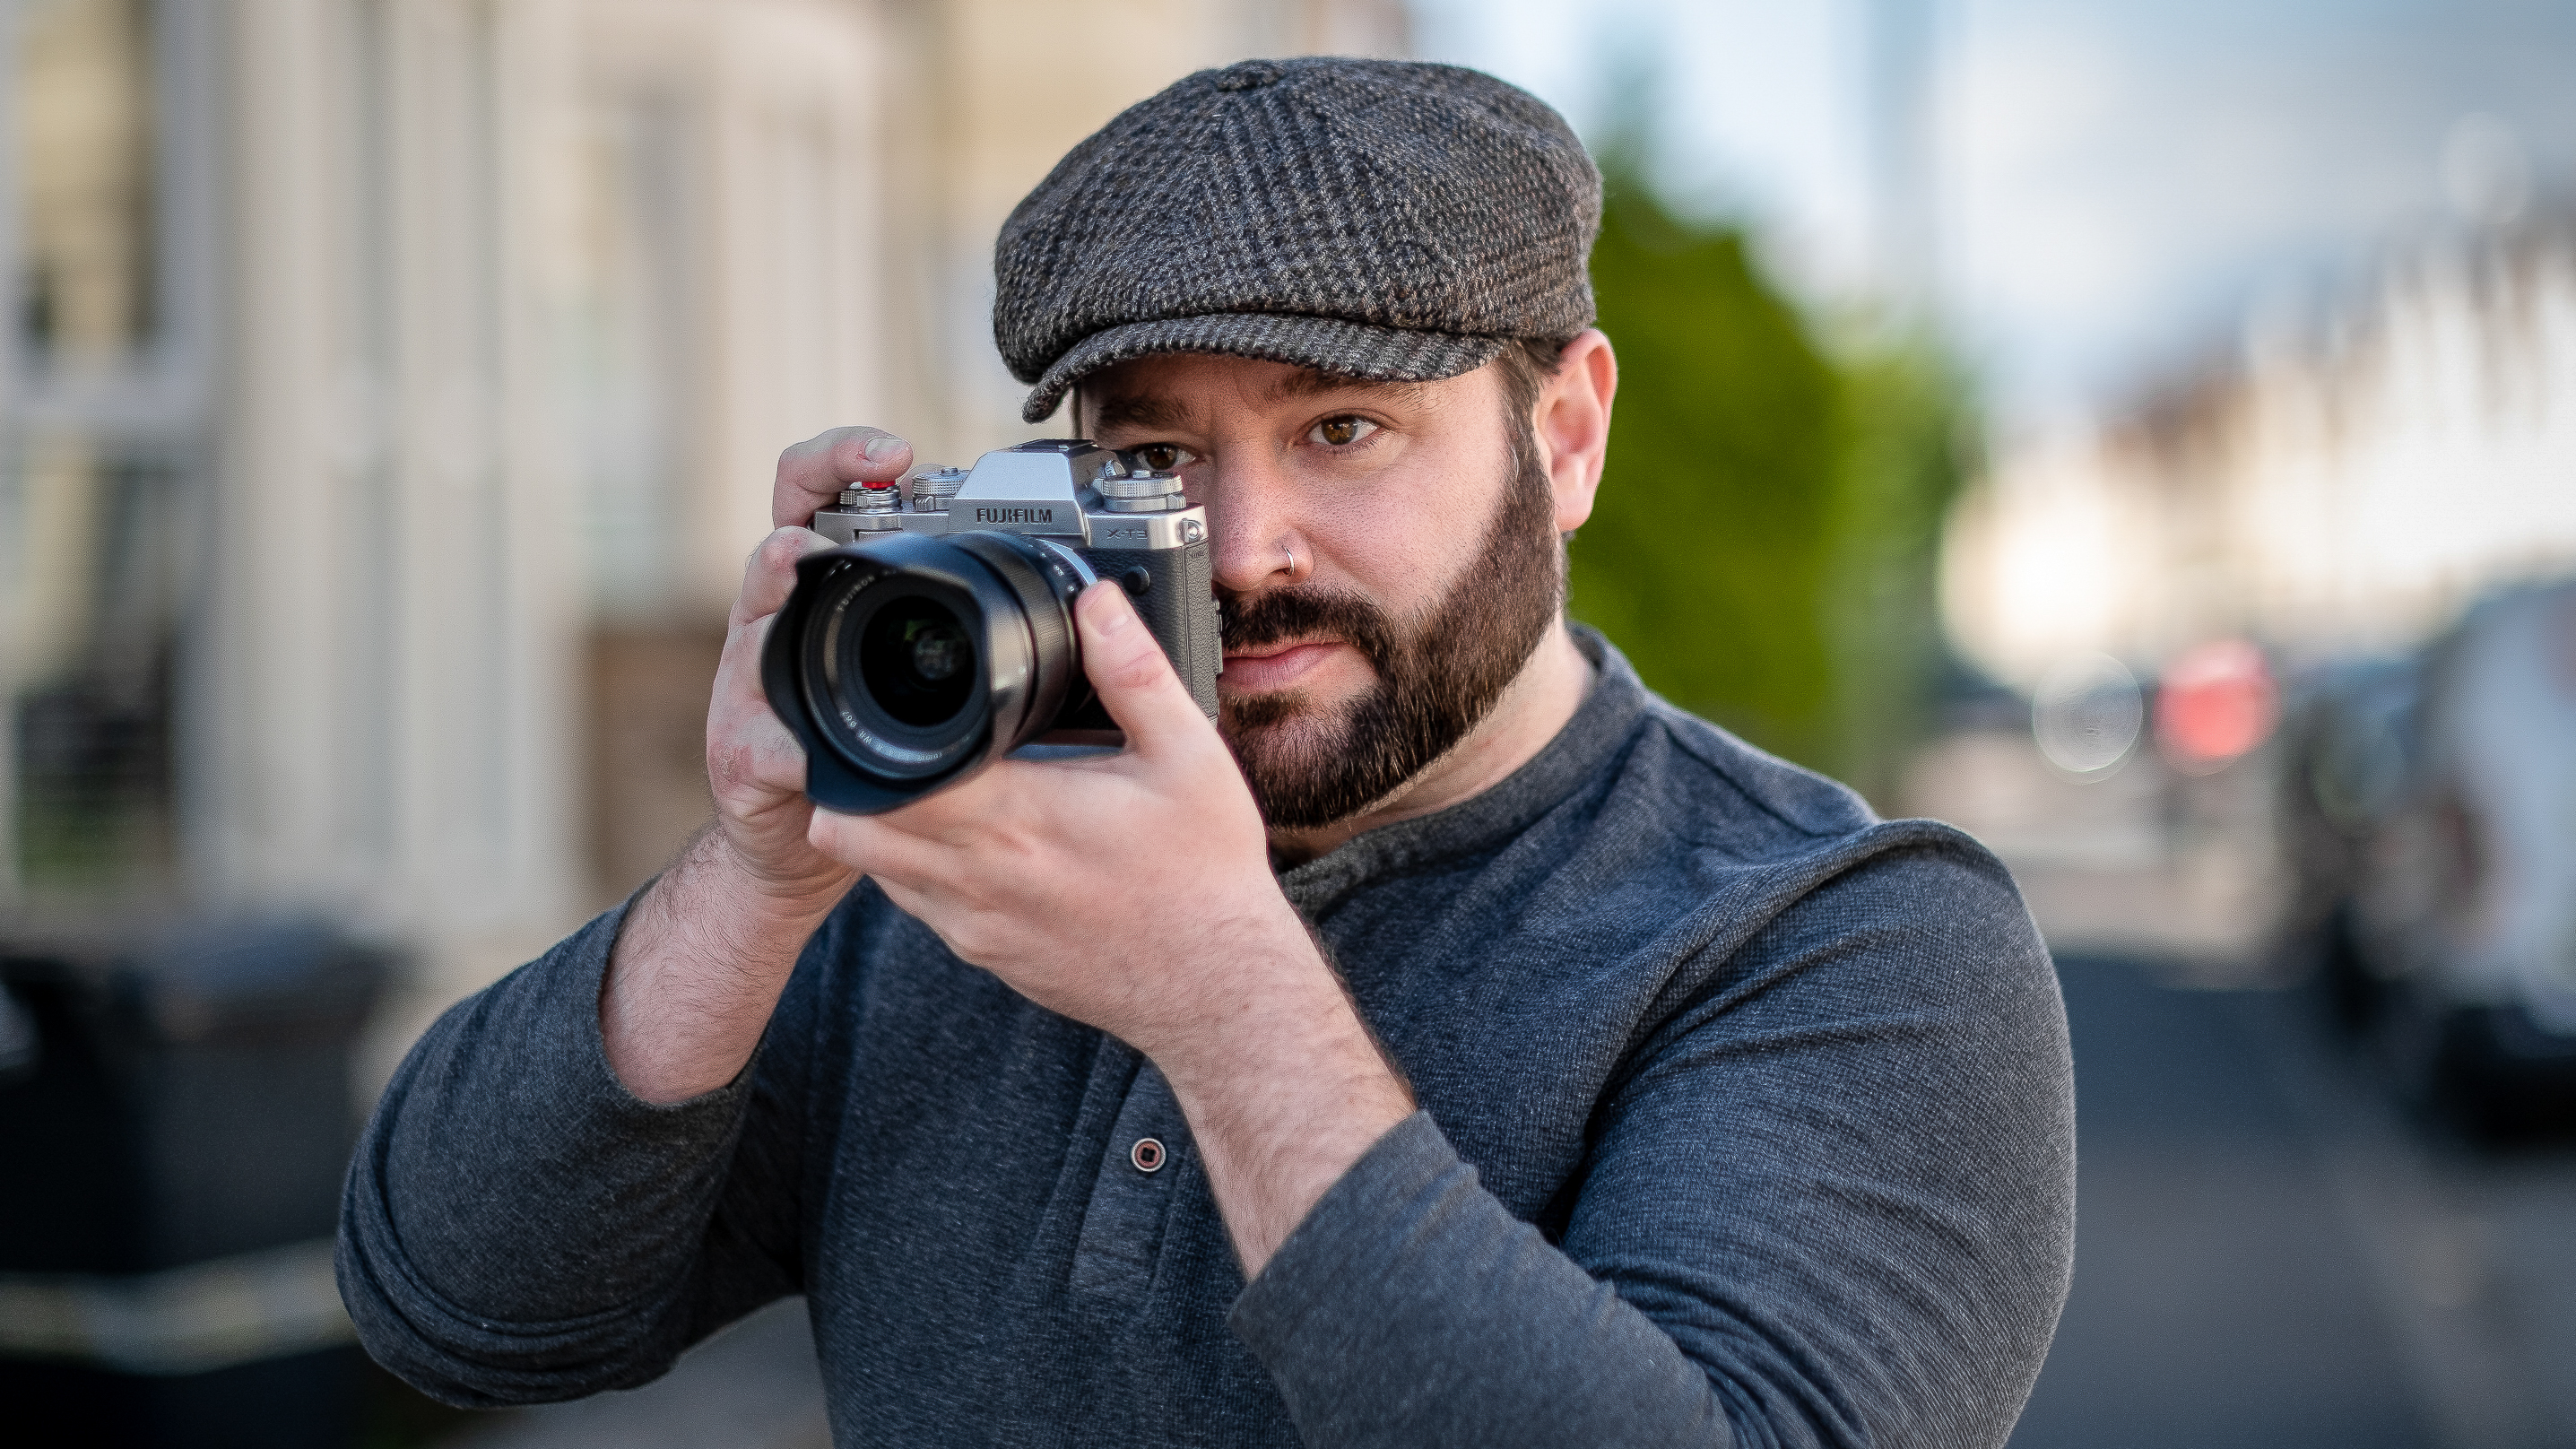
I recently acquired the Fujinon 56mm f/1.2 WR, which is an incredible lens for shooting photography, portraits and blurry close-ups due to its extremely fast aperture. I stuck it on my Fujifilm X-T3 and started snapping away. After the first few shots, I noticed that the lens could be quite slow to focus, especially if I was close. In this moment, my project began to take shape – and the best part is that you barely need any kit! Just relax and have fun snapping around the house…
Step-by-step guide to creating abstract shots
It doesn’t matter what you take photos of: just find the minimal focal distance of your lens, then lean in further. Anything with some light or color will work. If you can’t get your camera to shoot while out of focus, which might be the case, don't worry – there's a Photoshop hack that will give you a similar result: simply bring your images into your image editor and overlay some Gaussian Blur.
01 Think about the lighting
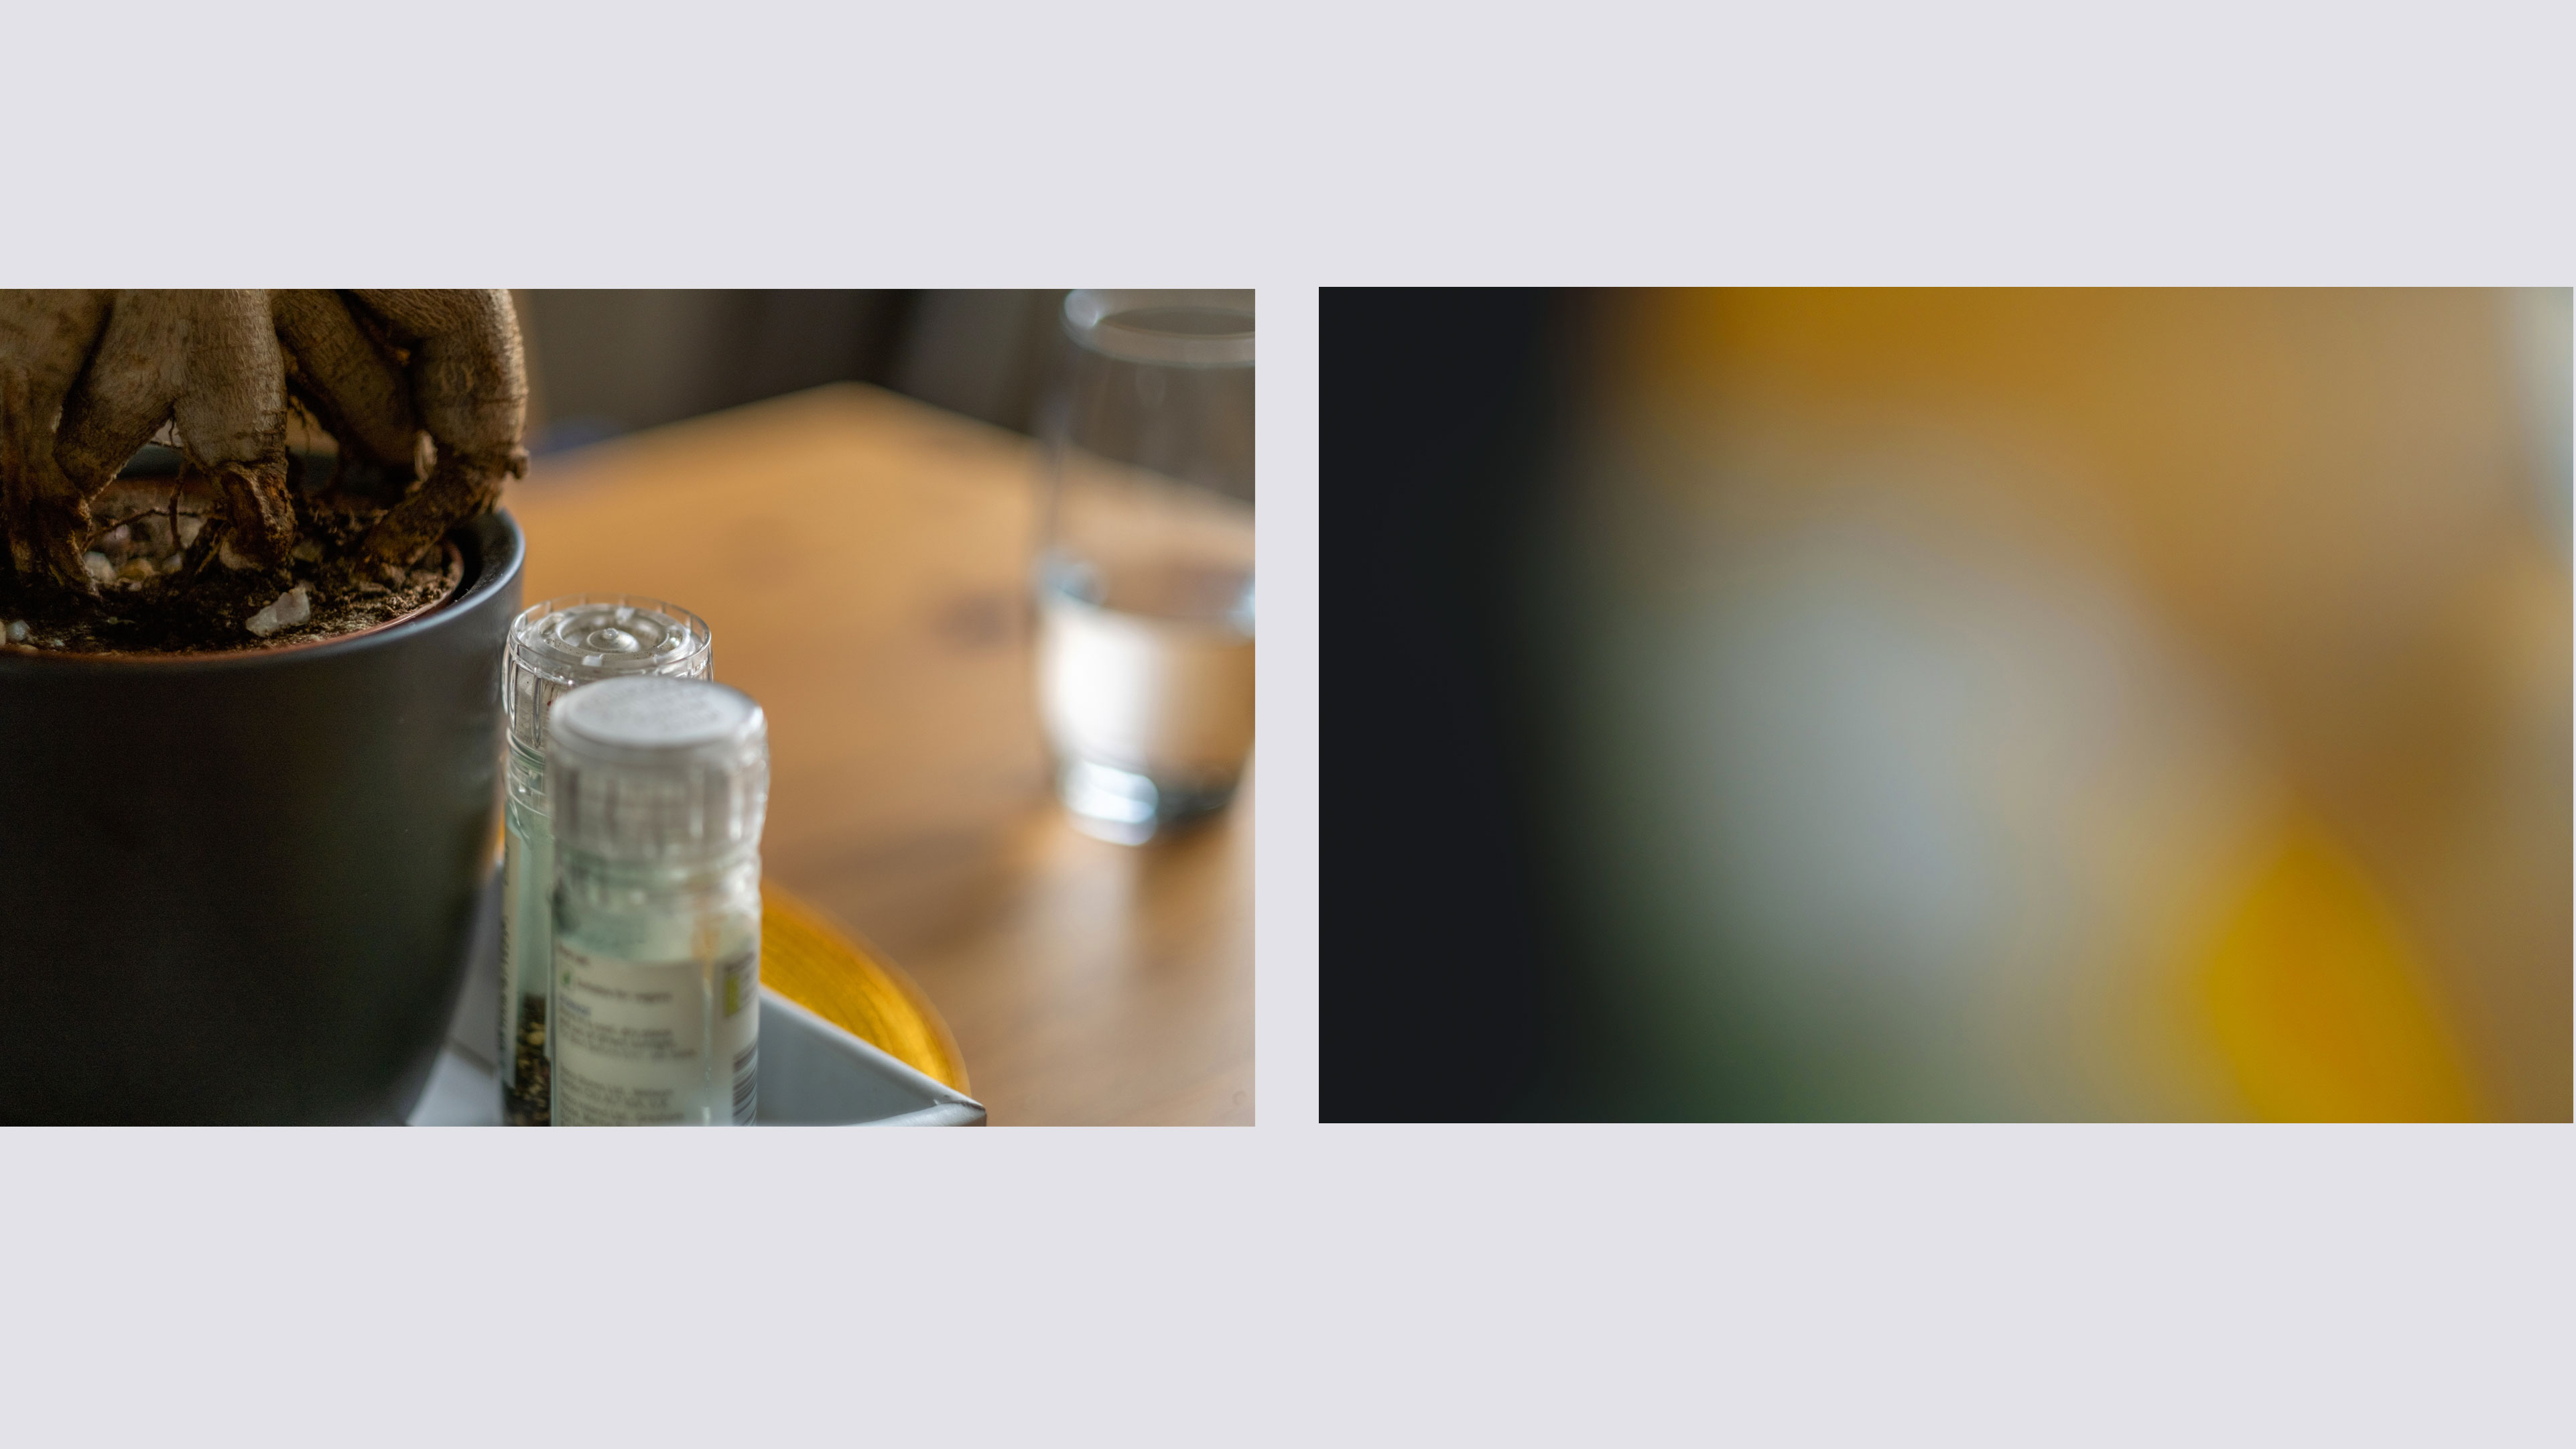
I saw the salt and pepper pots on our table. The see-through plastic pots stood
out against the darker plant pot and wooden table behind. Originally I had shot into the light of the window on the right, but it just became a huge white scene, with little or no detail. Having different levels of light across the image pulled it together.
02 Seeing creative patterns
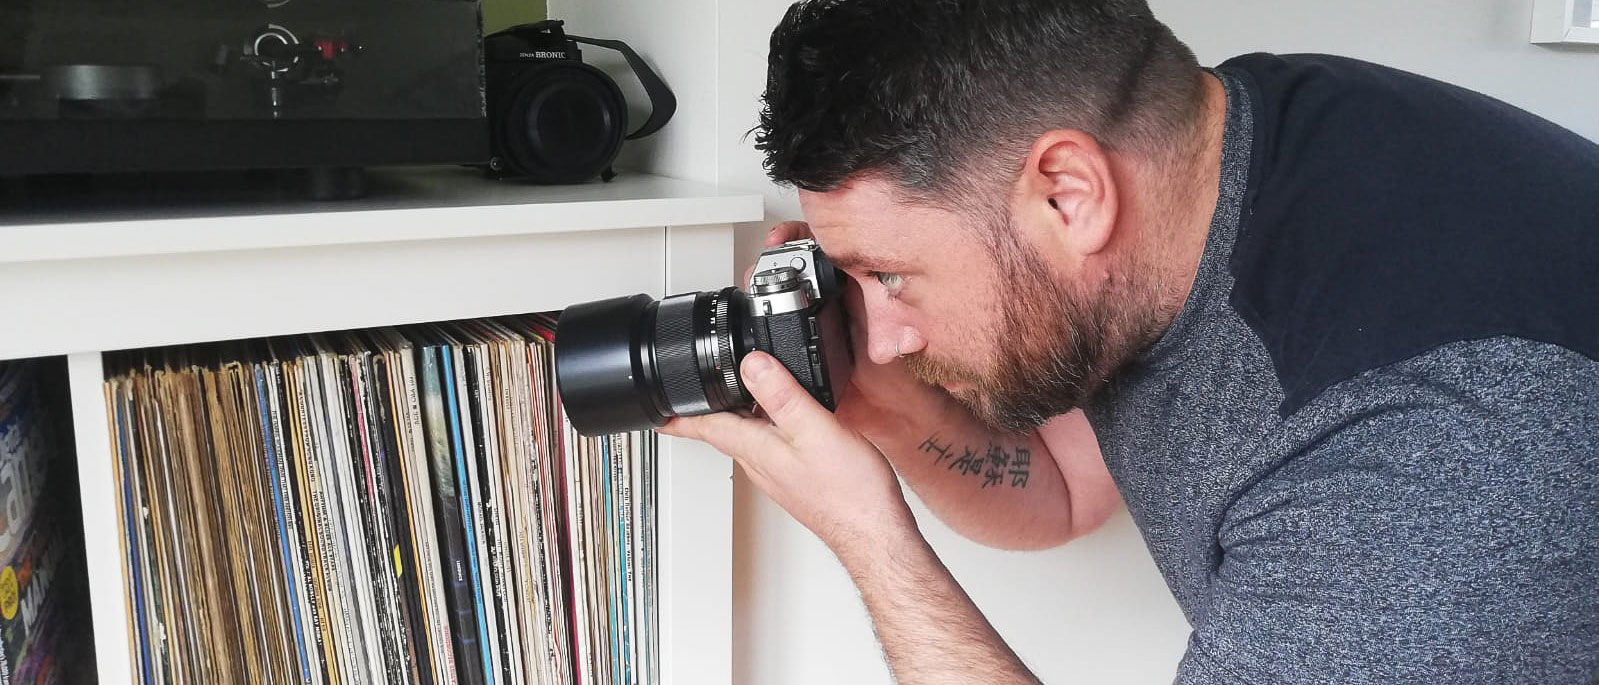
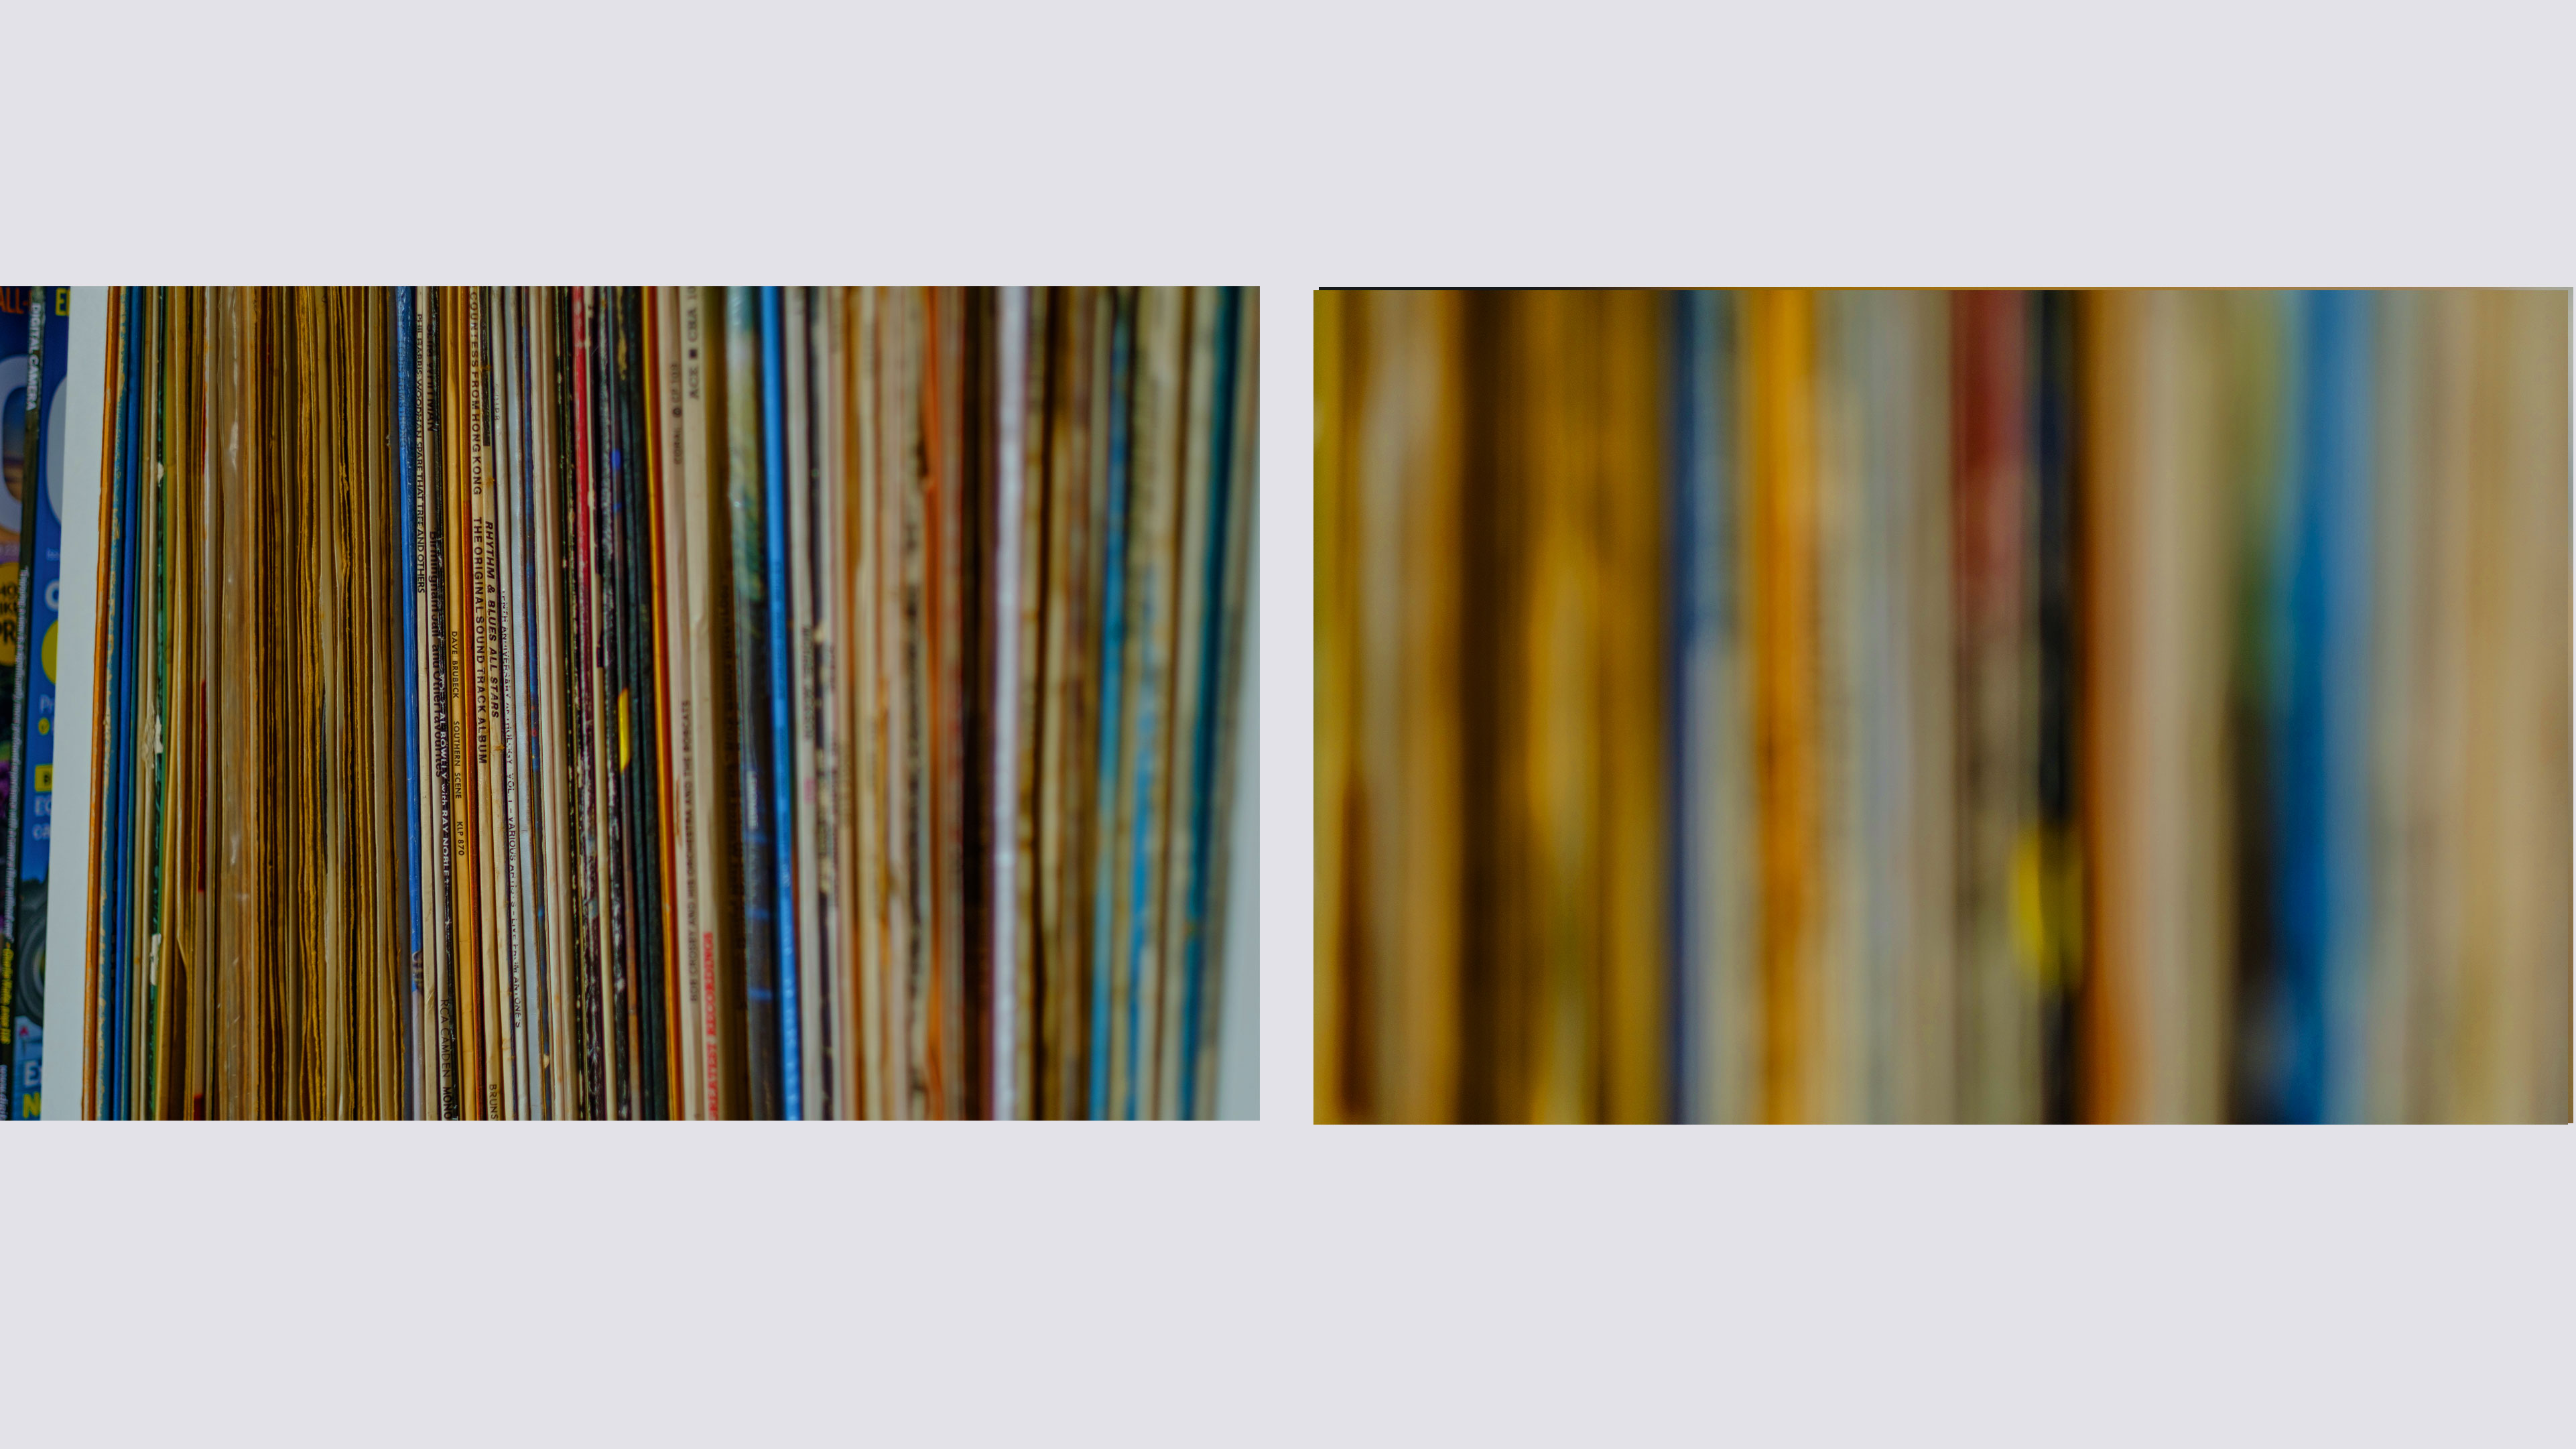
I’ve always seen great poster-style photos of books on bookcases or records on
shelving, so I tried this next. I wanted to shoot quickly without thinking too much. A little like running, once you stop, it’s hard to get going again. Keep moving around your subject matter and try not to worry about what the object looks like until it’s blurry.
03 Look for contrast
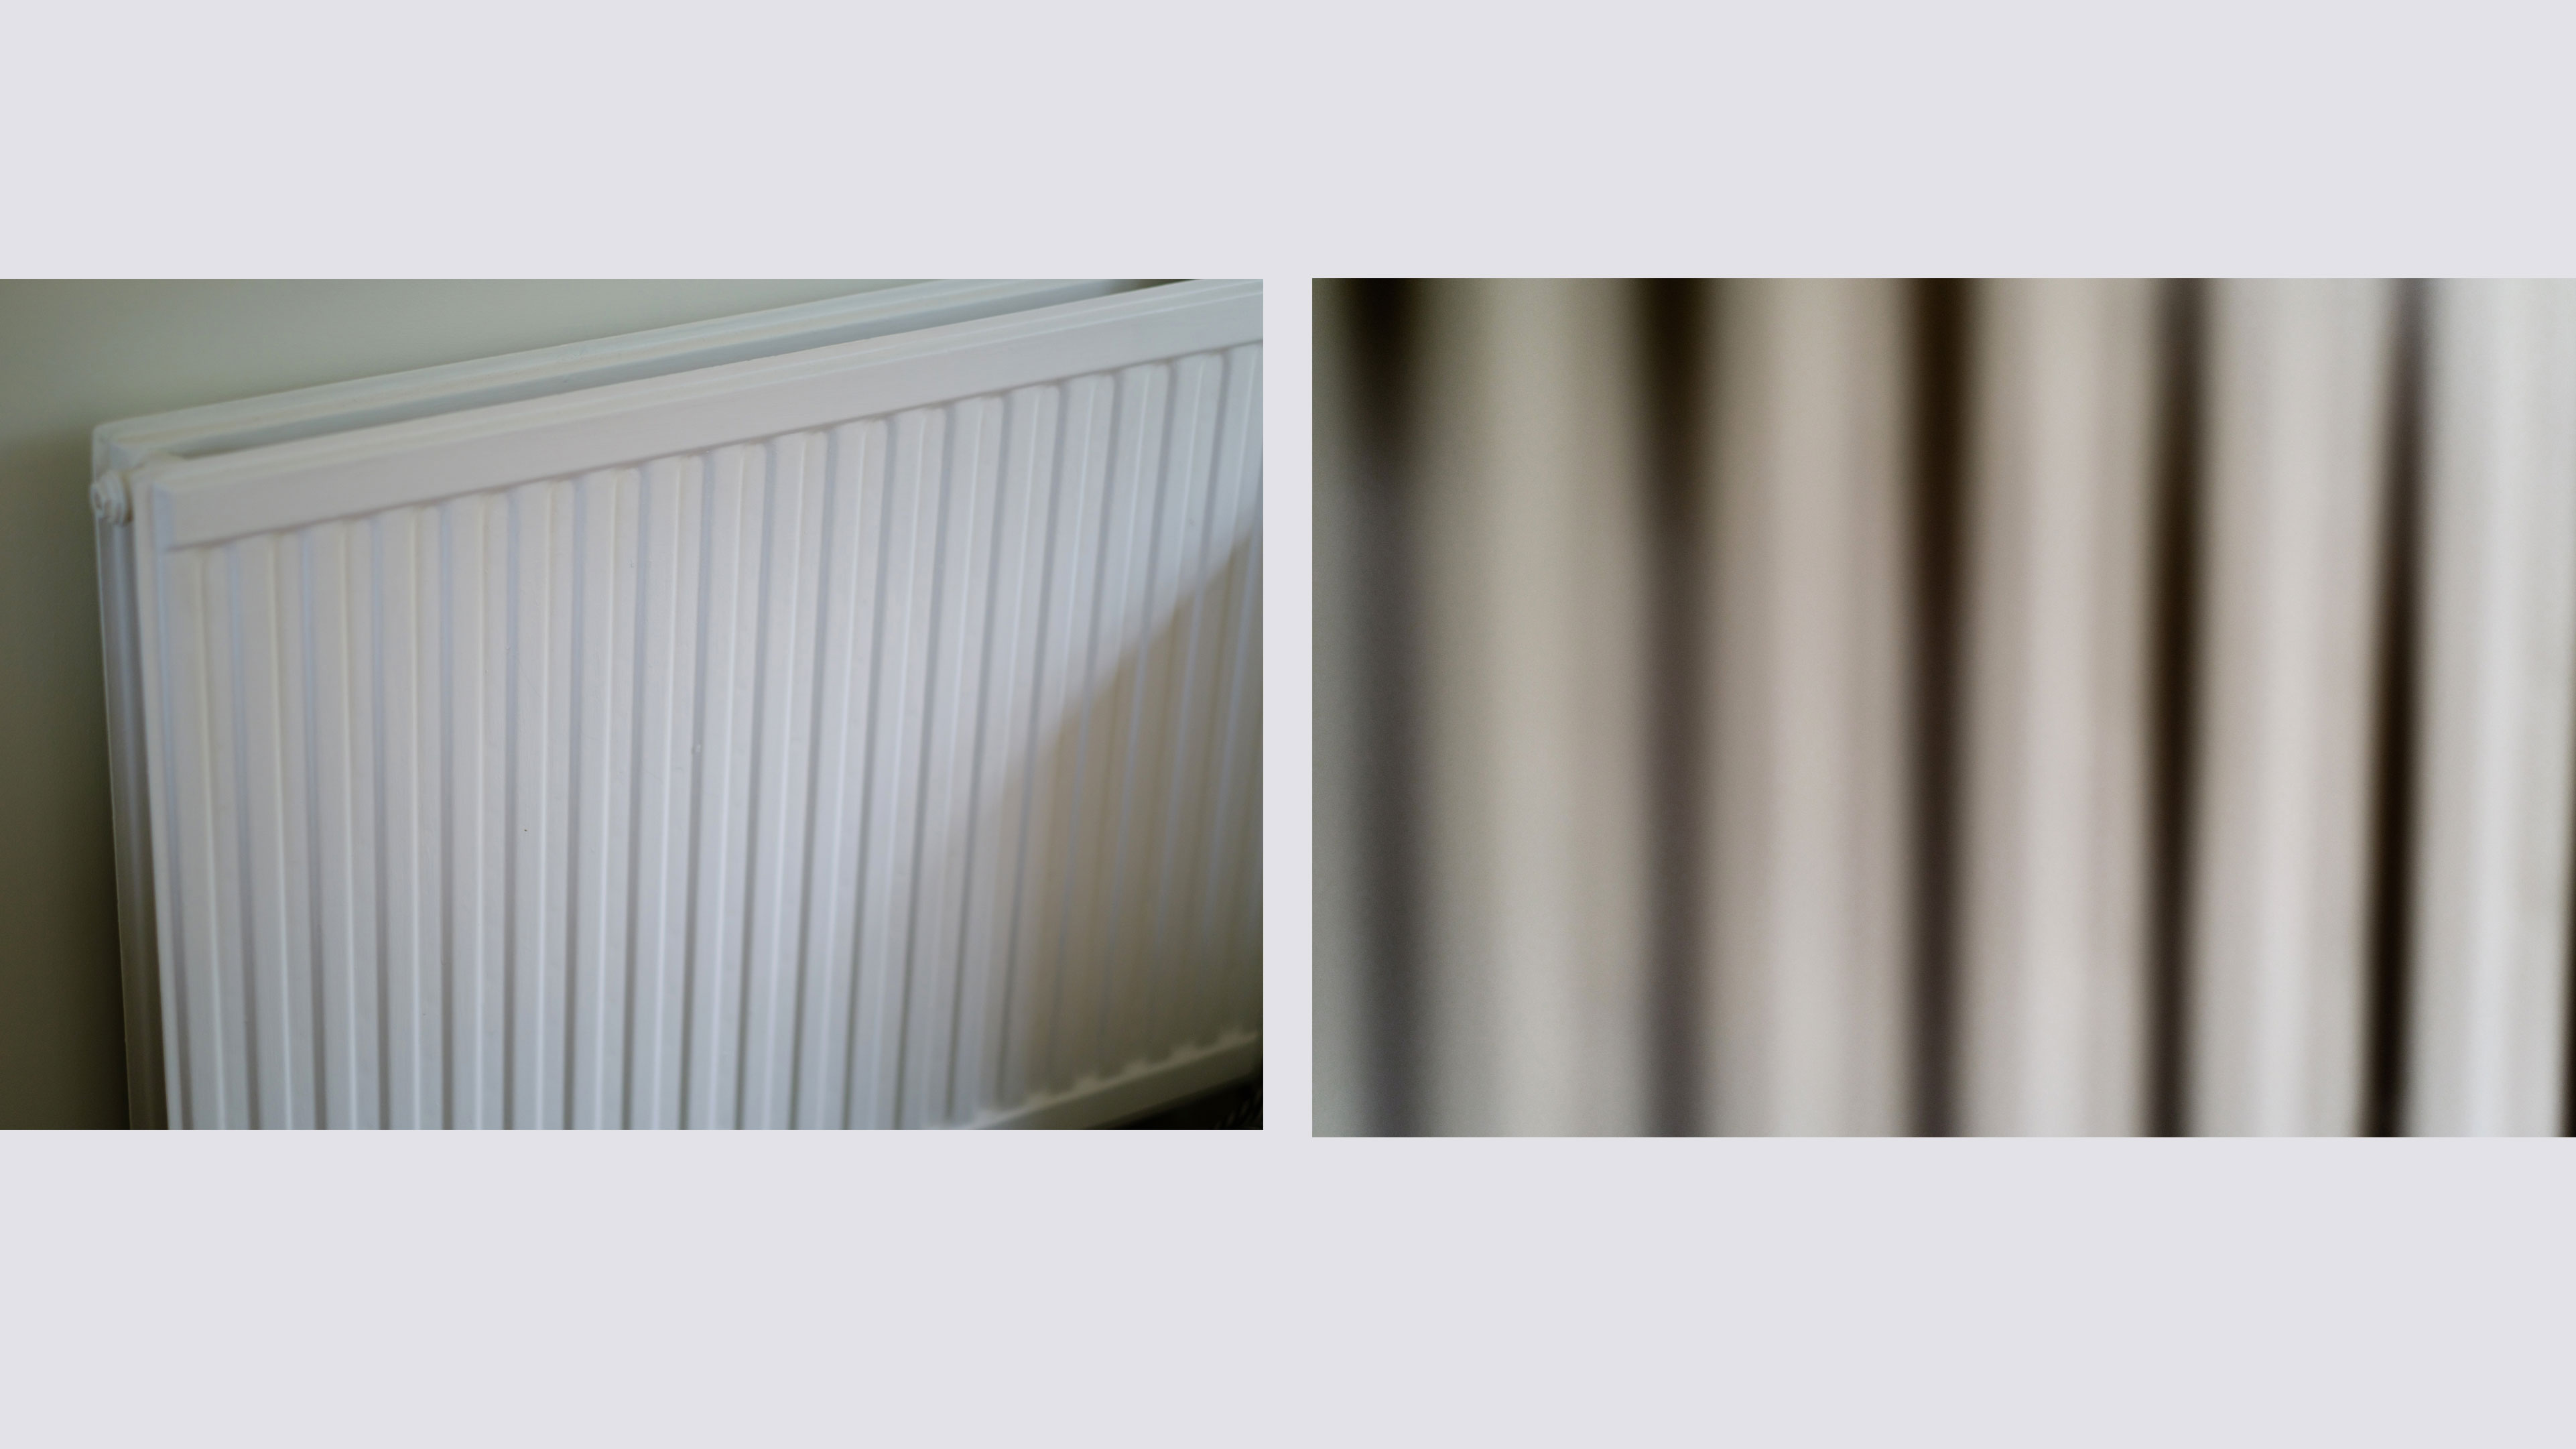
Not a million miles away from the last photo, this radiator also makes use of strong vertical lines. This time it has more of a noir feel to it. The lack of color adds to the contrast; even though it’s not a black-and-white image, it certainly looks like one. Before I used the technique of over-shooting the focal length, the radiator always stood out as a potentially good pit-stop on the tour of my house
04 Monochromatic simplicity
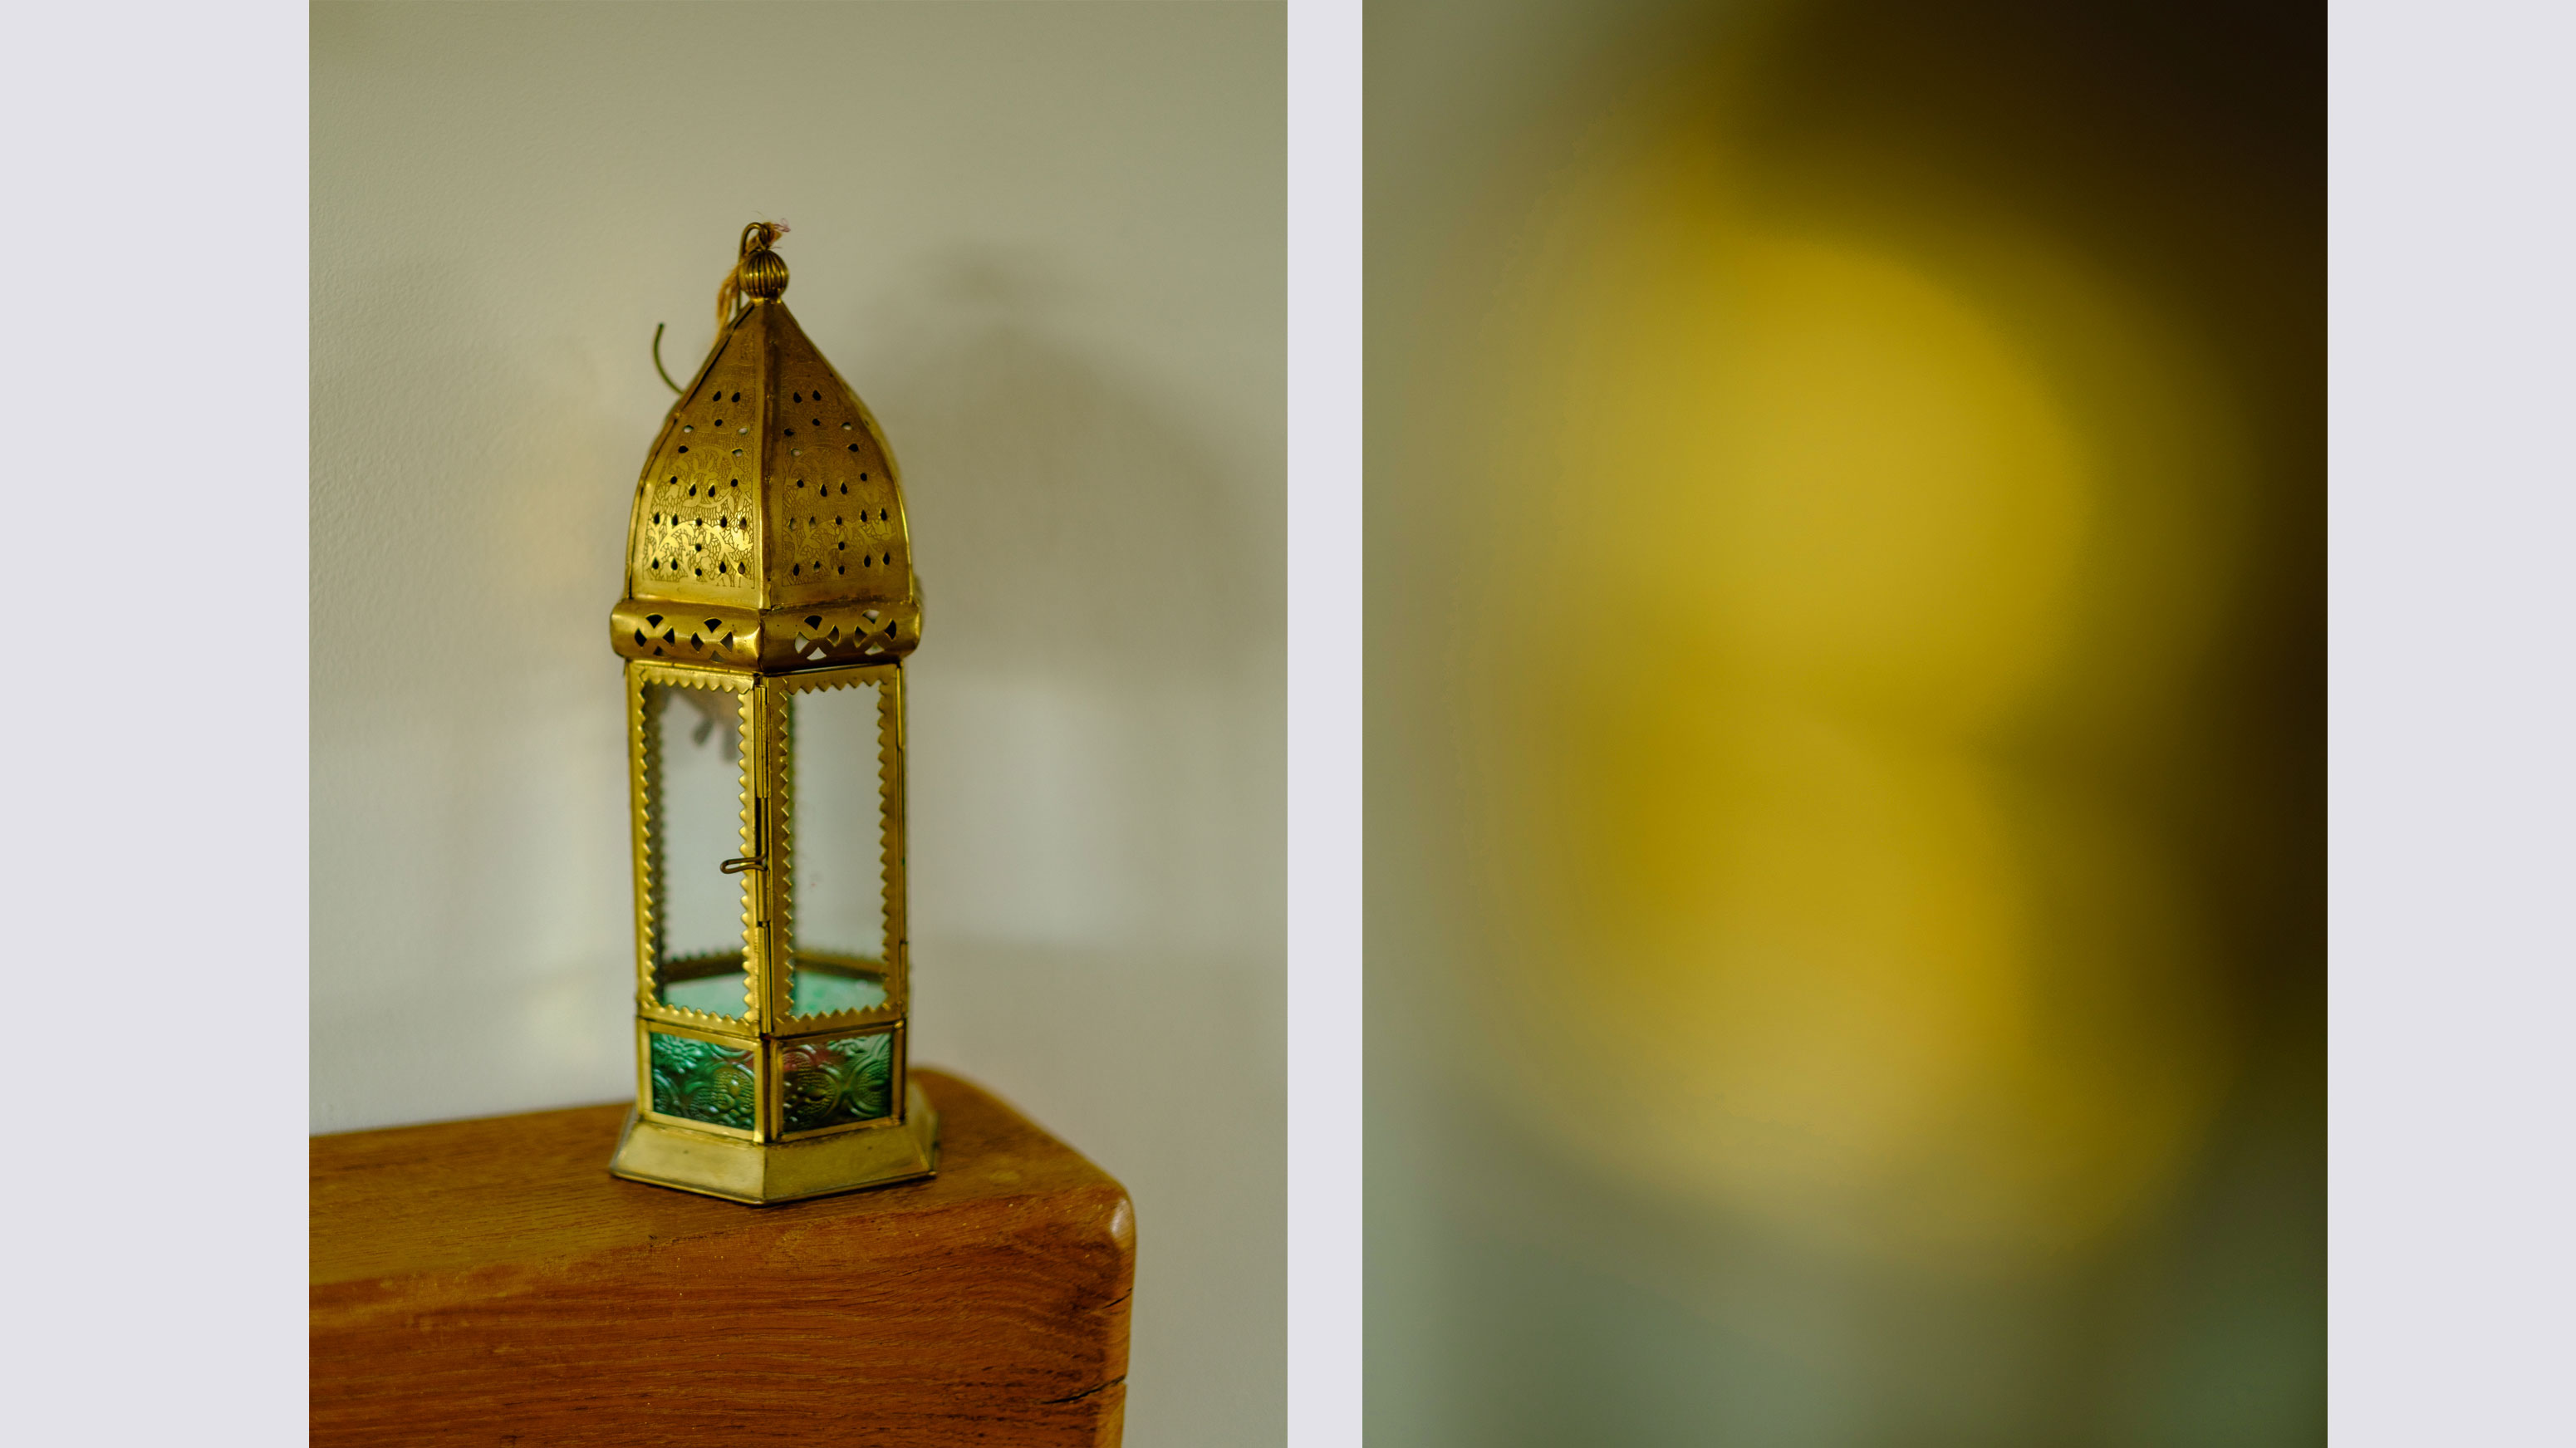
This image of an Asian tealight holder makes good use of one simple but strong color: gold. Many colors captured in isolation will deliver impact: perhaps you’ve got an aquamarine mug waiting to be washed up on the side, or an orange bowl
to keep your keys in. Try getting up close to them and letting your camera attempt to focus, then take your shot.
Read more:
Fujifilm X-T3 review
Best Fujifilm cameras
Best Fujifilm lenses
Get the Digital Camera World Newsletter
The best camera deals, reviews, product advice, and unmissable photography news, direct to your inbox!
Alistair is the Features Editor of Digital Camera magazine, and has worked as a professional photographer and video producer.
