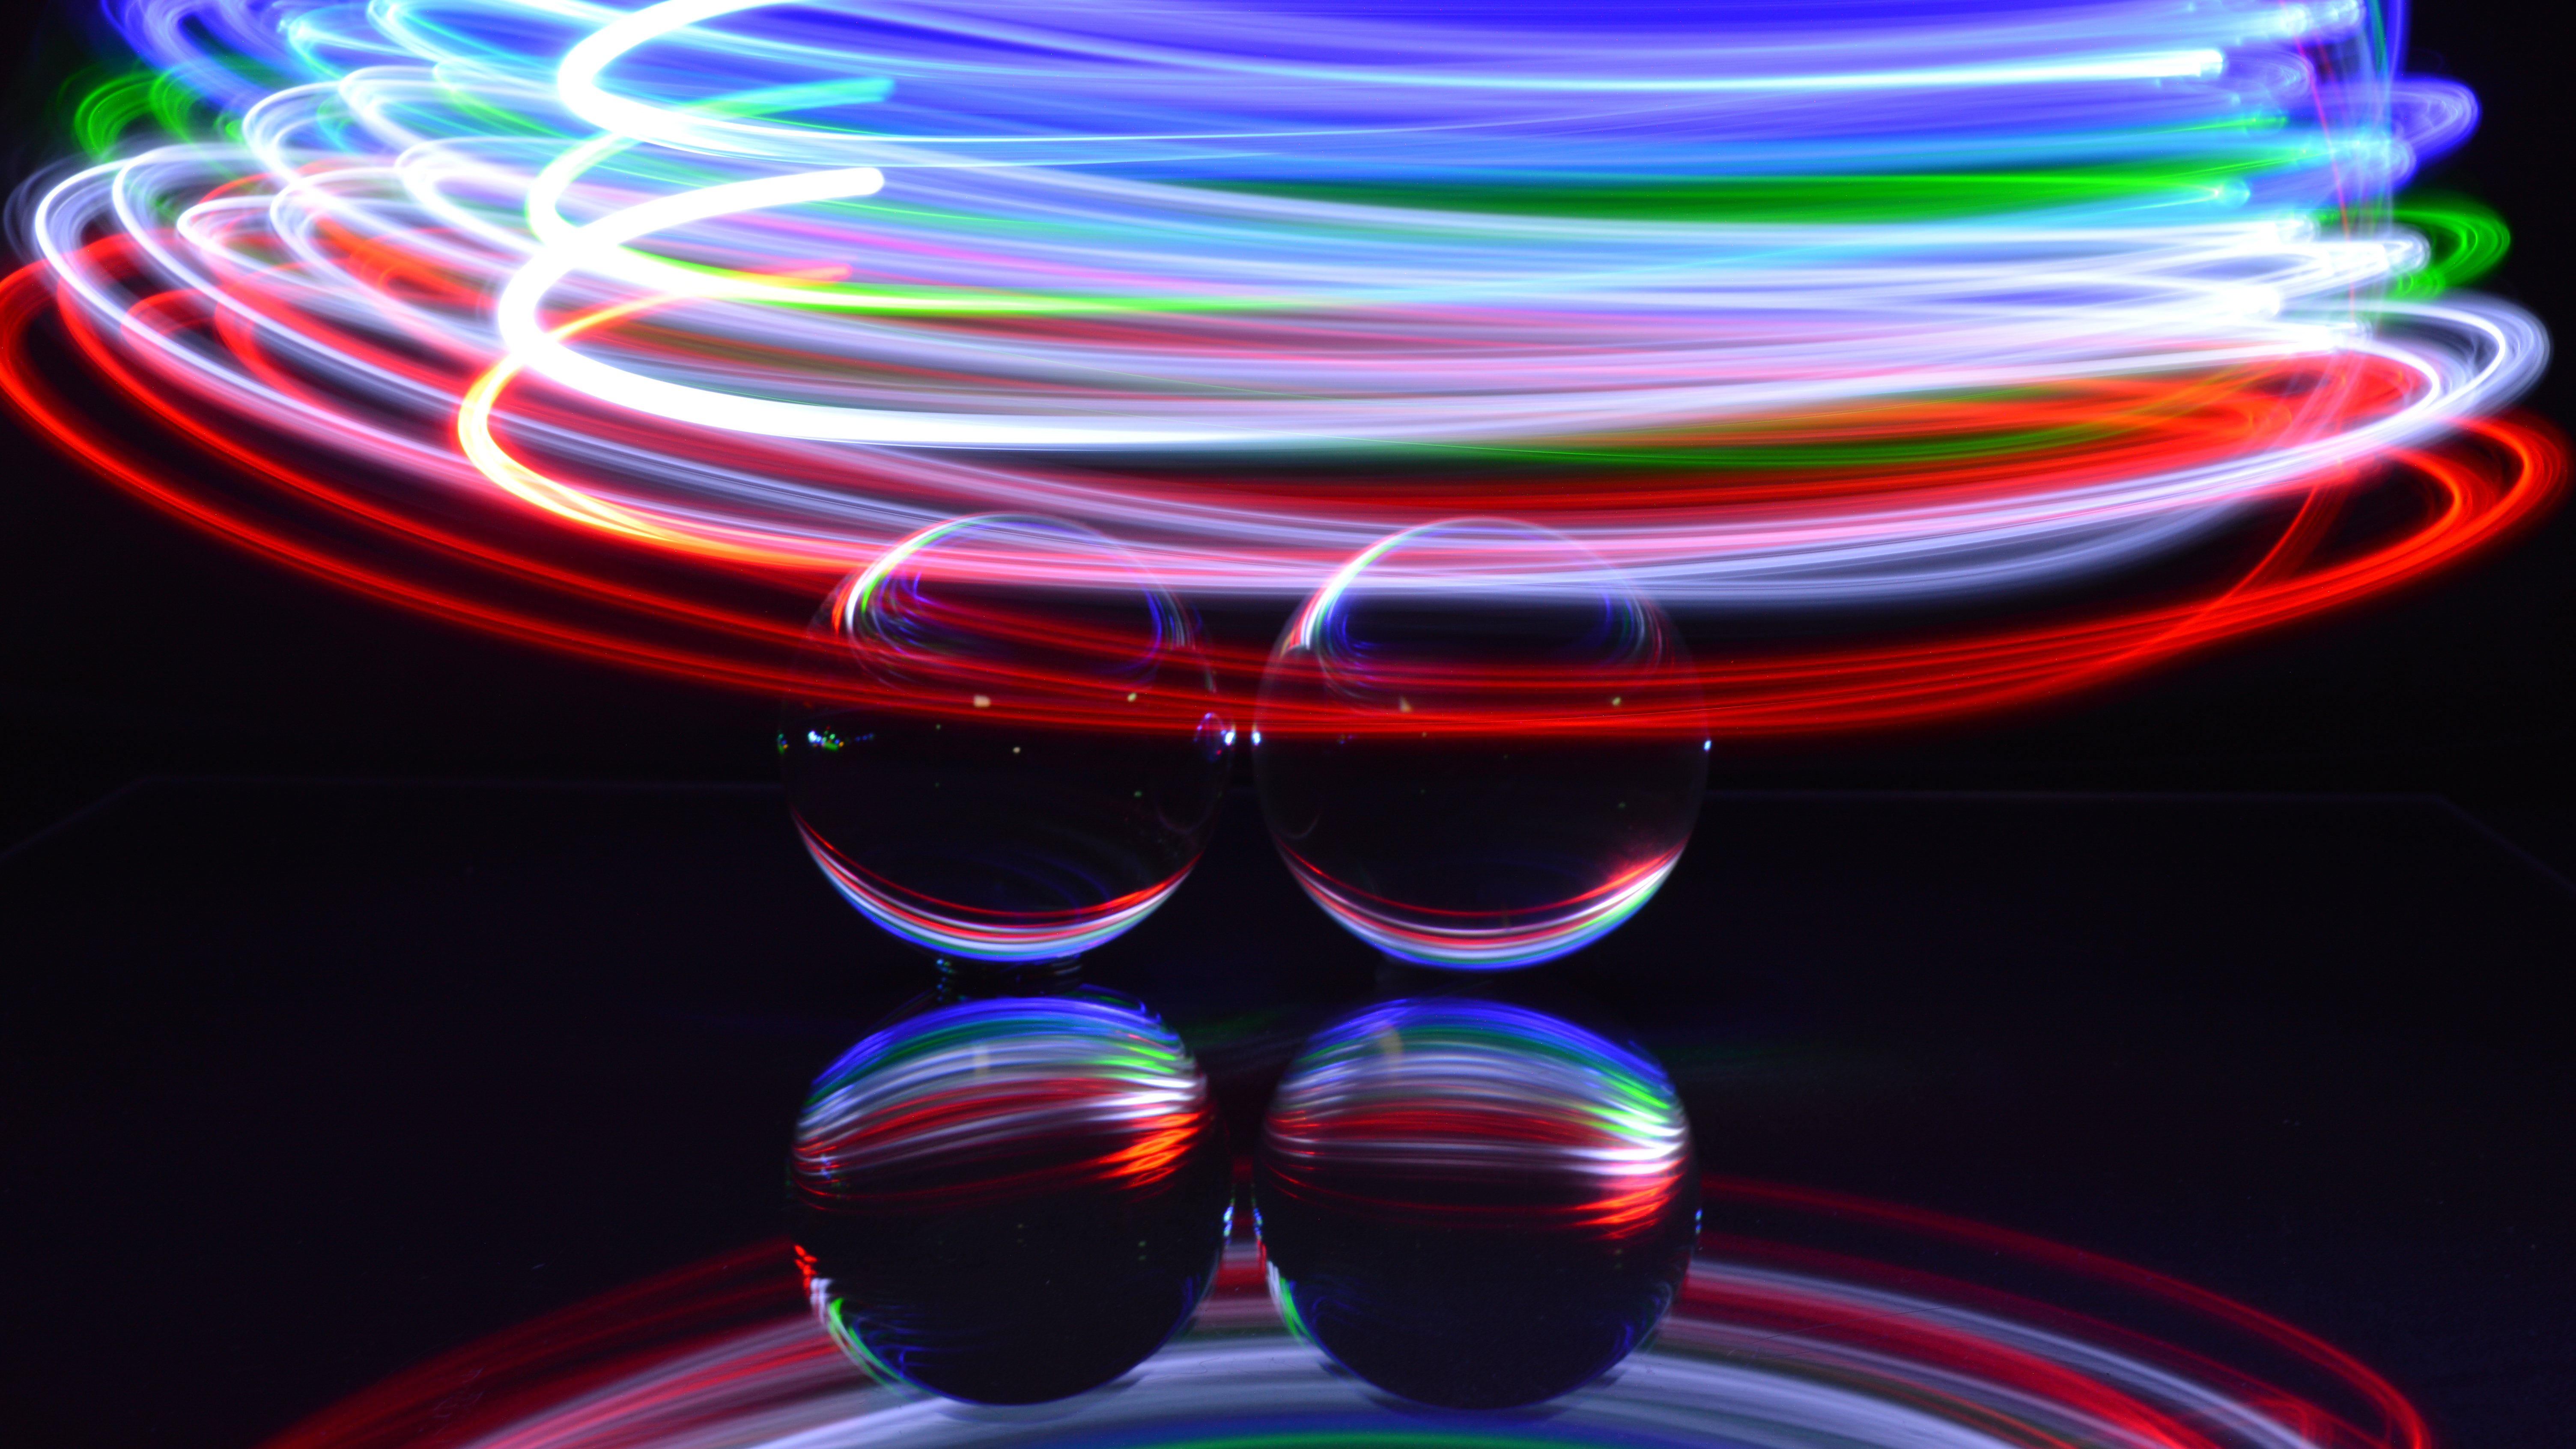
Magical marbles: shoot long-exposure light trails at home, with ease
Christina Naccarato sets up a fun and creative home project that anyone can try with a simple set of marbles
I have loved taking photos for as long as I can remember, but about seven years ago I invested in my first DSLR for a trip to New York. I chose the Nikon D3200, and it was one of the best things I ever did. Since then, the camera has come with me on every holiday. Even though at first I was guessing about which settings to use, or just keeping it in auto, the photos came out pretty well.
However, as the iPhone evolved, the more my camera stayed in its box and I was taking more photos using my phone. That was until the end of 2021, when I decided that it was time to pick up the DSLR again. I joined a local camera club and have fallen in love with my camera again. Now I’m learning how to use all the different shooting modes and how to shoot different types of photography that will develop my skills.
• Trying to decide between DSLR vs mirrorless? Check this out!
One of my favorite things to shoot is light trails. They bring a sense of speed, energy and color to images that would otherwise be a bit uninteresting. It’s a fun and creative way to use long exposure photography, and you can create them both indoors or outdoors, so they make for great home projects with minimal setup.
Light trails are all about discovering new shapes, colors, distortions and using different shutter speeds, but most importantly there’s no right or wrong way of shooting light trails. Creating light trails together with a crystal ball is easy, and you can get some pretty amazing results from the comfort of your own home.
How to shoot light trails at home

1) Gather your equipment together
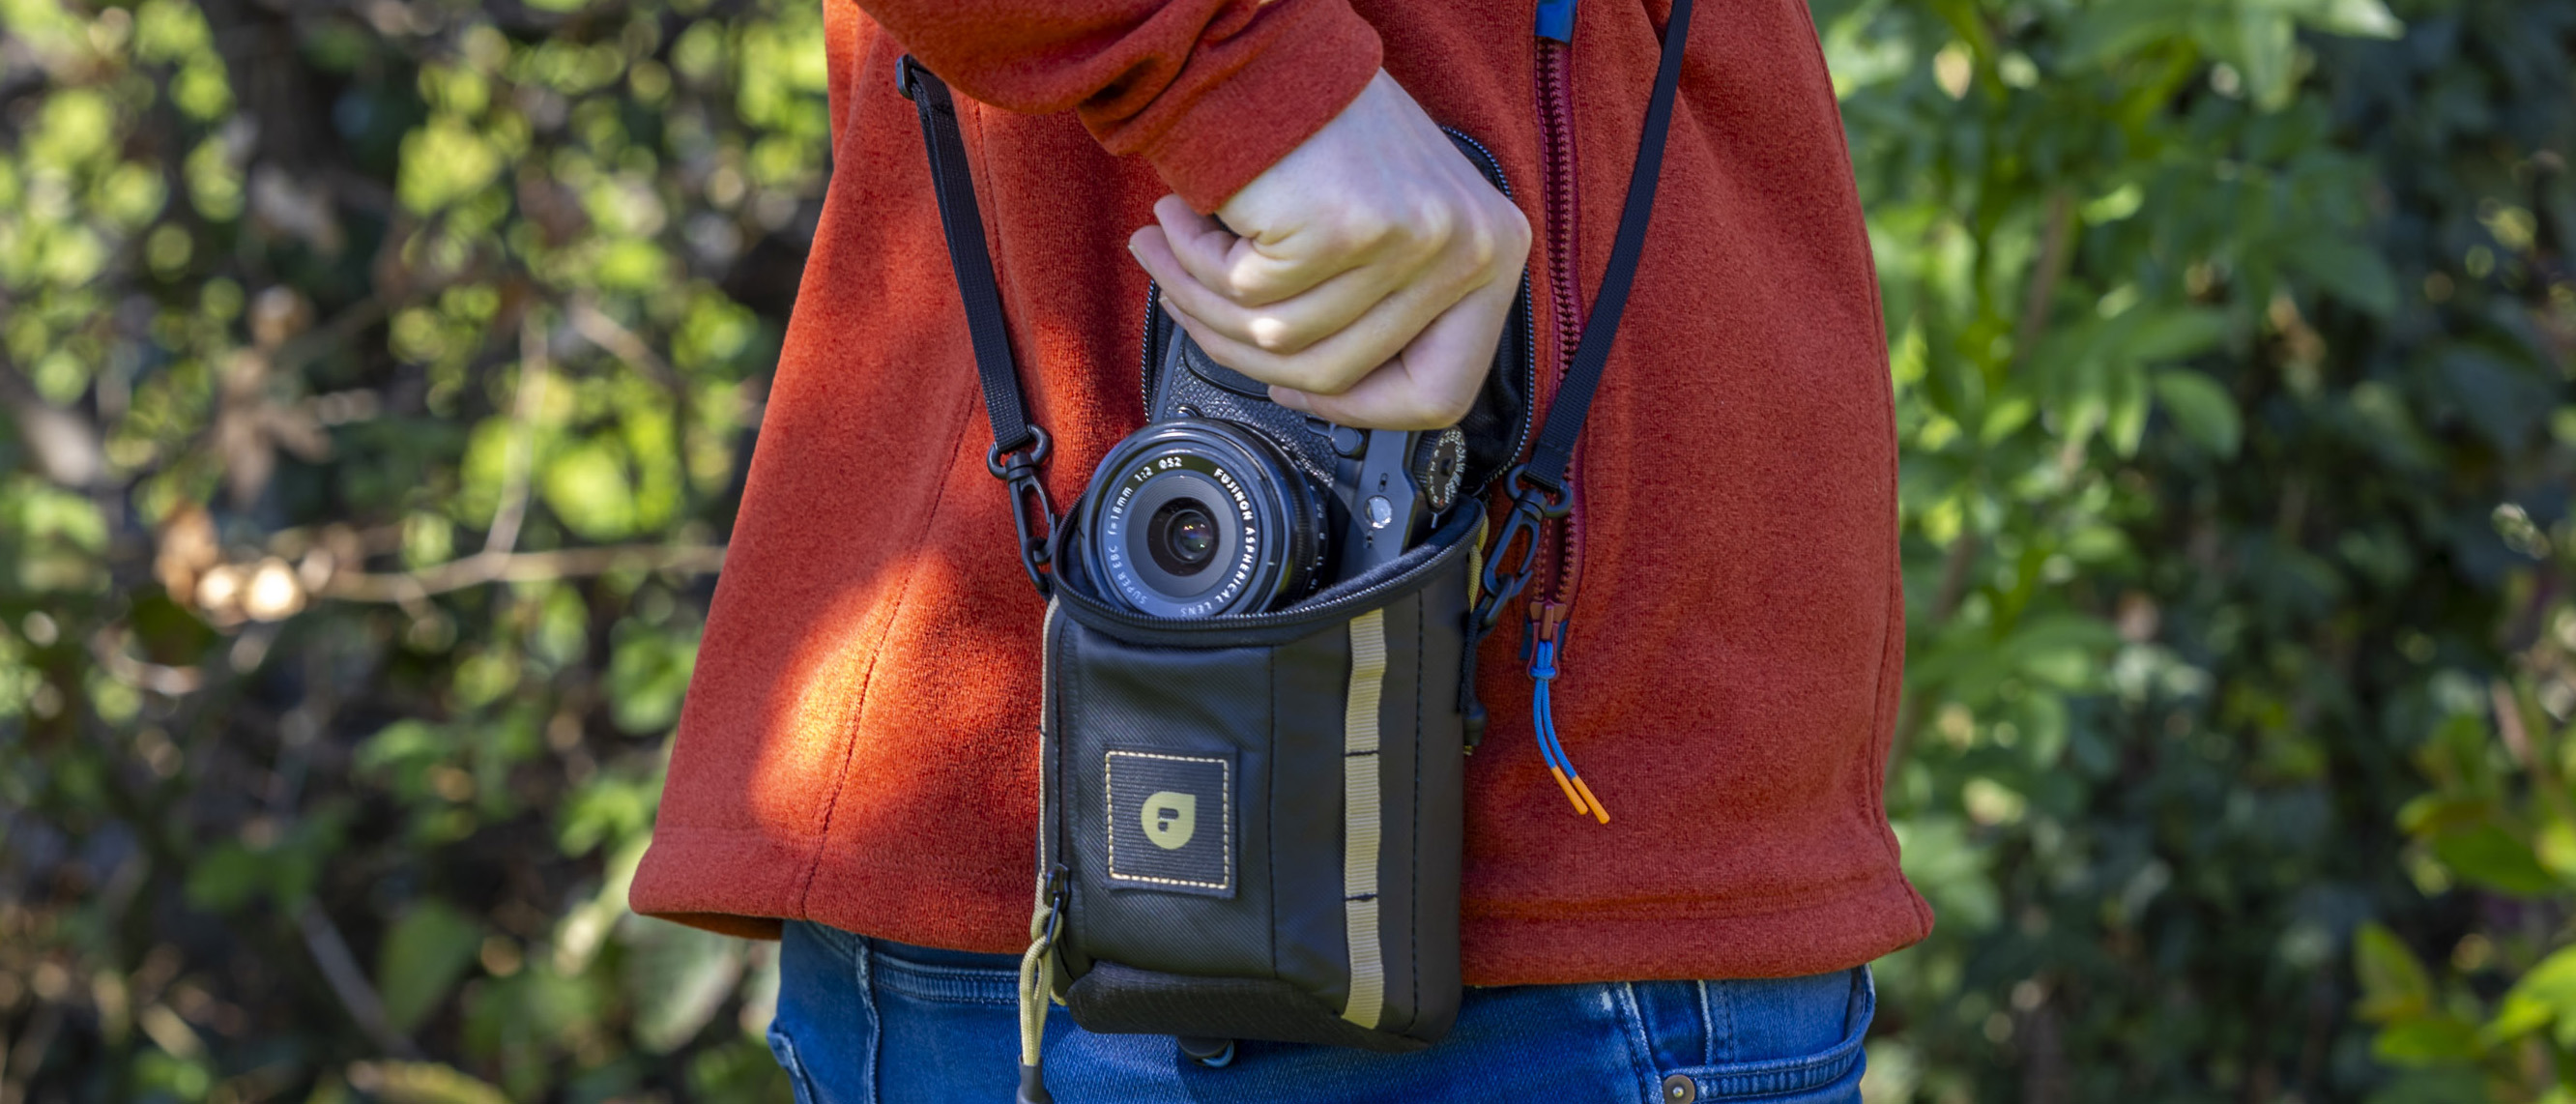
You’ll need your camera, a tripod (which is an absolute must), a crystal ball or marbles, some Blu Tack or a paperclip to keep them in place, a colored LED light, a sheet of perspex or glass (make sure it’s spotless), a dark backdrop and dark table cloth, and a shutter release (this is optional).
• The best ball heads for tripods in 2022: quick and simple tripod heads
2) Set up your shot
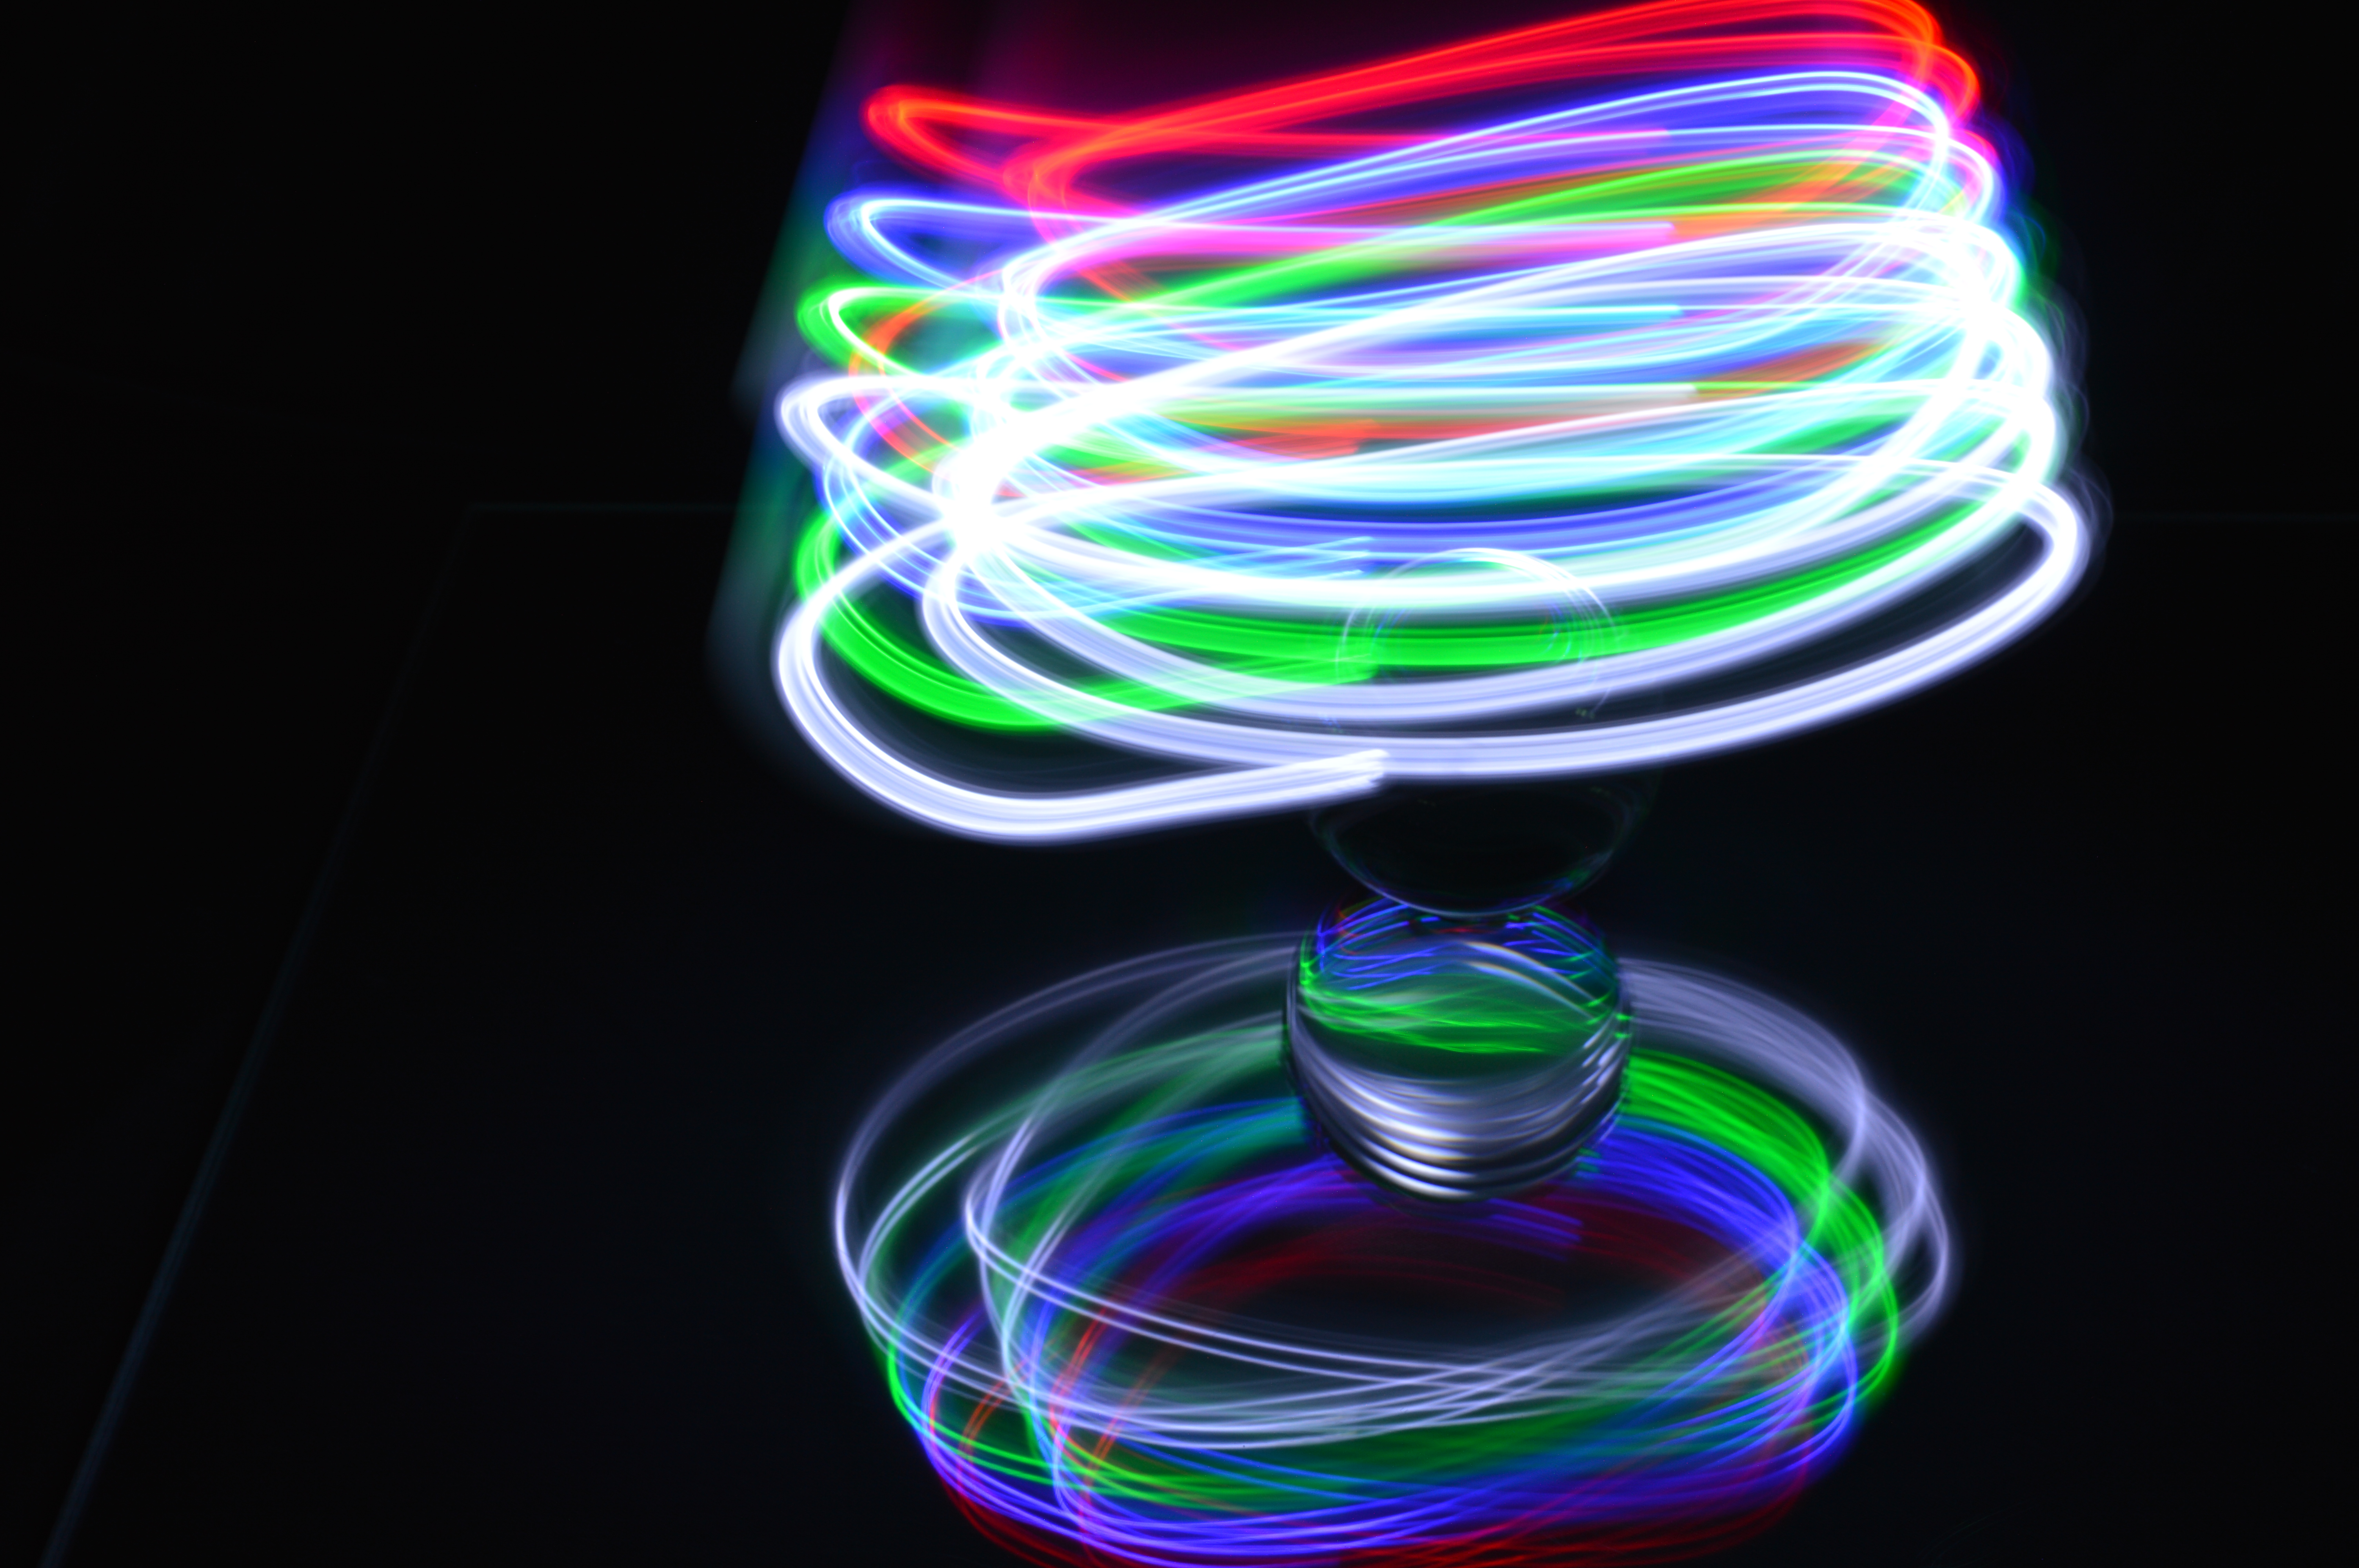
Against a dark backdrop, cover a table surface with your black cloth. Place your perspex or glass on the surface with the crystal ball on top. Set up the camera on a tripod at same height as the table. Turn your ISO down to 100, use f/8 as a minimum aperture and set your shutter speed to around 10 seconds. Remove any natural light in the room.
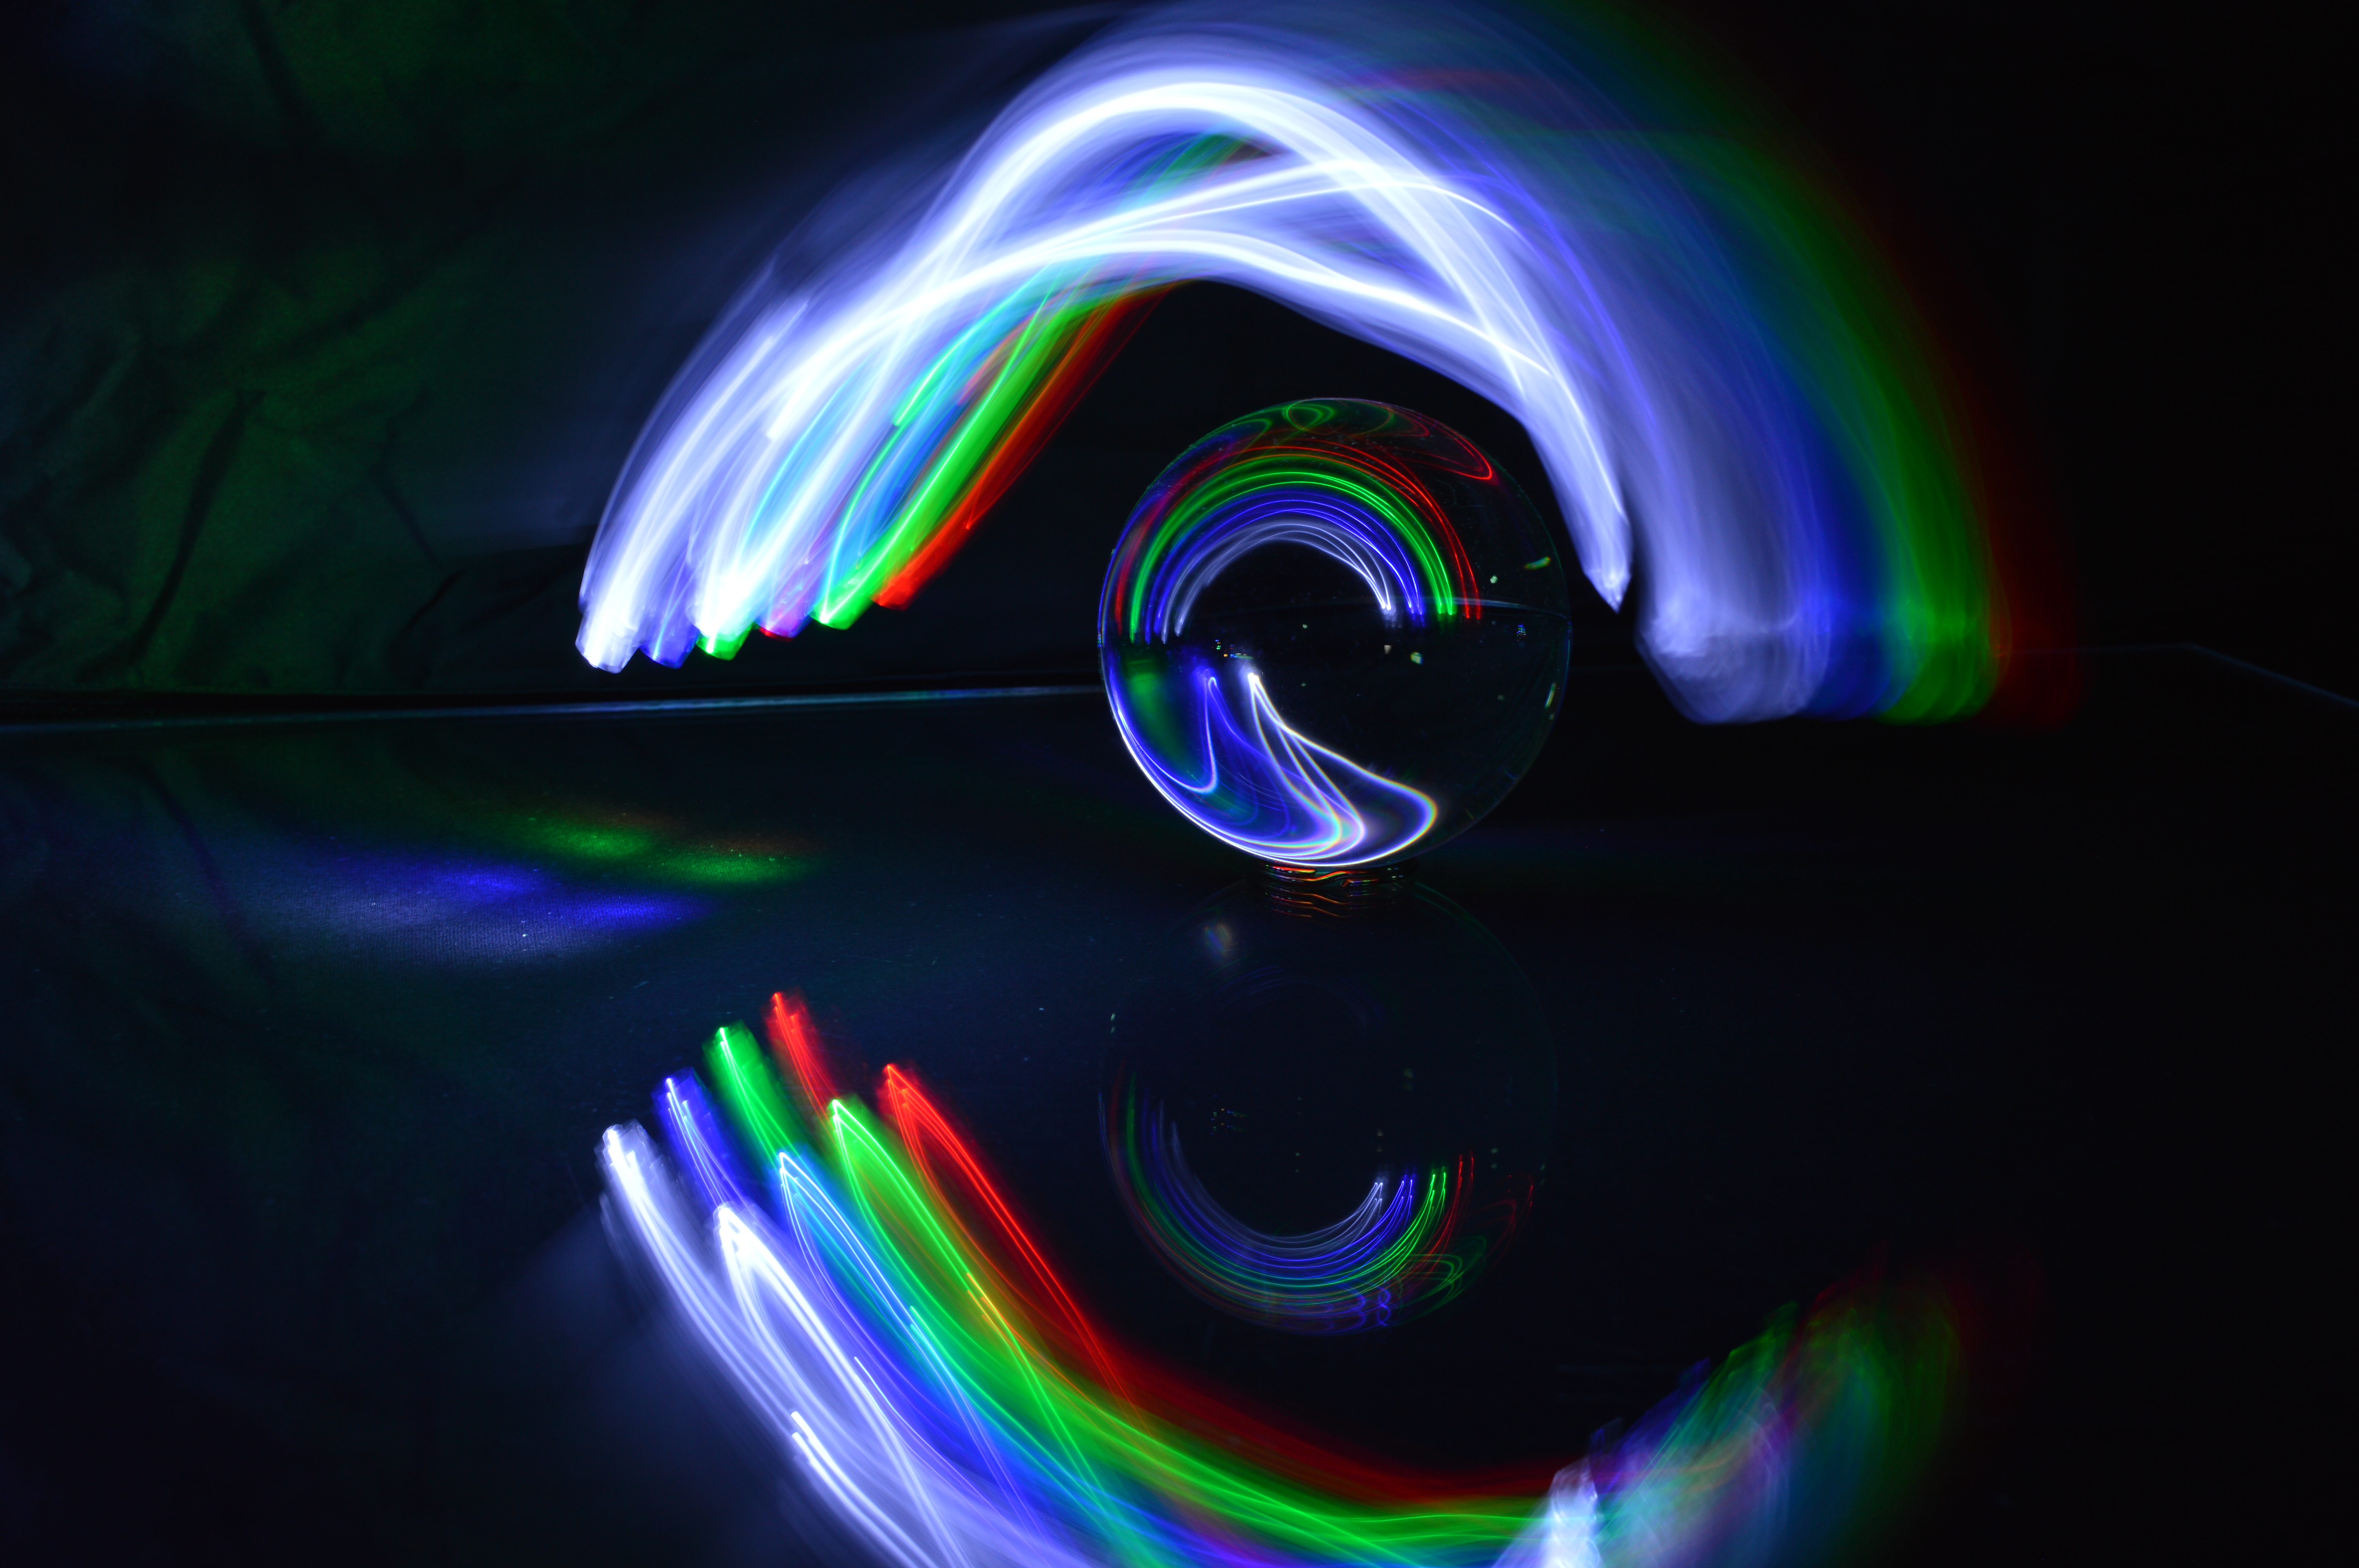
3) Shoot your image
Now you’re ready to shoot, so to begin with try an exposure of around five seconds. Press your shutter button or cable release and move your LED light around the ball in various directions. Aim the light source towards the camera – as long as you keep moving, your own hand should not be picked up by the camera.
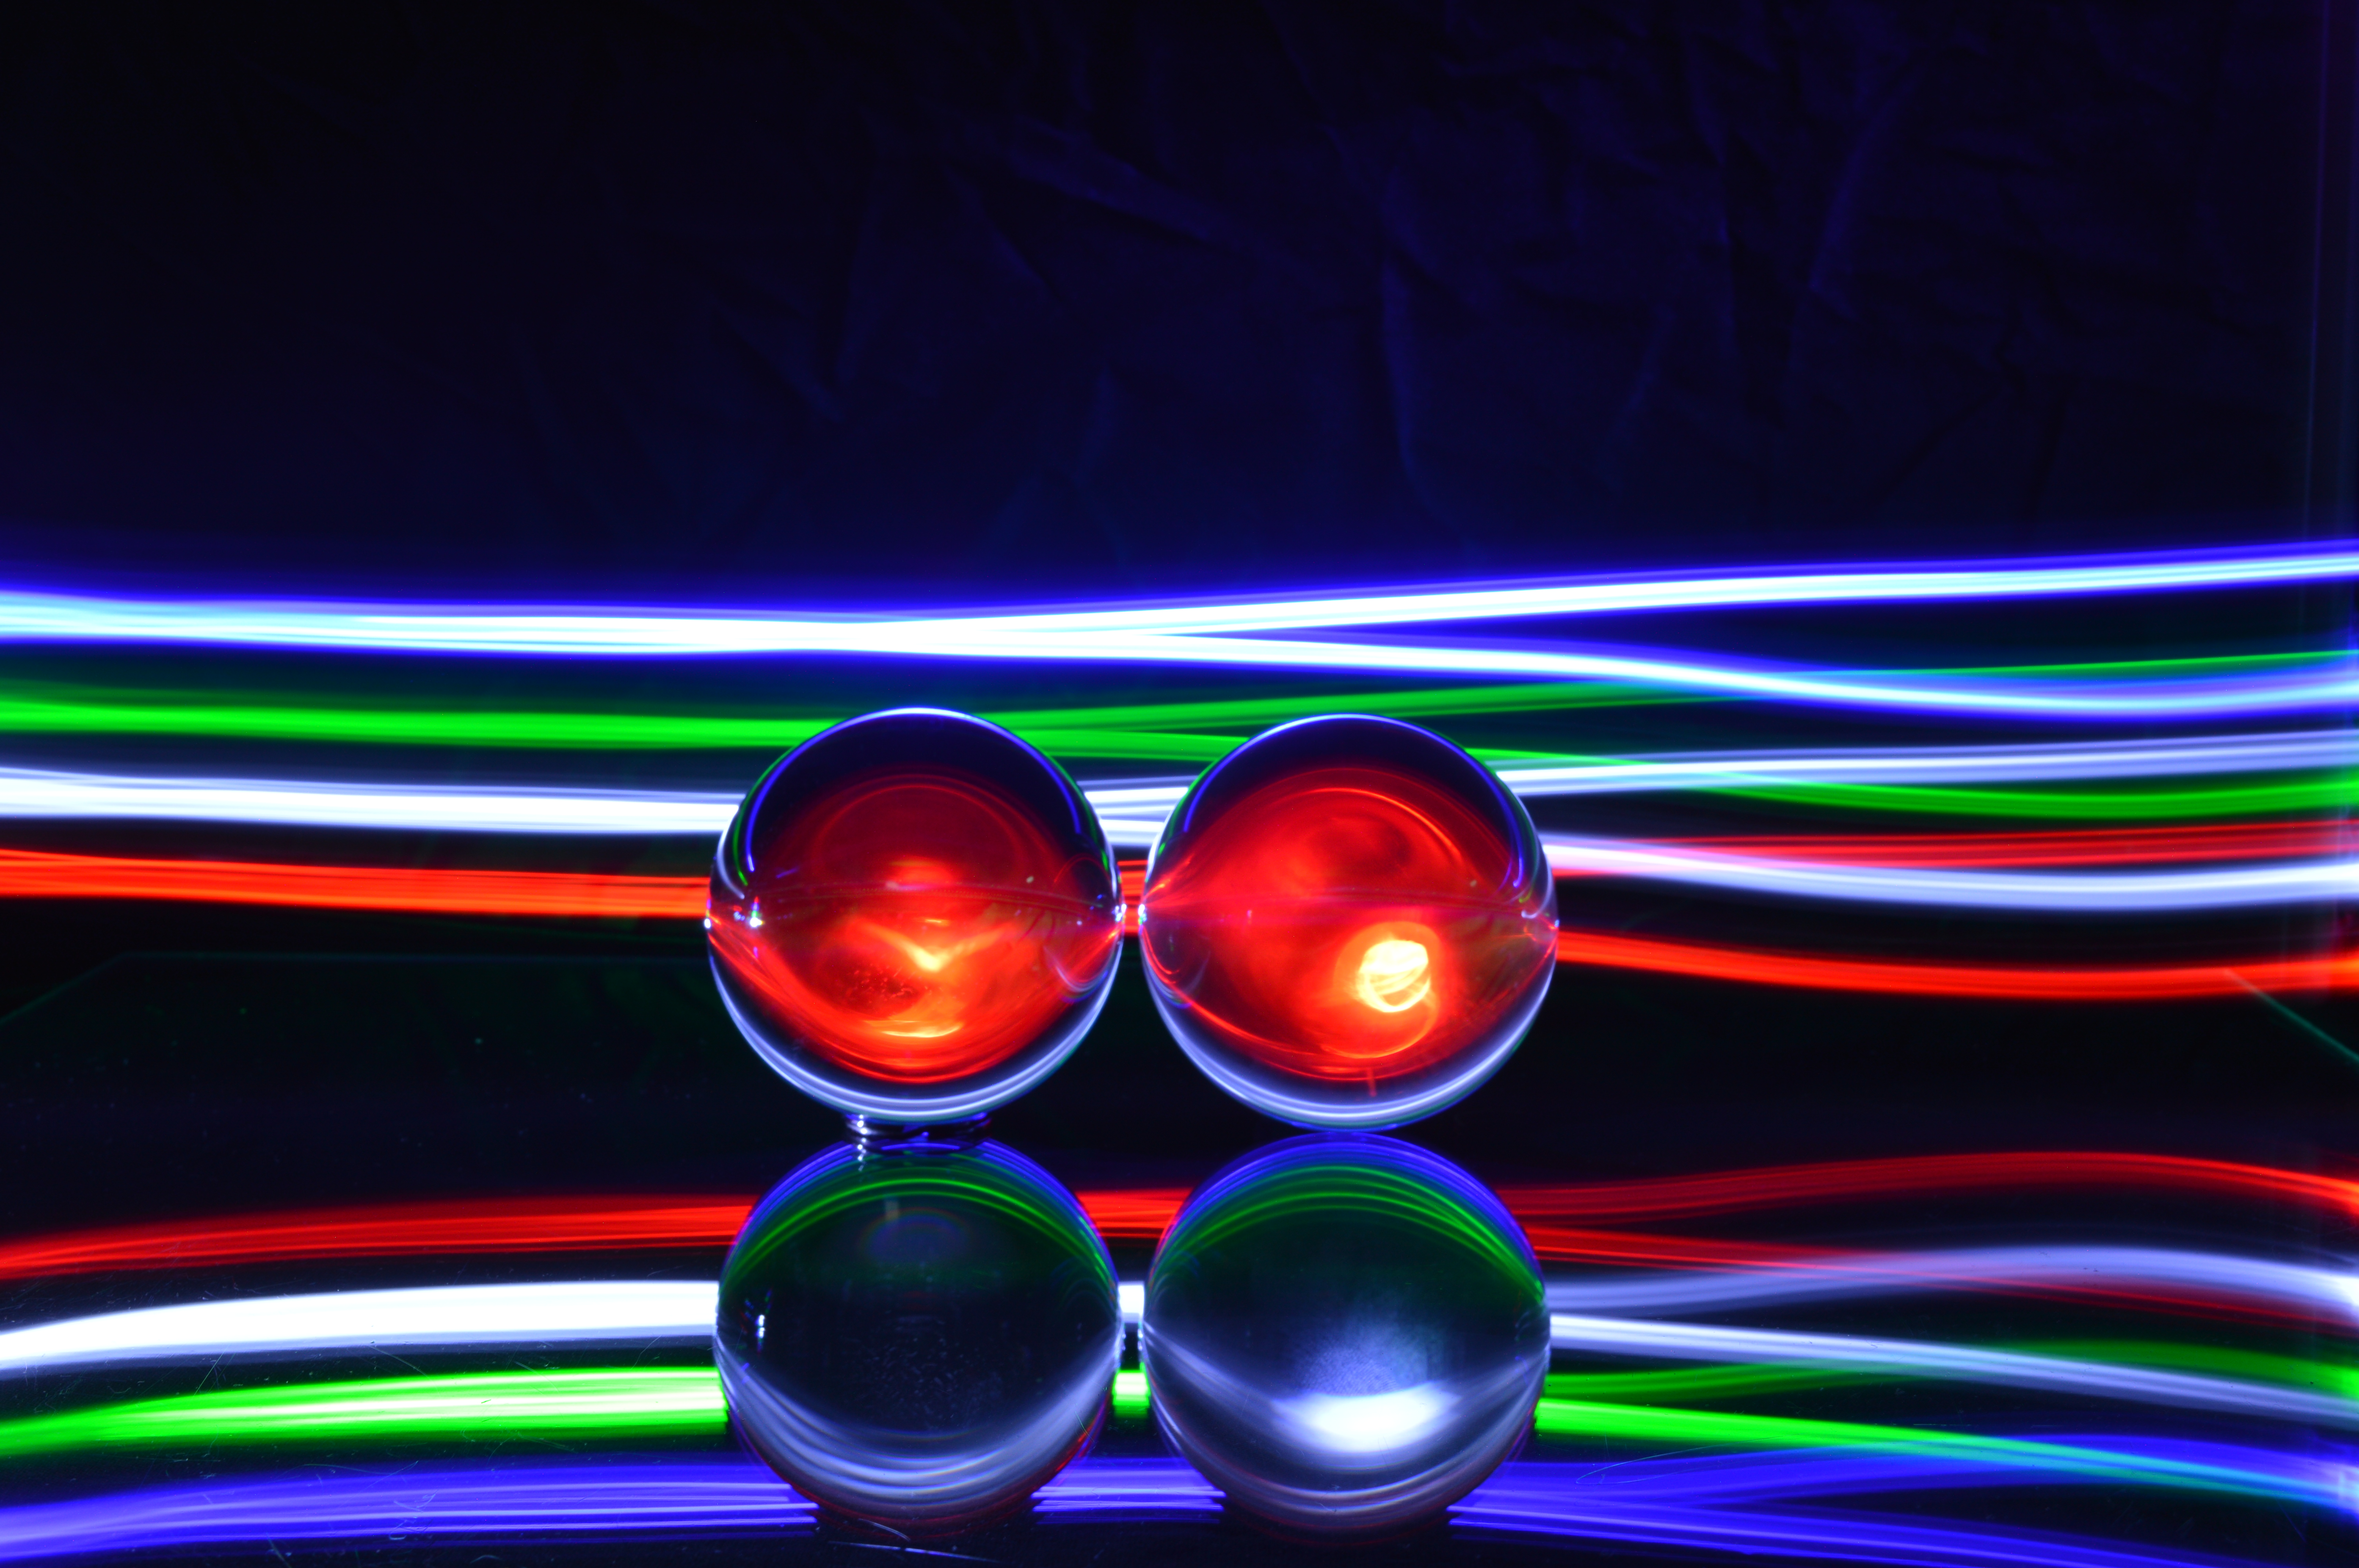
4) Practise and experiment
Once you have your setup and you have shot a few images, start to experiment with the camera settings, shutter speed and even the angle of your tripod. There is no right or wrong way of shooting light trails, but one thing that is guaranteed is that each time you do it you will get a different result, so have fun!
Read more:
The best lenses for Nikon D3500
The best Nikon cameras
The best Nikon lenses
Get the Digital Camera World Newsletter
The best camera deals, reviews, product advice, and unmissable photography news, direct to your inbox!
The sister print publication to this website, Digital Camera Magazine is Britain's best-selling photography publication – and it can also be purchased outside the United Kingdom as Digital Camera World.
Digital Camera Magazine is packed with more expert advice and more inspirational images than any other title, with the sole aim of helping you become a better photographer. Every issue we also bring you a selection of great gifts which are designed to help you get more from your photography – everything from tips cards and cheat sheets to free software and bookazines.
In addition to inspirational images, interviews, projects, mini tests and tutorials, each issue is packed with news, reviews and comparisons, as well as photographer vs photographer shootouts and head-to-head challenges using the best photo editing software.
The magazine is captained by Editor Niall Hampton.
