Watch video: Freaky Frankenstein fruit creations in Photoshop Elements
Photoshop gives users the ability to create images otherwise impossible in real life. So we’re taking full advantage of this powerful editing software by creating our very own Frankenstein fruit creations! We’ll do this by merging different pieces of fruit together, which can be done in both Photoshop and Photoshop Elements 2020.
You can use the start images below or photograph your own fruit. If you go down this route, be sure to set up your fruit on a table near a bright window for a good source of light. Then you’ll want to lock your camera off on a tripod, so that the lighting and the composition won’t change when you swap the fruit over, a tripod will also help reduce camera shake.
We recommend switching to your camera’s aperture priority mode and dialing in an aperture of f/11 for a strong depth of field, so that both pieces of fruit are equally sharp – making it easier to create a realistic composite afterwards.
All that’s left is to follow the six easy steps below to create your composite image. Along the way you’ll discover how to merge parts of pictures together, make precise selections and also use Photoshop’s layers – all essential editing skills.
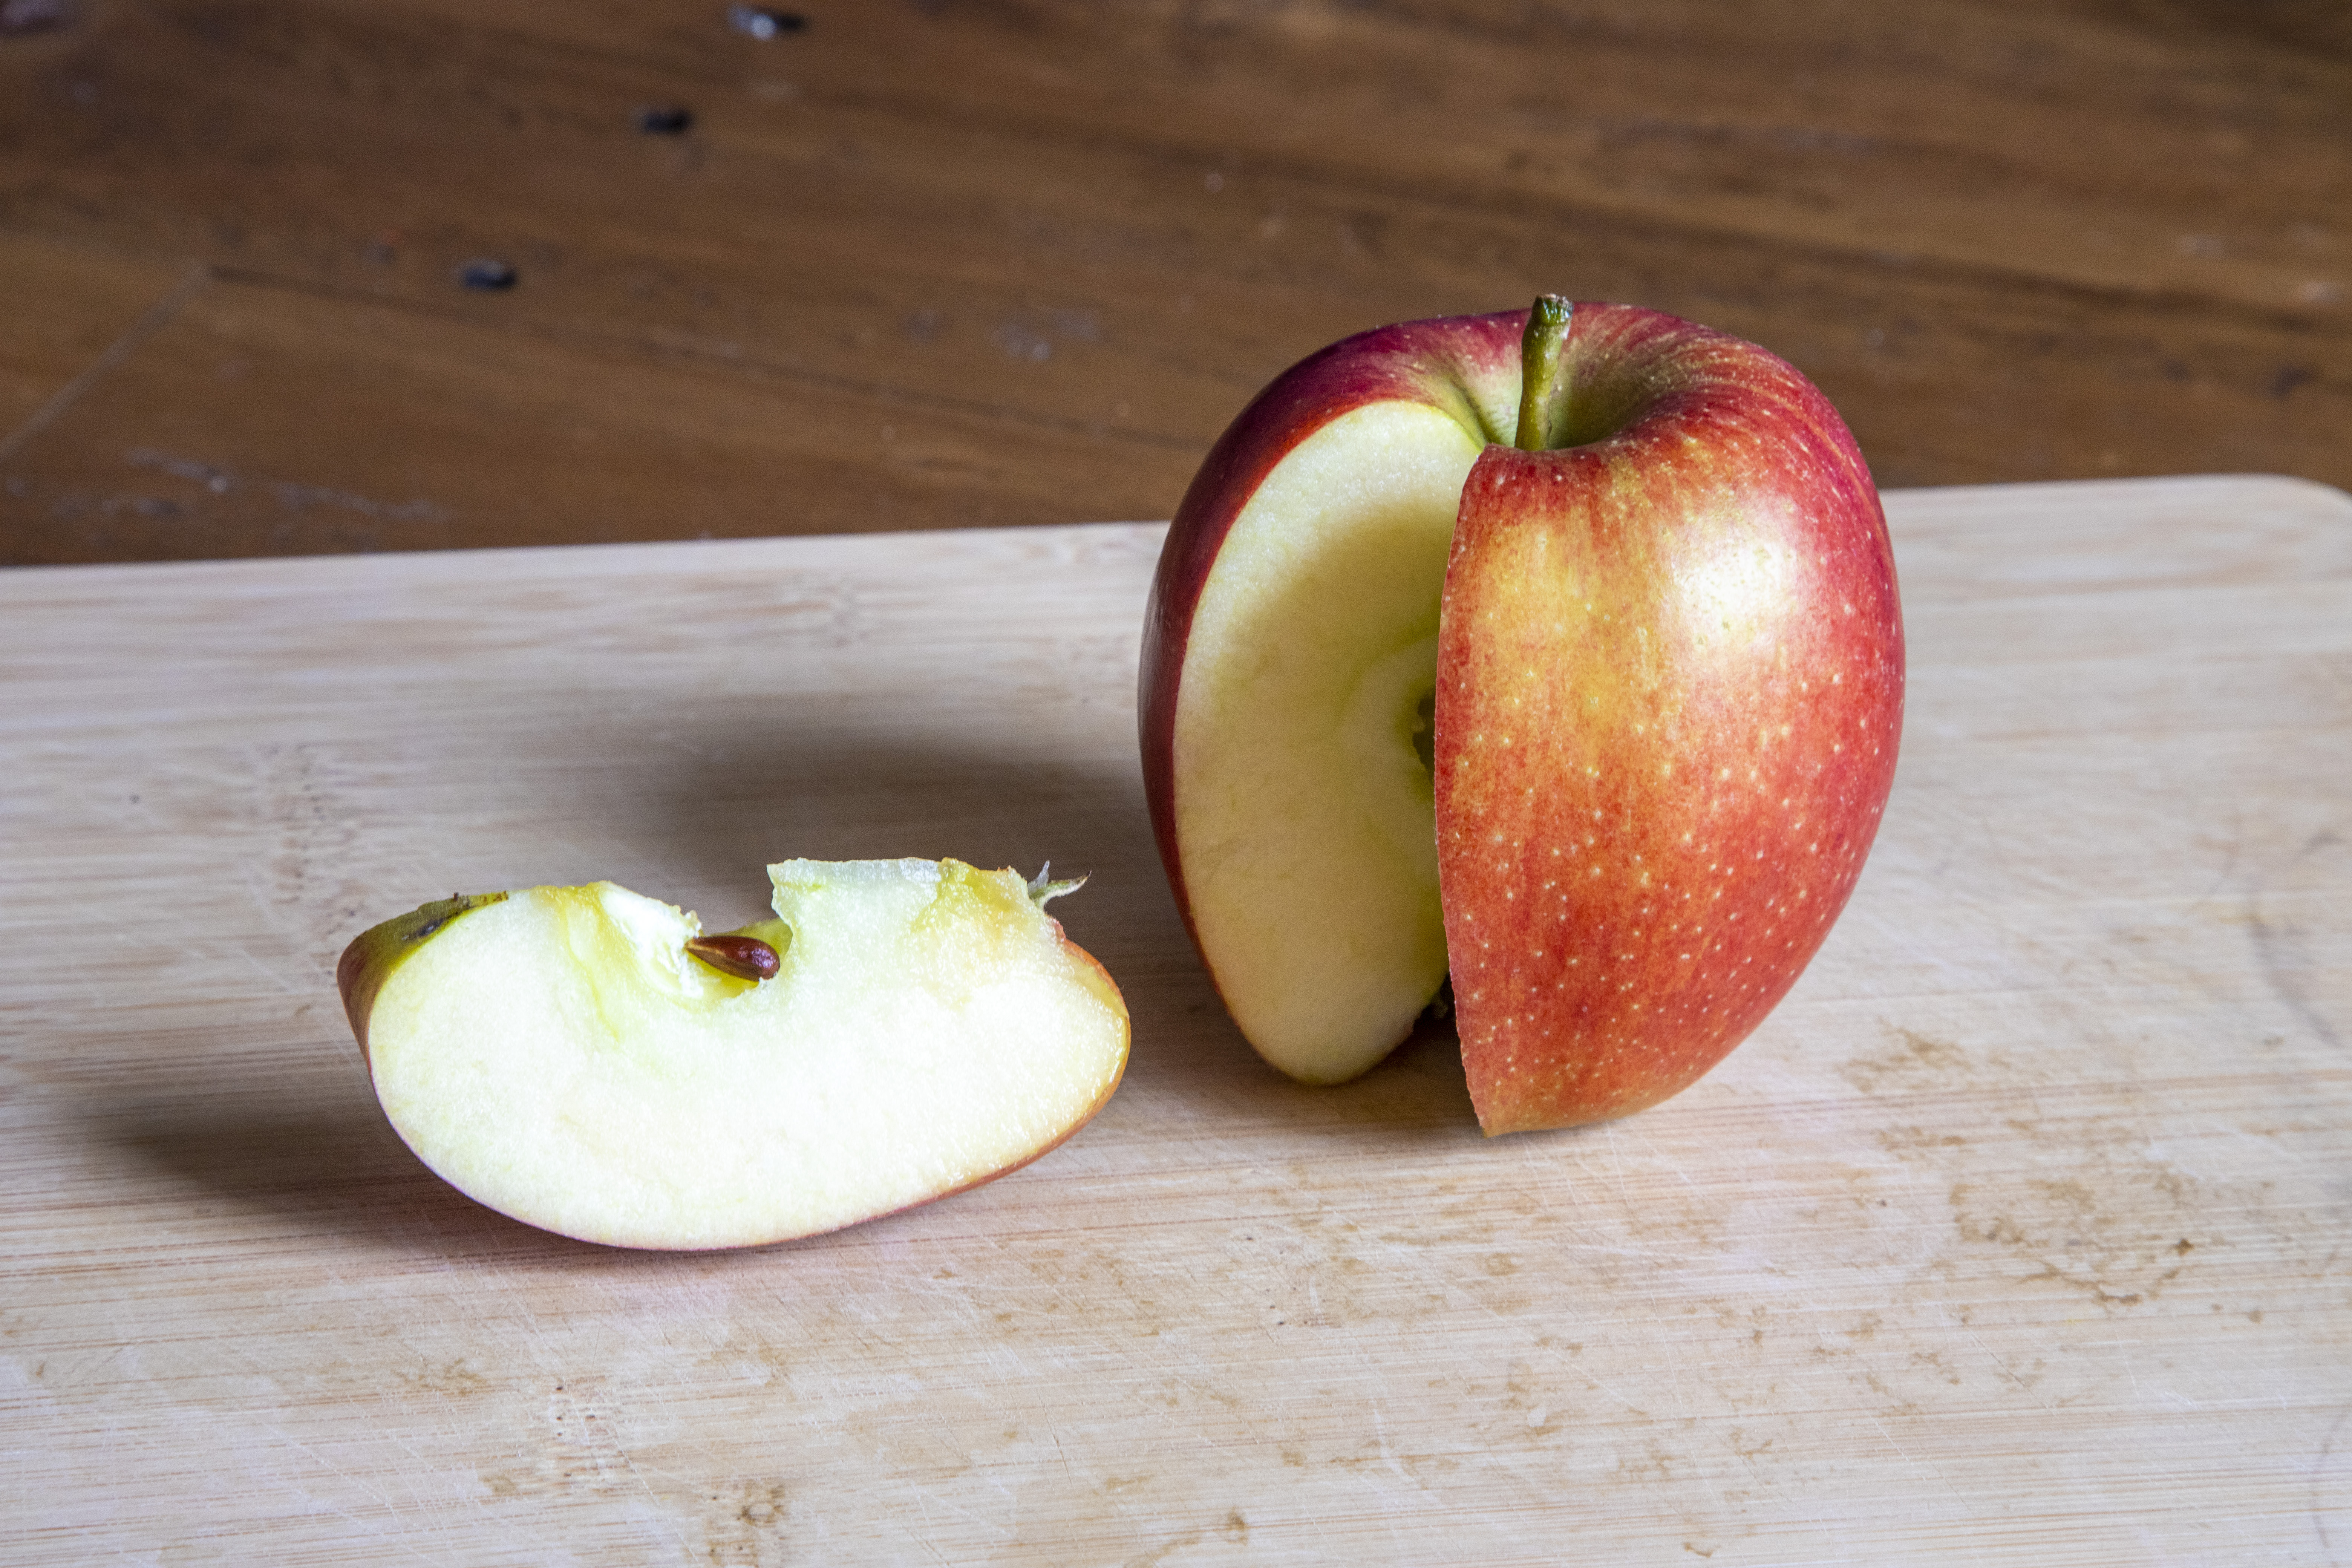
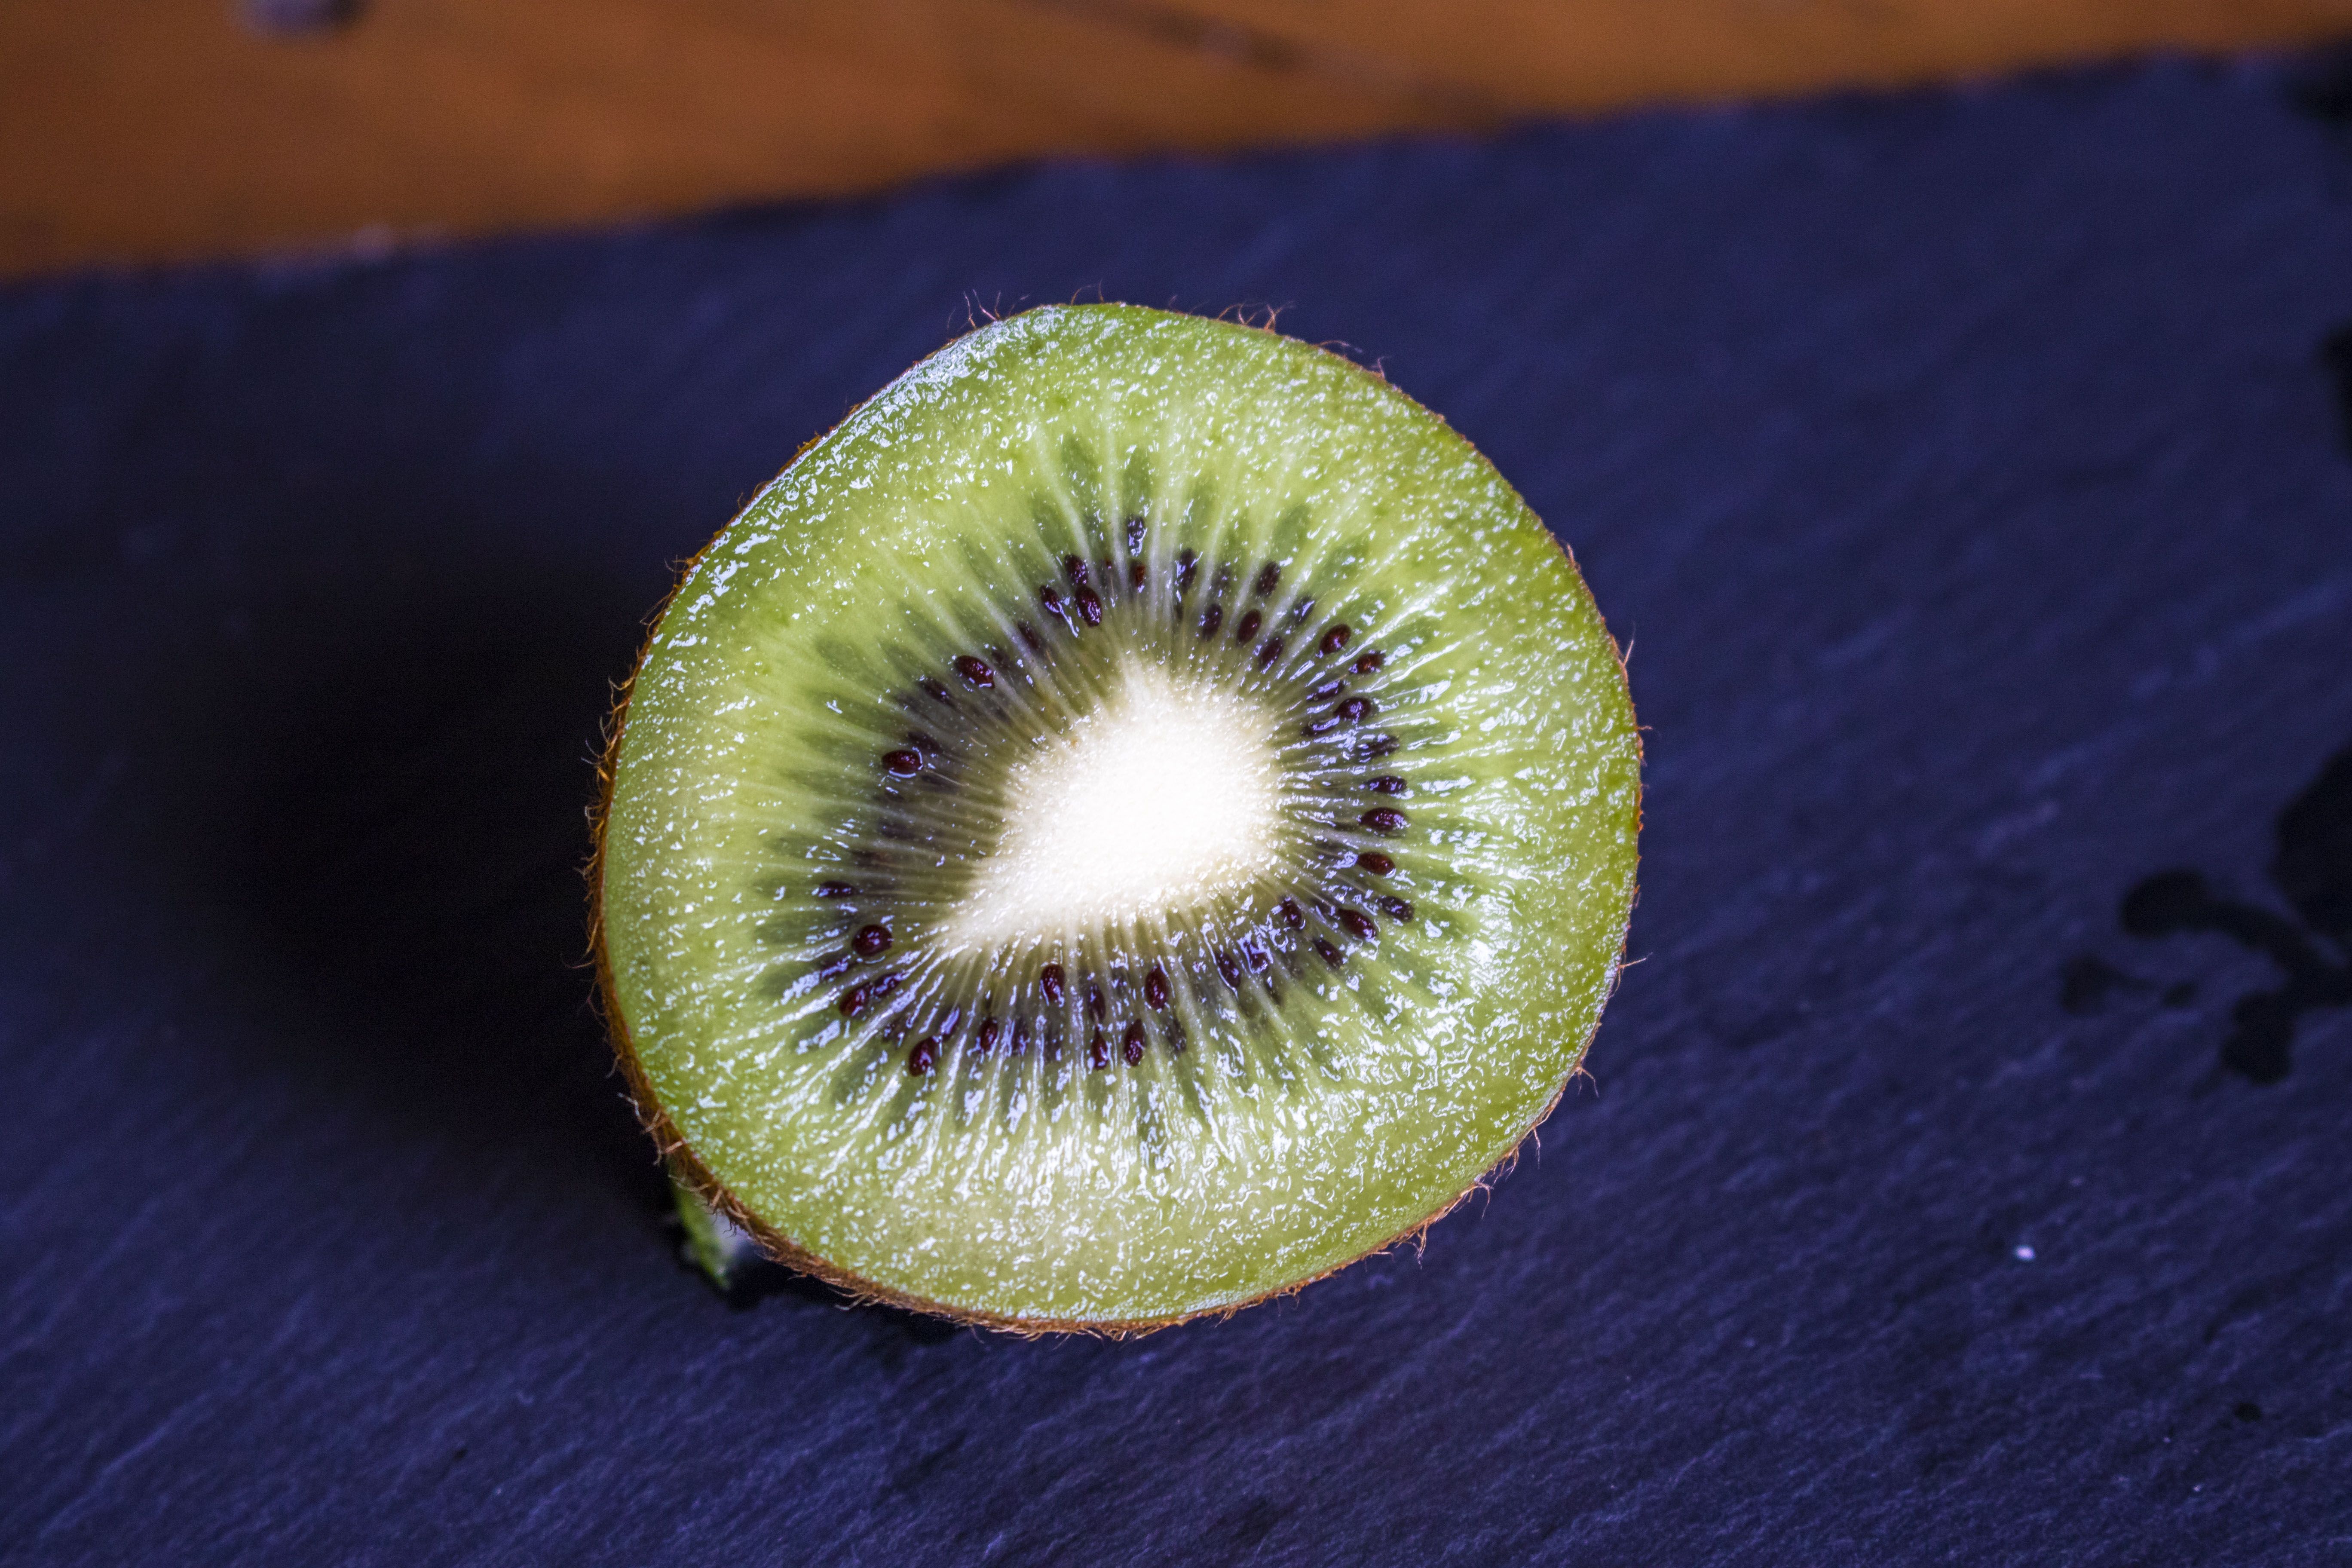
01 Select your first fruit
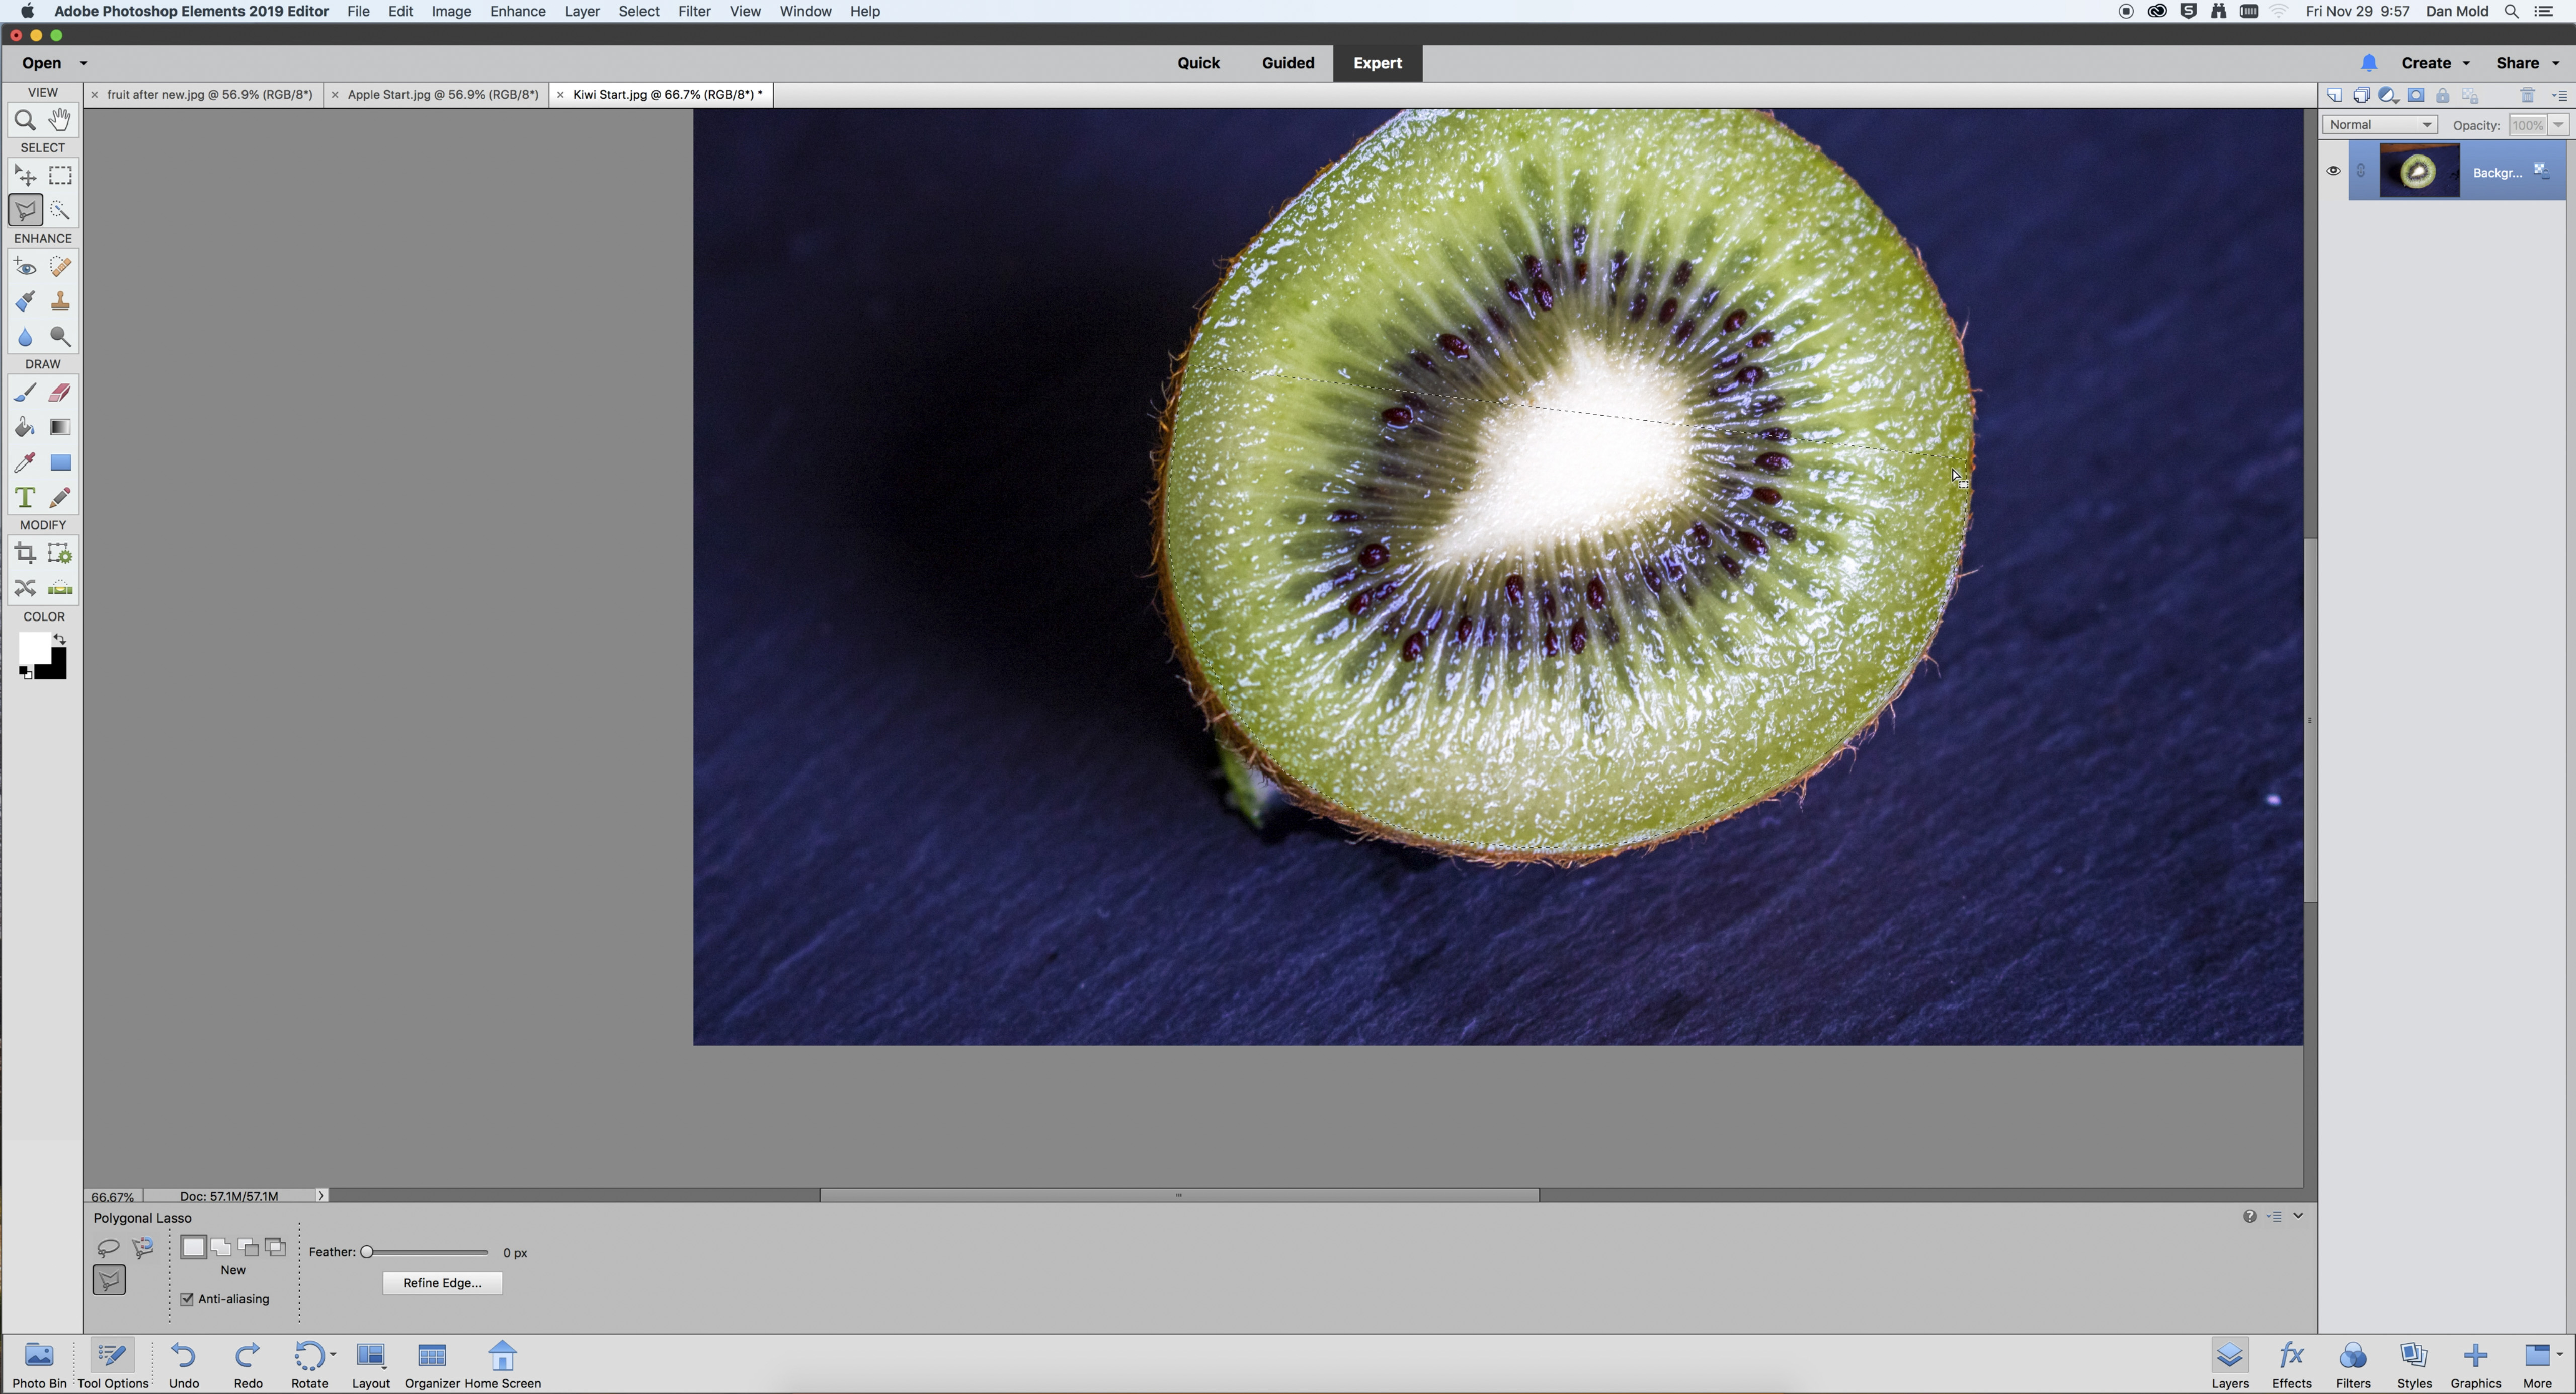
In Photoshop Elements go to File>Open and open up the fruit image that you want to select and paste into your main fruit image. Now zoom in tightly by pressing Ctrl / Cmd + Plus and use the Polygonal Lasso Tool to draw around the whole, or half, of the fruit.
02 Copy and paste it in
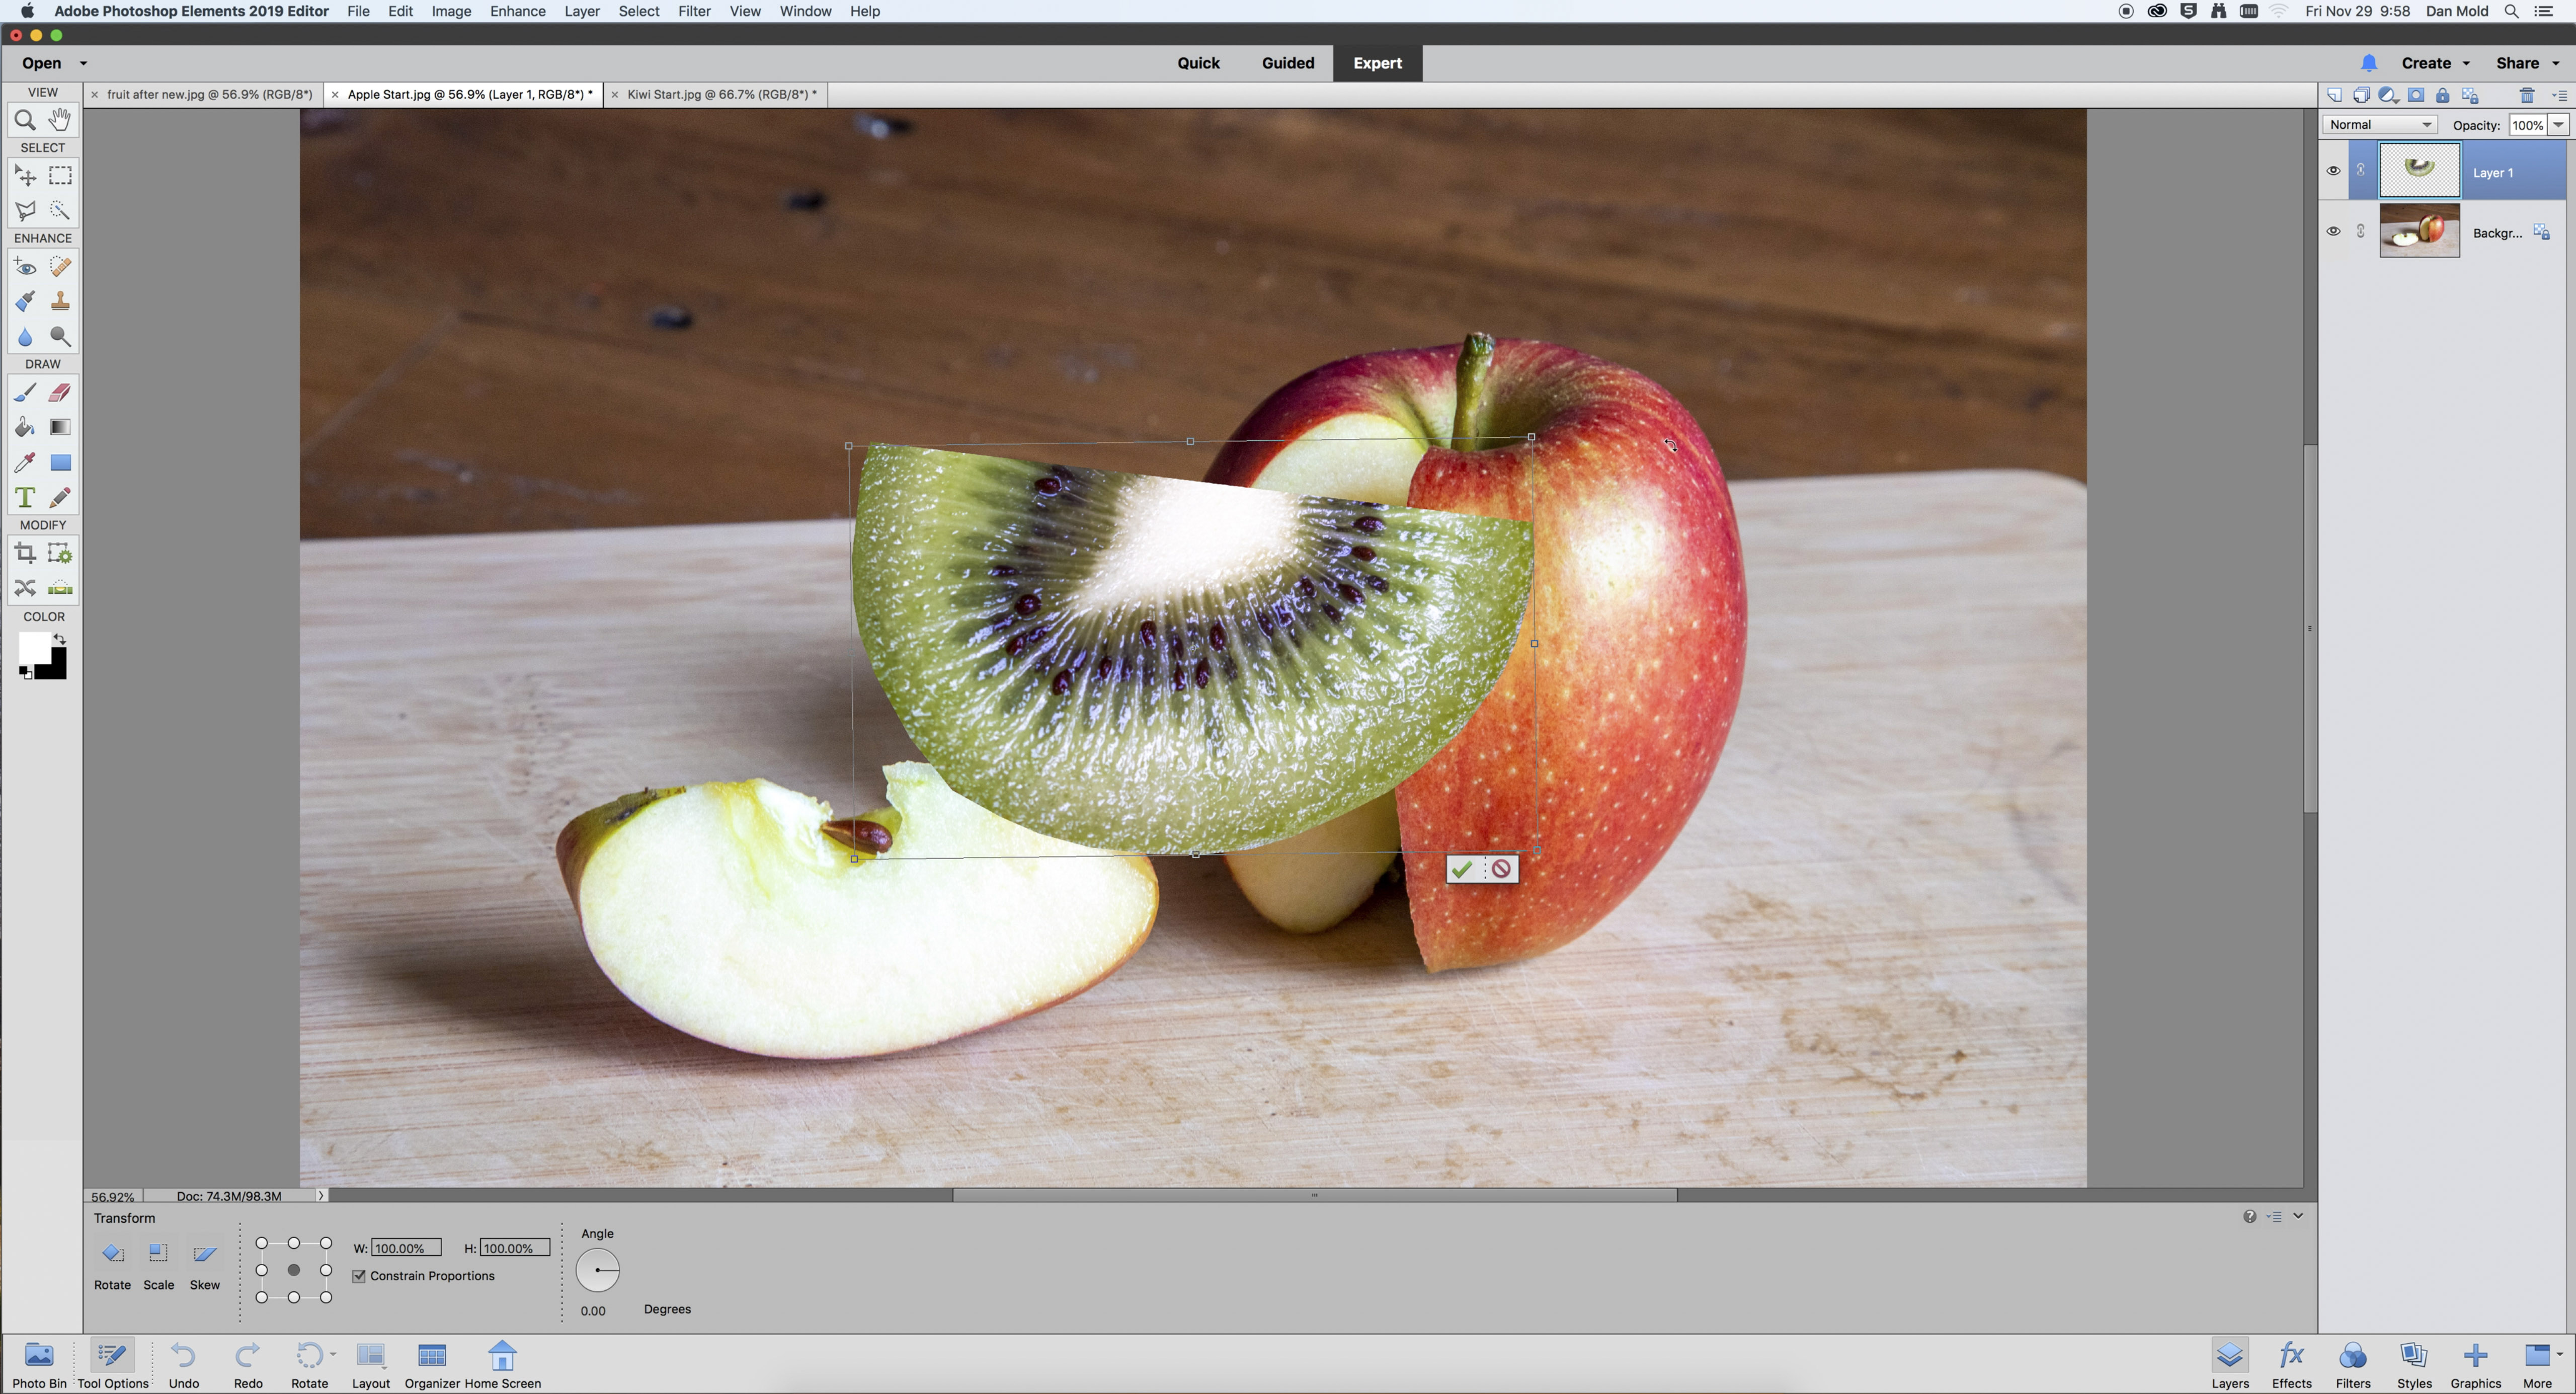
Hit Ctrl / Cmd + C to copy the selection, and then in your main fruit shot hit Ctrl / Cmd + V to paste it in. It will probably need resizing now, along with some digital manipulation to get it into the right position to match the perspective of the image in your background layer.
03 Transform the fruit to make it fit
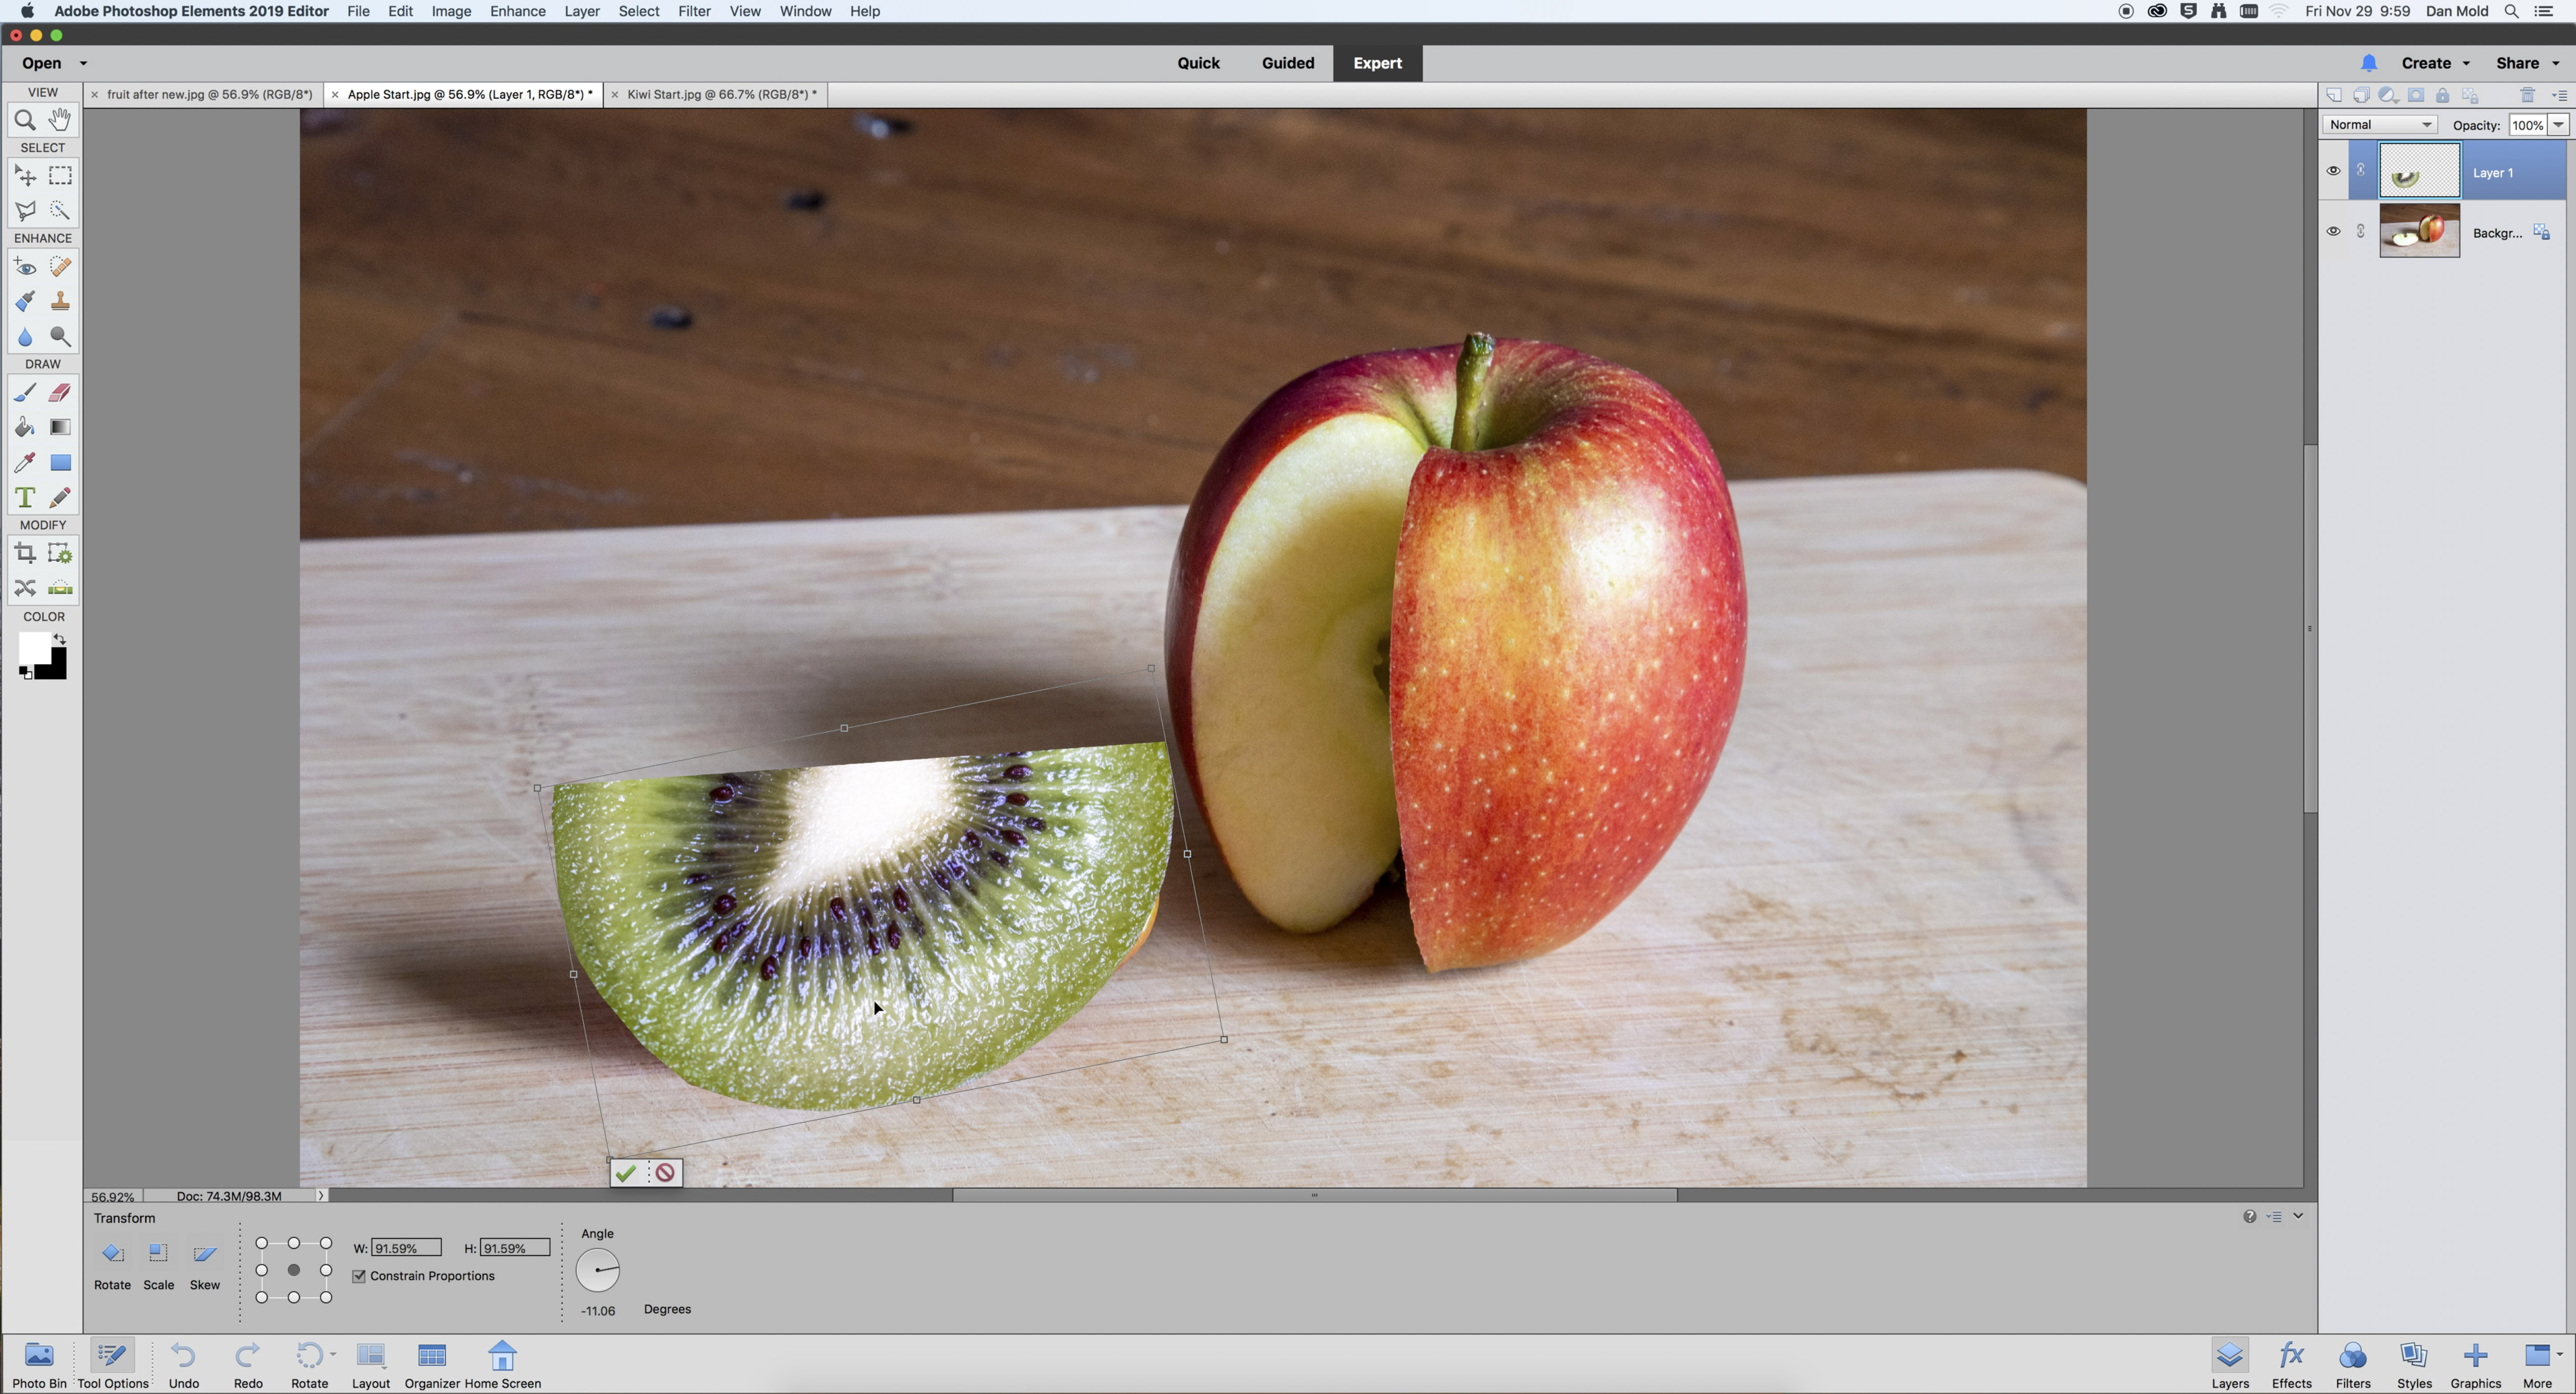
Hit Ctrl / Cmd + T to enter Free Transform Mode, then drag it so that it sits above the piece of fruit you want it to replace. Now hold Ctrl / Cmd and drag in the corners of the bounding box to line up the perspective and hit Enter to set it in place.
04 Select the other segment
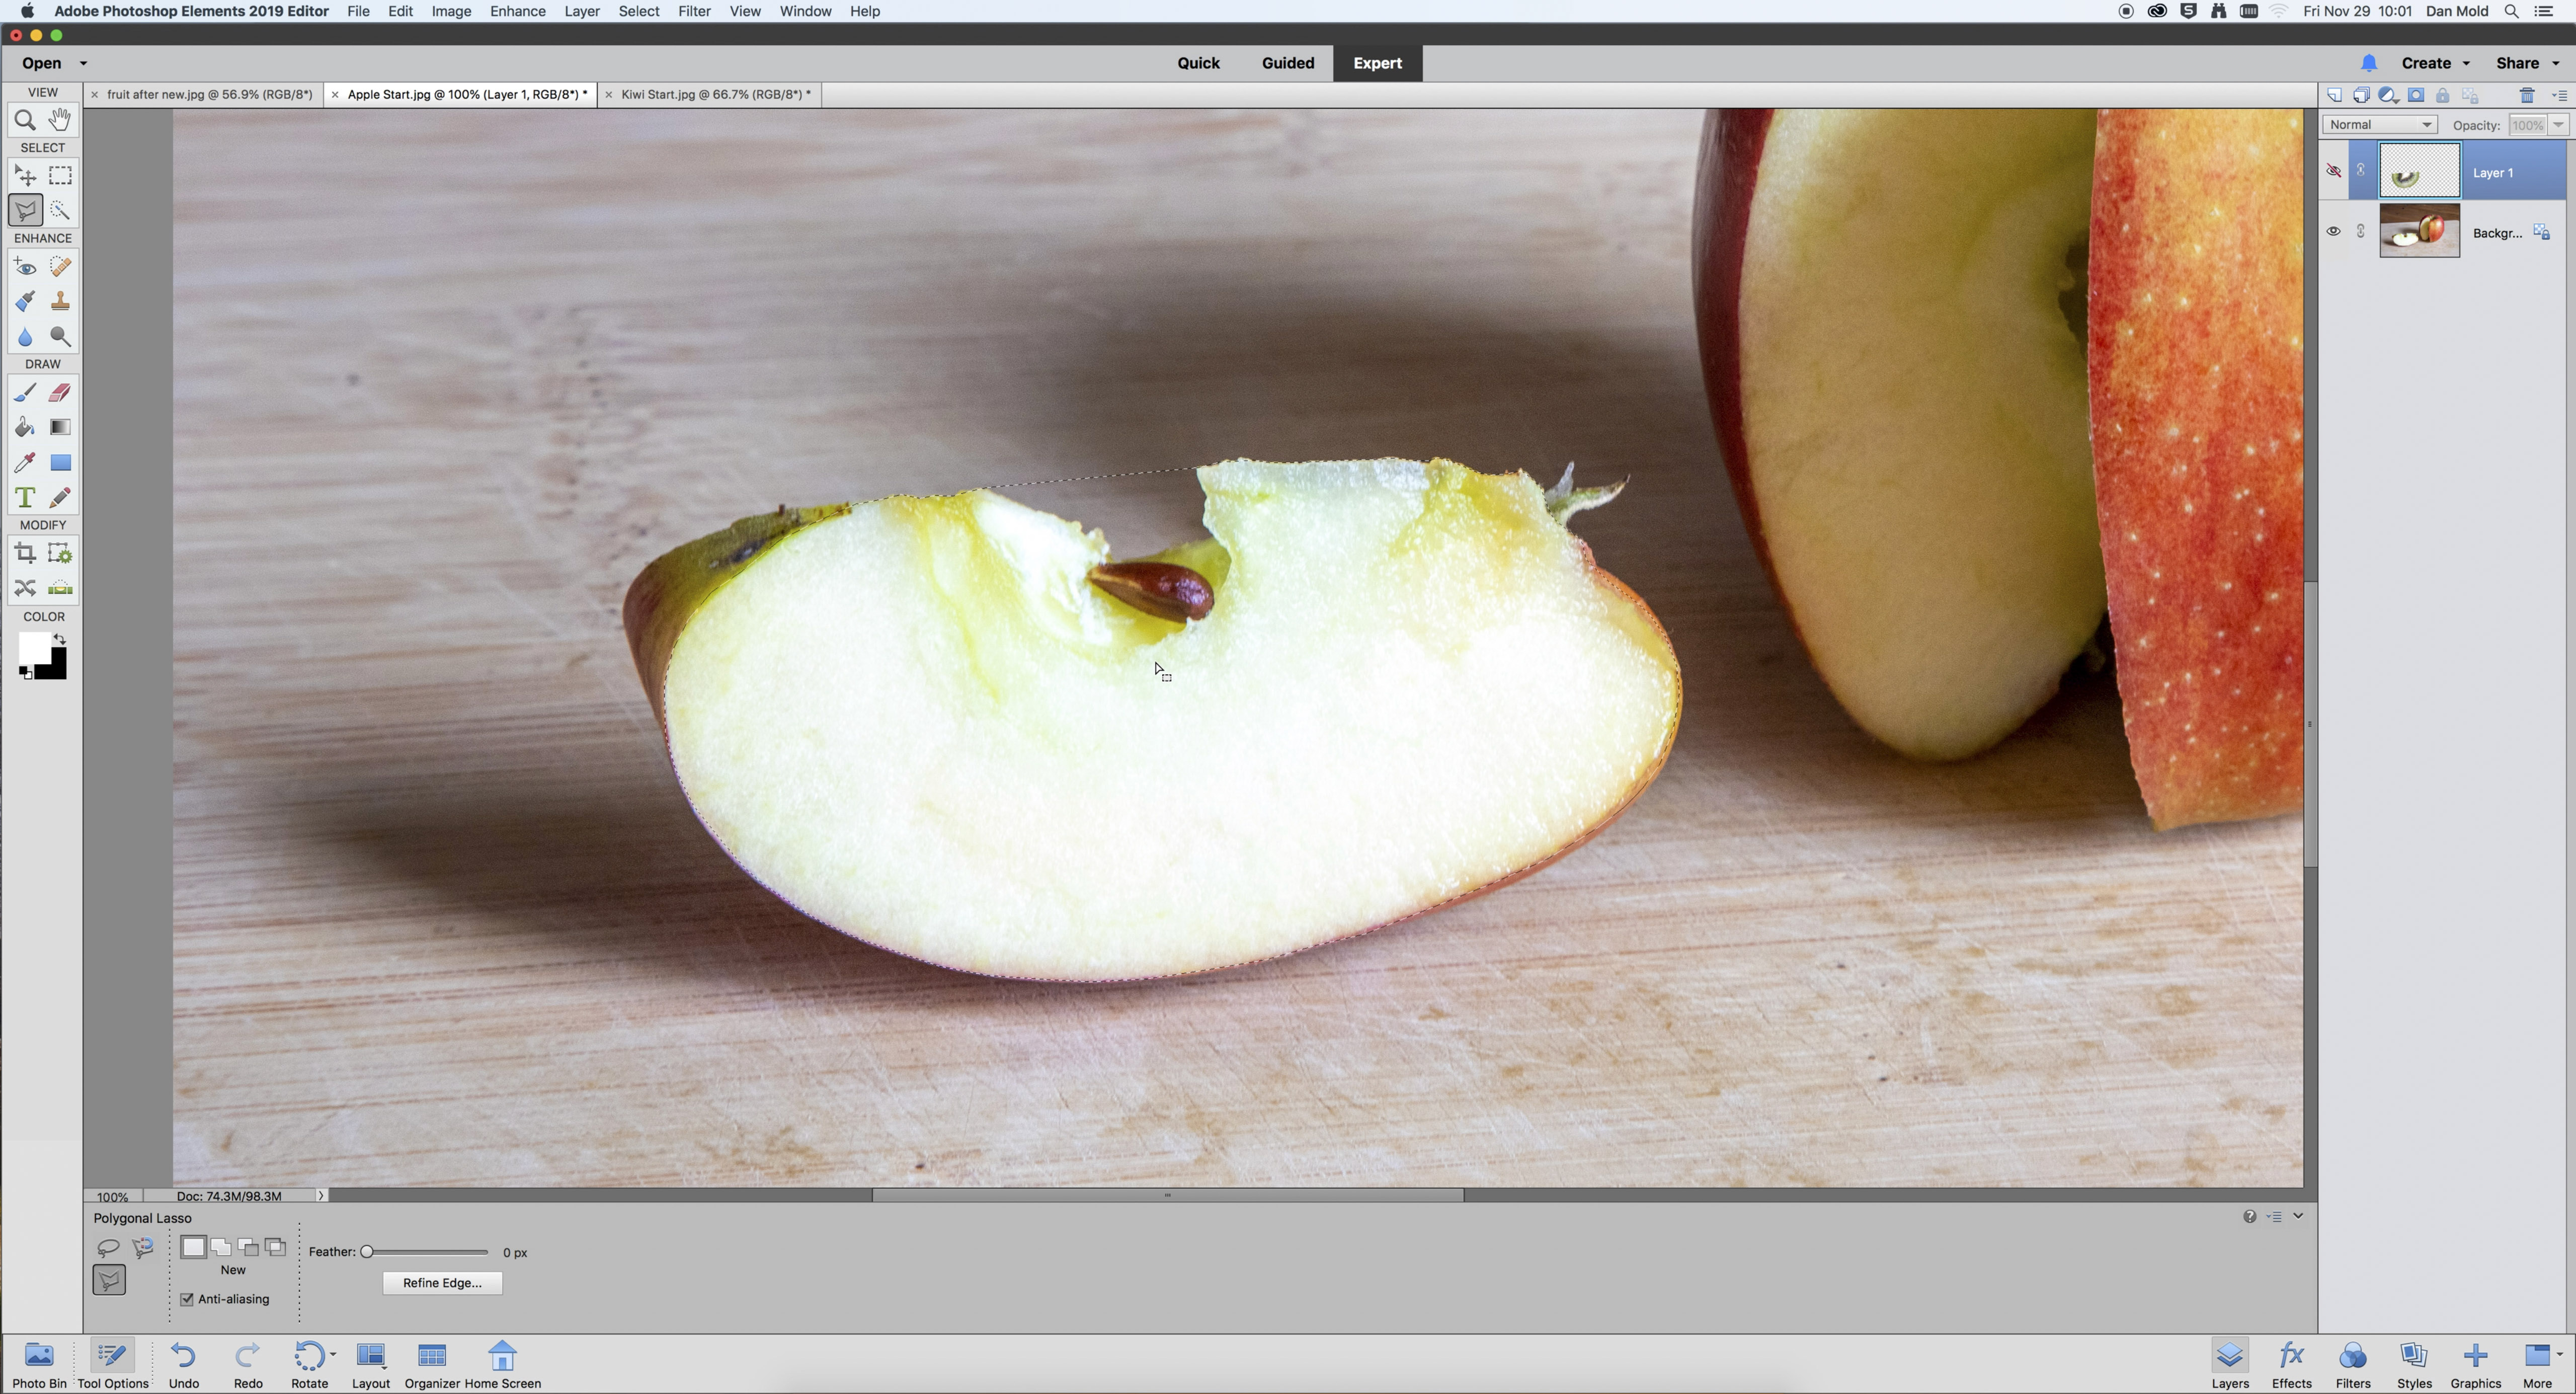
In the Layers panel click on the eye icon of your top layer to temporarily hide it, then zoom in and use the Polygonal Lasso Tool to select the inside edge of the other piece of fruit. When your selection is made click on Refine Edge, set the Feather to 1px and then hit OK.
05 Apply a layer mask
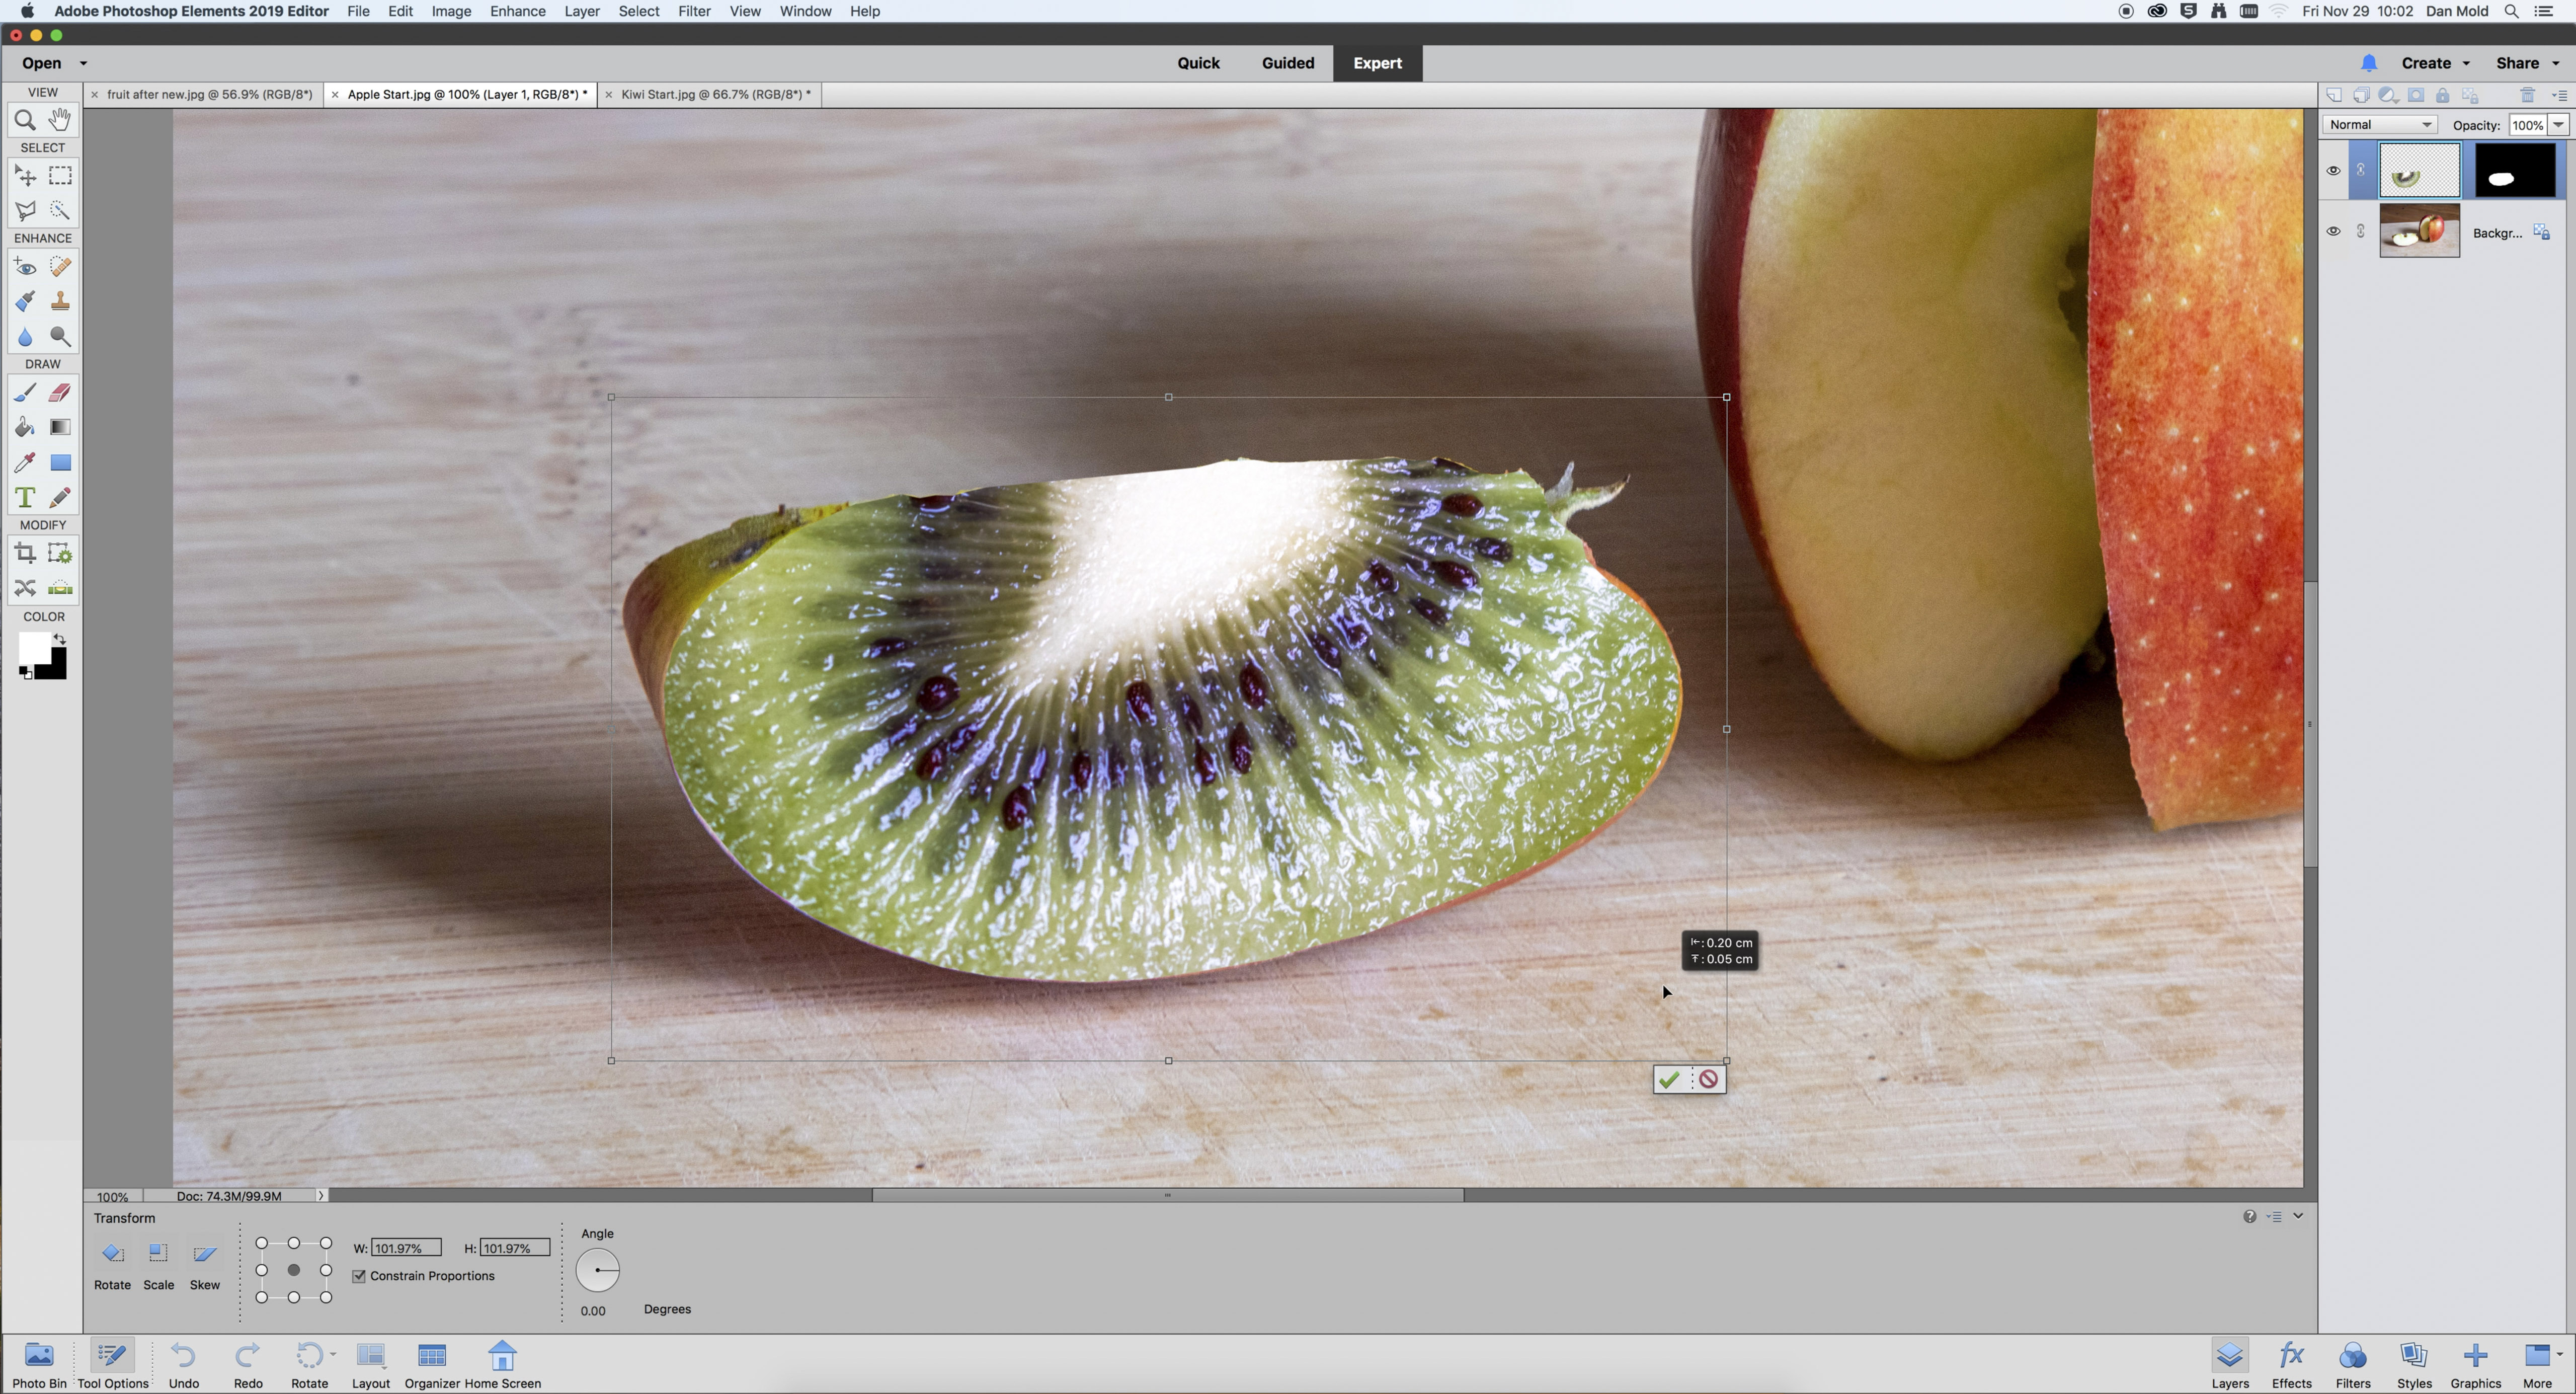
Head back to the Layers panel and click the eye icon of the top layer once again to unhide it, then click on the Add Layer Mask icon to turn your selection into a Layer Mask. You’ll see that your new fruit only appears through the area you just selected.
06 Make the light levels match
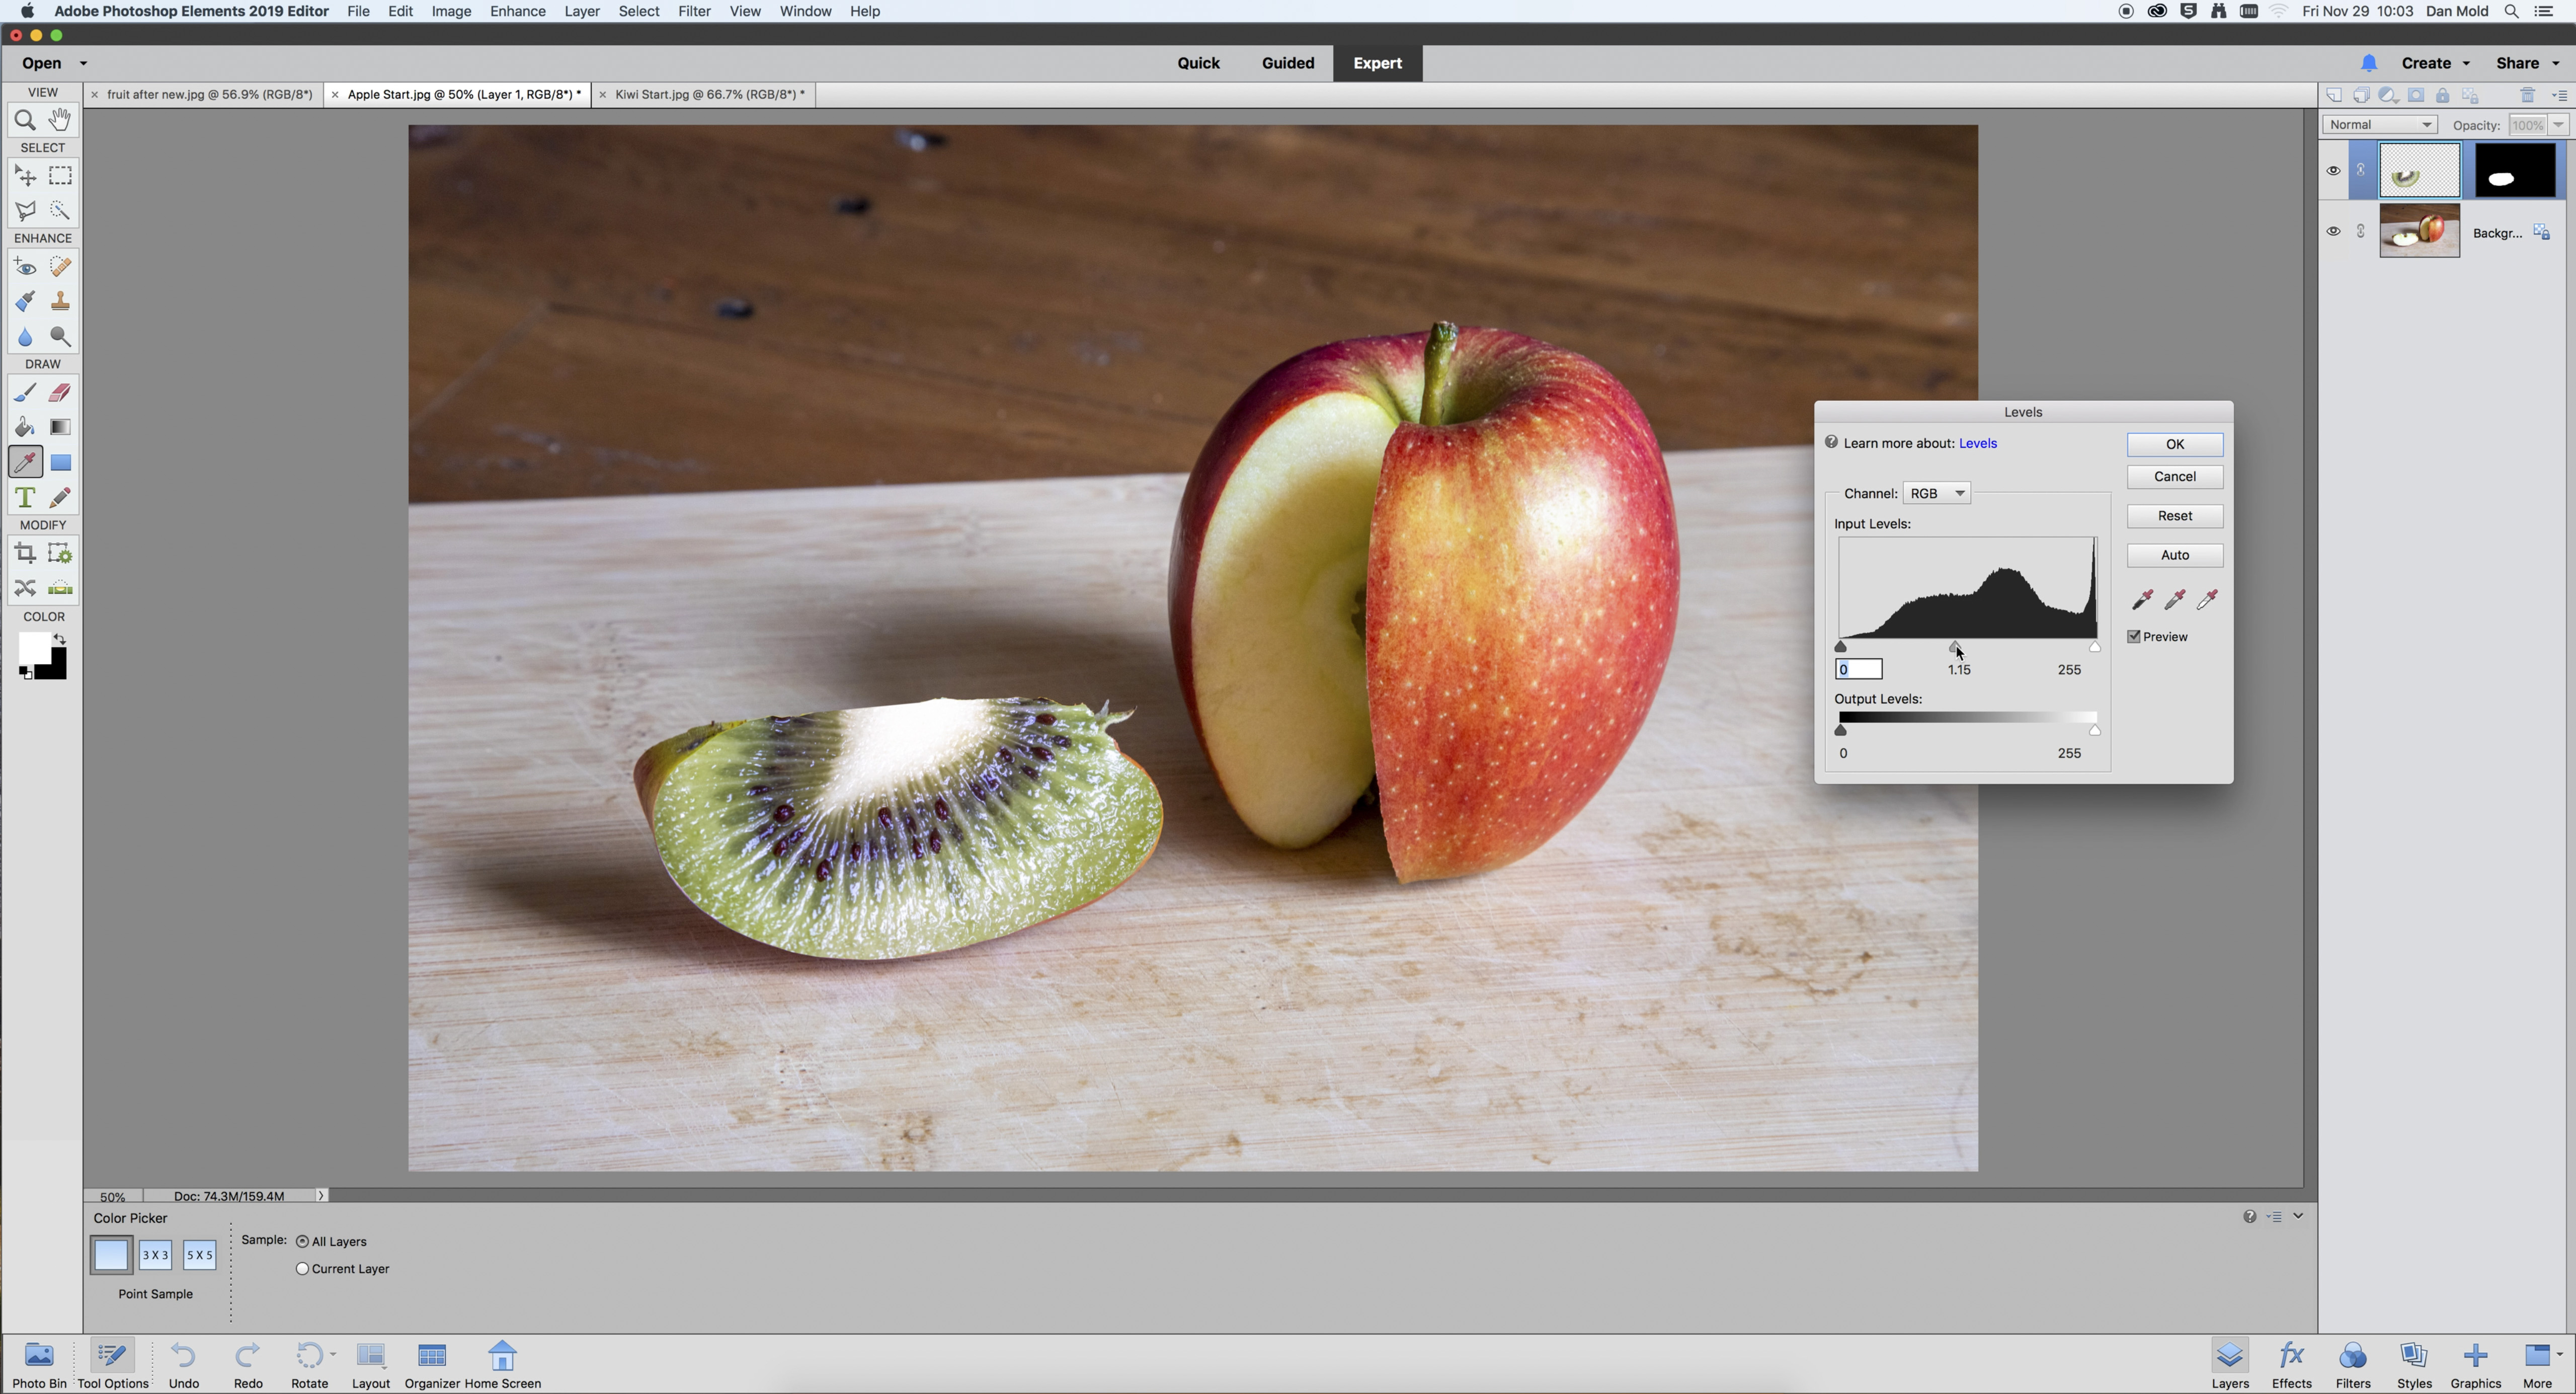
To match up the lighting between the two shots, select the top layer and hit Ctrl / Cmd + L to bring up Levels, then tweak the Midtones slider until the lighting in both shots is seamless. You can also then repeat the process for the inside part of fruit if you wish, too.
PhotoPlus: The Canon Magazine is the world's only monthly newsstand title that's 100% devoted to Canon, so you can be sure the magazine is completely relevant to your system.
Read more:
The best photo editing software: image editors for novices through to pros
The best photo-editing laptops in 2020: top laptops for photographers
The best ultrawide monitor for photo editing in 2020
Get the Digital Camera World Newsletter
The best camera deals, reviews, product advice, and unmissable photography news, direct to your inbox!

Deputy Editor on PhotoPlus: The Canon Magazine, Dan also brings his technical wizardry and editing skills to Digital Camera World. He has been writing about all aspects of photography for over 10 years, having previously served as technical writer and technical editor for Practical Photography magazine, as well as Photoshop editor on Digital Photo.
Dan is an Adobe-certified Photoshop guru, making him officially a beast at post-processing – so he’s the perfect person to share tips and tricks both in-camera and in post. Able to shoot all genres, Dan provides news, techniques and tutorials on everything from portraits and landscapes to macro and wildlife, helping photographers get the most out of their cameras, lenses, filters, lighting, tripods, and, of course, editing software.

