
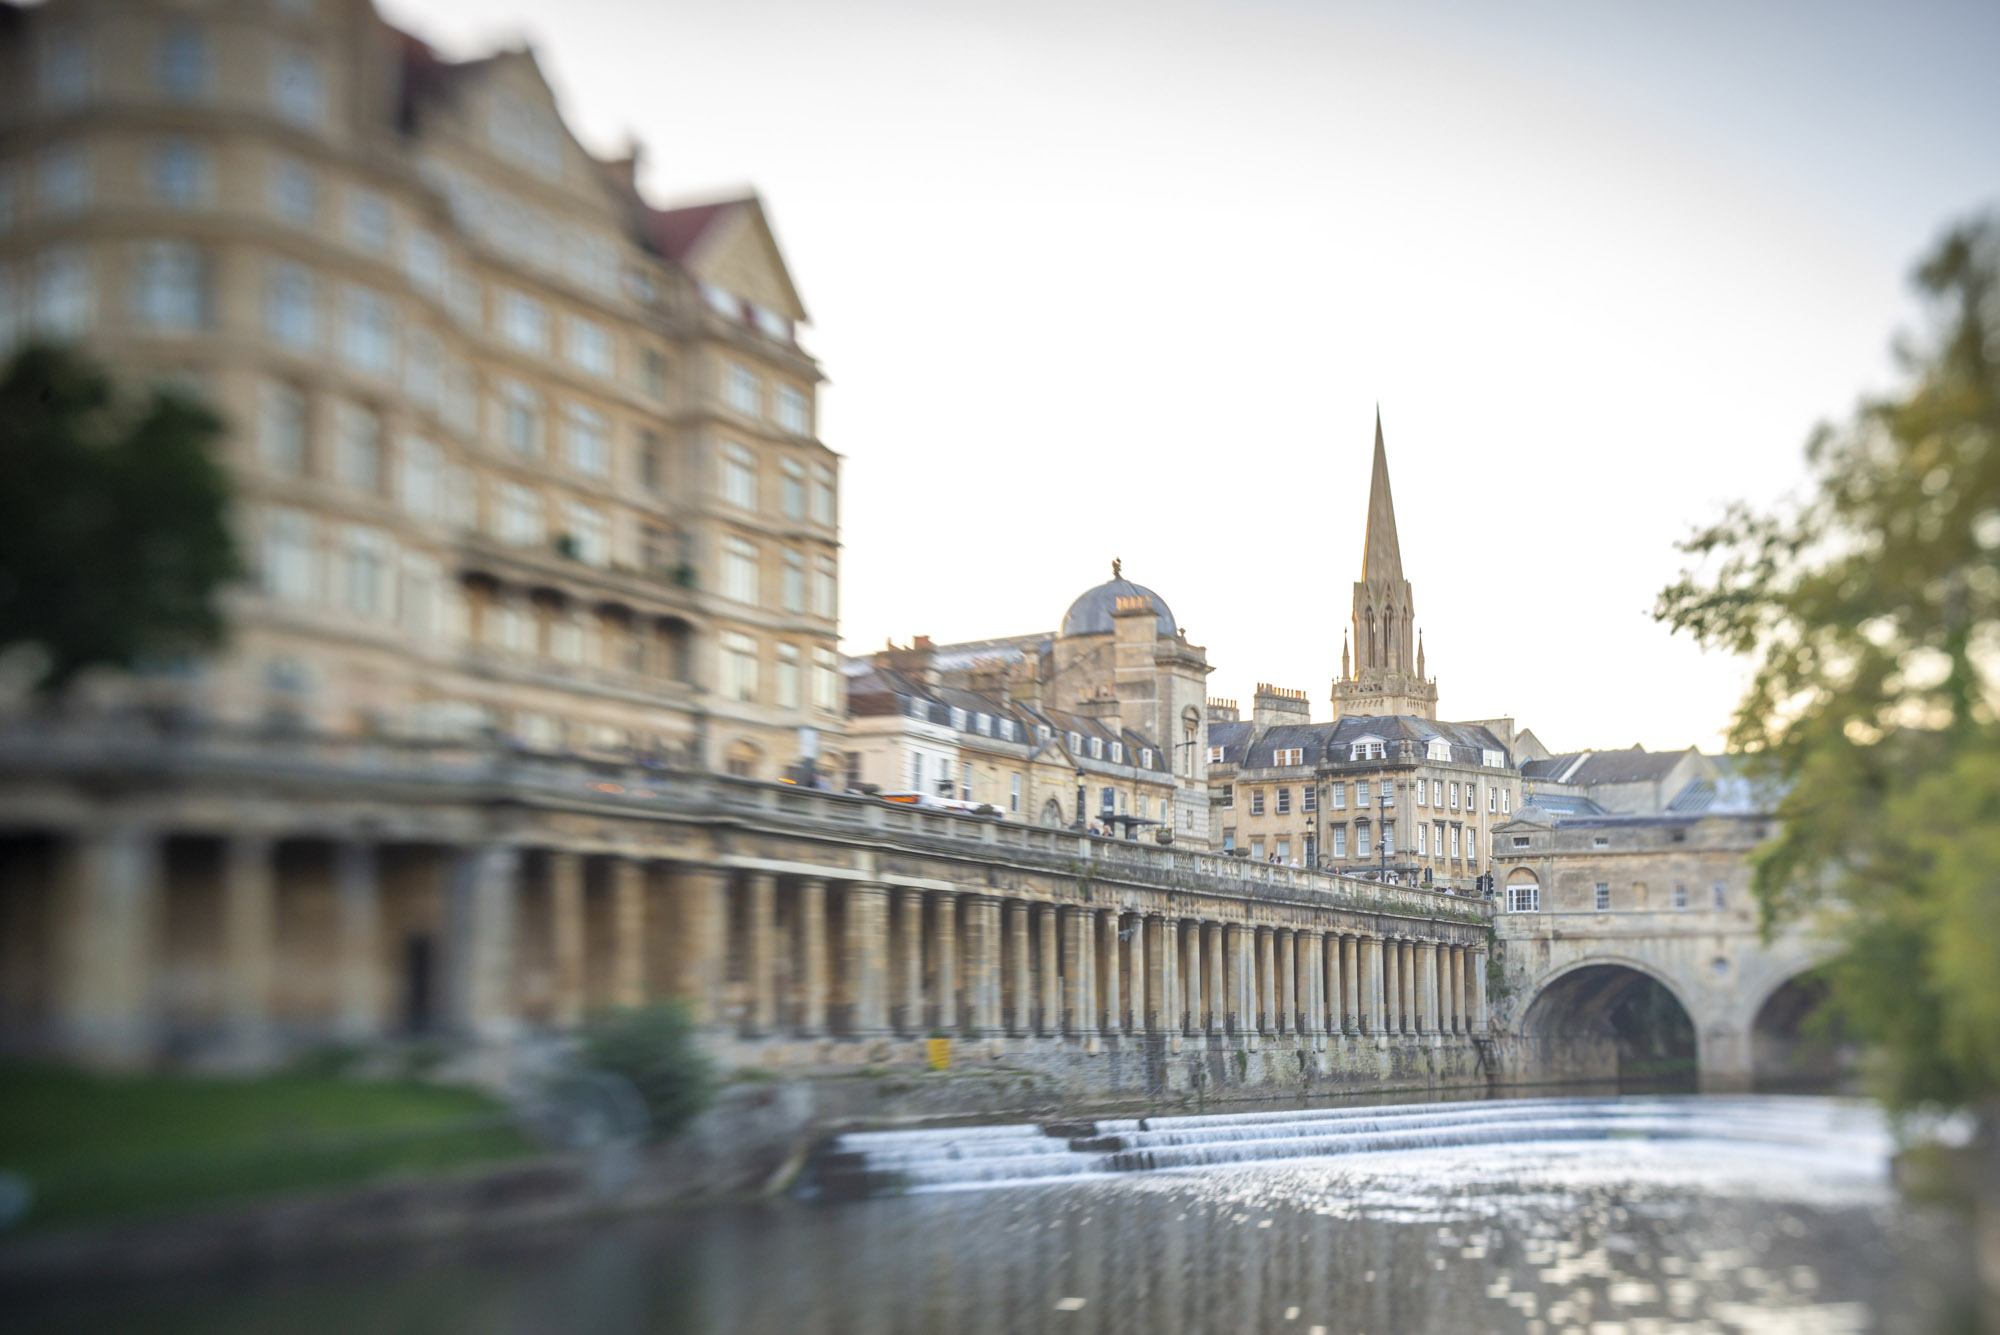
Ever wondered if you could fit a non-Canon mount lens to your EOS DSLR or CSC? Sure, there are adapters out there that will let you do it, but we’ve got something a bit more fun and experimental that will allow you to breathe new life into old lenses and bag some brilliant shots that you simply would not be able to achieve otherwise.
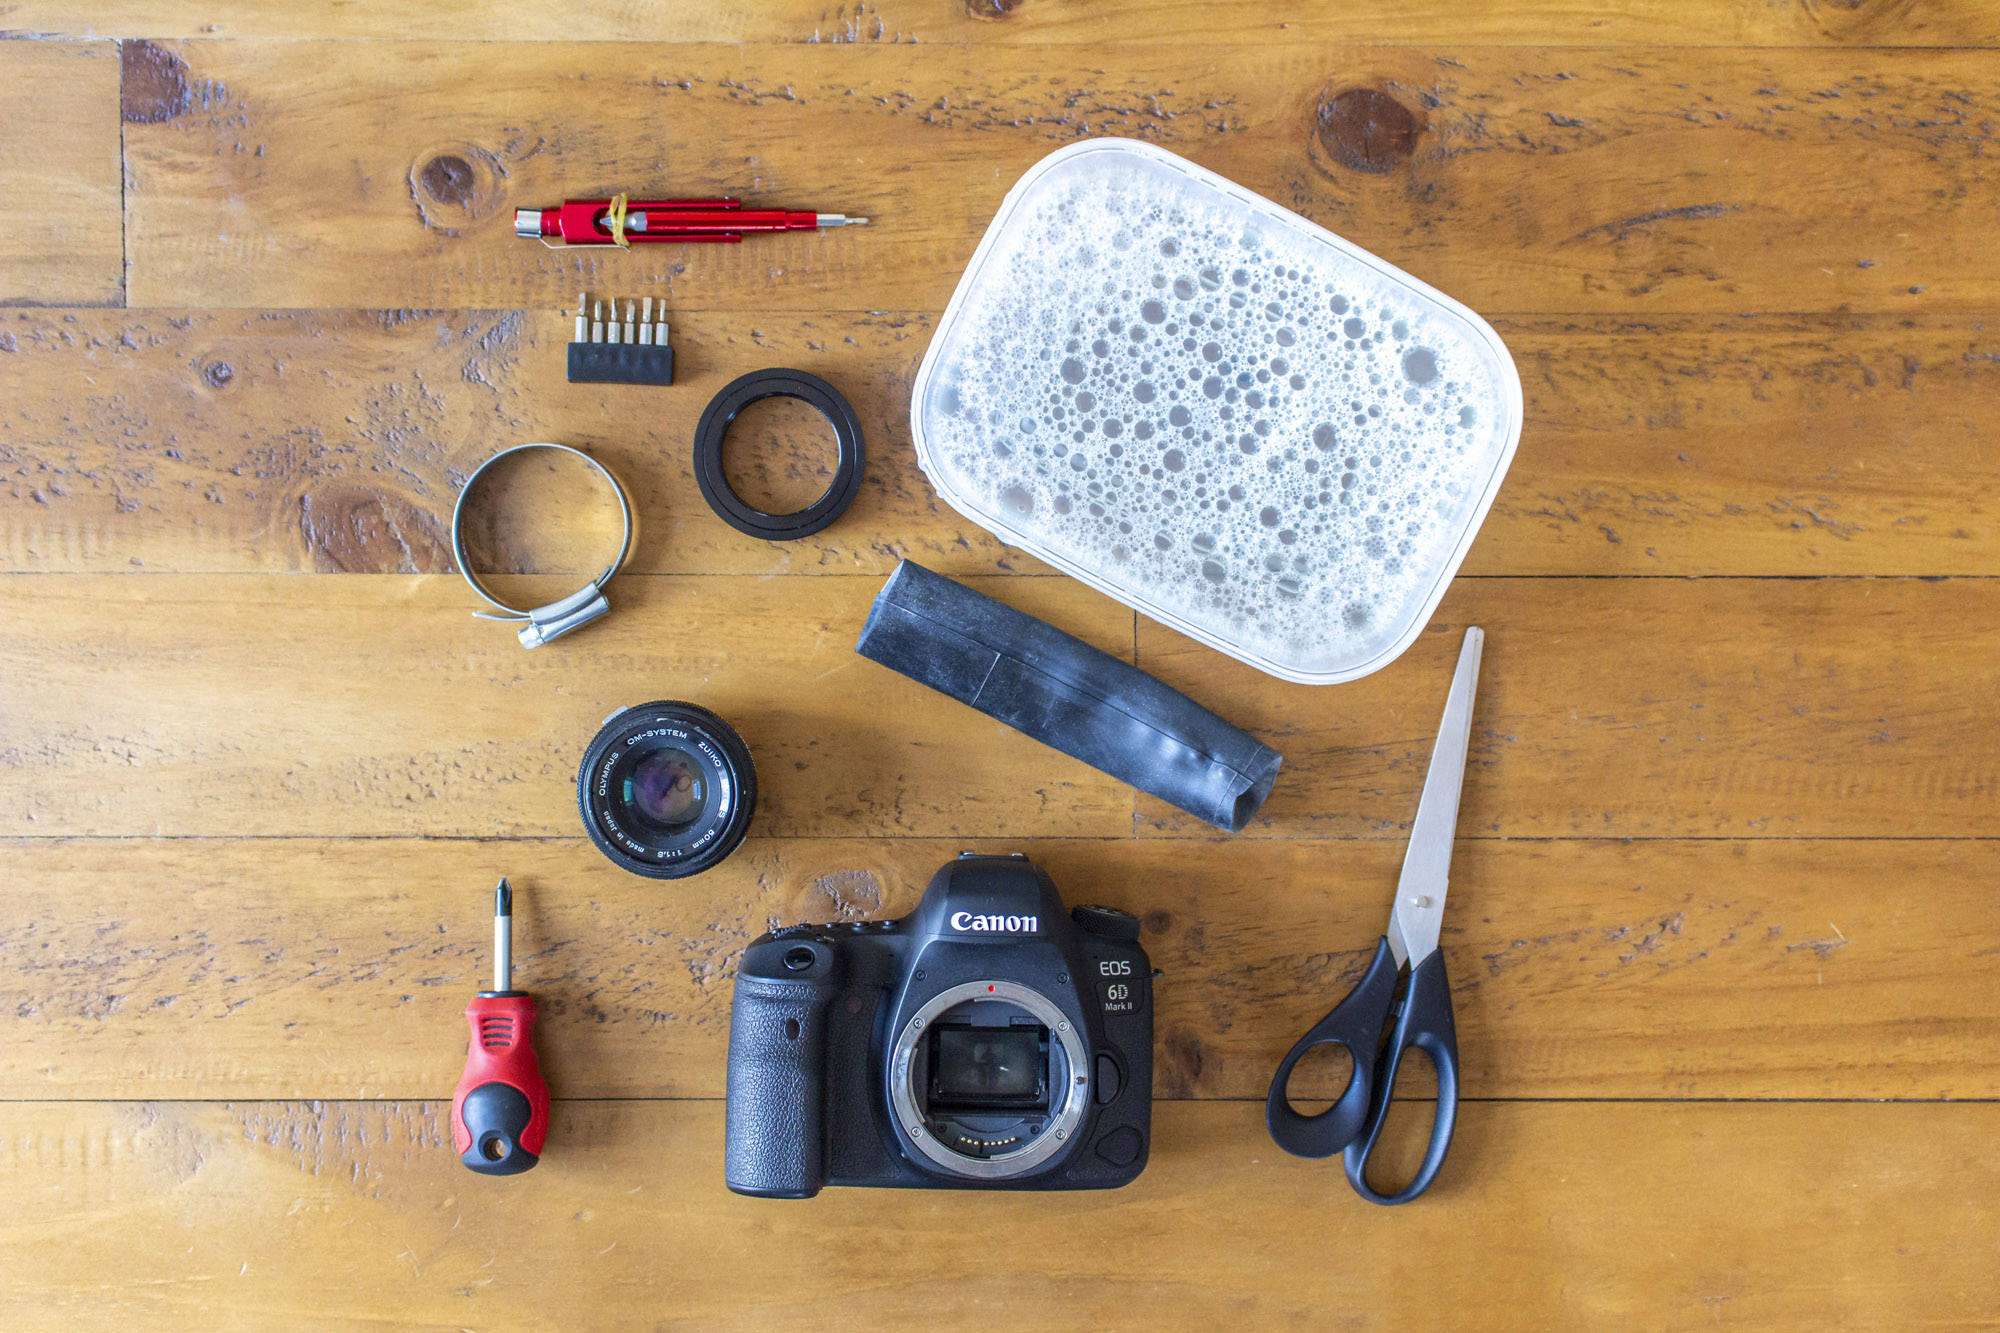
To create our rendition, we used an old Olympus 50mm Zuiko f/1.8 lens that we picked up in a charity shop for just £10, so it’s definitely worth hunting around for an old cheap film lens, even broken lenses can work well, depending on what their fault is.
Above: Watch the video make your own tilt-lens
Old lenses work great because they usually have a physical aperture ring, meaning you can control the aperture even though the lens isn’t electronically connected to the camera. Don’t be tempted to try this on an expensive lens and make sure you do your research before you start taking anything apart!
All of the accessories we used were very affordable too with some costing just a few pounds – even a precision screwdriver set can be picked up for around £5 online and we were able to get an old bicycle inner tube destined for the trash for free from our local bike repair shop.
In total we spent about $30/£30, a fraction of the price of a real tilt-shift lens or Lensbaby, and it’s great fun to be able to make something bespoke. I totally recommend keeping your eye out for an old lens bargain and give it a go too! Here’s how...
1. Start by taking off the rear mount

Every lens will have a different construction, but here’s how we disassembled our Olympus lens for our project. We inserted a fine Philips head to our precision jeweller’s screwdriver and then carefully unscrewed the three screws on the rear mount. These were glued in too, so needed quite a firm turn to break the glue and unscrew them.
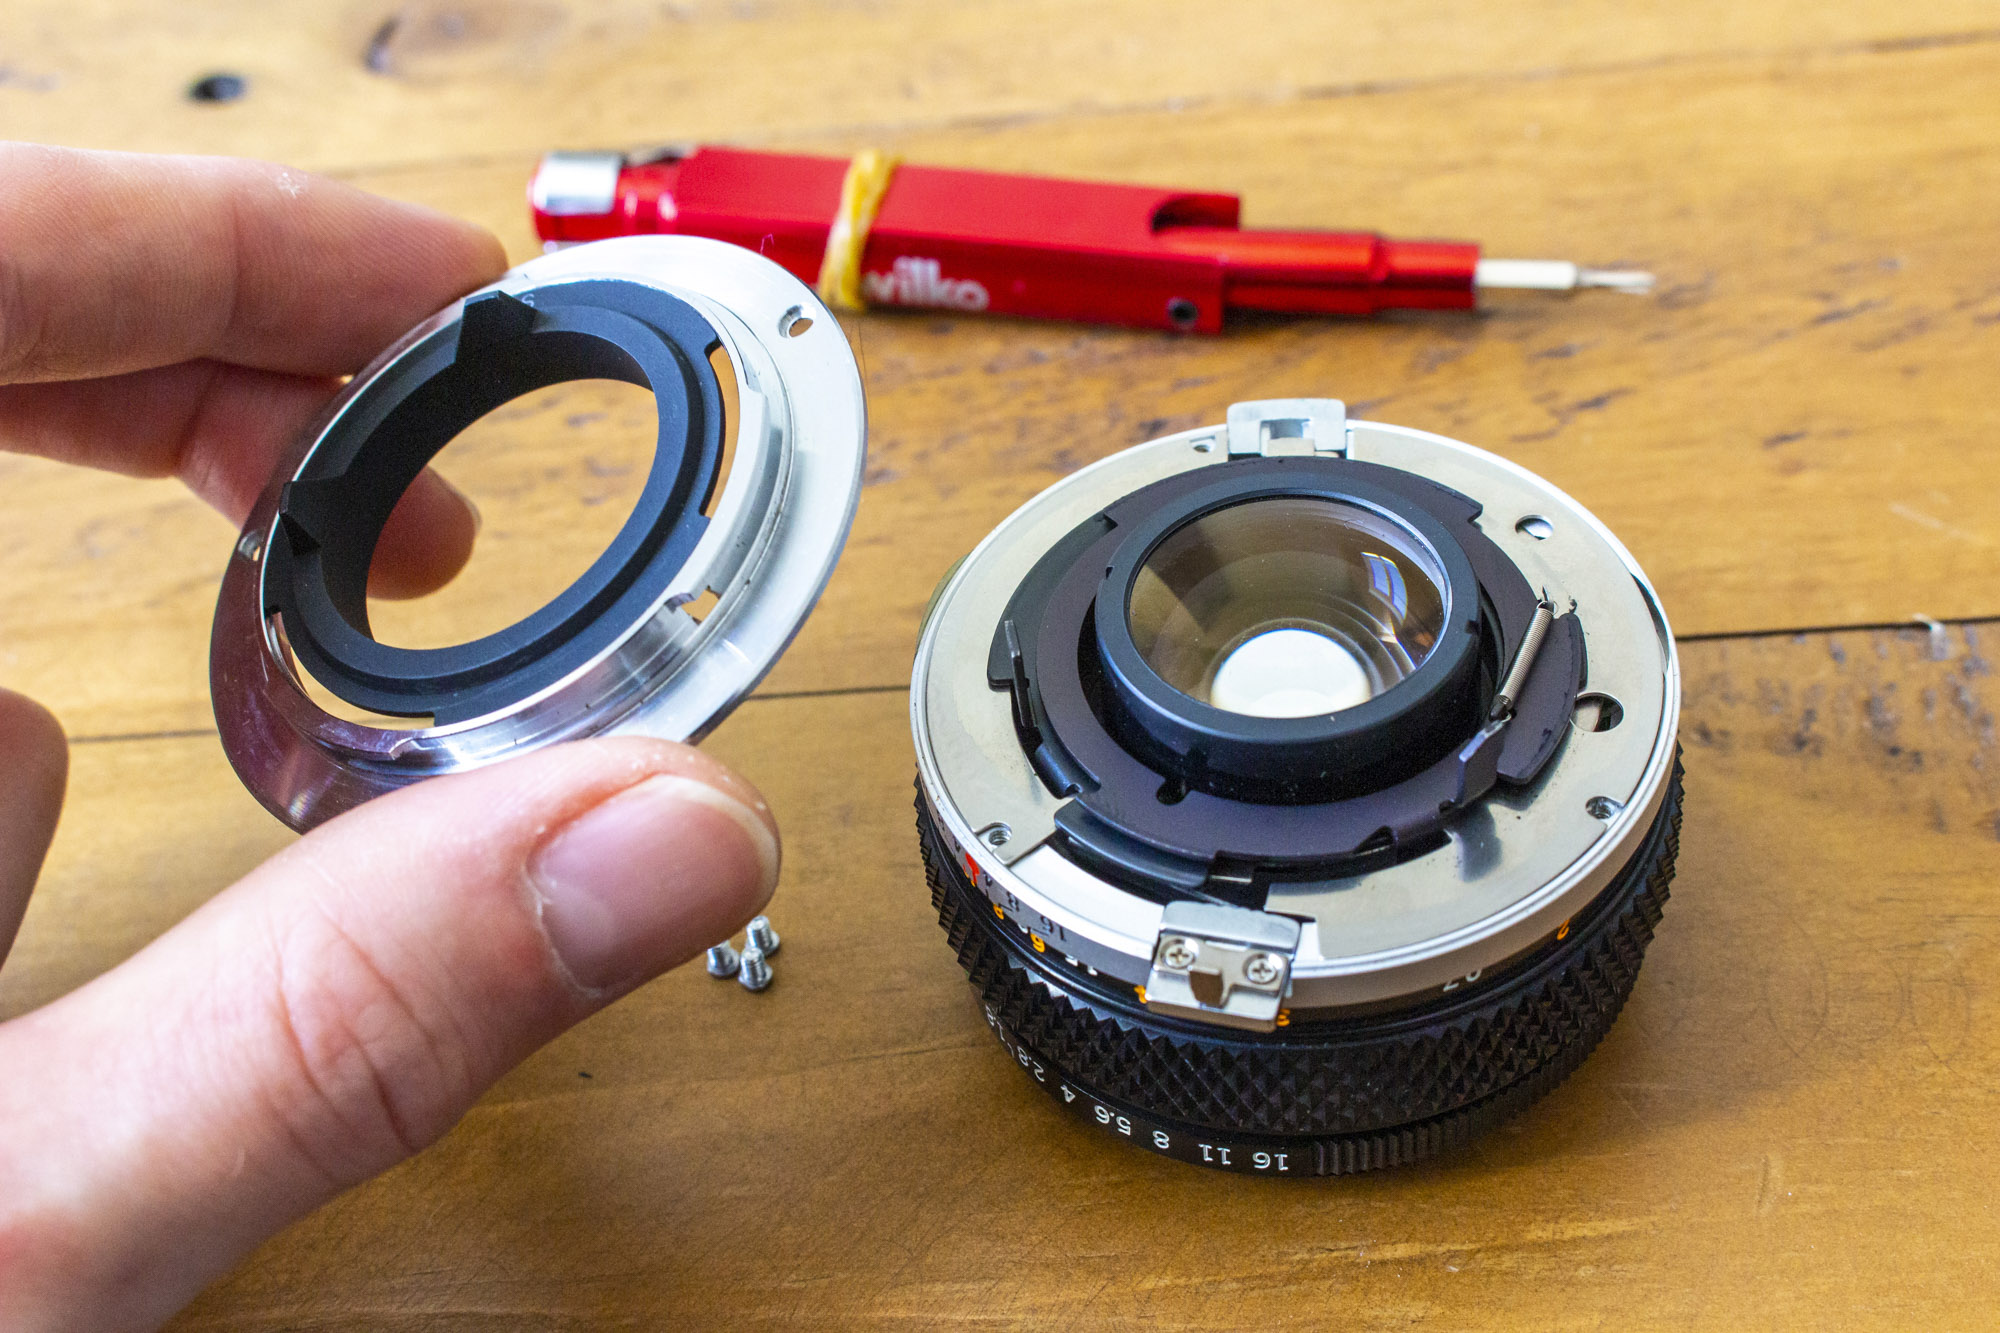
The metal rear mount then came off – it’s important to use the right screwdriver bit to avoid shearing off the head of the screw. Then remove as much of the internal elements as you can, including the focusing ring until you’re left with a bare bones internal lens barrel.
2. Attach your T2 mount adapter
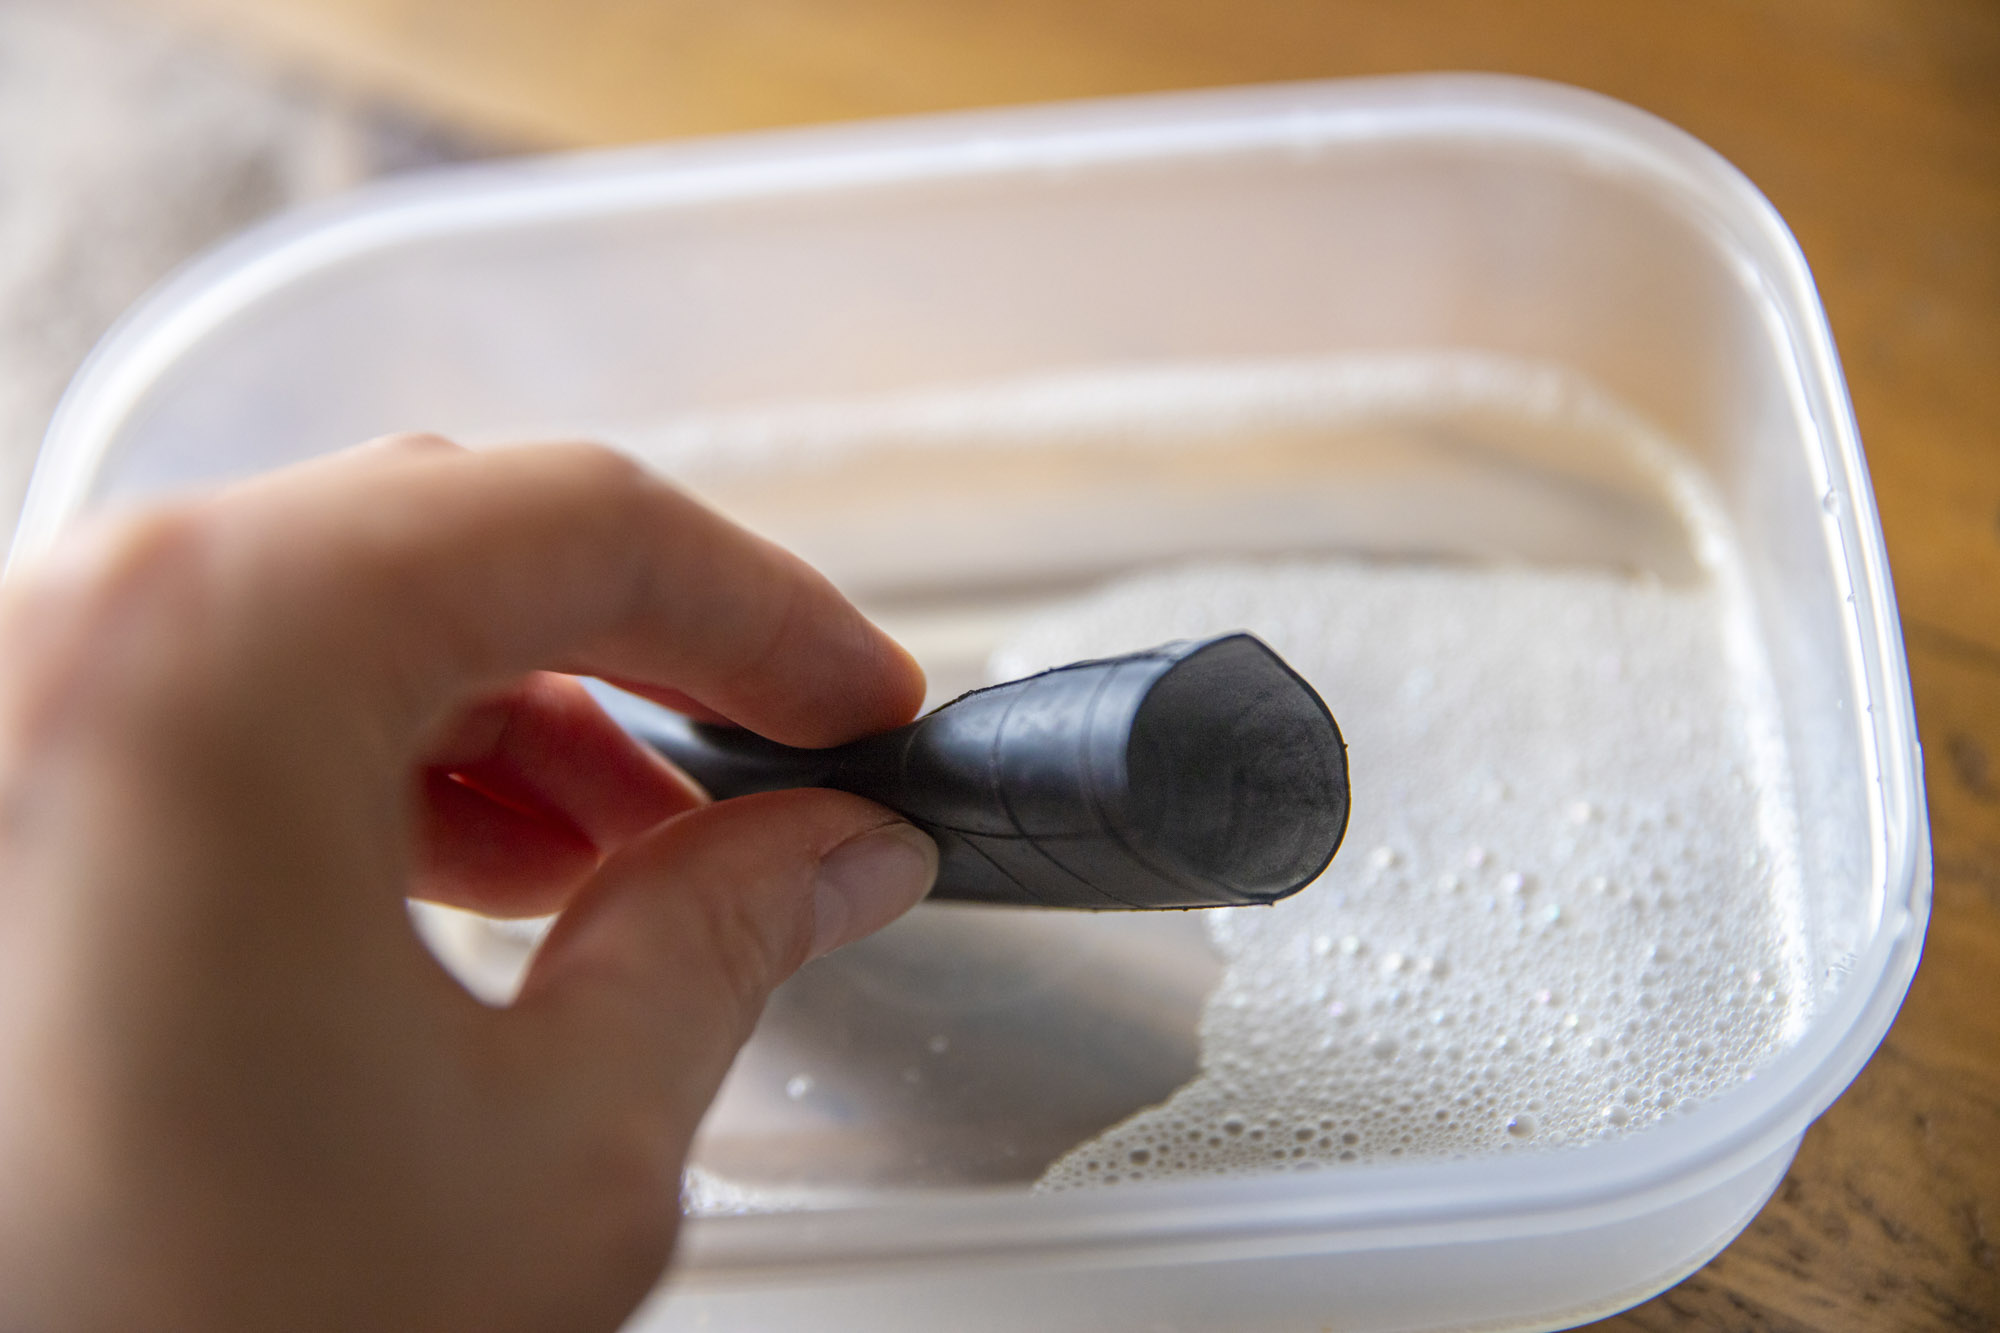
Cut a three inch section of a bicycle inner tube (avoiding the pump valve) and then wash it thoroughly in warm soapy water to remove the powdery residue inside, as you don’t want this getting on your lens or inside your camera body! You can use a toothbrush to get inside and thoroughly clean it out if needed, then leave it to dry, or use a hair dryer if you want to speed up the drying process.
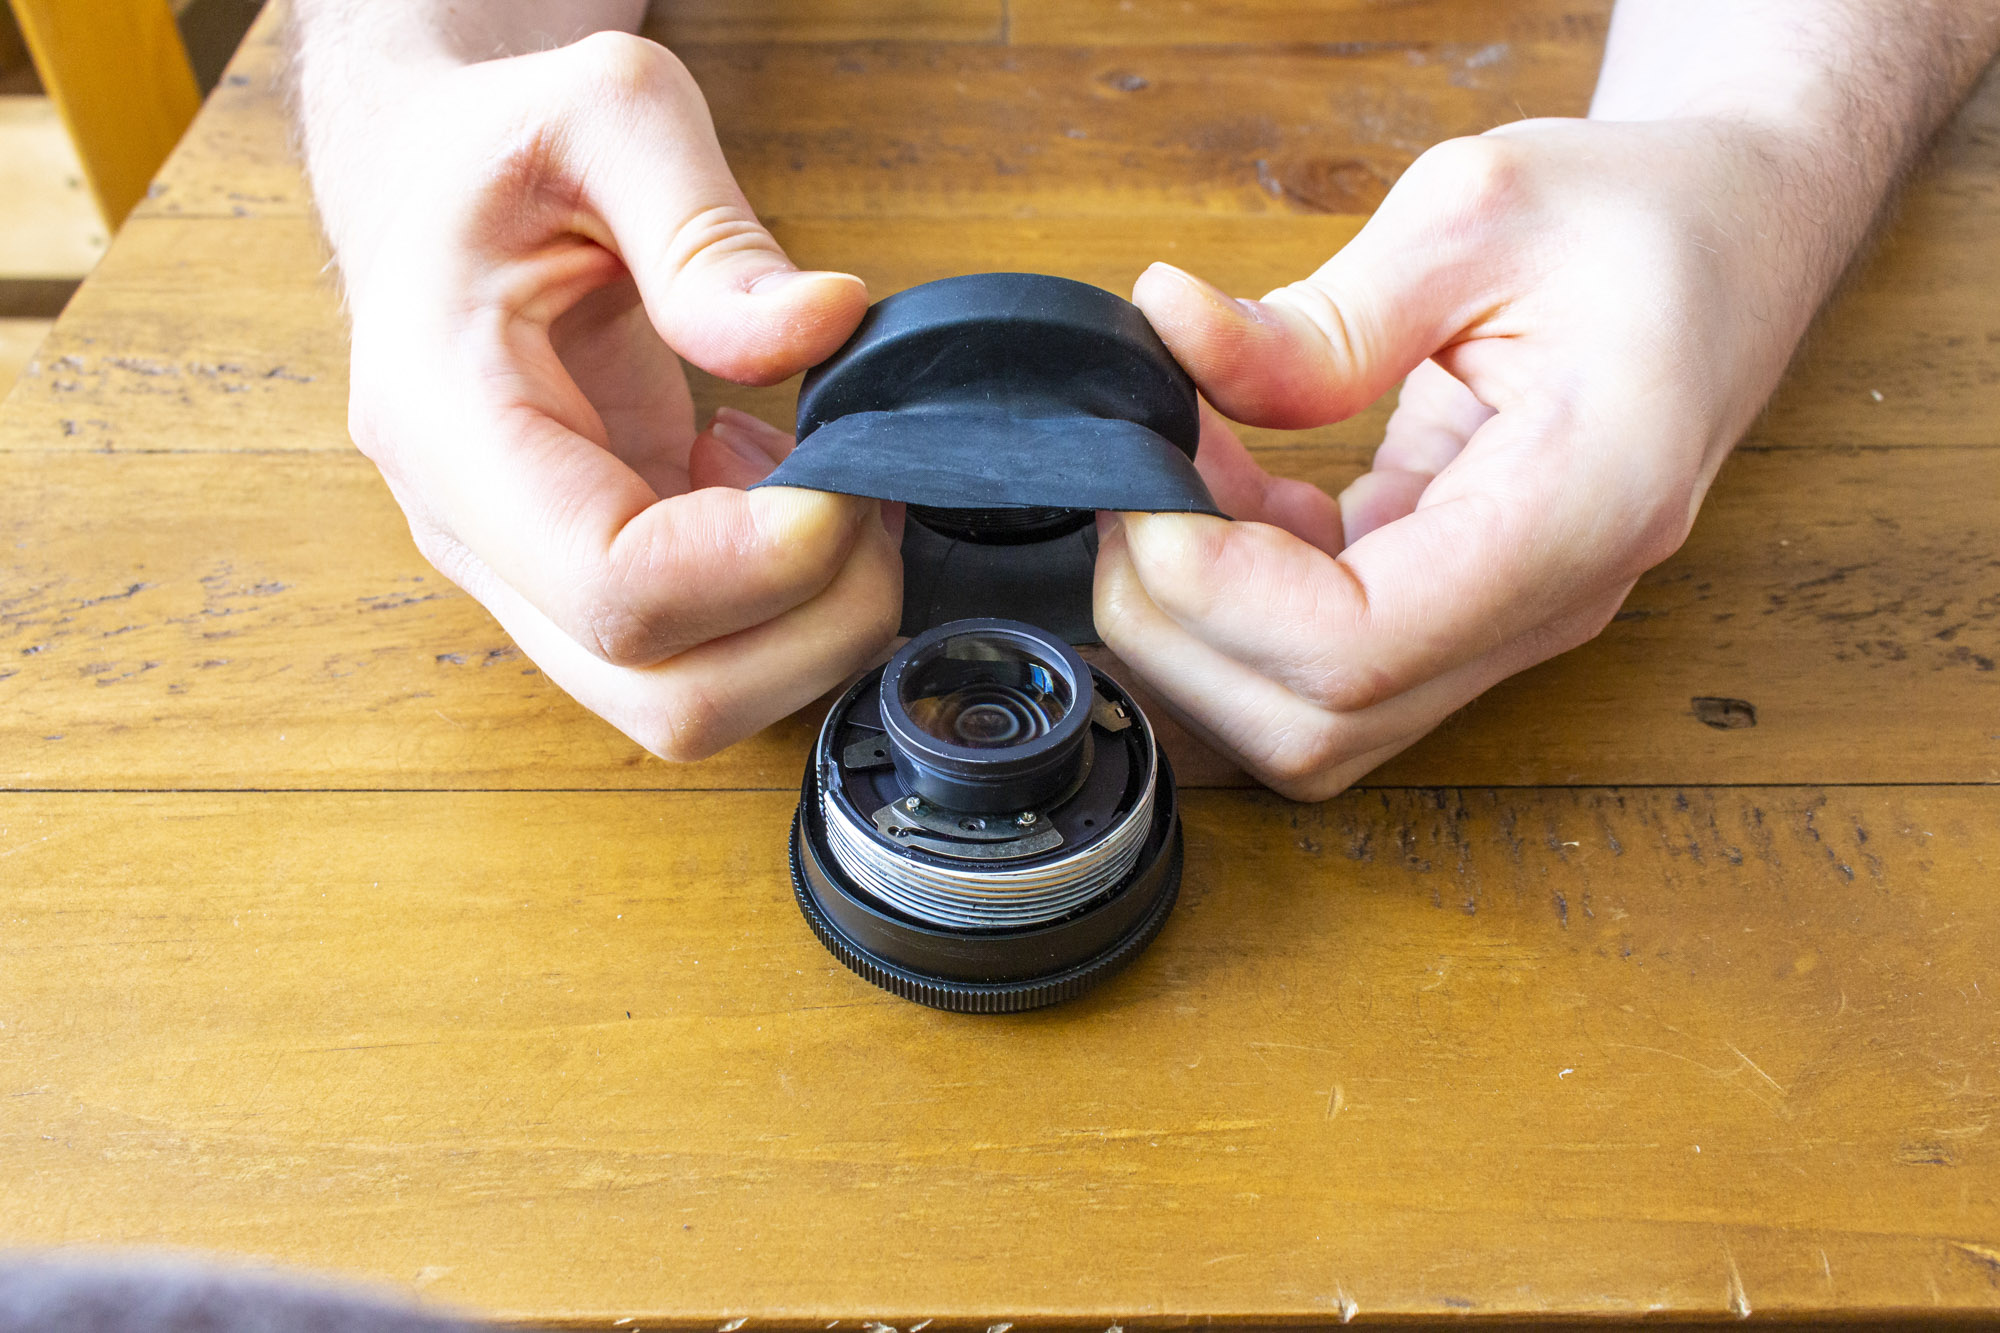
When it’s totally dry pull the inner tube over your T2 to Canon EF mount adapter and then carefully pull the other end of the tube over the exposed inner lens barrel. This might be a bit tricky, but should be a very tight fit when done correctly.
3. Secure it in place with a sturdy clip

Loosen off a suitably sized metal jubilee clip (we used a 60mm sized one) and slide this over the front element of the lens to go around the exposed lens barrel where the inner tube was. We then, carefully, clamped it in place by nipping it up with a screwdriver making sure to not over-tighten it, as this could crush the lens barrel, so use caution!
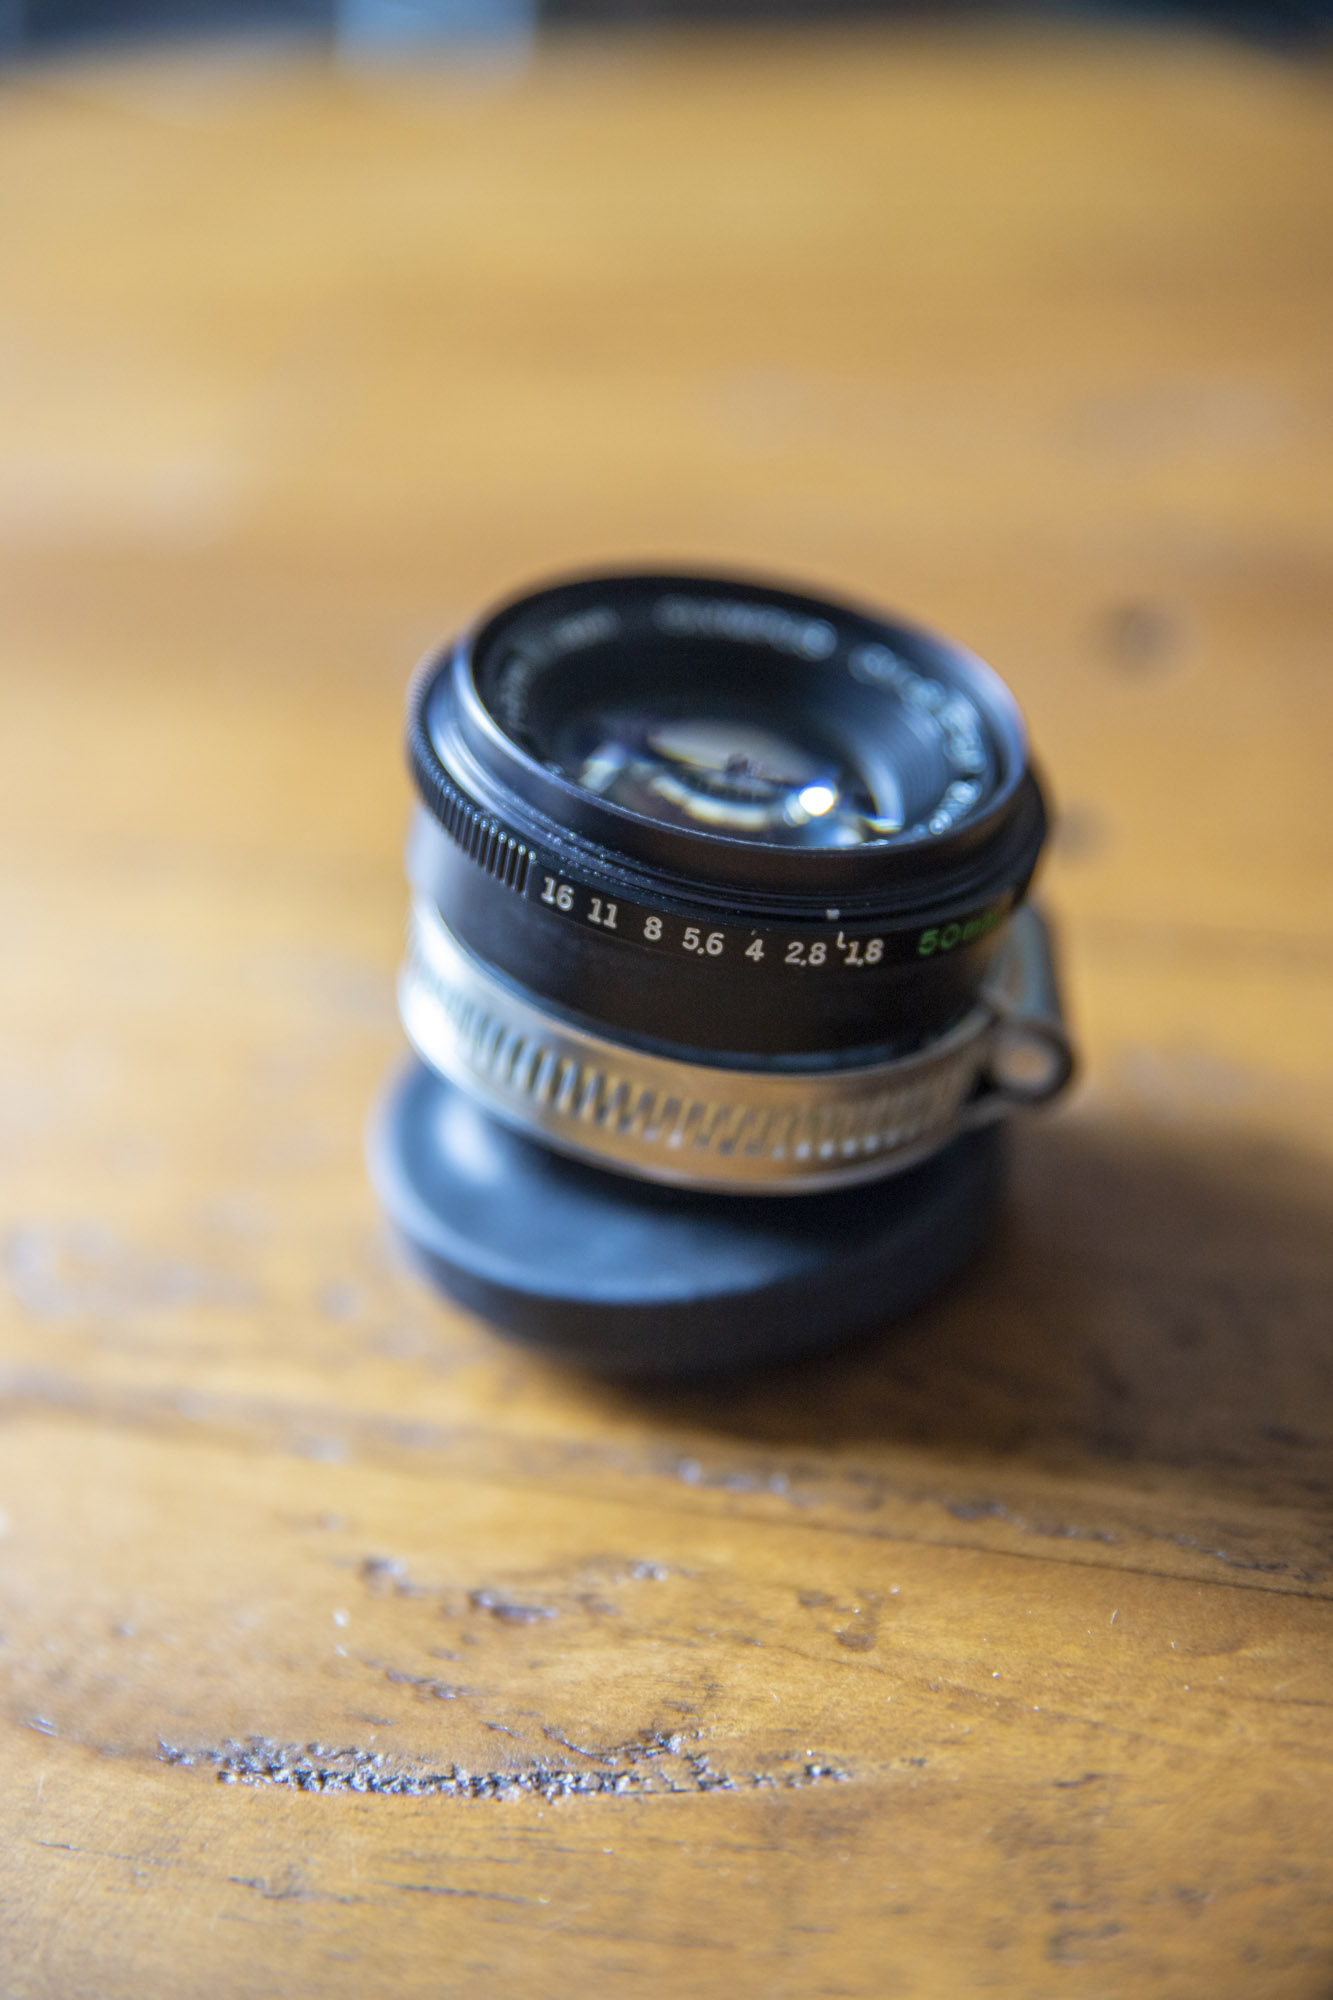
When you’ve finished, you’ll have something that resembles our version on the right here, although it will look, of course, a little different depending on which lens you use. Check that it’s all tight and the lens can freely be tilted within the T2 adapter and trim off any excess inner tube at the lens mount.
4. Camera settings
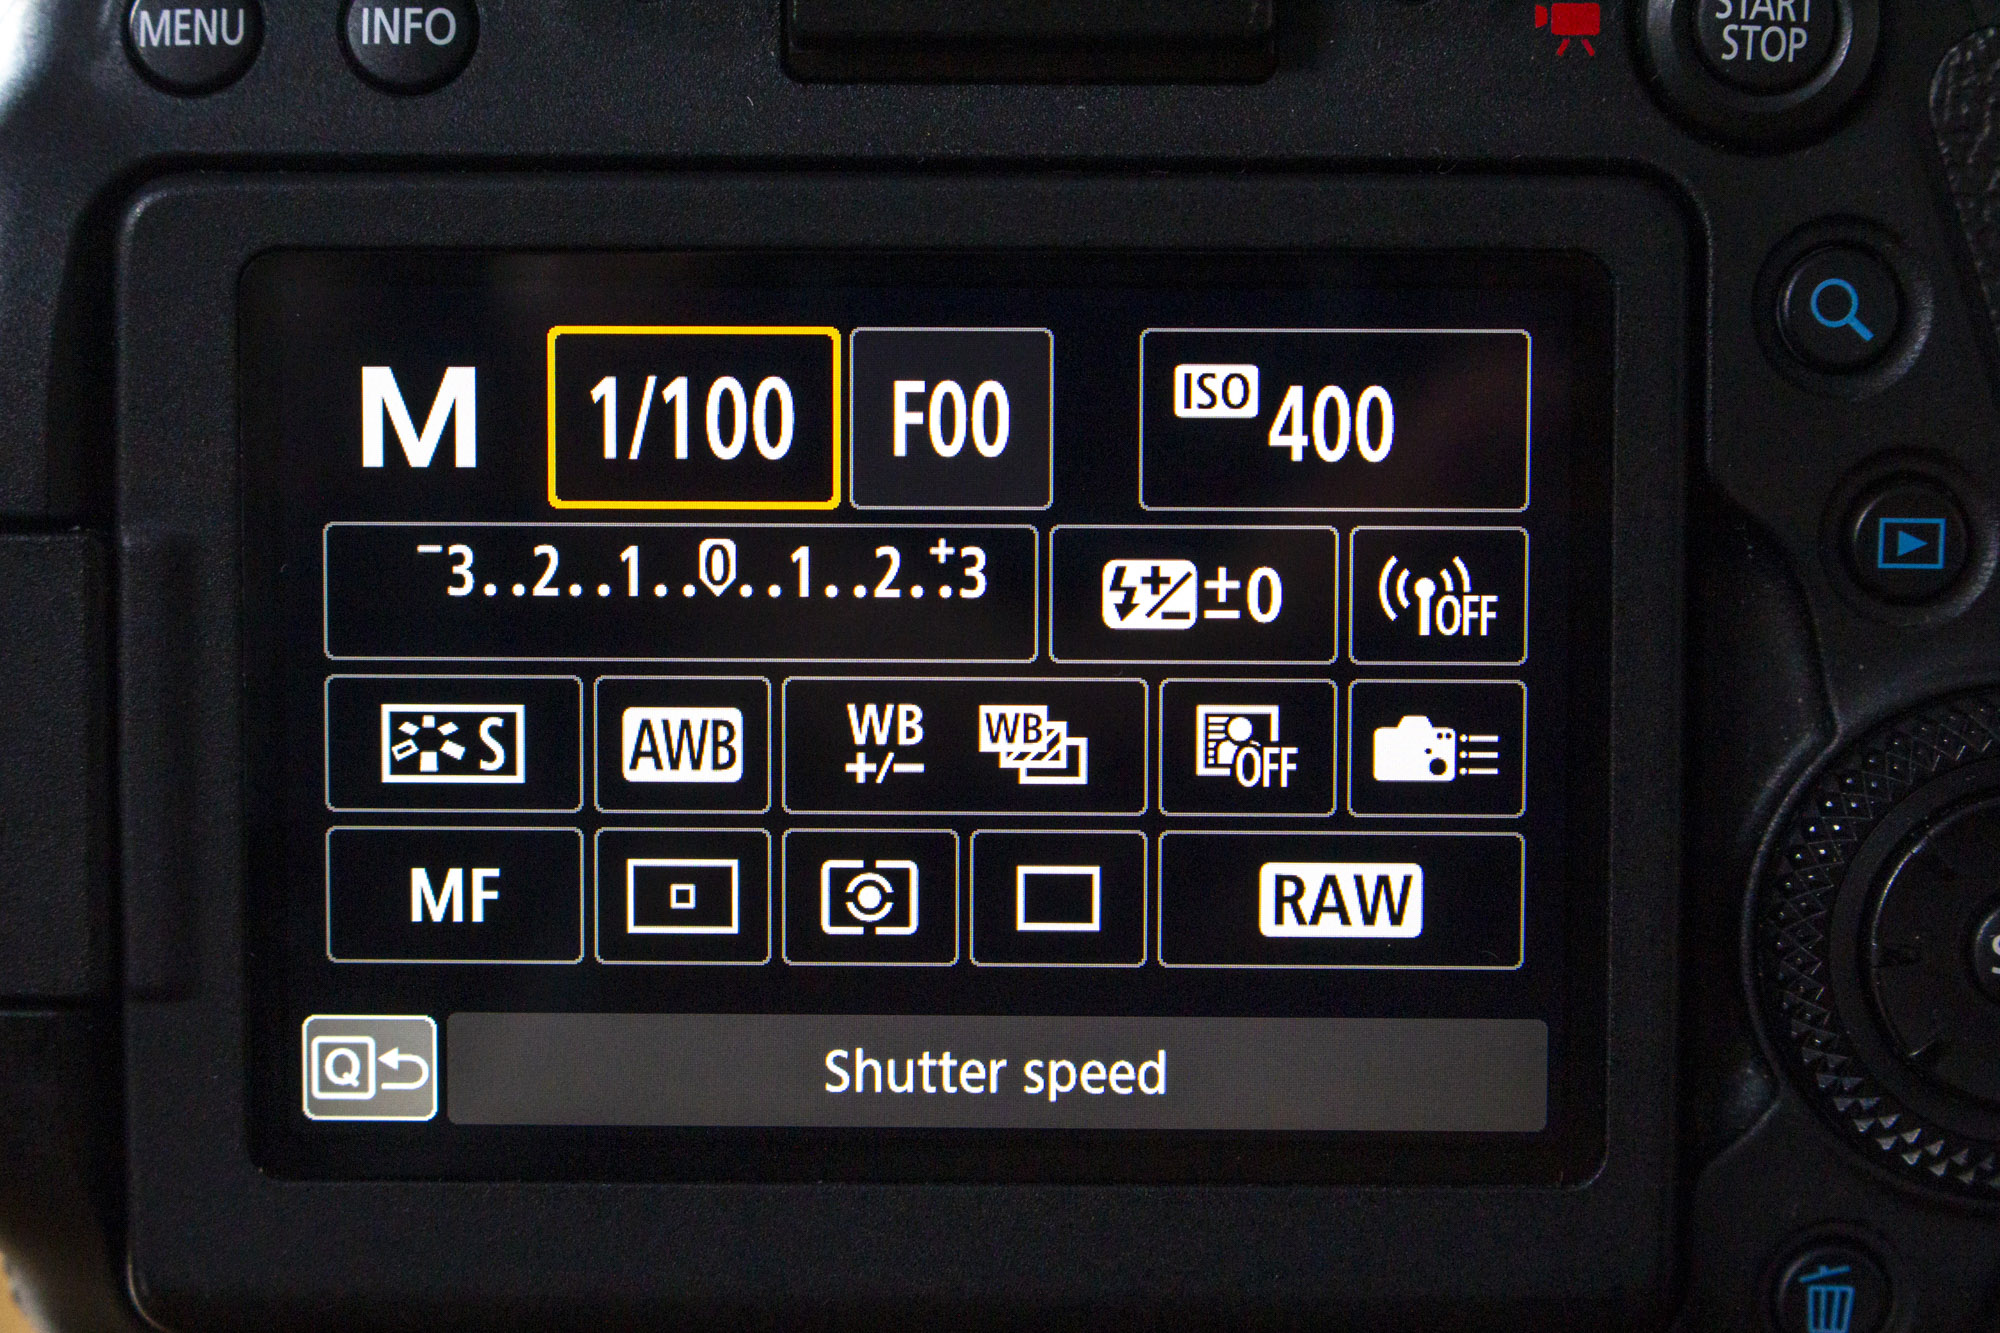
Make sure that the rear element of the lens doesn’t go past the T2 adapter when fully contracted, as you don’t want this to come into contact with your DSLR’s mirror or CSC’s sensor. Then attach it to your lens mount and go into Manual mode, then enter a shutter speed of 1/100 sec and an ISO of 400, and set the lens aperture ring to its widest setting.
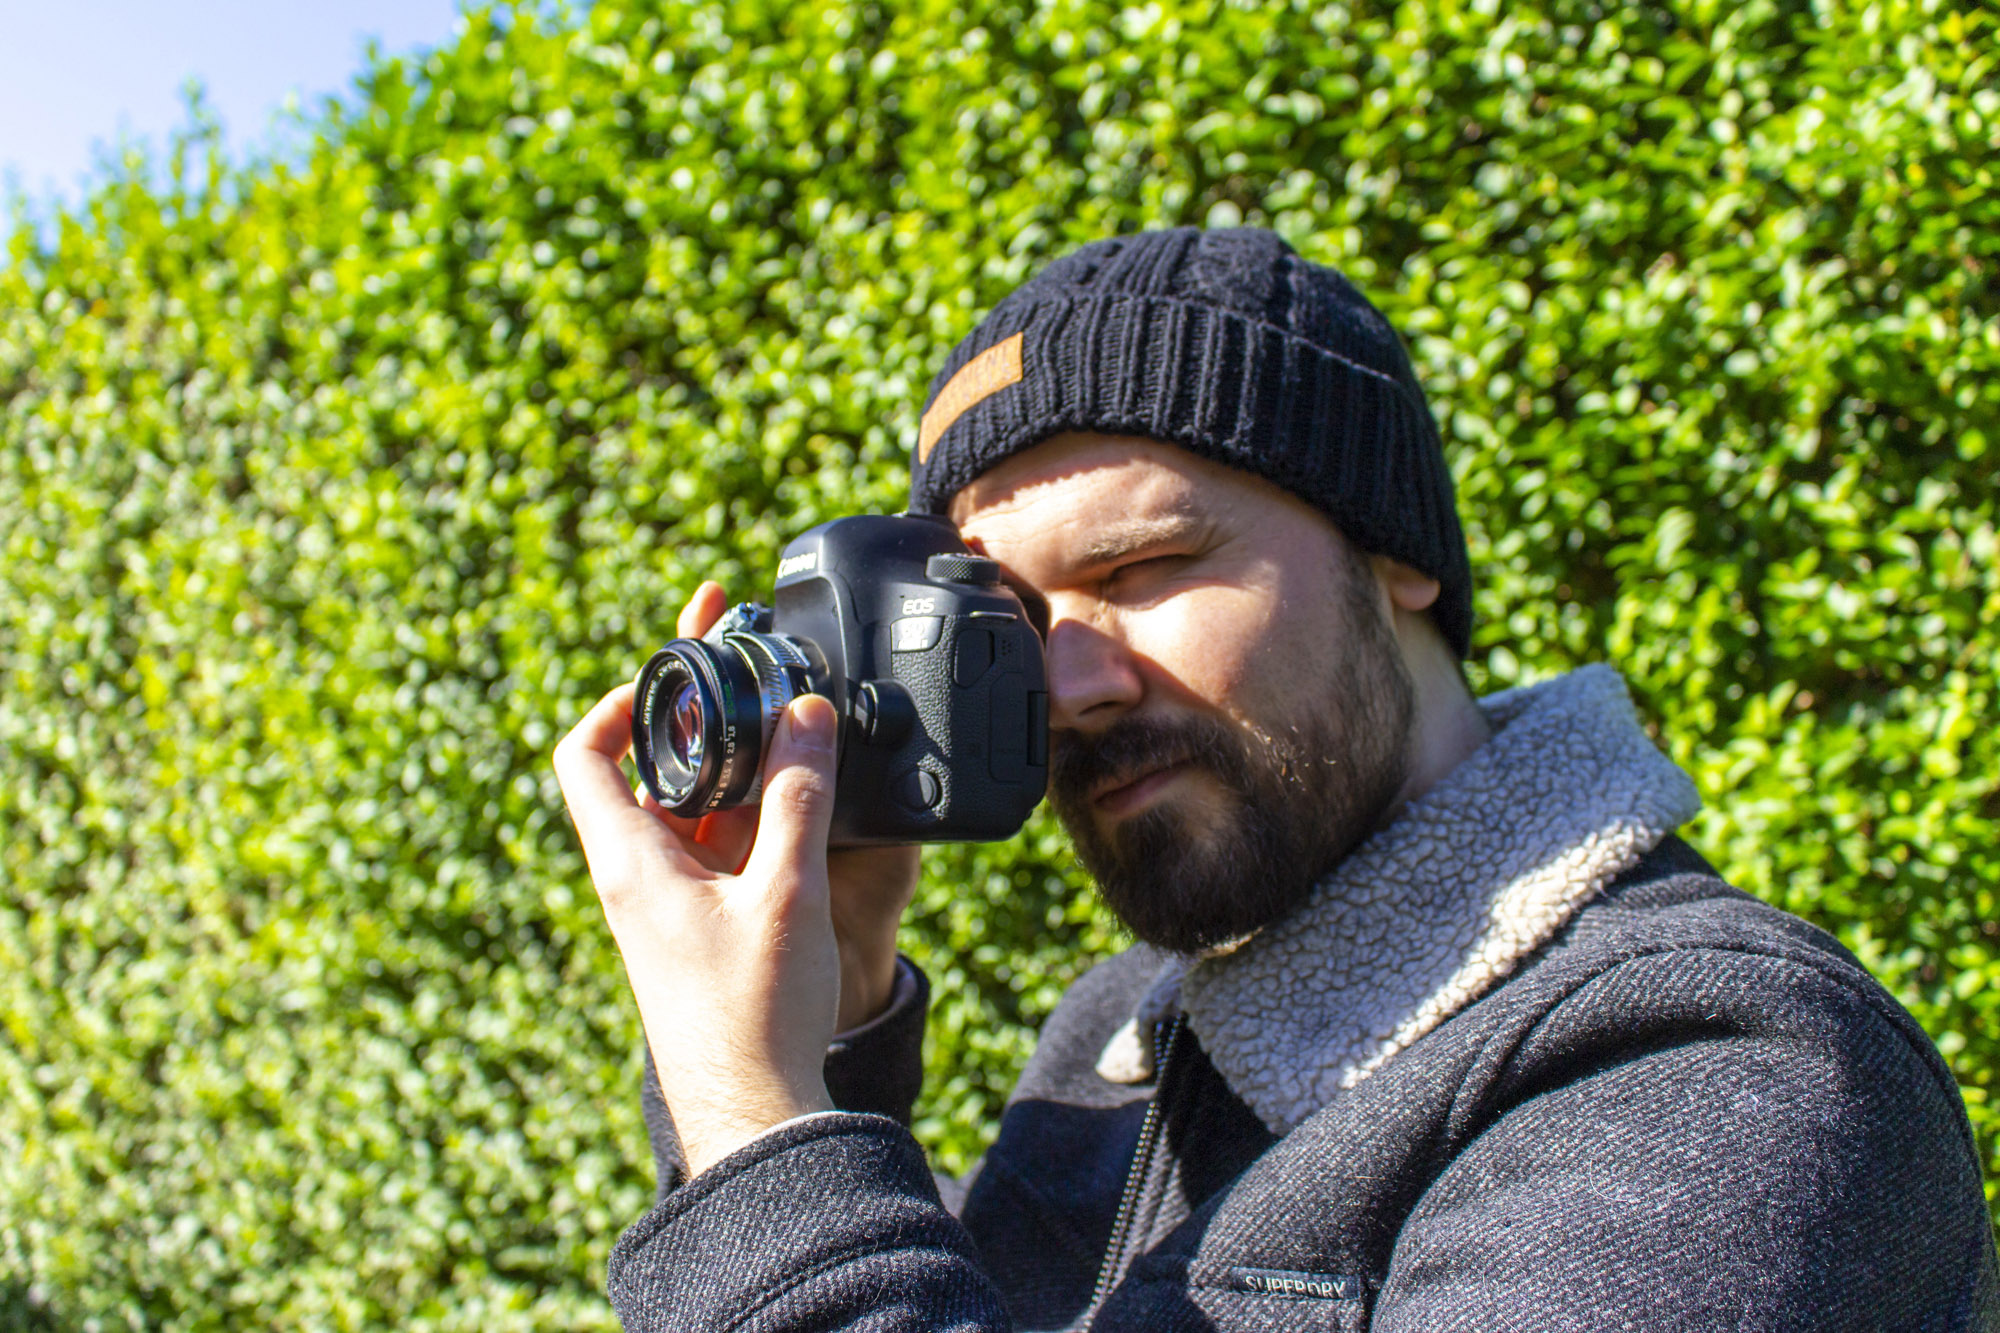
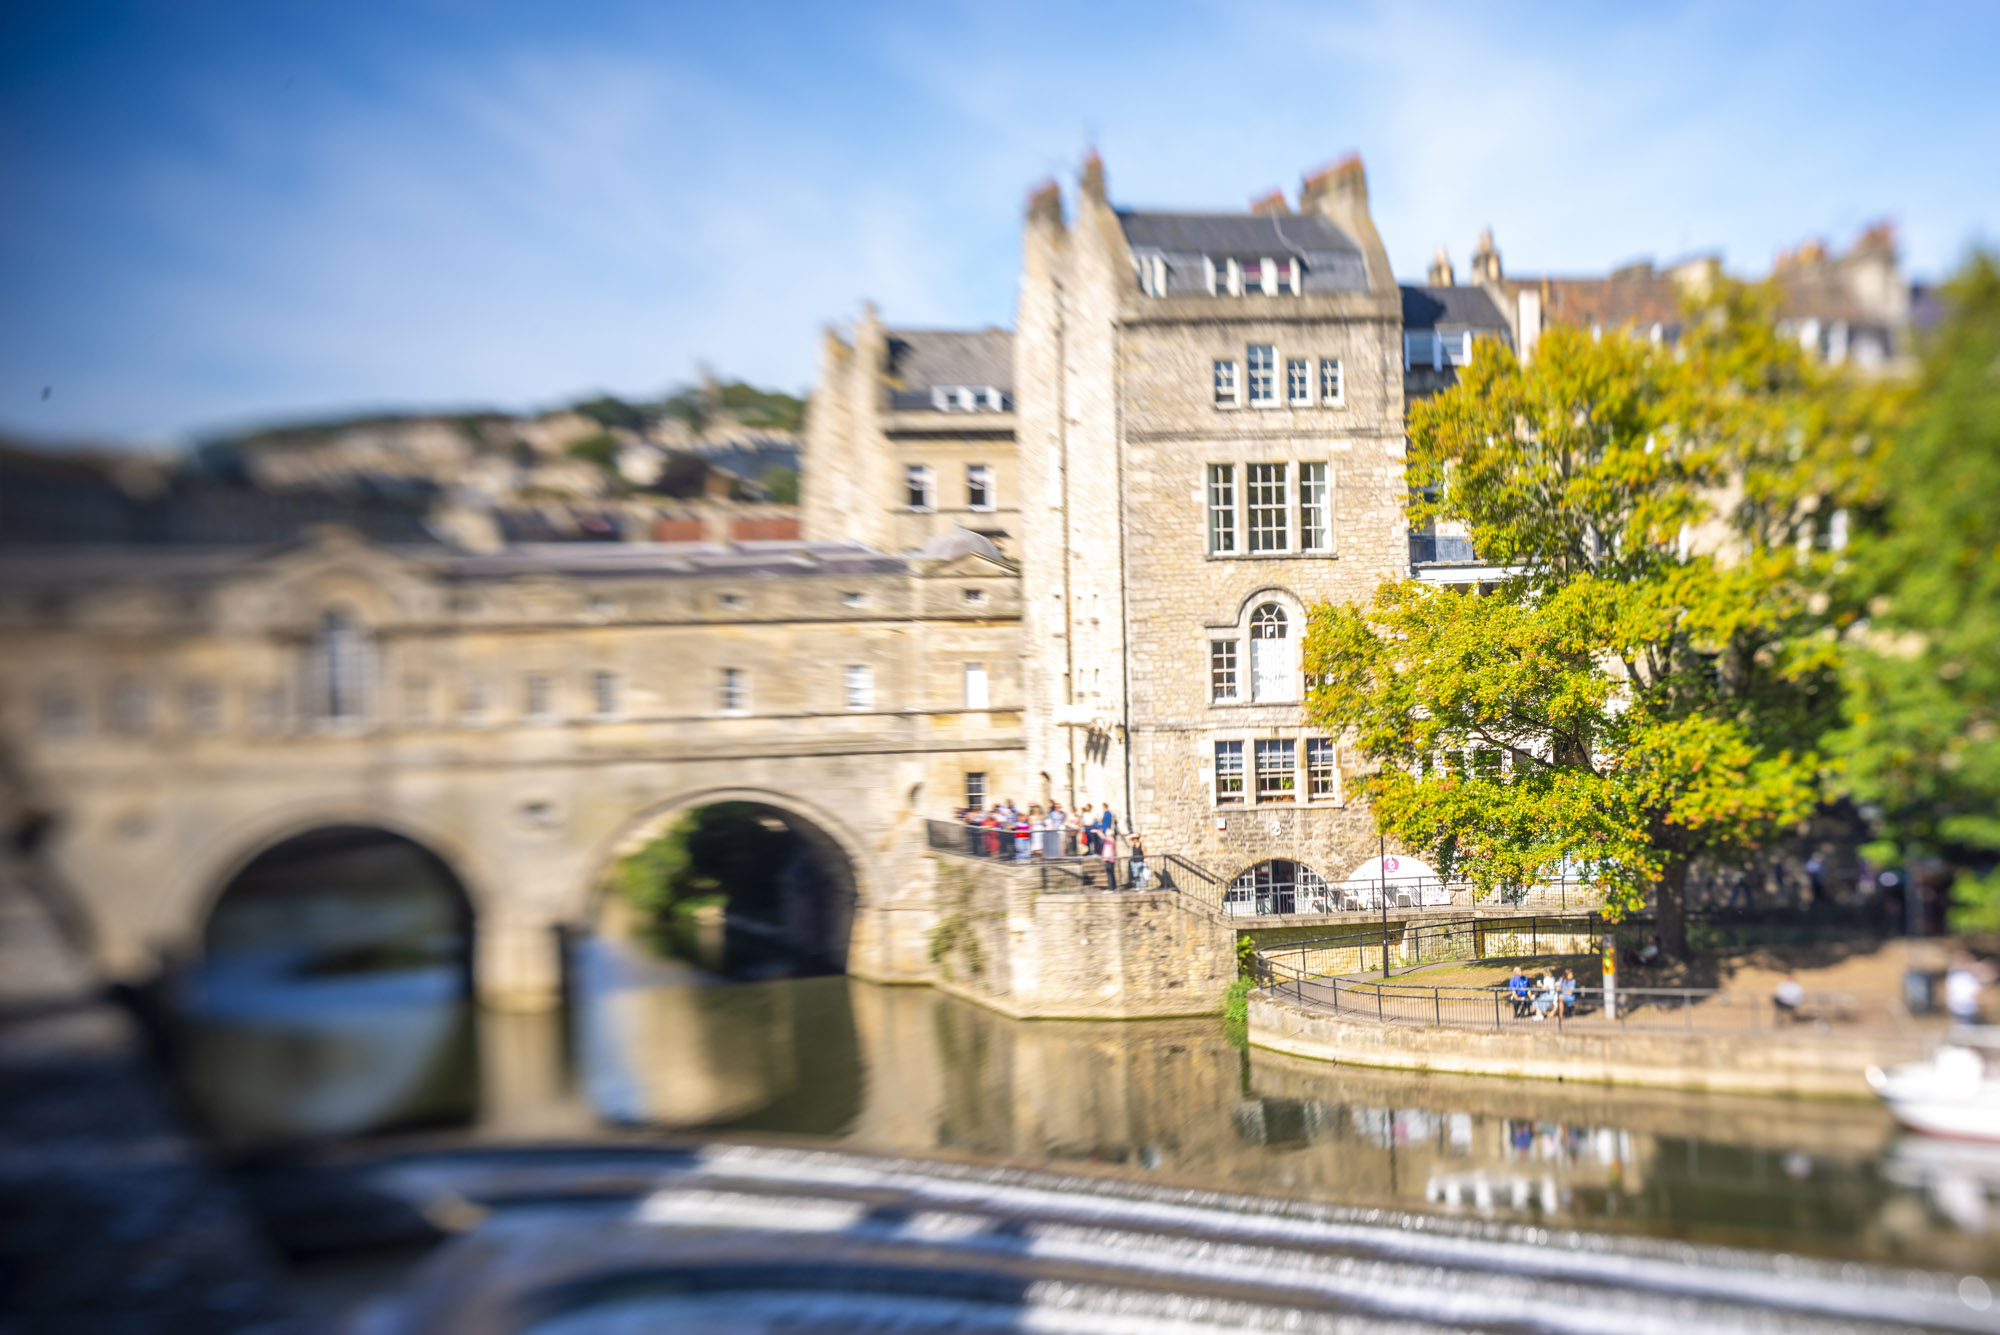
Now use the viewfinder or LCD and move the lens around until you find the sweet spot for focus in your scene, where your subject is in sharp focus but everything else is blurred, and take the picture. If it’s too dark, boost the ISO a little; if it’s too bright, increase the shutter speed and take another picture until the exposure is spot-on.

PhotoPlus: The Canon Magazine is the world's only monthly newsstand title that's 100% devoted to Canon, so you can be sure the magazine is completely relevant to your system. Every issue comes with a disc of video tutorials too.
These are the best cameras for portraits and the best portrait photography tips. You might also like the best photo editing software and the best photo-editing laptops.
Get the Digital Camera World Newsletter
The best camera deals, reviews, product advice, and unmissable photography news, direct to your inbox!

Deputy Editor on PhotoPlus: The Canon Magazine, Dan also brings his technical wizardry and editing skills to Digital Camera World. He has been writing about all aspects of photography for over 10 years, having previously served as technical writer and technical editor for Practical Photography magazine, as well as Photoshop editor on Digital Photo.
Dan is an Adobe-certified Photoshop guru, making him officially a beast at post-processing – so he’s the perfect person to share tips and tricks both in-camera and in post. Able to shoot all genres, Dan provides news, techniques and tutorials on everything from portraits and landscapes to macro and wildlife, helping photographers get the most out of their cameras, lenses, filters, lighting, tripods, and, of course, editing software.

