Master HDR photography: Take your landscape photography to the next level
Learn how to use HDR photography techniques for better tonal range in high-contrast landscapes
Watch video: Master HDR photography and capture a wide tonal range
The human eye is a truly incredible feat of engineering, as it can see a massive range of tones from bright highlights to dark shadows. Modern camera sensors are certainly good, but they just can’t compete with the human eye when it comes to tonal range. When trying to shoot a high-contrast scene in bright and mixed conditions, it’s nearly impossible to capture one image that retains both extreme shadow and extreme highlight detail.
Implementing HDR photography is one way of dealing with this dilemma. Most modern cameras will have HDR modes in a variety of forms, although you'll find that they tend to be better on more high-end cameras.
• Read more: Best Canon camera
Cameras such as the Canon EOS 5D Mark IV and the Nikon D850 are able to take three exposures – standard, underexposed and overexposed – and then merge them in-camera into a JPEG that has a wider range of tones.
HDR photography: Auto exposure bracketing
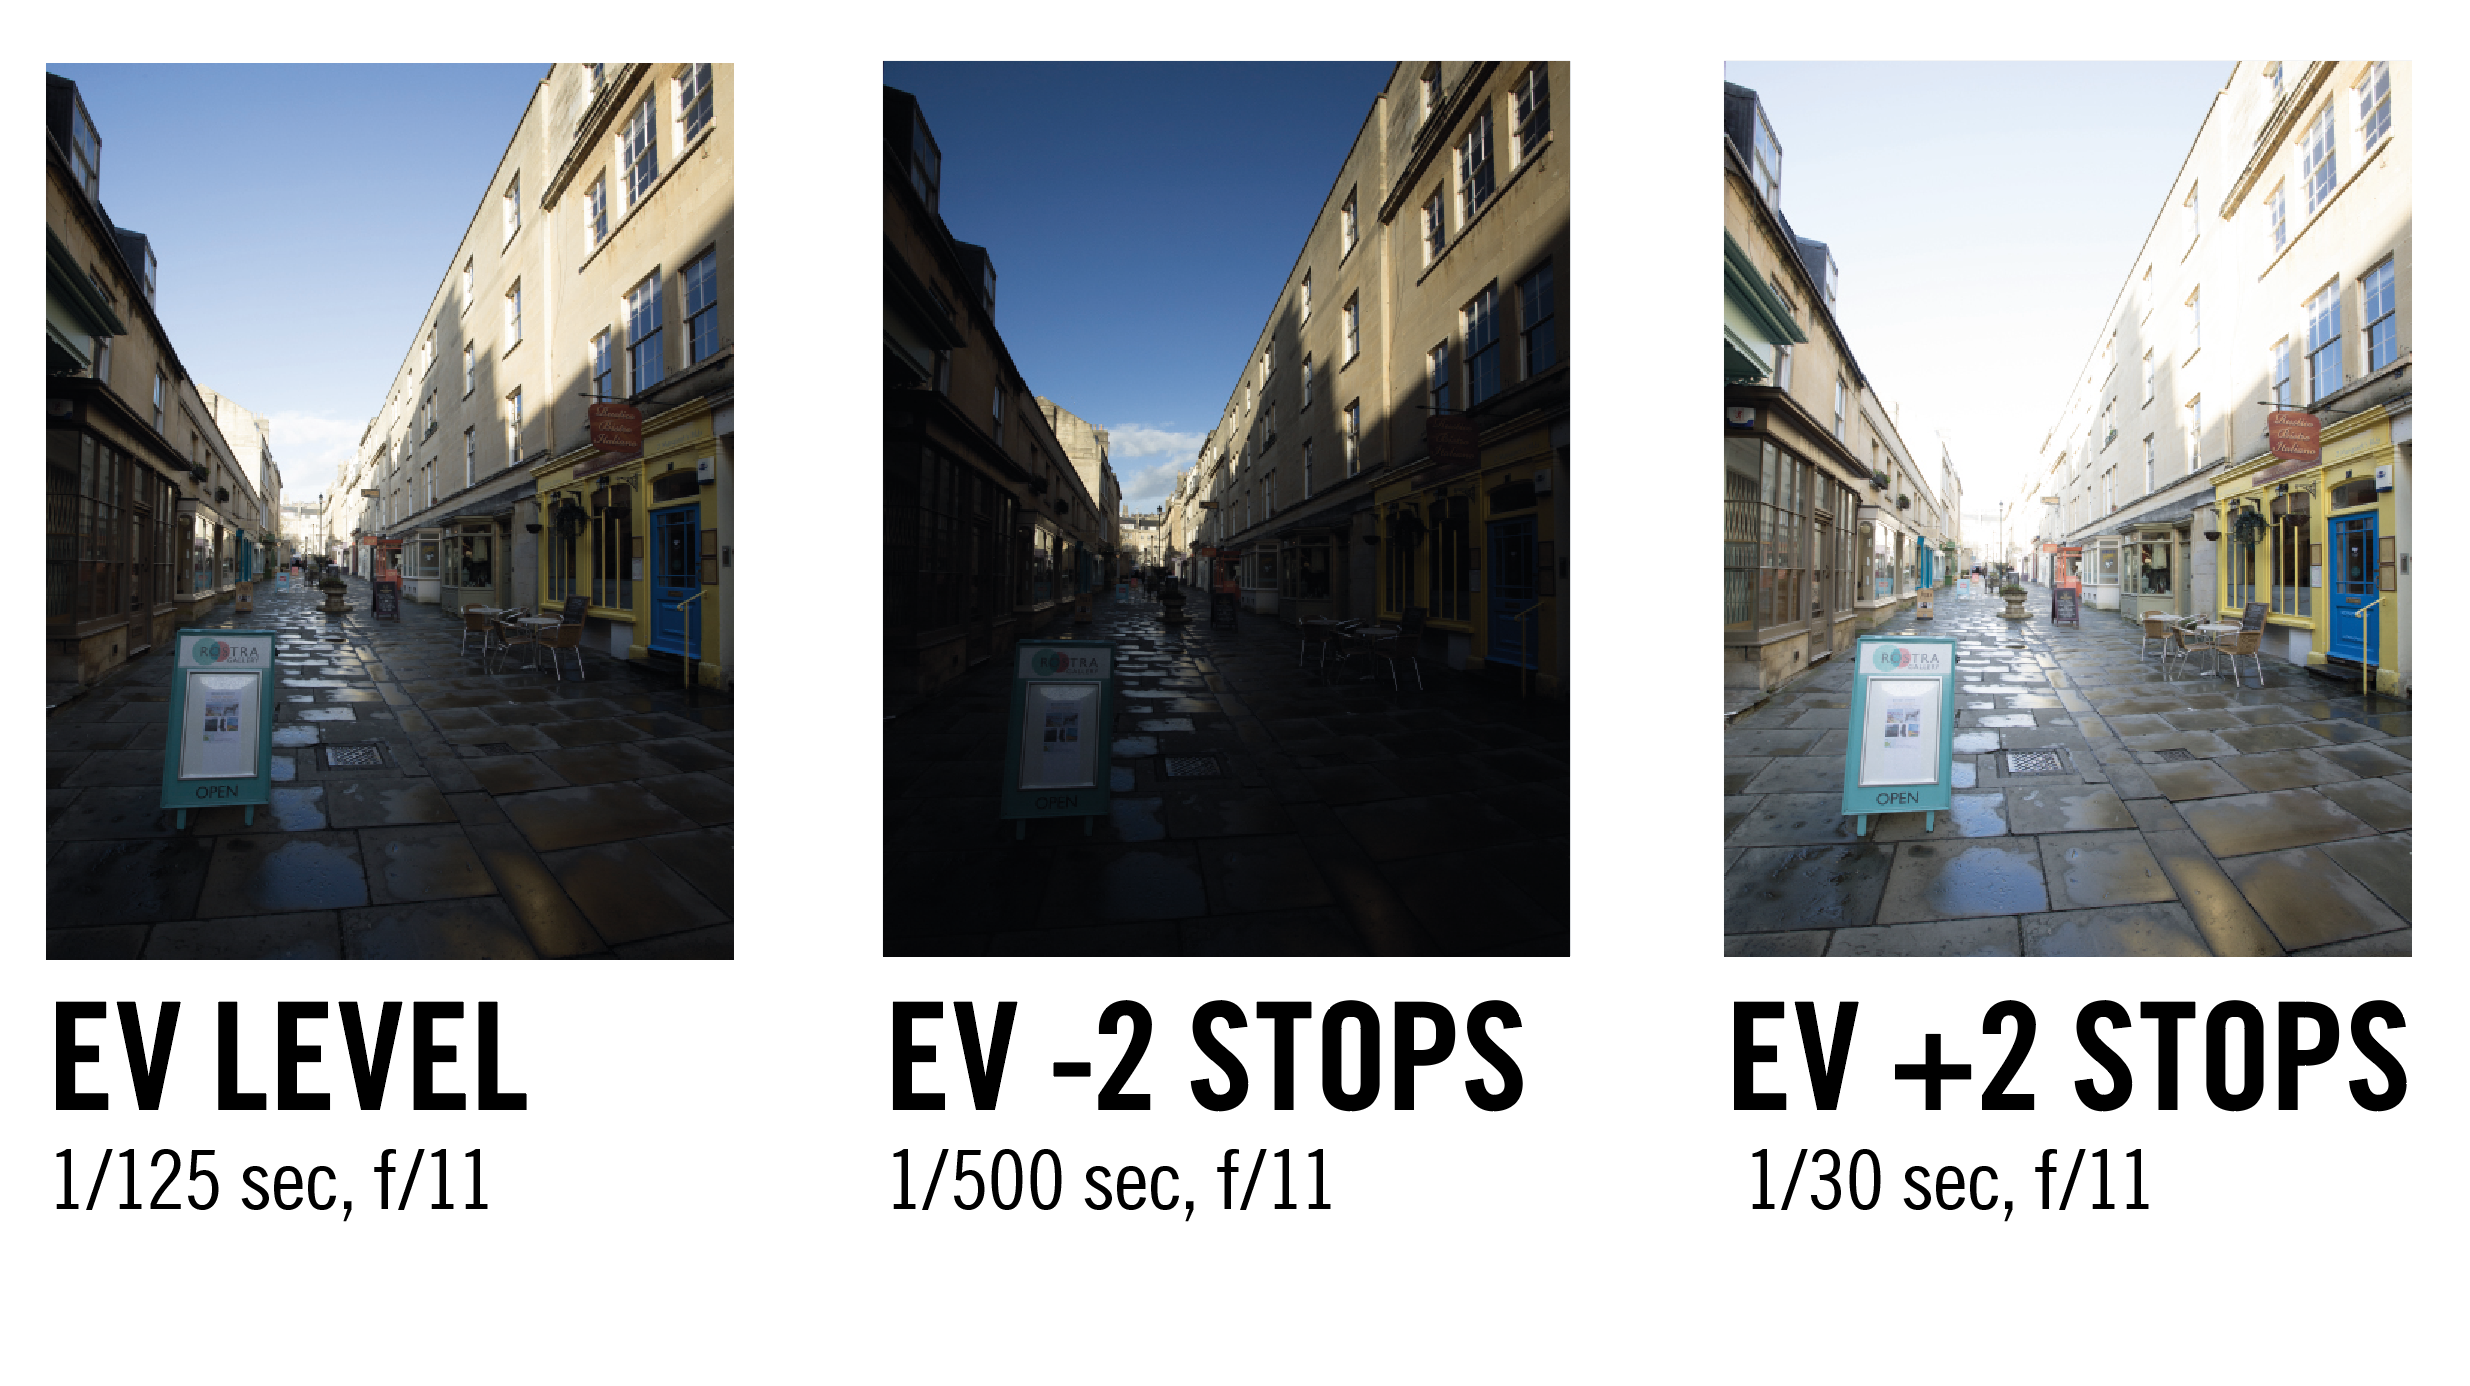
Bracketing exposures means you’ll have three images; one that shows shadows, an image for midtones, and an image for highlights. When bracketing or using HDR mode, try to avoid any people or cars in shot as their movement from frame to frame means they’ll end up in bits in the merged image in-camera or in HDR software afterwards.
1. High-contrast scenes
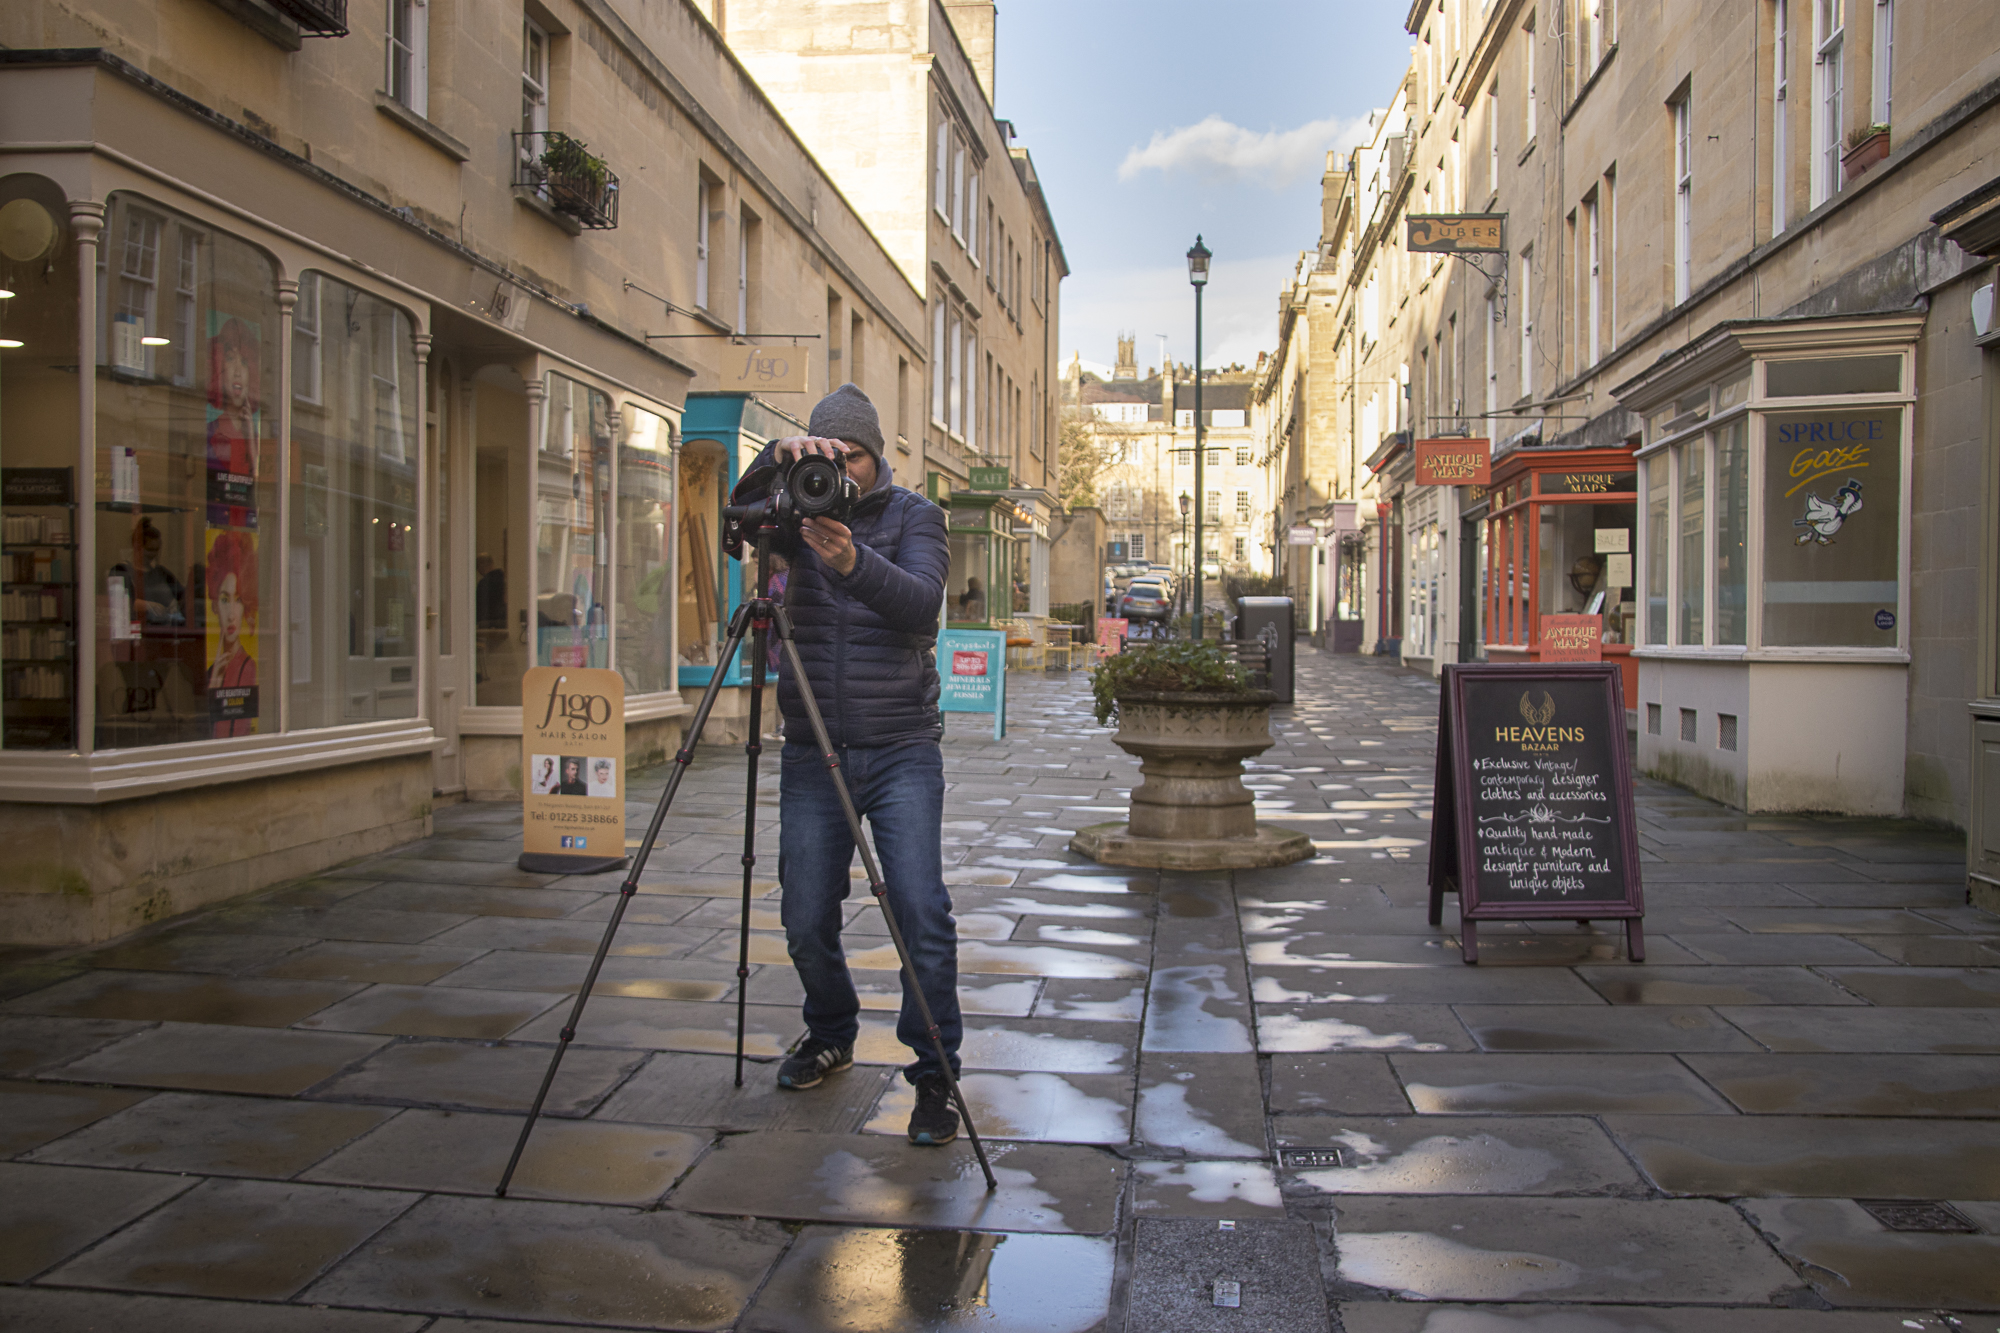
For this project we’ve shot on a sunny day and looked for locations with a mixture of shadows and highlights that can’t been captured in a single shot. For sharp shots and bracketing, we’ve used a tripod, plus we’ve used Live View to aid composition.
2. Camera and lens
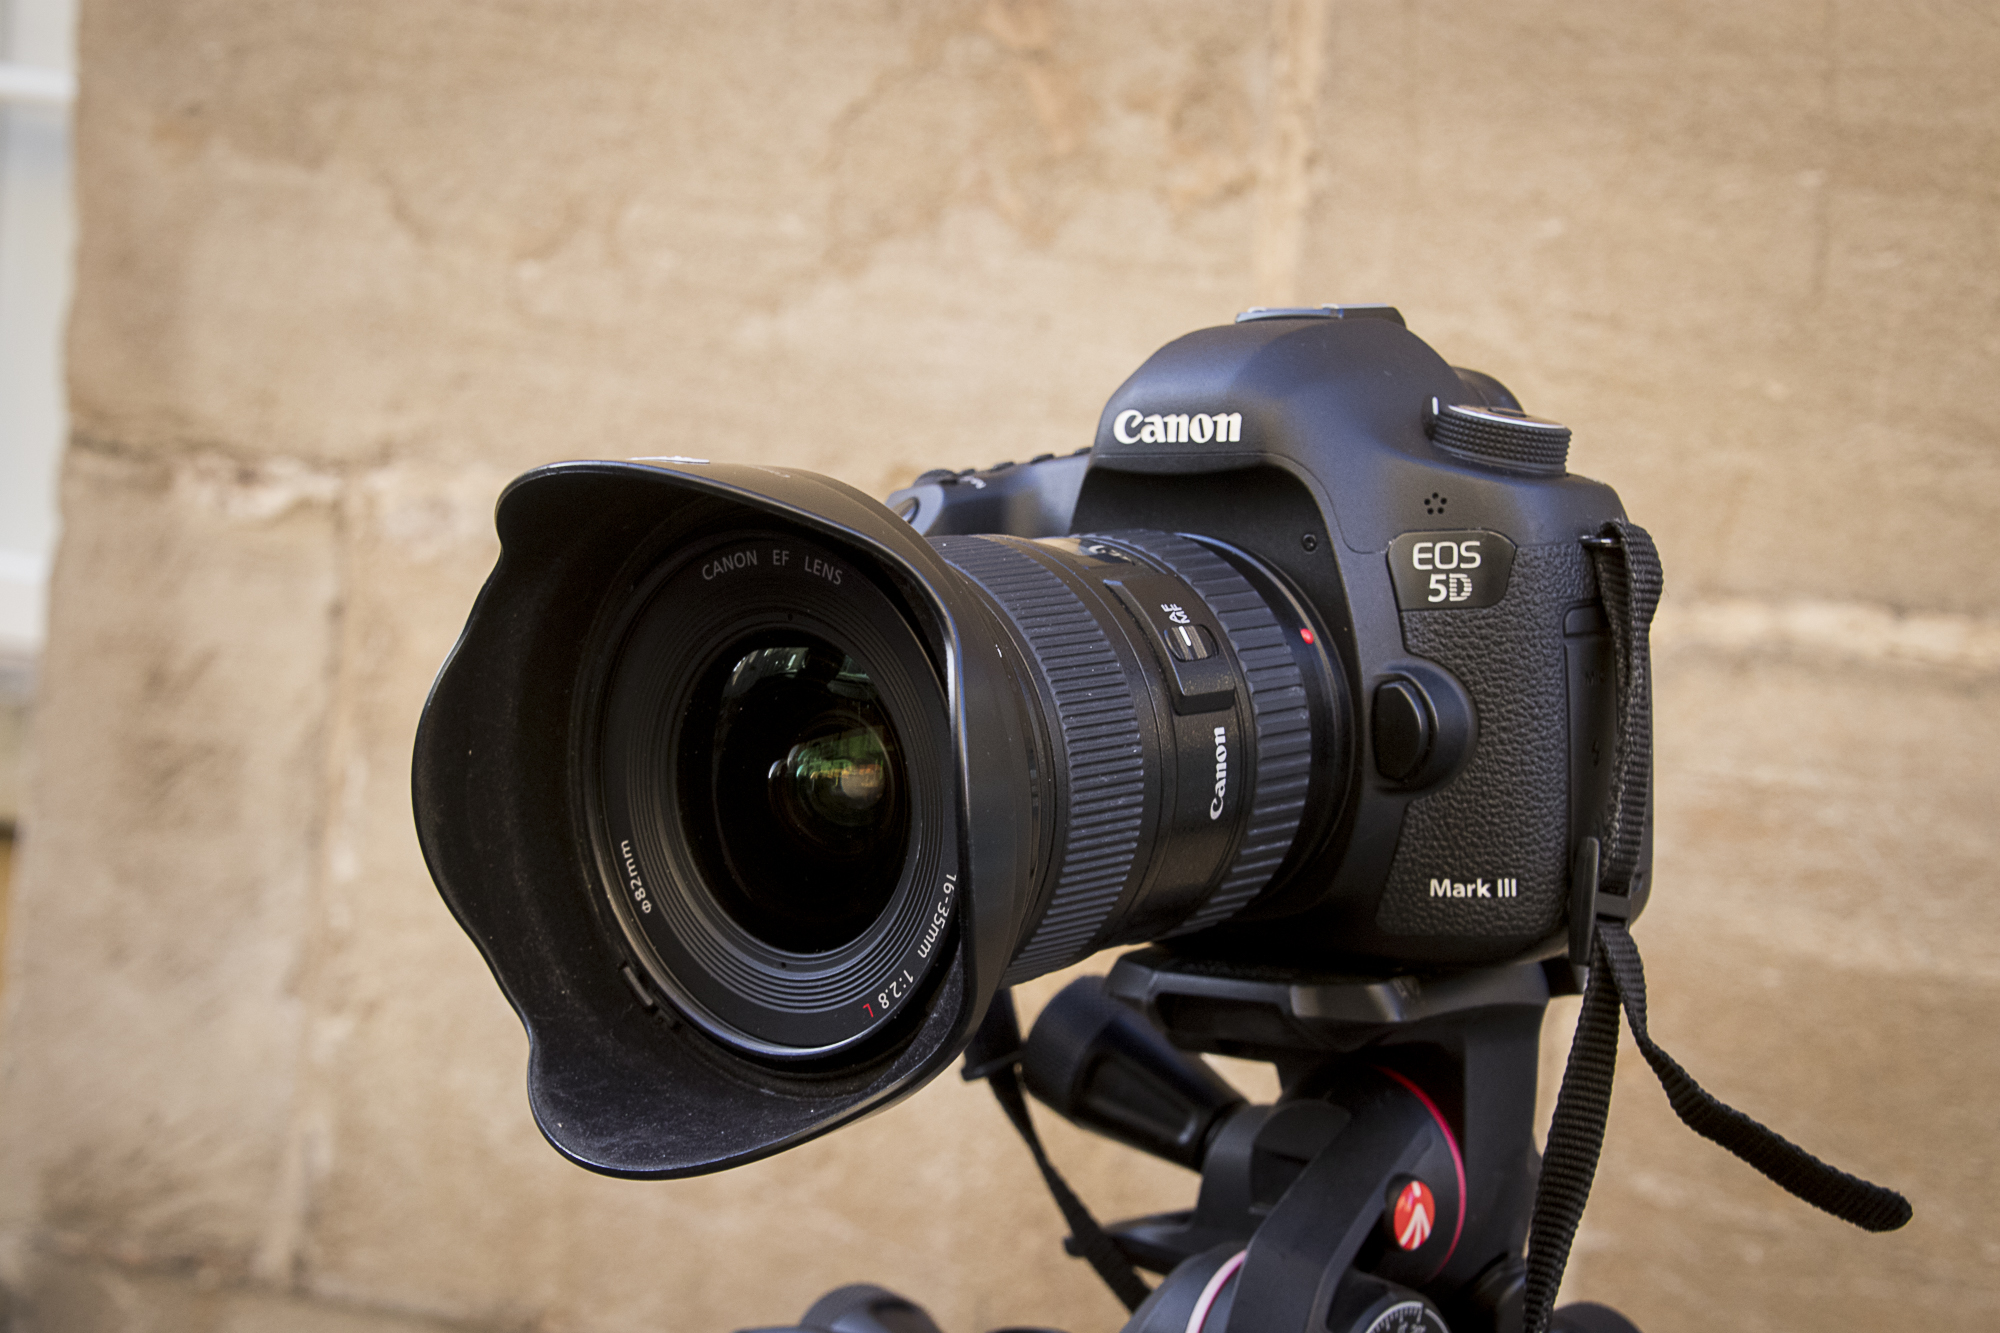
We used our trusty old Canon 5D Mark III full-frame DSLR with a wide-angle Canon EF 16-35mm f/2.8L lens to capture as much of the pretty street scene and sky in shot by as wide as possible at 16mm. But any mirrorless or DSLR and kit lens will be fine.
3. Large depth of field
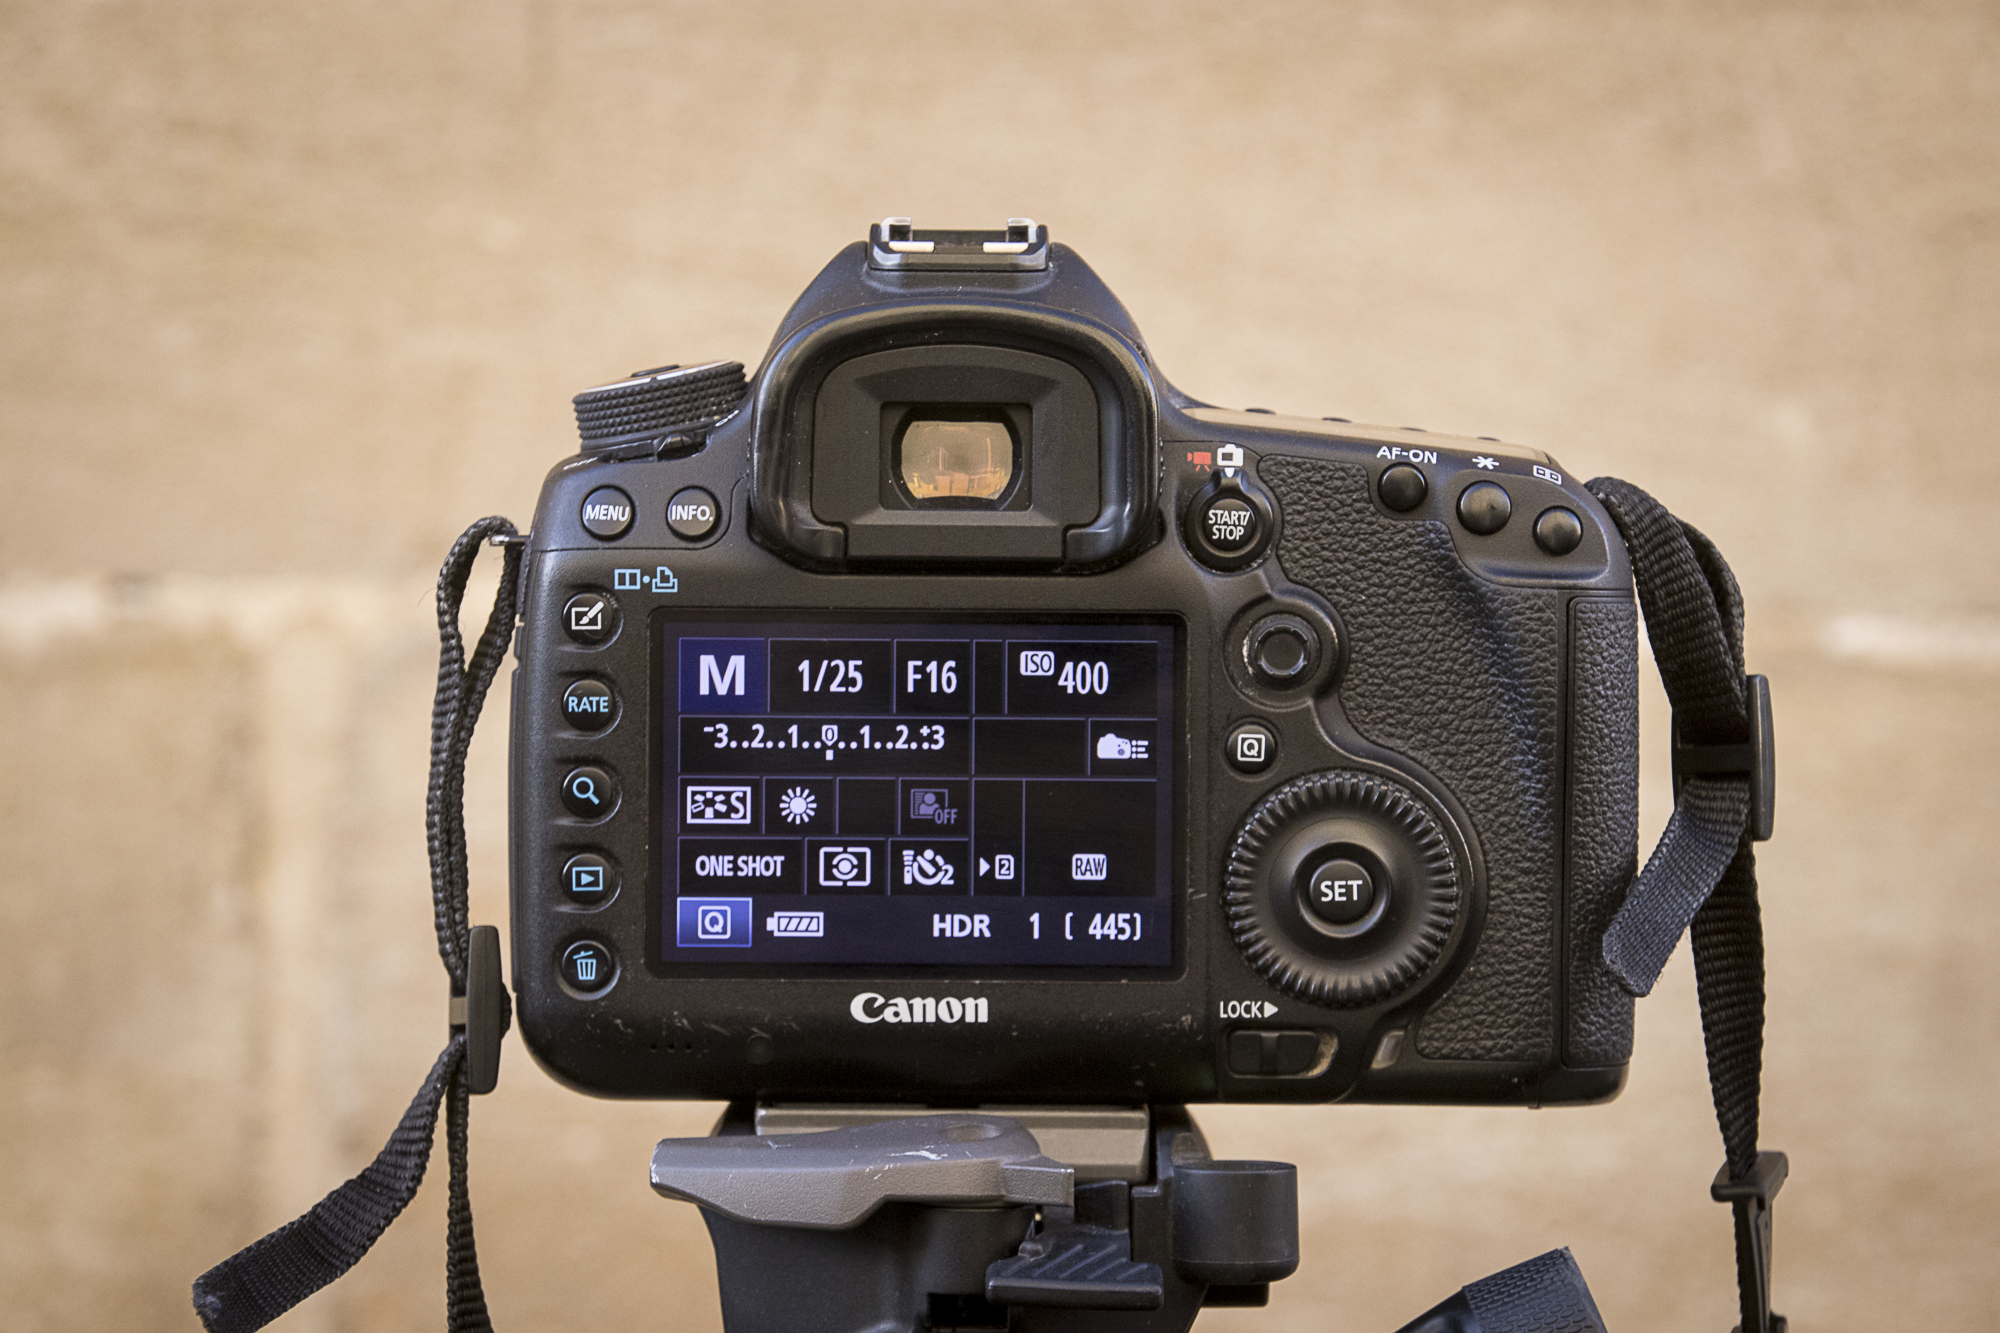
For these shots, shoot with a wide-angle lens and at an aperture of around f/11 or f/16 for good depth of field so your whole scene is sharp from your feet to the far distance. You can use Aperture Priority or Manual mode, whichever you prefer.
4. In-camera HDR modes
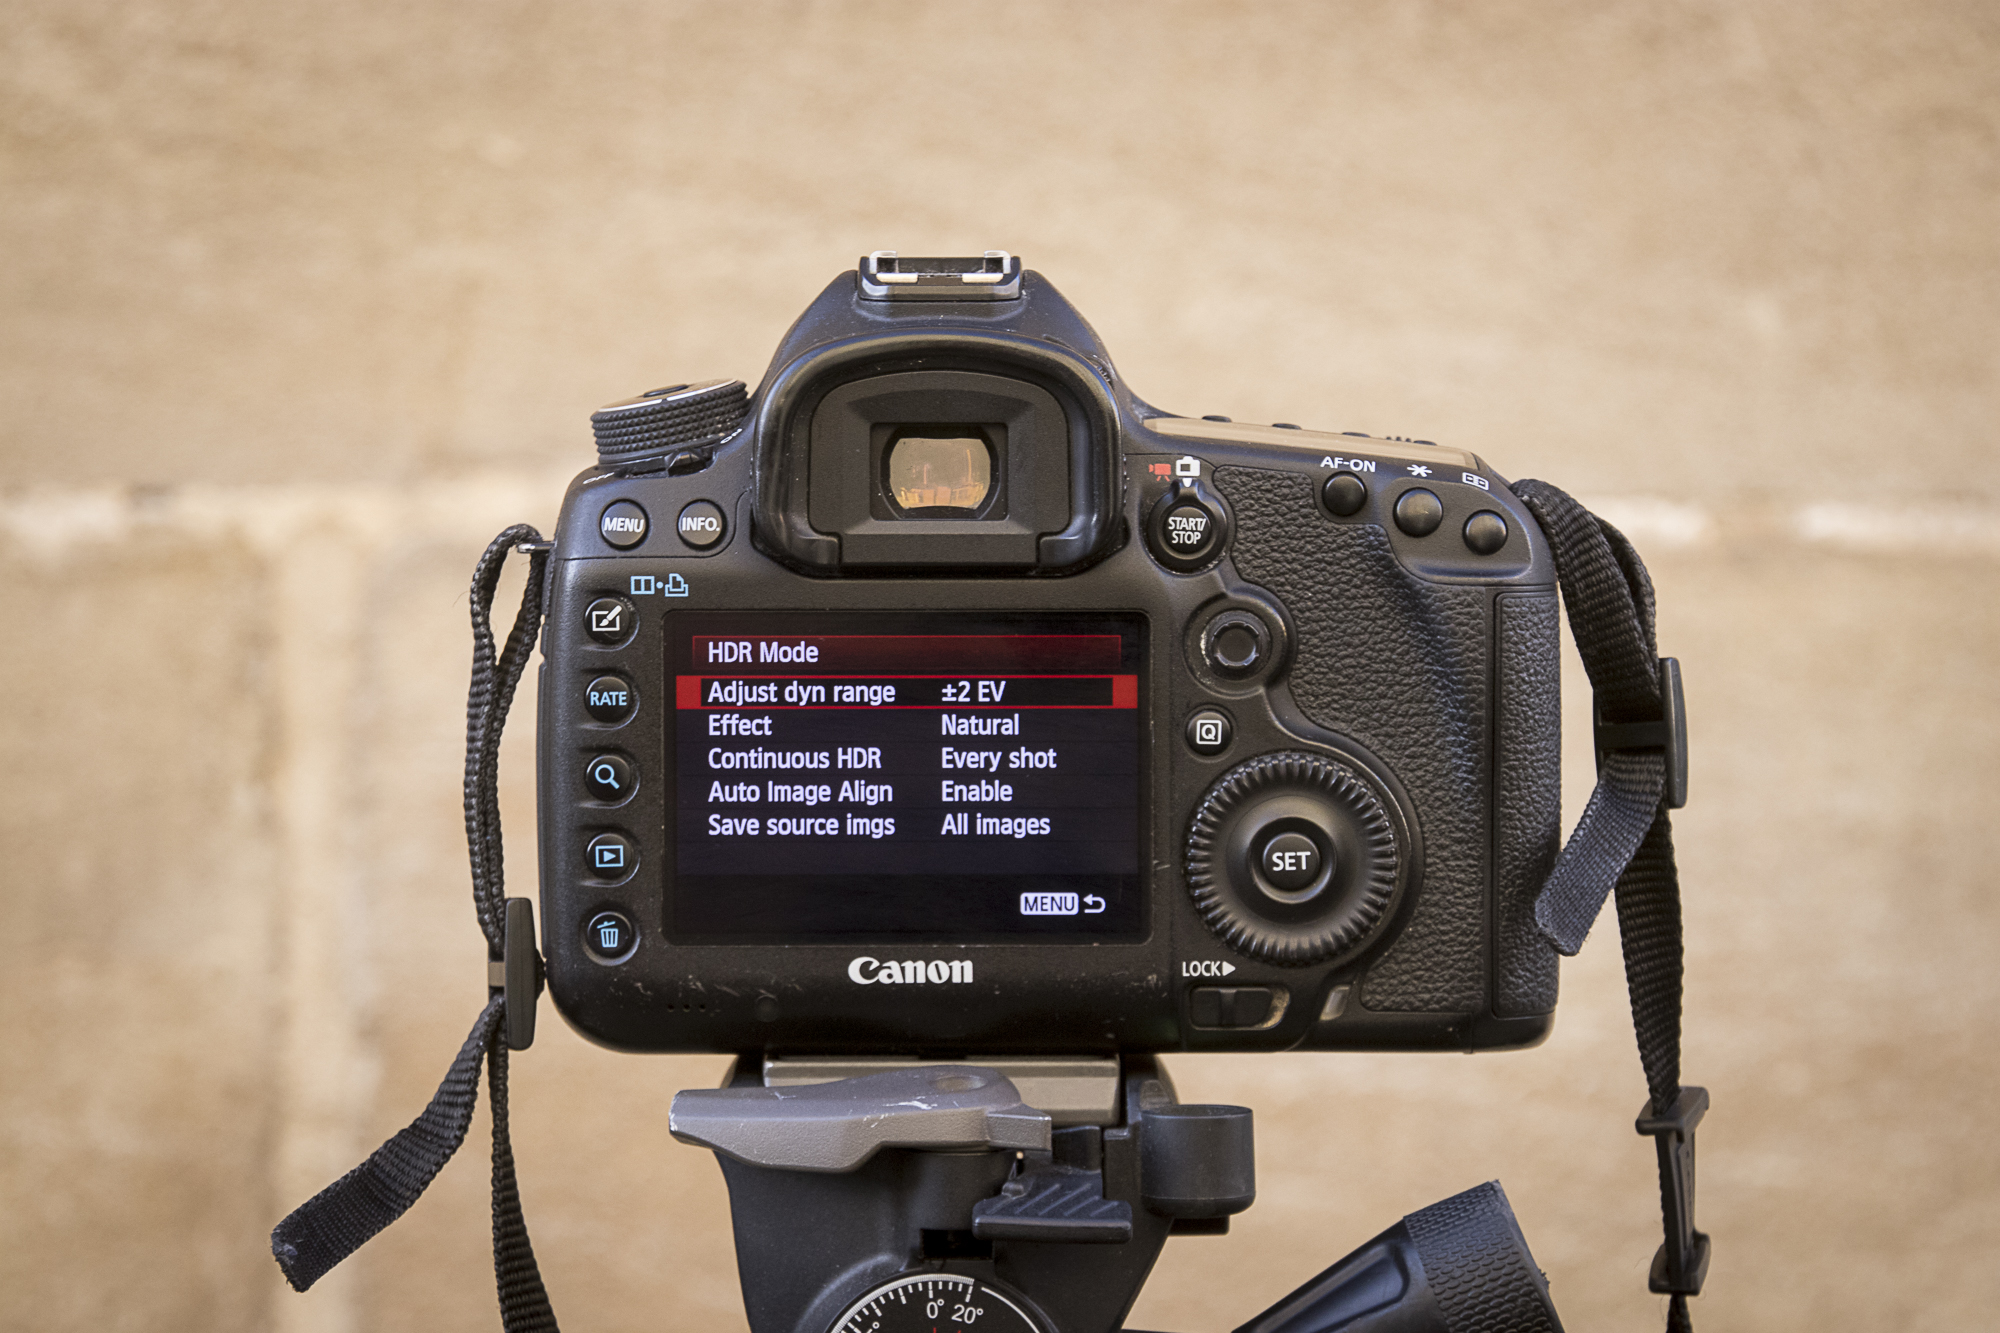
HDR modes are available on higher-spec cameras, but options vary. For example, a Canon EOS 80D will only save the merged JPEG. On our Canon EOS 5D Mk III and Mark IV cameras it saves our three bracketed Raws (handy to have) as well as creating an HDR JPEG in camera. But the results aren’t always great.
5. HDR software
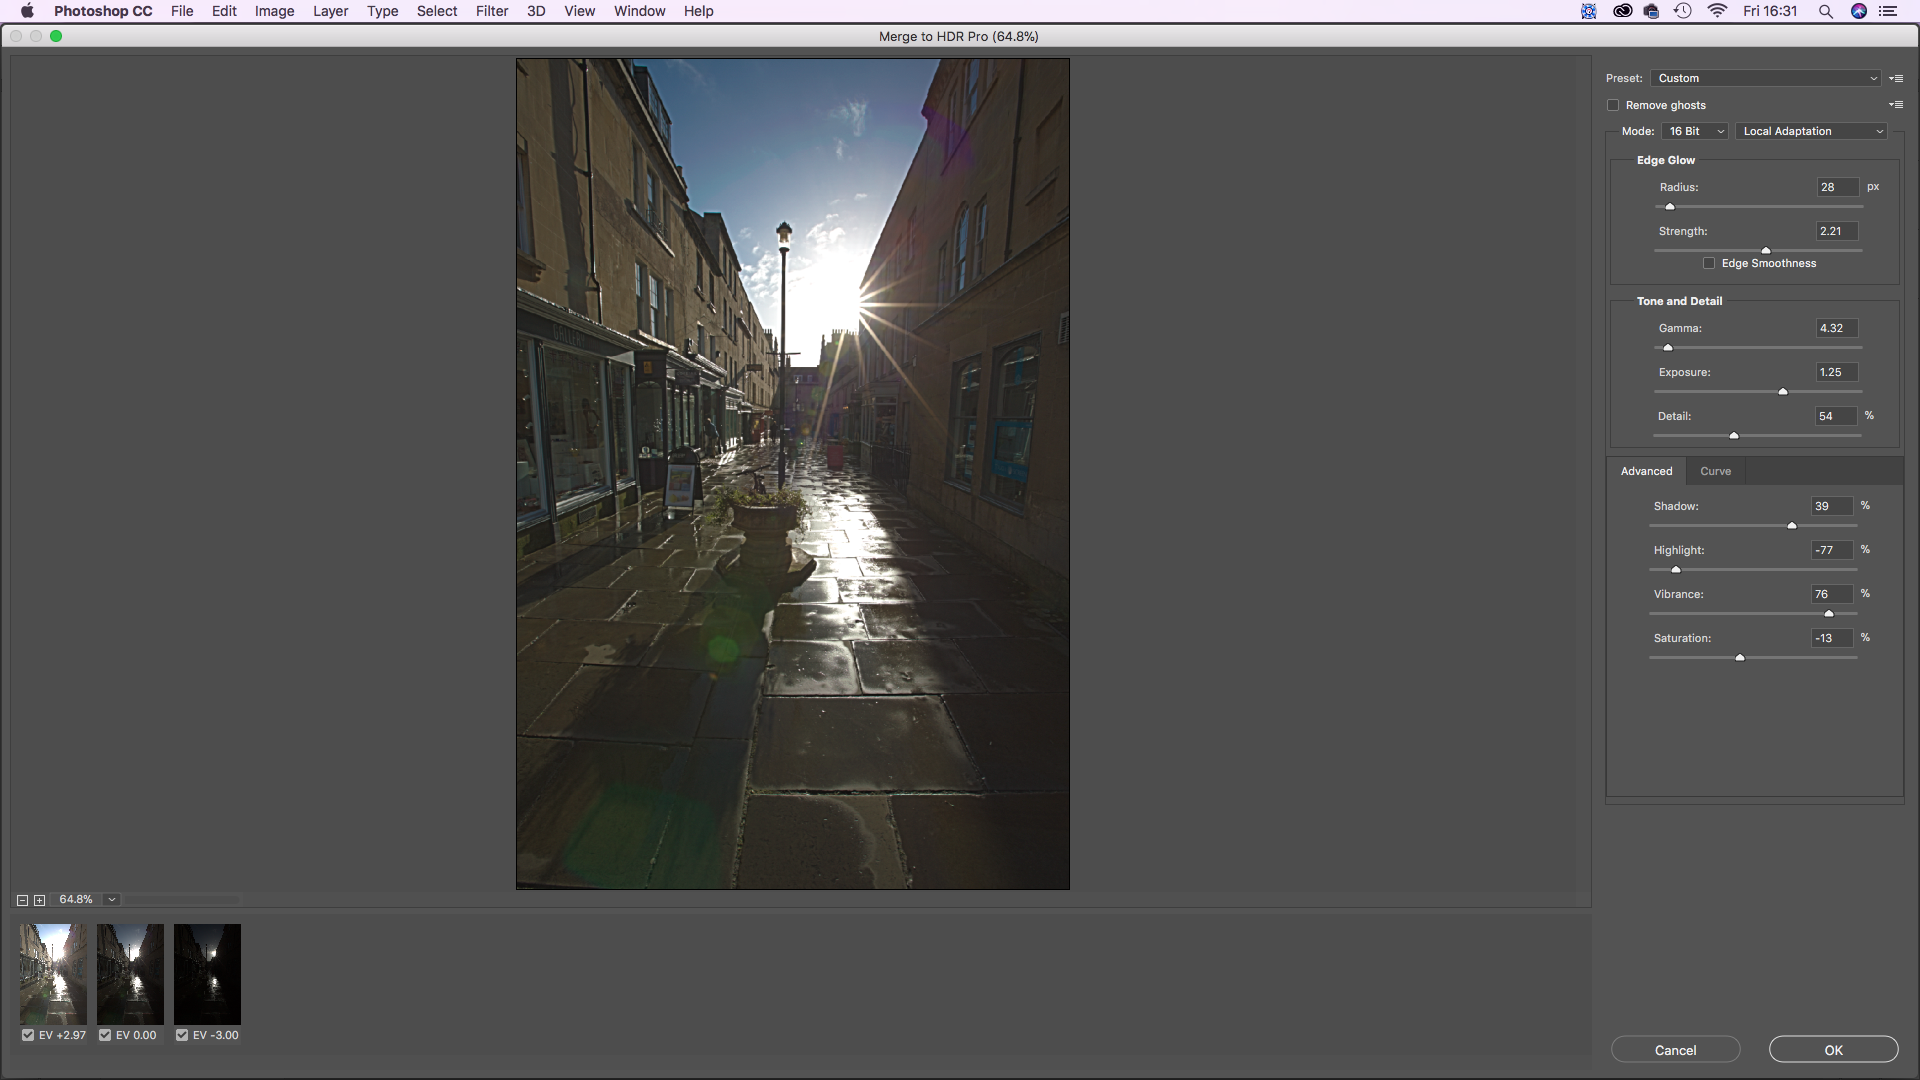
With three bracketed Raw images (use AEB in your camera’s menu – see above) you can use software like Photoshop’s Merge to HDR Pro or similar to create an HDR image. Although the results can often look unreal so take it easy with settings and sliders.
6. Natural HDR images
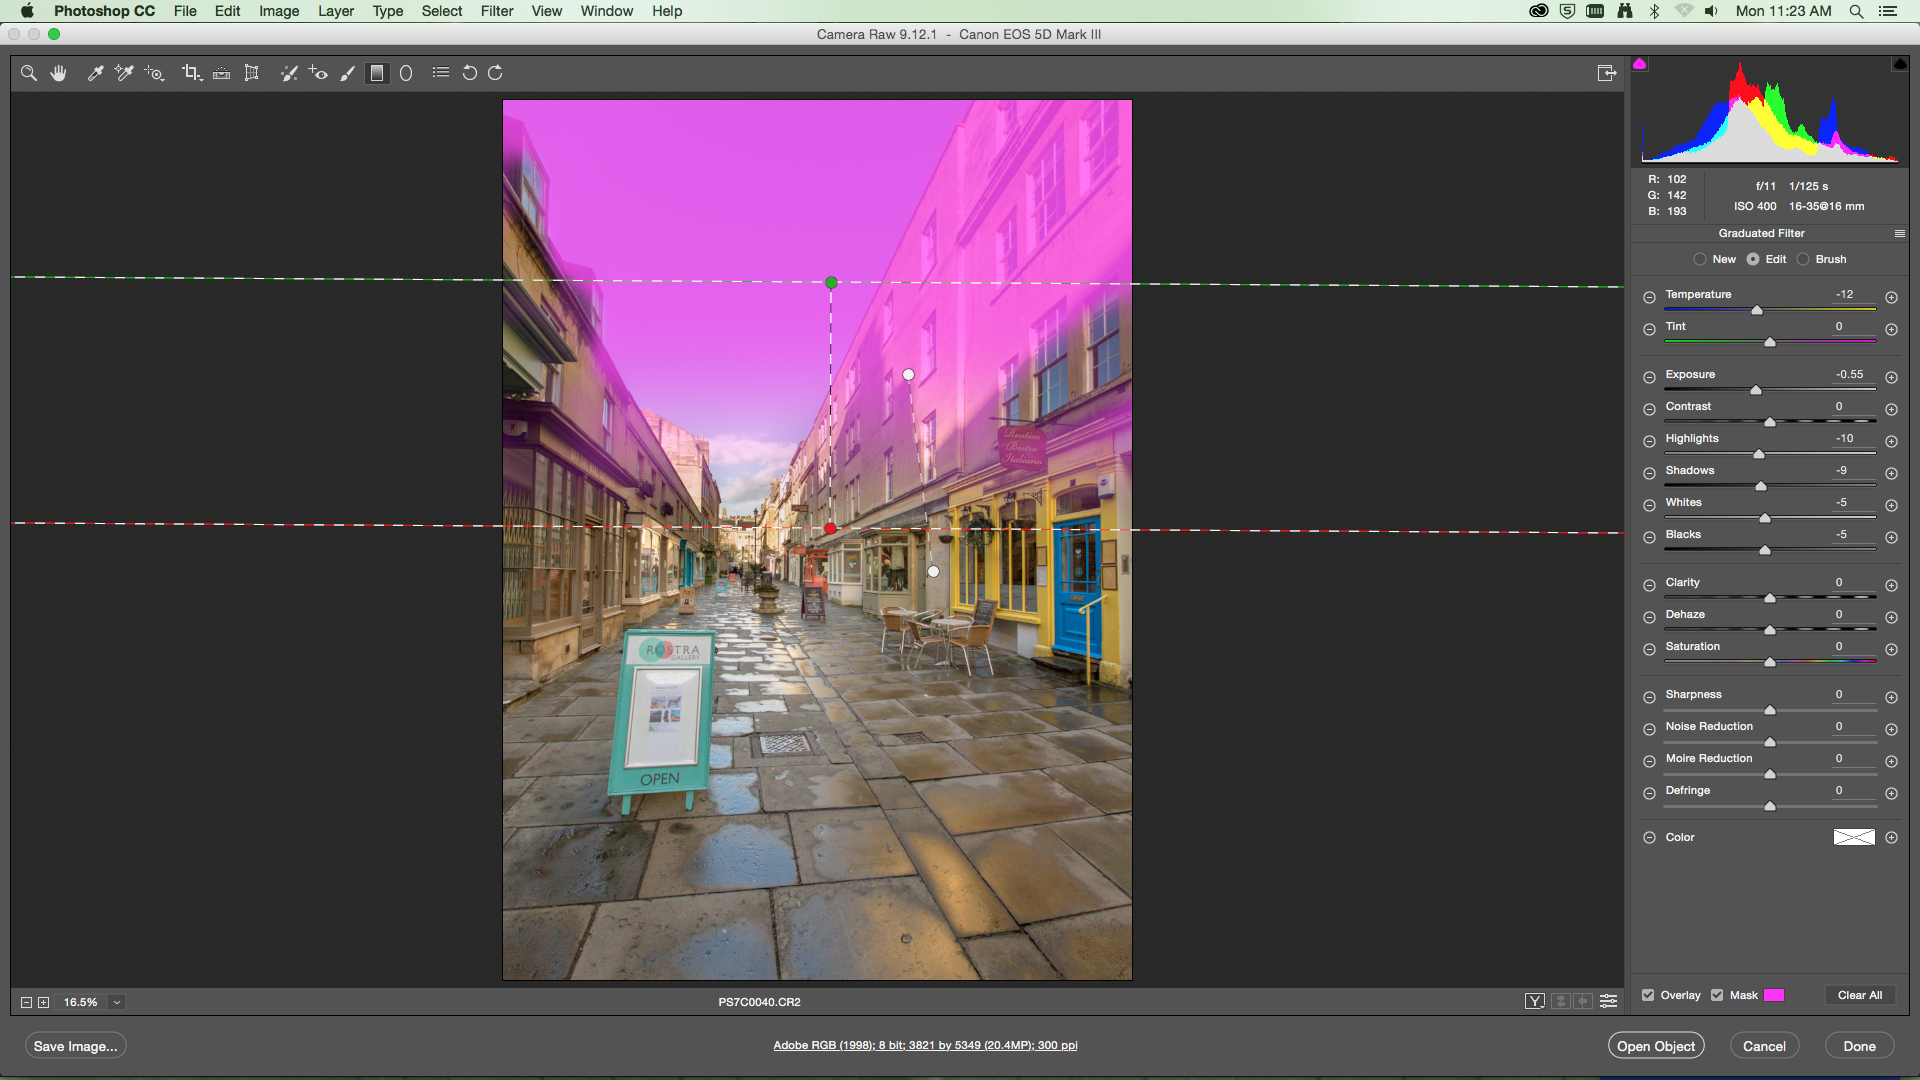
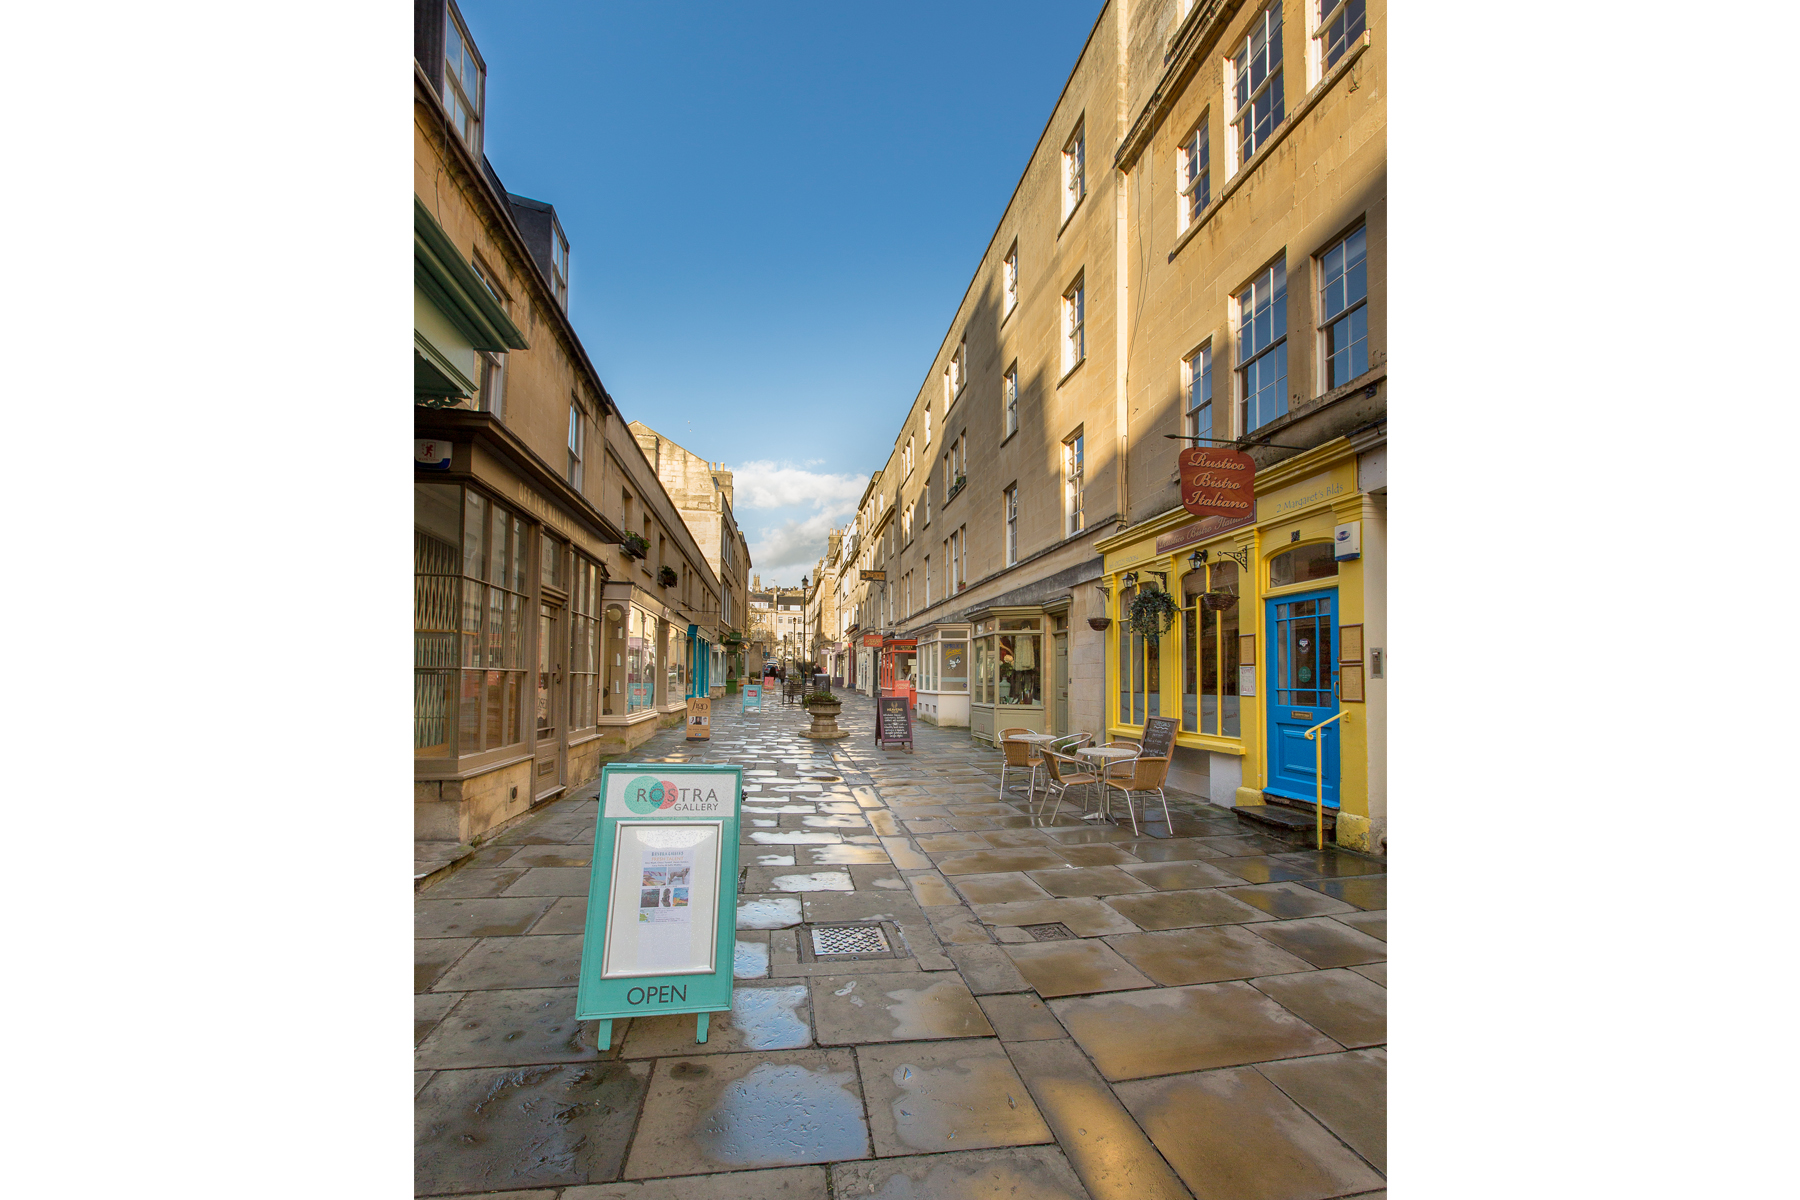
We often find you can get the best, natural results by taking one standard Raw image that has sufficient detail in shadows and highlights, then boosting them in Camera Raw in Photoshop, or Lightroom, using the Adjustment Brush and Gradient filters to darken bright skies, and lighten the darker land areas.
Or using three bracketed Raw images and merging them into a Raw HDR image in Camera Raw in Photoshop or Lightroom for a super detailed image!
Read more
Best Canon lenses in 2020: go longer, wider and closer with your Canon camera
Best DSLR in 2020: DSLR cameras for beginners, enthusiasts and pros
Best Nikon lenses in 2020: expand your Nikon DSLR with these lenses
Get the Digital Camera World Newsletter
The best camera deals, reviews, product advice, and unmissable photography news, direct to your inbox!
The editor of PhotoPlus: The Canon Magazine, Peter 14 years of experience as both a journalist and professional photographer. He is a hands-on photographer with a passion and expertise for sharing his practical shooting skills. Equally adept at turning his hand to portraits, landscape, sports and wildlife, he has a fantastic knowledge of camera technique and principles. As you'd expect of the editor of a Canon publication, Peter is a devout Canon user and can often be found reeling off shots with his EOS 5D Mark IV DSLR.
