Miniature lighting: how to stop big lights from swamping tiny subjects!
When your subject is very small, regular light sources are often too big to produce the light quality you need

Lighting has to be one of the trickiest aspects of macro photography to master. Mixing flash and natural light is a challenge in any genre, but when working on images of very small subject matter it can seem impossible to capture a balance of softness and shape.
This is because the light source (even small flash, such as a speedlight) is large, relative to the subject, meaning the light spreads across the frame. If you try to limit the spread, by removing a diffuser, you create hotspots. Meanwhile if you add a diffuser the light seems to lose all sense of direction and structure. It’s the equivalent to lighting a person with a 3x3m scrim and attempting to introduce a spotlight effect – not an easy feat!
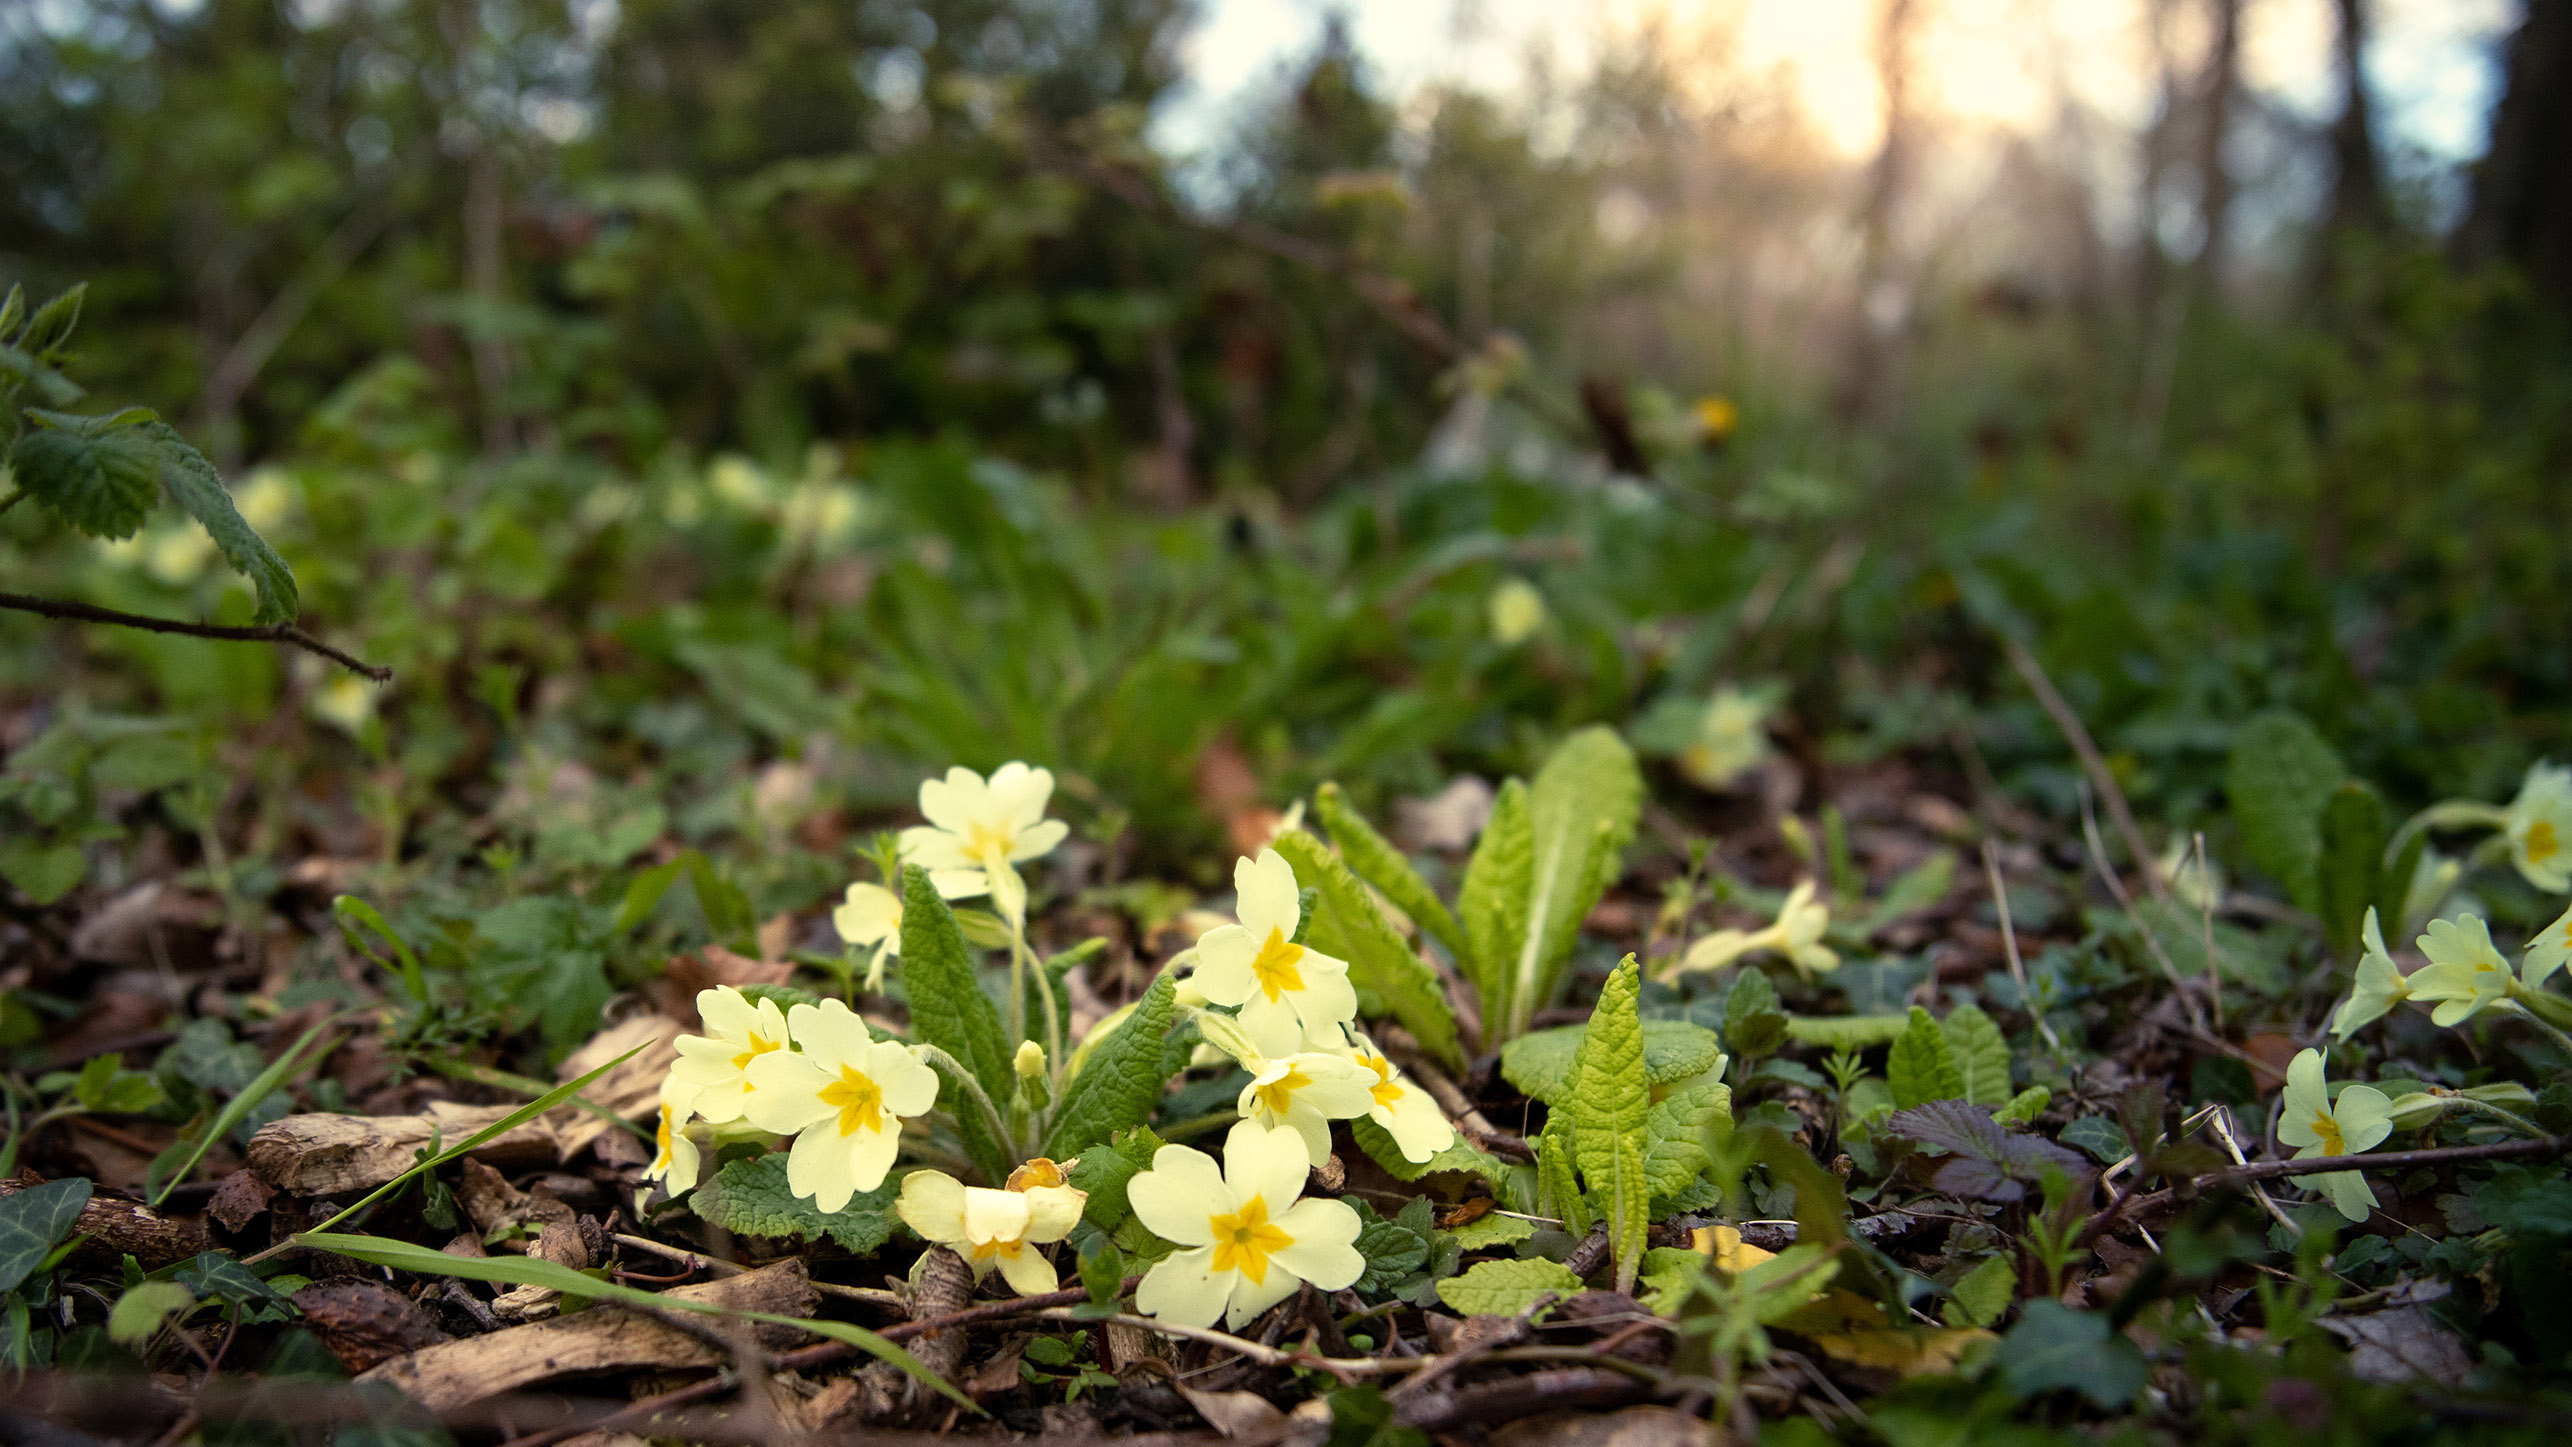
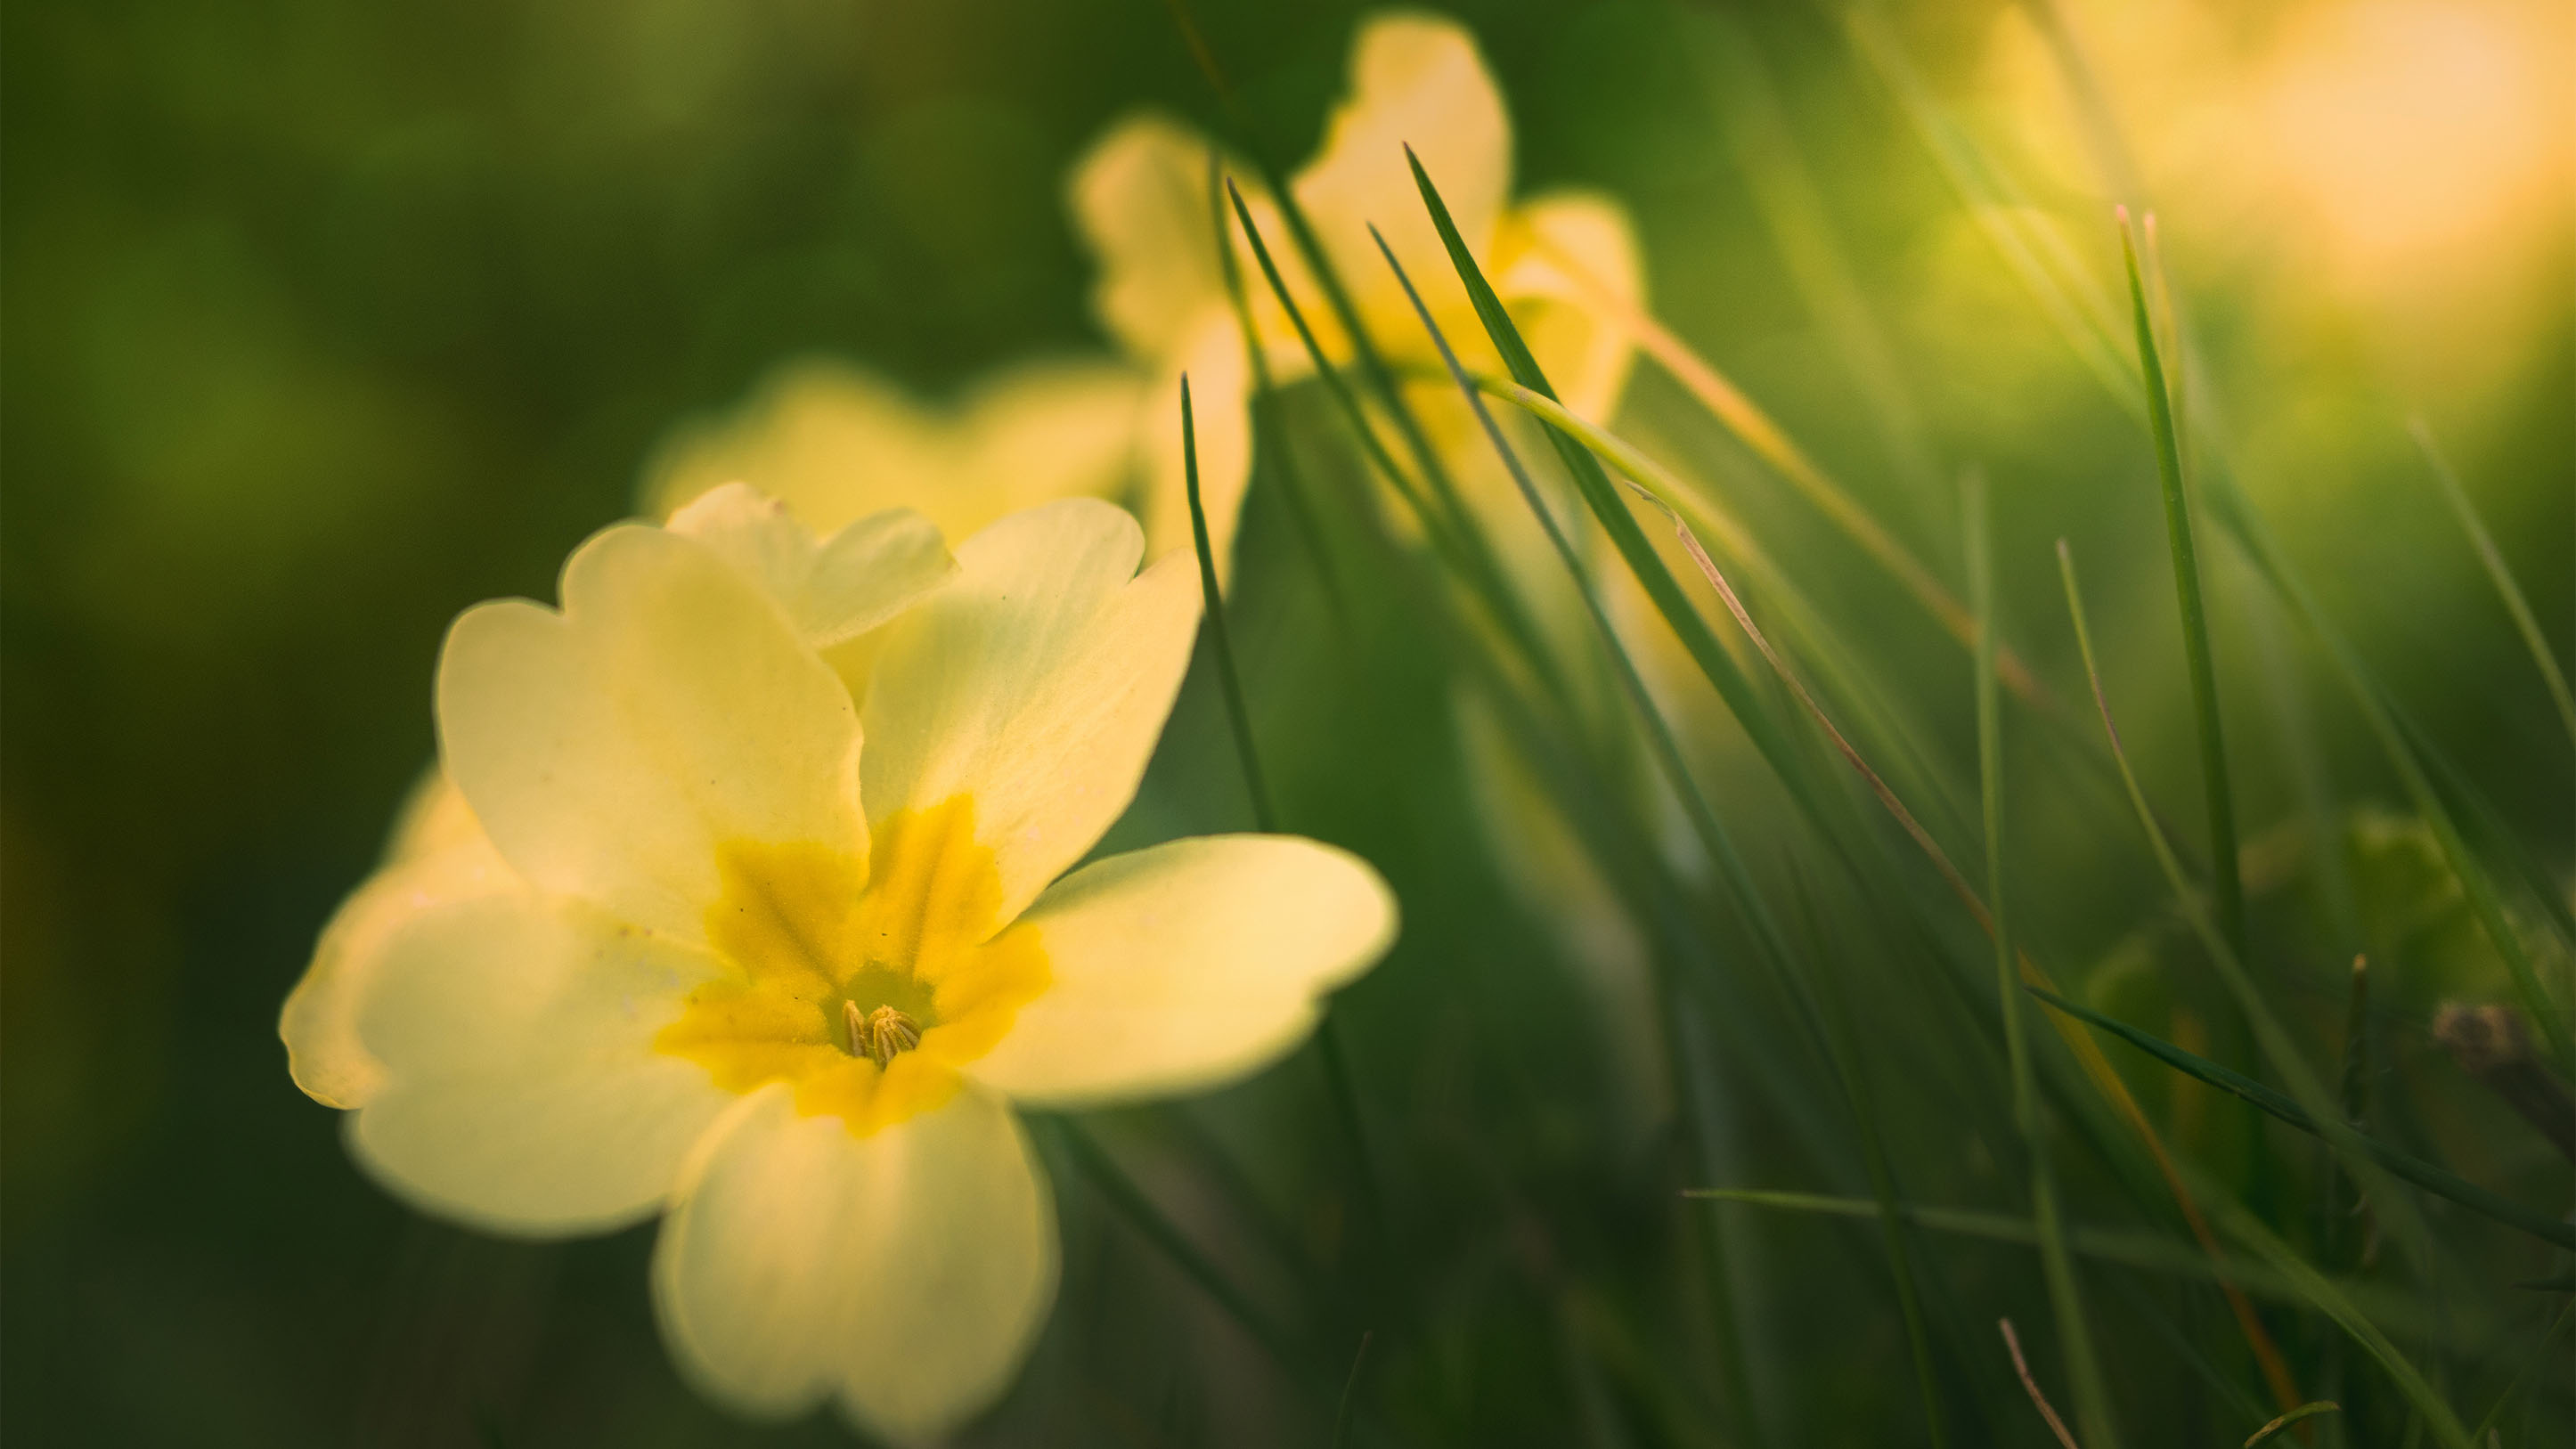
The aim with macro lighting is to prevent unwanted light spillage onto surrounding areas and background details, while maintaining micro contrast on the subject itself by reducing diffusion. Here we look at several quick and easy steps to creating a balanced lighting setup when shooting a small flower outside – a common situation. We will use a blend of natural and artificial light to produce a tight beam of light, with a good balance of environmental details and local exposure.
1. Find a subject with space
Find a specimen which has a good amount of clearance around it. Where there are lots of densely packed flowers or a nearby wall, for example, it can be difficult to control the spillage of light.
2. Lower the camera height
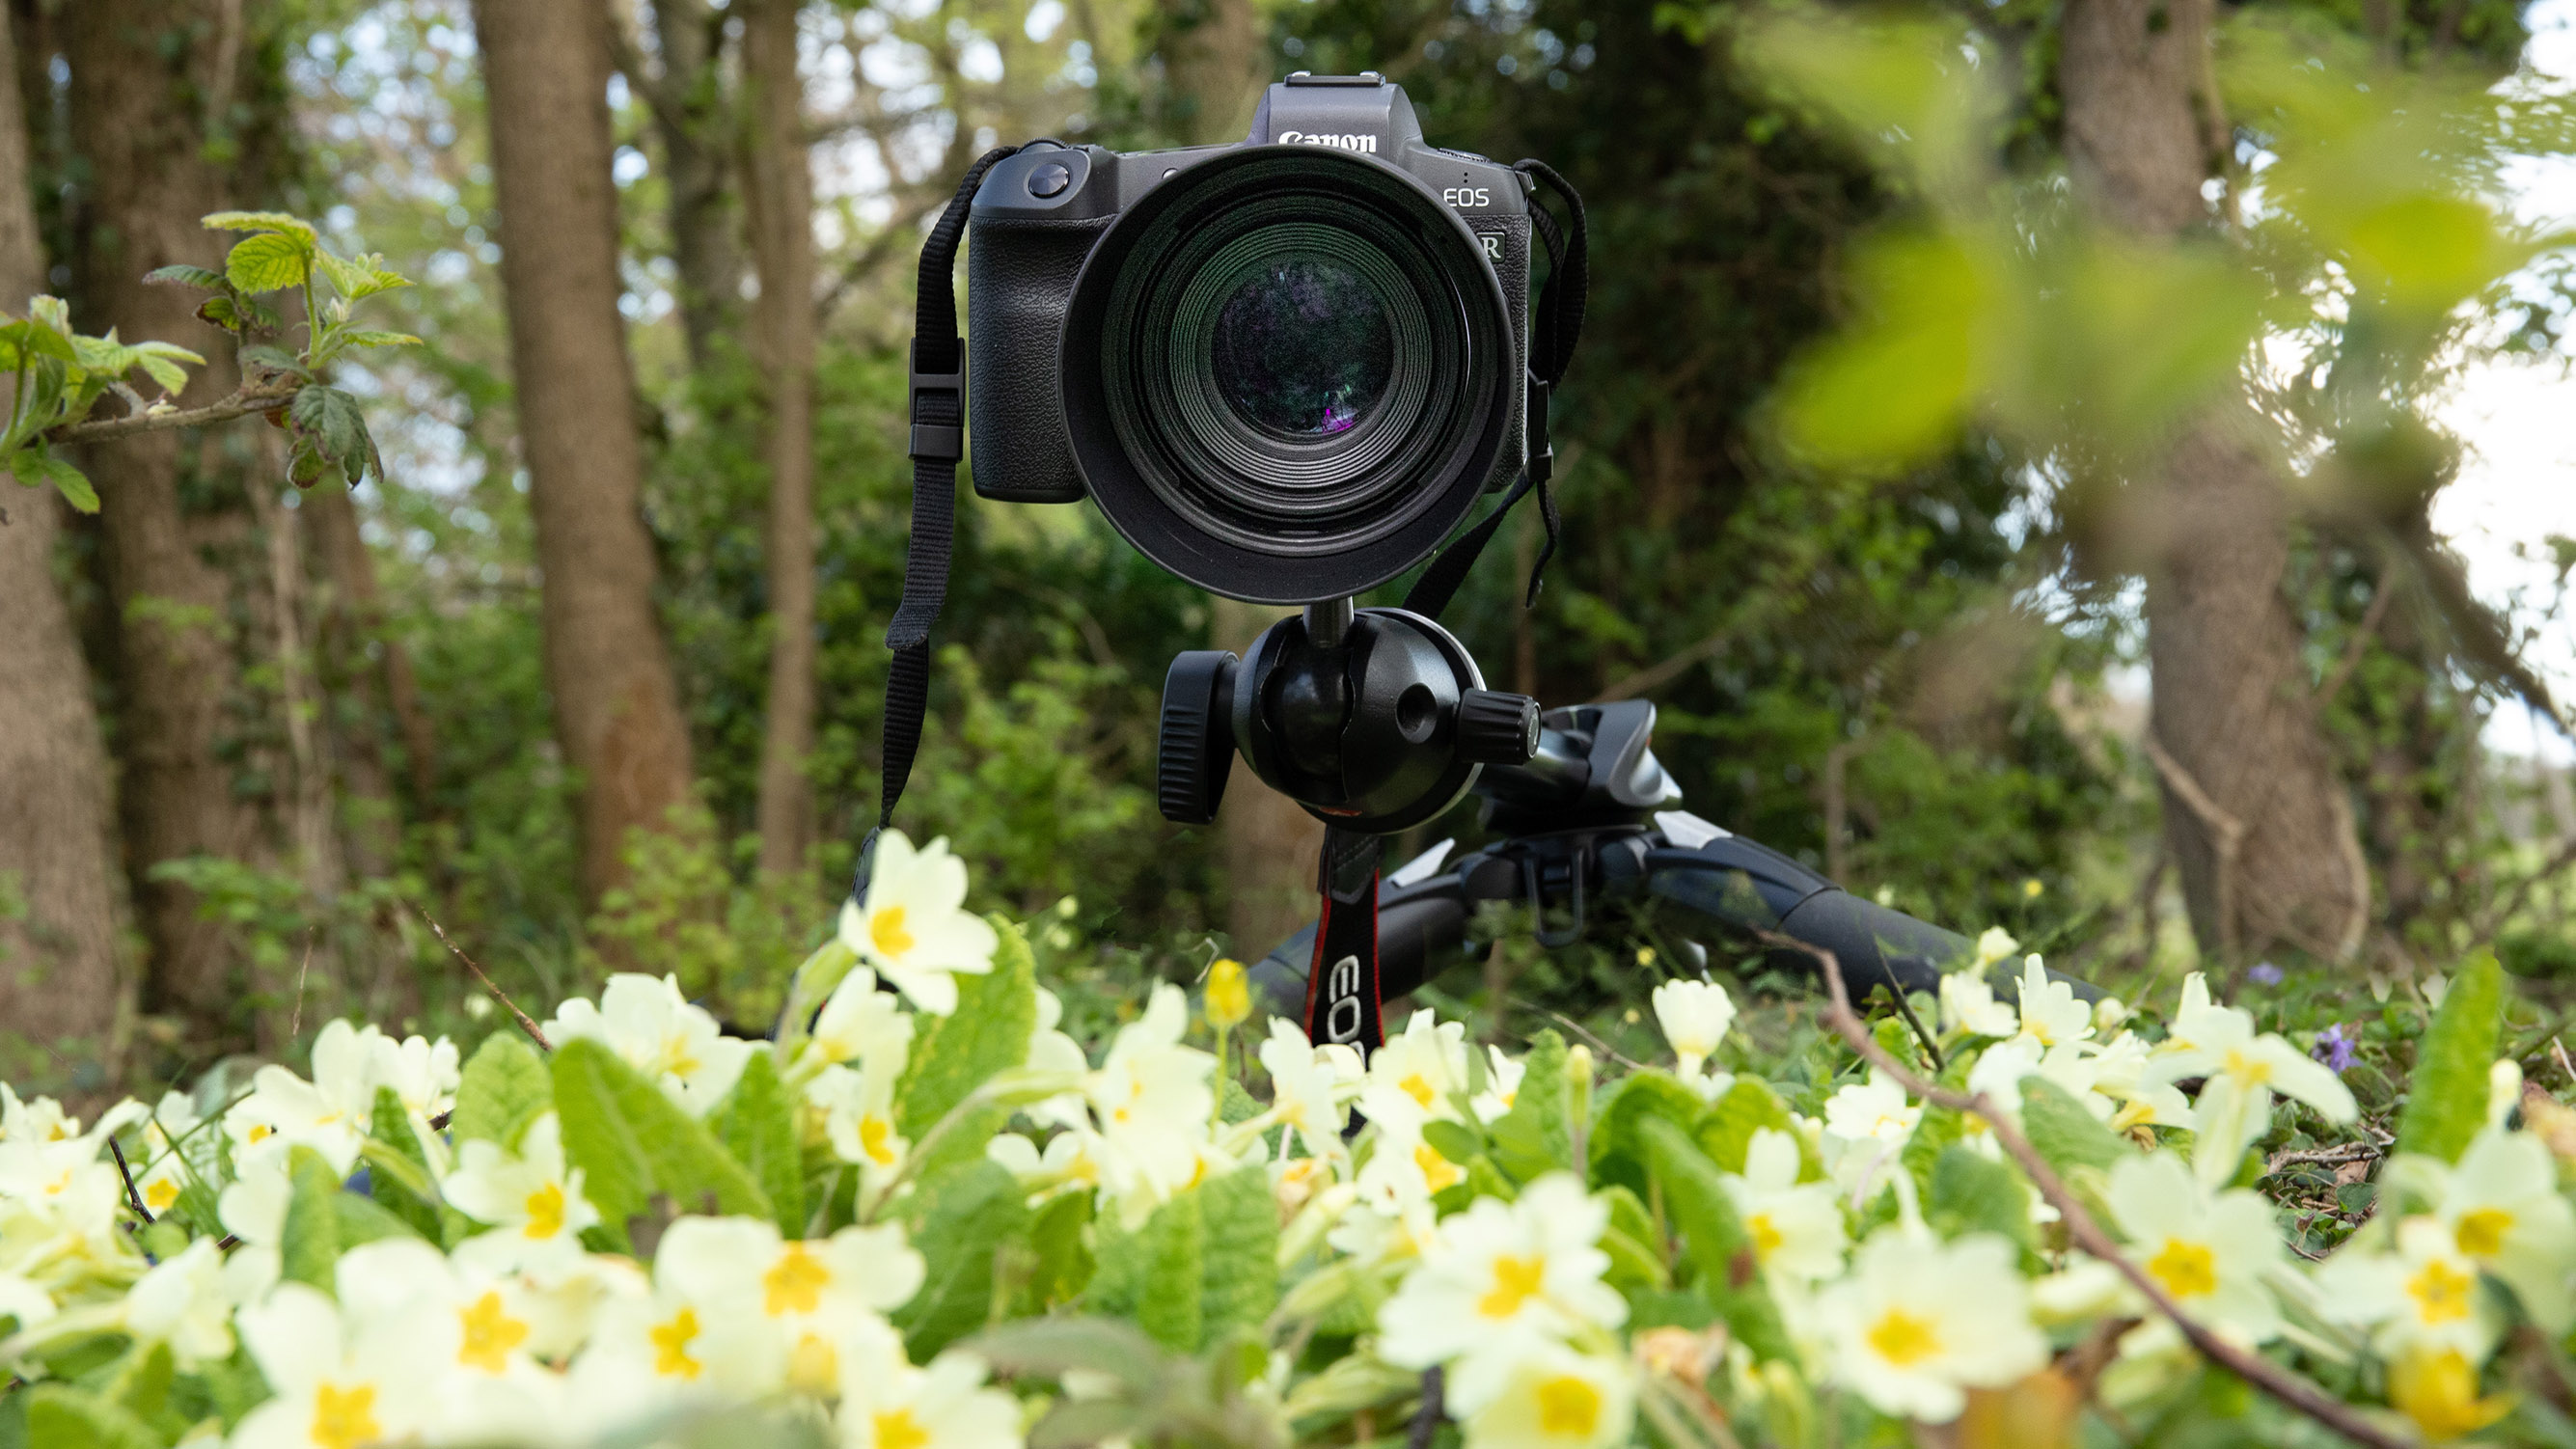
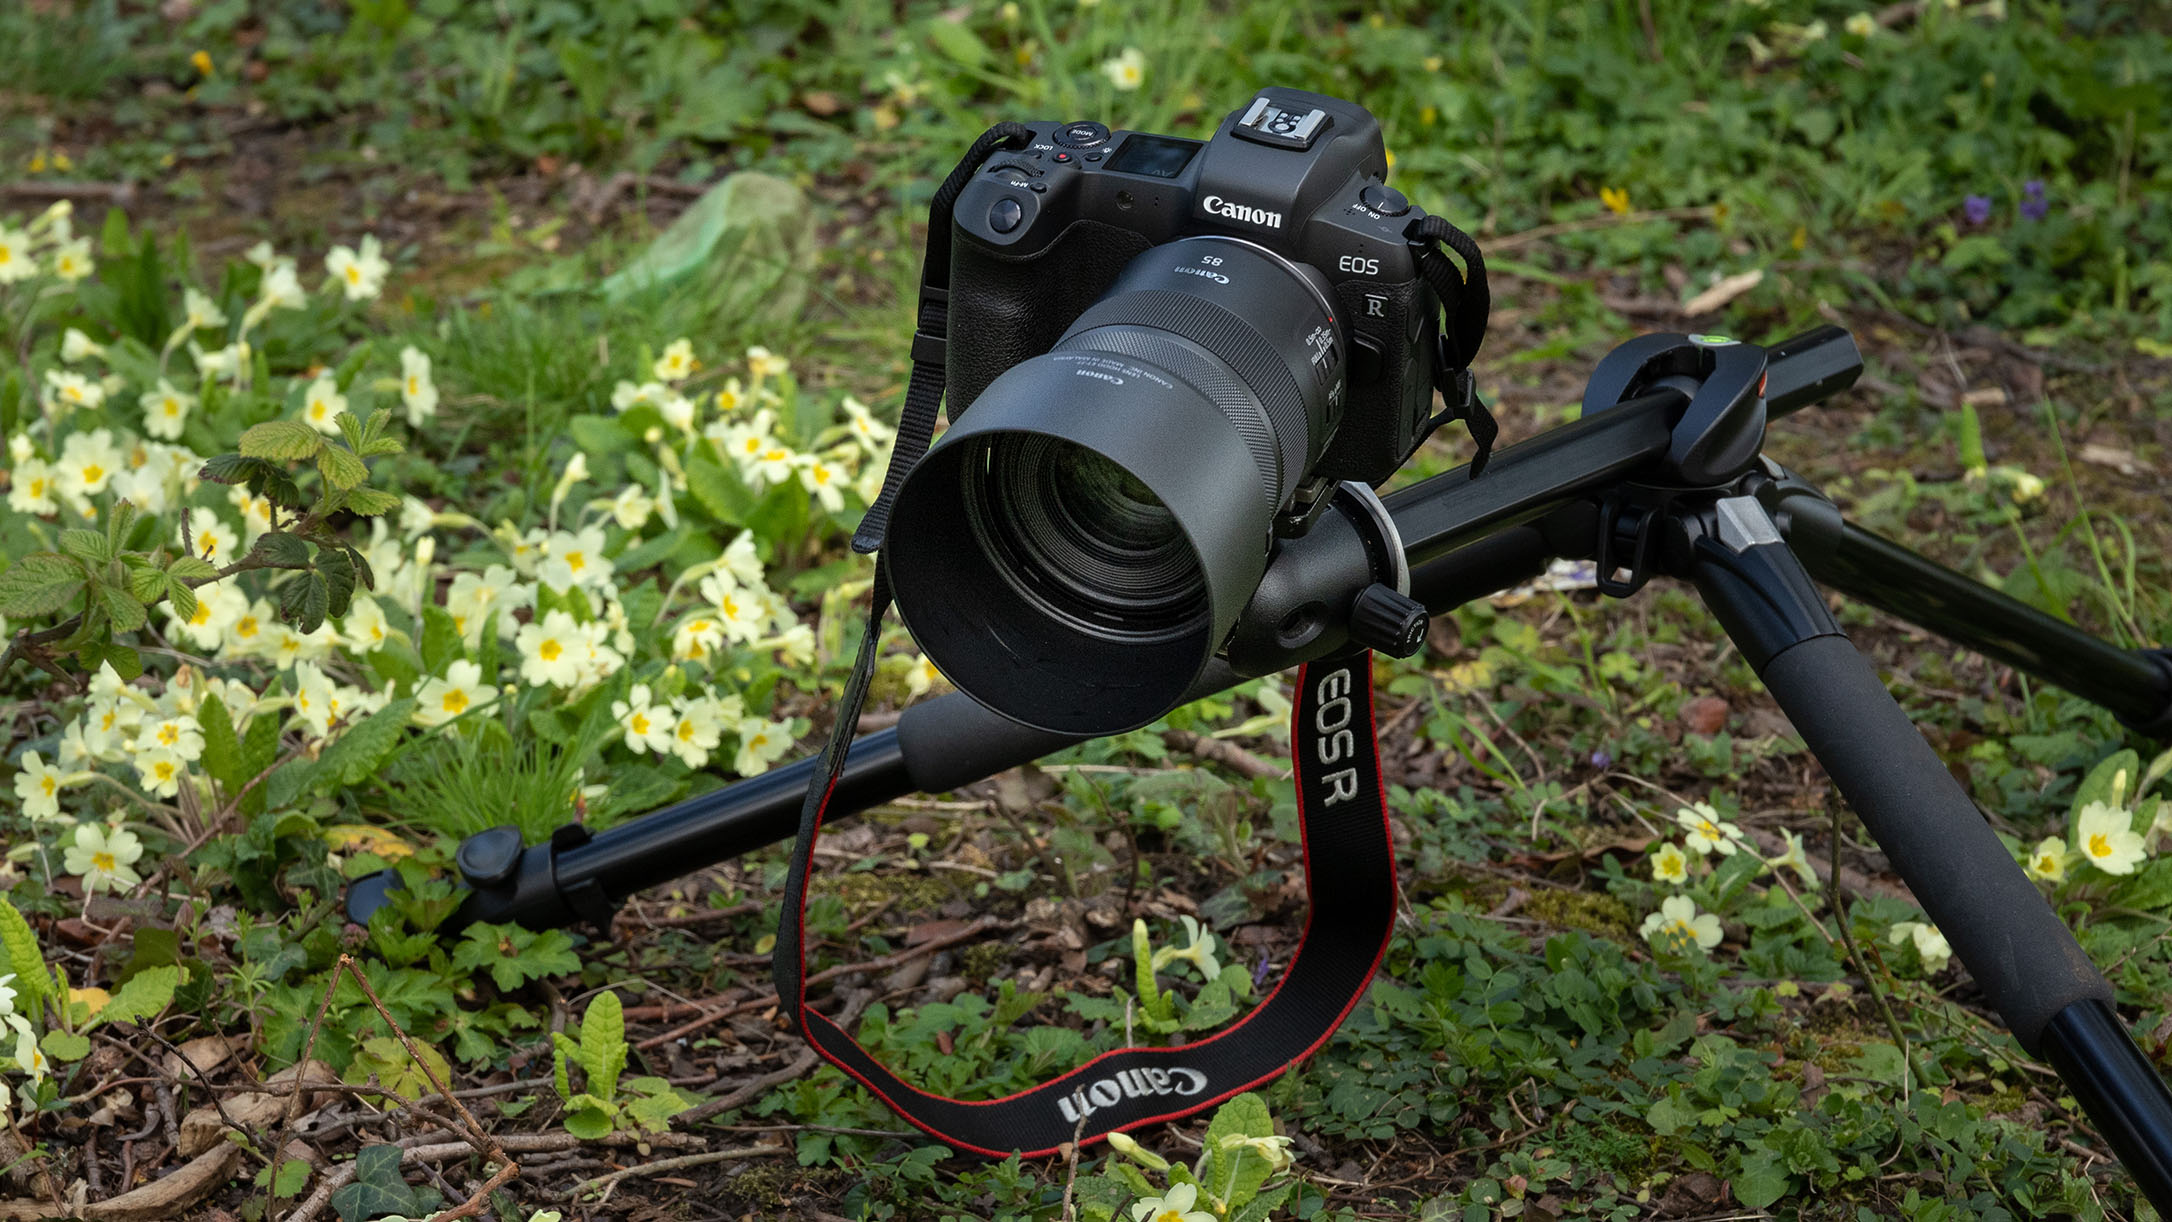
For these low-level flowers I got the camera as close to parallel with them as possible. This was done minimize how much ground was visible in the frame, because it would be almost impossible not to light the ground with flash.
3. Attach a lens hood
Since we will be using flash at a low angle to the lens a hood will help reduce the chances of lens flare. If the flash is just out of frame this should be enough to prevent ghosting and other reflective effects.
4. Create a tight beam by using the flash zoom head
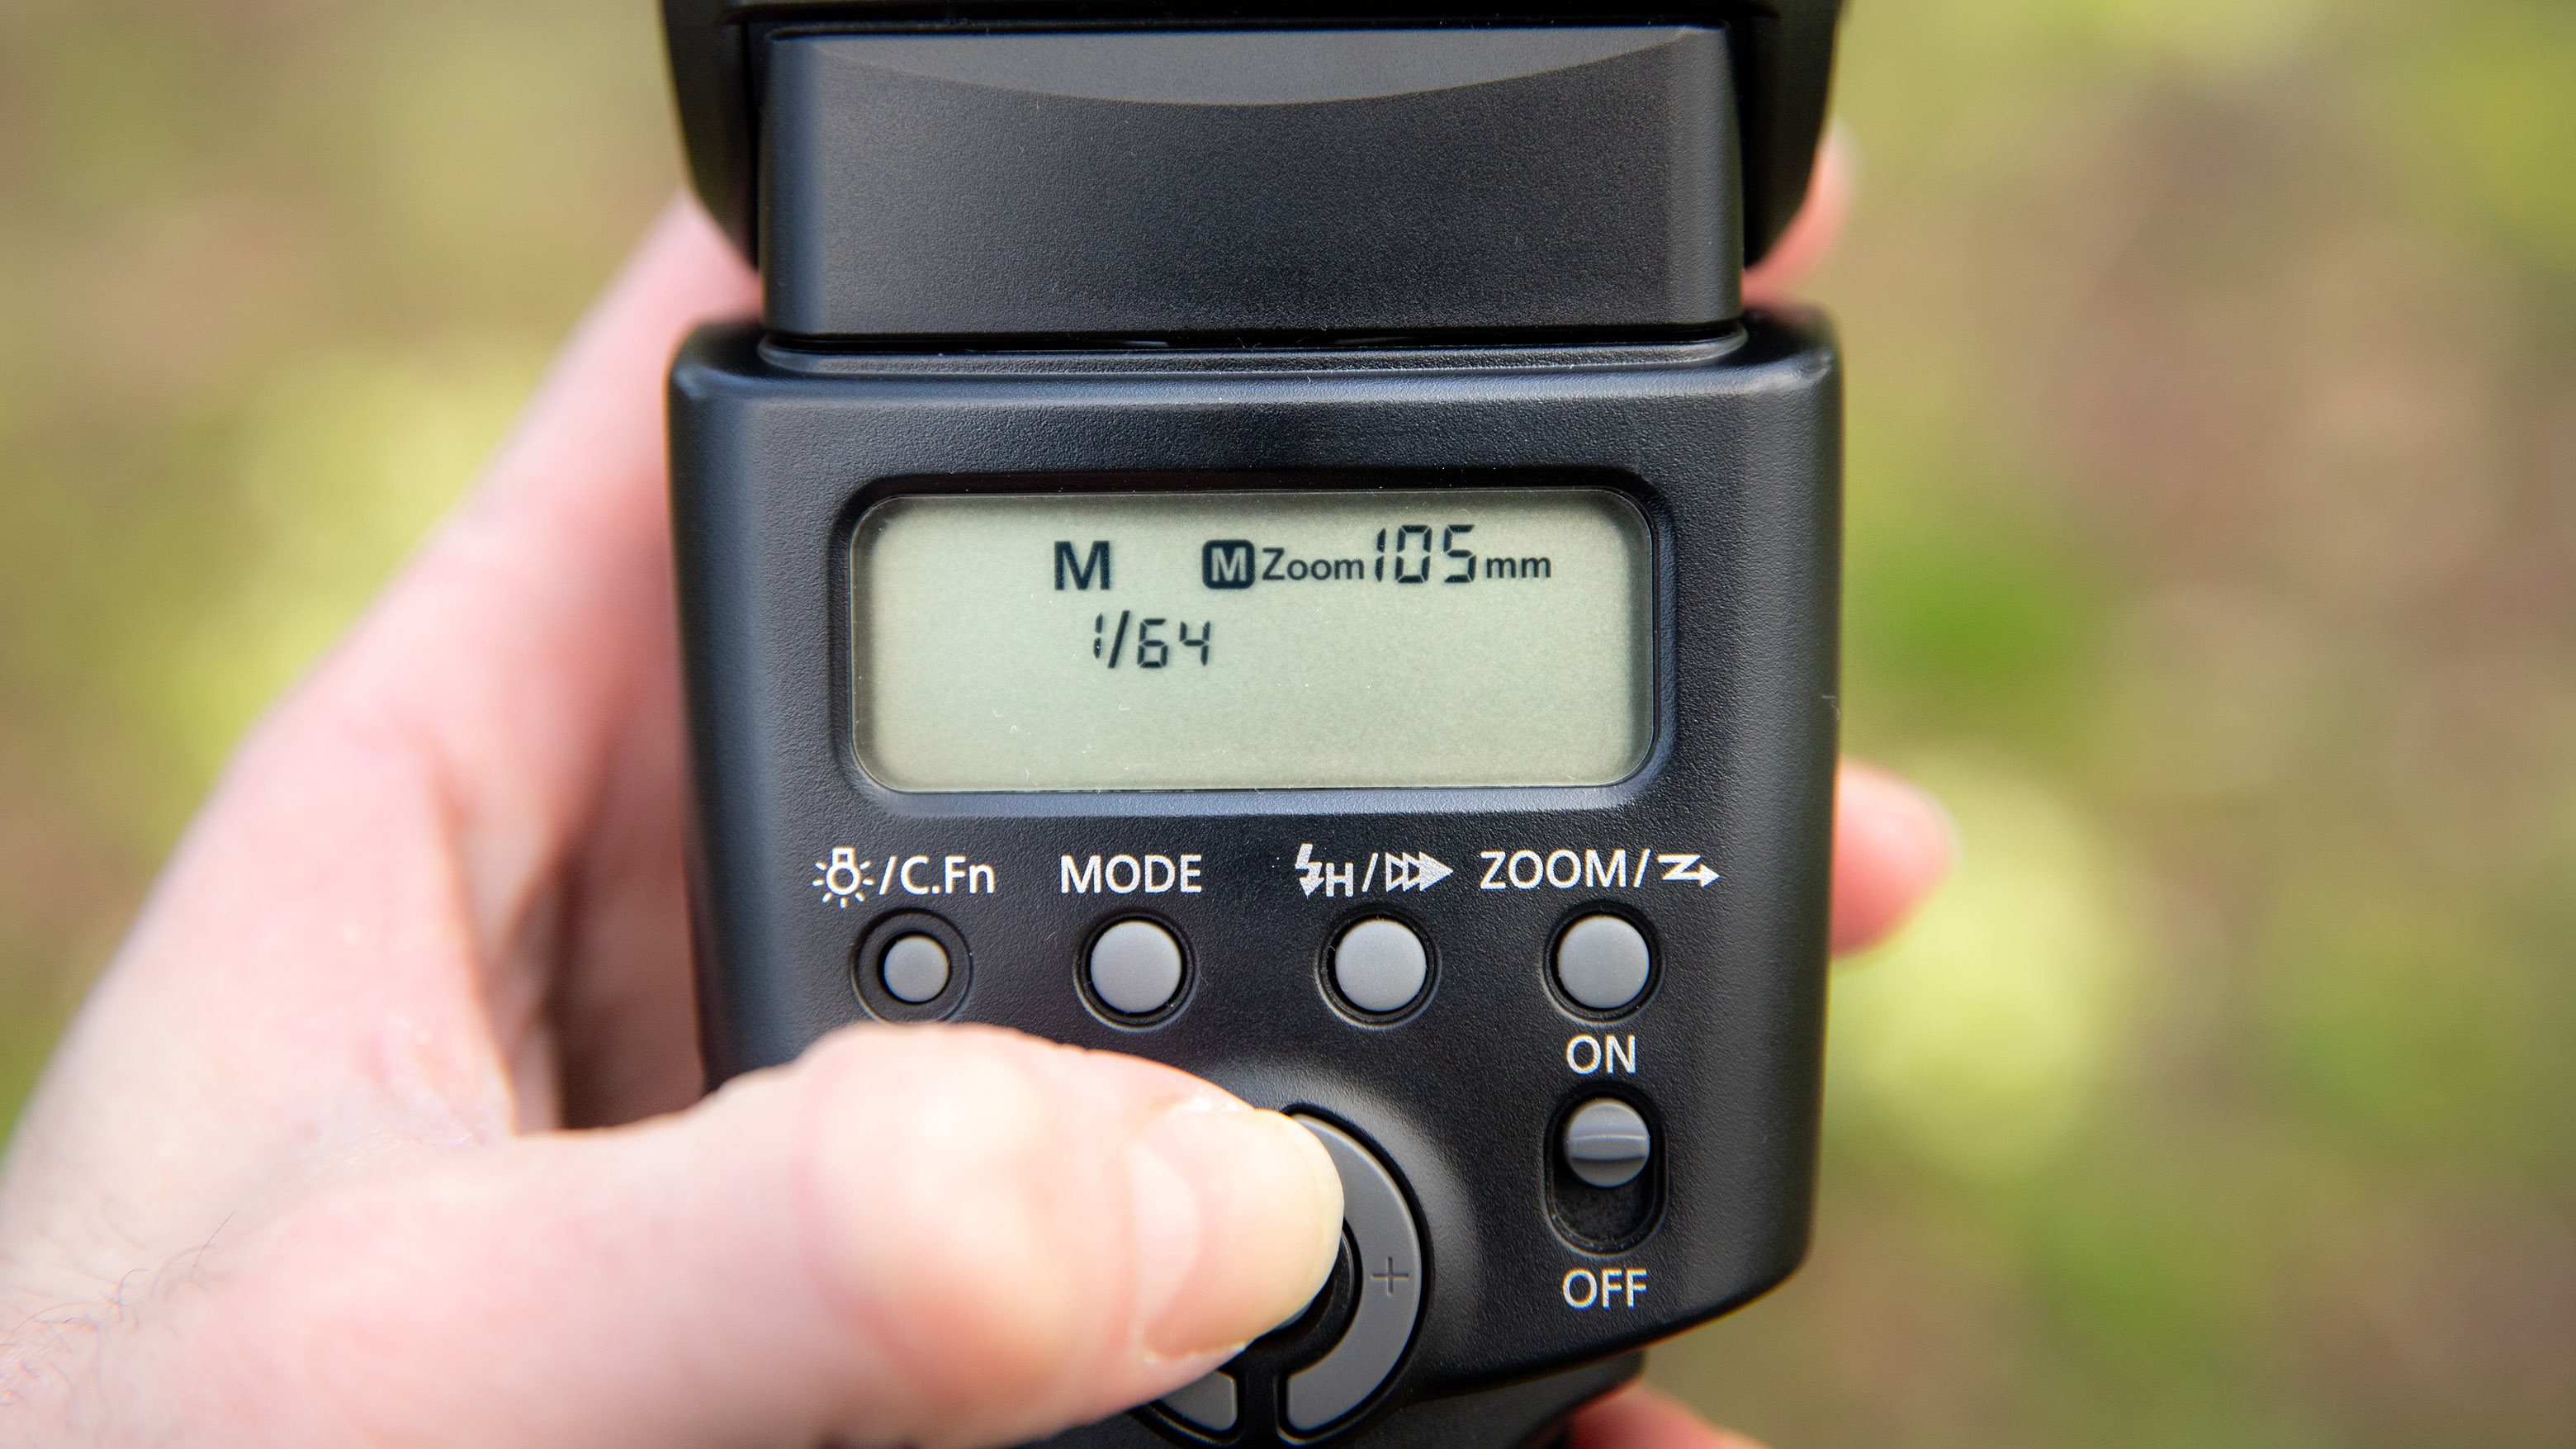
Set your wireless speedlight to its maximum zoom – not all flashguns have a zoom feature, but many mid-range and high end flashguns will offer this. This will produce a tighter light beam and help further reduce unwanted spreading of the light. If you have a flashgun snoot this will also come in handy.
The best camera deals, reviews, product advice, and unmissable photography news, direct to your inbox!
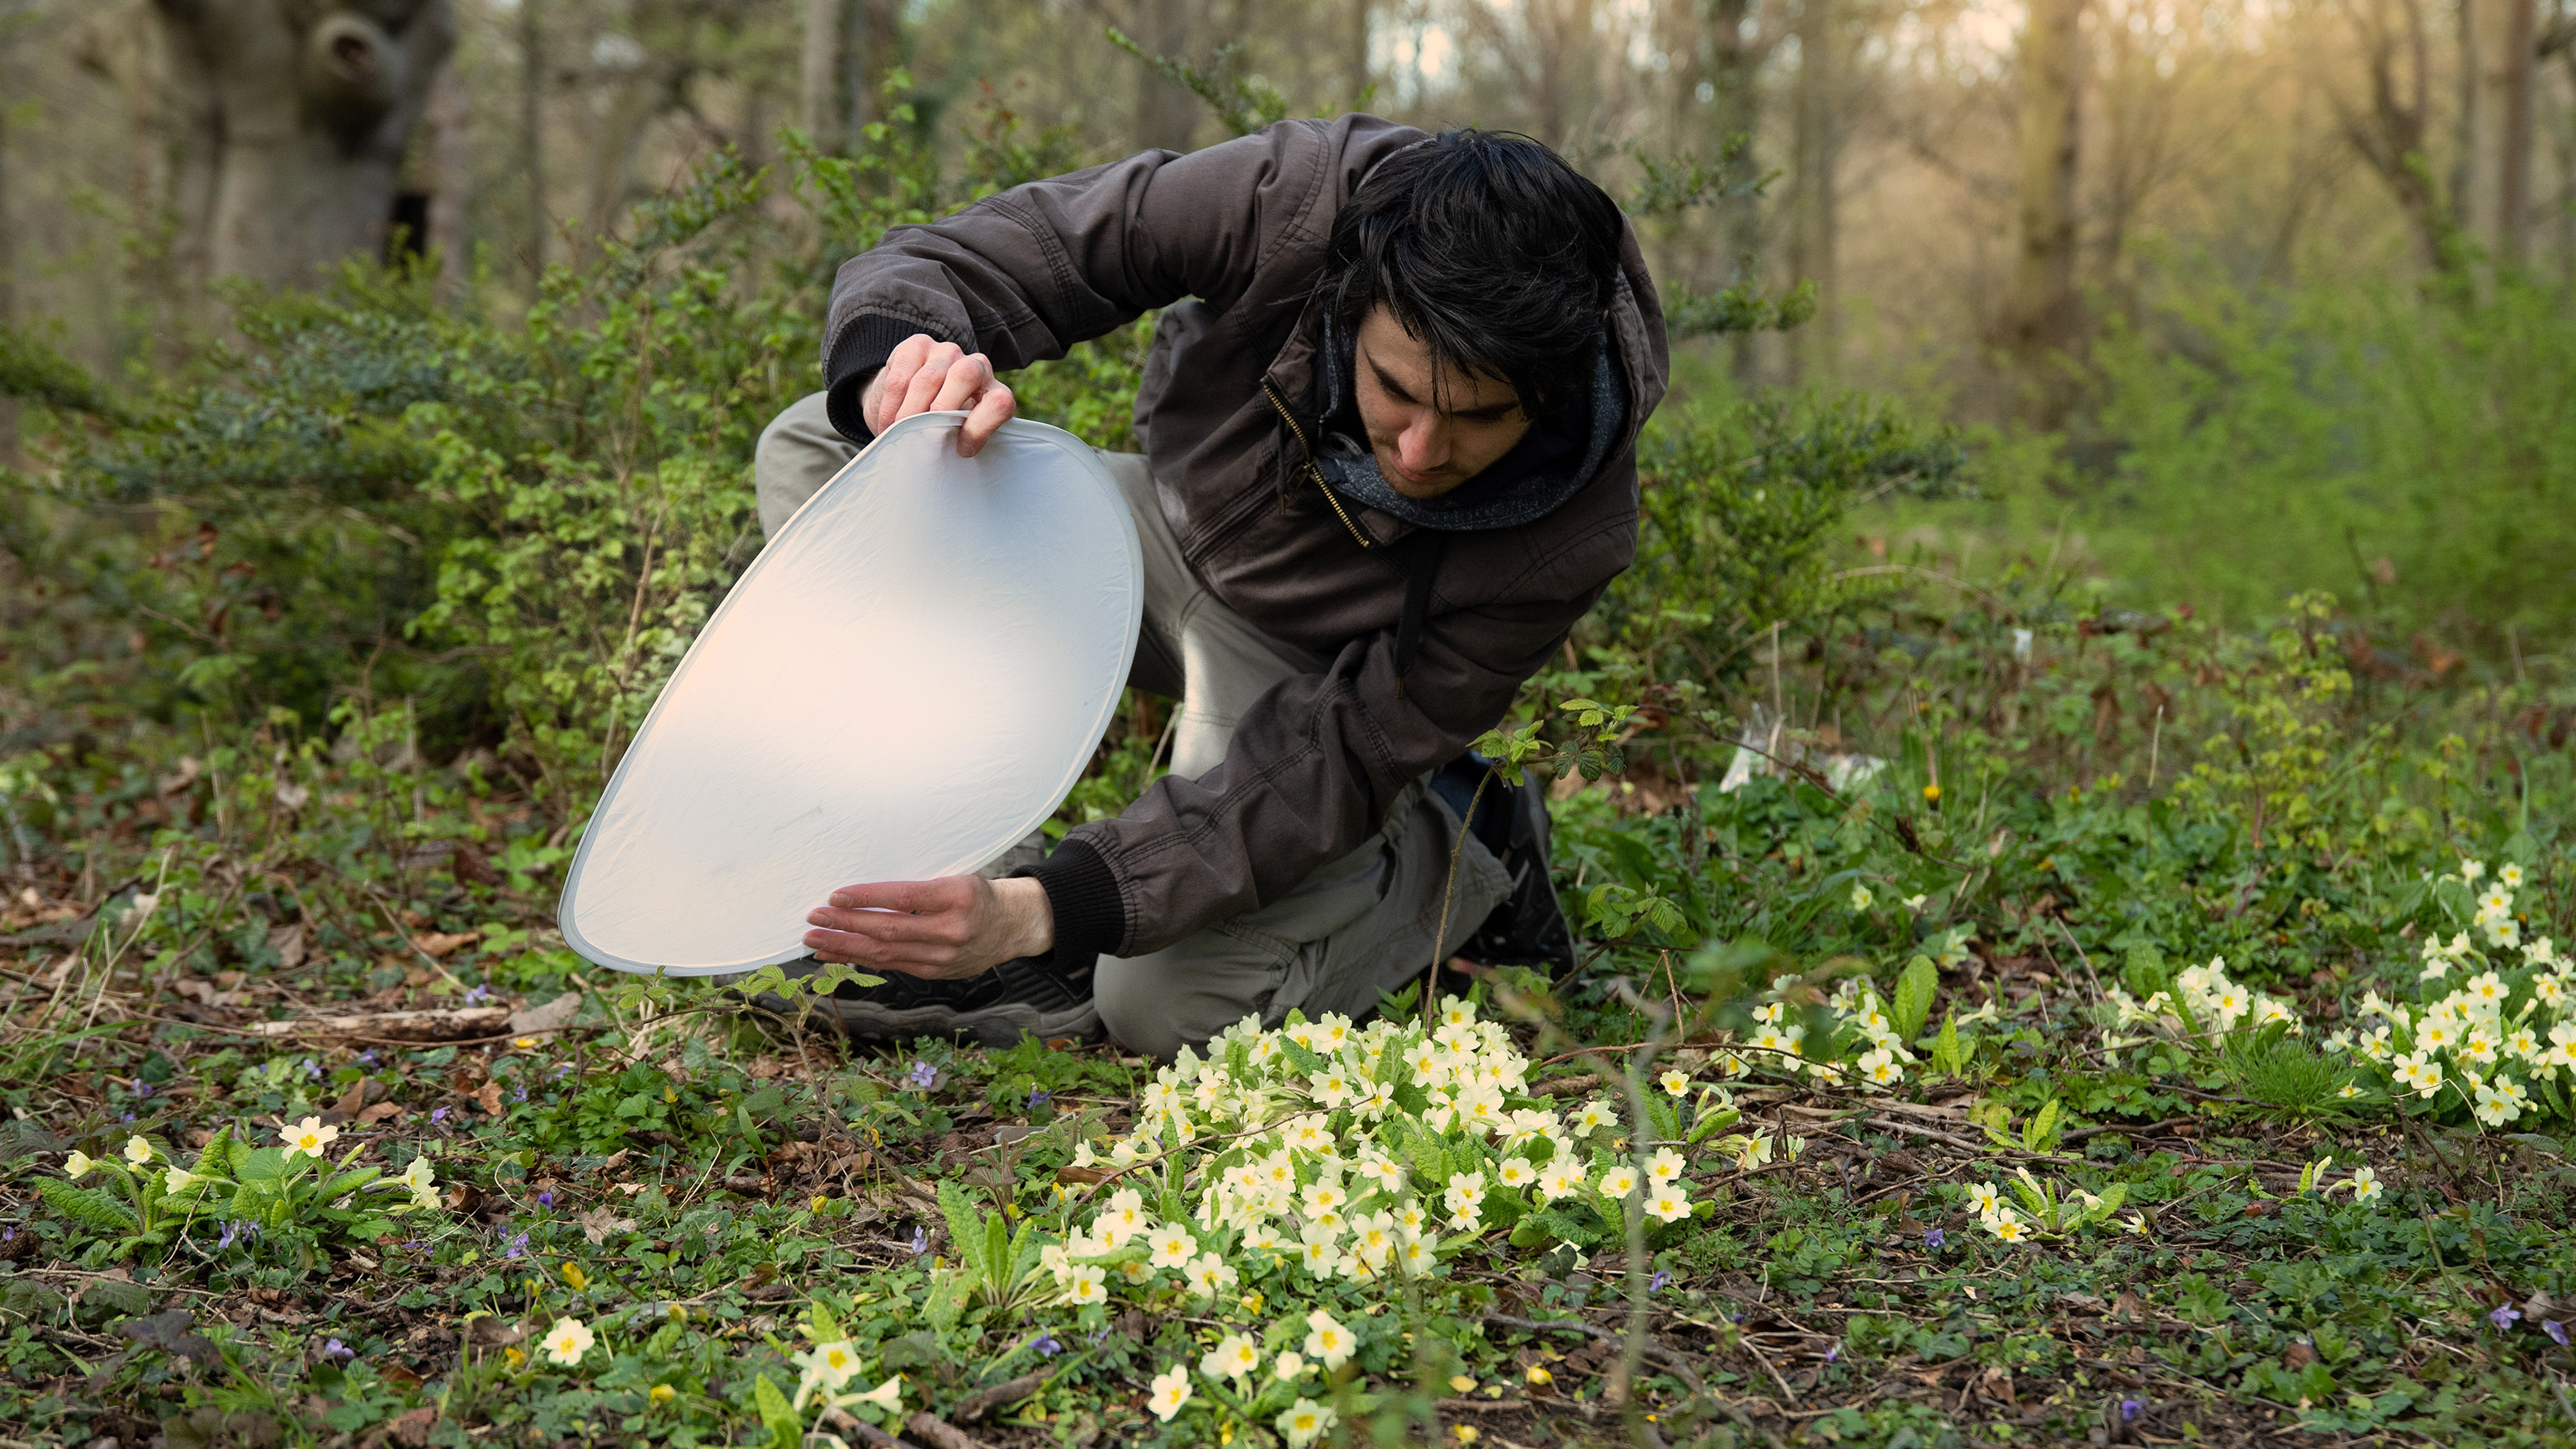
5. Diffuse the light if needed
Diffusion may still be necessary to reduce blown highlights (hotspots) on the subject. Move the diffuser as close to the subject as possible to minimize light spread onto the background, bending it to shape the light.
6. Control the ambient light
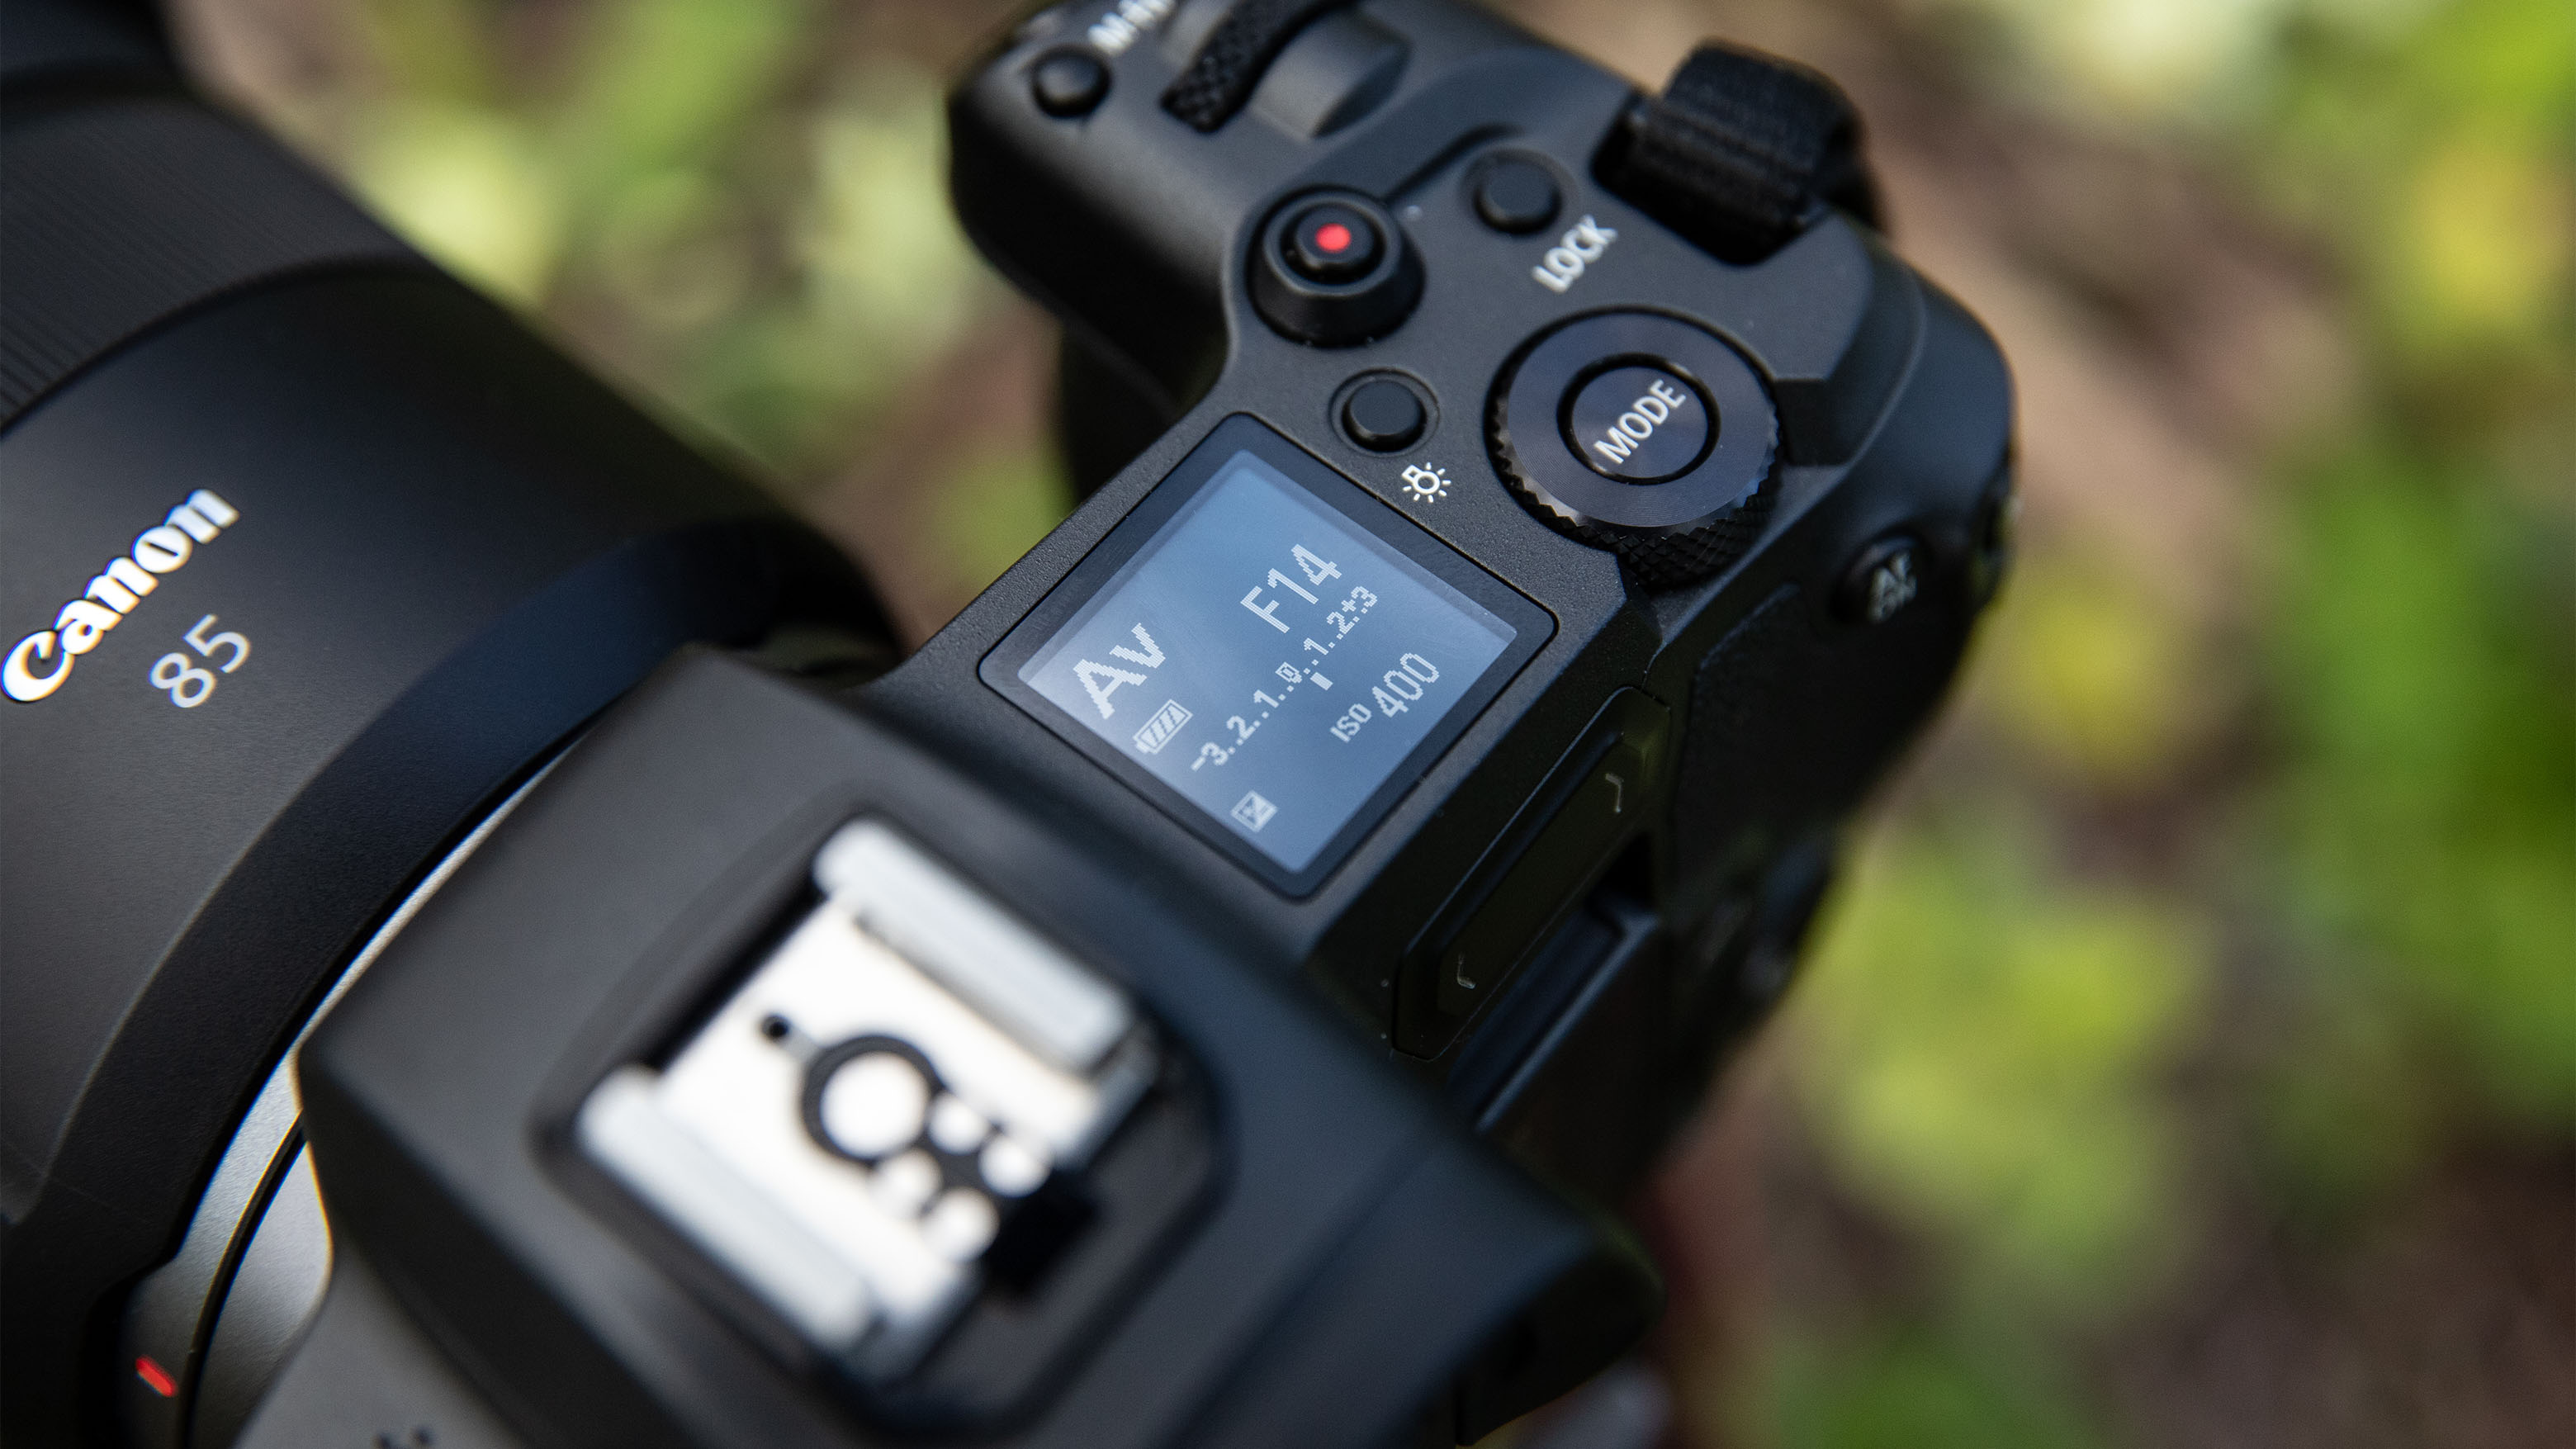
Use aperture or shutter speed to control the background brightness. Here an f/stop of f/14 reduced the presence of the ambient light, making the flash beam more dominant.
Read more:
• 10 essential steps to better macro images
• 10 quick steps for photographing creative macro masterpieces
• Landscape Photographer of the Year 2022 winner announced!
As the Editor for Digital Photographer magazine, Peter is a specialist in camera tutorials and creative projects to help you get the most out of your camera, lens, tripod, filters, gimbal, lighting and other imaging equipment.
After cutting his teeth working in retail for camera specialists like Jessops, he has spent 11 years as a photography journalist and freelance writer – and he is a Getty Images-registered photographer, to boot.
No matter what you want to shoot, Peter can help you sharpen your skills and elevate your ability, whether it’s taking portraits, capturing landscapes, shooting architecture, creating macro and still life, photographing action… he can help you learn and improve.
