Mistakes photographers make when cleaning cameras and lenses (and how you can avoid them)
Keep your kit clean - and avoid these common pitfalls
Your camera is more than a tool, it's an extension of your creativity, the medium through which you capture your interpretation of the world. Just as an artist's paintbrush needs meticulous care to craft beautiful art, a camera also requires regular, proper cleaning to ensure high-quality images. This crucial maintenance routine is not just about preserving image quality, though. It's also about extending the lifespan of your equipment, improving functionality, and keeping your photographic journeys uninterrupted.
However, cleaning a camera is not as straightforward as it may seem. These sophisticated devices, built with intricate parts and precision technology, can easily be damaged by improper cleaning methods. Camera cleaning is a delicate task and a task not taken lightly can lead to irreversible damage, impacting both the performance of the camera and, ultimately, the quality of the photographs.
In this guide we will highlight the most common camera cleaning mistakes that photographers often make, causing unnecessary harm to their treasured equipment. More importantly, we’ll show you how to avoid these pitfalls, ensuring that your camera continues to serve as your faithful companion for years to come.
1. Neglecting to clean and dry swiftly
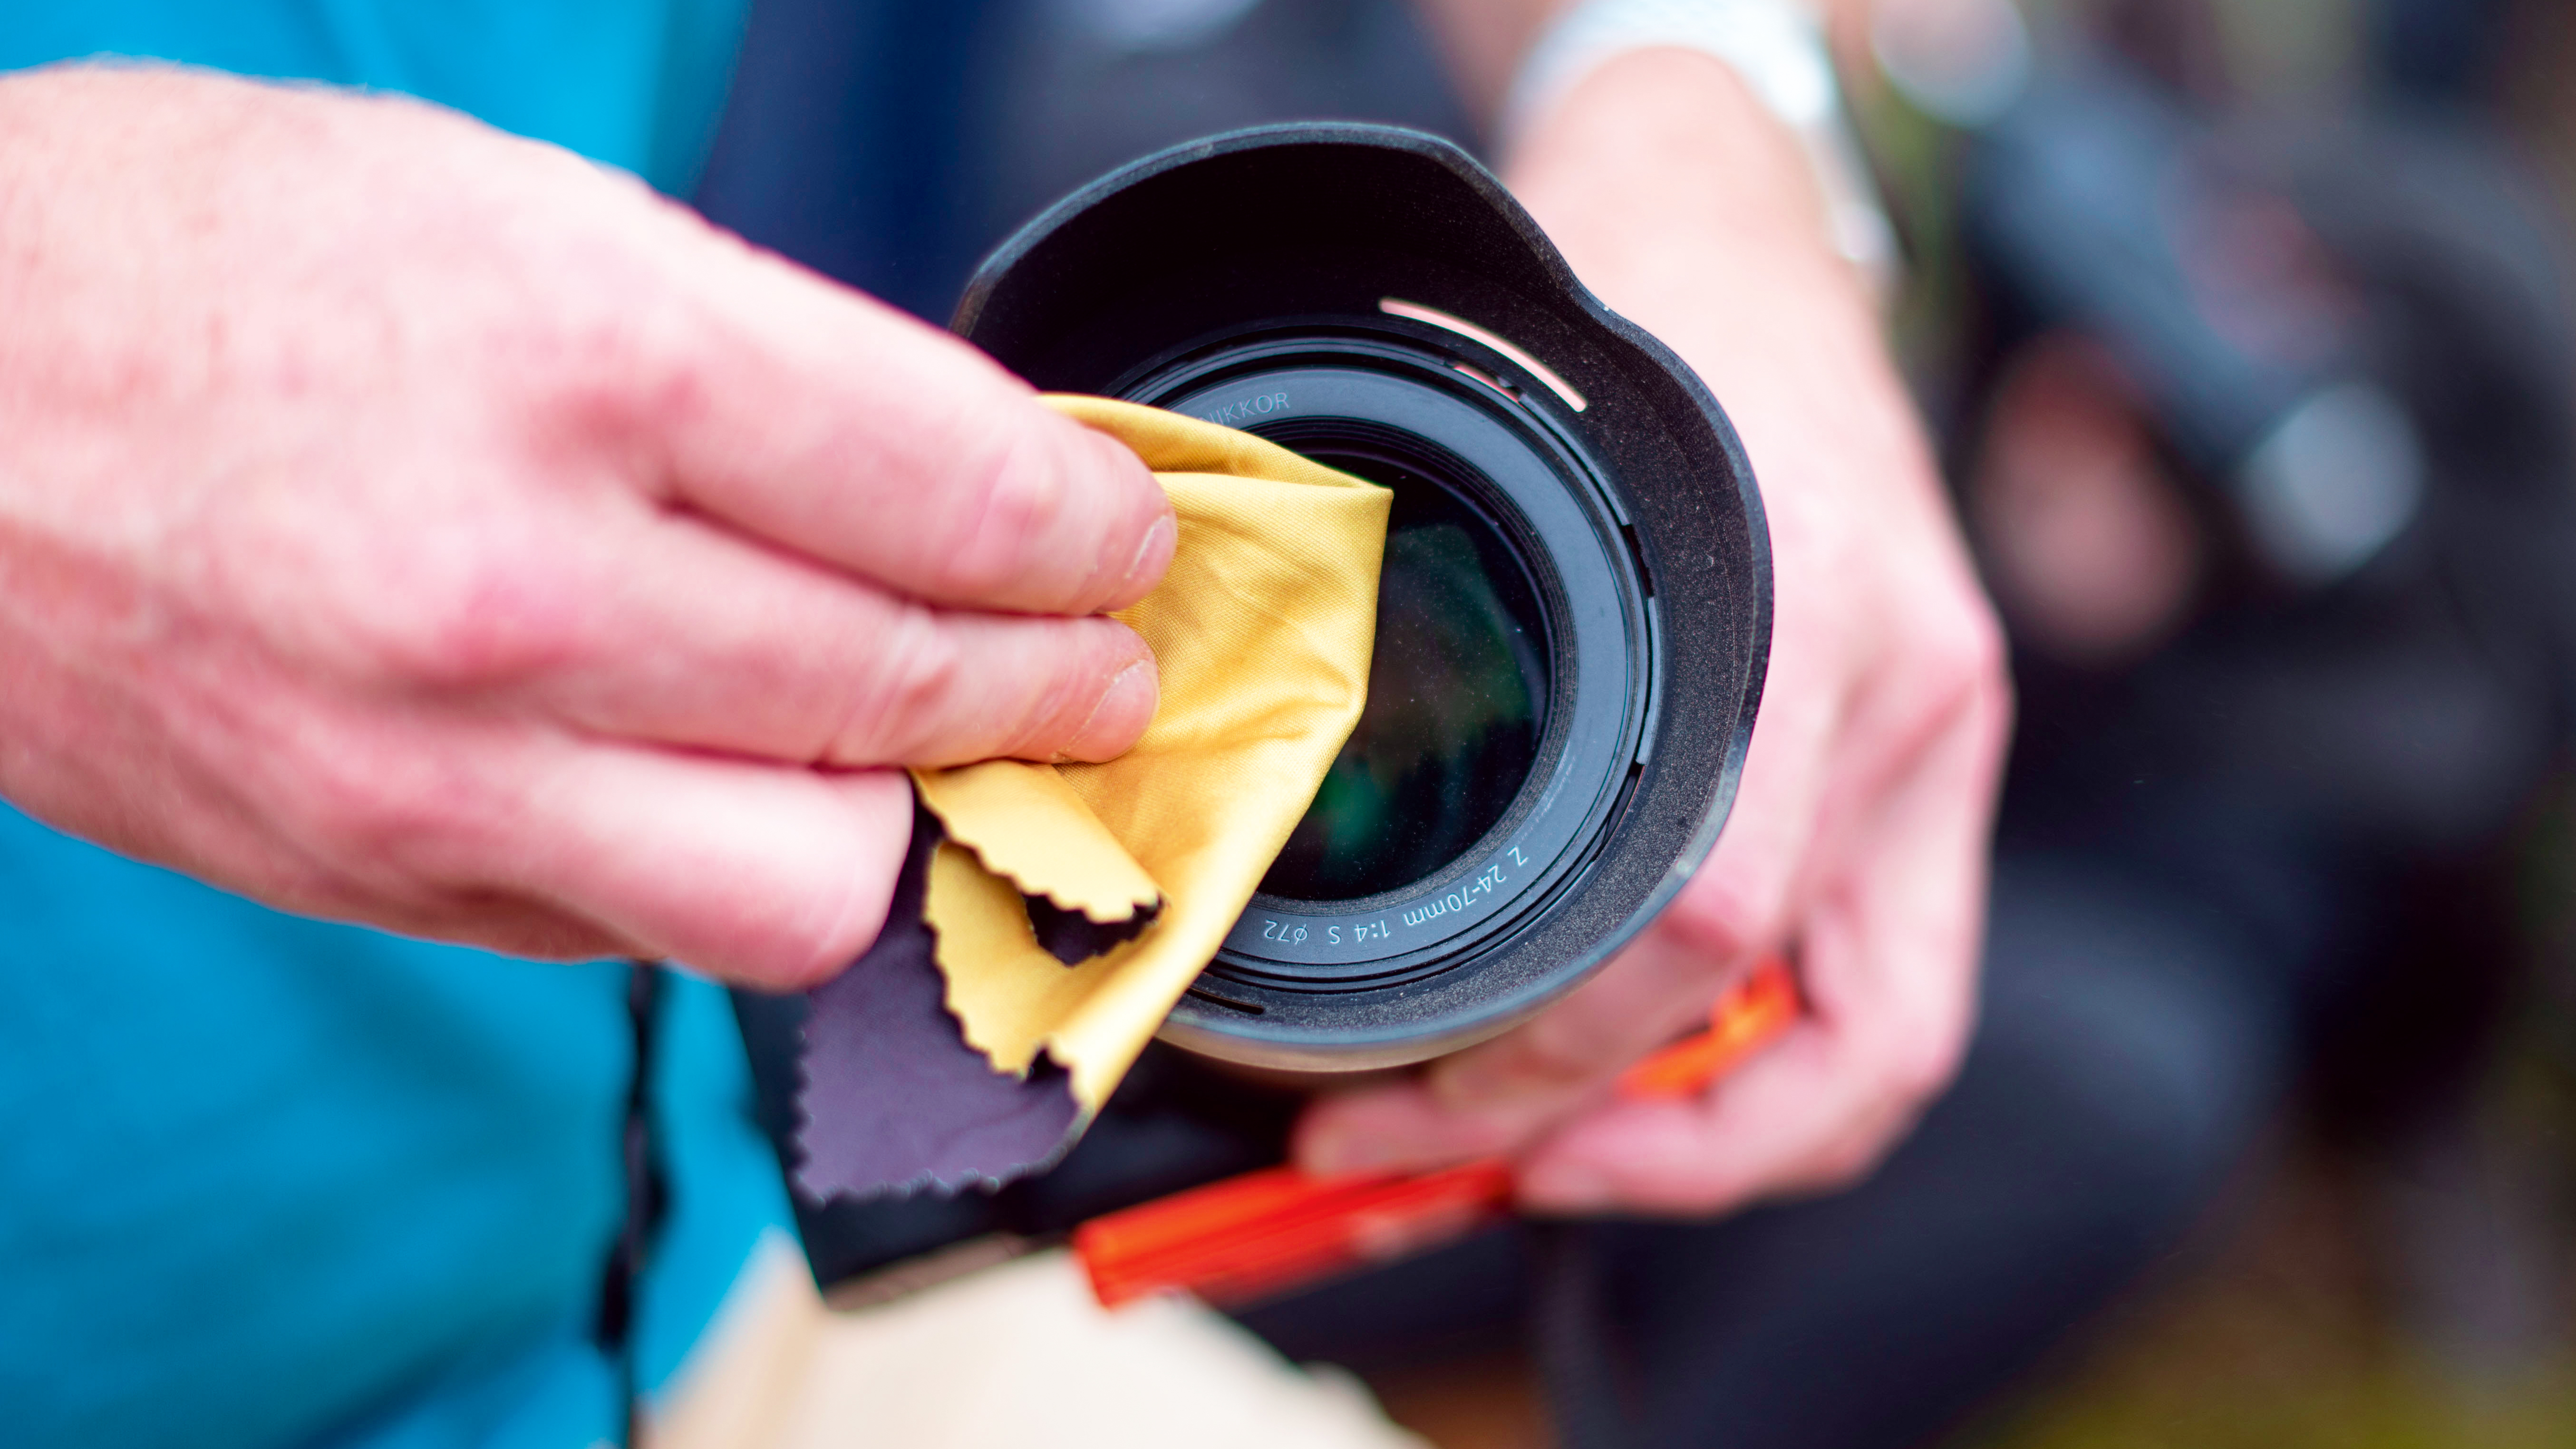
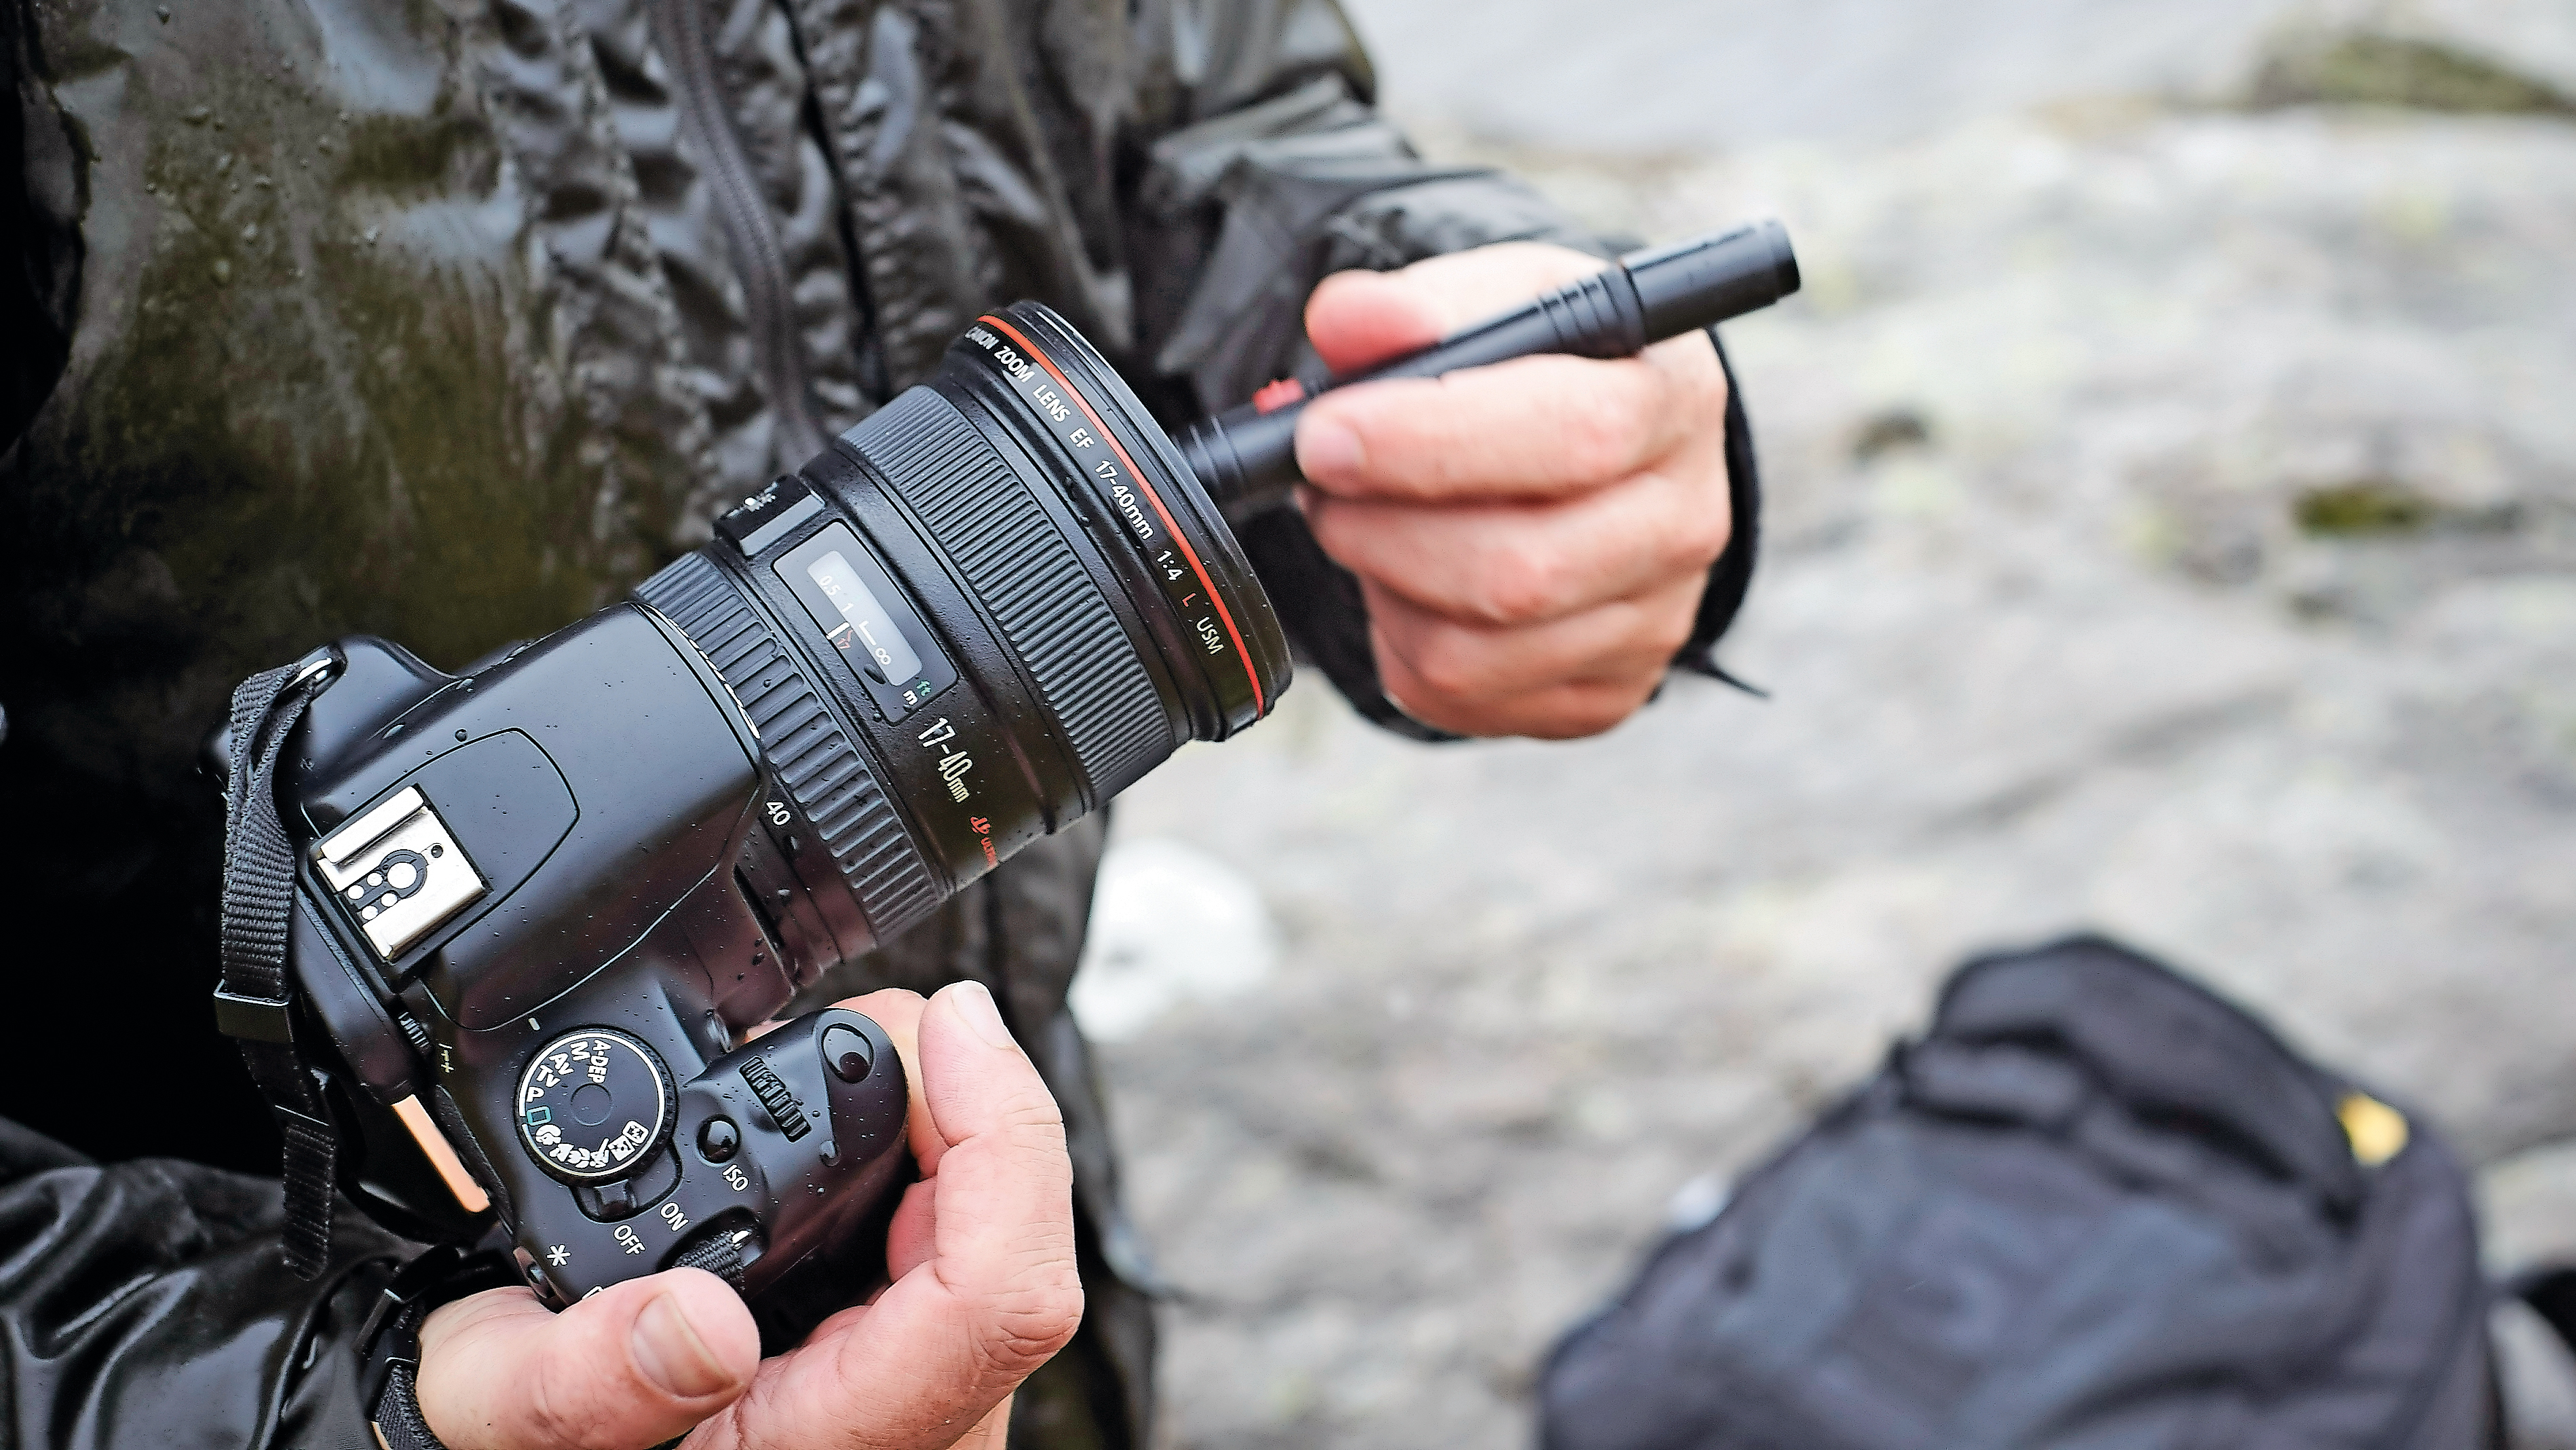
Should your camera become damp or collect dust, ensure you clean and dry it promptly, including cameras marketed as dust and weatherproof. Use a soft, lint-free cloth to soak up any moisture, dabbing gently rather than rubbing. Subsequently, employ a brush or dry cloth to remove any dirt or dust. Locations such as windy beaches can expose your camera to abrasive sand and corrosive salt, which is best cleared from the lens and camera body with a damp cloth after all moisture has been dried off. Tools like blower brushes and canned air can be very helpful in eliminating sand without causing scratches – but remember the advice given later regarding the use of canned air.
See our guide to the best camera lens cleaners
2. Overlooking the activation of the camera's sensor cleaning
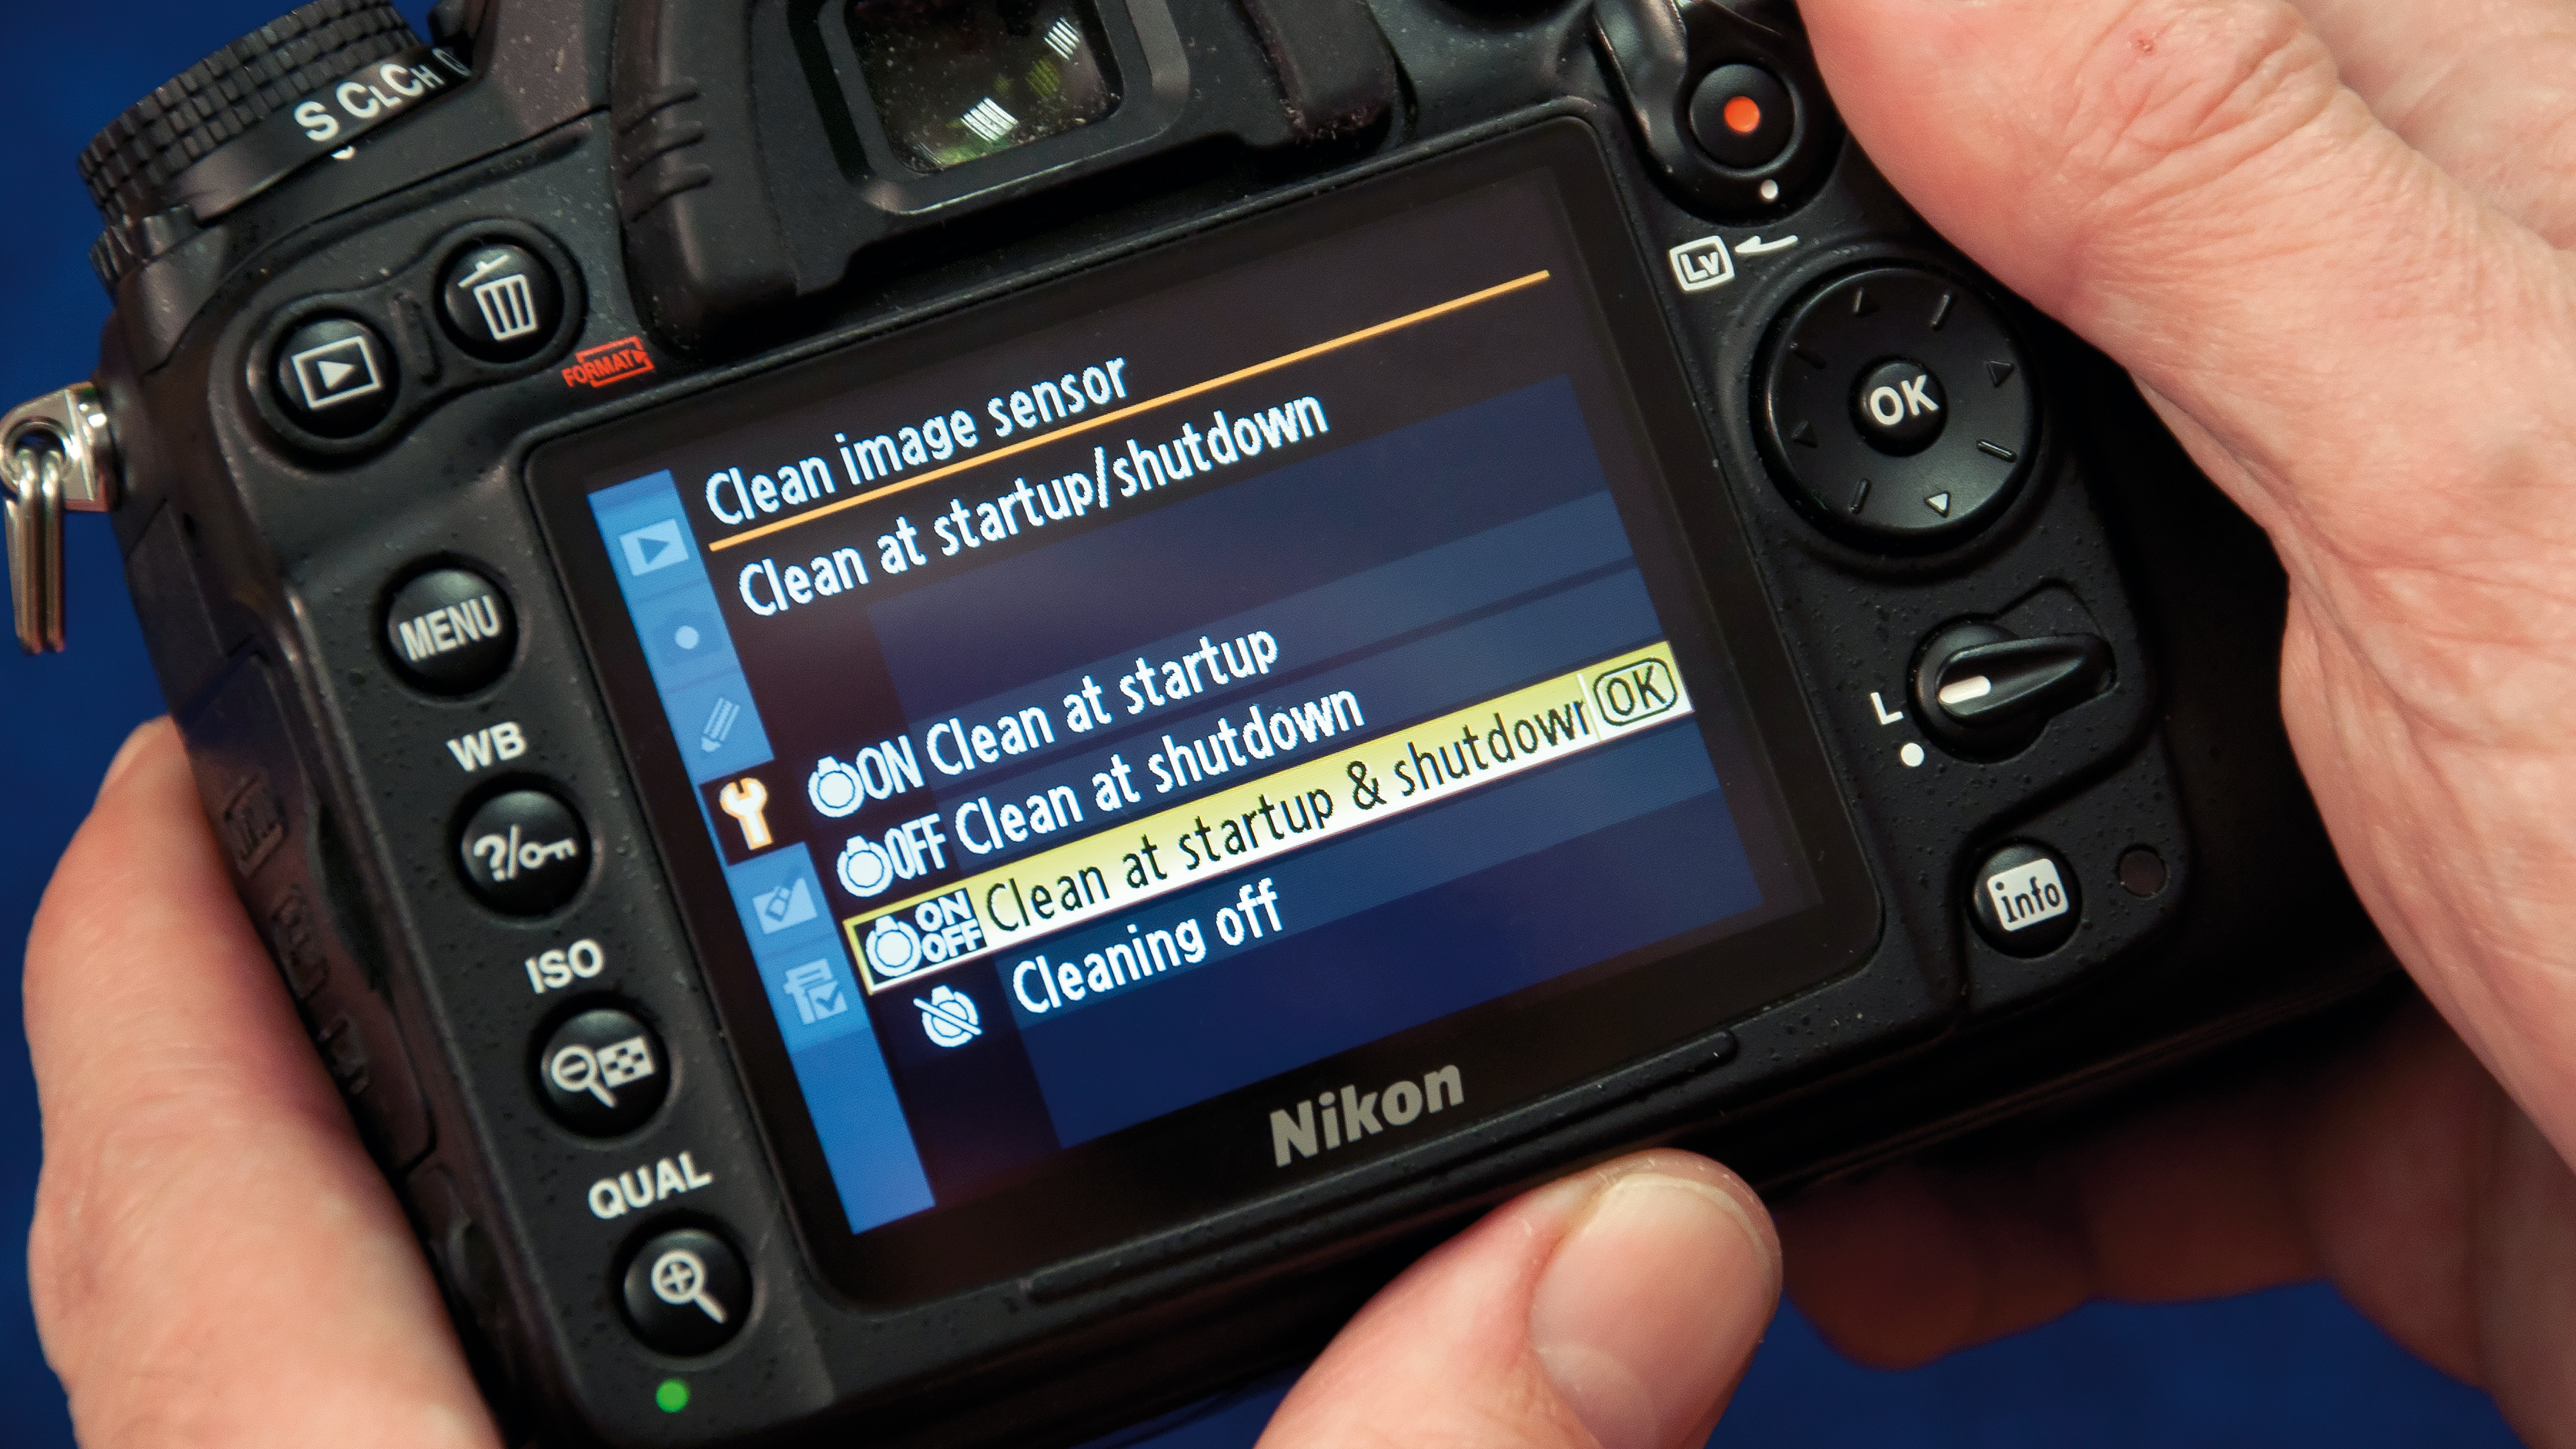
Most modern cameras possess built-in cleaning mechanisms that help dislodge dust or hair particles by vibrating the sensor or an adjacent filter. Activating this feature can efficiently prevent blemishes on your images. Some cameras allow users to choose when this cleaning process occurs - during power-up, shutdown, or both. Although it might seem convenient to initiate cleaning during start-up, it may prolong the time needed to switch on the camera and be ready to shoot. This won't likely affect landscape photography but can be problematic for those capturing action shots like street or sports photography.
3. Resorting to cloning instead of cleaning

A prevalent mistake photographers commit is continuously using cloning to remove blemishes from their photos, rather than addressing their camera’s dirty sensor. If you consistently find yourself removing marks from the same spot in your images, it's an indication that your camera sensor requires cleaning. Attending to the issue at the root will save you considerable time in post-processing.
4. Cleaning in an inappropriate environment
Although it would be ideal to have a professional clean your camera in a dust-proof chamber, that's not always feasible. You won't achieve identical results at home, but there are ways to improve your cleaning conditions. Avoid cleaning your sensor in dusty or dirty surroundings, such as outdoors or immediately after dusting your furniture. A useful tip is to clean your camera in your bathroom post-shower. The steam generated helps reduce dust particles in the air.
5. Exhaling on the sensor
As tempting as it may be to blow off a tiny speck of dust from your camera’s sensor, resist the urge. Blowing on the sensor can cause minuscule droplets of saliva to land on the sensor, likely leaving more marks than were initially present. Instead, opt for a dedicated cleaning solution or bulb blower specifically designed for the task.
6. Simply moving dust around
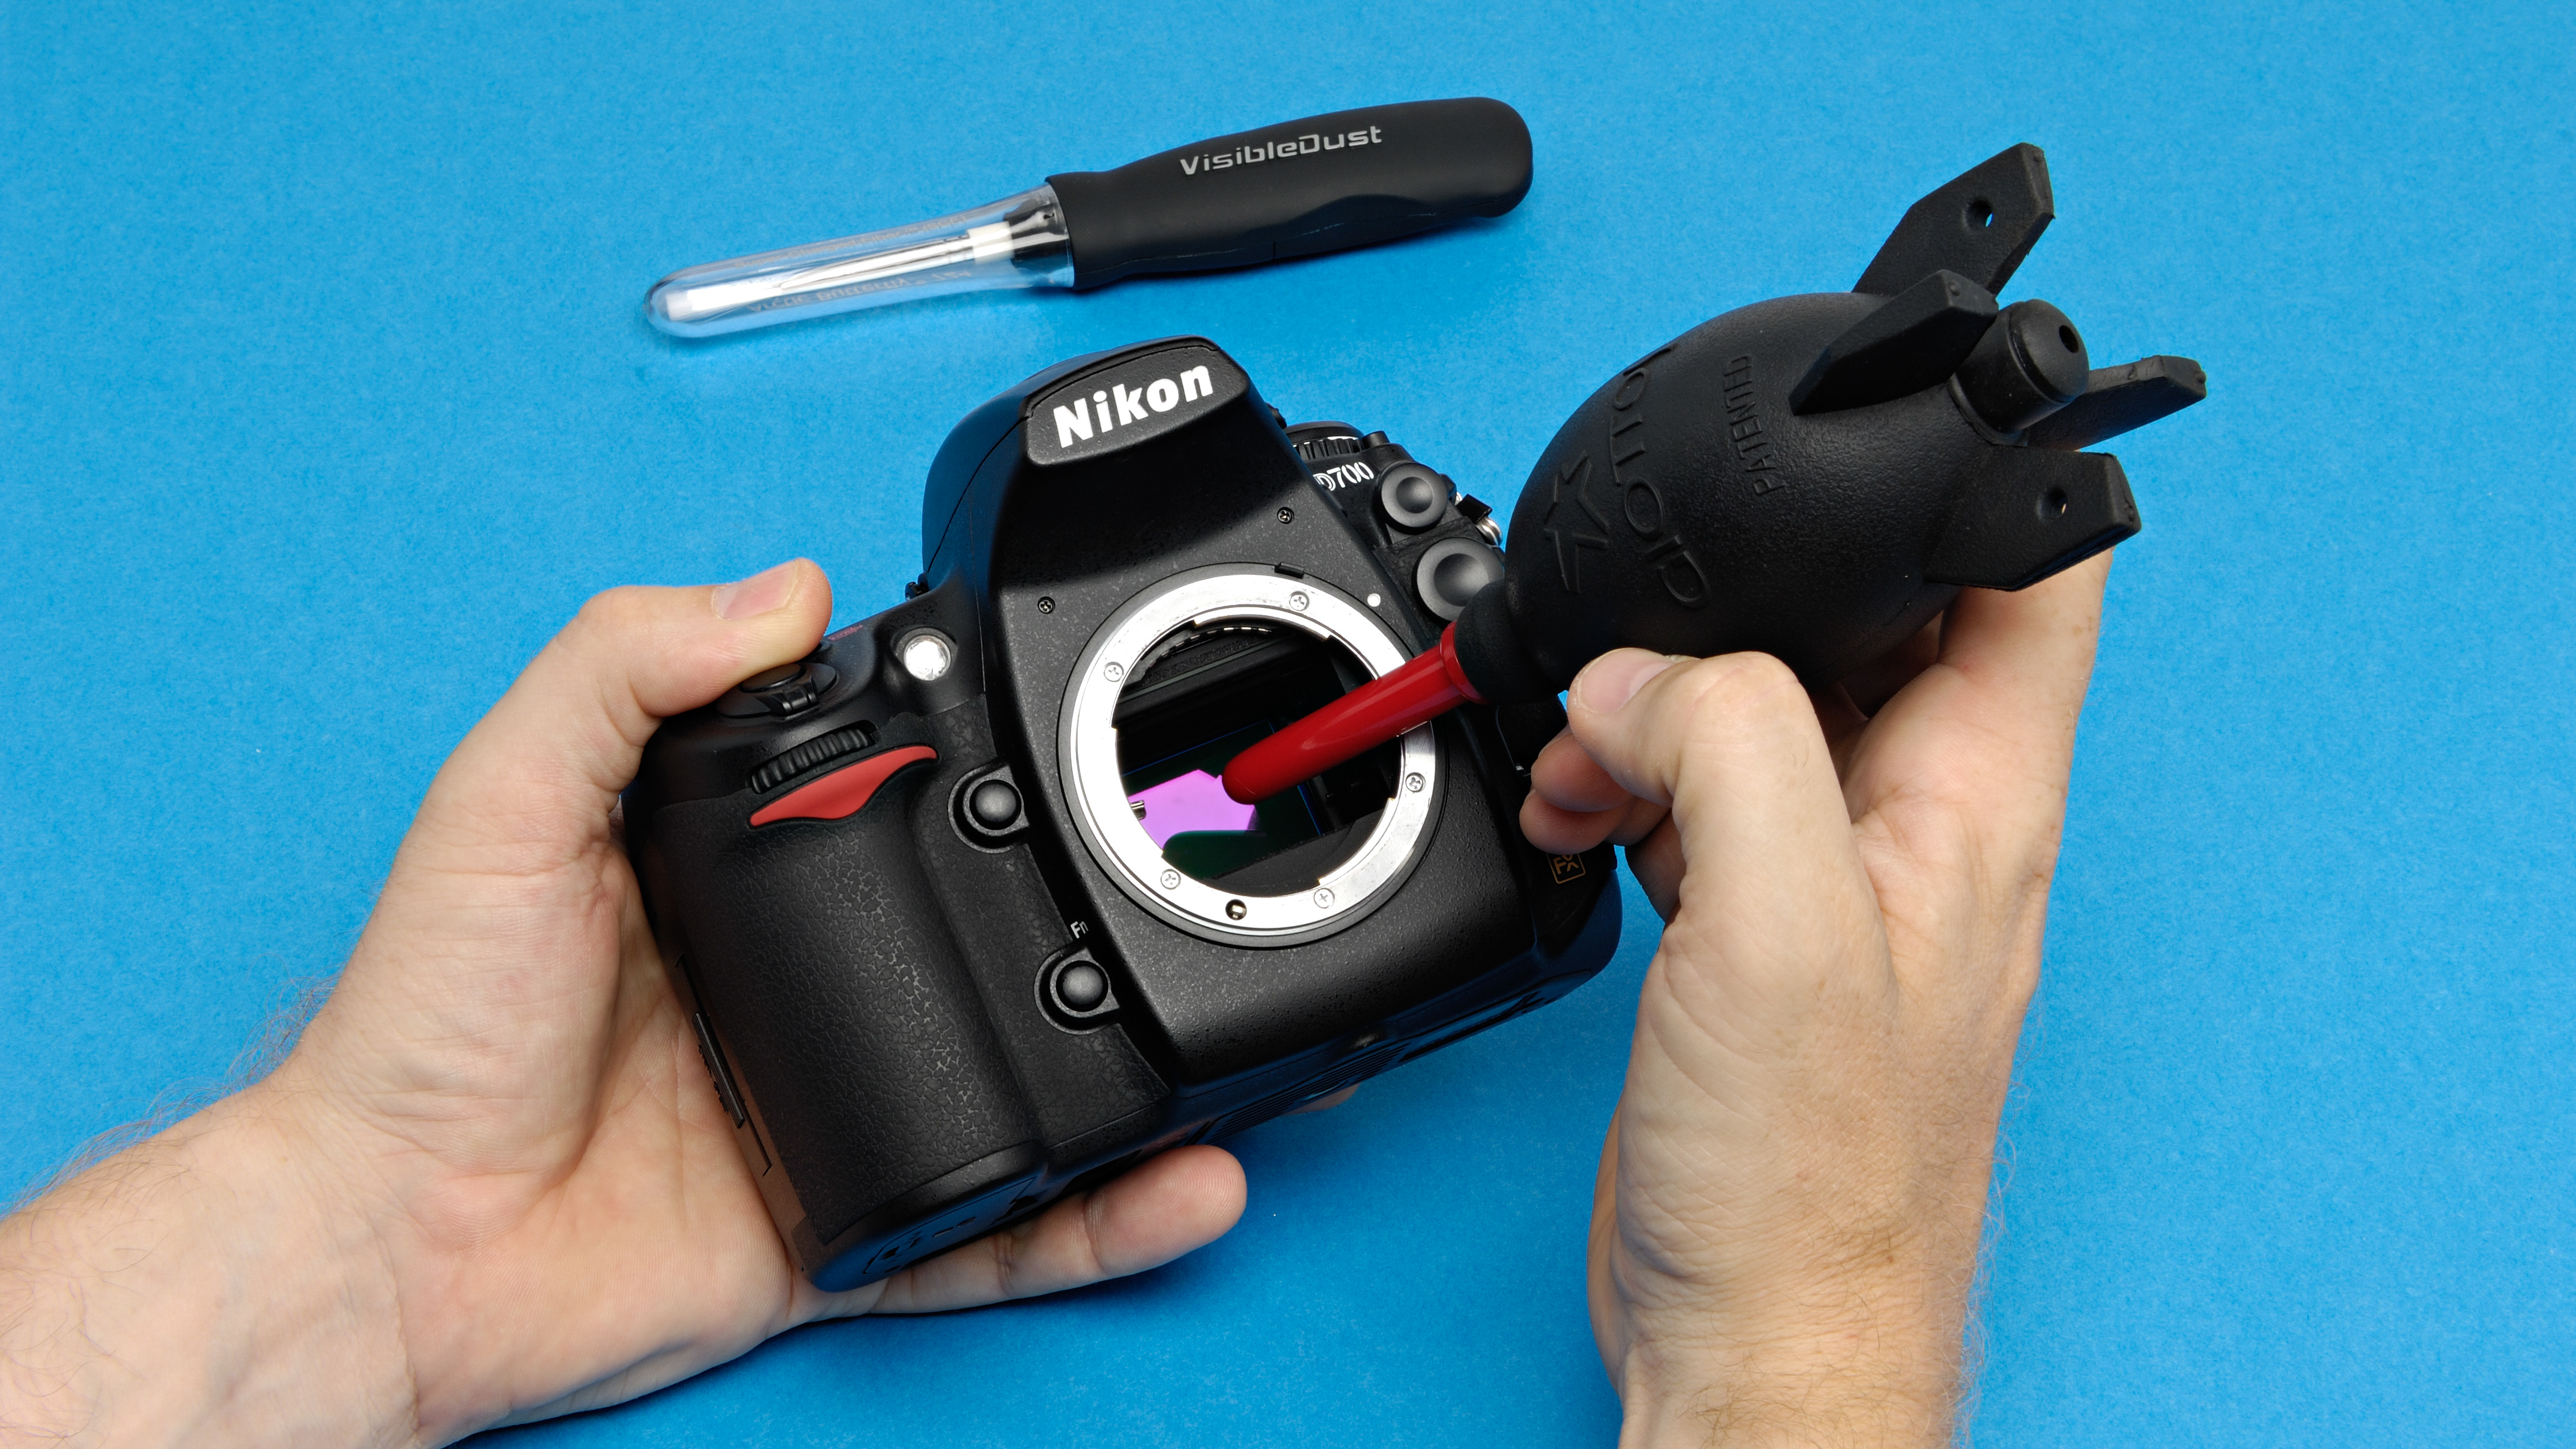
When used appropriately, bulb blowers can be quite effective in removing loose dust particles from the sensor. However, they carry the risk of merely repositioning the dust within the camera, leading to potential redeposition. To avoid this, try aiming the lens mount downward while using the bulb blower on the sensor. Besides bulb blowers, there are other tools like brushes, swabs and vacuum-like devices specifically designed for dust removal.
Check our guide to the best camera sensor cleaners
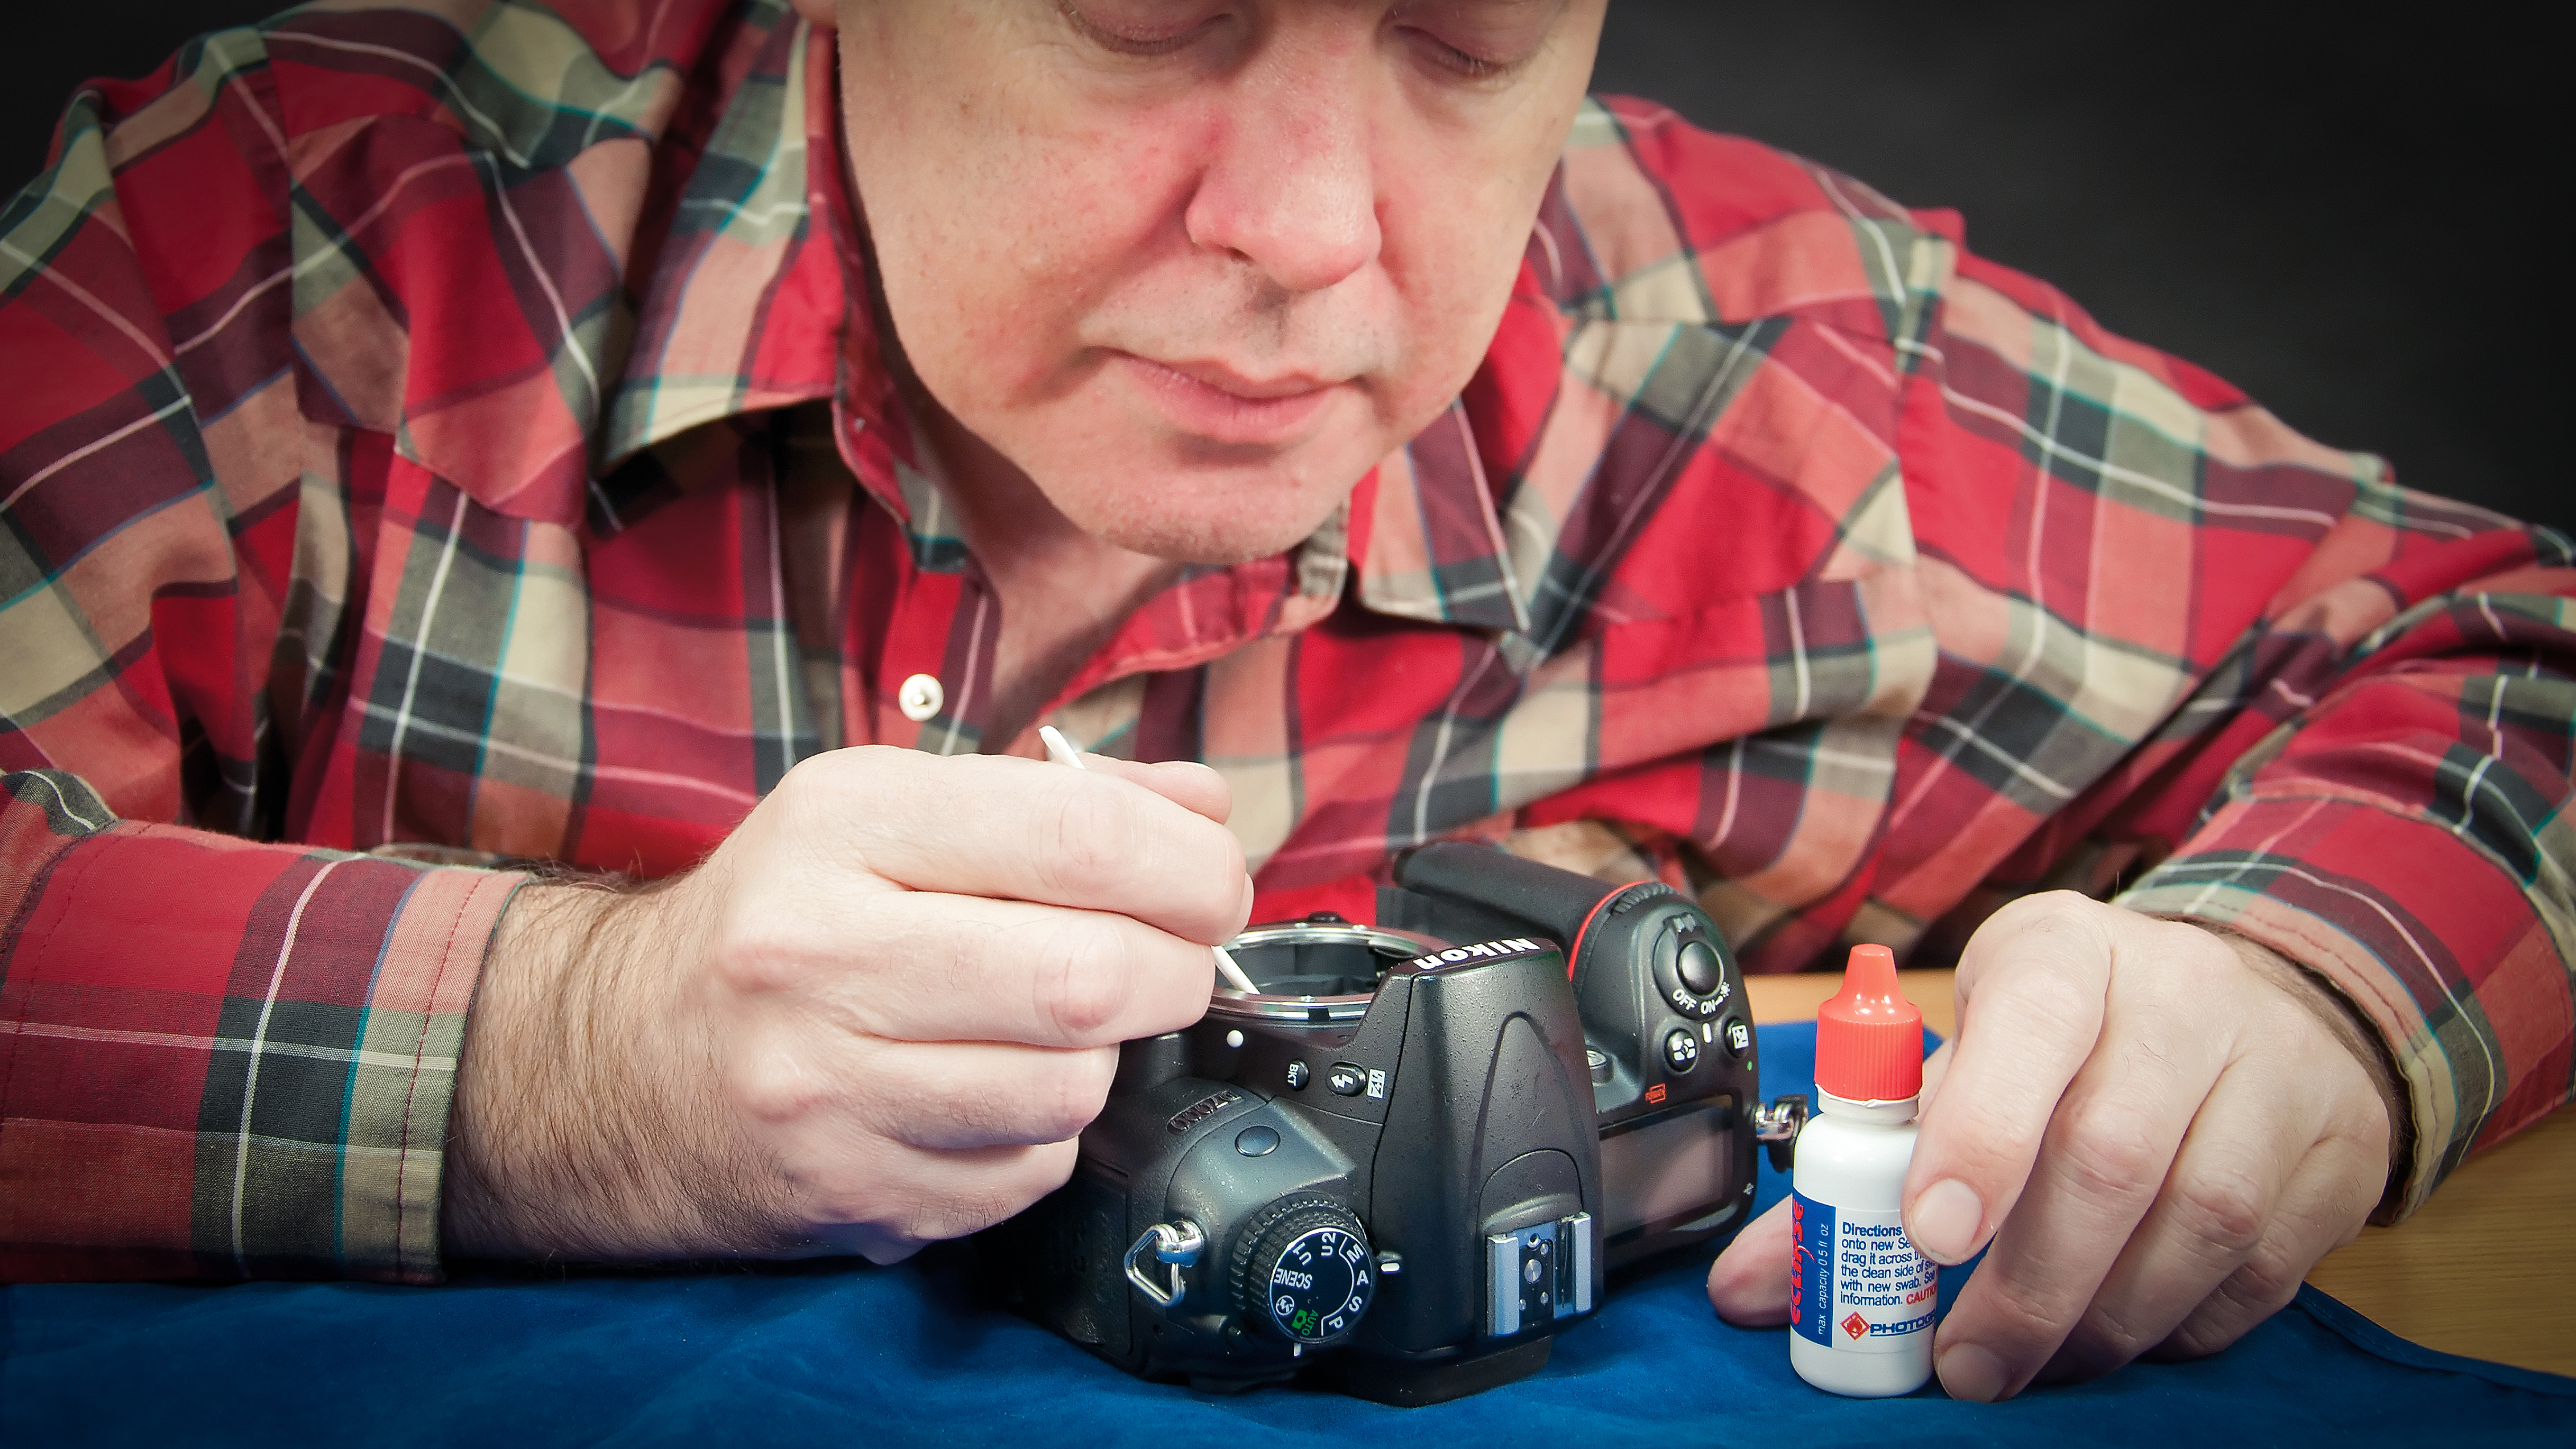
7. Opting for inferior-quality swabs
While it might seem practical to use any readily available swab and cleaner on your sensor, avoid being swayed by the allure of low prices and convenience. High-quality cleaning swabs are priced higher as they are designed not to leave fibers behind (unlike cosmetic swabs or cloth material). These premium swabs are also produced and packaged in dust-free conditions, ensuring they don't contribute to the sensor's dust levels. Furthermore, remember to avoid contact between your fingers and the sensor to prevent transferring skin oils, which can be challenging to clean off.
8. Ignoring the rear element of lenses and the viewfinder
While the camera body, sensor and front element of a lens often receive the most cleaning attention, areas such as the rear lens element and viewfinder also require regular maintenance. These parts are just as prone to dust and dirt as the rest of the camera, and while a viewfinder may not directly damage an image as a sensor would, it can impair the view. And if you shoot with a DSLR, its mirror can also get dirty and as well as impairing the view this can also potentially lead to dust migration to the sensor.
9. Misusing canned air
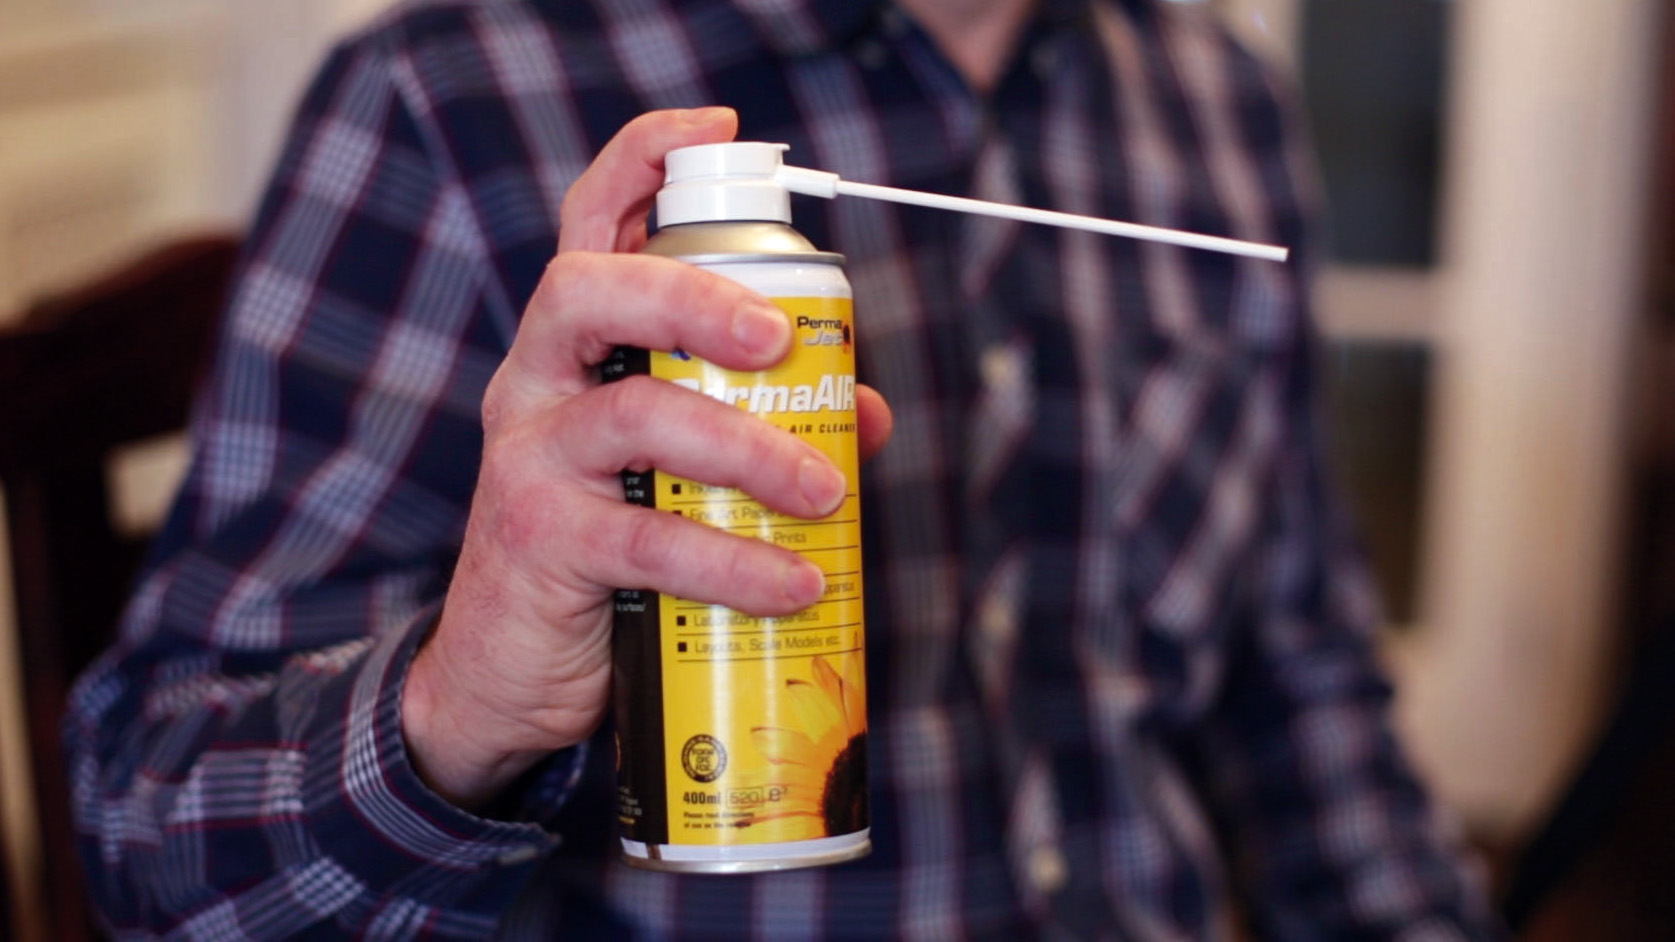
Canned air, a long-standing favorite in photography cleaning, can be highly effective in dust removal. However, caution is advised when using it, especially around the camera’s sensor. These cans don't merely contain air but also liquid hydrocarbons for compression. When released, these hydrocarbons transform into gas at extremely low temperatures, potentially freezing delicate components such as your sensor. While your sensor might survive a canned air cleaning, the resultant spray of hydrocarbons may leave more to clean than when you began this process.
- Common filter mistakes photographers make (and how to avoid them)
- 10 photo editing mistakes photographers make (and how to avoid them)
- 8 composition mistakes photographers make
- Common wildlife photography mistakes
- 7 common landscape photography mistakes
- 8 portrait photography mistakes (and how to avoid them)
- 10 common photography mistakes and how to avoid them
Get the Digital Camera World Newsletter
The best camera deals, reviews, product advice, and unmissable photography news, direct to your inbox!
