ND filter photography: master custom filter densities
Learn to get more from your filters by creating un-stepped strength effects, for a bespoke shooting approach to any scene
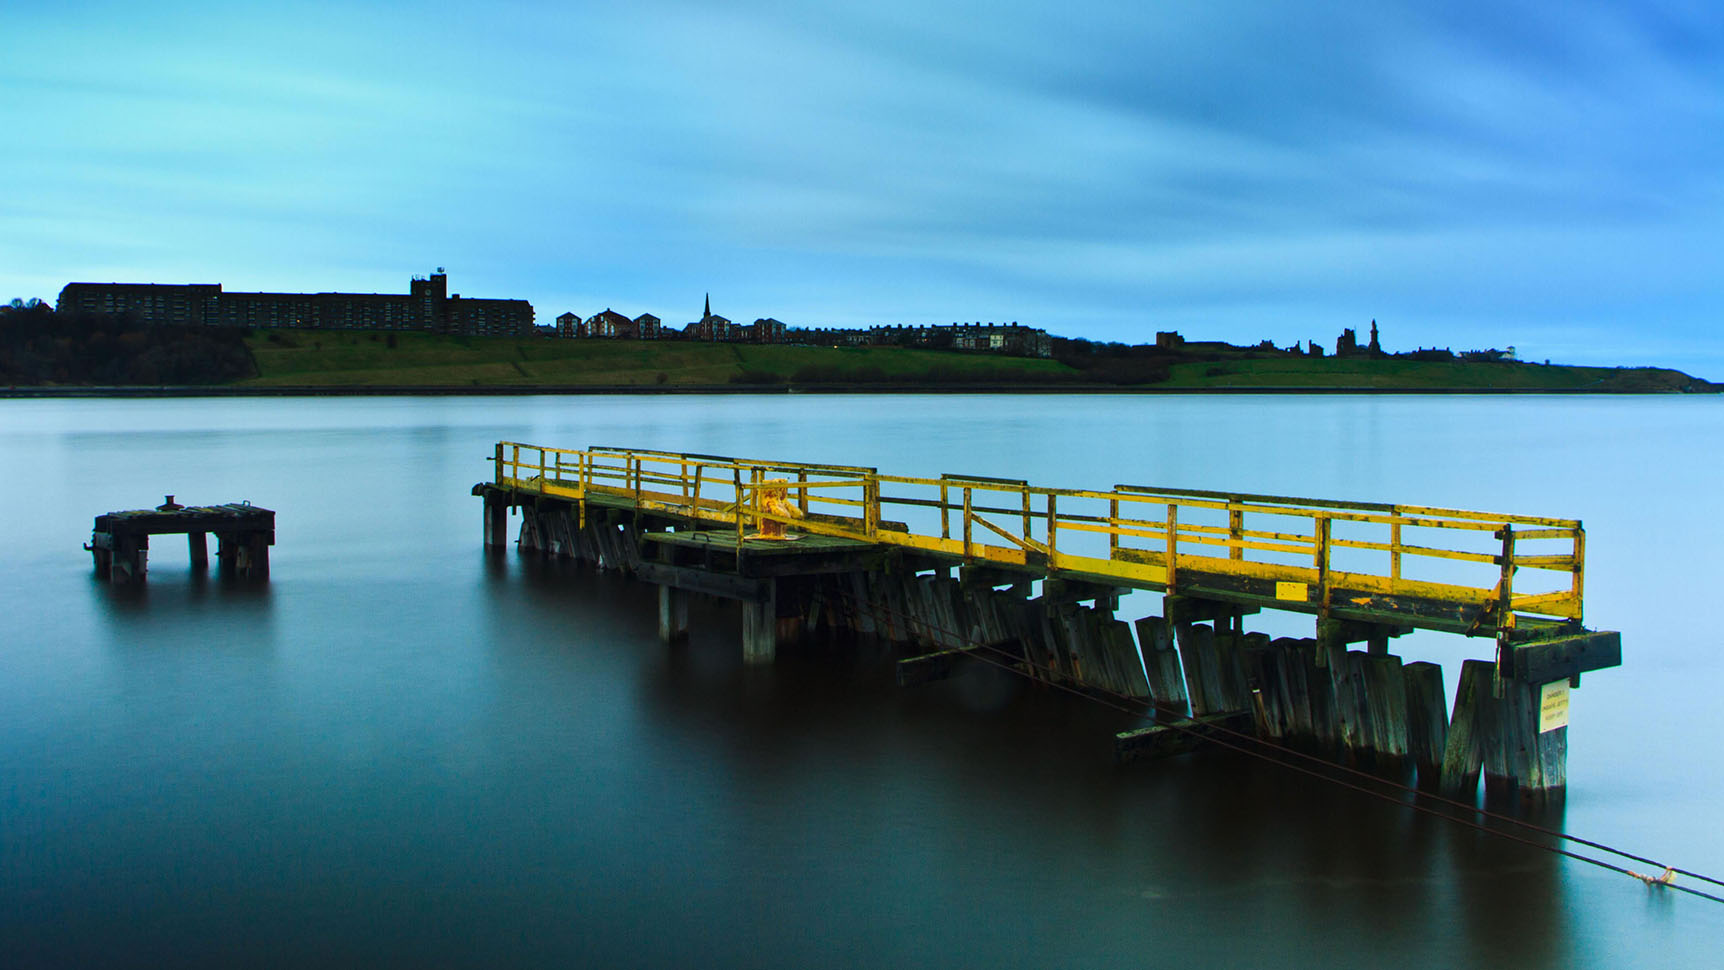
There are a huge variety of photographic filters available, each providing characteristic effects for virtually any situation. However, despite this choice, the most popular types are available in stepped densities that, while capturing for common exposure conditions, may not provide the exact level of filtration required by the photographer.
For example, Neutral Density (ND) filters most often come in 1-, 2-, 3- and 4-stop strengths, providing 50%, 25%, 12.5% and 6.25% light transmittance respectively. On occasion you may find that one filter is not strong enough, but the next density is too much for your scene. Perhaps a 0.9ND doesn’t give a long enough exposure, but a 10-stop model is undesirable.
When this happens, hand-holding an extra filter in front of the lens for only part of the total exposure can help achieve the required filtration, for an intermediate exposure duration or a custom darkening of the sky. With the latter, hand-holding can give more control over the softness of the gradient (if a soft grad is insufficient, but a hard grad is too obvious).
When holding any filter, it is vital to keep it perfectly aligned with the lens to prevent extraneous light effects. Experiment and take full control of your exposures.

01. Choosing your filters
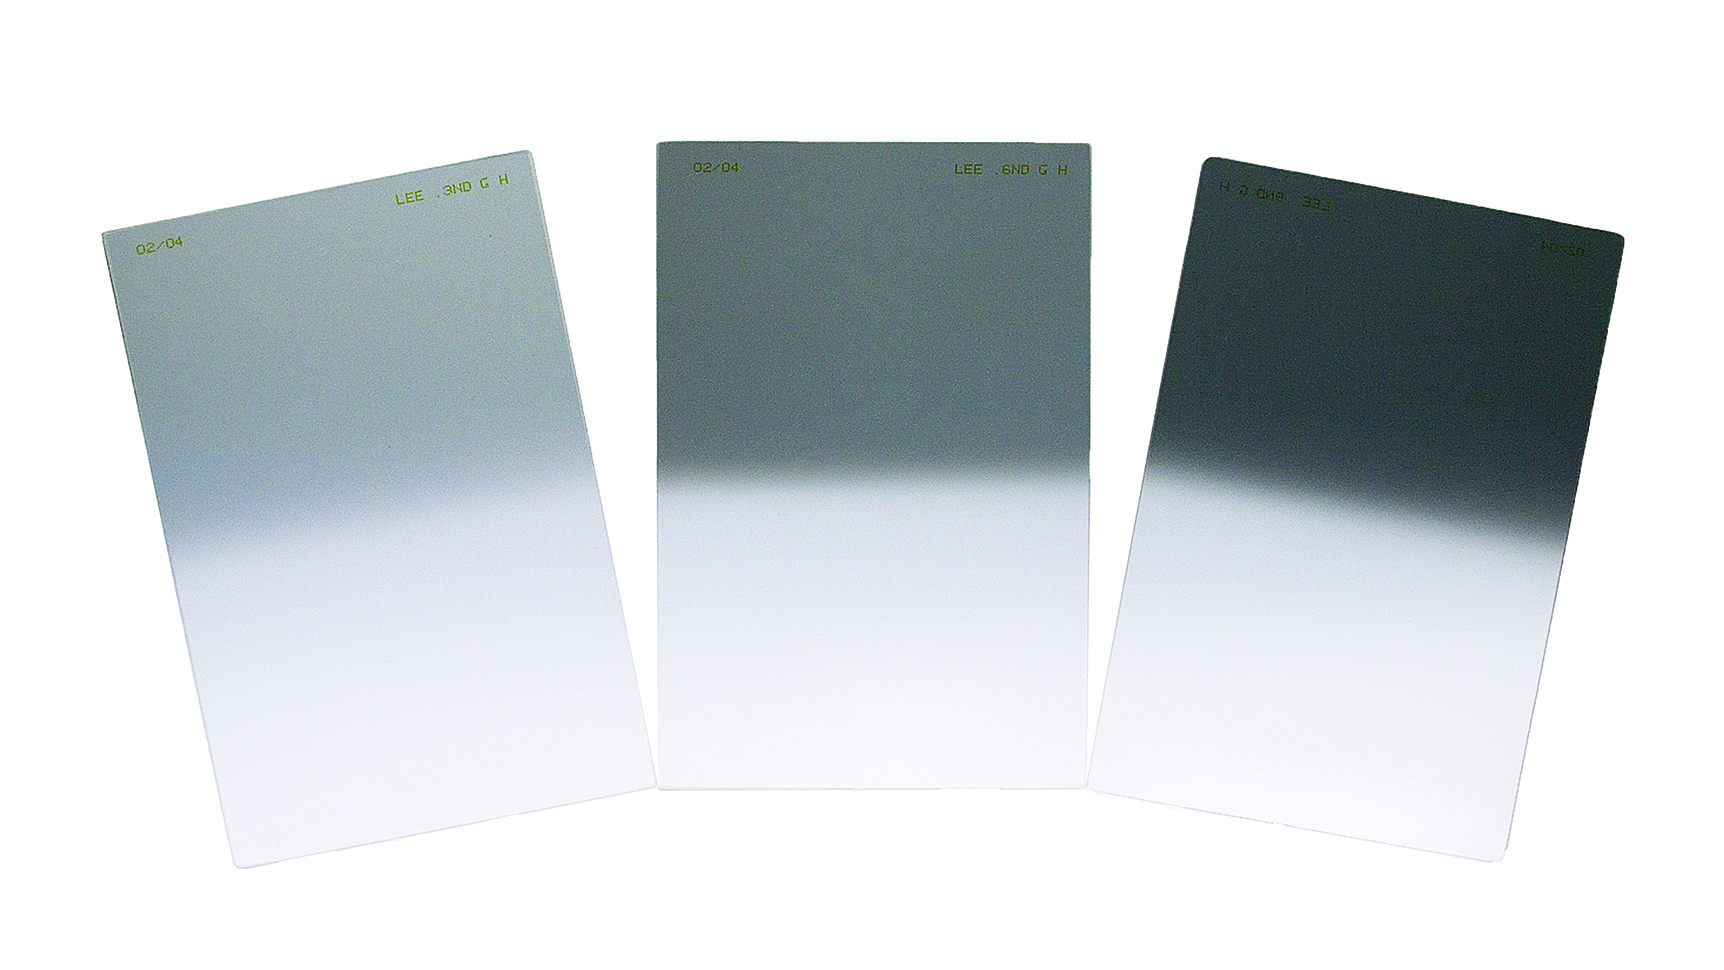
For beginners the best choice is to invest in a set of soft ND grad filters, since these are easier to use. It is less likely that the photographer will misplace the transition and artificially darken the foreground.
For more advanced photographers, hard grads offer more usable filter strength, especially where filtration is most needed - along the horizon. Once you are ready, having both types in your kit bag will give you the greatest flexibility.
• Read more: Best ND grad filter kits

02. Calculate required density
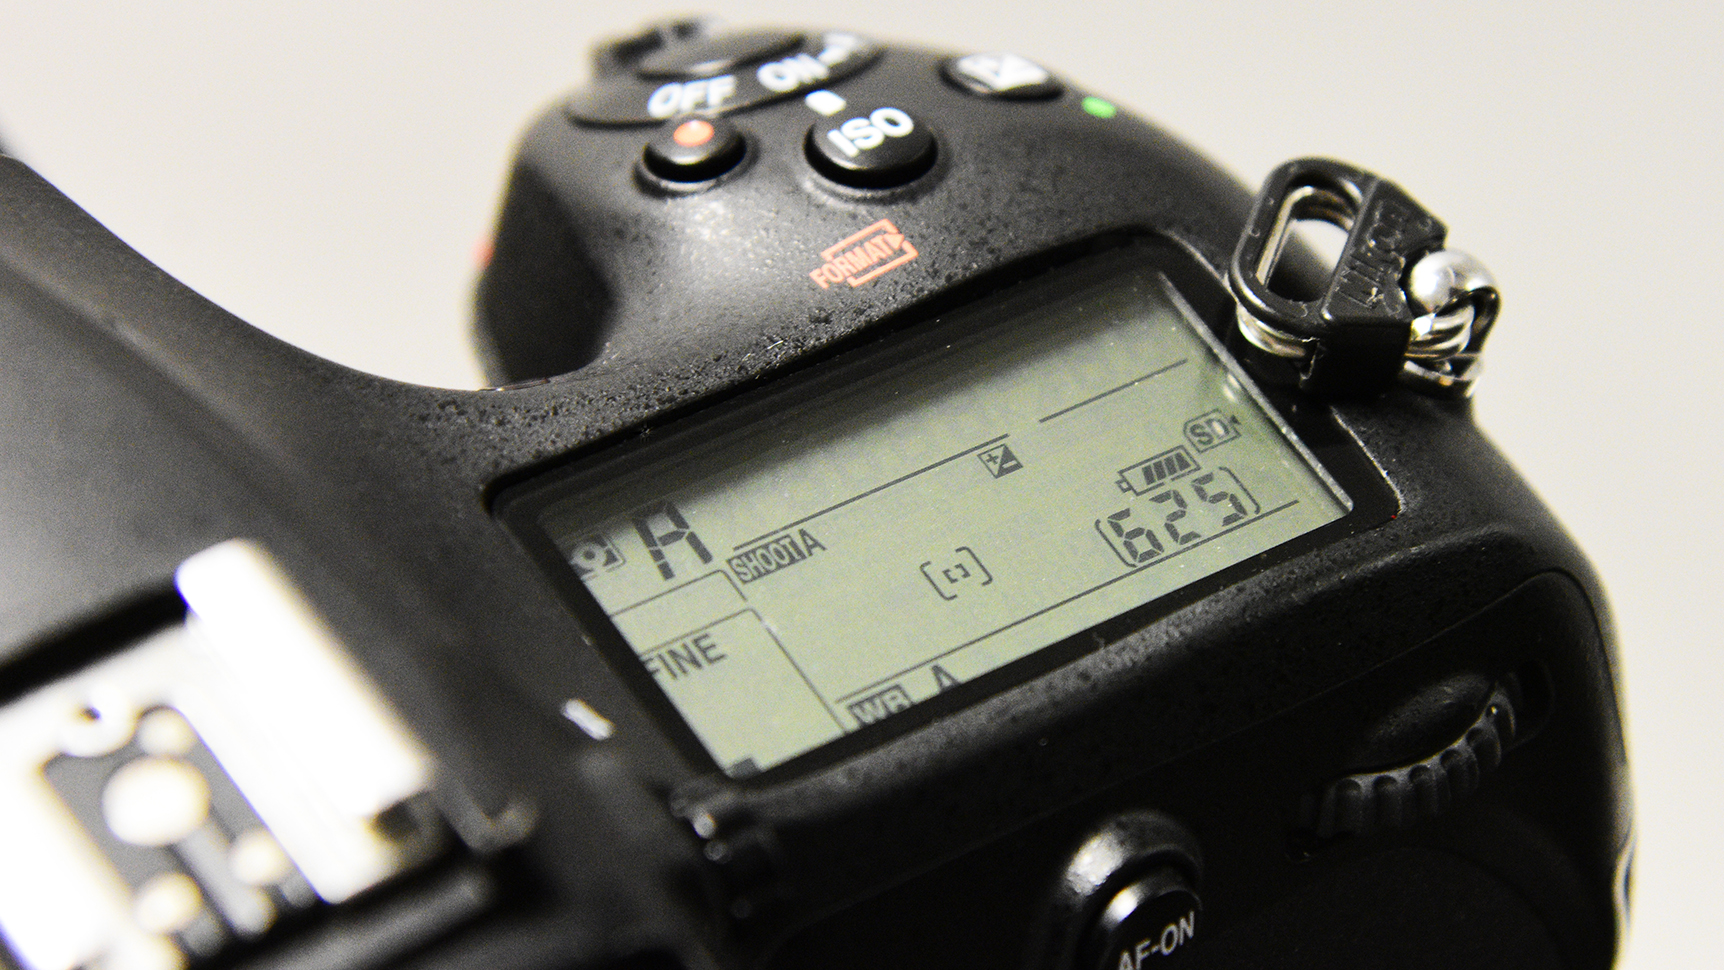
Start by working out the difference in exposure between the sky and foreground. In aperture priority mode, take a meter reading from both zones, taking note of the EV variance in suggested shutter speed.

03. Compose your scene
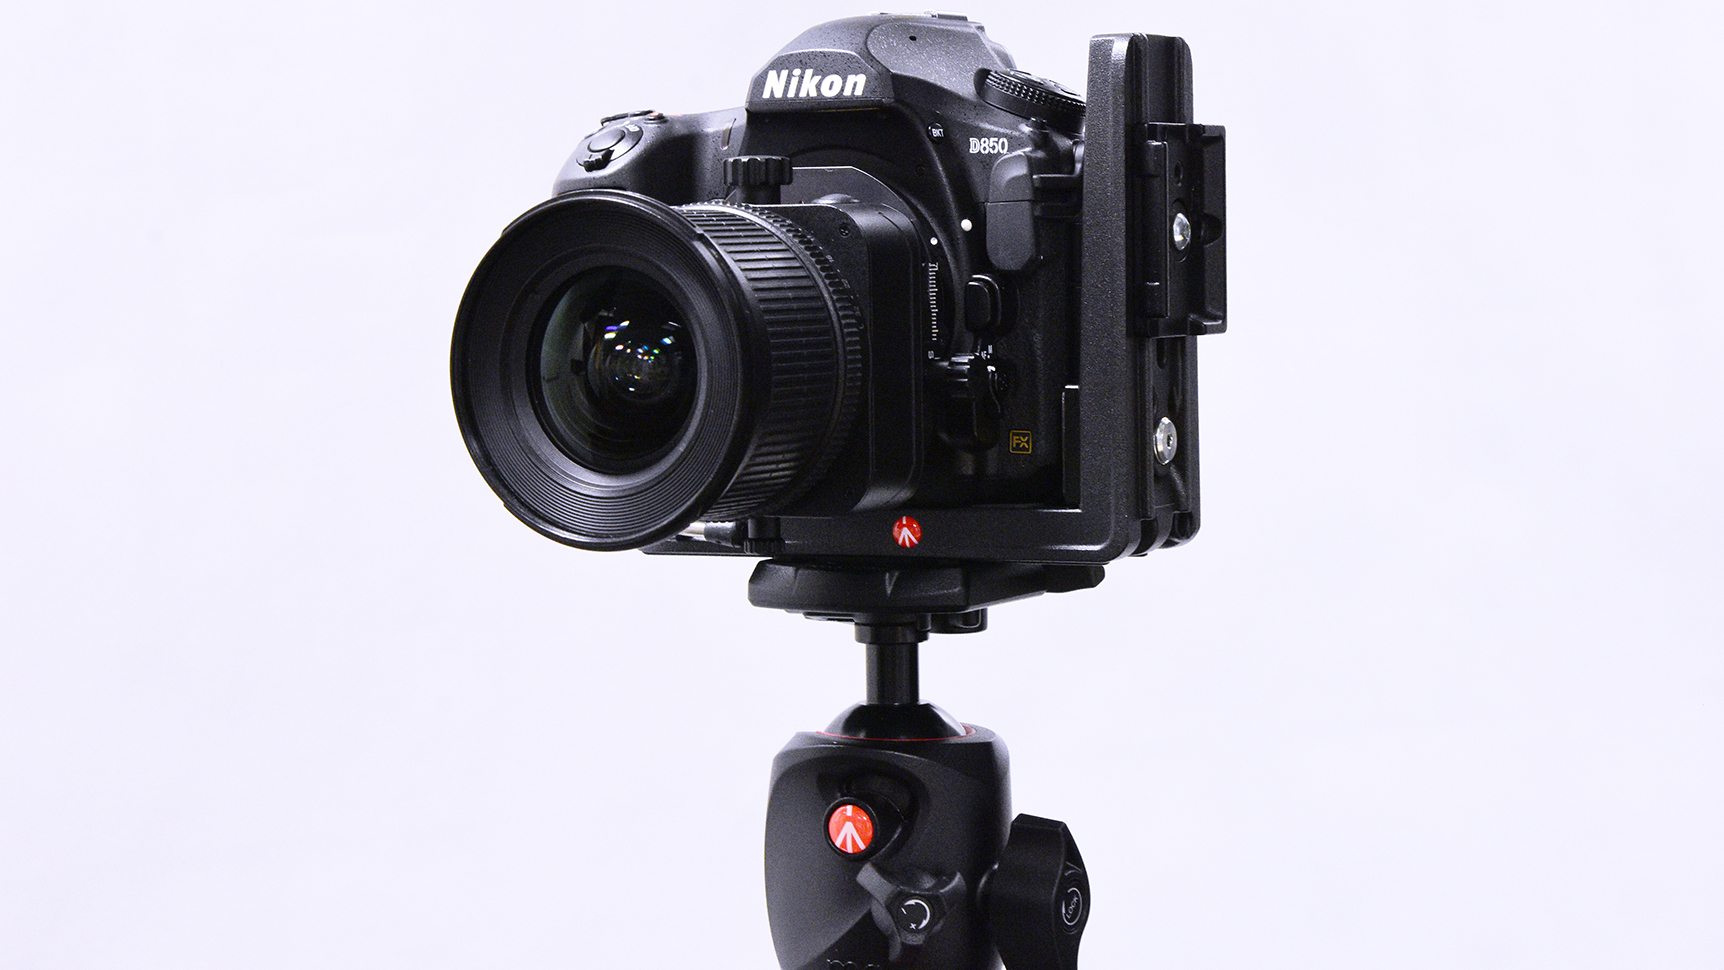
Using a tripod, arrange your frame as required, positioning the horizon to control the ratio of sky and foreground, which will also impact on exposure. Switch to Manual Mode once ideal exposure has been determined

04. Achieve custom gradients
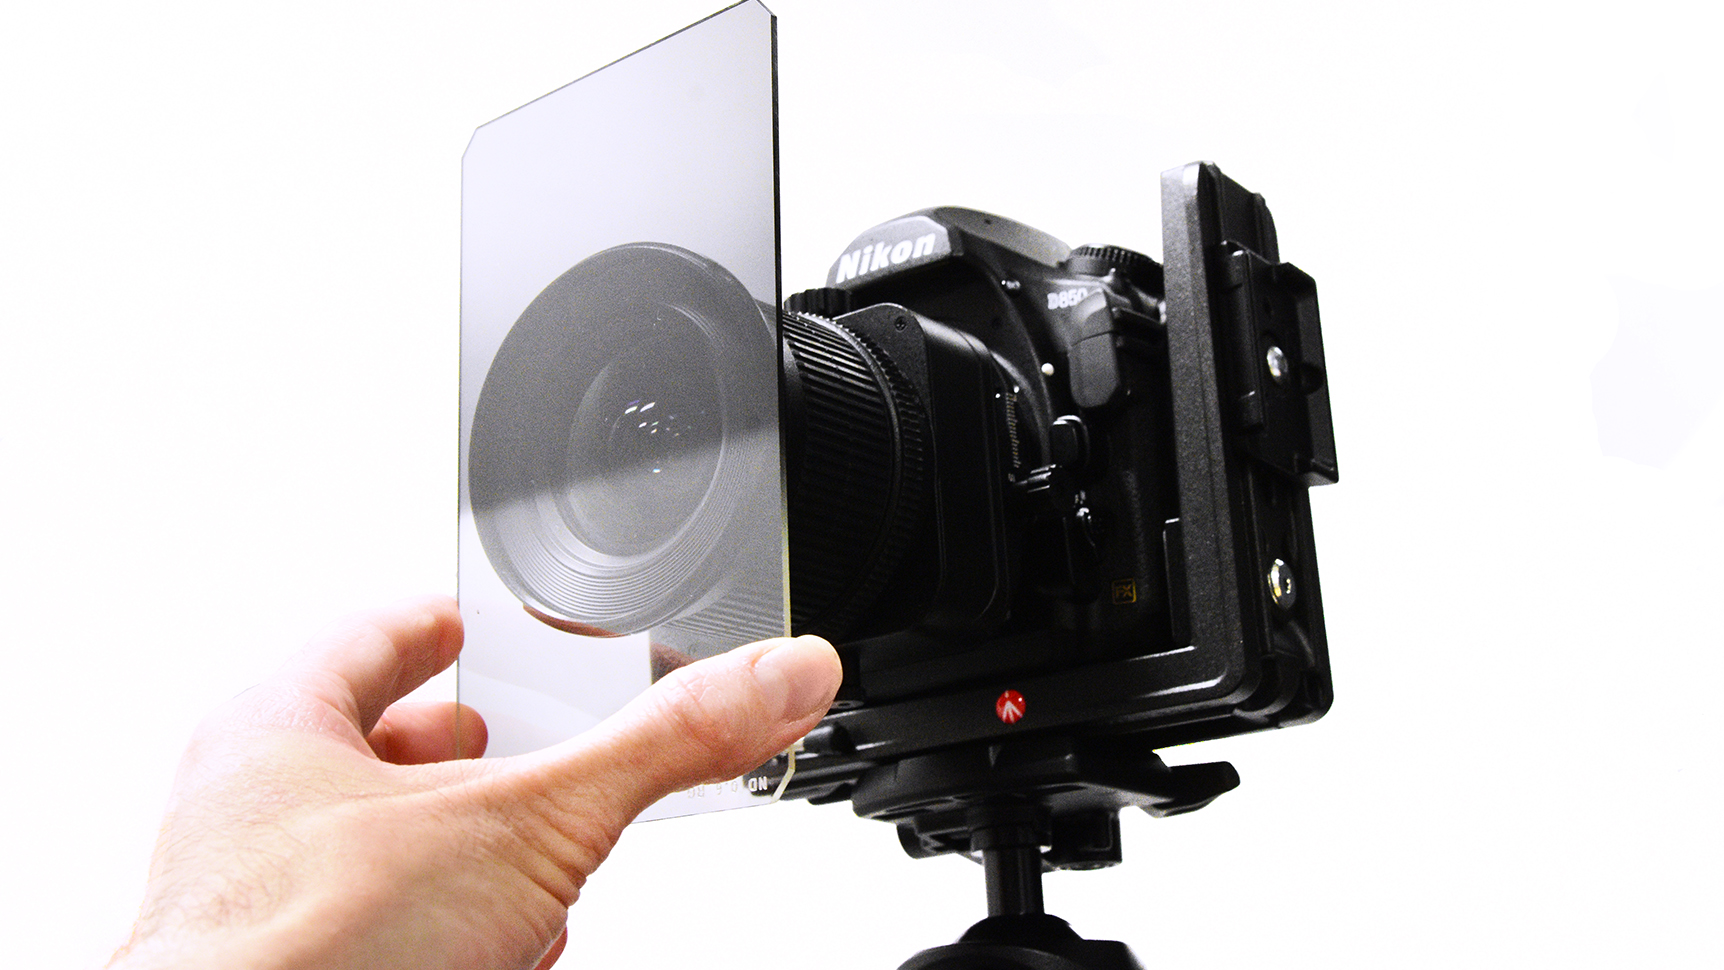
For a feathered density transition, hold an ND grad with the gradient at the horizon. During the exposure, move the filter up and down a small amount, so the transition is softened around the horizon line.

05. Position a handheld ND
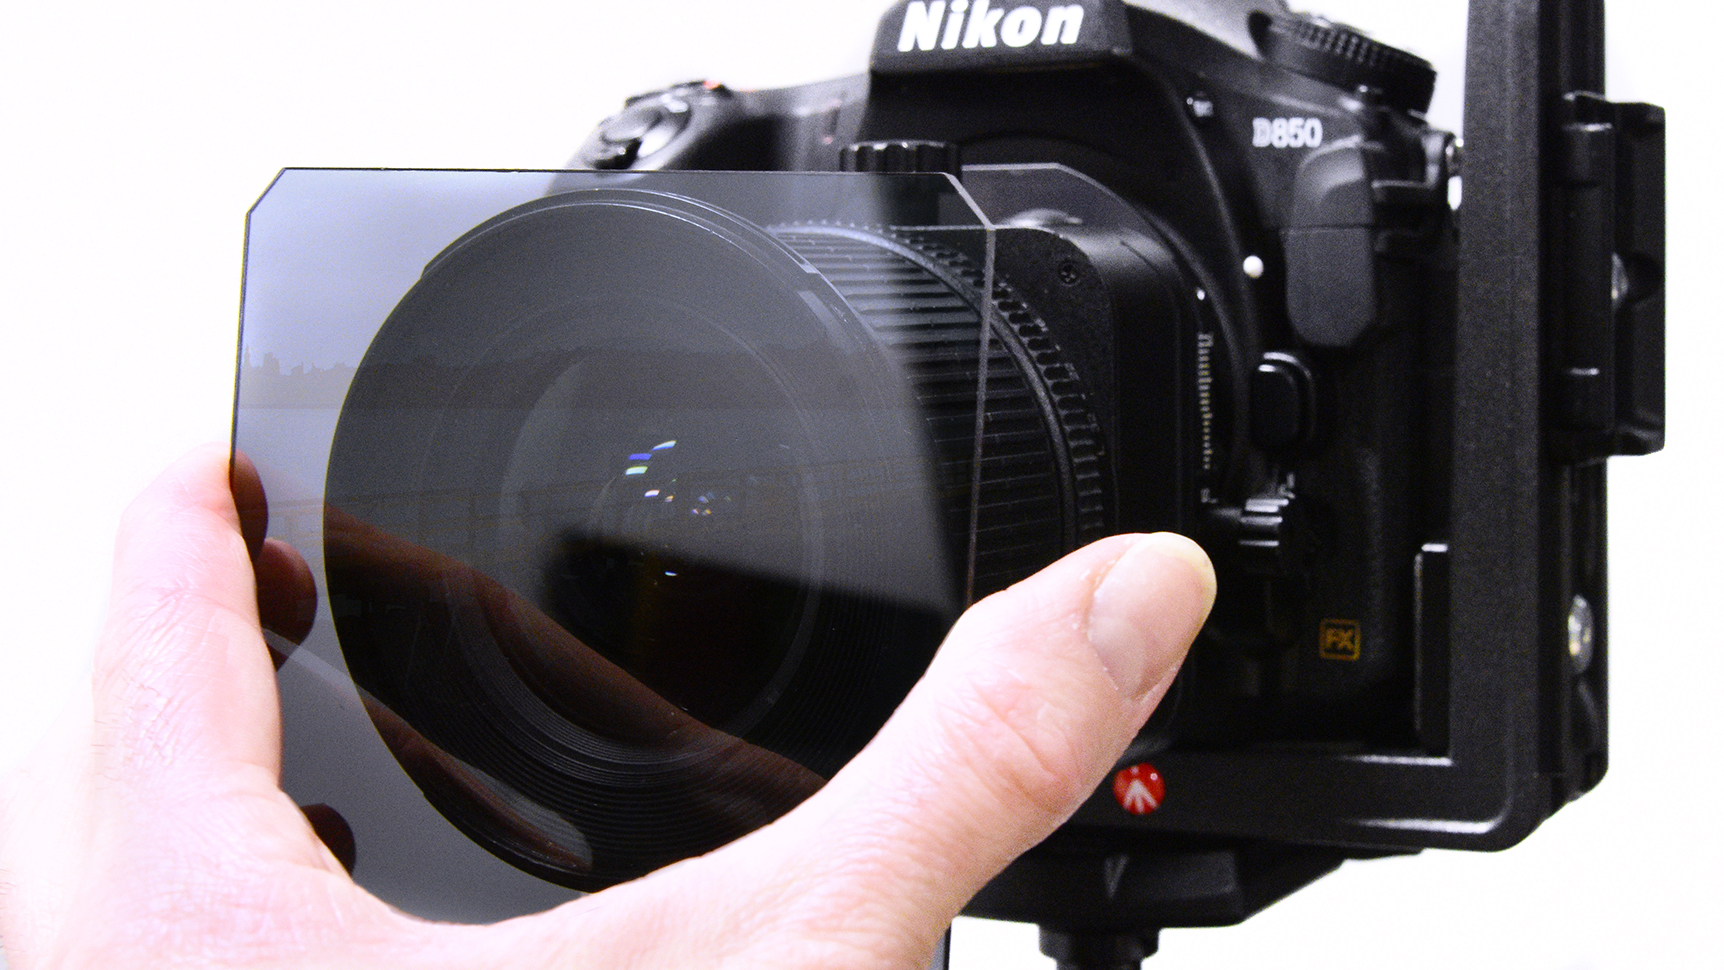
For a custom long exposure, hold an ND filter before the lens – close, but not touching. If you already have a filter attached, choose the next density up for your handheld addition (for example, with a 0.6ND mounted, try a 0.9ND handheld).

06. Make an exposure
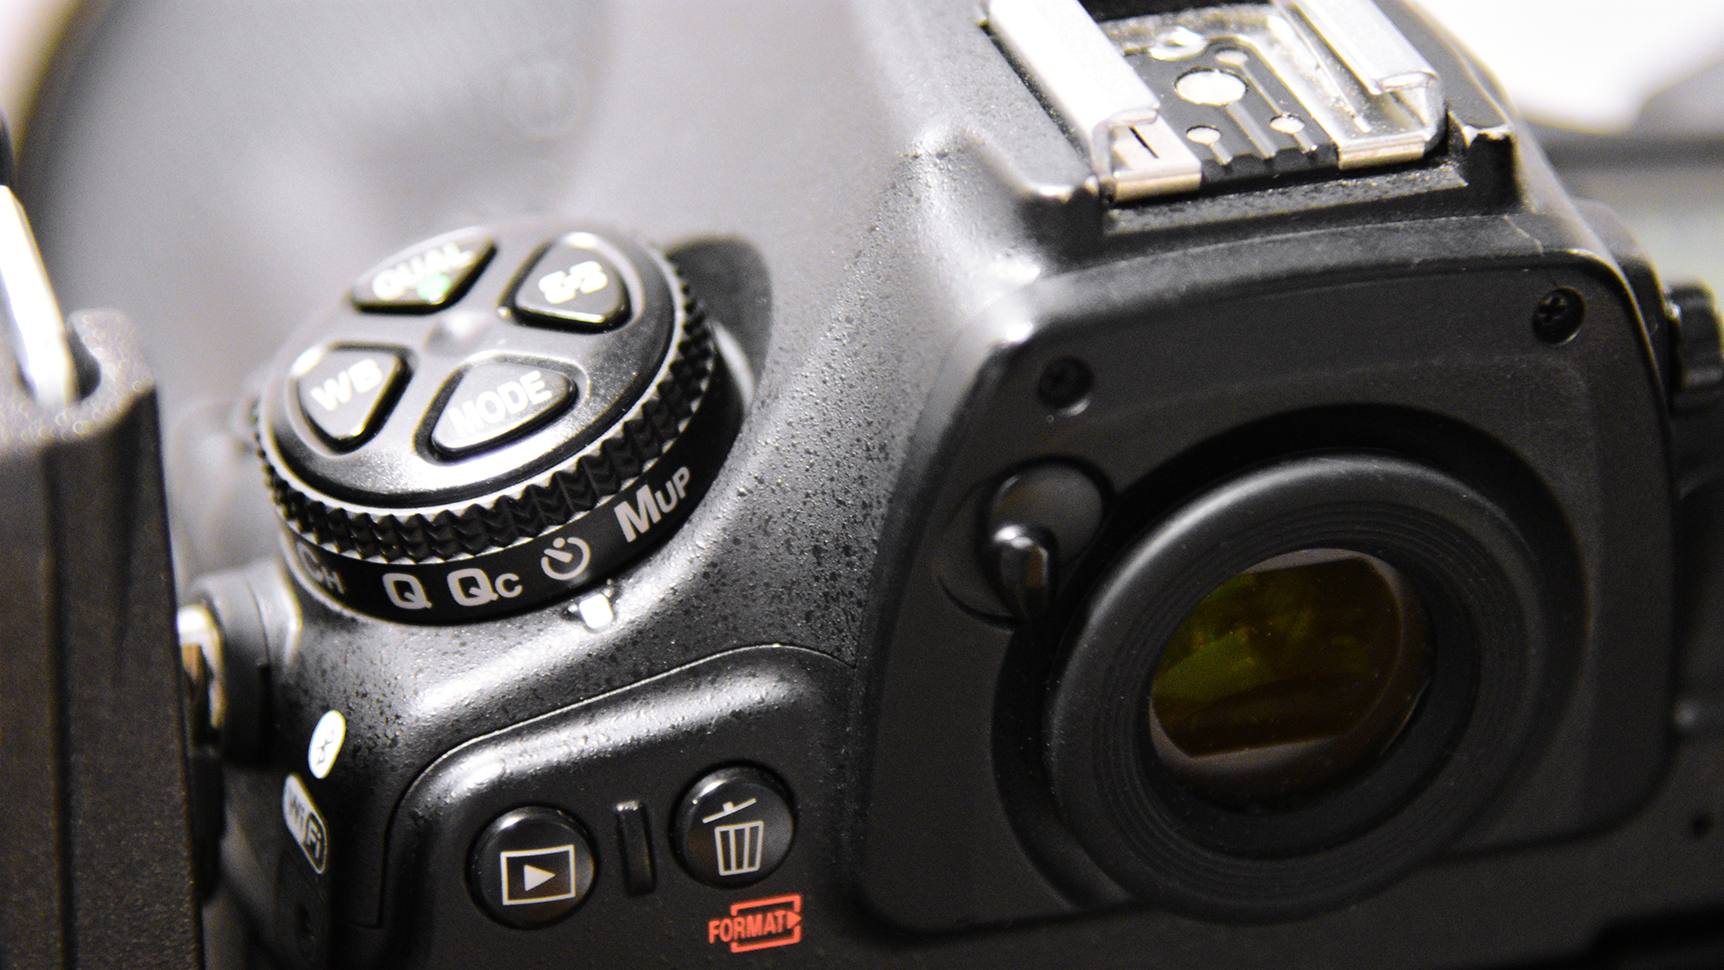
Trigger the shutter using a remote release or the self timer. Swiftly remove the handheld ND filter halfway through the exposure, ensuring that you don’t disturb the camera. Wait for the exposure to finish.

06. Review and adjust exposure
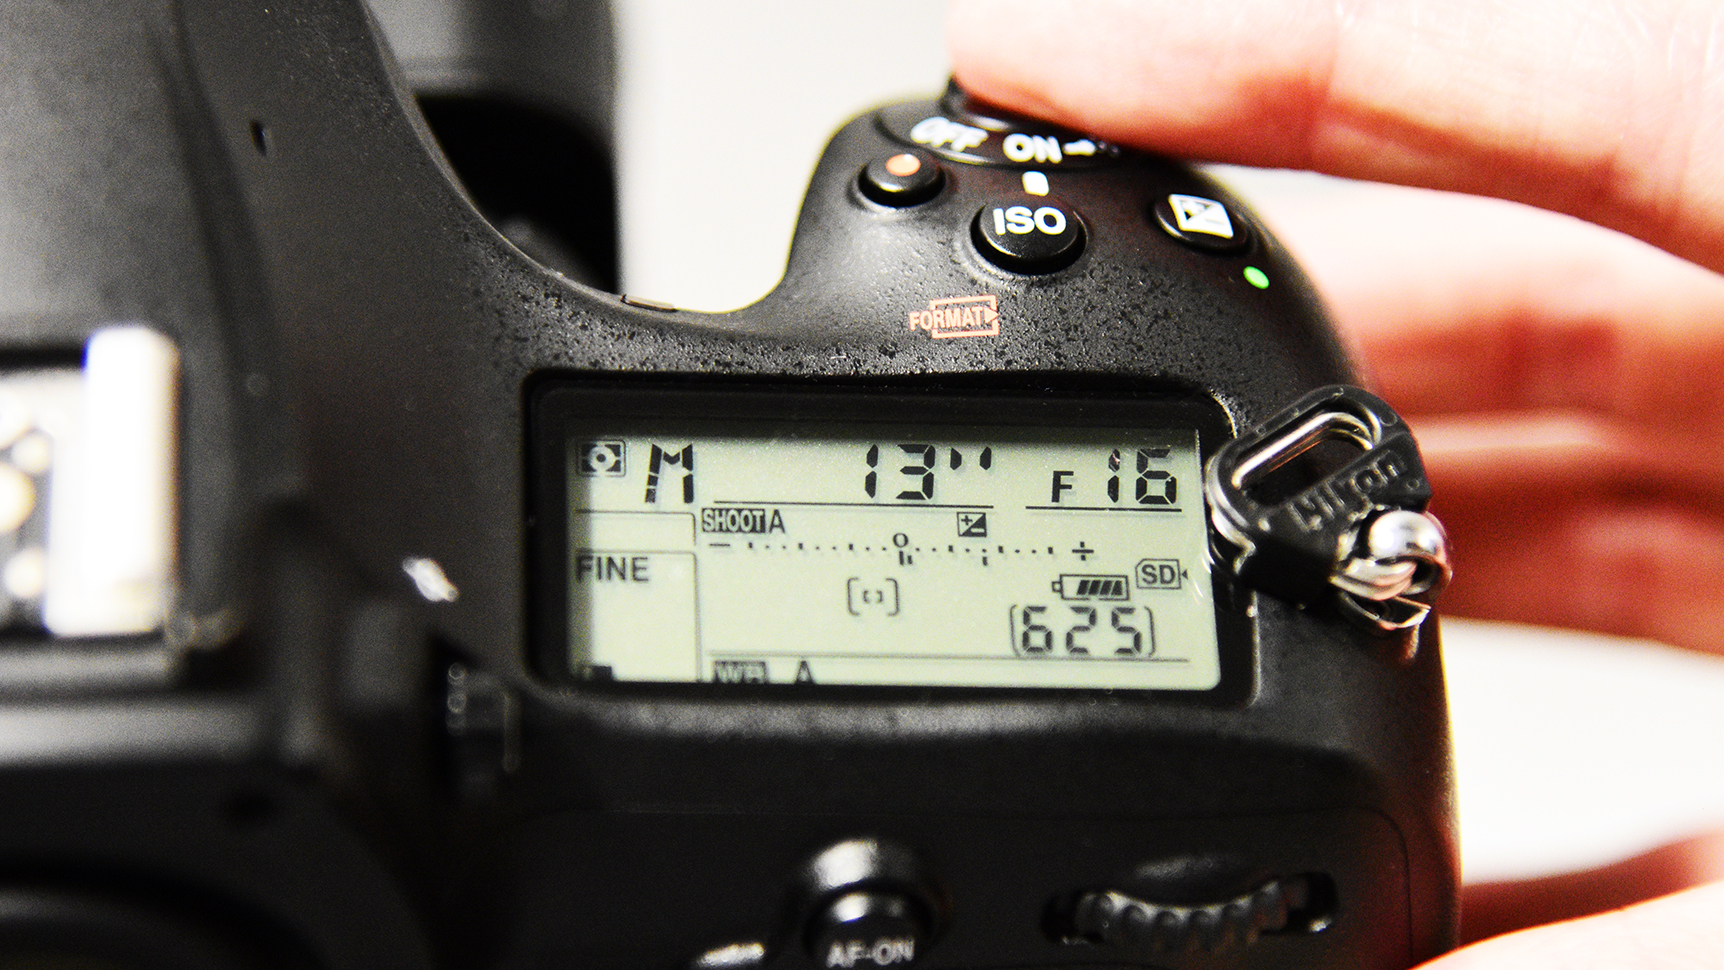
Since we’re working in unstepped strengths, some trial and error is involved. Leave the handheld filter in place for longer if you require more effect or vice versa. Check for reflections or ghosting.

Read more:
• 10 things you need to know about camera filters – and which ones to buy
• How to use ND filters for long exposure photography during the day
• How to use an ND filter for slow-shutter-speed seascapes
• The best ND grad filter kits
Get the Digital Camera World Newsletter
The best camera deals, reviews, product advice, and unmissable photography news, direct to your inbox!
As the Editor for Digital Photographer magazine, Peter is a specialist in camera tutorials and creative projects to help you get the most out of your camera, lens, tripod, filters, gimbal, lighting and other imaging equipment.
After cutting his teeth working in retail for camera specialists like Jessops, he has spent 11 years as a photography journalist and freelance writer – and he is a Getty Images-registered photographer, to boot.
No matter what you want to shoot, Peter can help you sharpen your skills and elevate your ability, whether it’s taking portraits, capturing landscapes, shooting architecture, creating macro and still life, photographing action… he can help you learn and improve.
