Olympus' Live Time gives me a fresh way to photograph long-exposure seascapes
Gary Clark’s love of landscape photography explains why he’s not afraid to try out fresh techniques
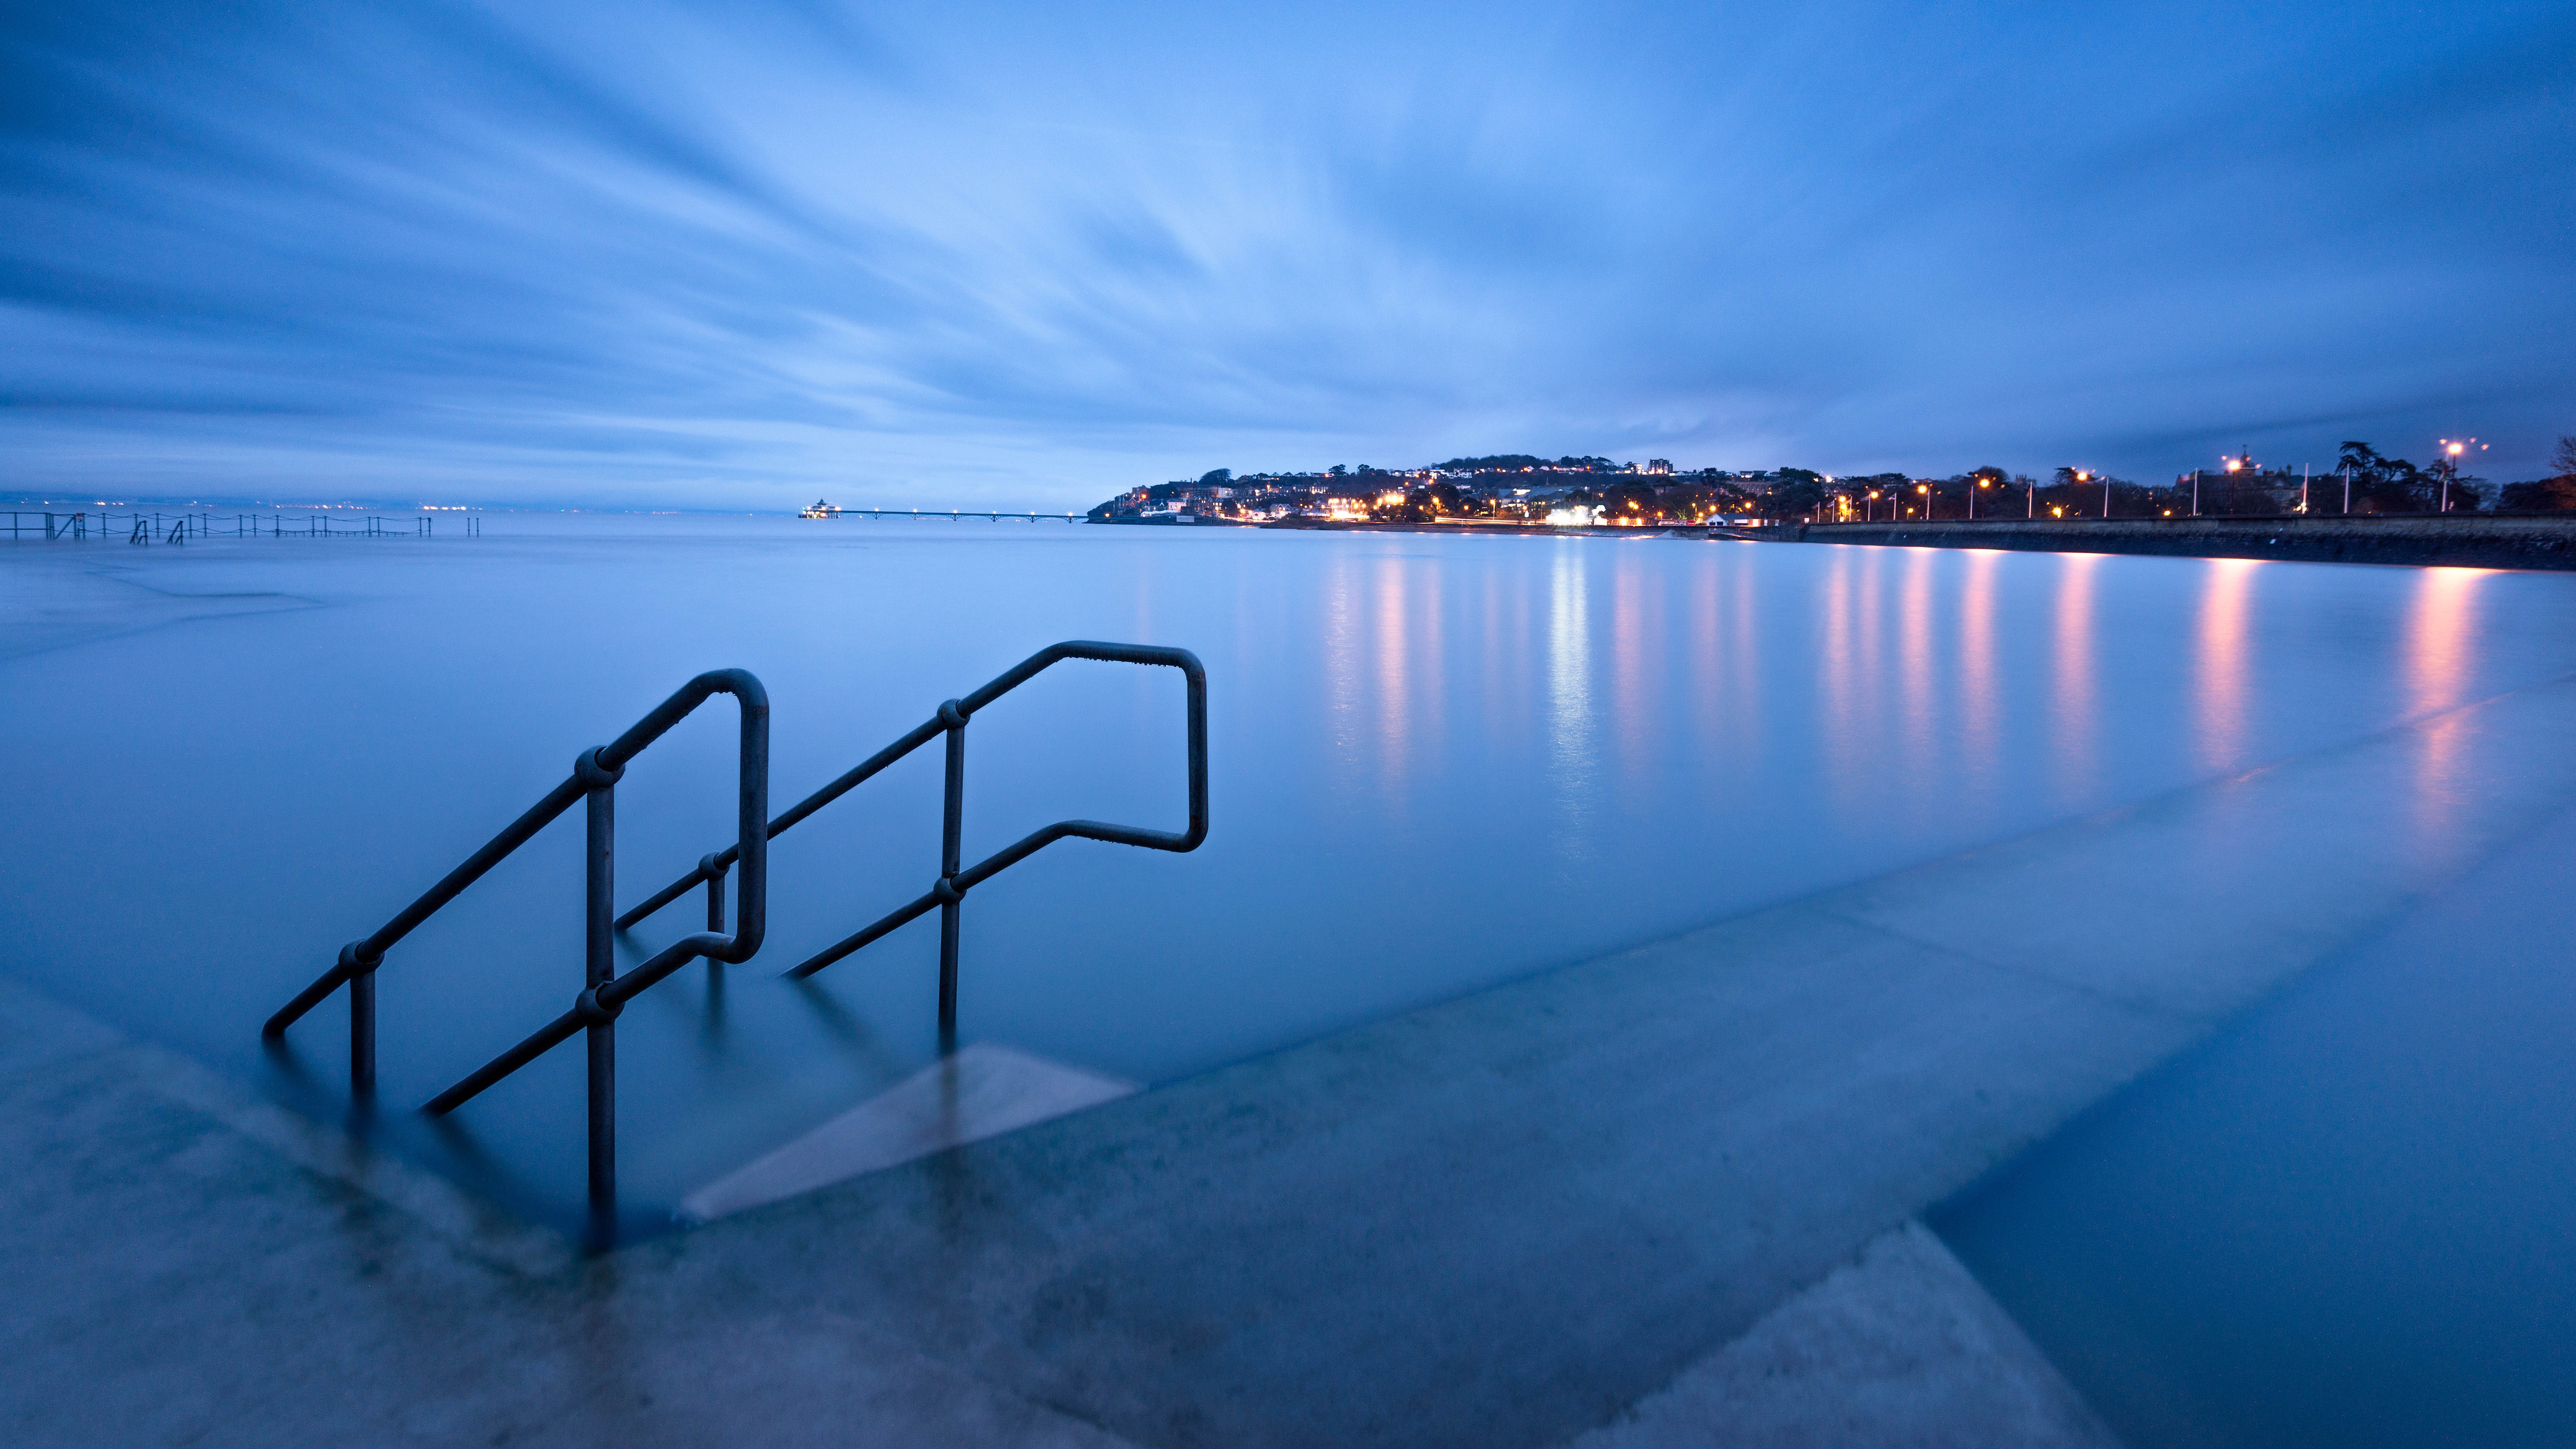
When you live or spend some time in the UK, you soon realize there’s one thing the Brits have in common: we love to moan about the weather. “It’s too cold. It’s too hot. It’s raining... again!” No matter what’s happening, there’s a small weather forecaster inside us that loves to give its opinion. Luckily this month we’re joined by professional photograph Gary Clark, who enjoys taking his camera out to local landscapes and battling the elements to capture striking shots – whatever the weather.
“I’d never really consider shooting in the midday sun with no cloud,” he says, “but with my filters, I can go out no matter what. Ideally you’d have an overcast day to really open up the exposure time and shoot some silky-smooth images.” But this is England, and we work with what we’re kindly given by Mother Nature.
Today Gary and I are braving a cold, grey day in Clevedon, a pretty English seaside town best-known for its Grade I-listed Victorian pier. Gary’s lucky enough to live here, and says that Clevedon offers up strikingly beautiful and diverse scenes within just
a couple of hundred meters of the coastline. “I have so many options for seascape and landscape photography in a relatively small space – the pier, Ladye Bay, Clevedon Pill, the Marine Lake and Little Harp Bay, to name but a few.
• Read more: The best Olympus lenses
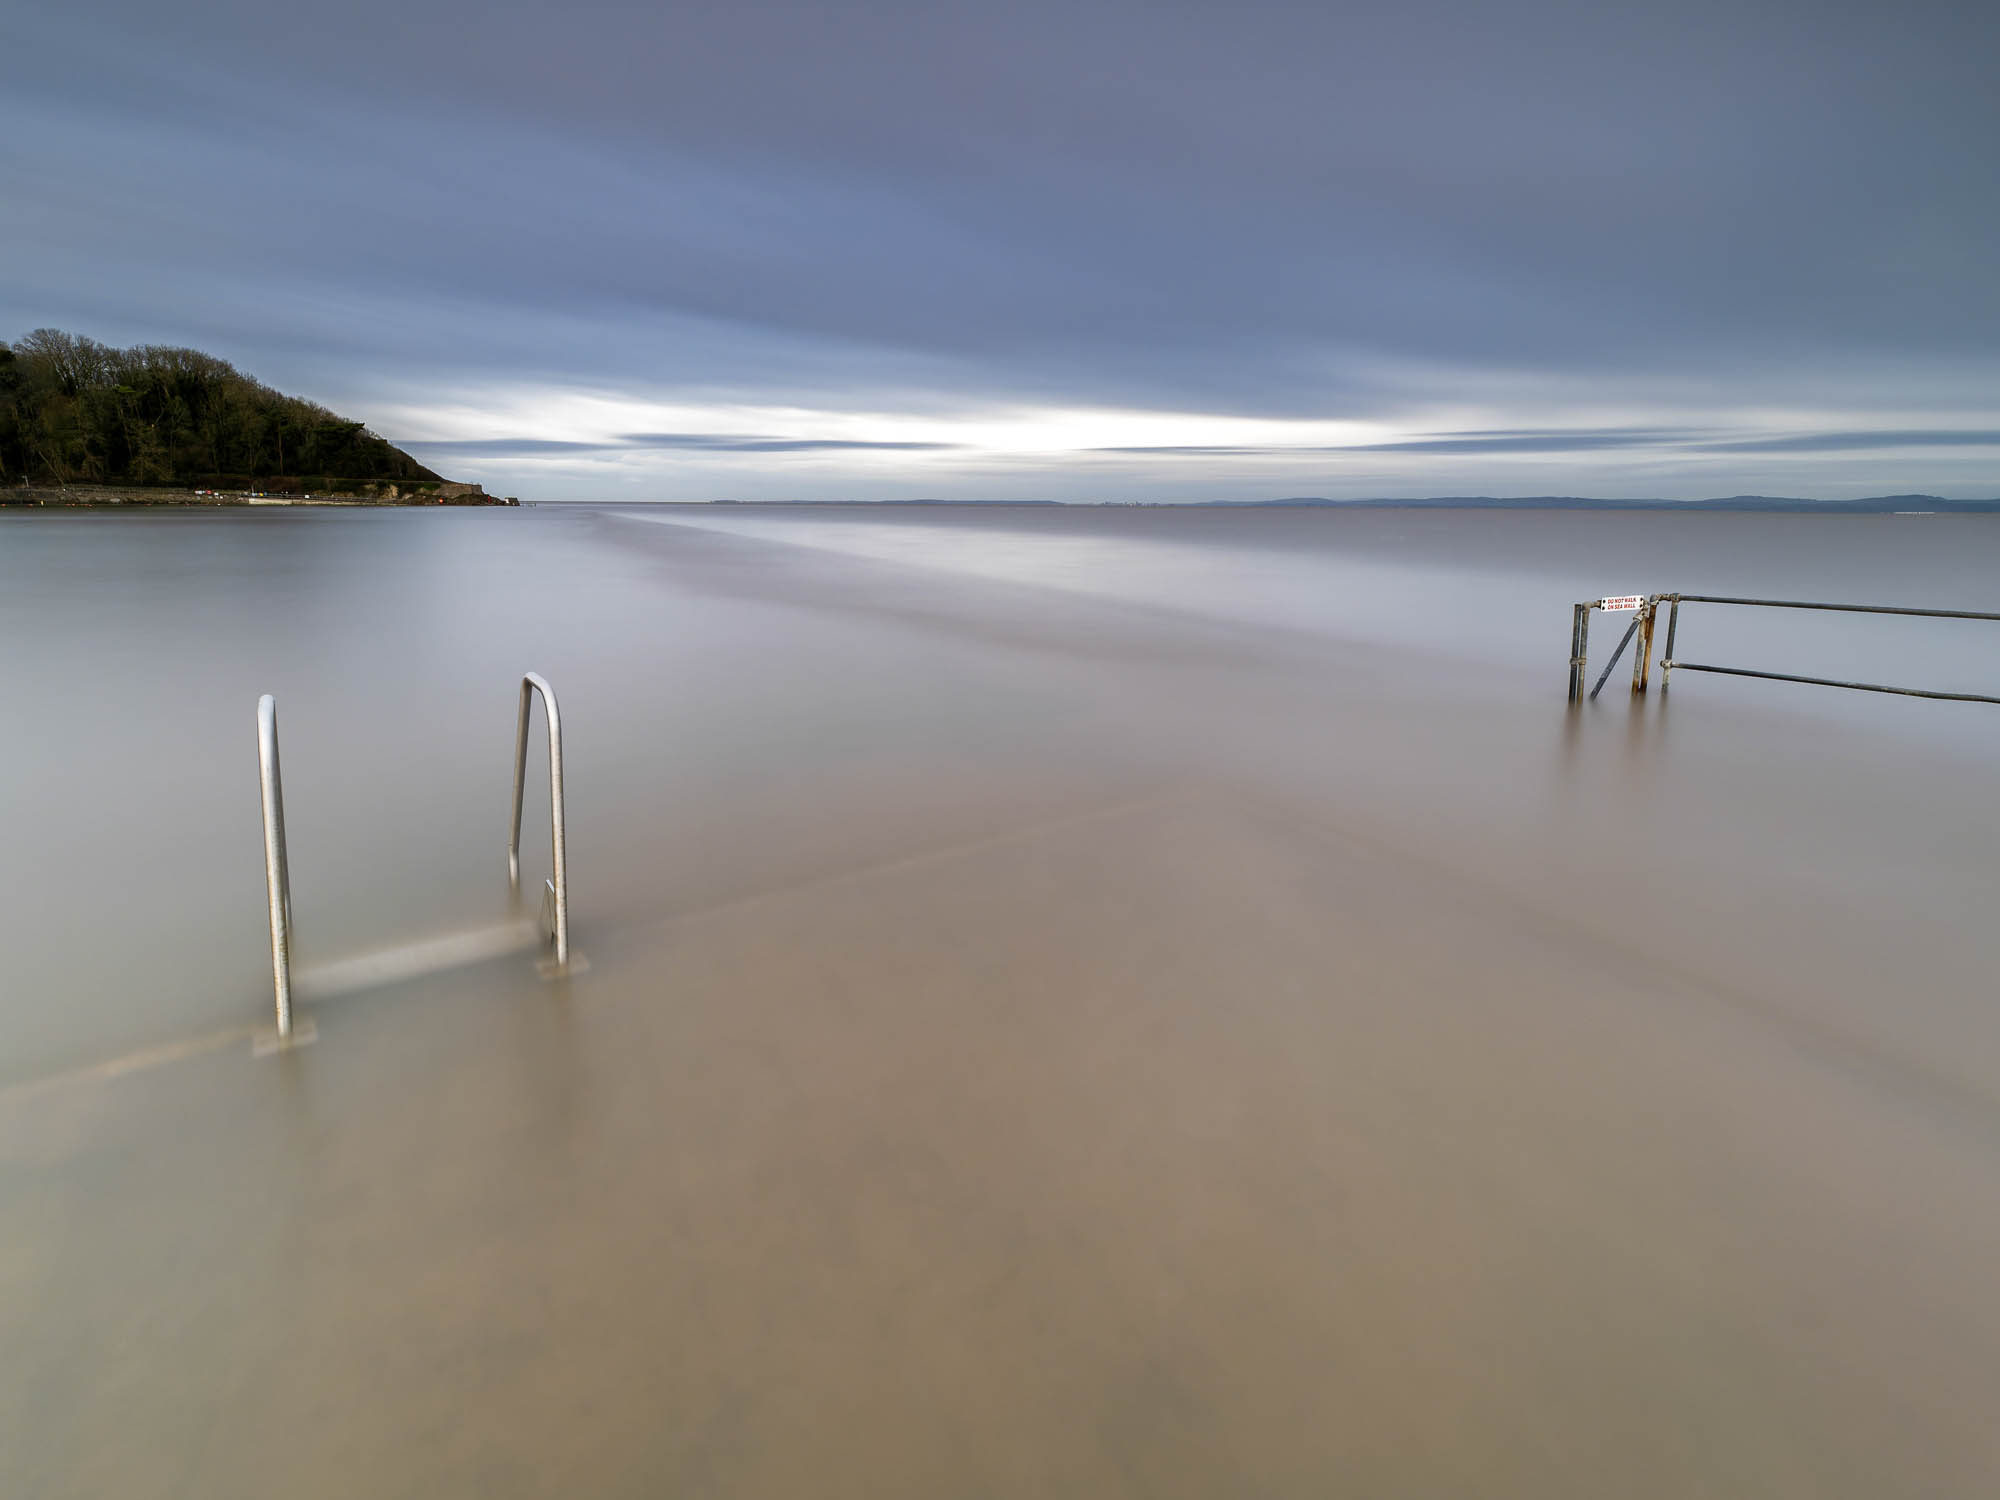
We park up by the man-made Marine Lake around 9.30am, hoping for a high tide at around 10. The area is very quiet, with not a soul to be seen... until we walk down the steps from the seafront to be greeted by a group of cleaners in hi-viz jackets! “I’ve not seen them here before – I wonder what time they clock off,” says Gary, with a slight look of worry. After about two minutes of mild peril, they are on their way, and we begin to set up.
This area makes a good starting point: it offers up a few static objects such as the metal stairs to enter the pool, and some railings around the sides. I notice Gary has two different camera systems: a Nikon and an Olympus. Of course, as in any line of work, it’s simply a case of the right tool for the job.
“I’ve found a new way of doing long exposures,” Gary explains. “At the end of October 2021, I decided to move away from my full-frame DSLR setup for wildlife, bird and macro photography, as I have found the kit to be too heavy for me to enjoy this type of photography. I reluctantly traded in my beloved Nikon D850 and Nikkor 200-500mm f/5.6, as well as my Sigma macro lens, to help fund my system move.
I purchased a new Olympus OM-D E-M1 Mark III and an M.Zuiko Digital ED 100-400mm lens. I was so impressed with how well this Micro Four Thirds system performed that I added a used M.Zuiko Digital ED 12-40mm f/2.8 Pro lens, to see how it would perform as a lightweight landscape camera. I have since added the M.Zuiko Digital ED 8-25mm f/4 Pro. Olympus has some amazing technology for long-exposure photography: its Live Bulb, Live Composite and Live Time are so great to use.”
"Long-exposure photography helps expand on my creativity"
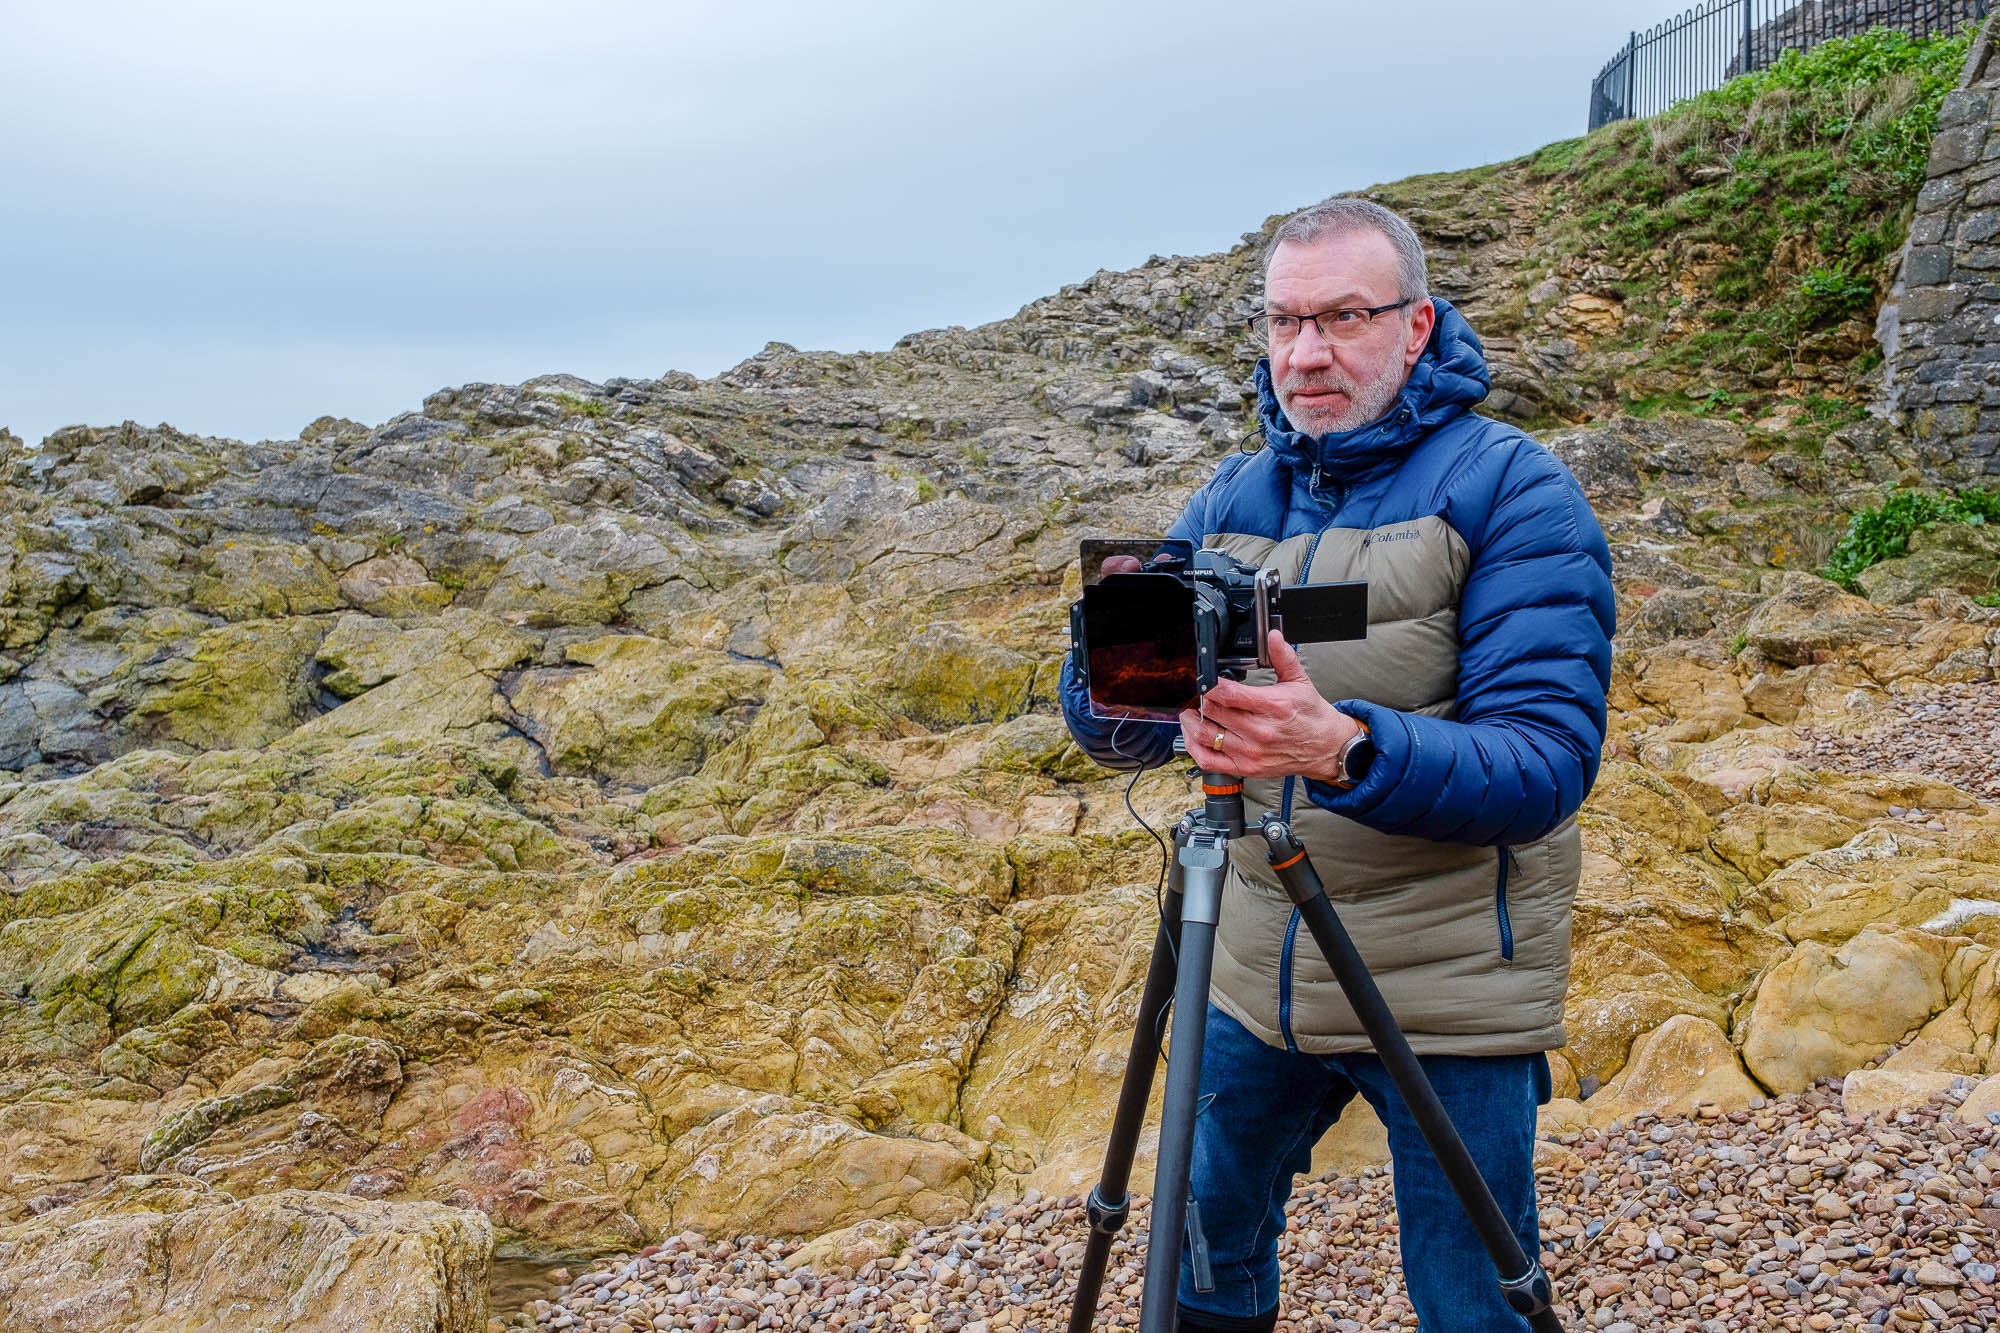
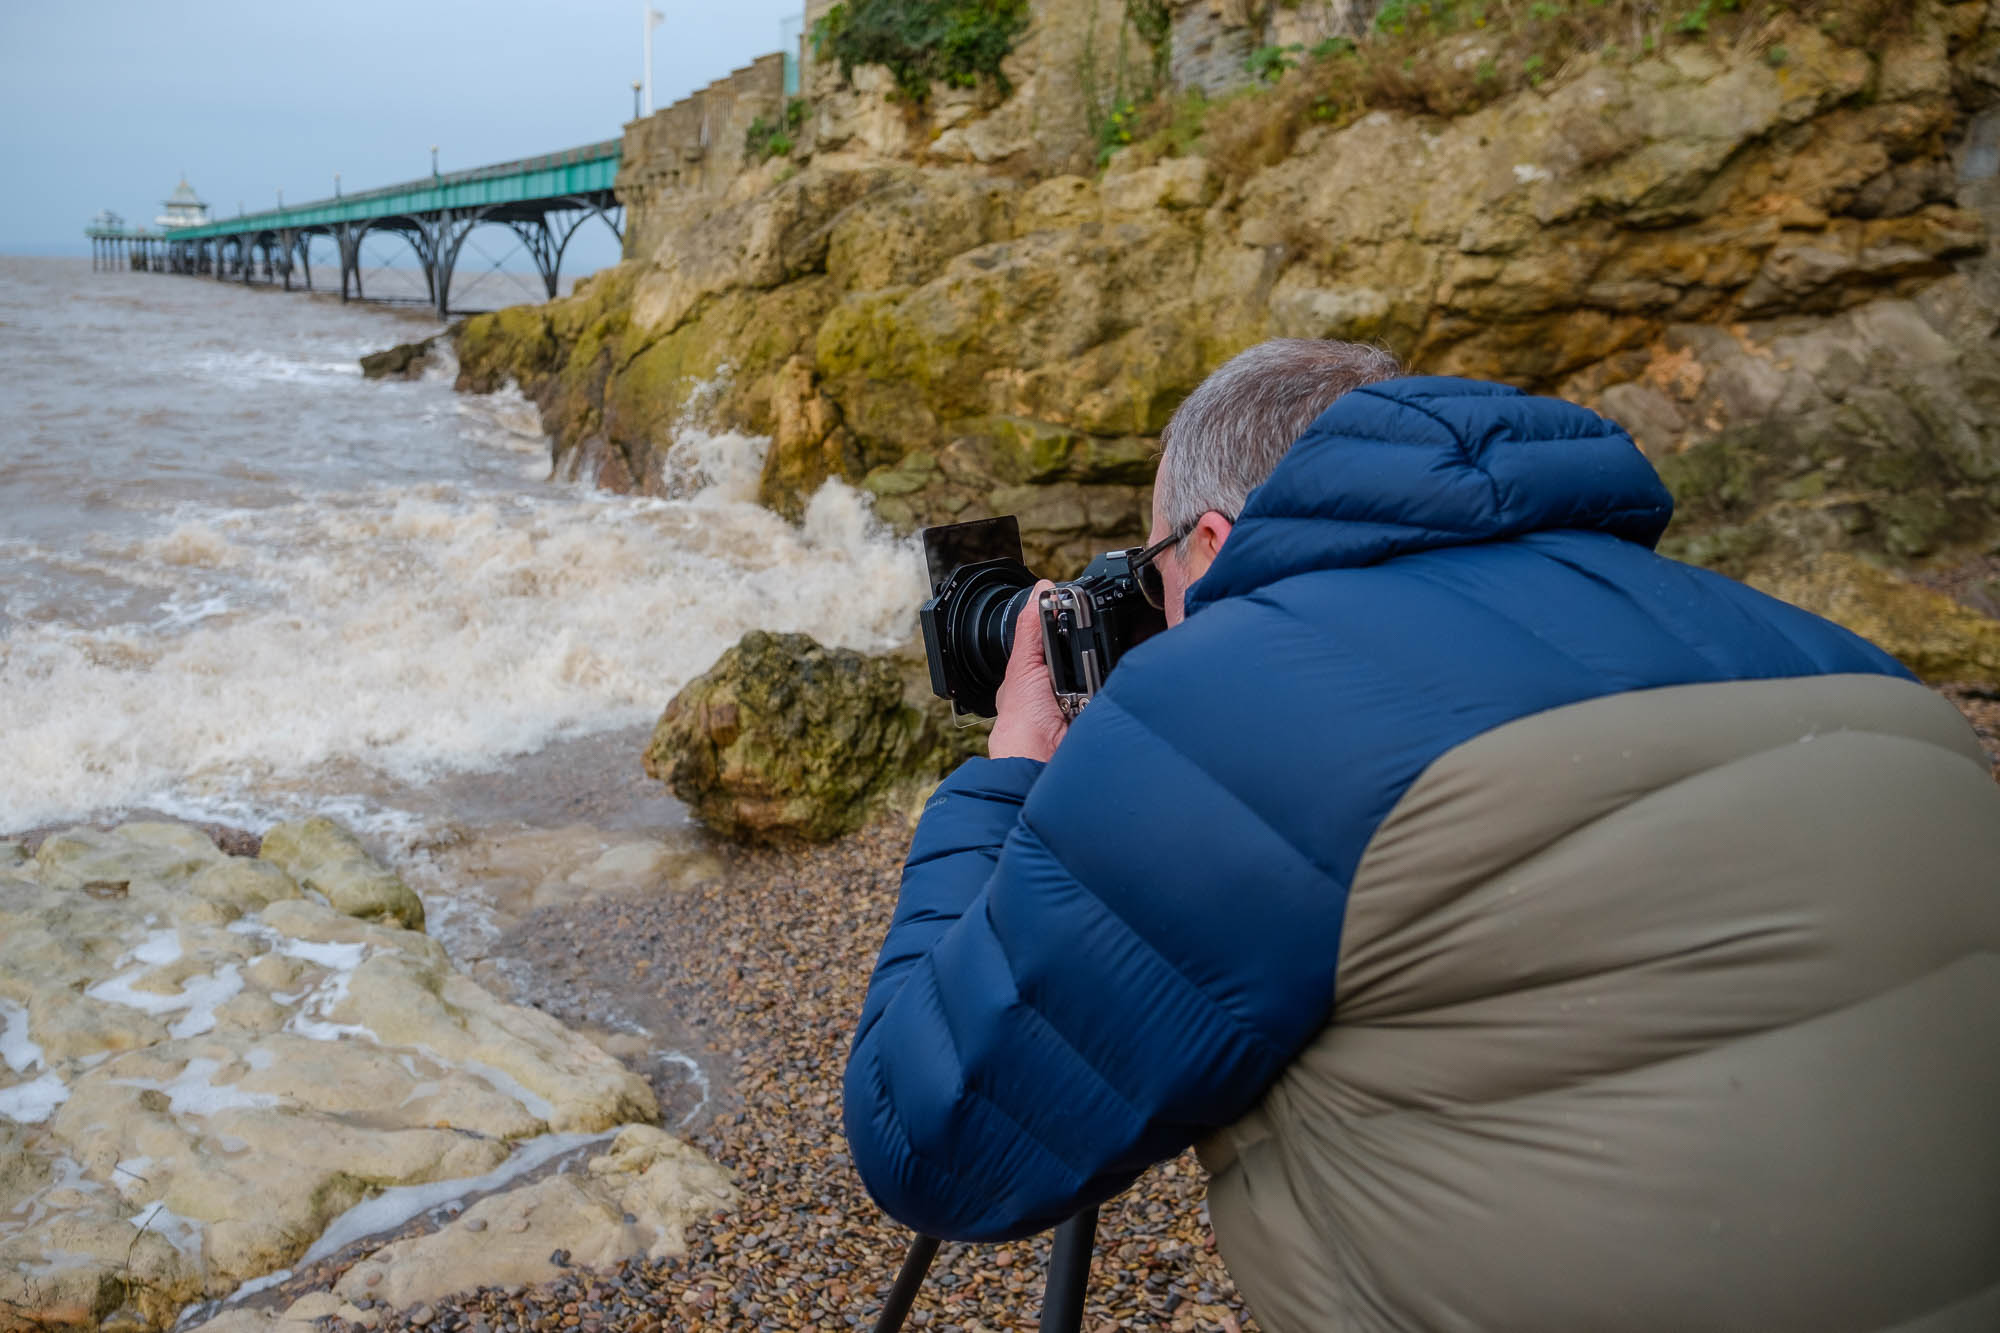
While the new purchase is opening up new approaches for Gary (see left), that freedom to experiment comes from years building up his landscape and long-exposure skills. Gary takes me through the essentials as he shoots. “Traditionally when you take long-exposure shots, with either a DSLR or mirrorless system, you need to follow a couple of basic steps before you open the shutter. I tend to line up my shot and set up my composition with the camera handheld; when I think it’s at a good starting point, I set the camera up on a sturdy tripod.
“The next thing you need to do is to work out the length that the shutter is open, to achieve the correct exposure for the scene. Before I add any filters to the lens, I set the camera to Aperture Priority, then set my desired ISO and aperture – on my full-frame Nikon system, it would be around f/11 and an ISO of 64. Next, I take a meter reading, to obtain the correct exposure length.
“I tend to use a mobile app to help with the exposure settings. Enter the exposure time that your camera’s meter reading suggests (say 1/10 sec), then dial in the filter strength (like ND 1000 or 10 stops). The app will then give you the recommended exposure time.
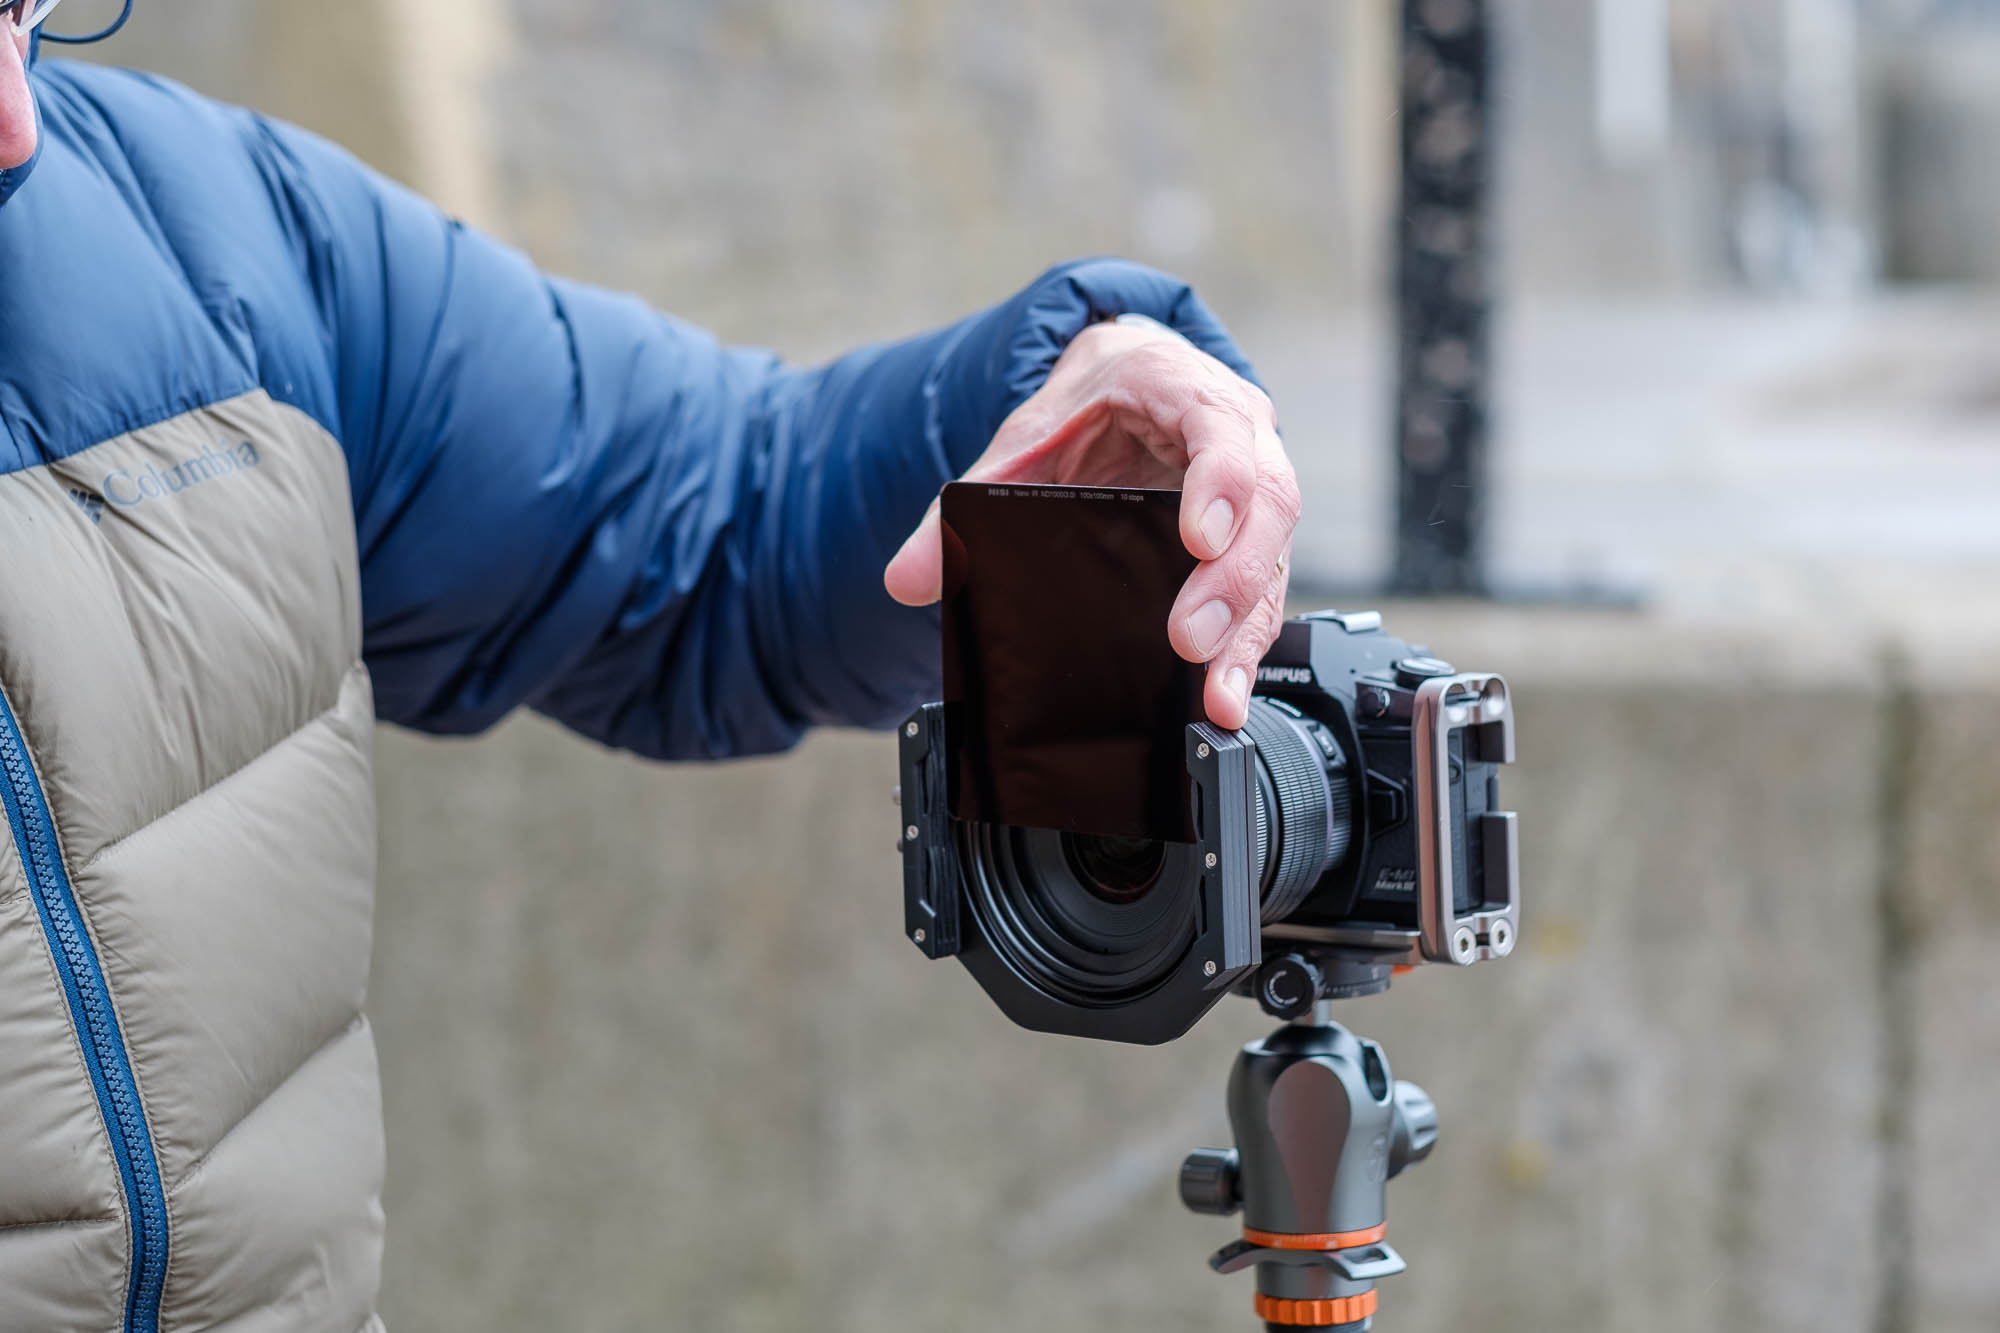
“Next, you need to set your camera to Manual or Bulb mode. If you are not using back-button focusing, with the shutter button set to not focus, then after you have set your focus point, you should set your lens to manual focus. Add your filters to the filter holder of your choice. I use a combination of Nisi solid NDs plus graduated ND filters. With a remote shutter release attached, press the shutter button and lock it into place for the required exposure time.
“As long at the lighting conditions haven’t changed too much since you did your meter reading, the shot should be correctly exposed.”
We finish the morning by wandering a few metres down the coast to shoot in a small rocky cove; and then finally along to Clevedon’s famous pier. It might appear obvious, but you do need a good knowledge of the subject you’re shooting, and it’s clear Gary knows the south-west tide like the back of his hand. “In an ideal world,” he says, “you want to be photographing the tide as it’s coming in, not chasing it out to sea. This
is where you might be thankful for your Wellington boots, in case a wave comes in further than you’ve anticipated.” Gary knew I had picked up a pair myself, and is only too happy to see that they had got wet.
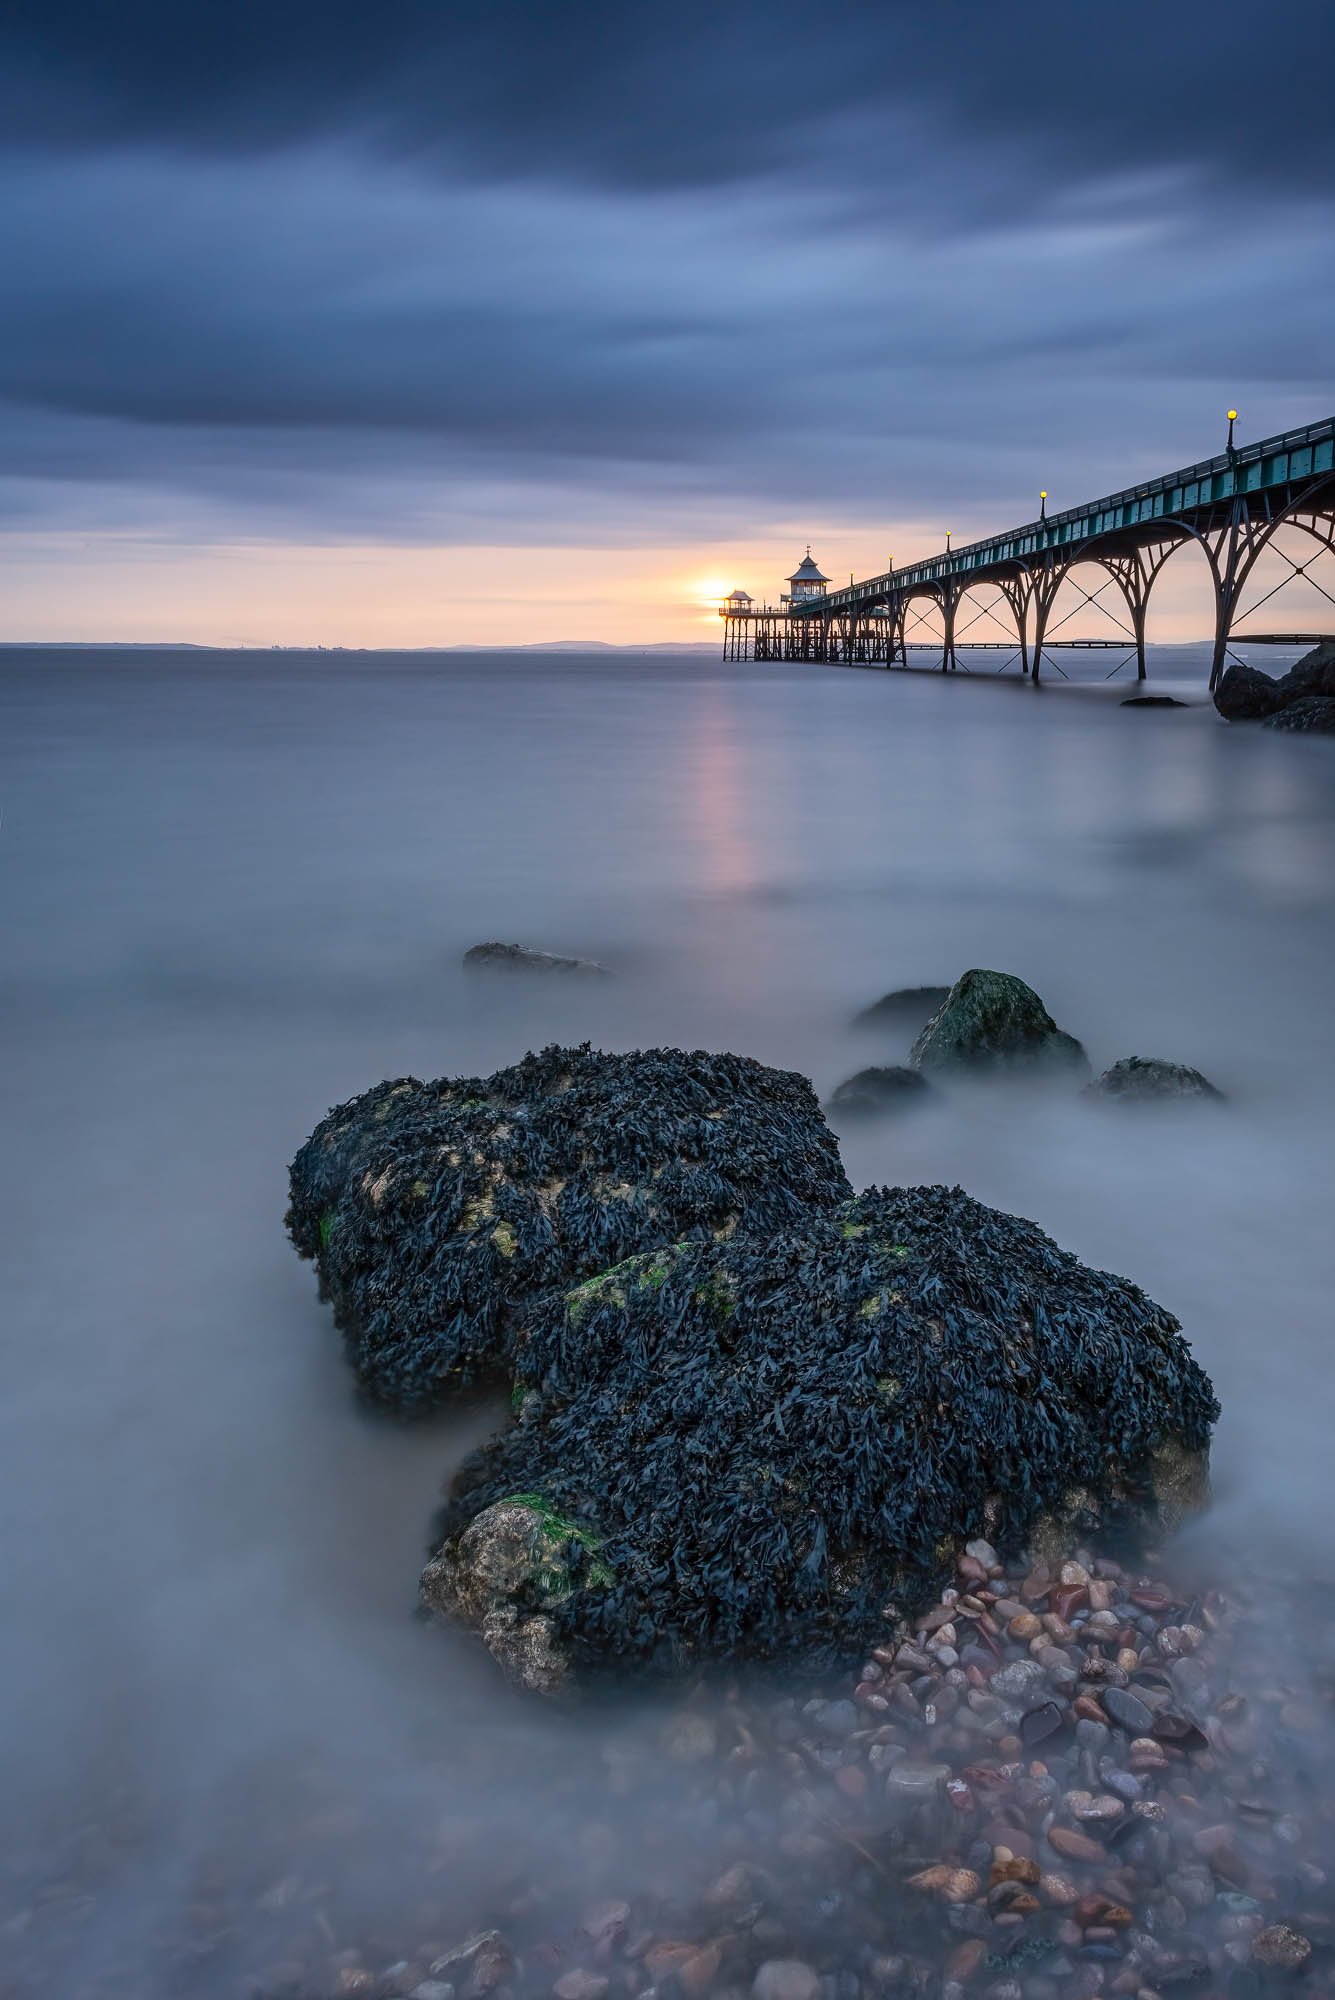
As the tide is starts to go out, Gary’s local knowledge pays dividends again, as he promises a couple of rocks will soon appear. “The water falling off them makes for a strong focal point, leaving the pier beautifully in the distance as it leads you out to sea.”
• Read more: The best cameras for landscape photography
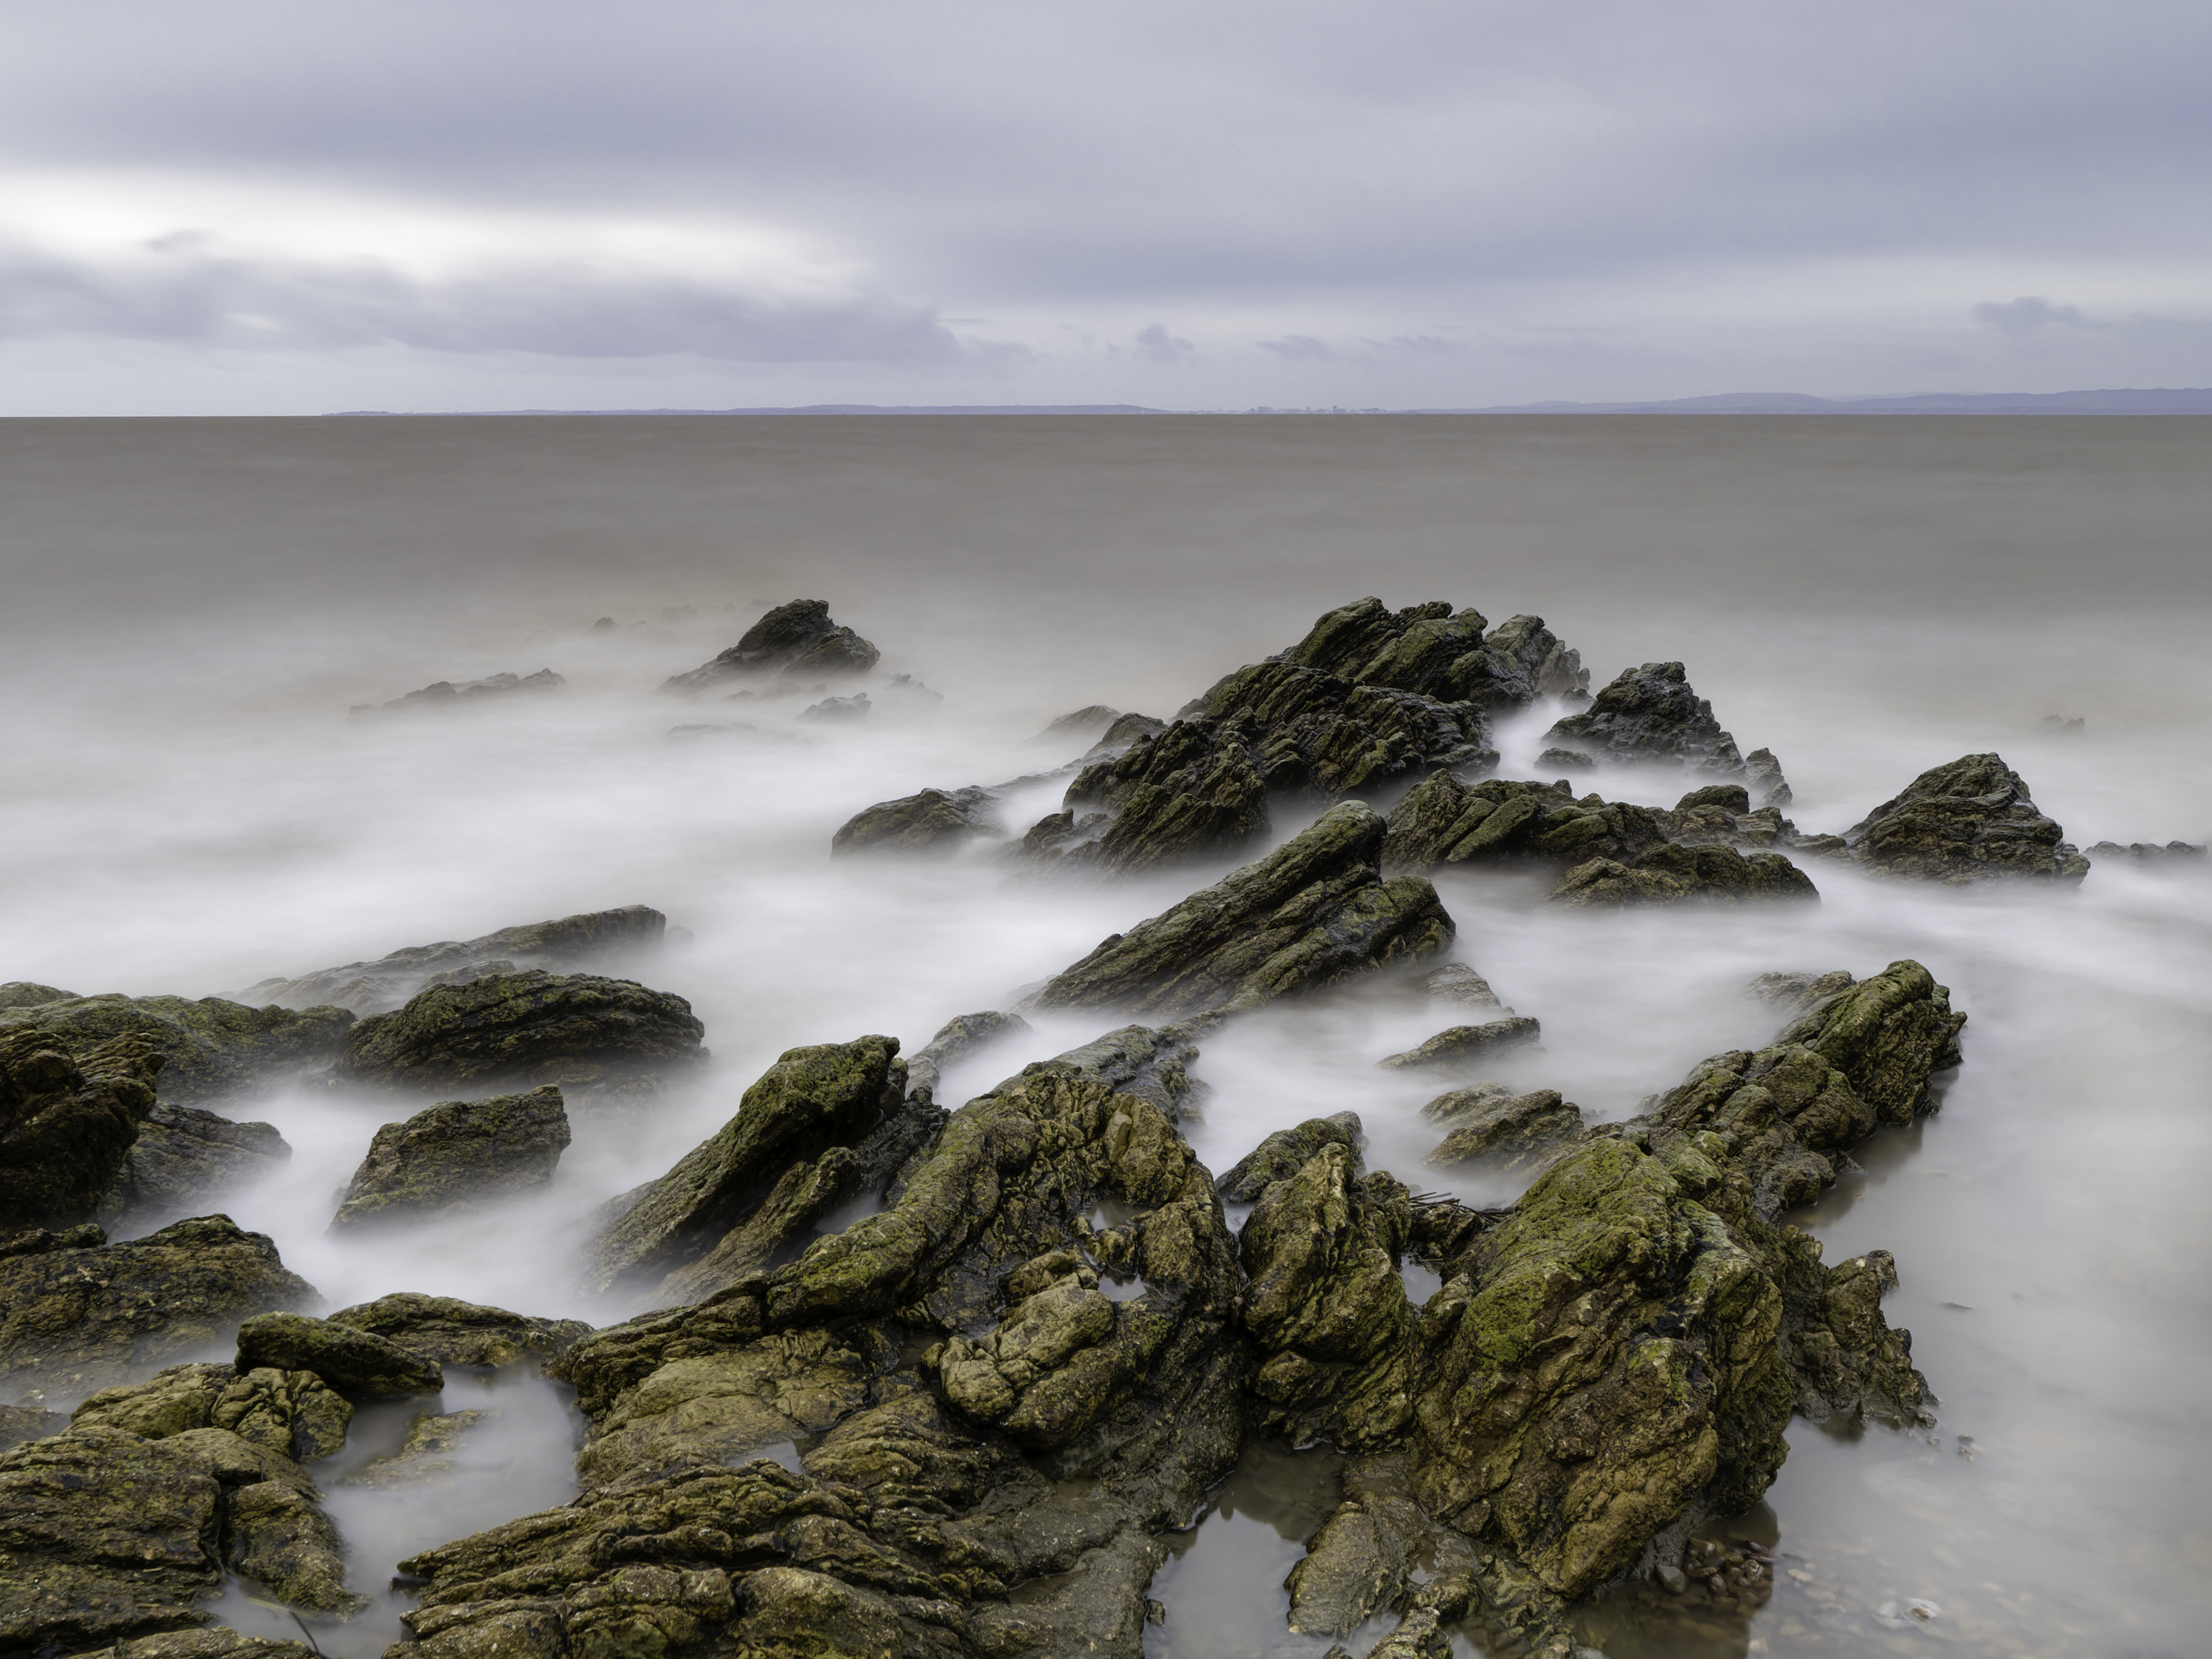
Gary’s new long-exposure process
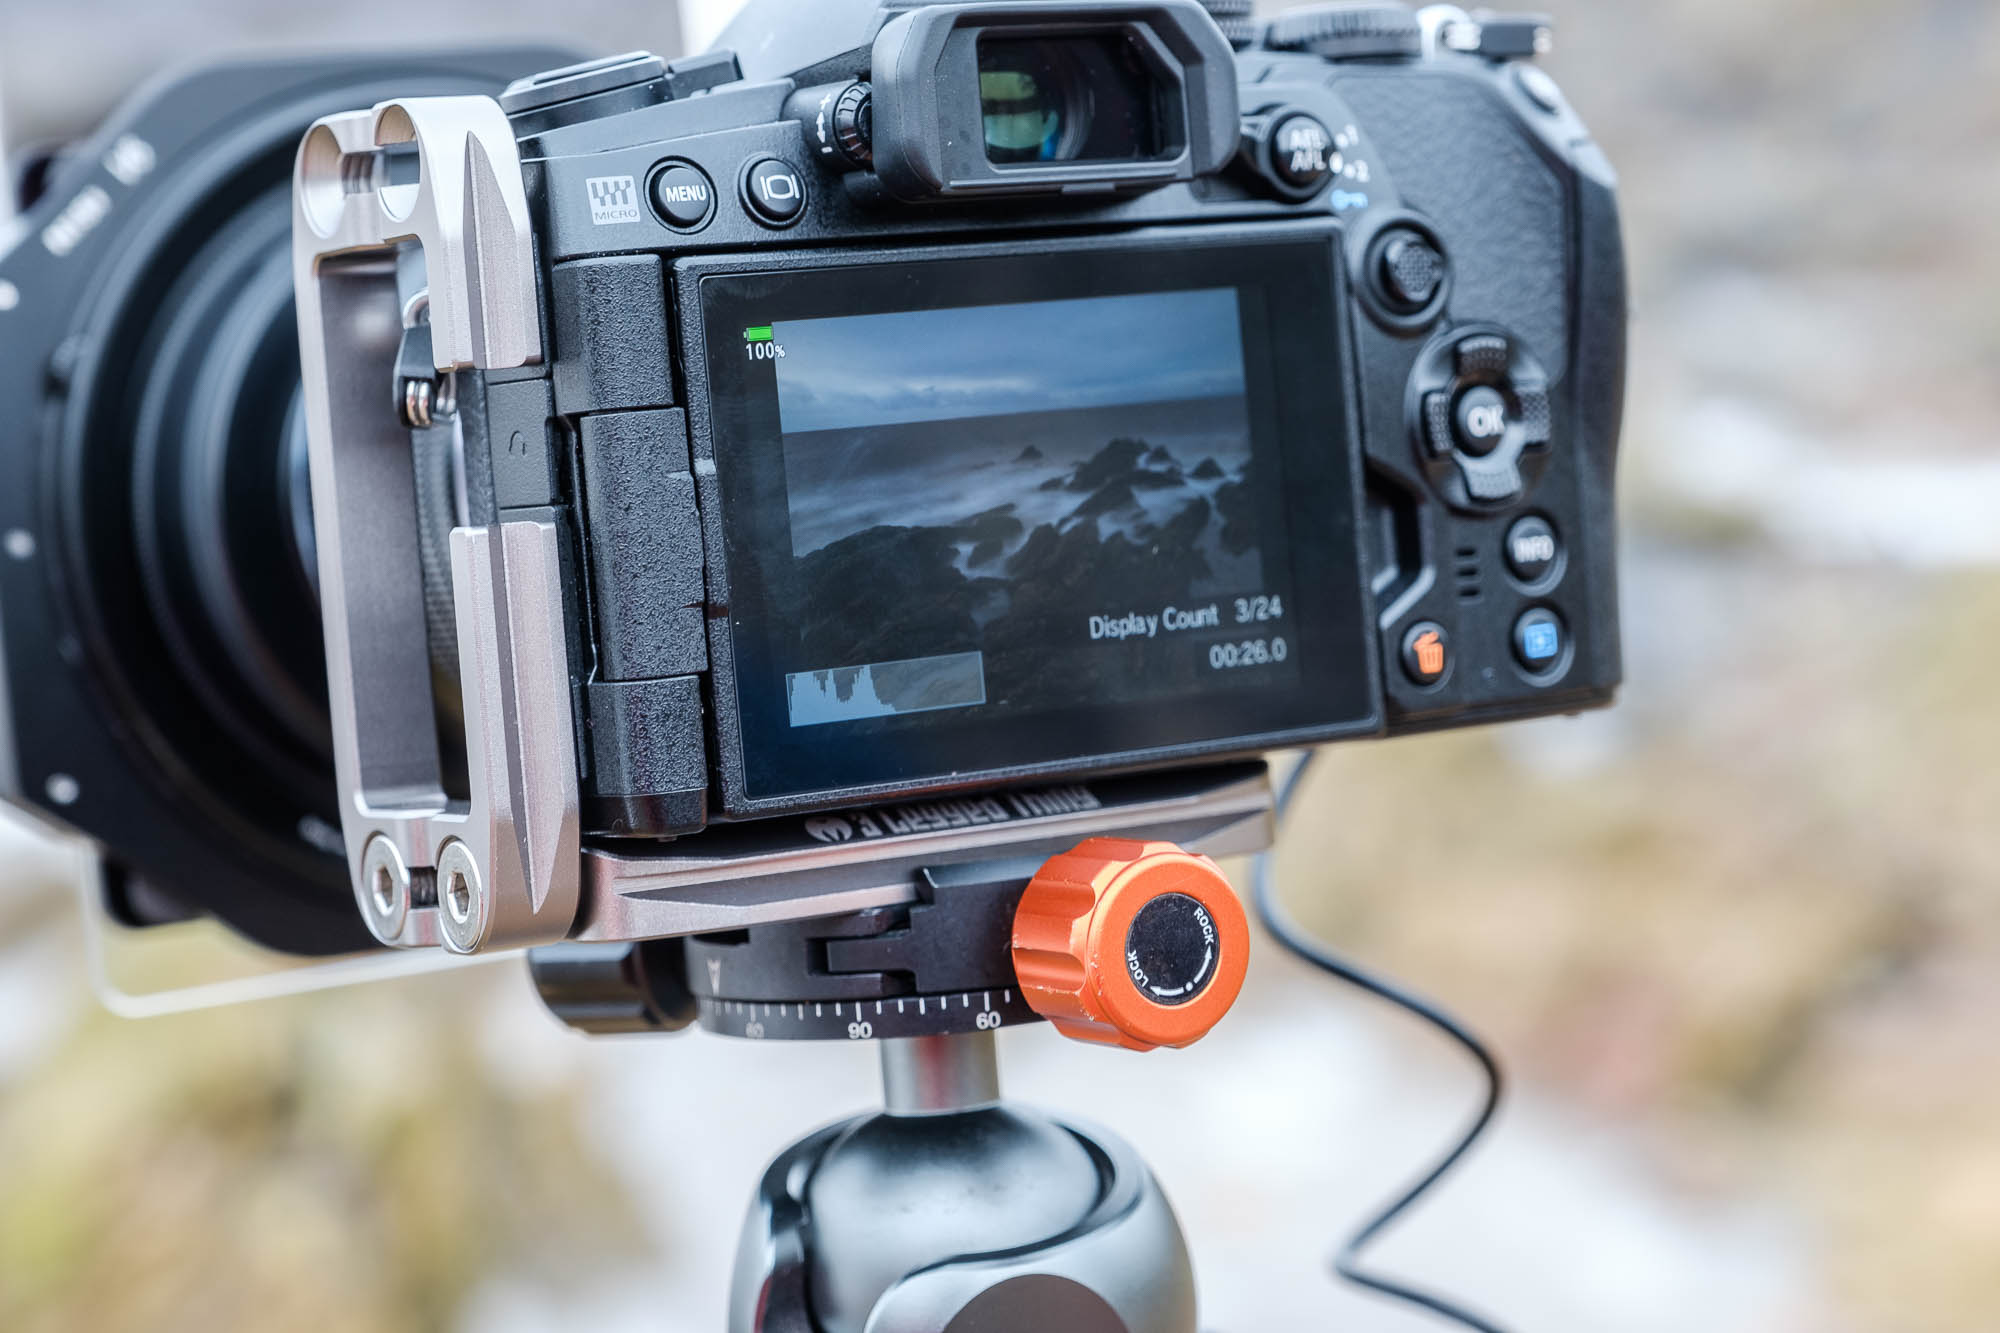
Live Time on the Olympus OM-D E-M1 Mark III offers a new way to monitor long exposures as you shoot. In the past, you might have to wait two minutes looking at a blank screen with your fingers crossed – but, as Gary explains, not any more. “When you use Live Time, the rear screen or viewfinder will refresh the display in intervals that you set. It also shows a live histogram to monitor the exposure. The system can display a total of 24 times for a single exposure as it builds up the image on the screen.
“As an example, the daytime shots on this shoot were all around 120-180 seconds, so I set the frequency to eight seconds. This would cover the range of shots (8 x 24 = 192 sec) for the exposure time. It can sound a bit confusing to start with, but I have found it a great option to see the long-exposure image appearing on the screen with the histogram to ensure the exposure is correct.”
Gary’s favorite camera kit
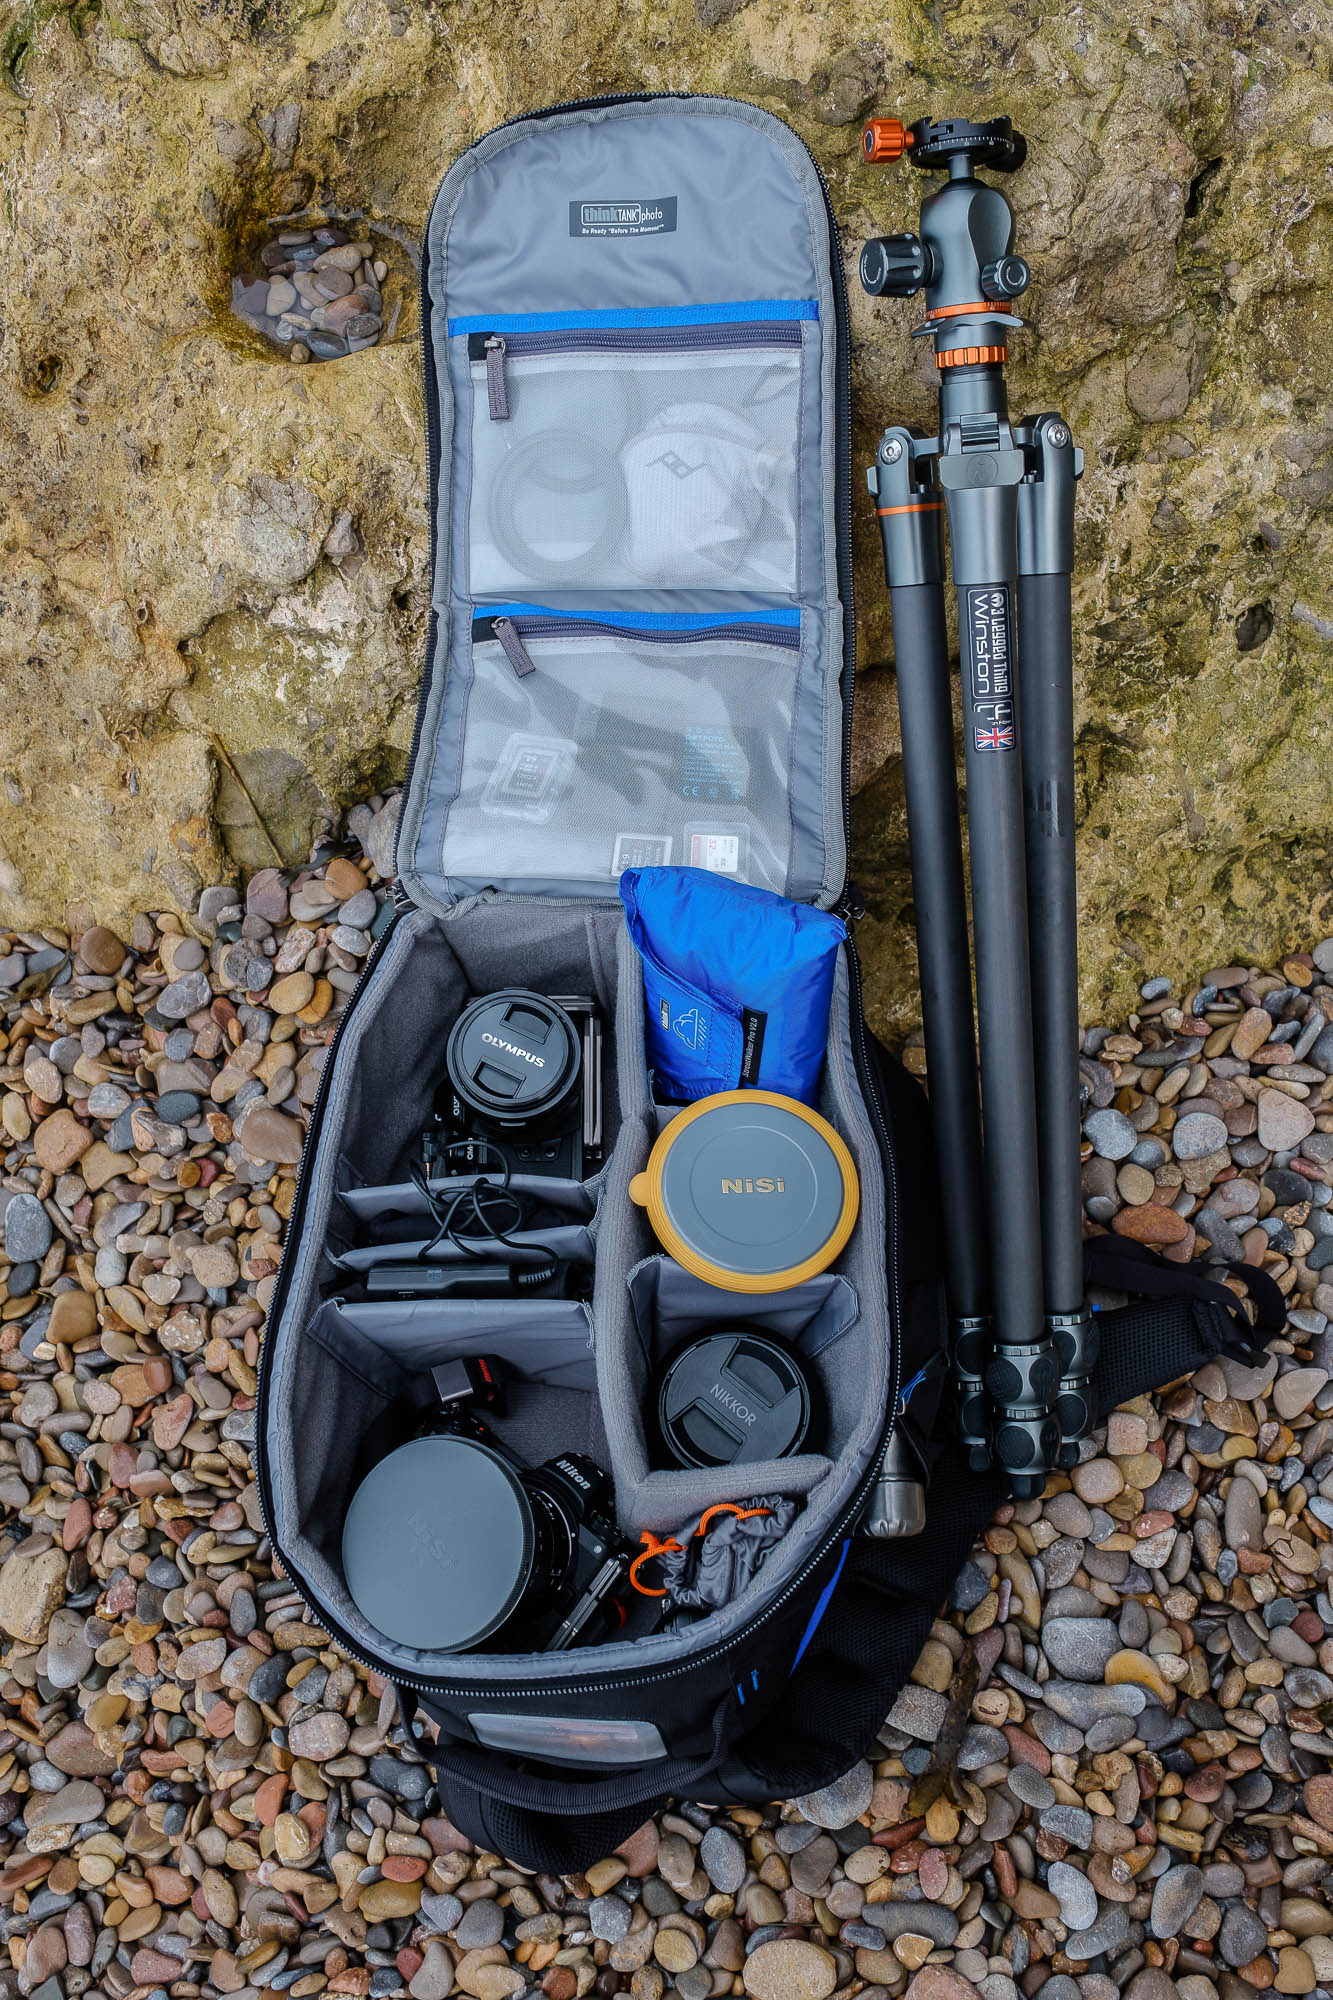
“The reasons I moved over to the E-M1? It’s lighter, smaller, robust and weather-resistant. The image stabilization system is amazing. It’s superb kit for traveling.“
2. Olympus M.Zuiko Digital ED 8-25mm f/4 Pro
“Perfect for landscape photography, this lens has a very unusual and versatile focal length. Leave your standard kit lens behind.
3. JJC remote trigger
“The Olympus has so much technology built-in that I just needed a super-lightweight remote release – for just £10, this was perfect.”
4. Olympus M.Zuiko Digital ED 12-40mm f/2.8 Pro
“This was my first Micro Four Thirds lens for landscape work. Superbly built with a fast constant f/2.8 aperture zoom, the lens is made for professional use.”
5. V6 100mm filter holder
“A strong and stable versatile filter system that enables me to stack multiple ND filters and polarizers, allowing me to shoot in any light.”
6. 3 Legged Thing Winston tripod
“My go-to tripod for most of my landscape and seascape photography: it’s light but very sturdy.”
Read more:
Olympus OM-1 review
The best Olympus camera
The best Micro Four Thirds lenses in 2022
Landscape photography tips
Get the Digital Camera World Newsletter
The best camera deals, reviews, product advice, and unmissable photography news, direct to your inbox!
Alistair is the Features Editor of Digital Camera magazine, and has worked as a professional photographer and video producer.
