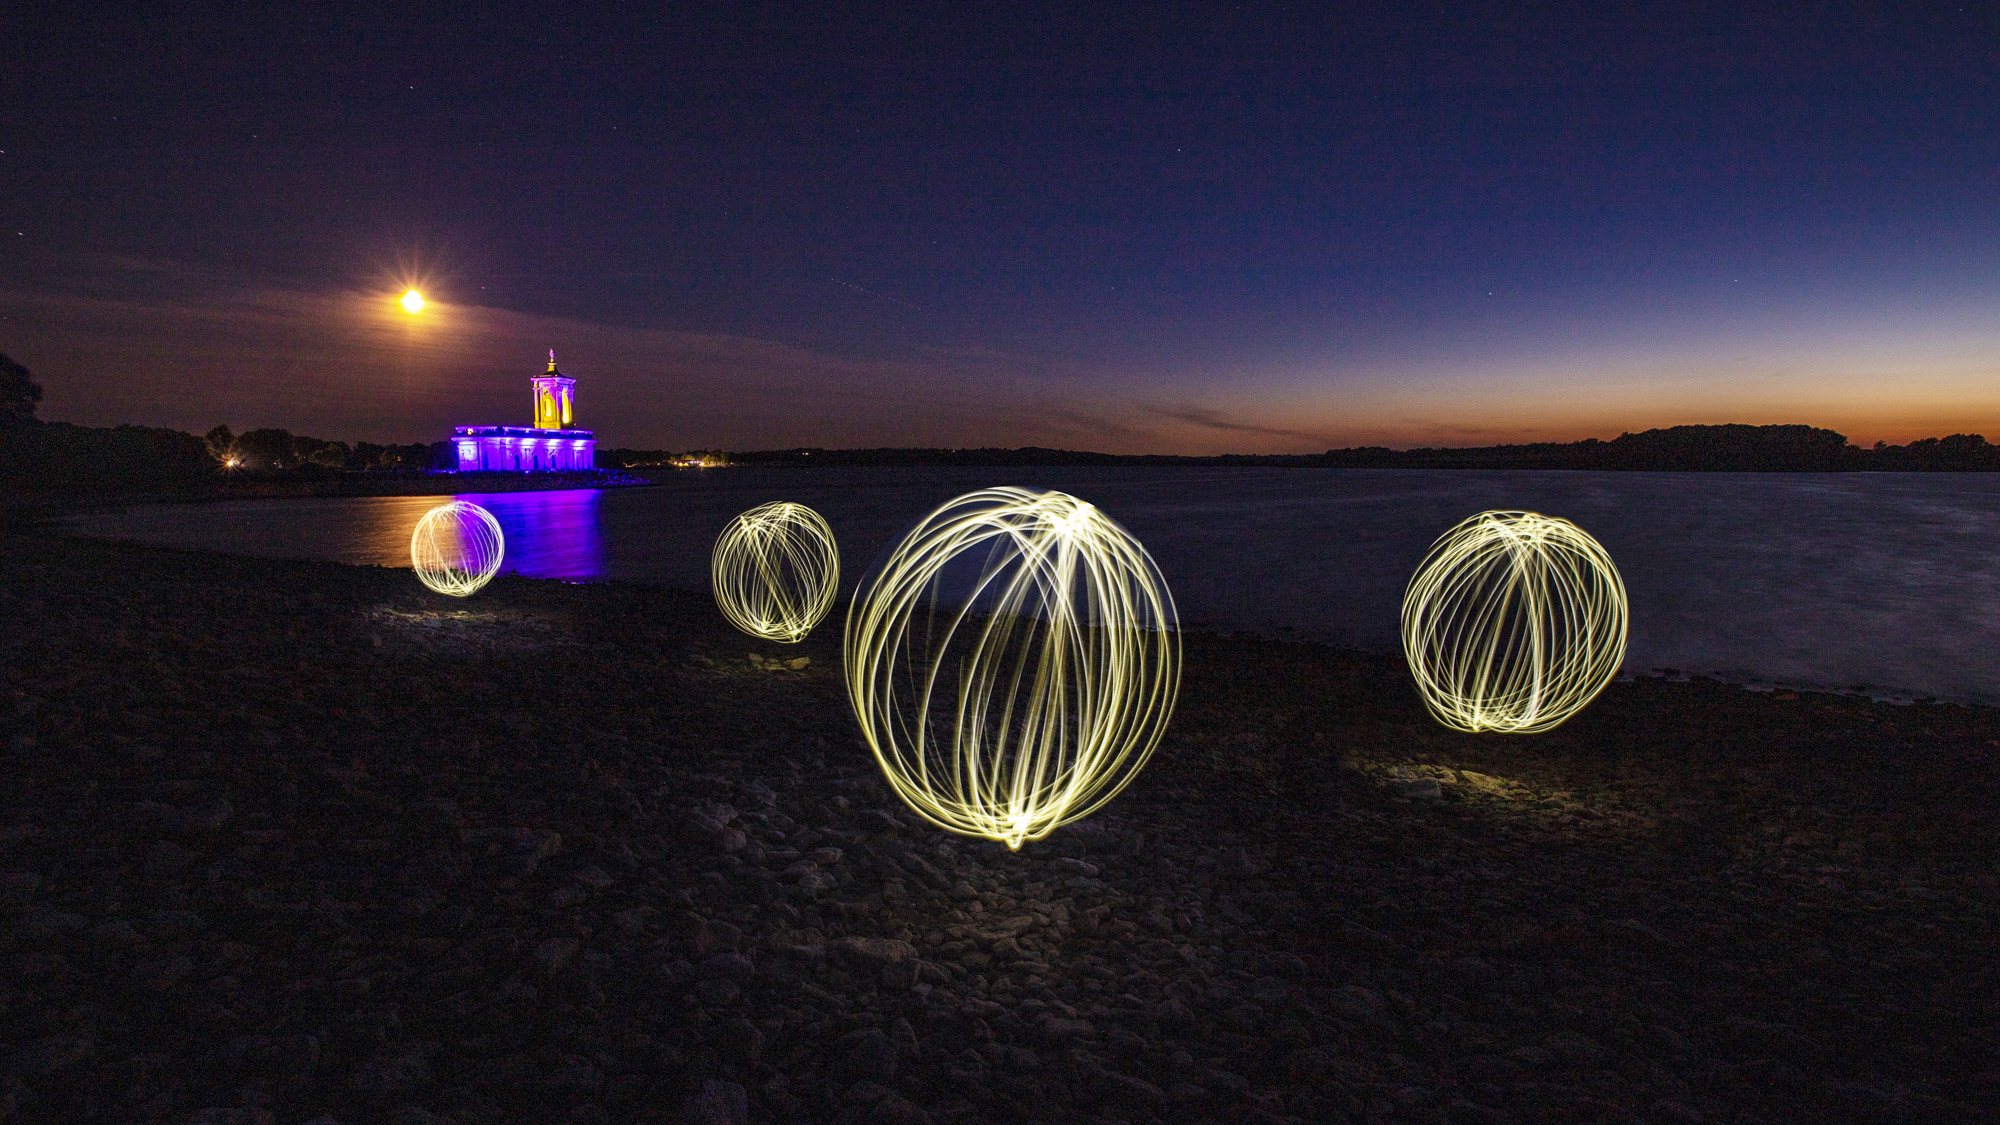
Have you ever seen one of these light orb photos before and thought to yourself ‘How is that pulled off?’ Well, in this project we show exactly how!
The first time I saw a light orb photo, I thought it was a camera trick created entirely in post-production with photo editing software. It is, however, a light painting technique, where you spin a torch around carefully in a circular loop and then move around a central point to create a 3D spherical shape.
The great news is that you only need basic camera kit to create light orb shots like these and they’ll leave your friends guessing how you managed to do it. If low light photography and painting with light are areas that interest you, then you’ll certainly want to experiment with light orbs and add this technique to your repertoire. Check out the best low-light cameras, too, though.
As with all low-light photography, it’s always a good idea to have a friend with you so you can stay safe after dark, but also in this case, one of you can be operating the camera while the other is spinning the torch to create the ‘orbs’. You can create them on your own using a 10-second self-timer to allow yourself enough time to get into position, although this is far less fun!
Once you’ve got the hang of the technique you’ll be able to paint in a few different orbs around your scene and we’ll then blend them all together in Adobe Photoshop CC to build up the effect by inserting a few of these mysterious lights into your night scenes. Here’s how...
1. Get set up
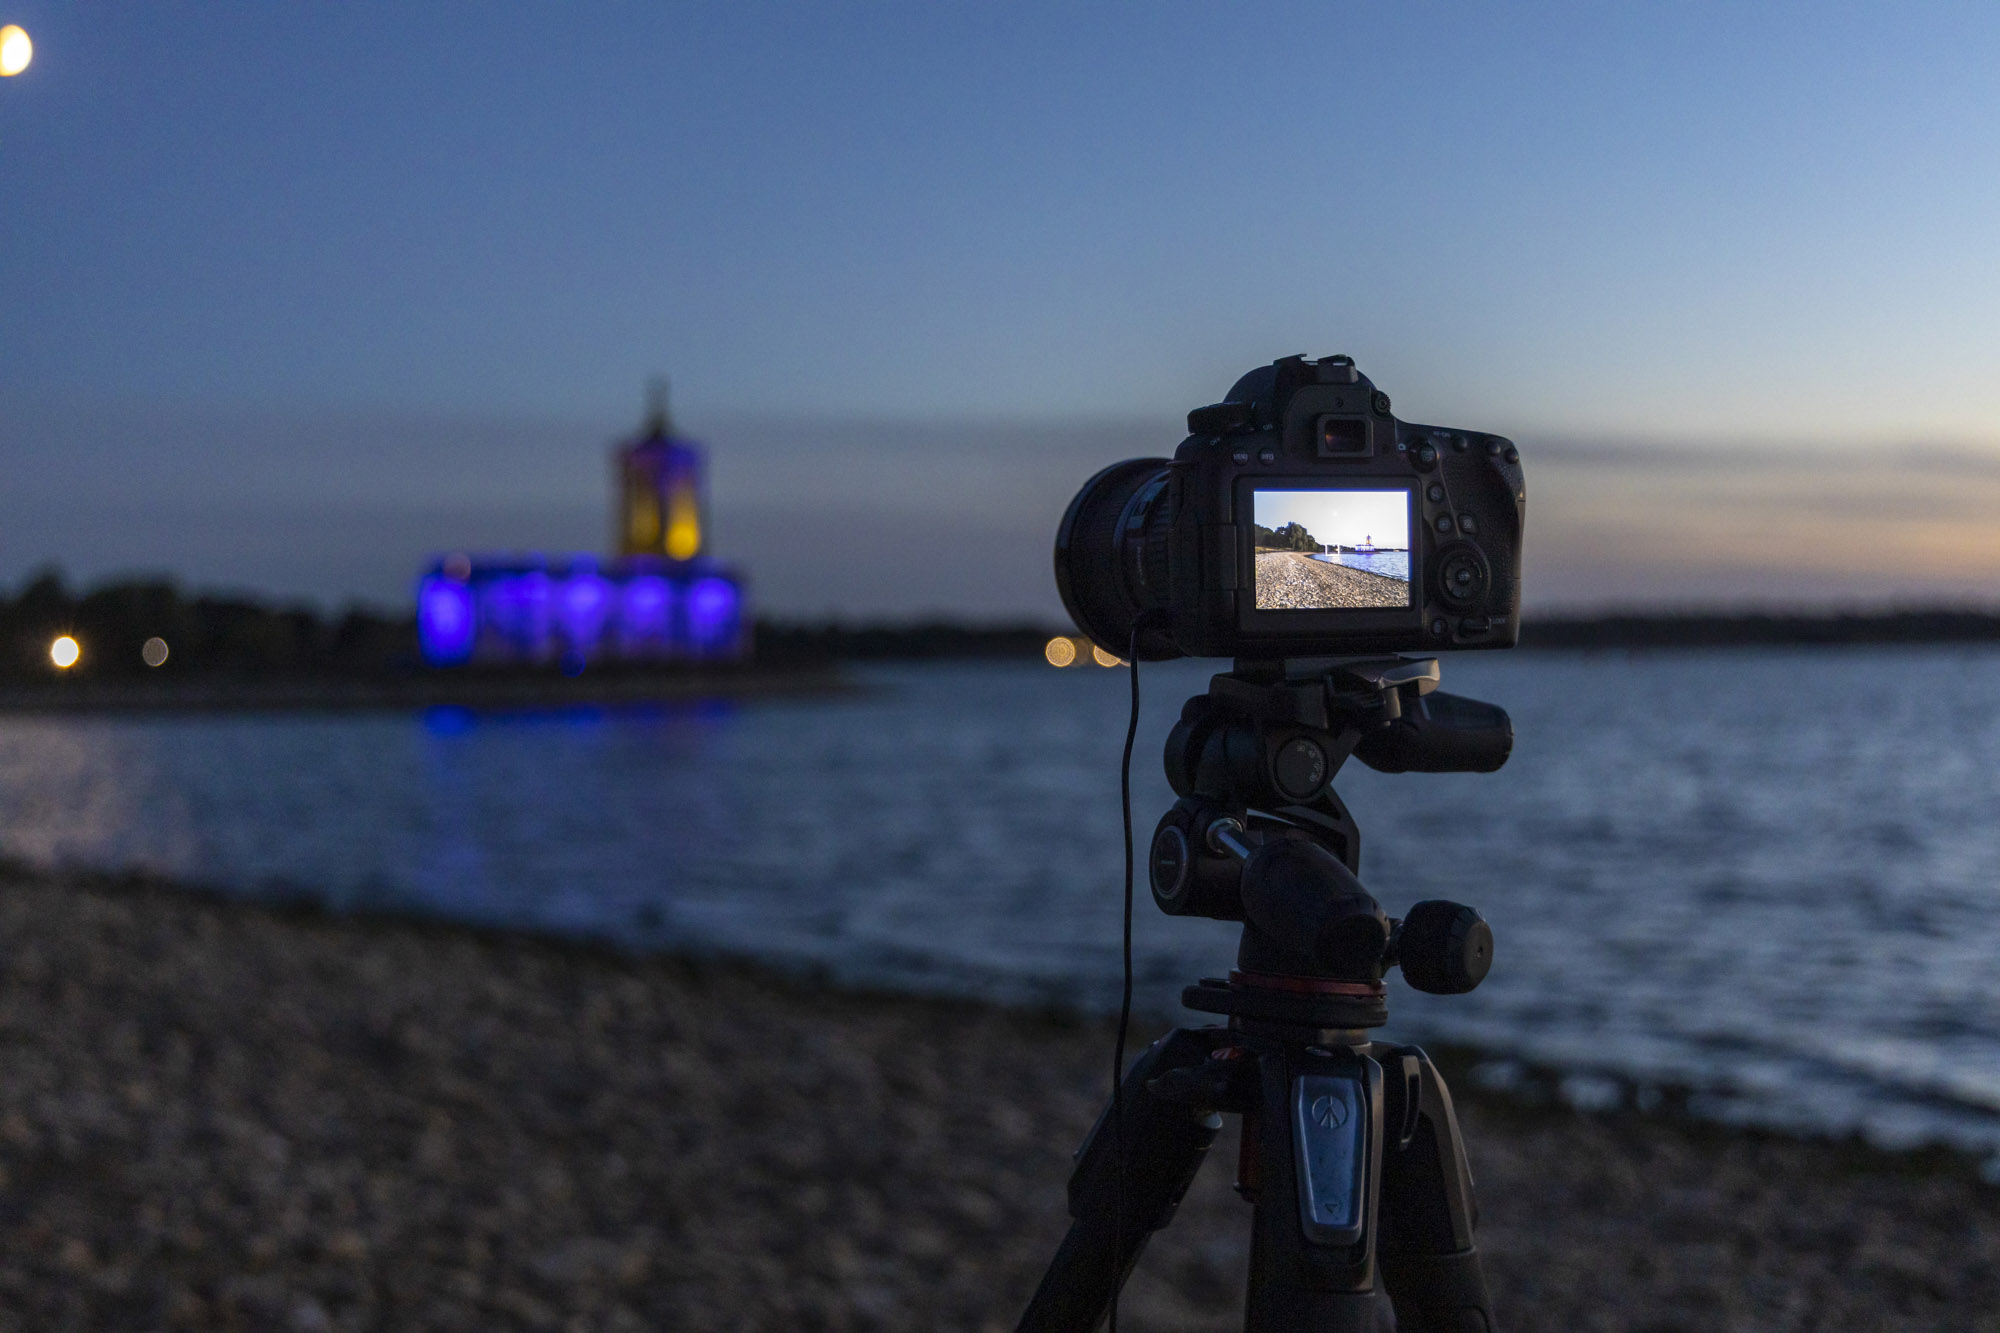
The first thing to do is set up your camera on a tripod. Arrive around sunset so there’s still plenty of light for you to get set up and see what you’re doing. You may also be able to take some decent landscapes in the golden hour. Frame up so you have enough of your foreground in the shot where you plan to stand and create your light orbs with your torch.
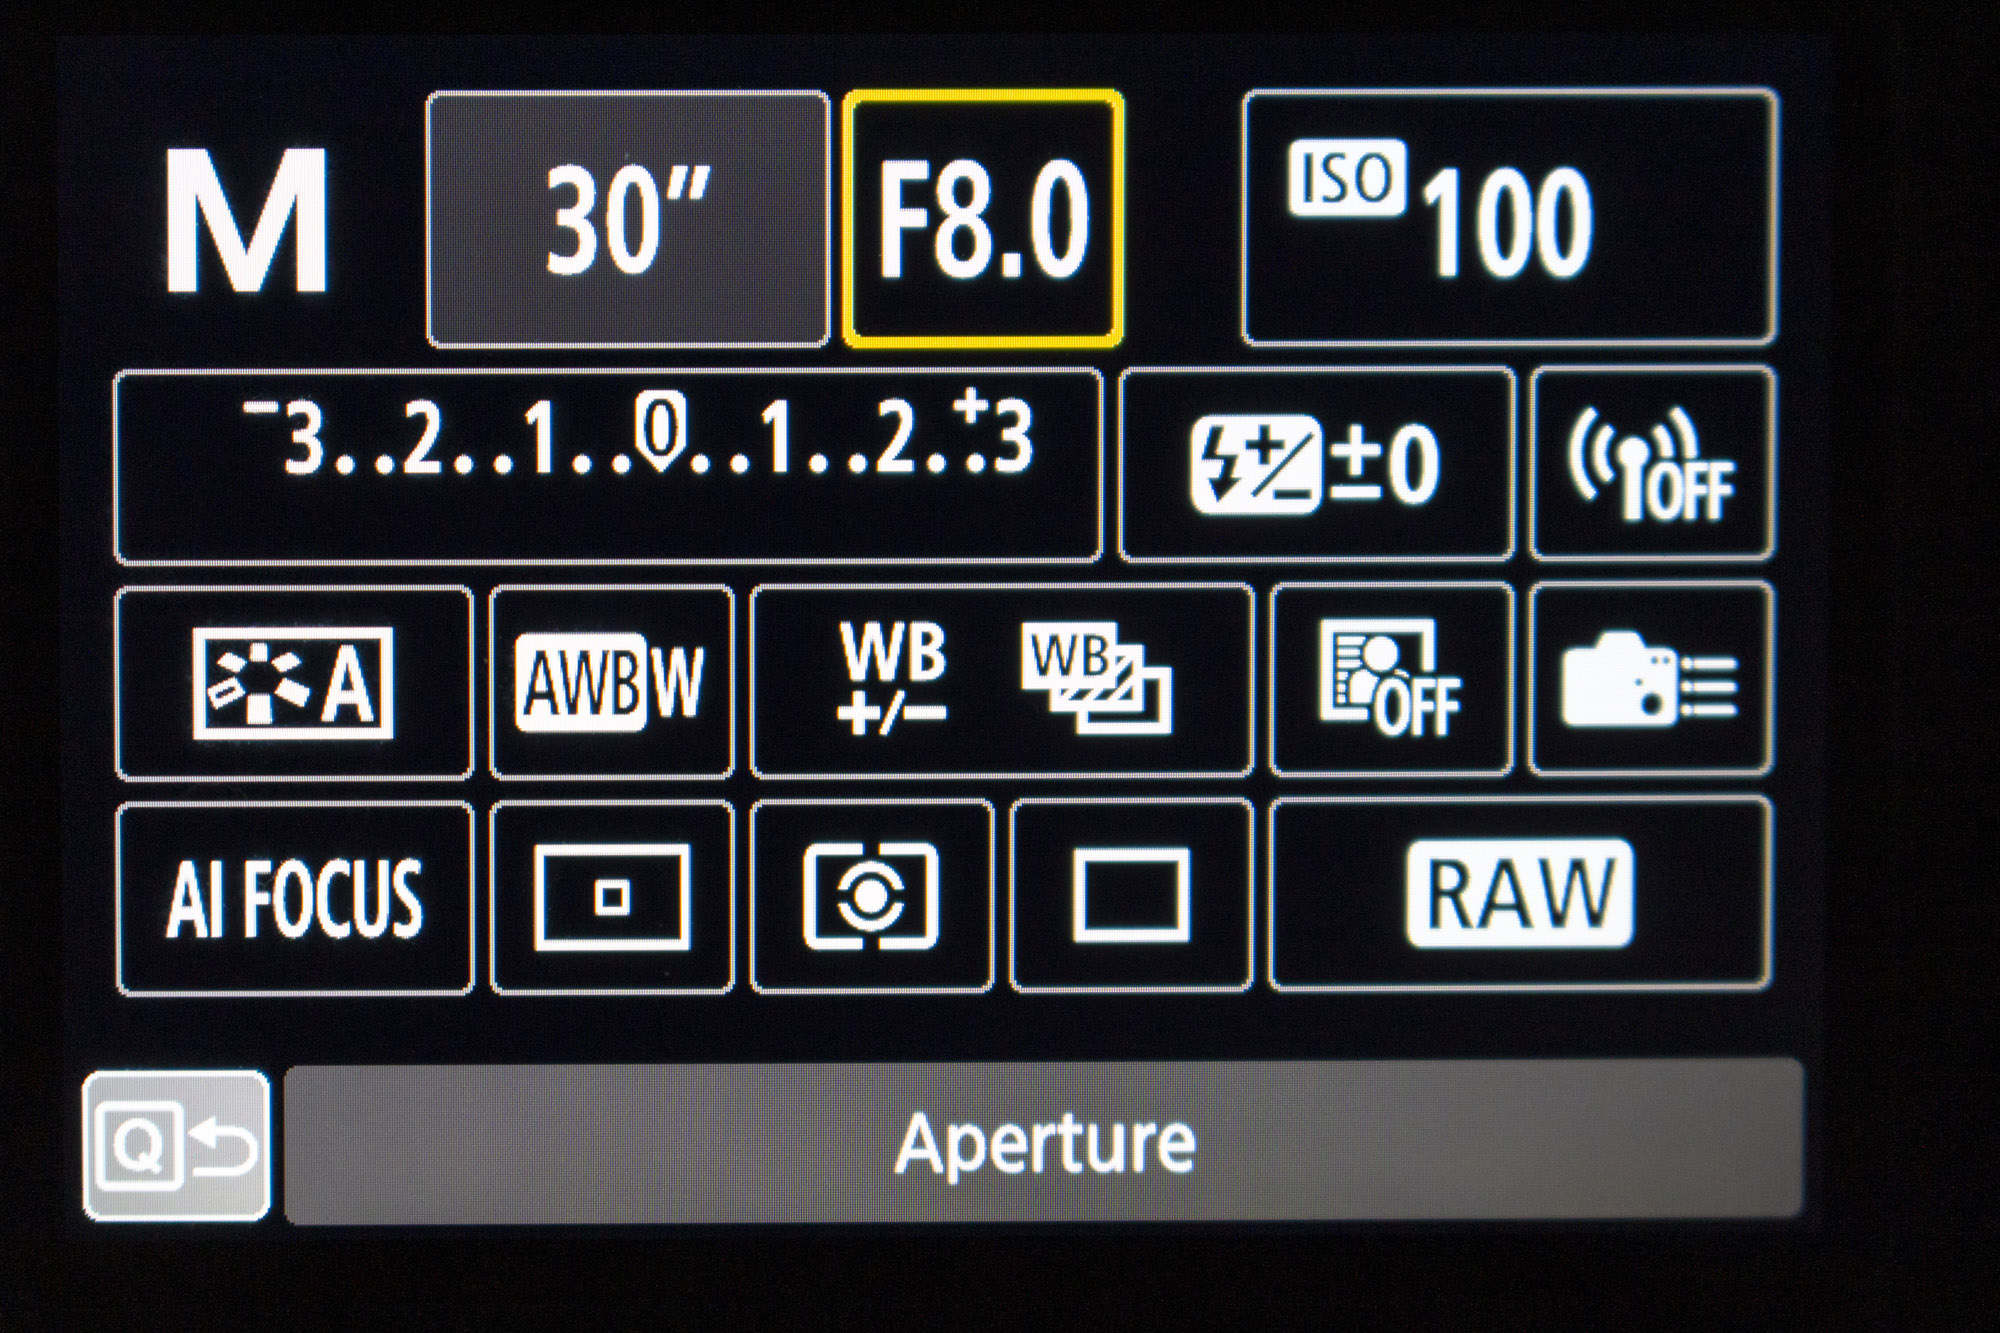
Focus about a third of the way into the scene so that it’s sharp and then go to MF to lock the focus on the lens. Go into your camera's Manual mode and dial in a shutter speed of 30 secs, an aperture of f/8, and an ISO of 100. If you have a camera remote, connect it so your friend can press it to start the exposure, or if flying solo, turn on your 10-sec self-timer.
2. Start spinning!
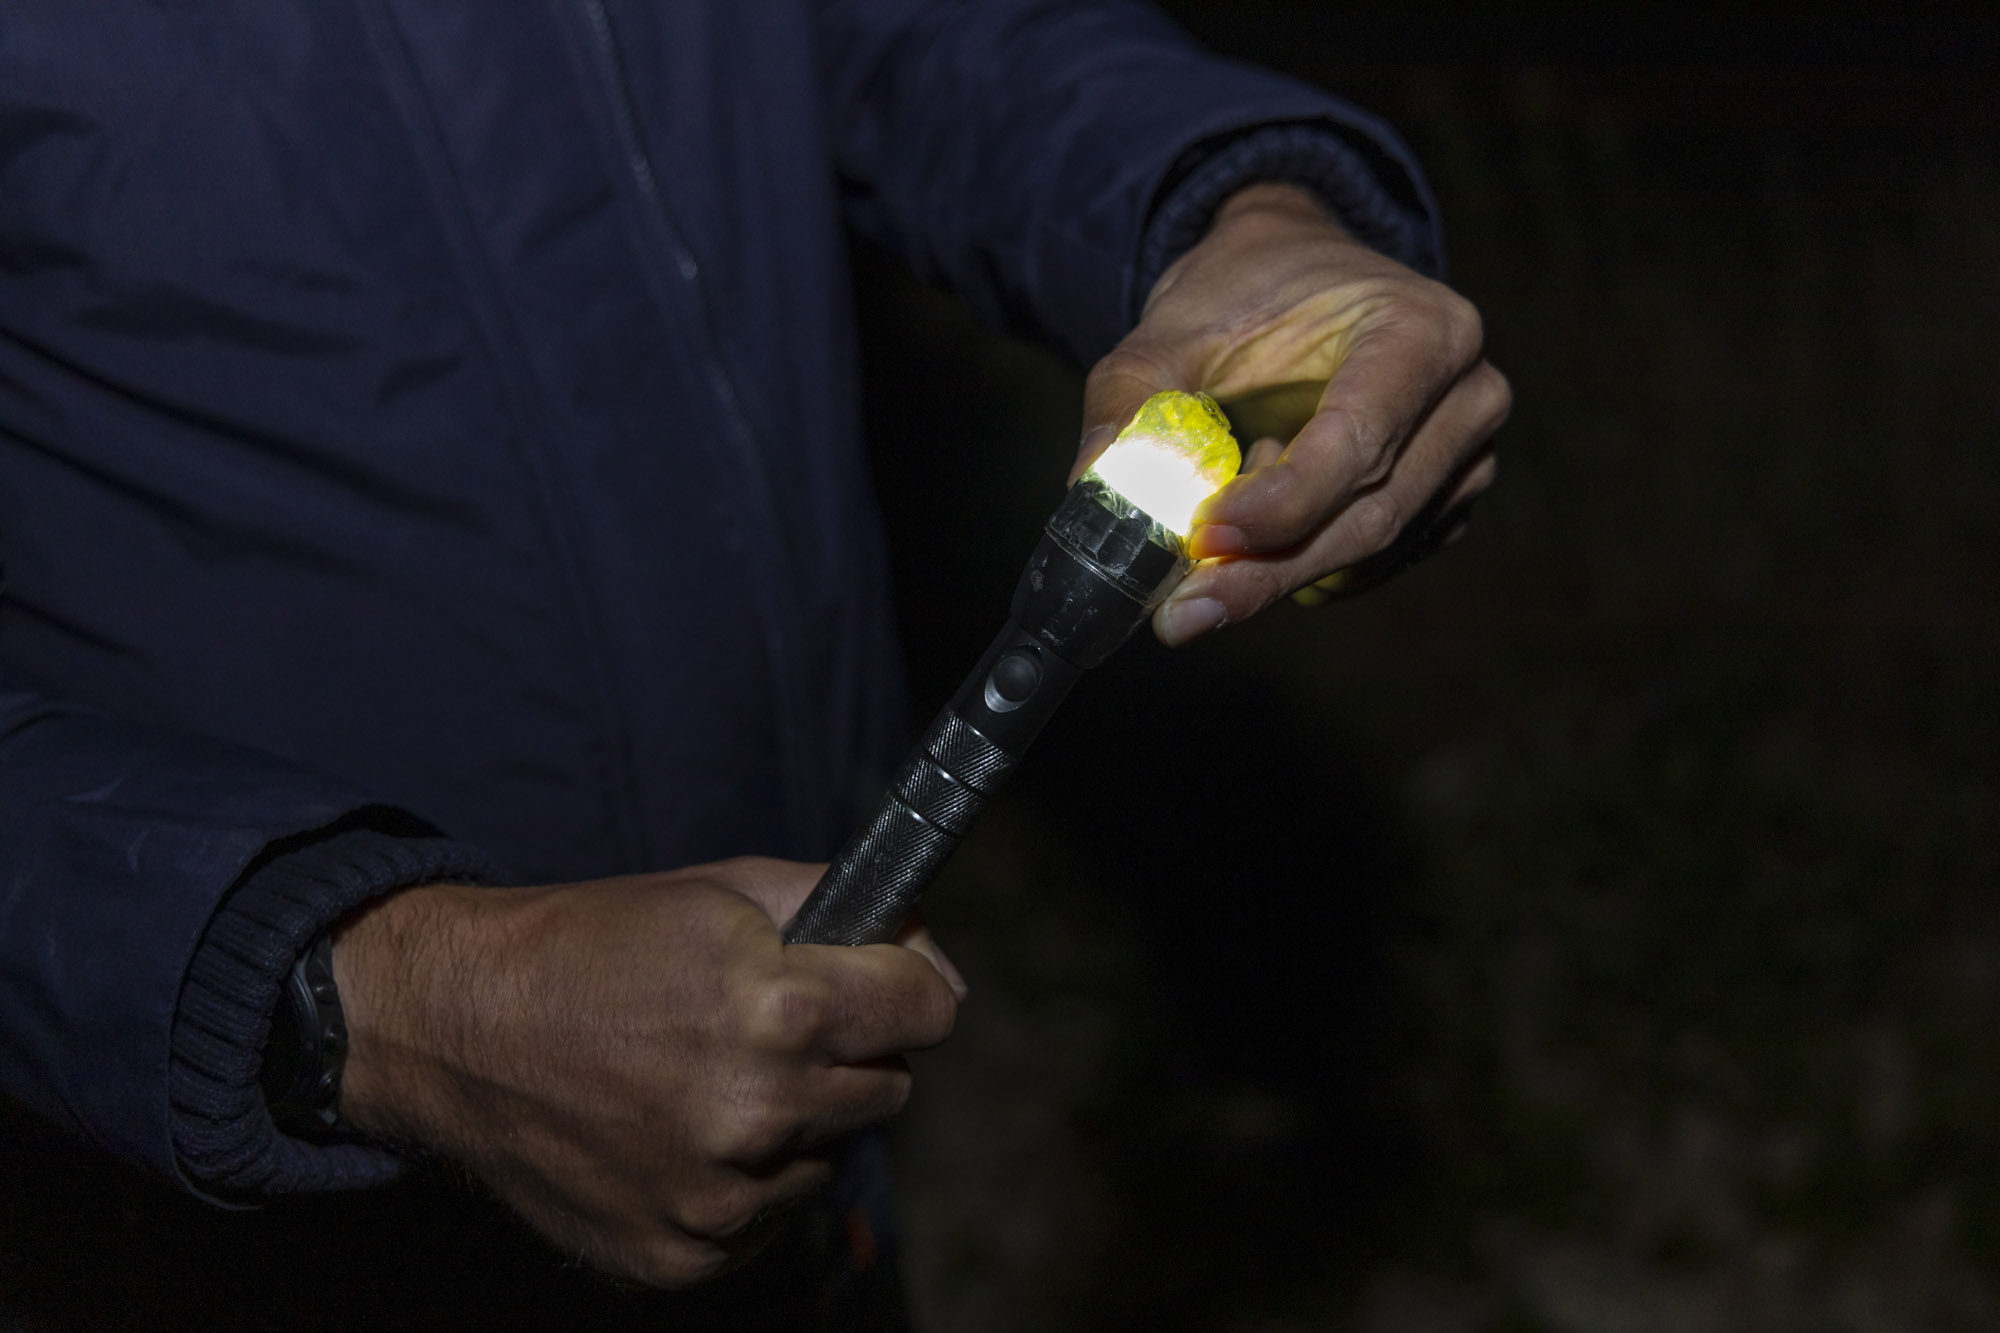
You need to spin your torch to create the magical orbs of light, but first you need to add a ball of clingfilm, or a ping pong ball, to the front of the torch to give it more surface area. You’ll also want to use a powerful torch, ideally one with a keyring attachment on the handle that you can tether a metre or so of string to it. Use dark string so that it won’t be picked up in your final images.
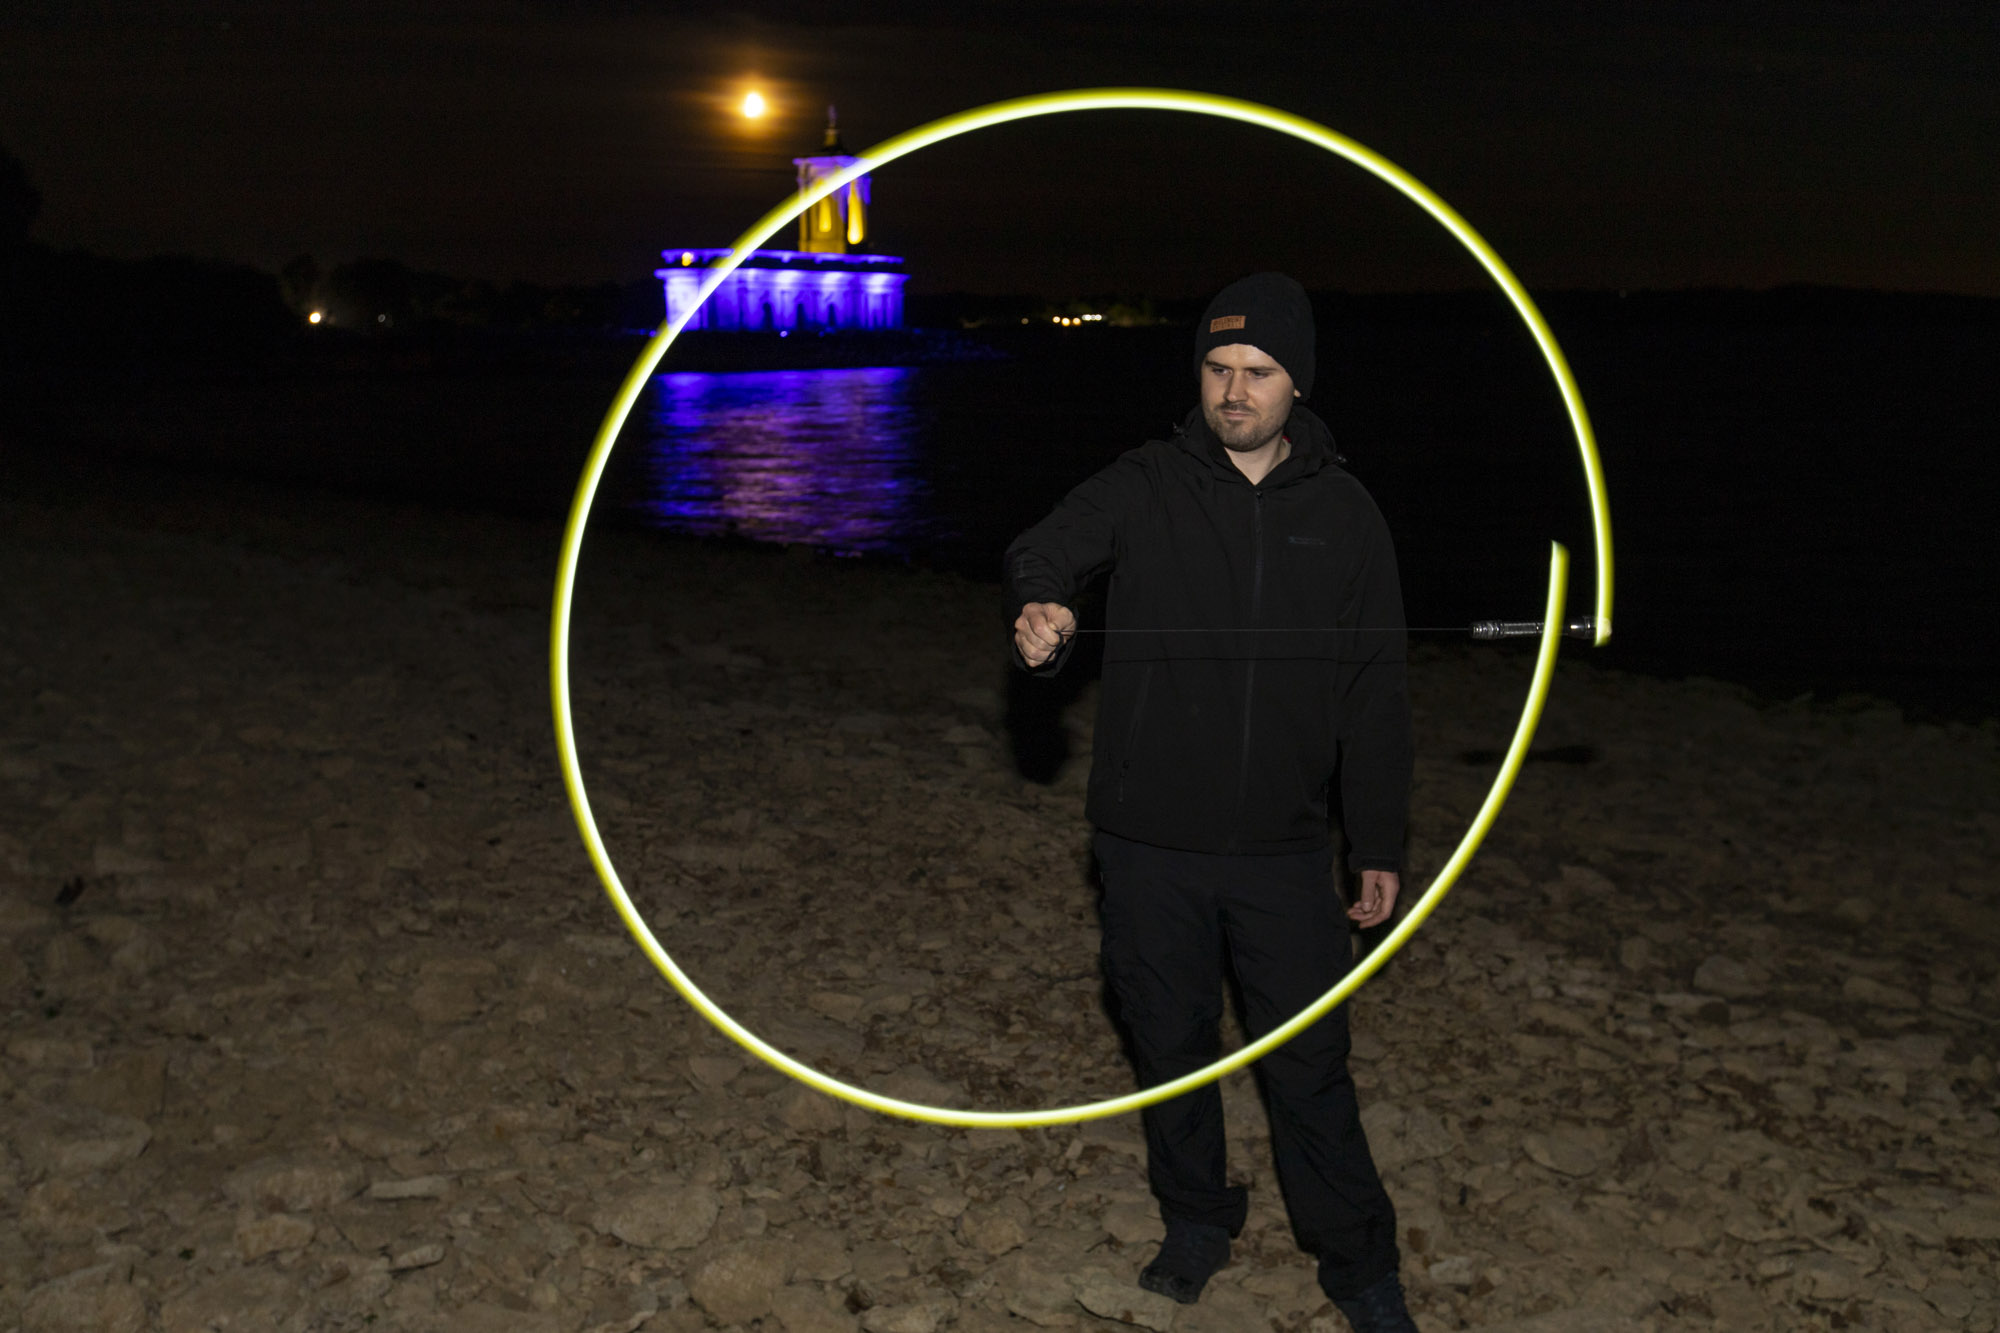
When you’re ready to go, have a friend push the shutter button, or use a 10-second self-timer so that you have enough time to start the exposure and then get into position. Start swinging the torch before the shutter opens, then walk around in an arch, trying to keep your torch passing over the same point on the ground to create the spherical lighting effect. It's also best to wear dark clothing so that you're not recorded in the final exposure.
3. Review your shots
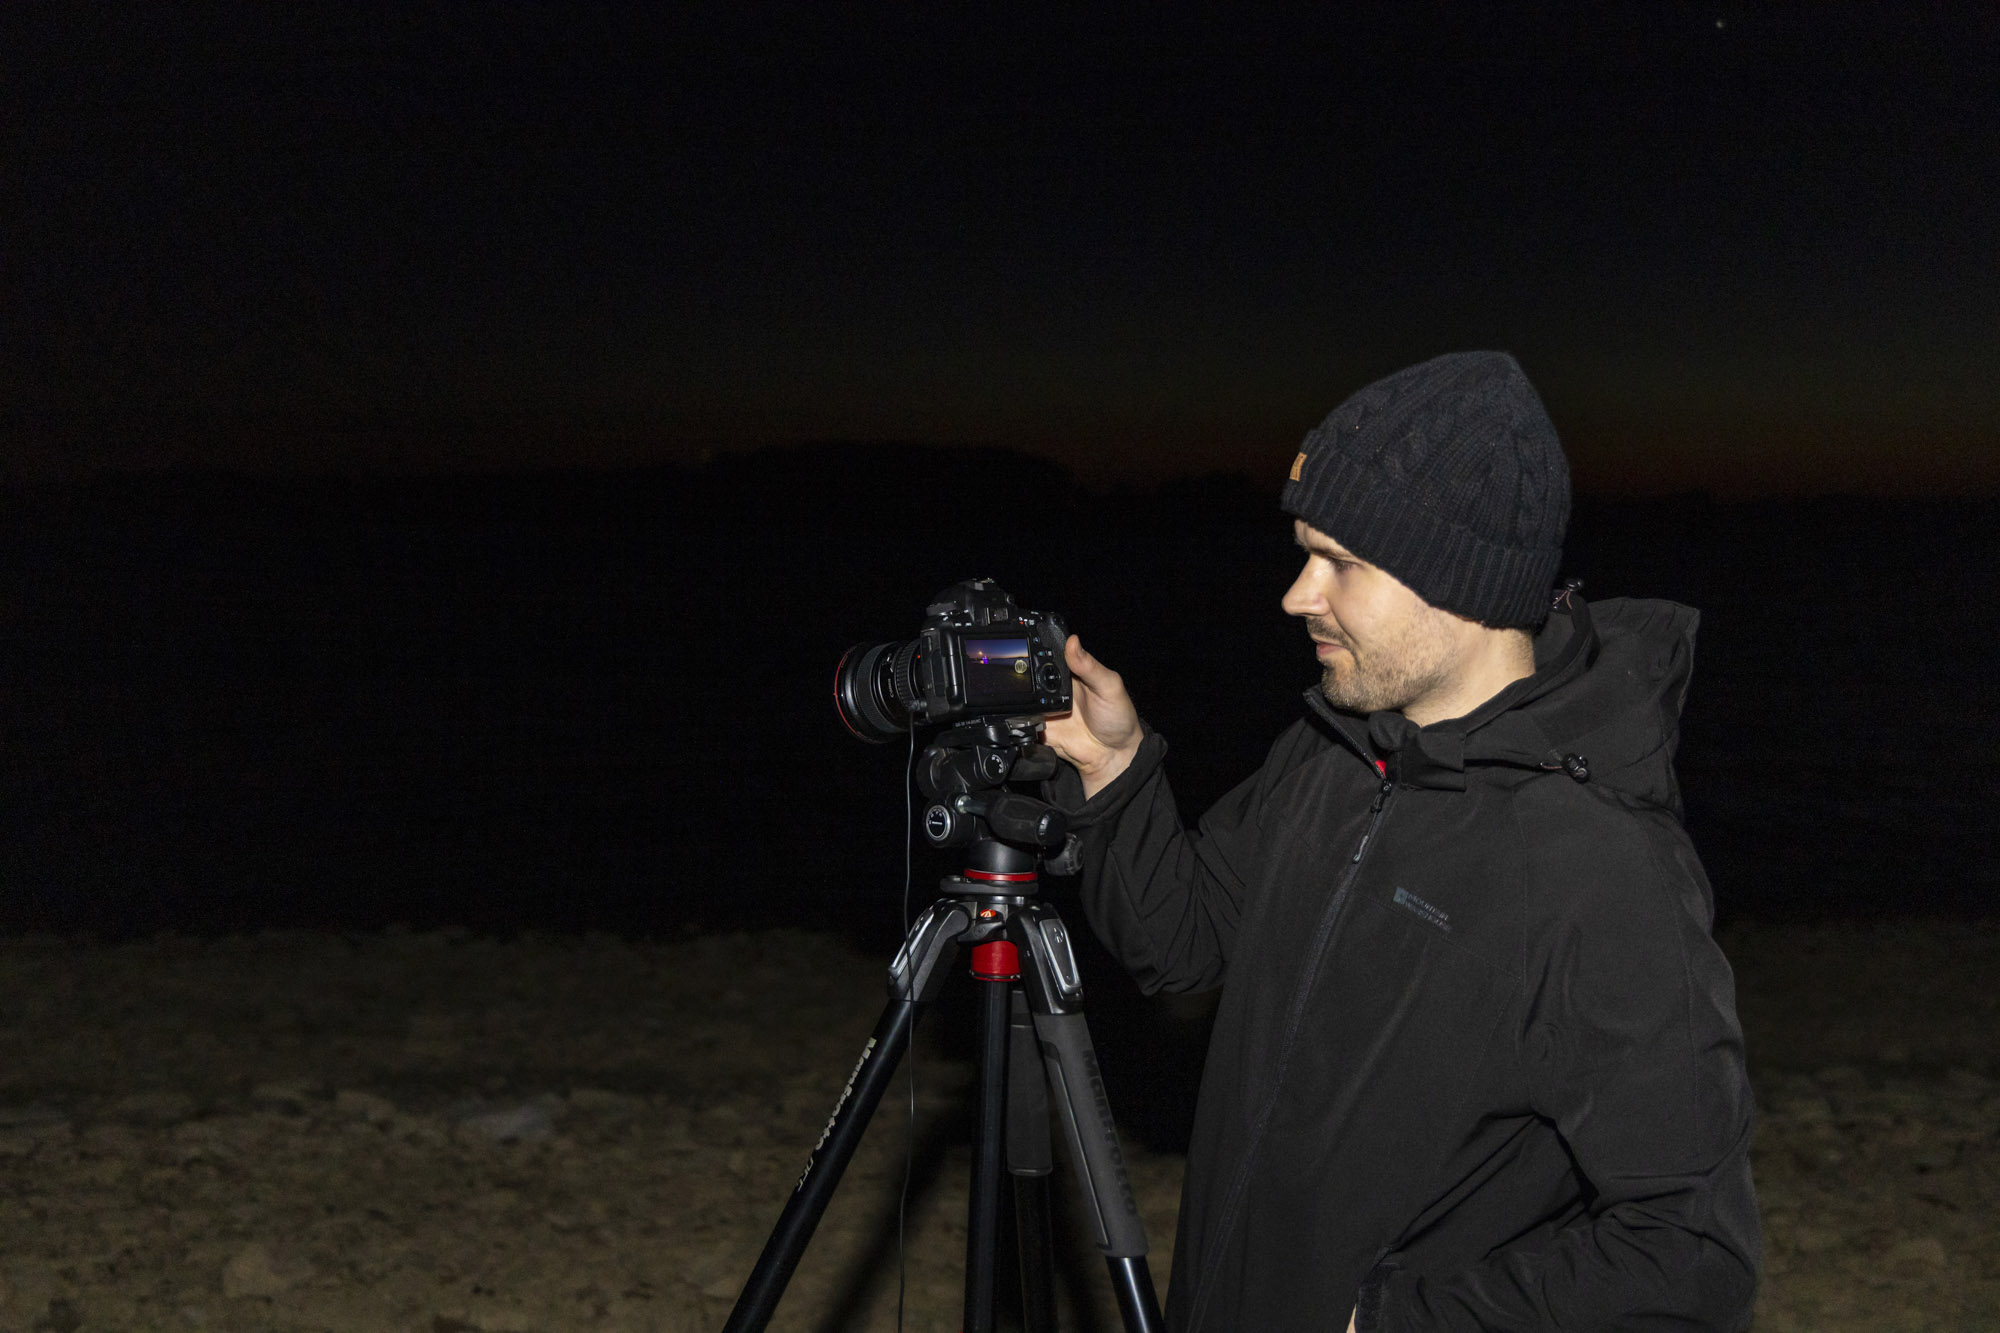
Spinning your torch and moving to create a perfectly spherical light orb will require patience and practice. After a few attempts, it’s a good idea to review your images on the LCD and check the core exposure, as well as review your light orb technique. You may need to tweak your settings to make the scene darker which will help the orbs to pop out.
It’s also useful to inspect the shots to see how neat your orbs are, which will let you know whether you need to turn faster during the exposure or spin your torch more smoothly and slower. Once you’ve got the technique nailed down get a few shots with light orbs positioned at different parts of the frame – we’ll blend them together in the next step...
4. Bring it all together in Photoshop
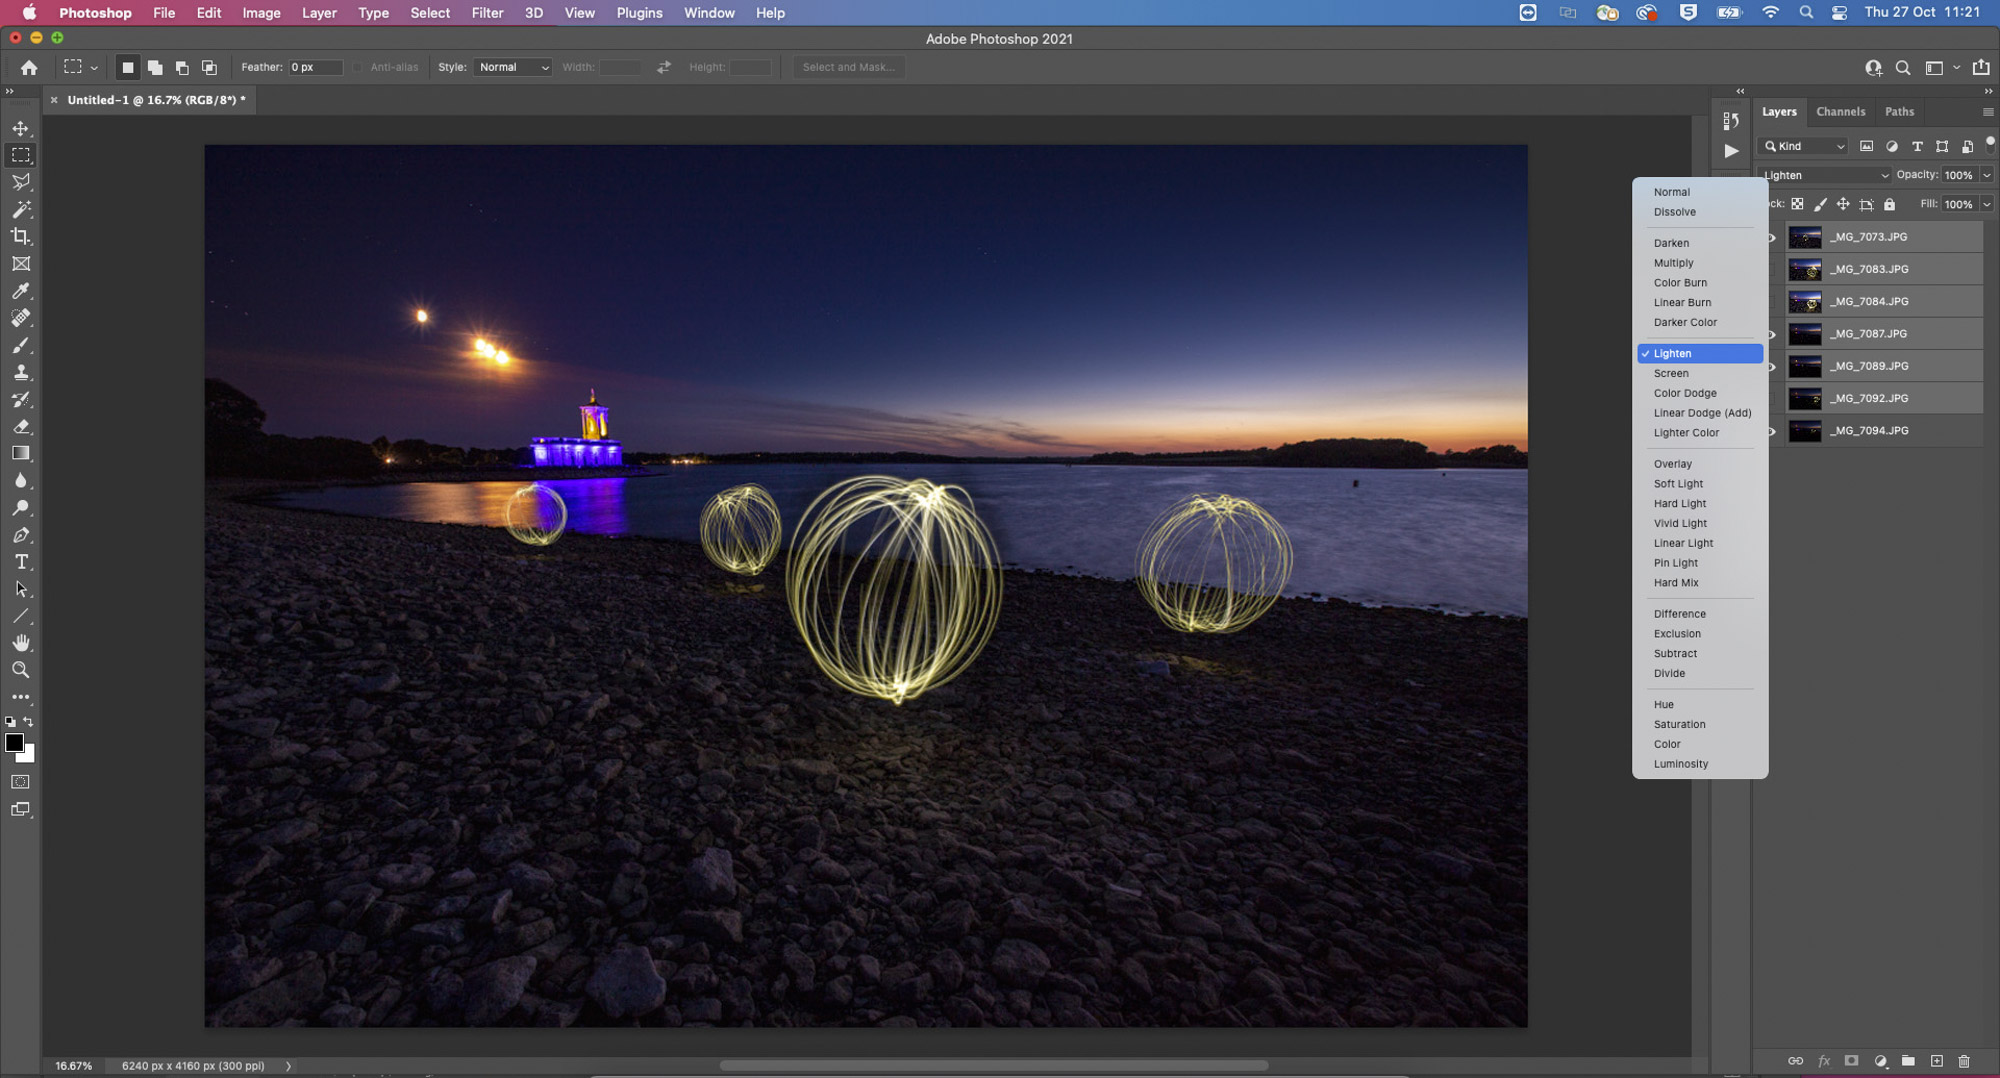
Bring your light orb images into Adobe Bridge and select them all with Ctrl/Cmd+A then go to Tools>Photoshop>Load Files into Photoshop Layers. You’ll now see all of your images appear in the layers stack in one Photoshop document. Go to your Layers panel (Window>Layers) and then highlight all of the layers by clicking the top layer, holding Shift and then clicking the bottom layer. Then change the Blending Mode from ‘Normal’ to ‘Lighten’ and you’ll see all of the orbs appear.
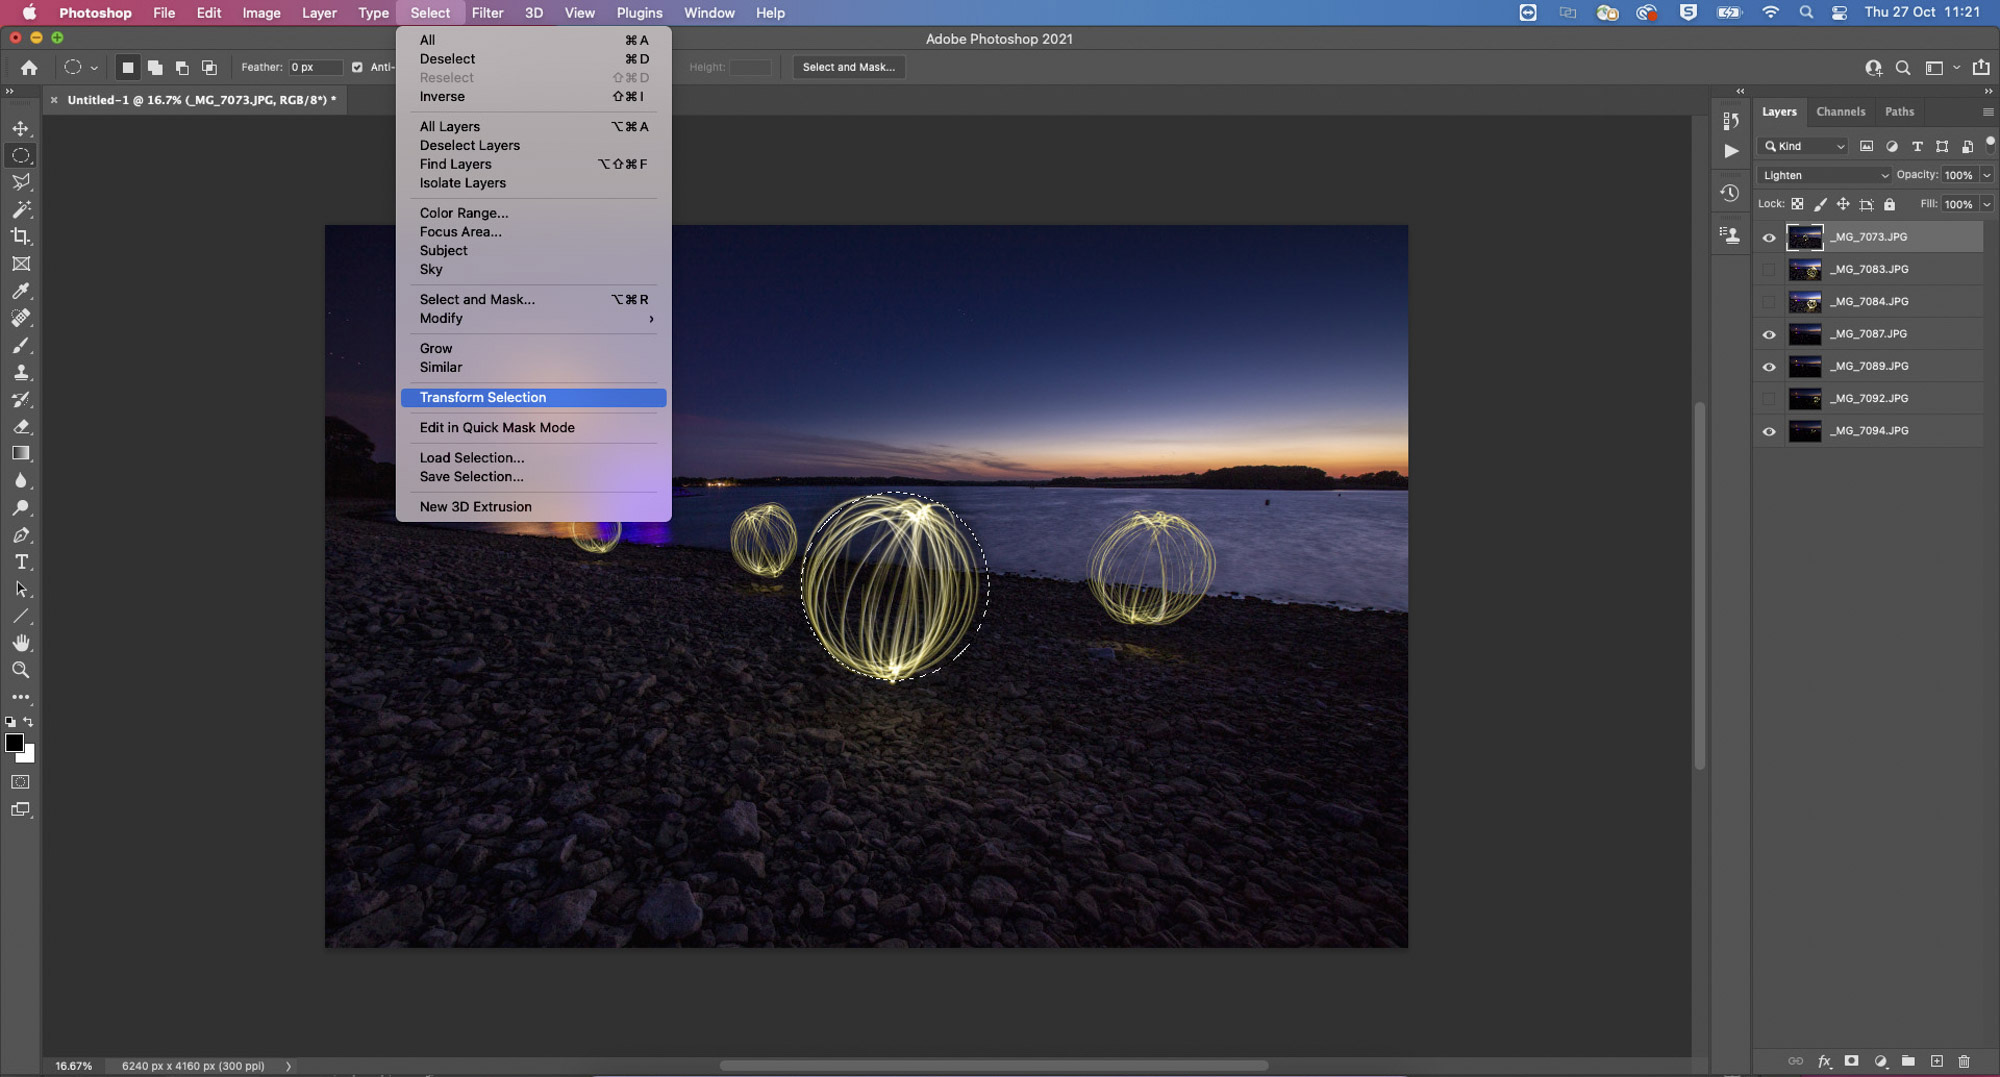
If your orbs aren’t perfectly round, you can grab the Elliptical Marquee Tool, hold Shift and draw a selection over an orb, then go to Select>Transform Selection to fine-tune it. With your perfectly circular selection made you can click on the Add Layer Mask icon to hide any scrappy areas of your orb.
PhotoPlus: The Canon Magazine is the world's only monthly newsstand title that's 100% devoted to Canon, so you can be sure the magazine is completely relevant to your system.
You might also like the best photo-editing laptops and the best LED light panels.
Get the Digital Camera World Newsletter
The best camera deals, reviews, product advice, and unmissable photography news, direct to your inbox!

Deputy Editor on PhotoPlus: The Canon Magazine, Dan also brings his technical wizardry and editing skills to Digital Camera World. He has been writing about all aspects of photography for over 10 years, having previously served as technical writer and technical editor for Practical Photography magazine, as well as Photoshop editor on Digital Photo.
Dan is an Adobe-certified Photoshop guru, making him officially a beast at post-processing – so he’s the perfect person to share tips and tricks both in-camera and in post. Able to shoot all genres, Dan provides news, techniques and tutorials on everything from portraits and landscapes to macro and wildlife, helping photographers get the most out of their cameras, lenses, filters, lighting, tripods, and, of course, editing software.

