Photo hack: make a beauty dish out of paper plates & cocktail sticks
Soften the light of your speedlight with this DIY beauty dish that you can custom make to fit your flashgun
Make your own speedlight softbox
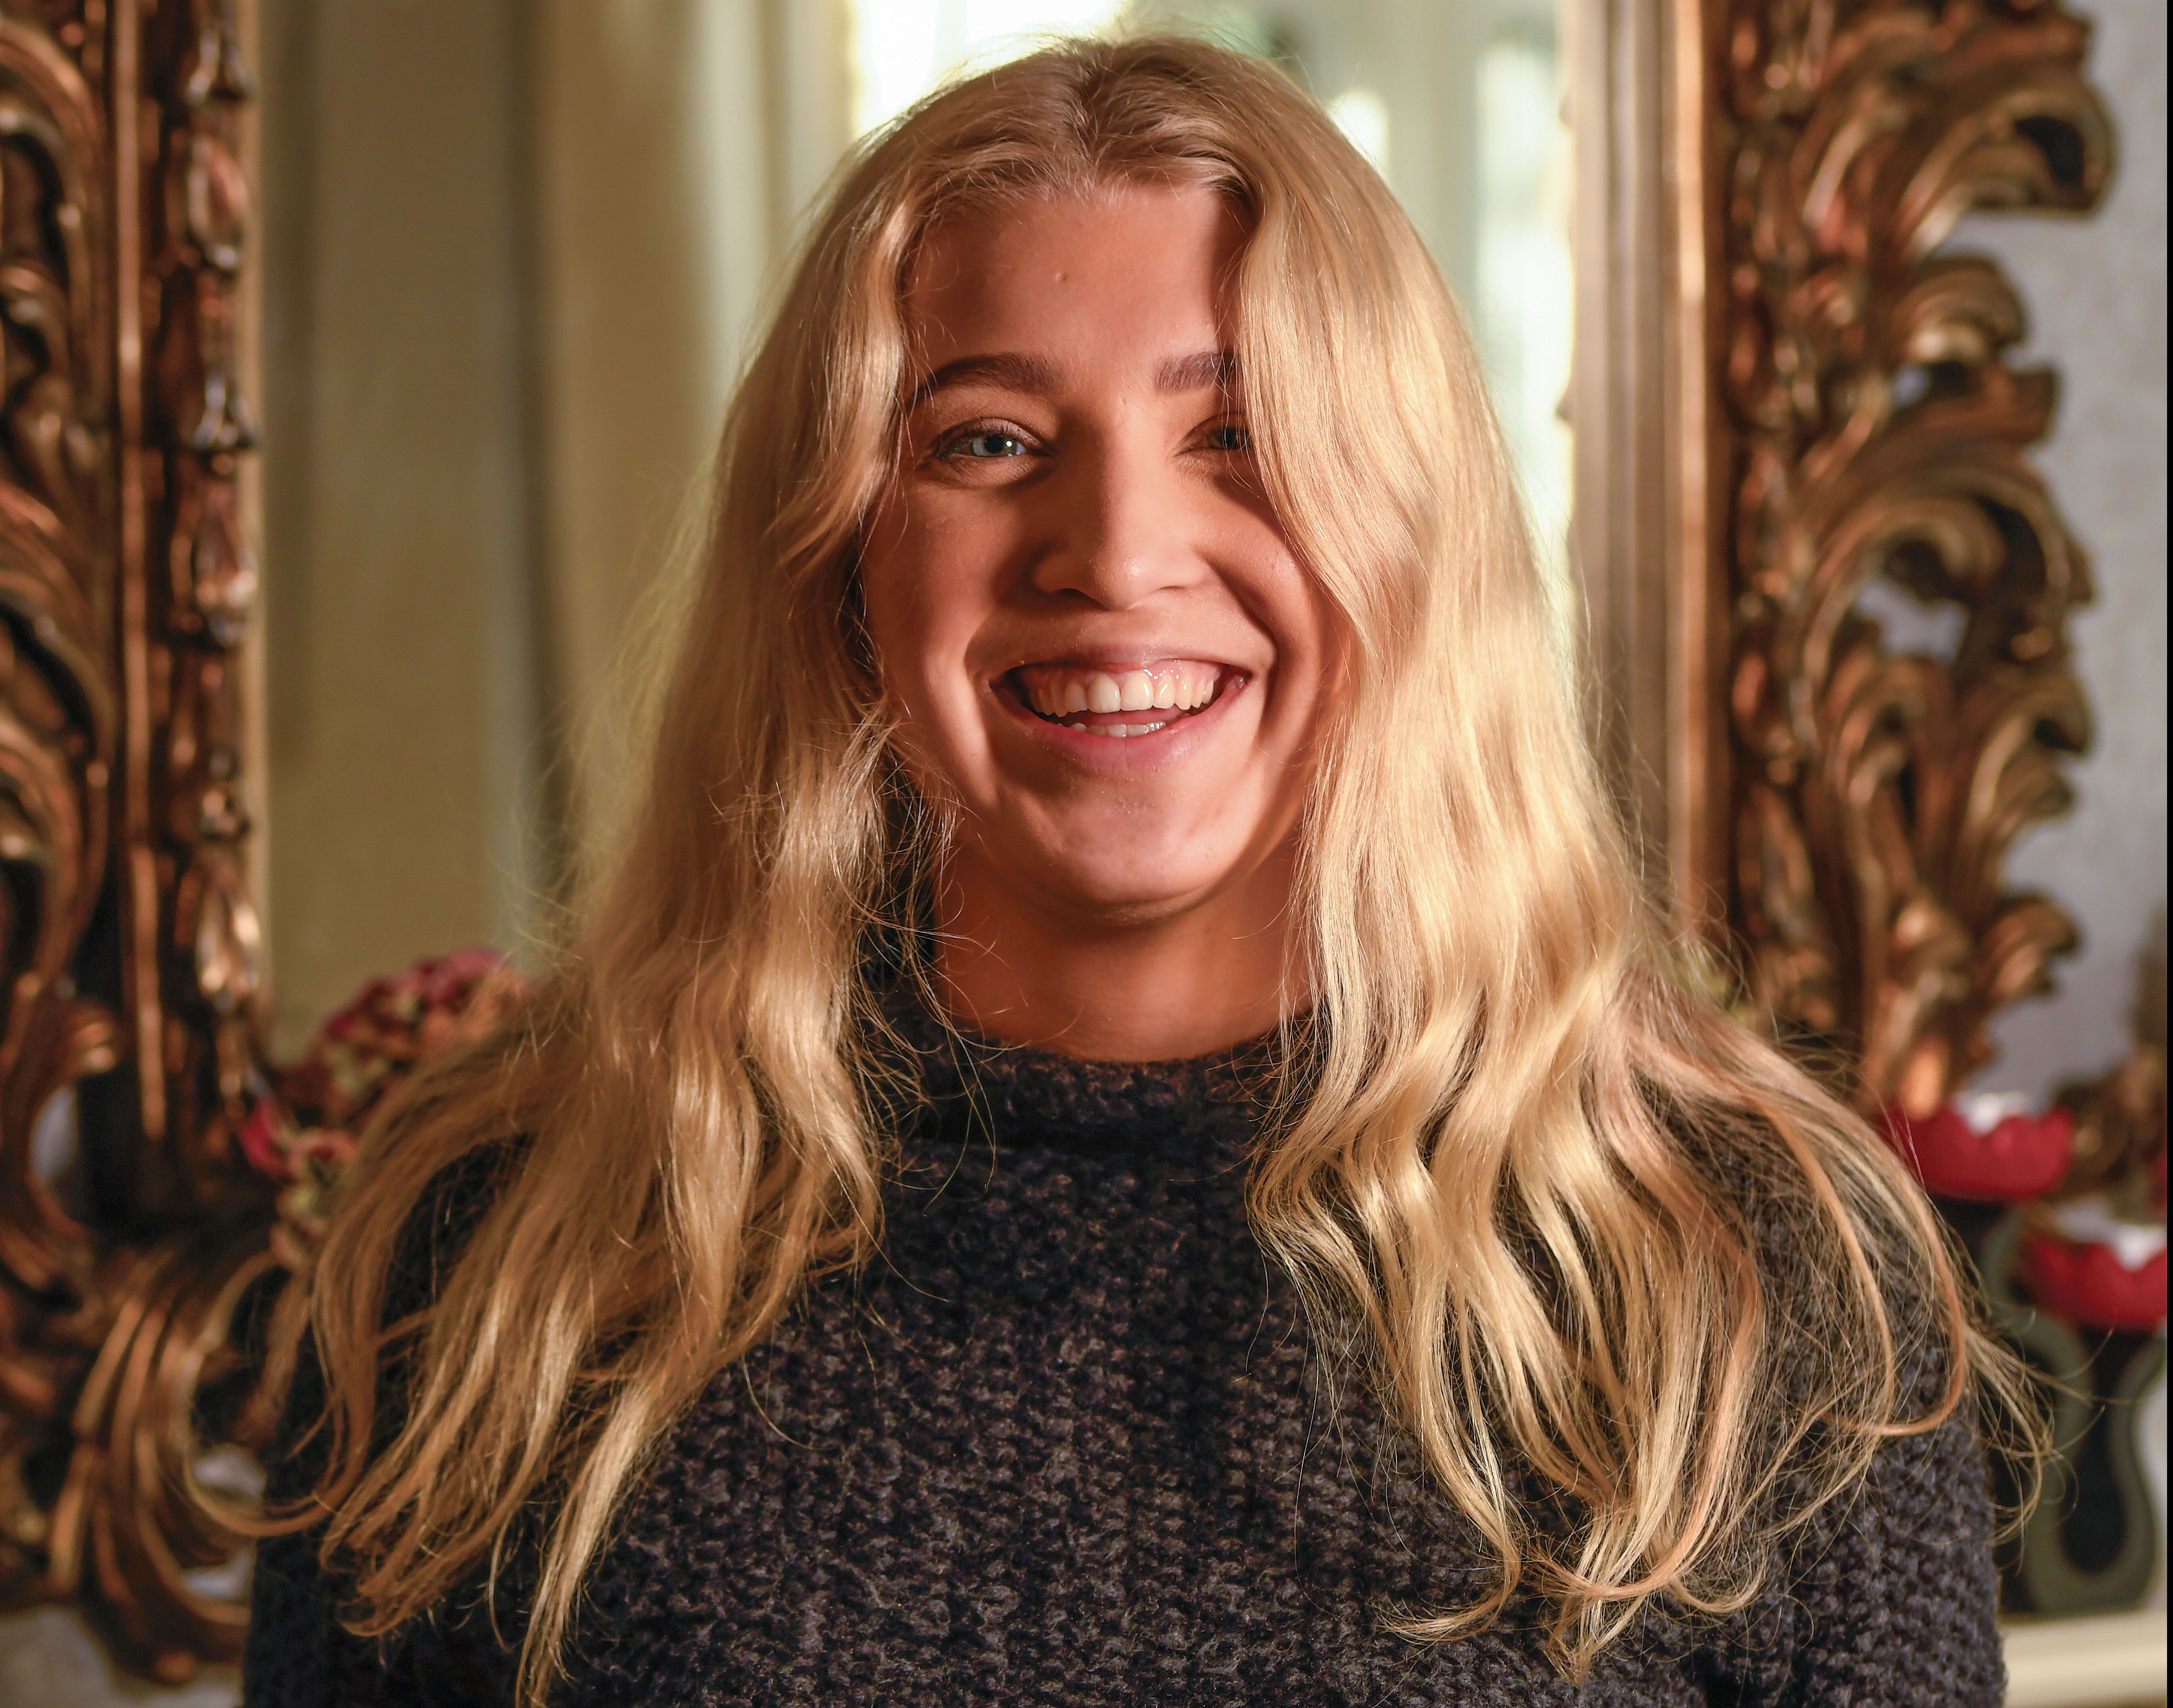
Beloved by professional portrait photographers, a beauty dish is a flash modifier that creates a large, diffused donut-shaped light source that is renowned for creating striking catchlights in models’ eyes.
Sitting in front of a studio light or a hotshoe flashgun, a beauty dish essentially comprises of a small reflector in front of the flash with a larger dish-shaped reflector behind it.
The light bounces between the two, creating a large, diffused light source. Sounds complicated? It’s nothing that can’t be crafted from a couple of paper plates and a few cocktail sticks! We will show you exactly how you can make one yourself at home, and then you can see how it can improve the quality of your portrait lighting indoors.
1. What you need
2. Cutting the plates to shape
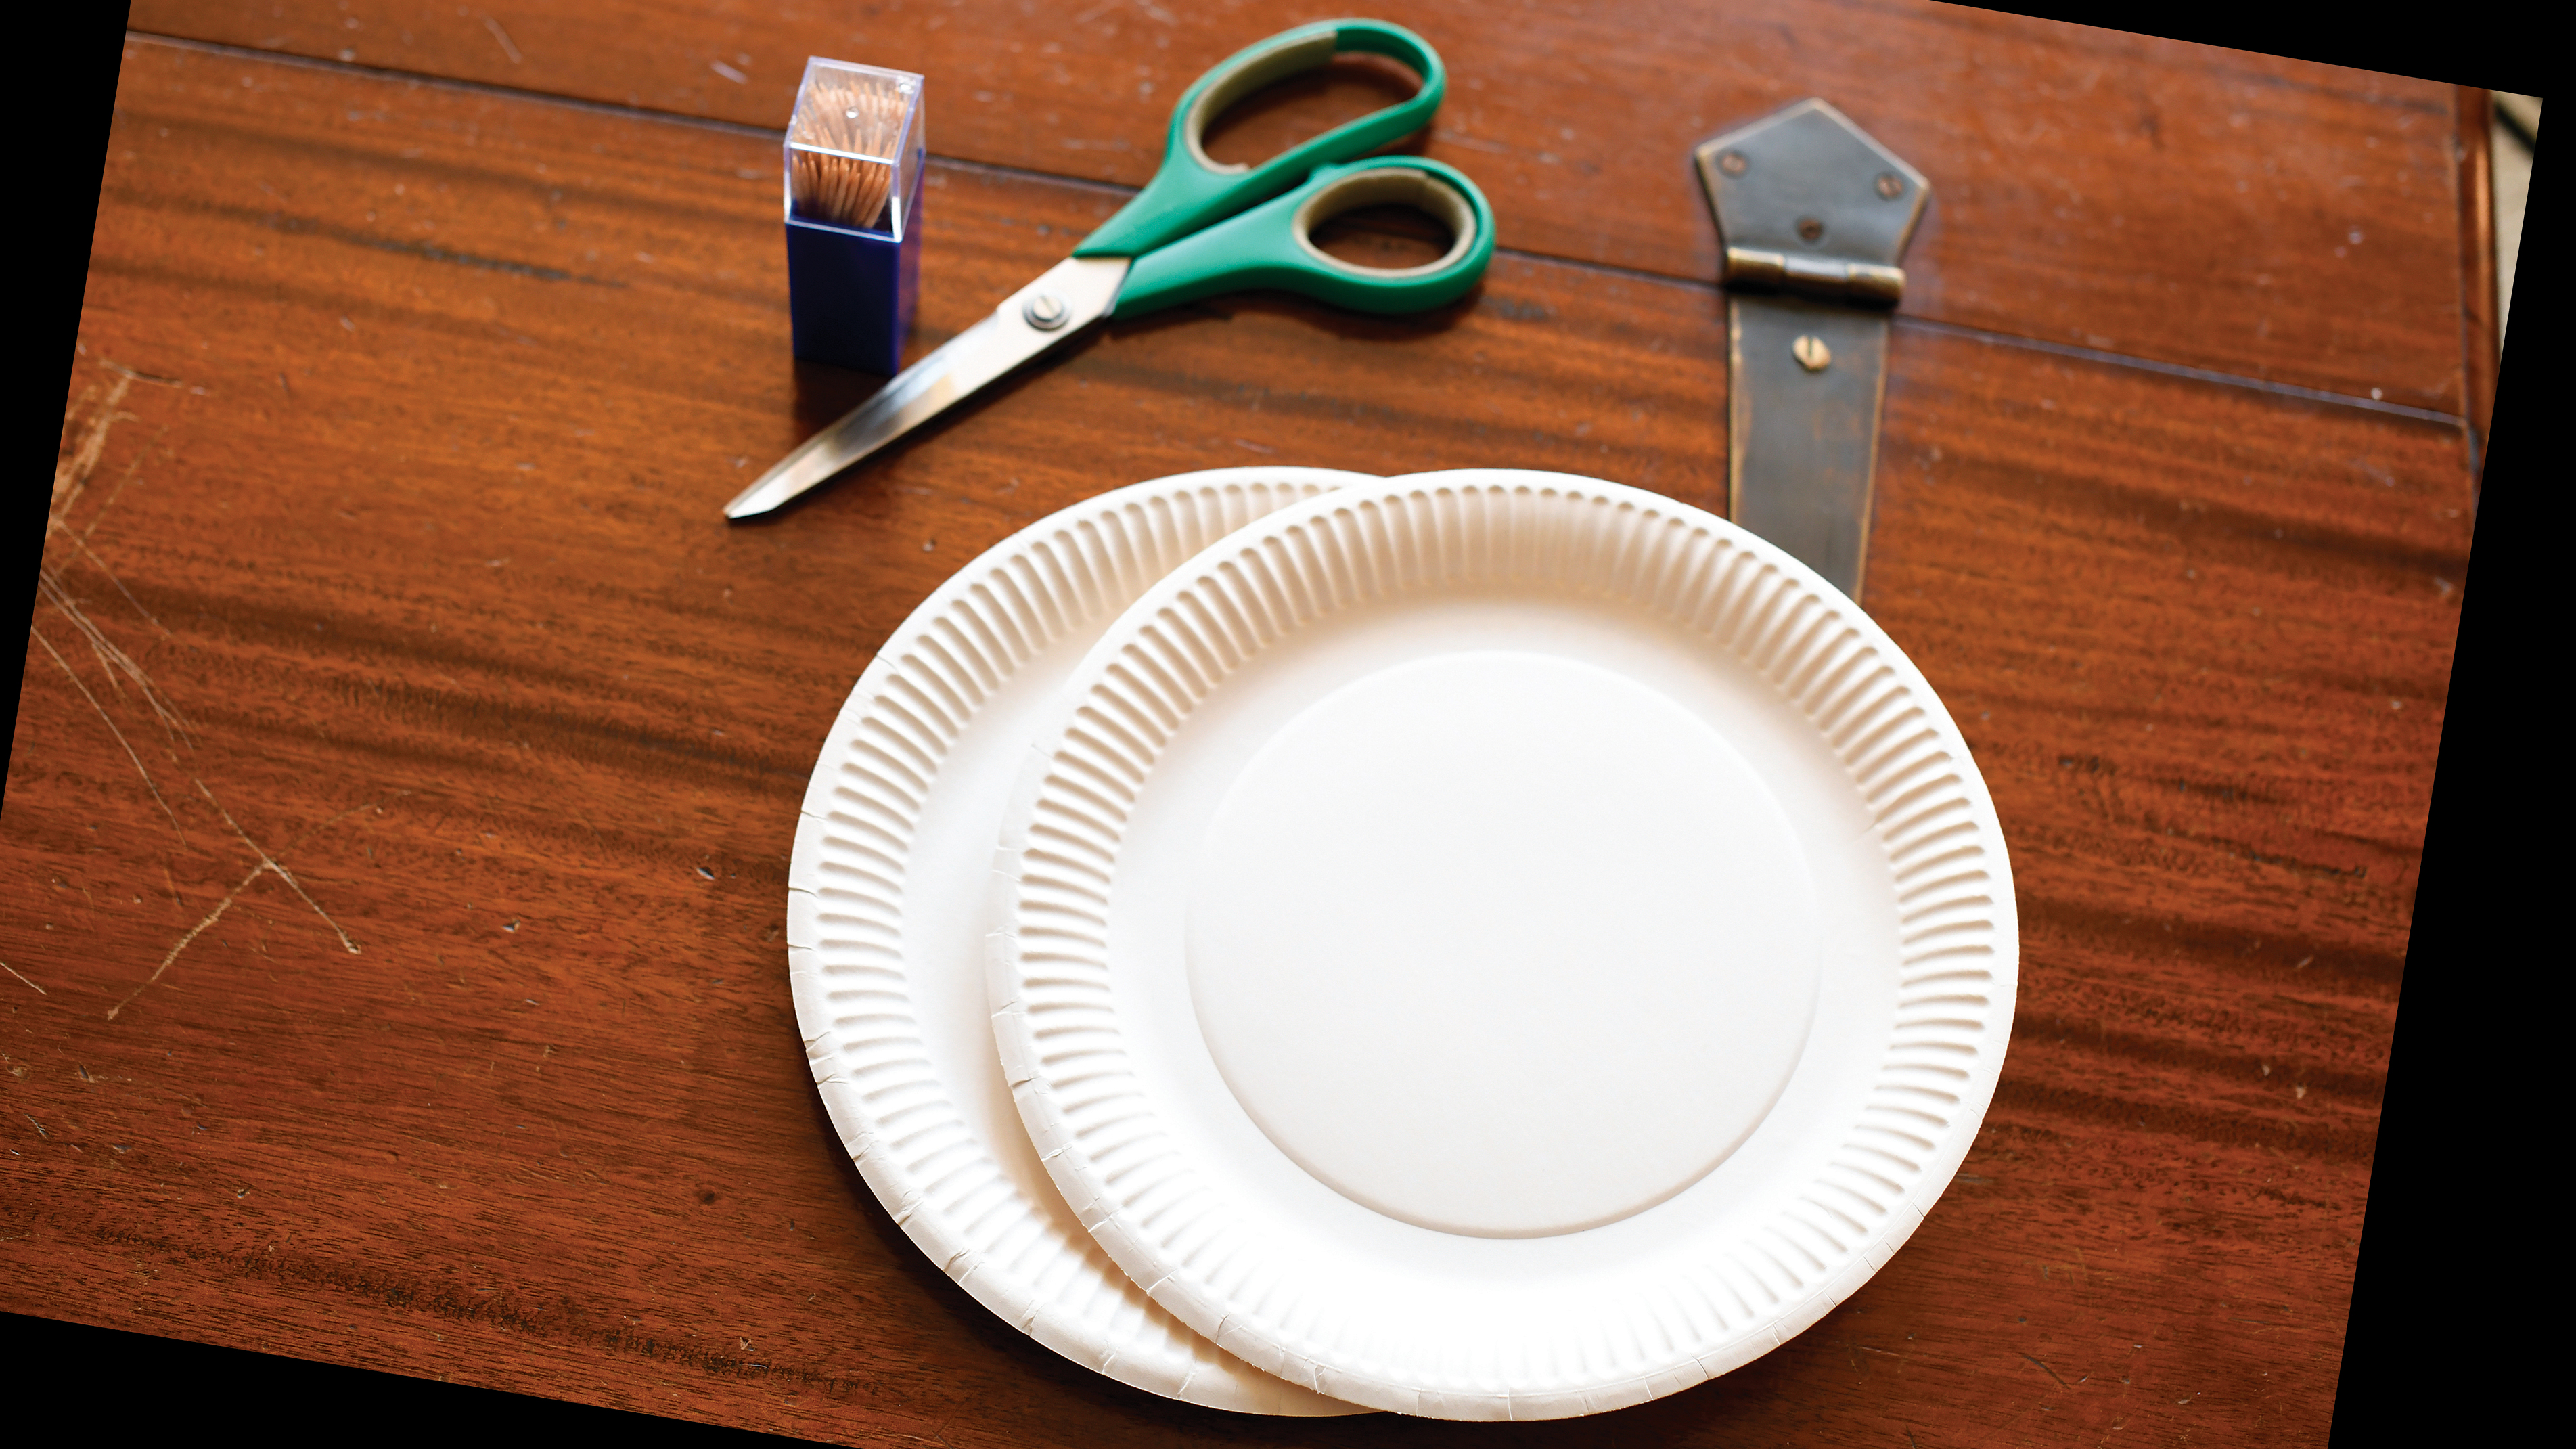
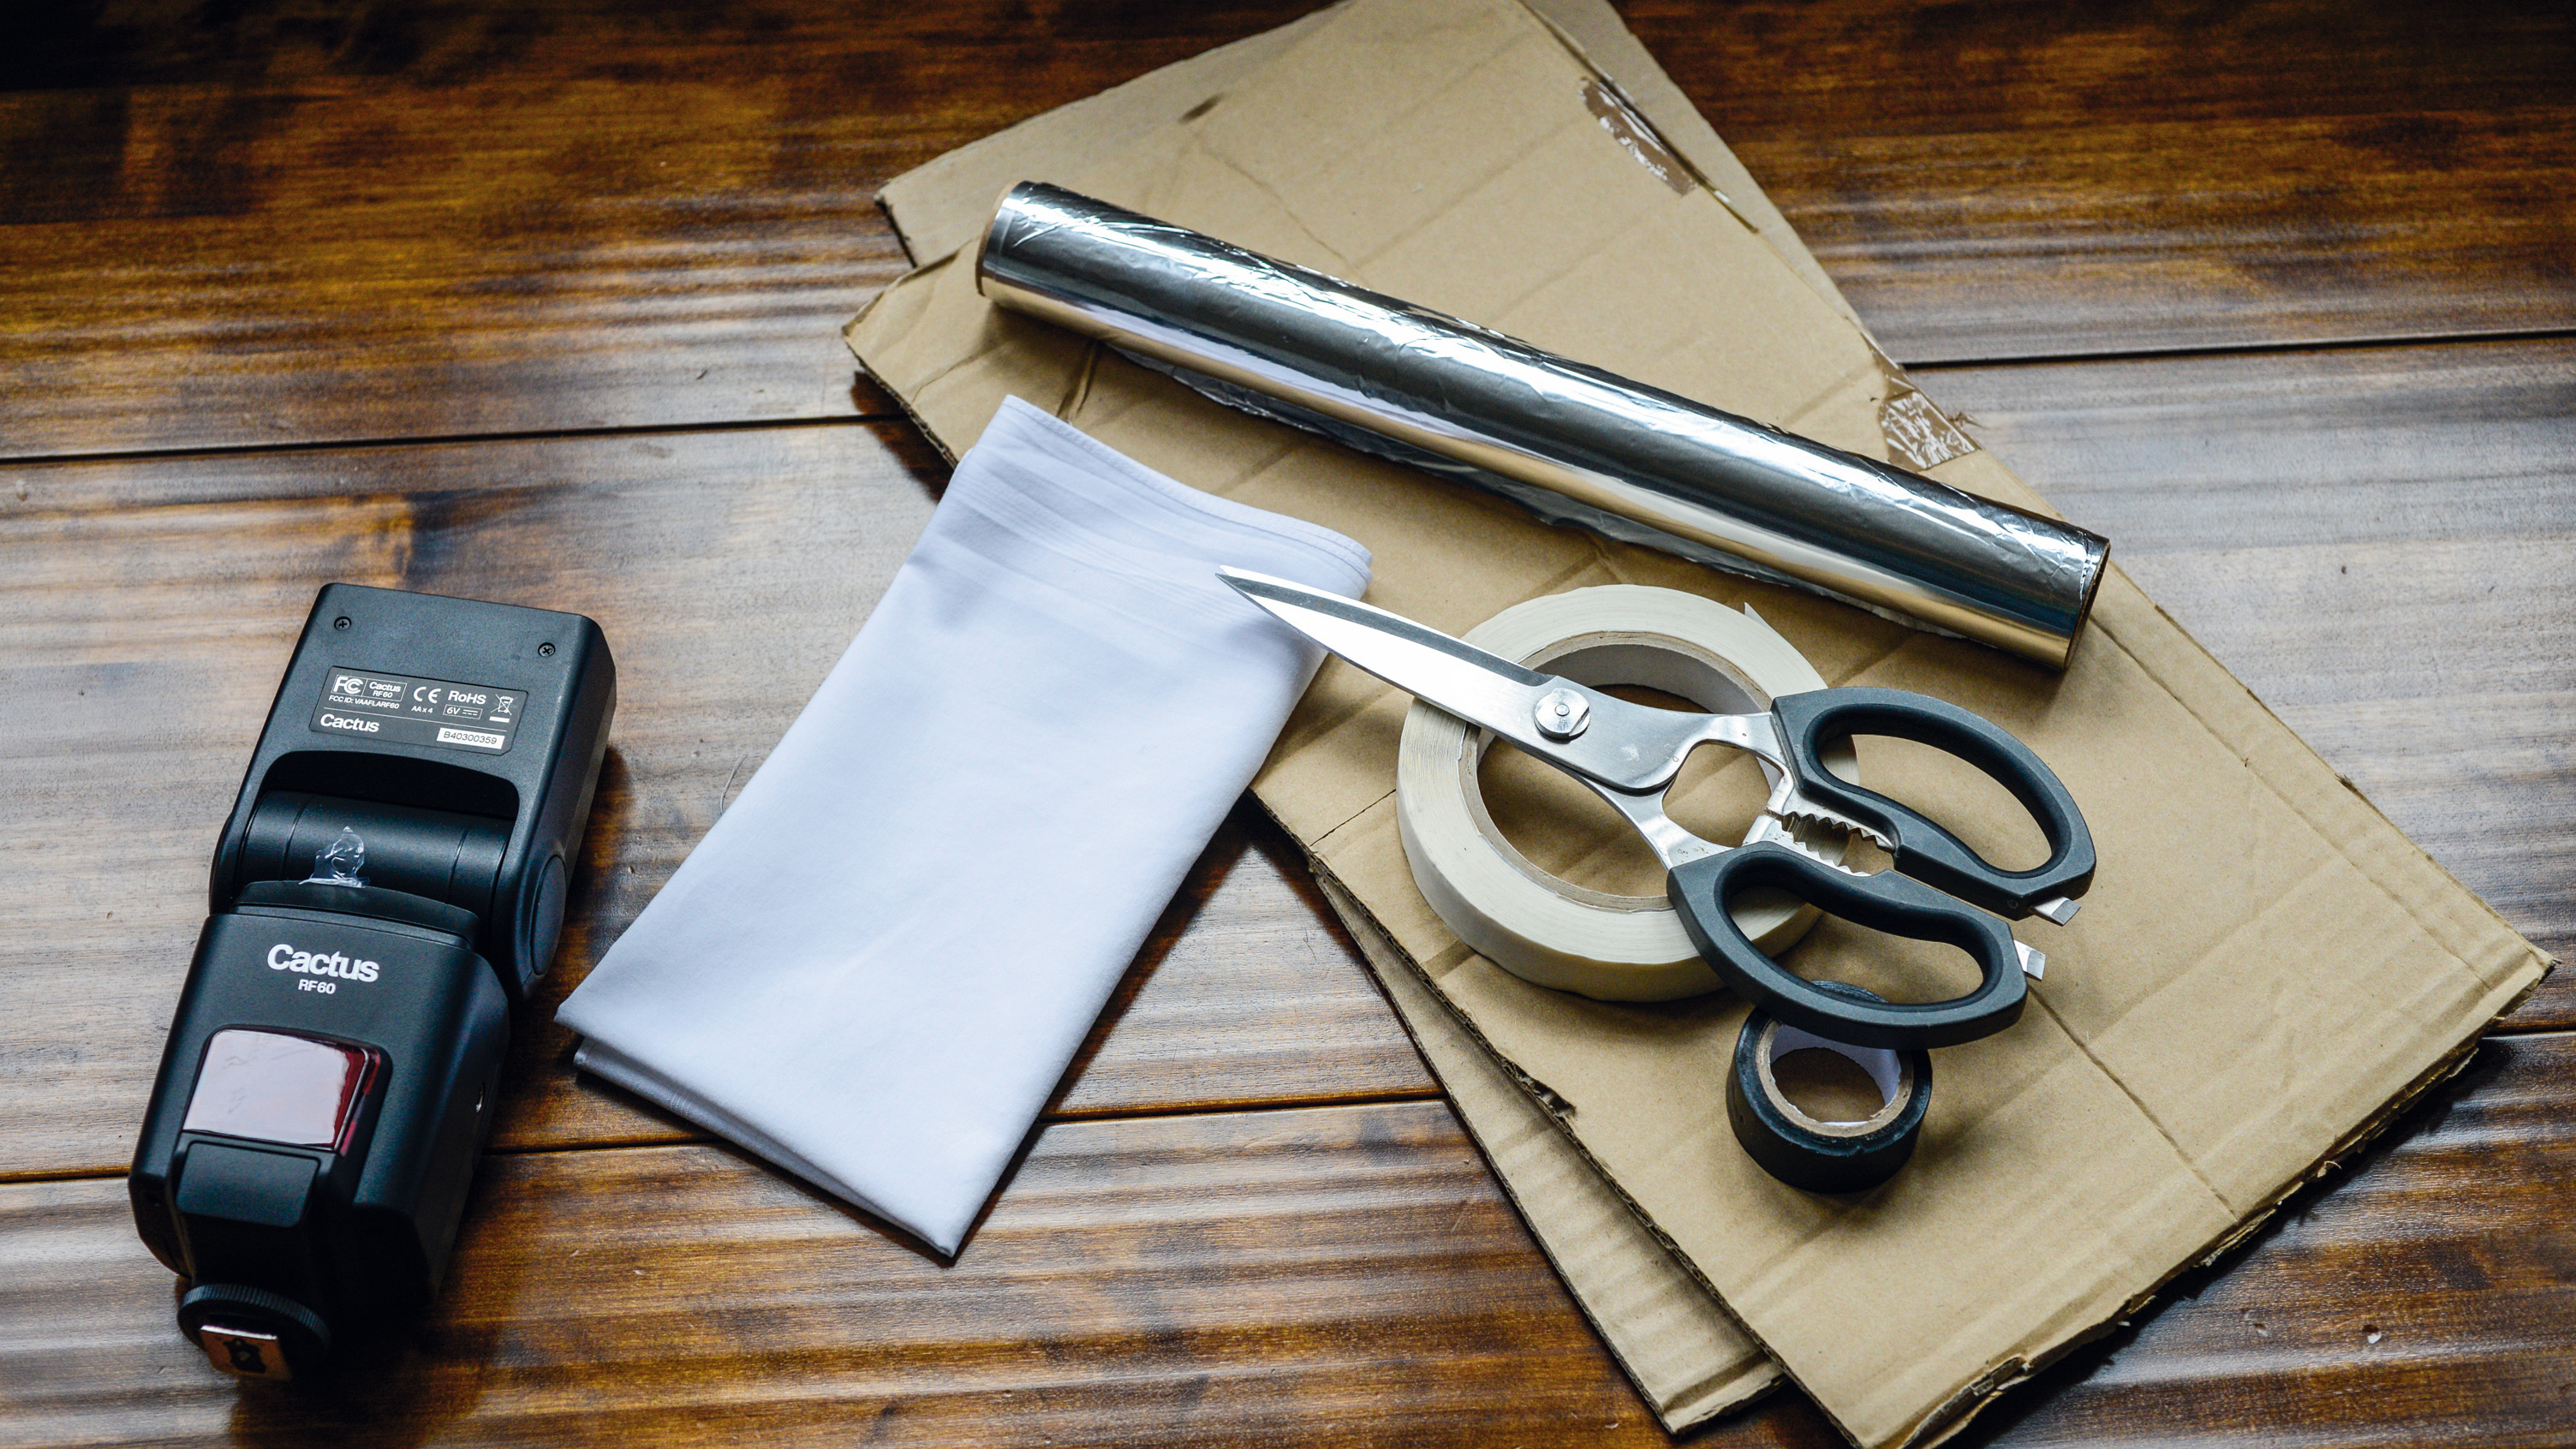
You may well have everything you need to make your own flashgun beauty dish lying around your home. You will need two white disposable plates - made out of paper or plastic. You will need a pair of scissors to cut the plates to the shapes you need to make the two sections of the beauty dish – and four cocktail sticks to hold the components together.
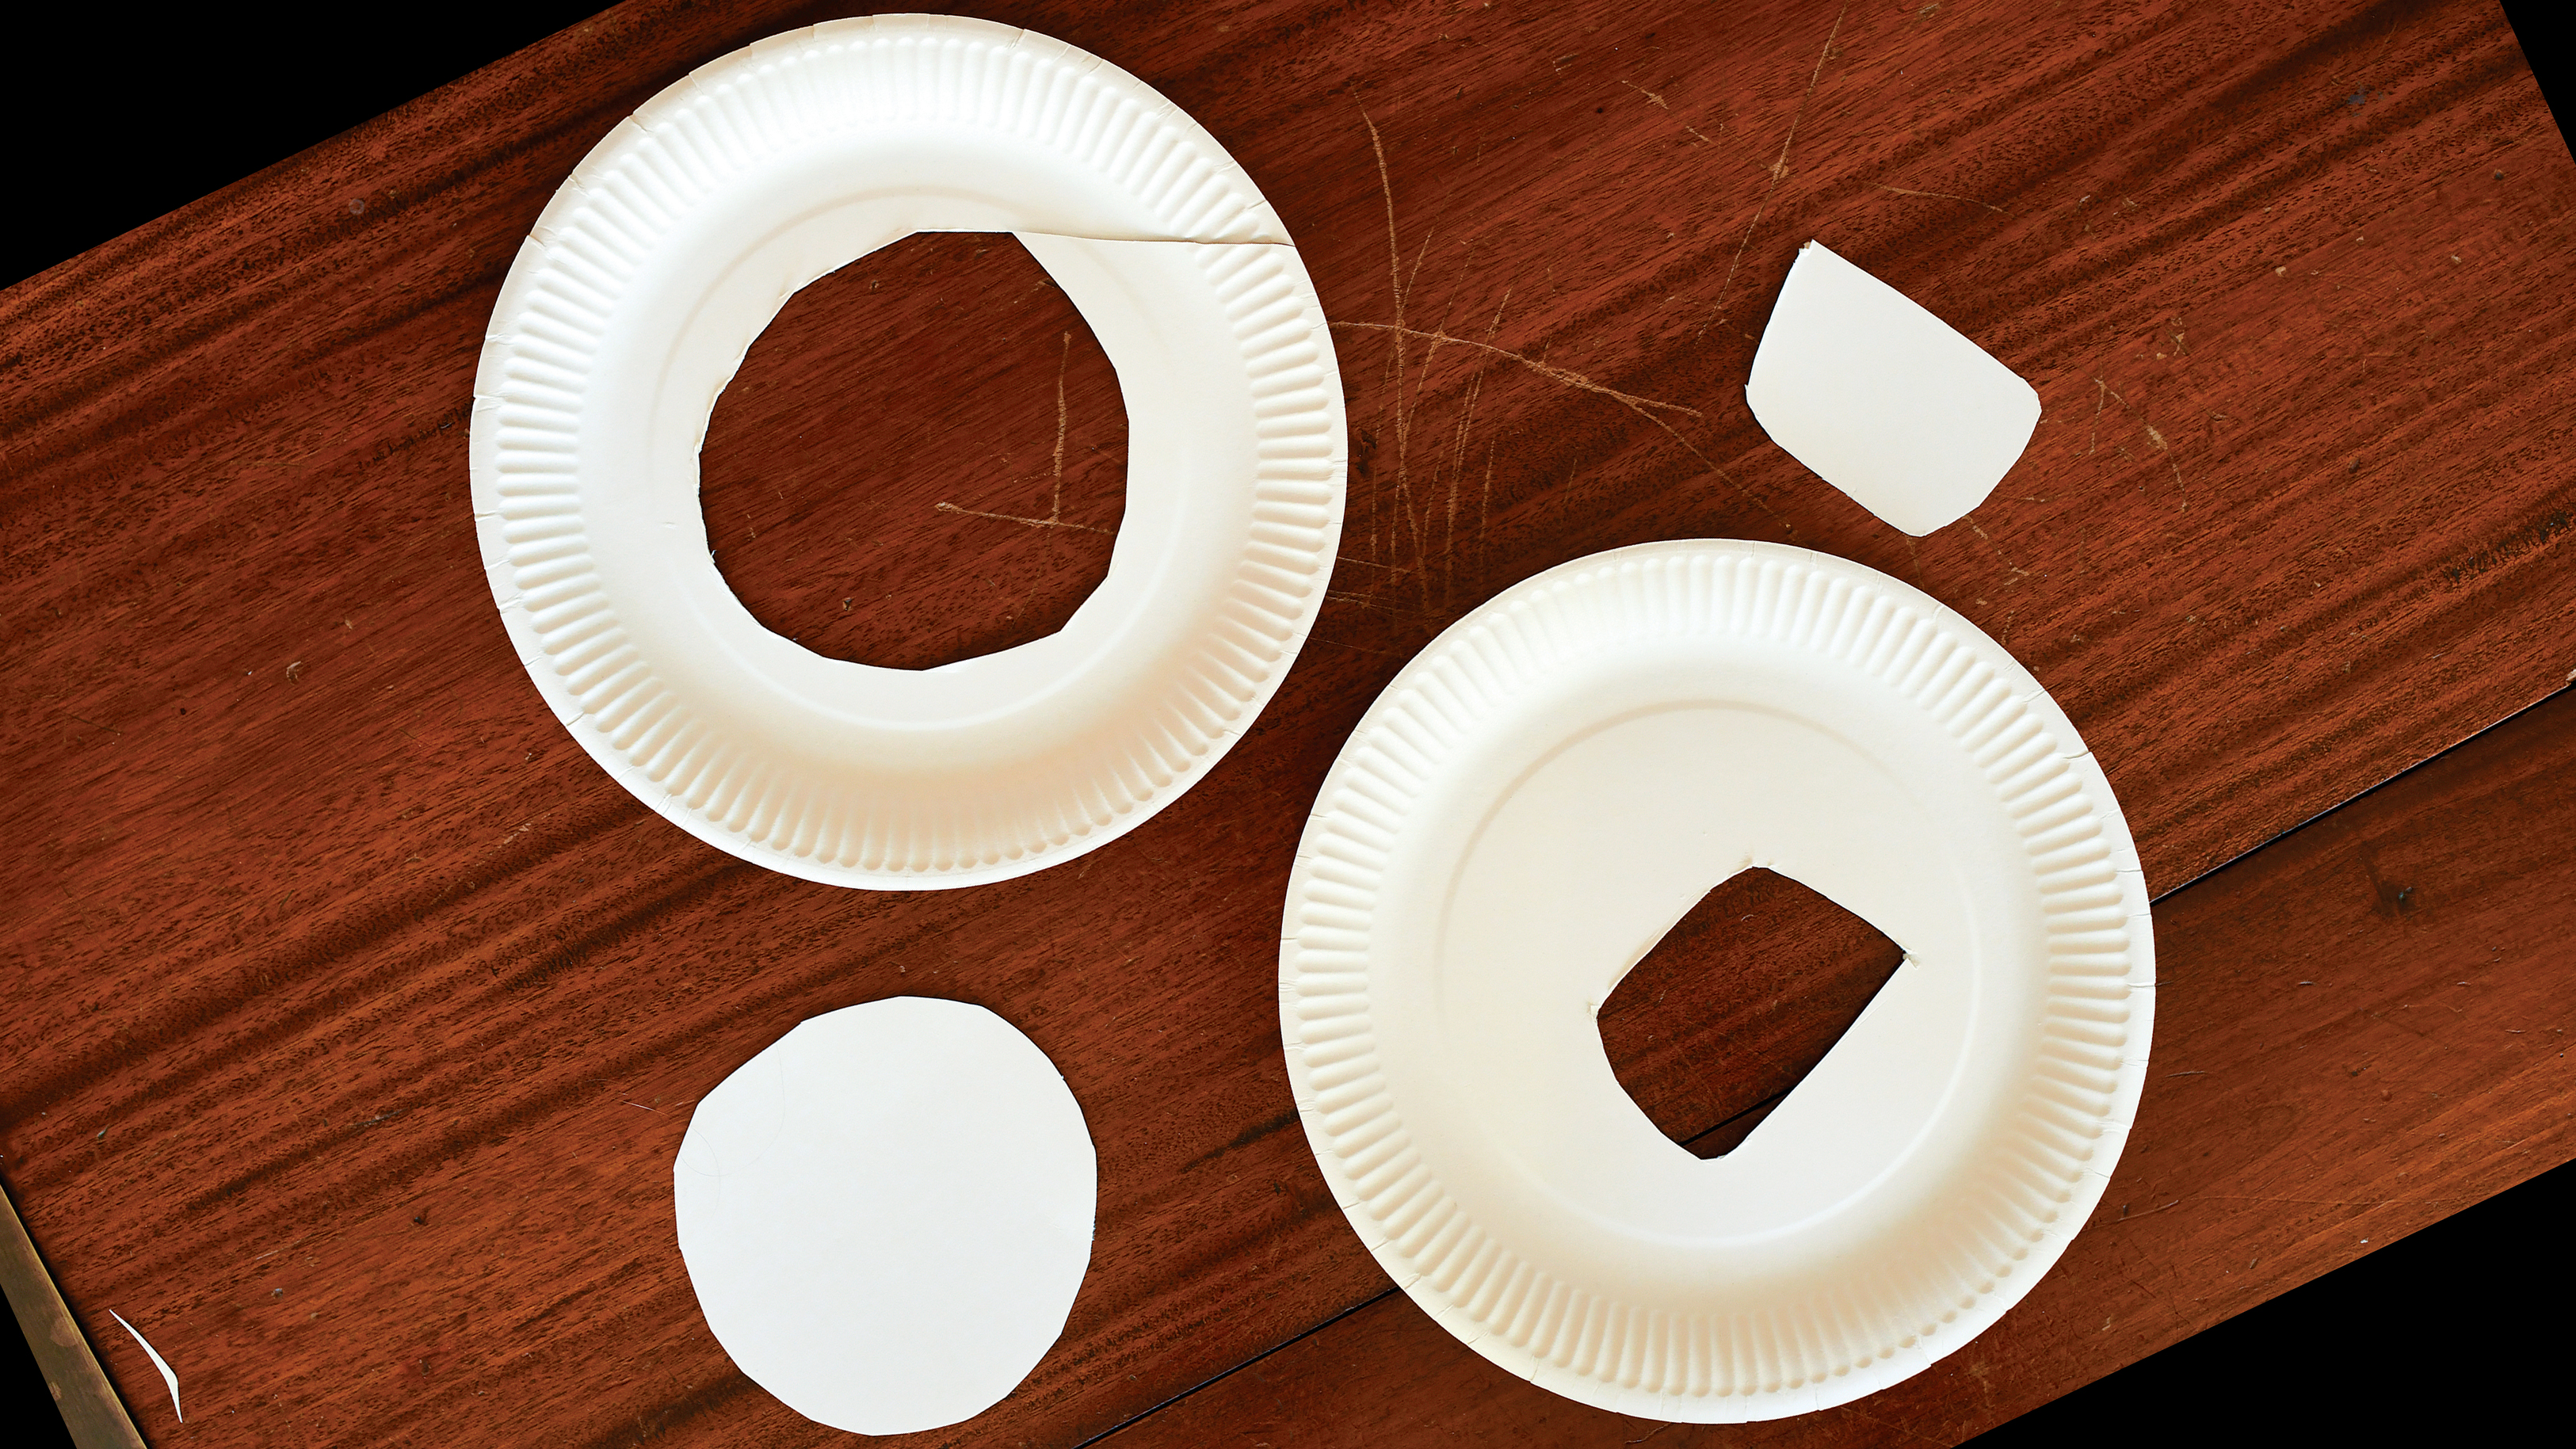
First cut a hole in the center of one of the plates that is the same size and shape as the head of your flashgun. You need this to be a relatively snug fit, so that the plate will slot in place over the flash.
You then cut a circle from the second plate that will make the central front part of the beauty dish.
3. Give it some sticks
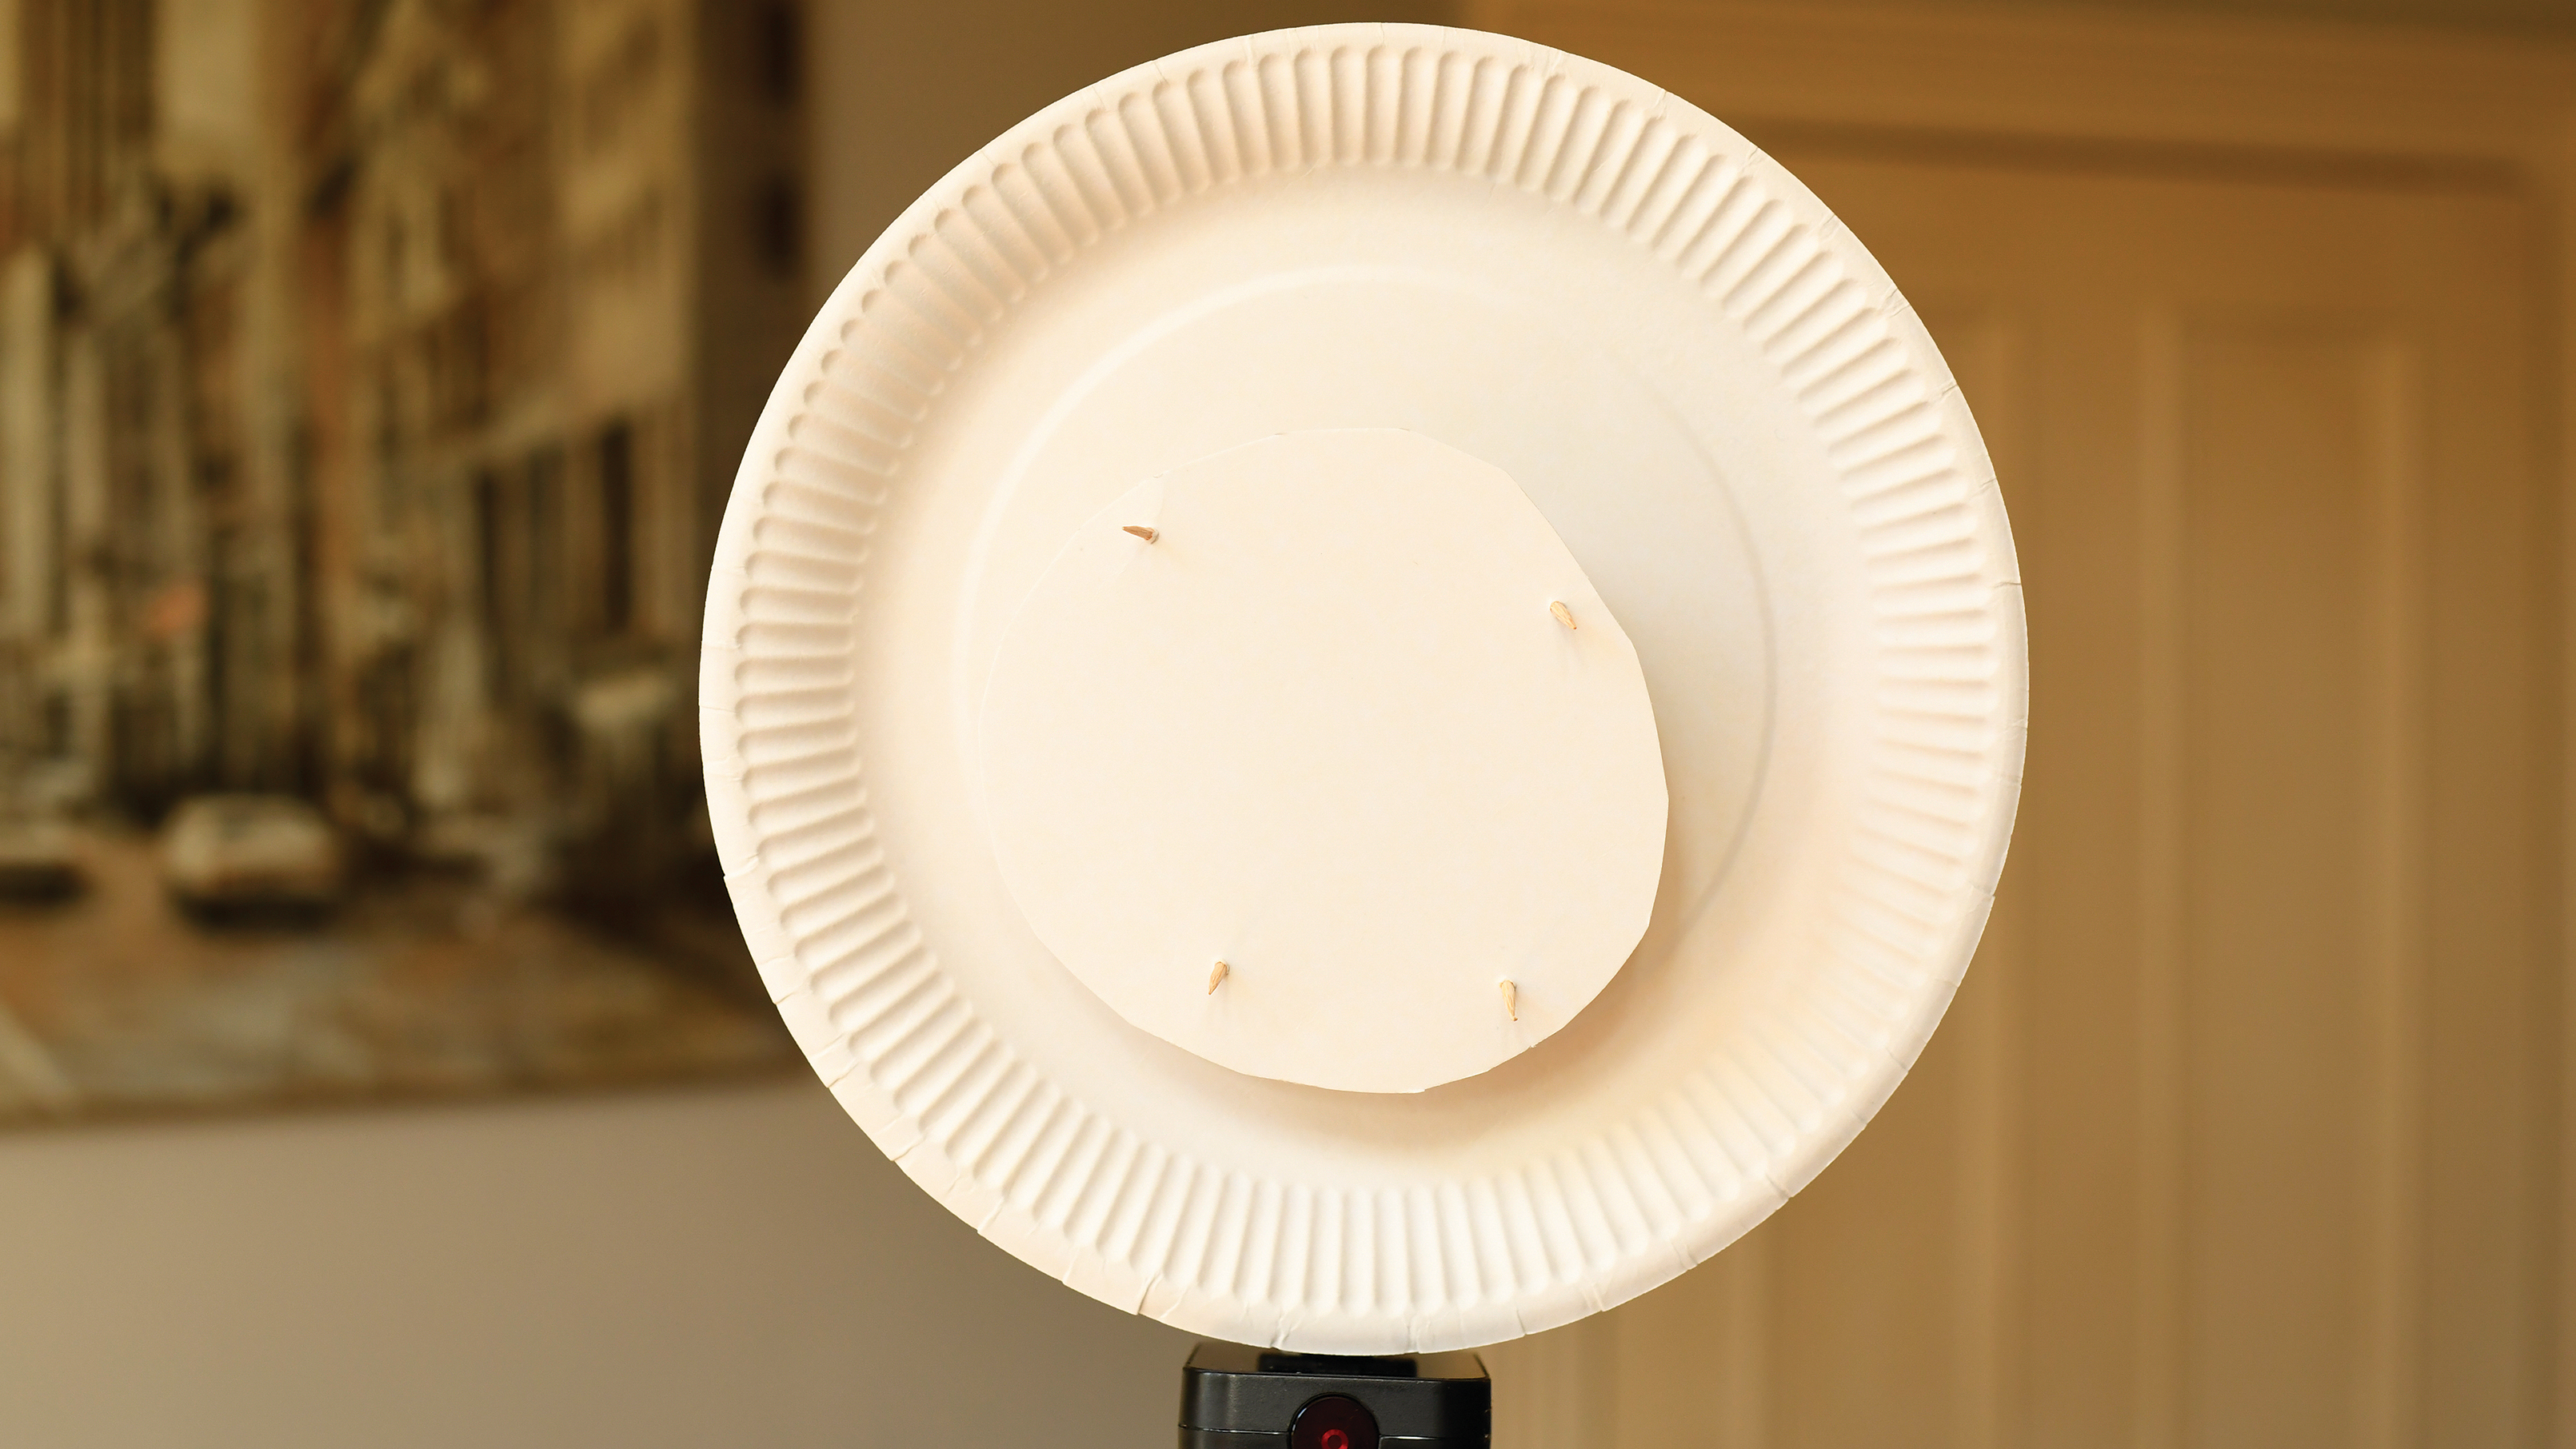
The two plates are then attached to each other using the cocktail sticks, so that the smaller circle fits over the central hole of the other plate. You may need to use a needle or bradawl to make the holes.
The best camera deals, reviews, product advice, and unmissable photography news, direct to your inbox!
3. The finished set-up

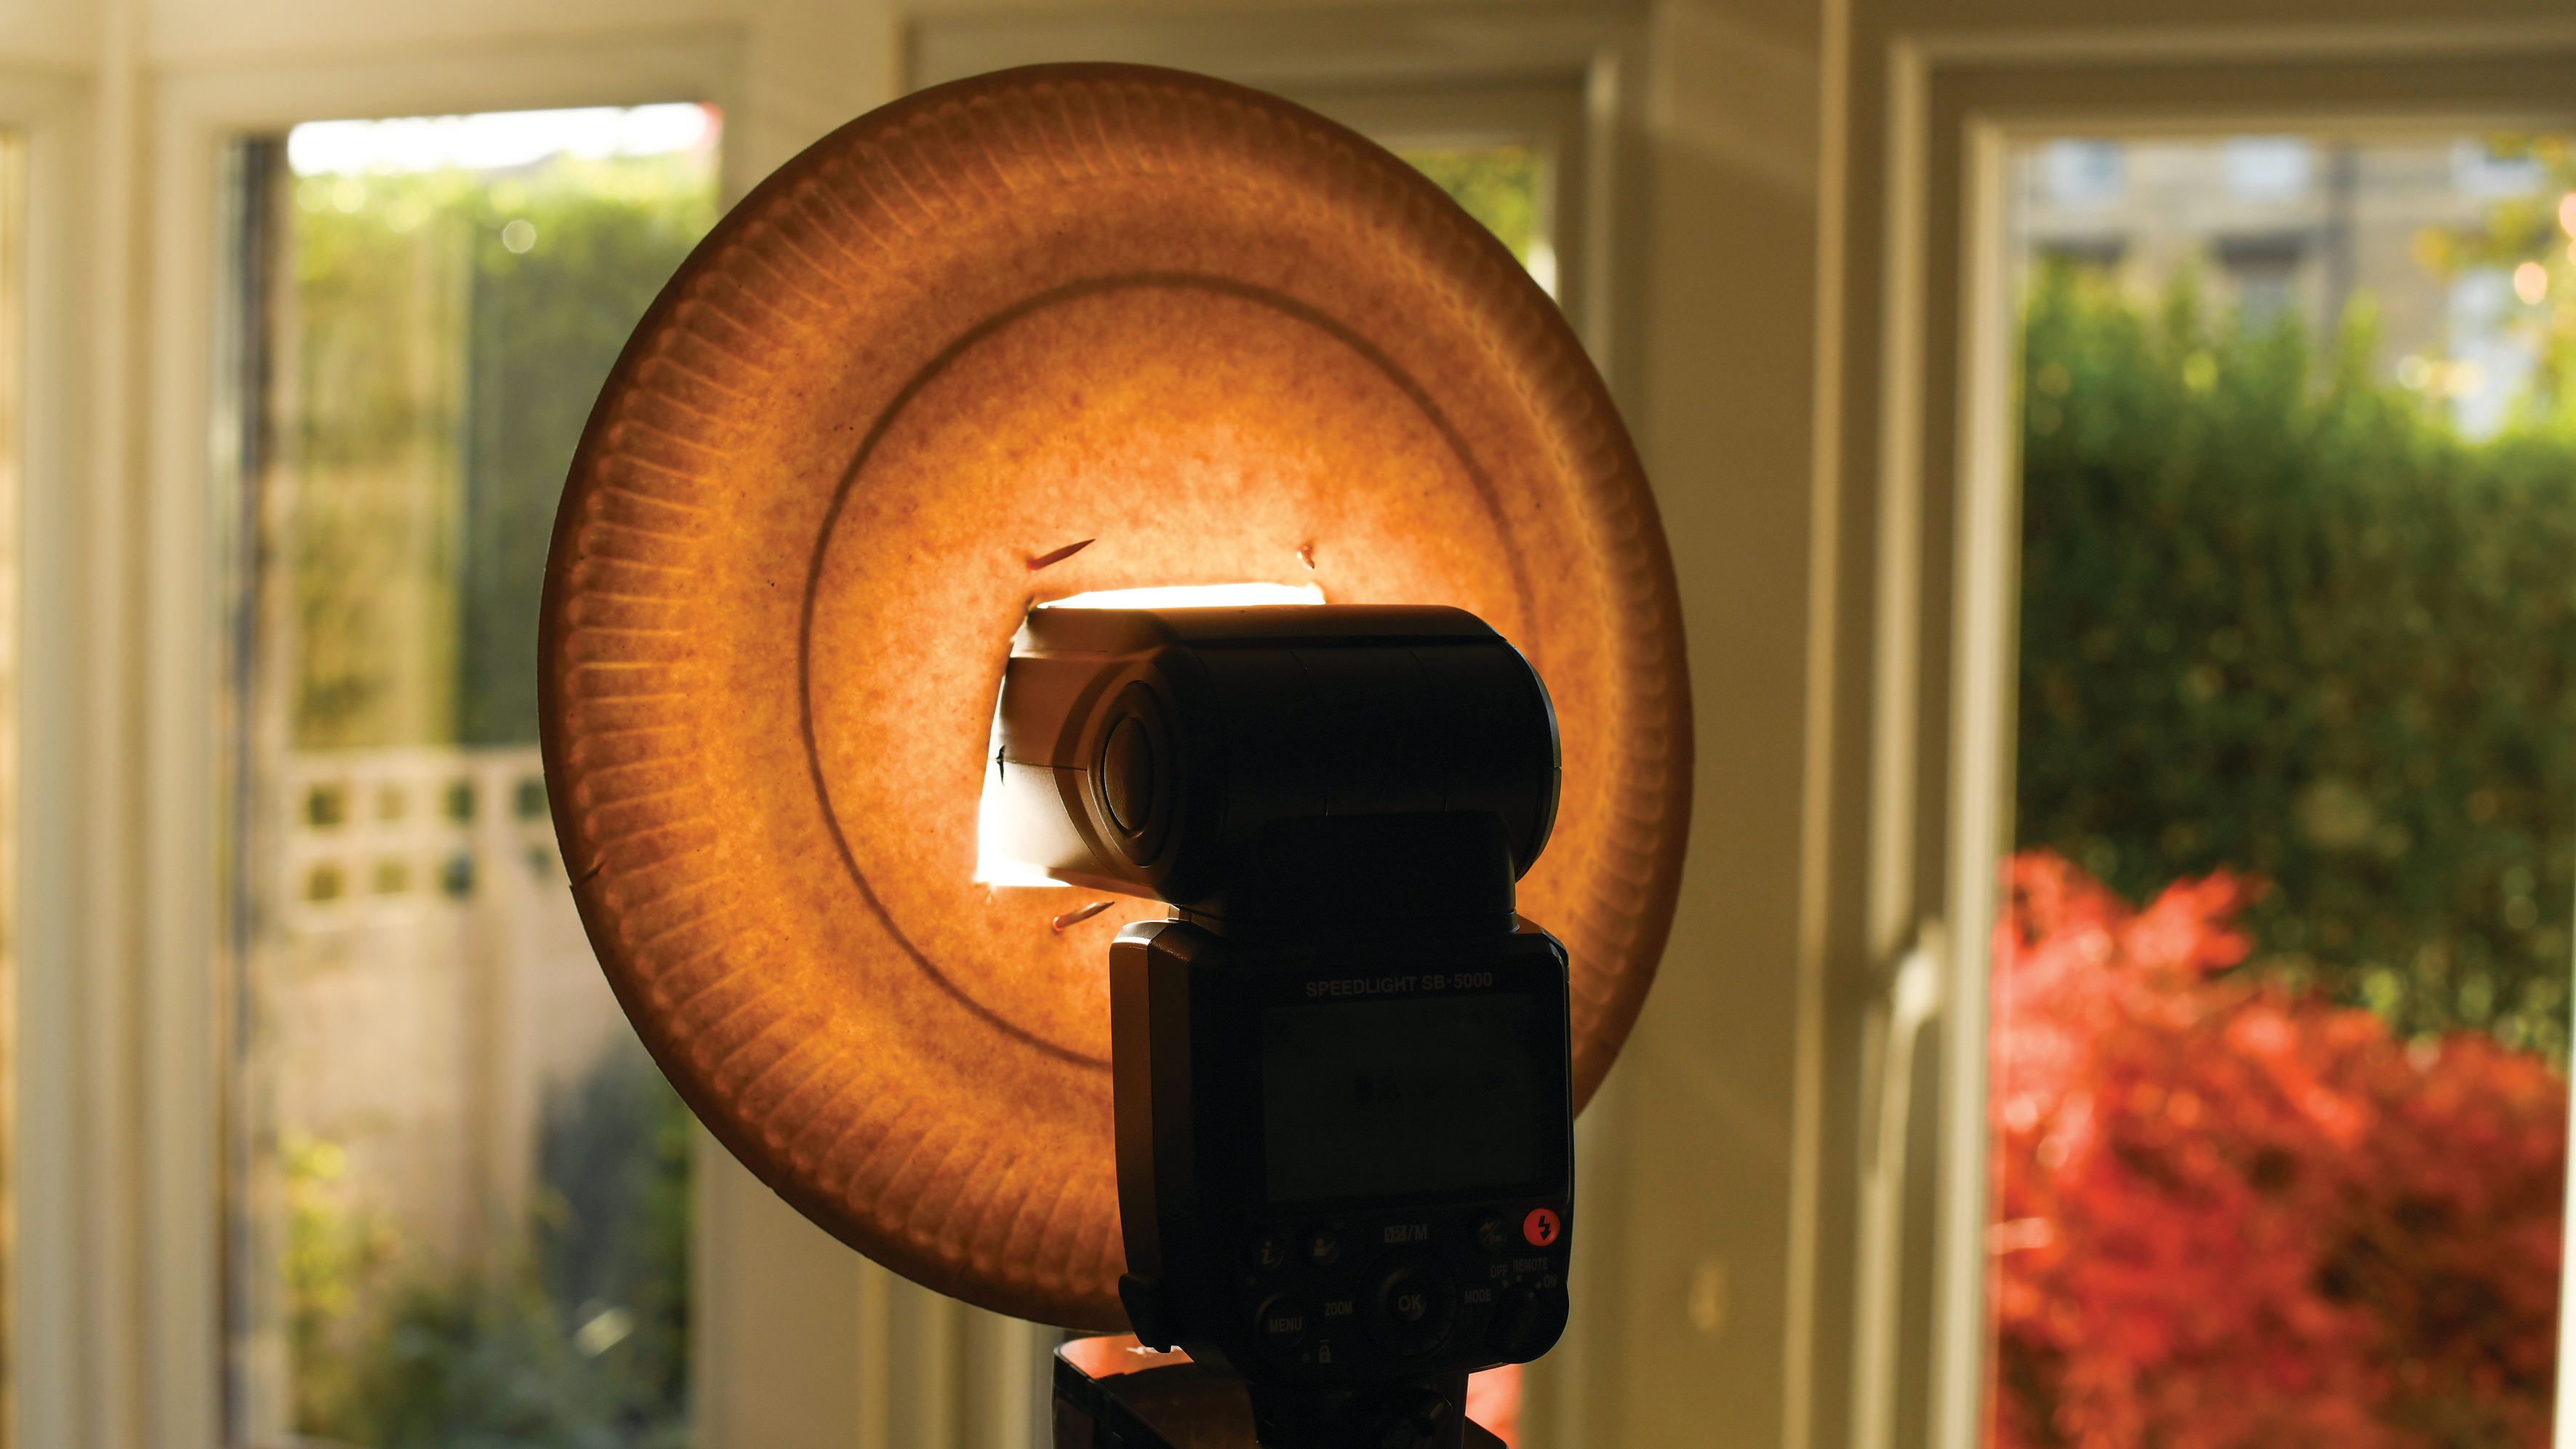
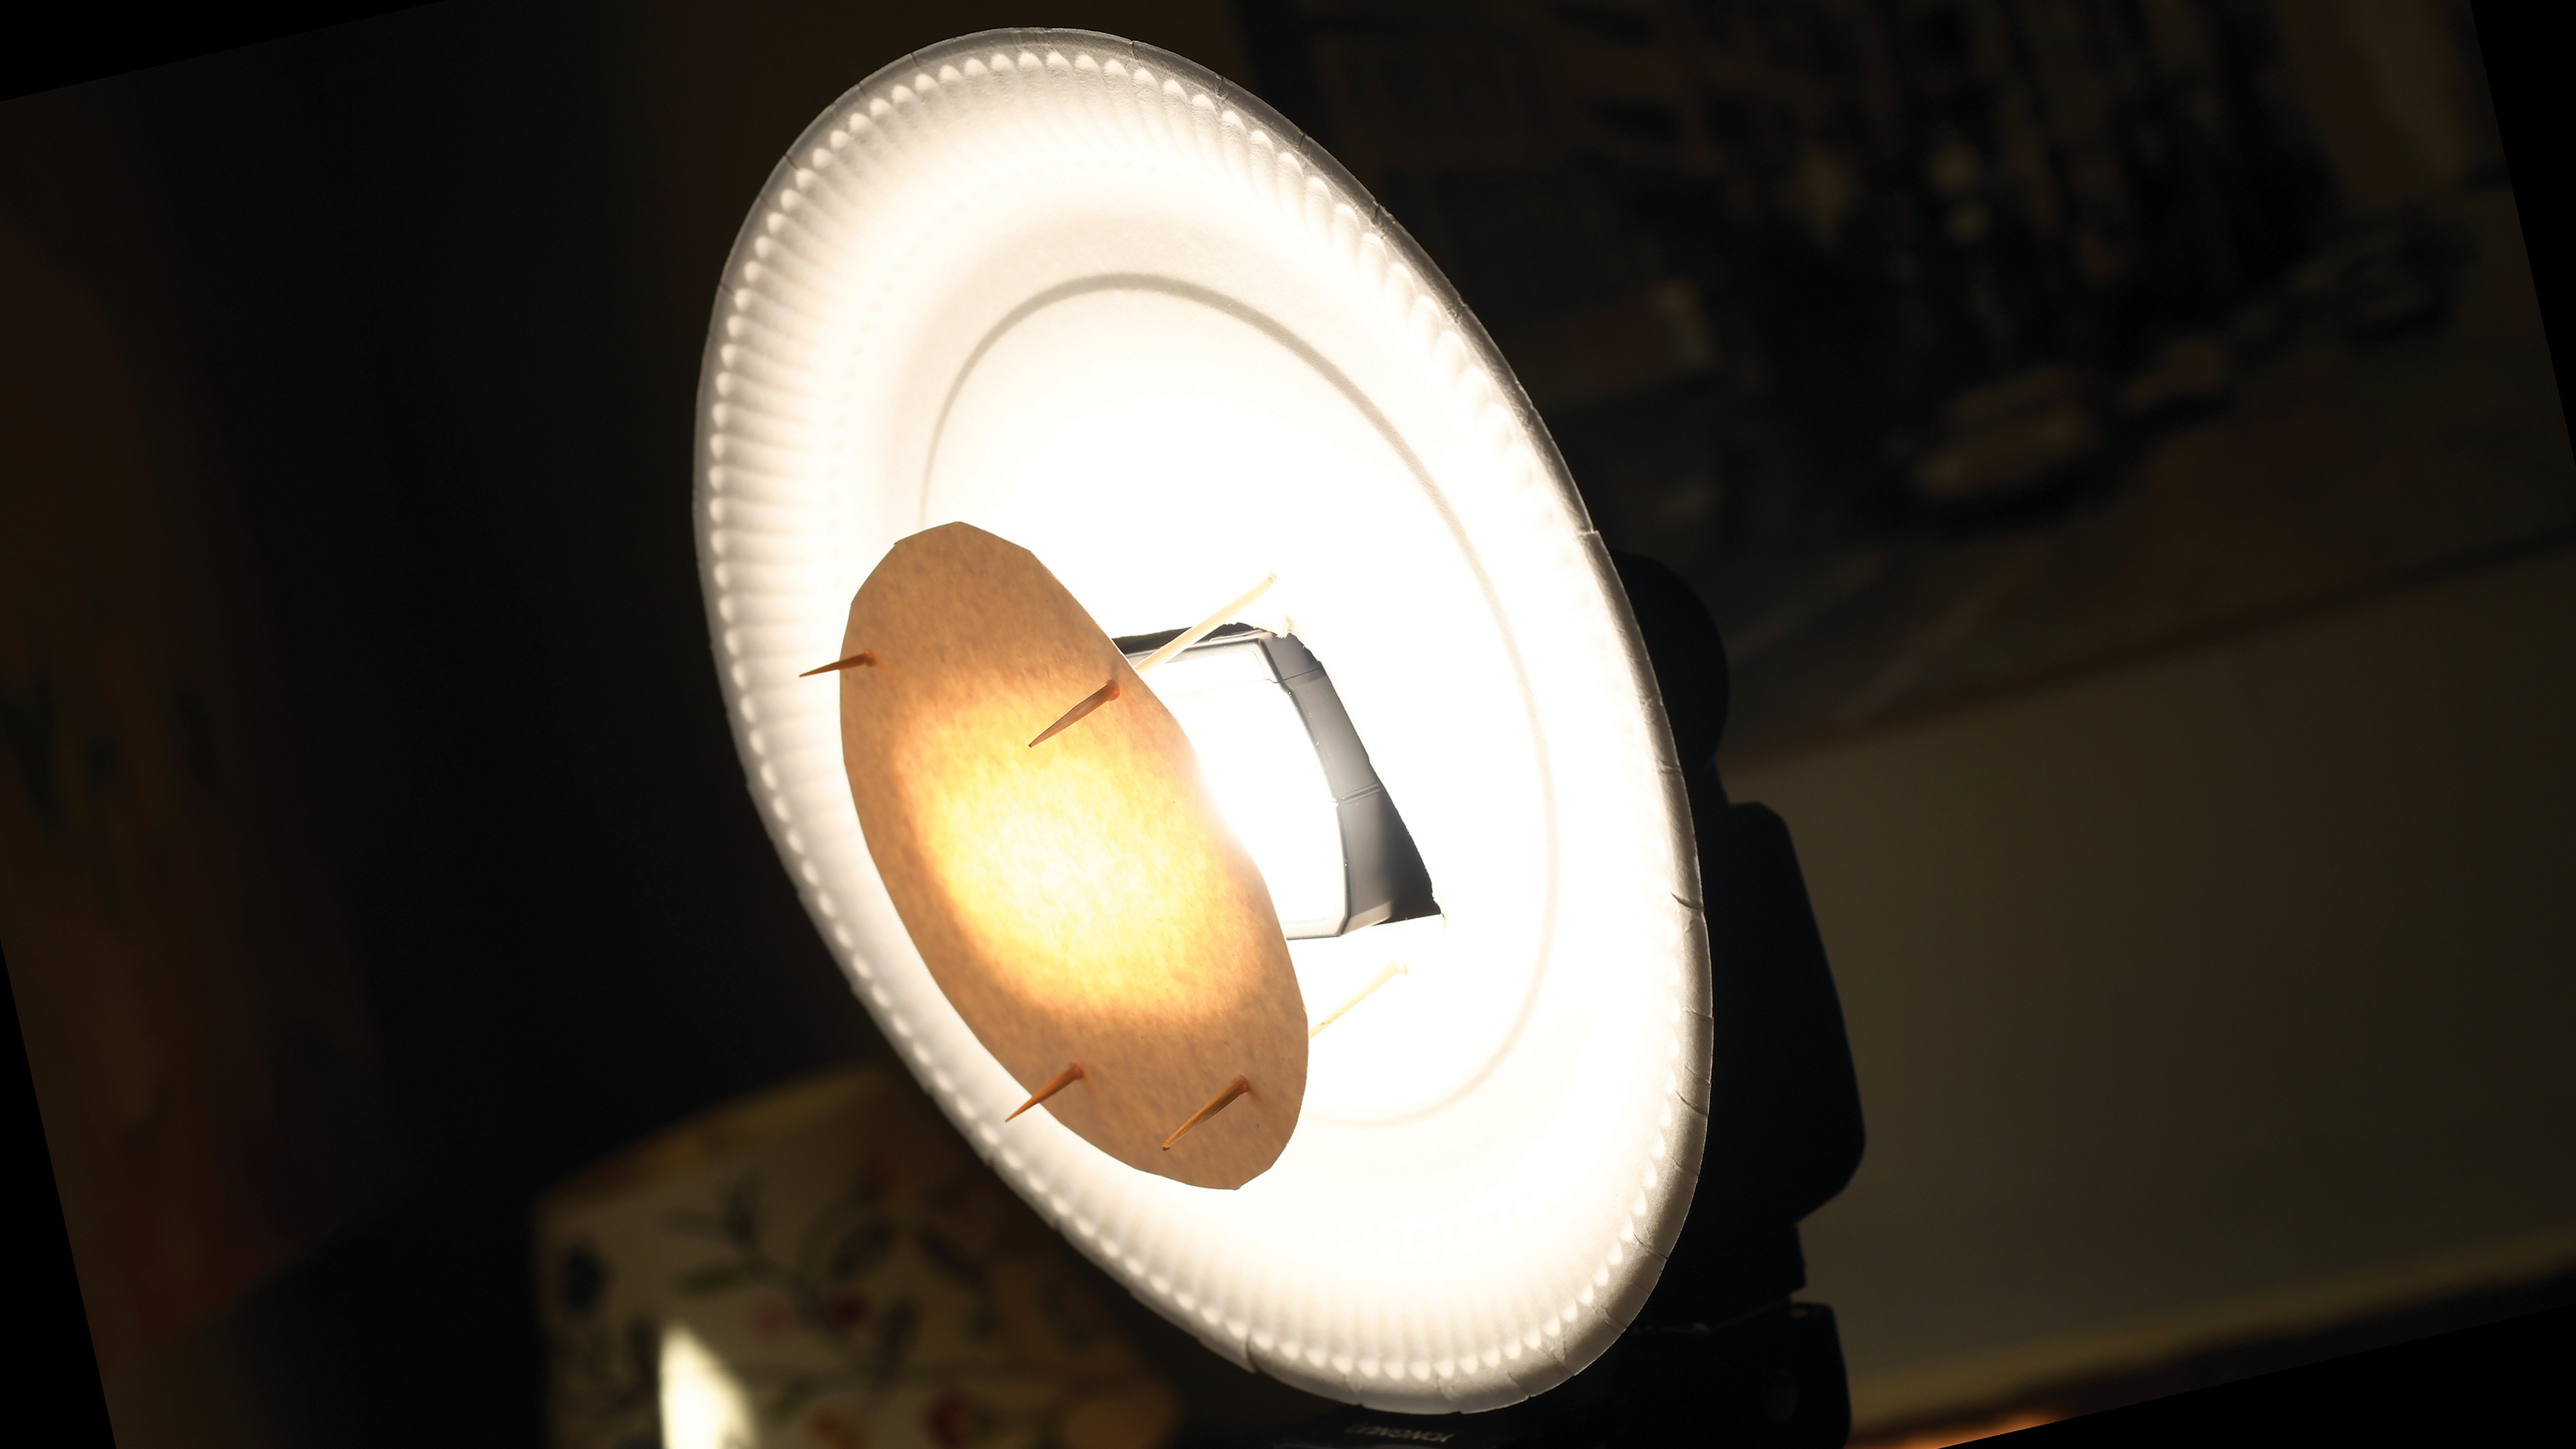
With your customized flash modifier in place, the light from the strobe will bounces off the front plate and back on to the larger paper plate behind, where it will bounce back towards the subject. This ensures that the light is much softer than using the flash directly.
4. Tips for better results
If you can mount your flash off-camera, then so much the better – not only for more flattering directional light, but also to help prevent your fragile DIY device from falling to pieces! Use a flash trigger so you can connect the flashgun to the camera.
Read more
Portrait photography tips: take perfect people pictures
The best softboxes, diffusers and modifiers for your flashgun

Prior to joining digitalcameraworld.com as Guides Editor, Adam was the editor of N-Photo: The Nikon Magazine for seven years, and as such is one of Digital Camera World's leading experts when it comes to all things Nikon-related.
Whether it’s reviews and hands-on tests of the latest Nikon cameras and lenses, sharing his skills using filters, tripods, lighting, L brackets and other photography equipment, or trading tips and techniques on shooting landscapes, wildlife and almost any genre of photography, Adam is always on hand to provide his insights.
Prior to his tenure on N-Photo, Adam was also a veteran of publications such as PhotoPlus: The Canon Magazine, so his wealth of photographic knowledge isn’t solely limited to the Big N.
