Photograph an optical illusion using a magic mirror
Get creative with reflections to create a spellbinding composite photo that lets you see right through your subject

The best camera deals, reviews, product advice, and unmissable photography news, direct to your inbox!
You are now subscribed
Your newsletter sign-up was successful
Reflections are a great way to add intrigue to your images by offering a glimpse of the scene beyond the edges of the frame. Whether it’s a reflected mountain in a lake, a street scene caught in a shop window, or a landscape glimpsed in a car wing mirror, reflections show the world beyond the edges of the viewfinder, a natural frame-within-a-frame. And this makes it all the more captivating when we see an unnatural reflection like the one we’re showing in the mirror here.
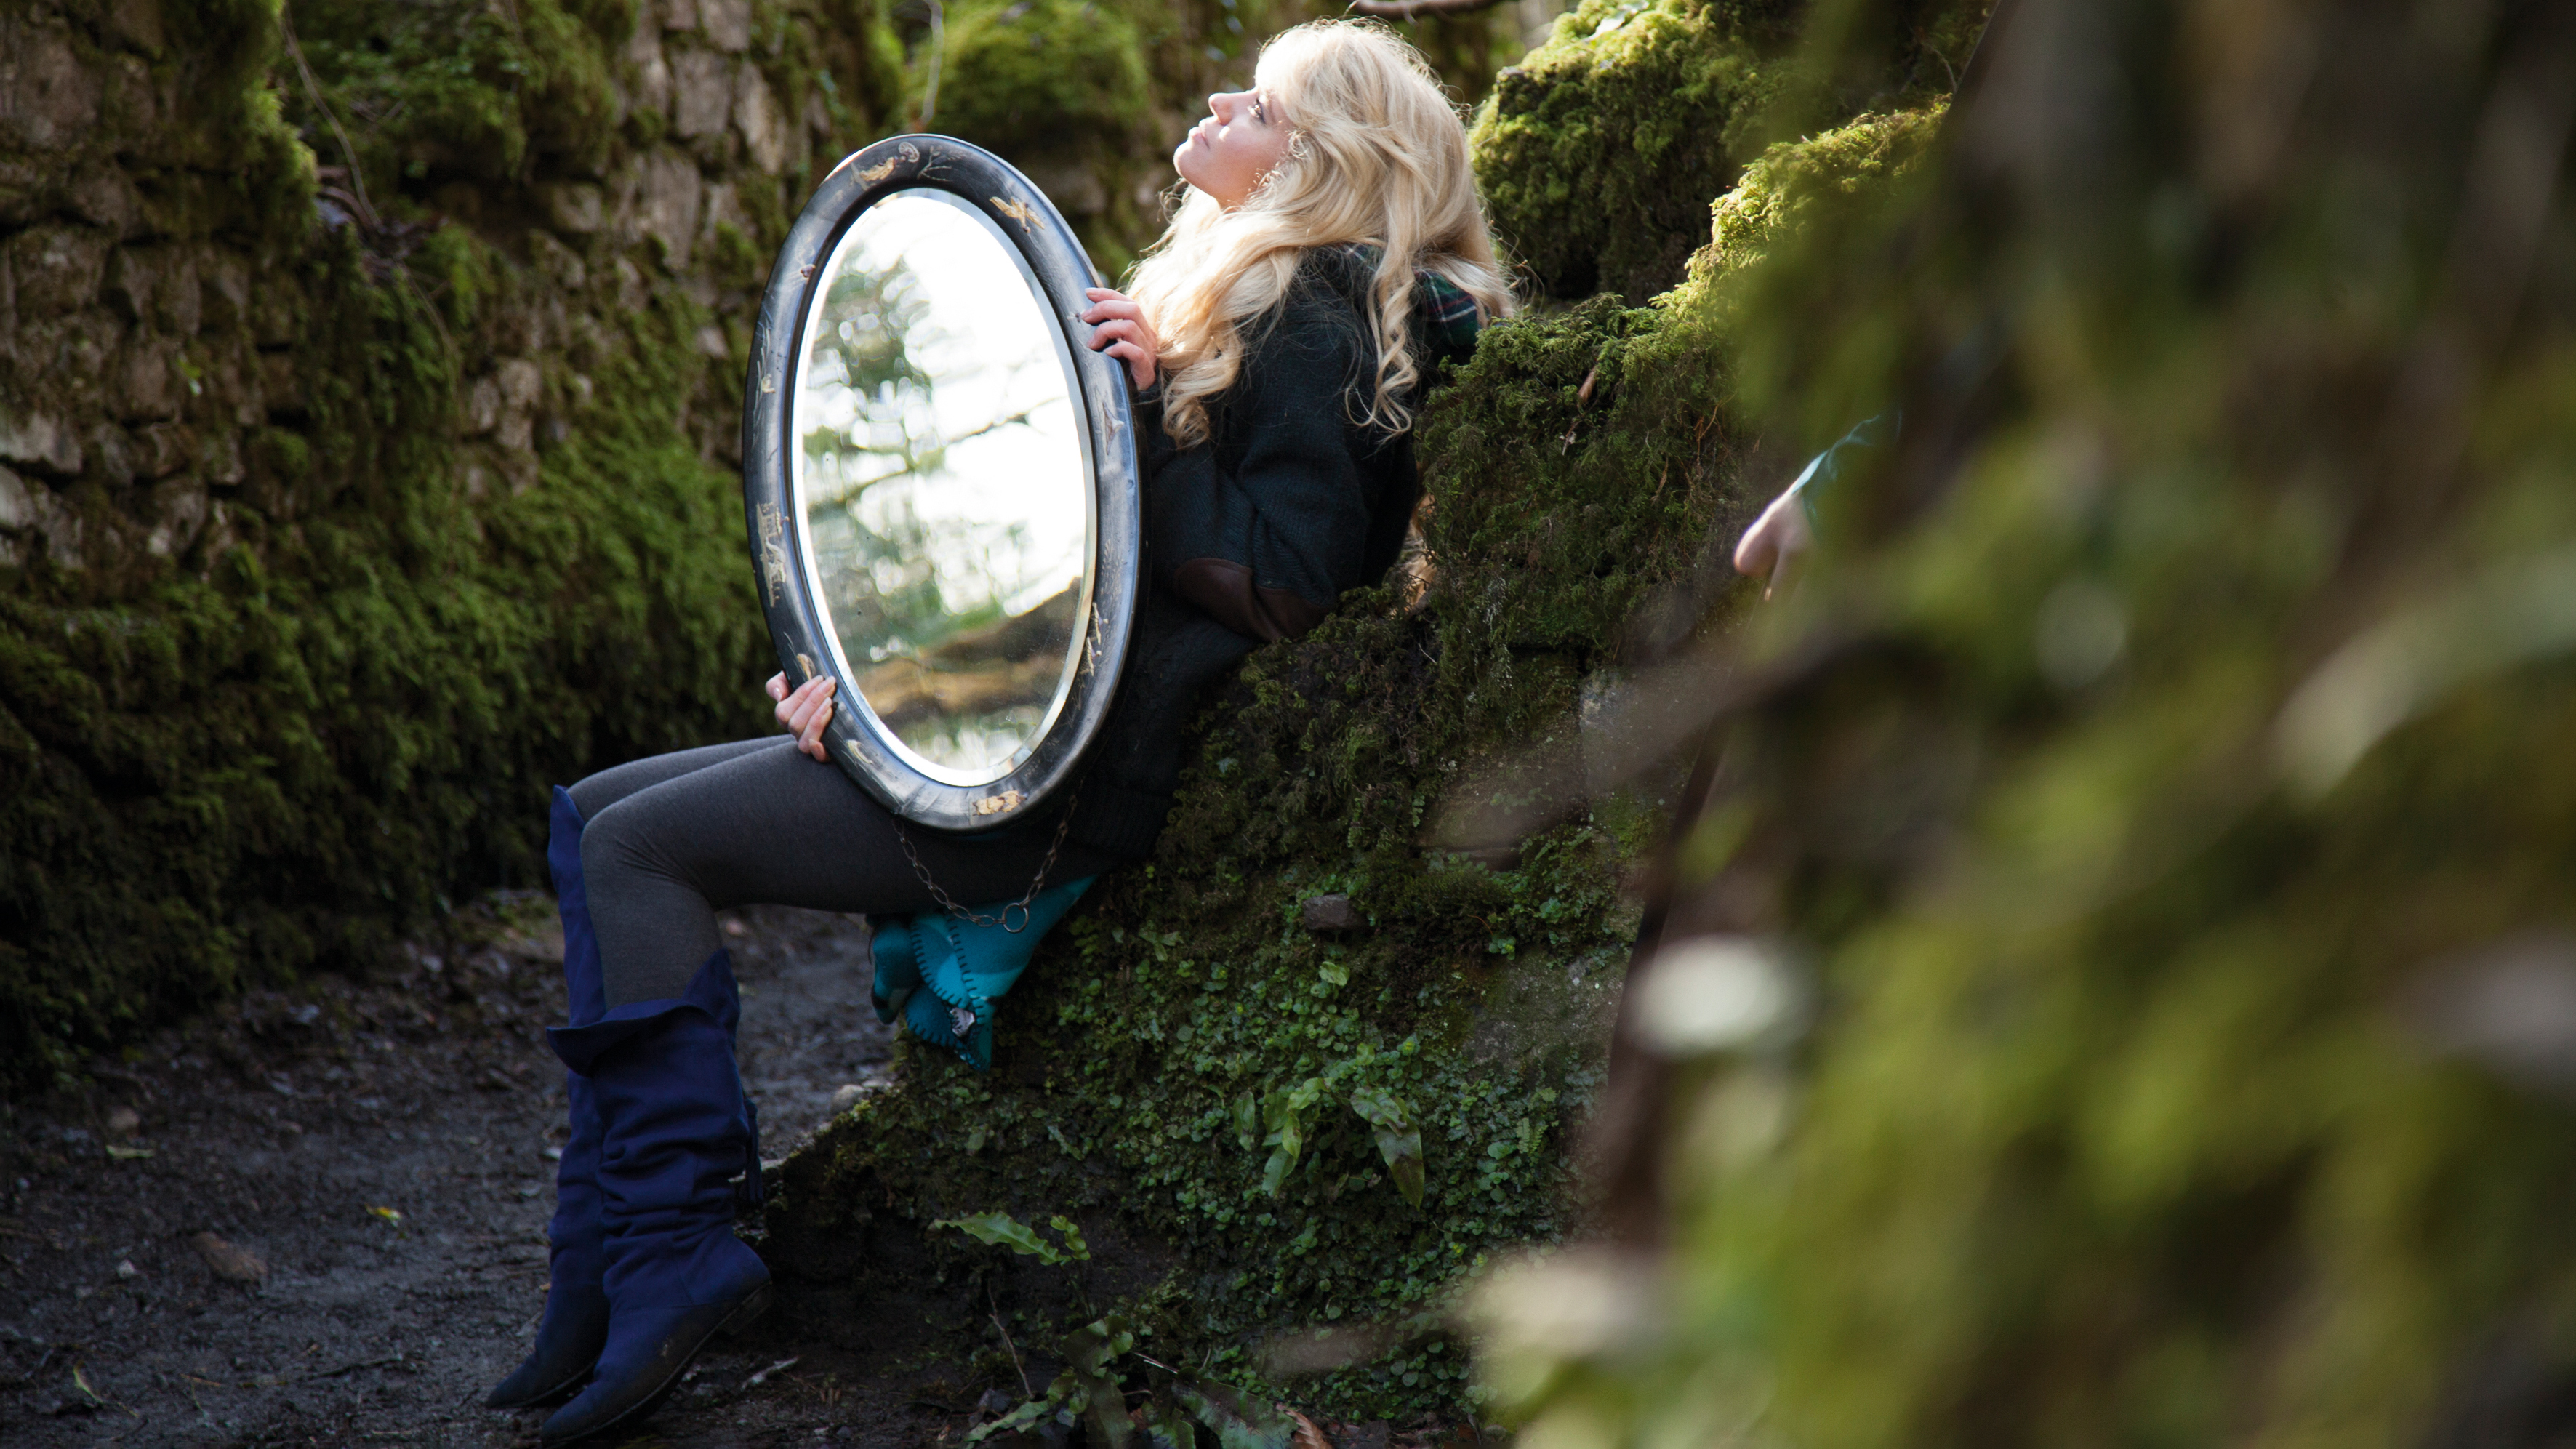
Two photographs were used to create this image: one of the model, and the other of the empty scene. (Obviously, you need an interesting location – a blank wall won’t do!) By putting the camera on a tripod, we can ensure that both frames are perfectly aligned. It’s then possible to remove the face of the mirror in Photoshop, revealing the empty area beneath. The result is a striking portrait that forces you to look twice.
The best Photoshop effects have a subtlety that – if you’ll excuse the pun – adds another layer of meaning to the image. At first glance, the reflection in the mirror here looks natural, but on closer inspection it’s revealed to be the scenery behind the model. This is something even a Photoshop novice could achieve. All you have to do is copy the image with the model onto the empty scene, so that it sits on the layer above, then cut a hole in the mirror to reveal the empty area below. Selections and Layer Masks prove useful here, allowing you to quickly select the mirror, then remove the area. It’s surprisingly simple.
Article continues belowSo if you’re feeling in a reflective mood, read on to find out how to shoot and edit your own stunning magic mirror portraits.
- Your tripod is your best friend here, providing a sure way to keep all your images aligned and giving you time to think about your composition. With a fixed camera you can take a minute to decide what you’d like to include or cut out. You’ll need two images, one with the model, and one without.
- With a semi-clothed model you need to get everything set up prior to shooting. Keep your model clothed until your settings are finalized. Models don’t enjoy standing around half-naked waiting for you to tweak settings, especially on a cold day in early spring like the one we were shooting on!
- Use a reflector, as it can be surprising how much you can brighten your scene with it without needing another light. Here the sun was coming from behind the model to the left, and diffused slightly through the trees. It made for beautiful backlighting on the hair, but left the face in shade. Using a large silver reflector off to the side on the right and hidden from view, we could bounce the sunlight back at the model’s face. A white reflector can be used for a more subtle bounce, or gold to warm the image up.
- Keep the exposure consistent so that everything fits together later. Use manual mode and work out an exposure. Here we used a shutter speed of 1/160sec at f/4 and ISO640. With the exposure sorted, you’re ready to shoot. Try a variety of poses to give you more options later.
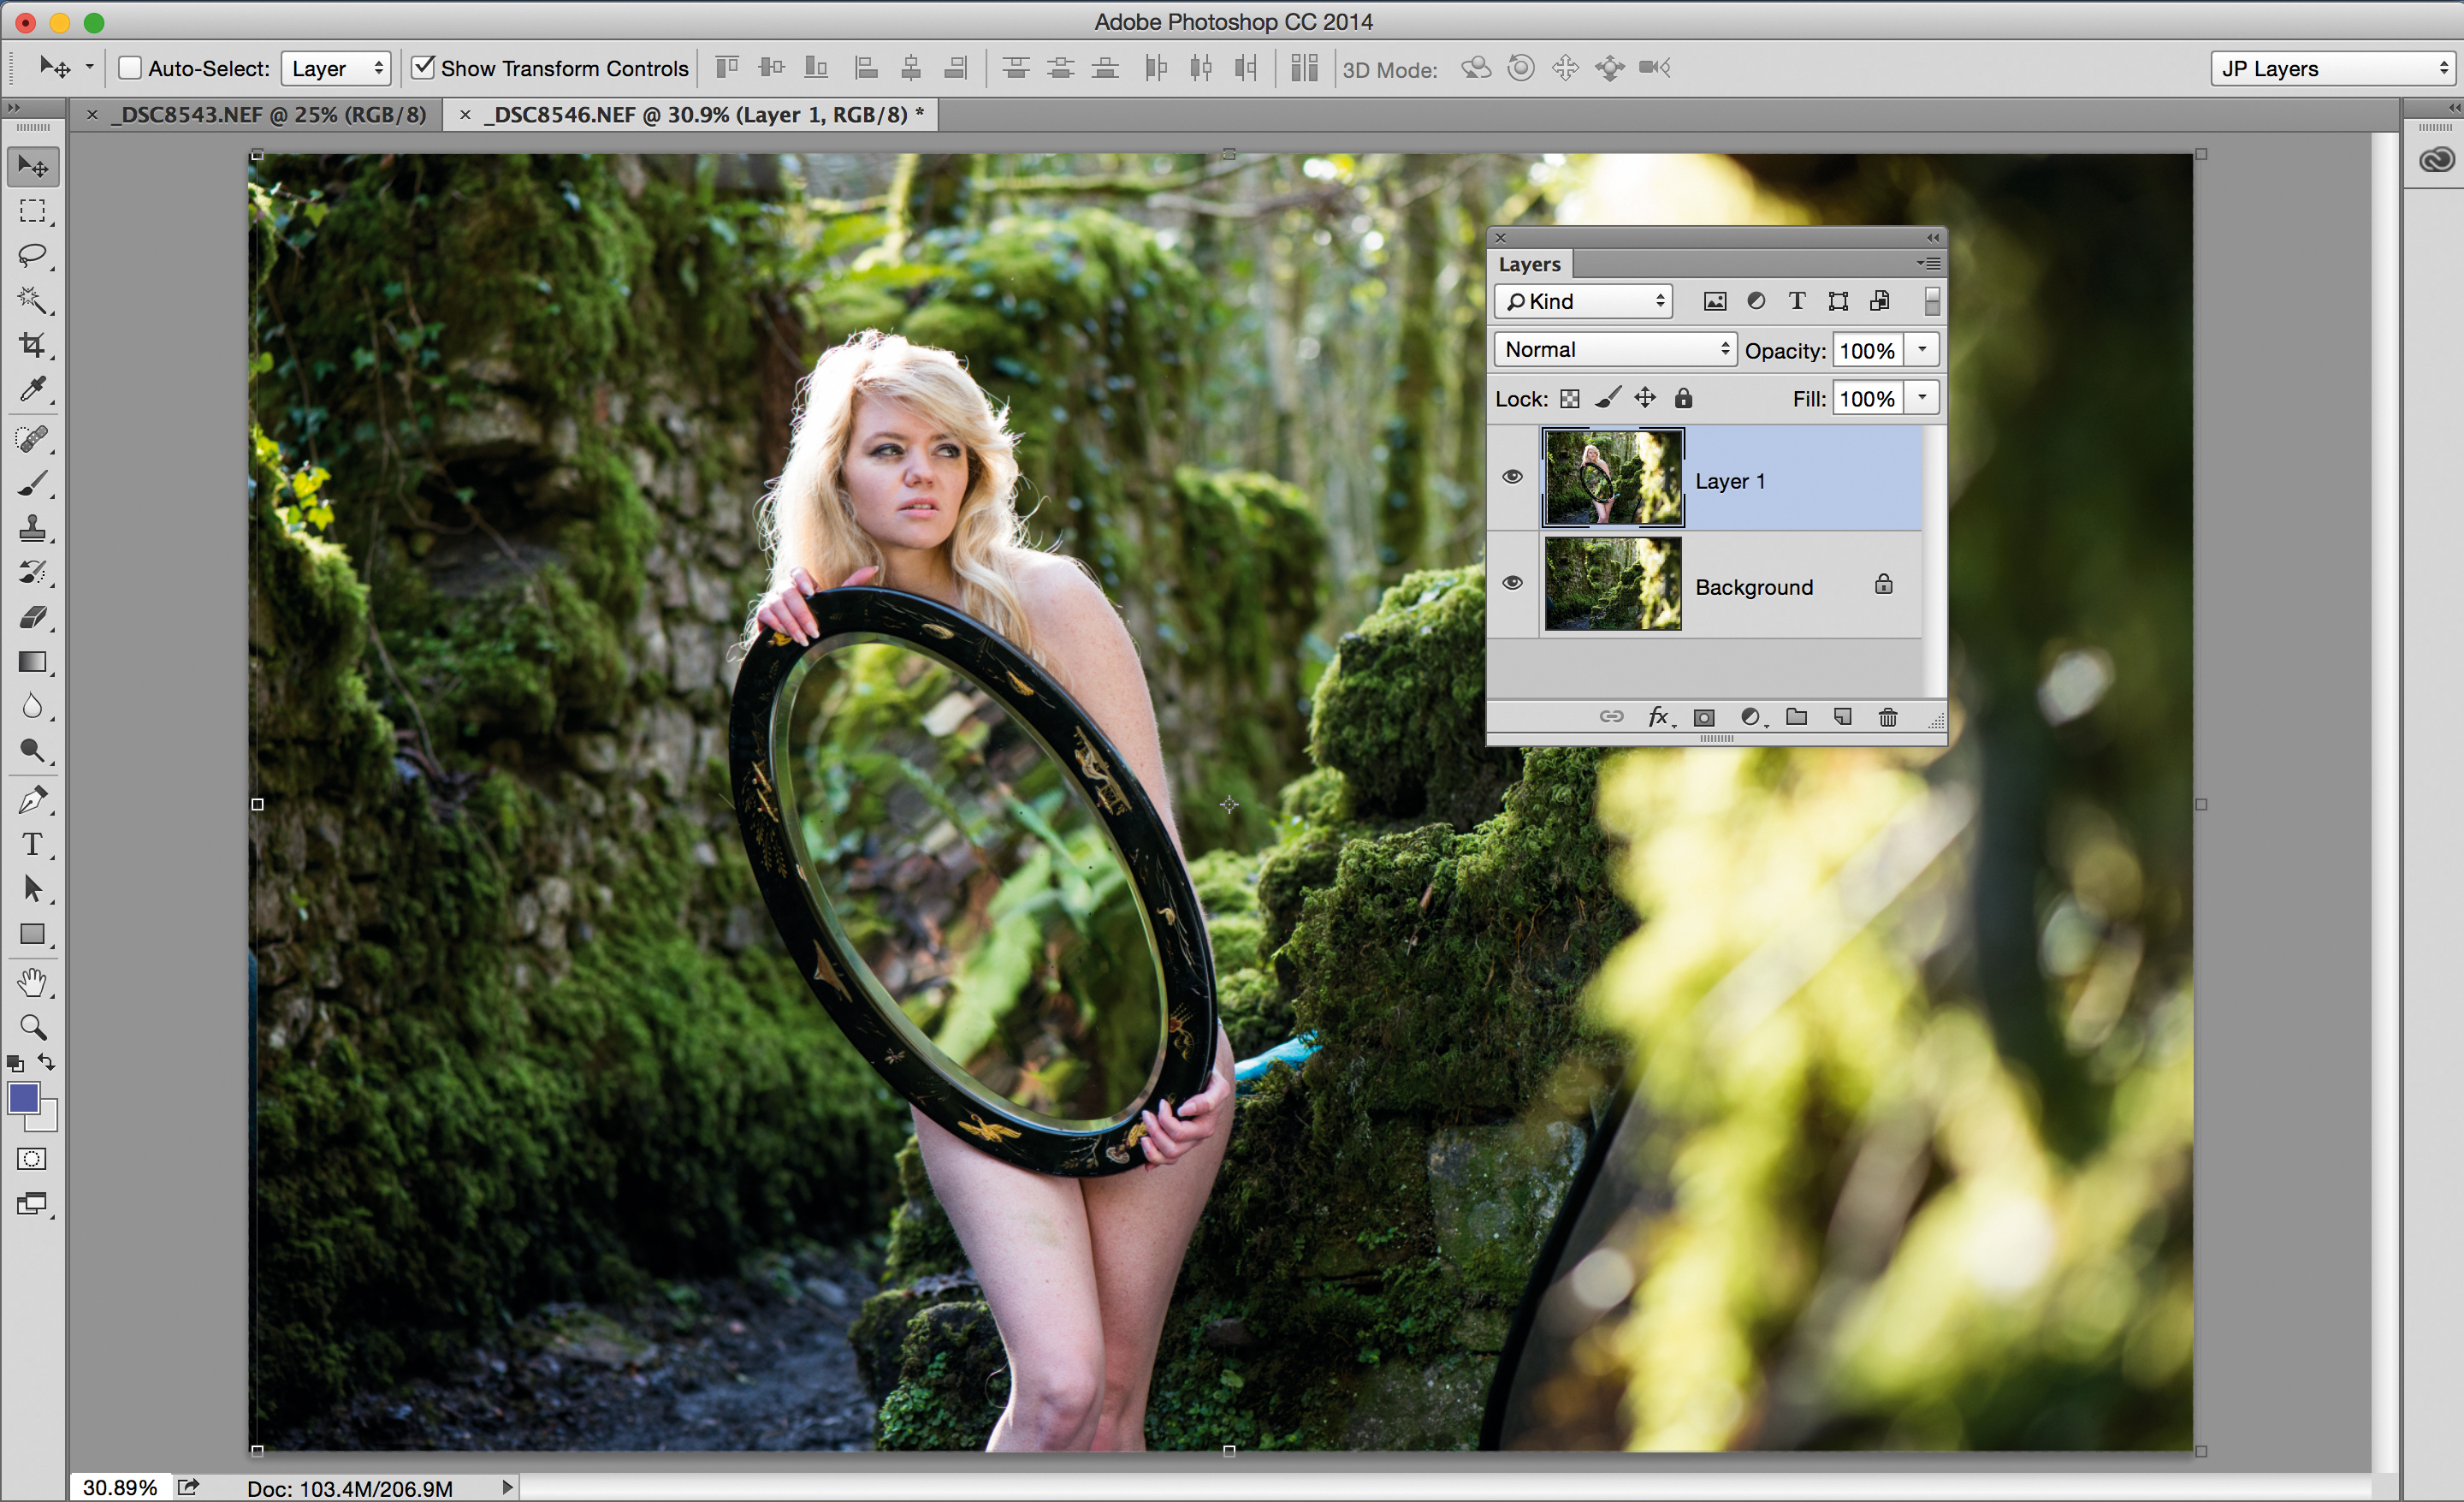
- Back in the digital darkroom, open up your two images in Photoshop (or use our shots). Take the shot of the model, go to Select>All, and press Cmd/Ctrl+C to copy it. Then go to your image without the model and press Cmd/Ctrl+V to paste the model shot onto it, as a separate layer.

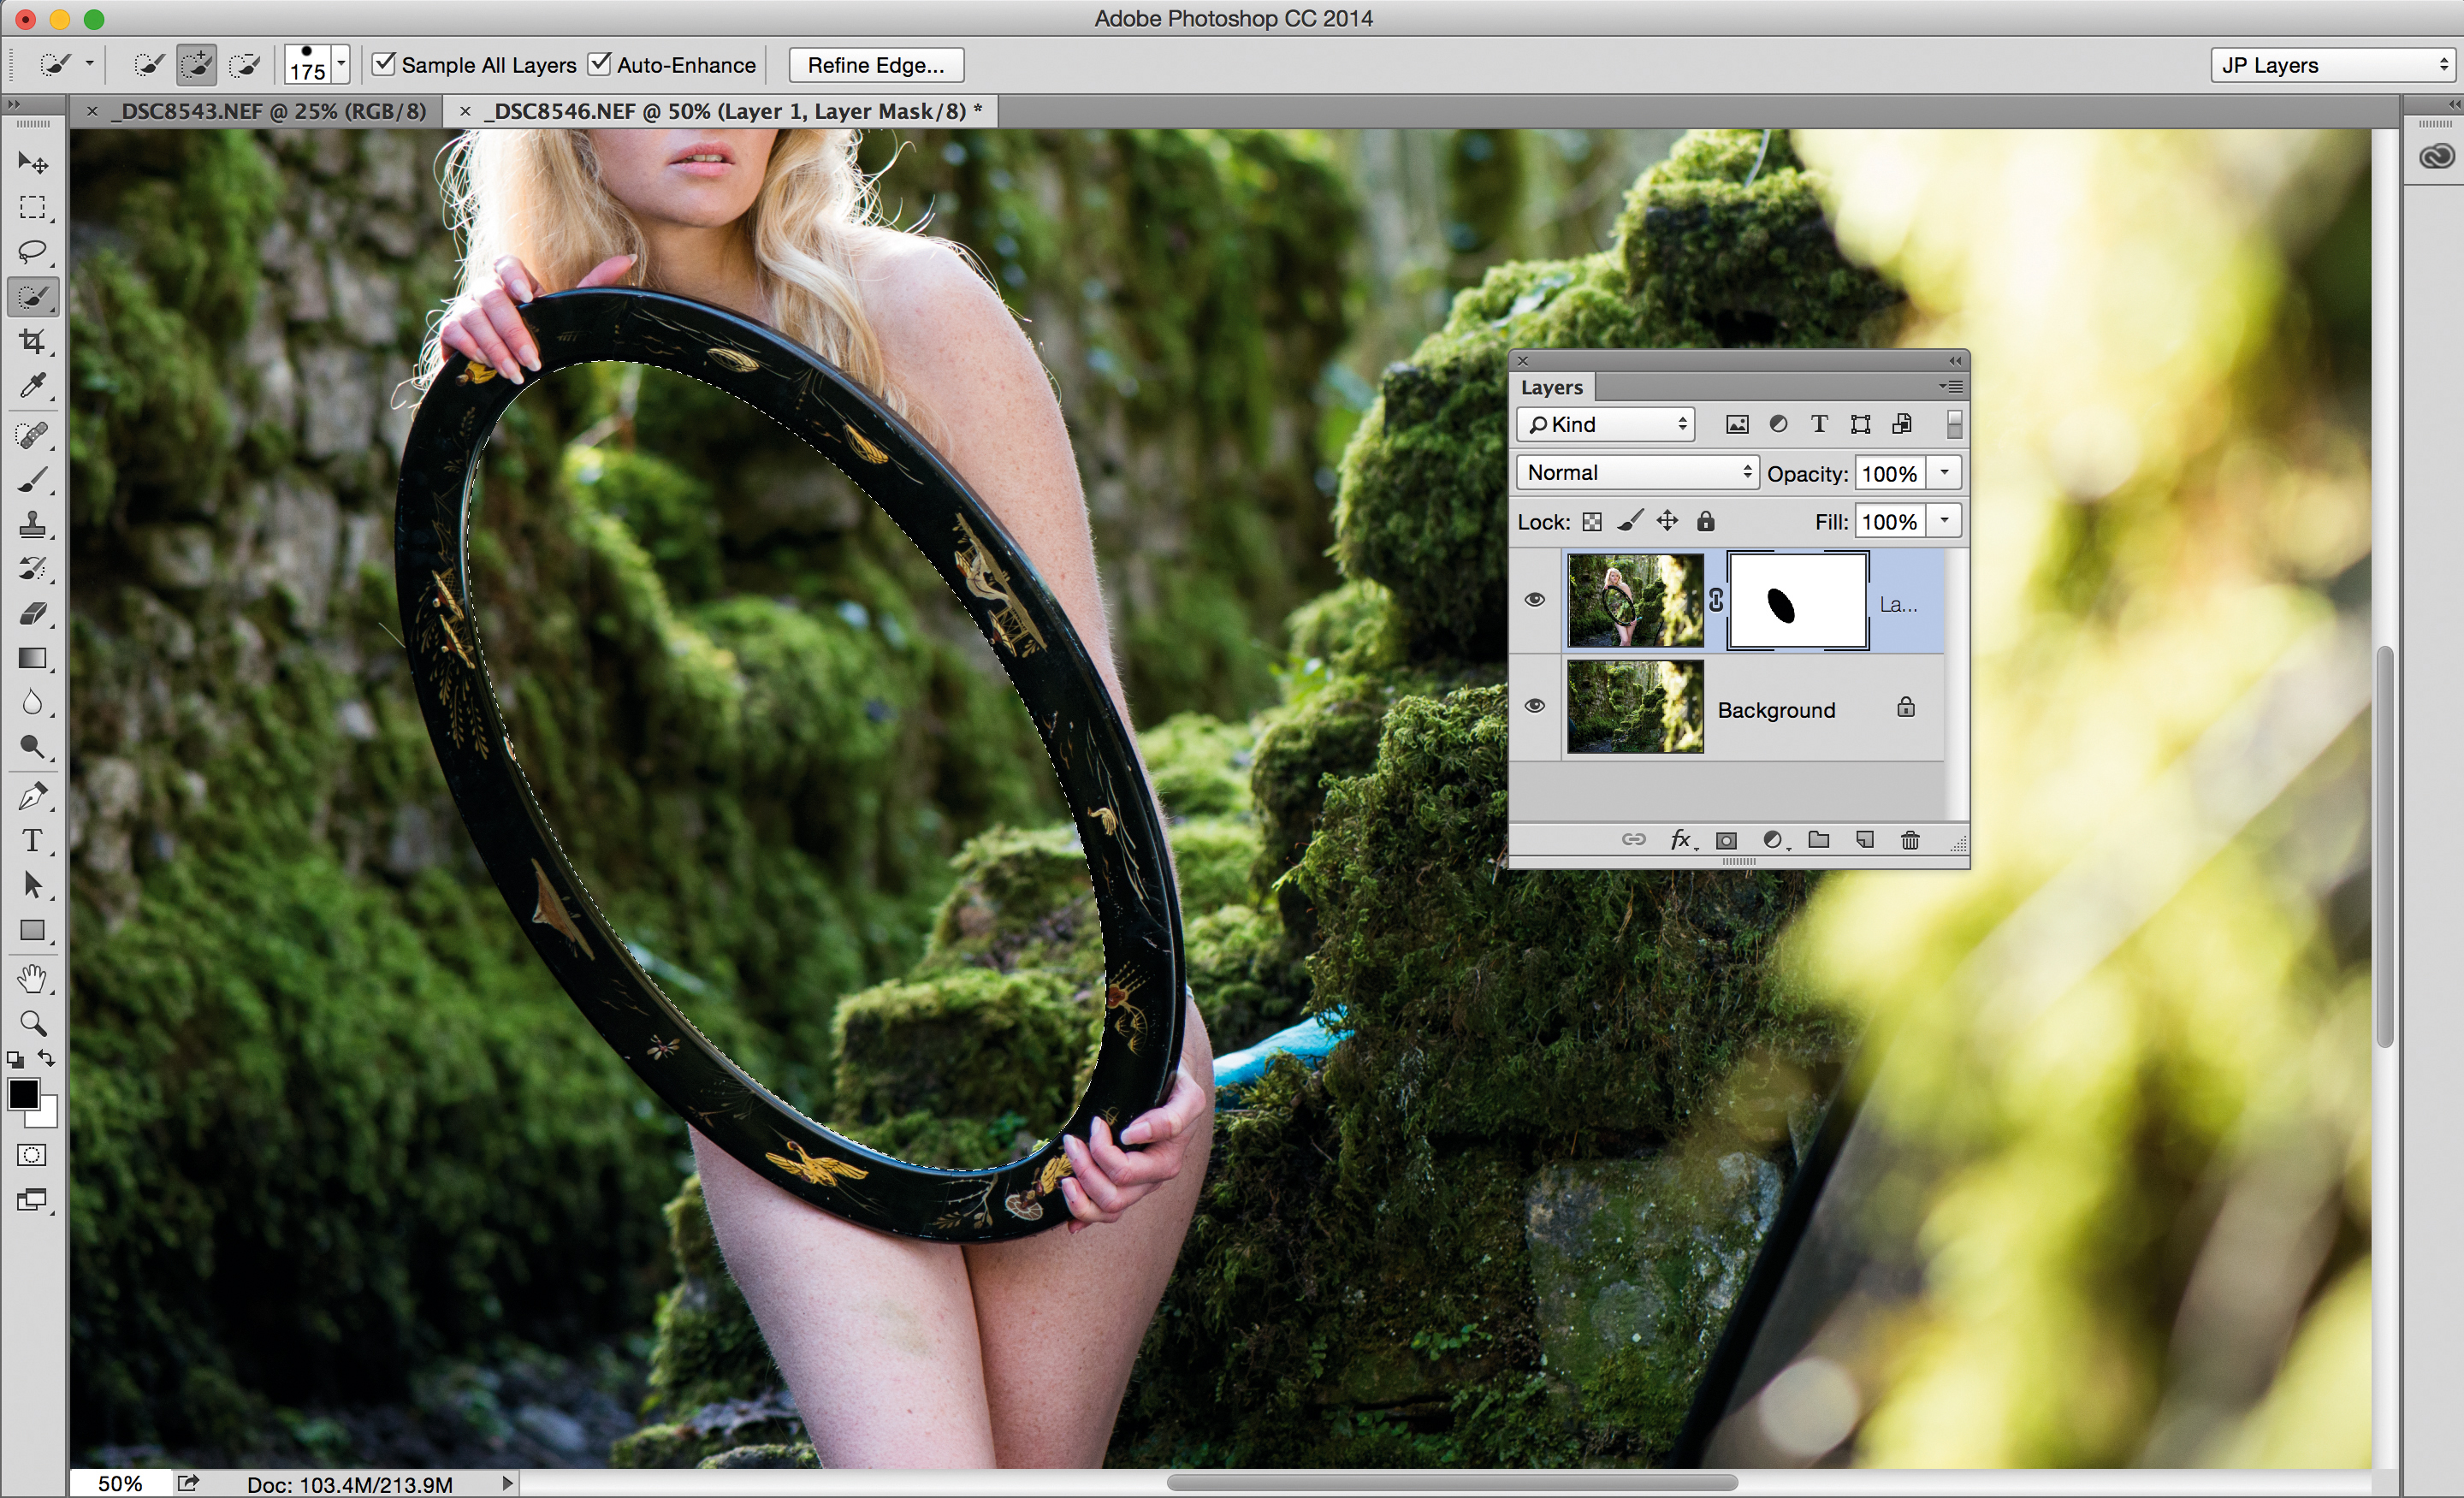
- Grab the Quick Selection Brush from the toolbar and paint over the mirror’s surface to select it. Zoom in to check the edges; hold Alt and paint to make corrections if needed. Go to Select>Refine Edge, and set Radius to 2px, Smooth to 20, Feather to 1px. Select Layer>Layer Mask>Hide Selection.
- To give the mirror a hazy quality, Cmd/Ctrl+click the mask thumbnail, then go to Select>Inverse. Create a new layer and paint with a white brush around the mirror’s edges. Finally, create another layer, grab the Spot Healing Brush, set Sample All Layers, and paint over any distractions.
215 of the best photography tips
Photoshop tutorials: 100 editing tips
The best camera deals, reviews, product advice, and unmissable photography news, direct to your inbox!
The lead technique writer on Digital Camera Magazine, PhotoPlus: The Canon Magazine and N-Photo: The Nikon Magazine, James is a fantastic general practice photographer with an enviable array of skills across every genre of photography.
Whether it's flash photography techniques like stroboscopic portraits, astrophotography projects like photographing the Northern Lights, or turning sound into art by making paint dance on a set of speakers, James' tutorials and projects are as creative as they are enjoyable.
He's also a wizard at the dark arts of Photoshop, Lightroom and Affinity Photo, and is capable of some genuine black magic in the digital darkroom, making him one of the leading authorities on photo editing software and techniques.


