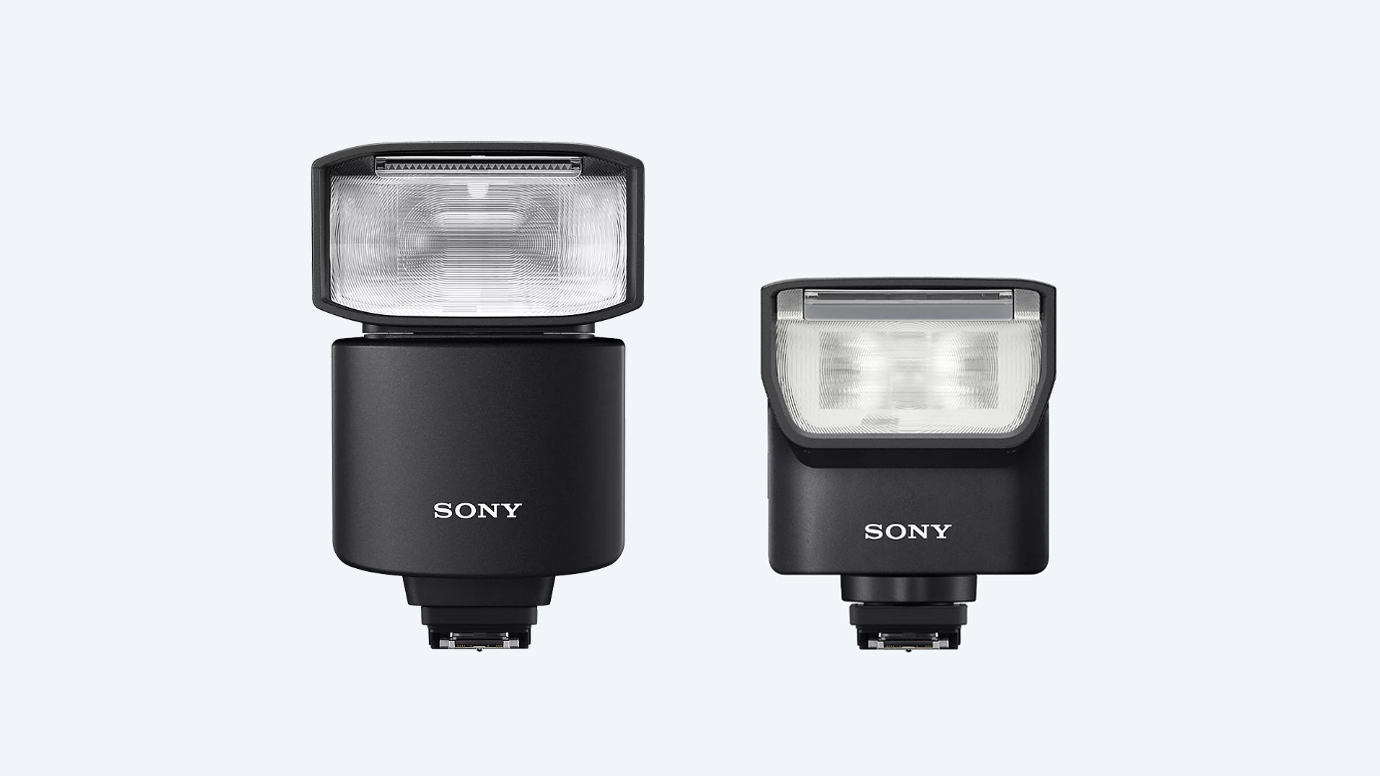
Photography cheat sheet: flash on location
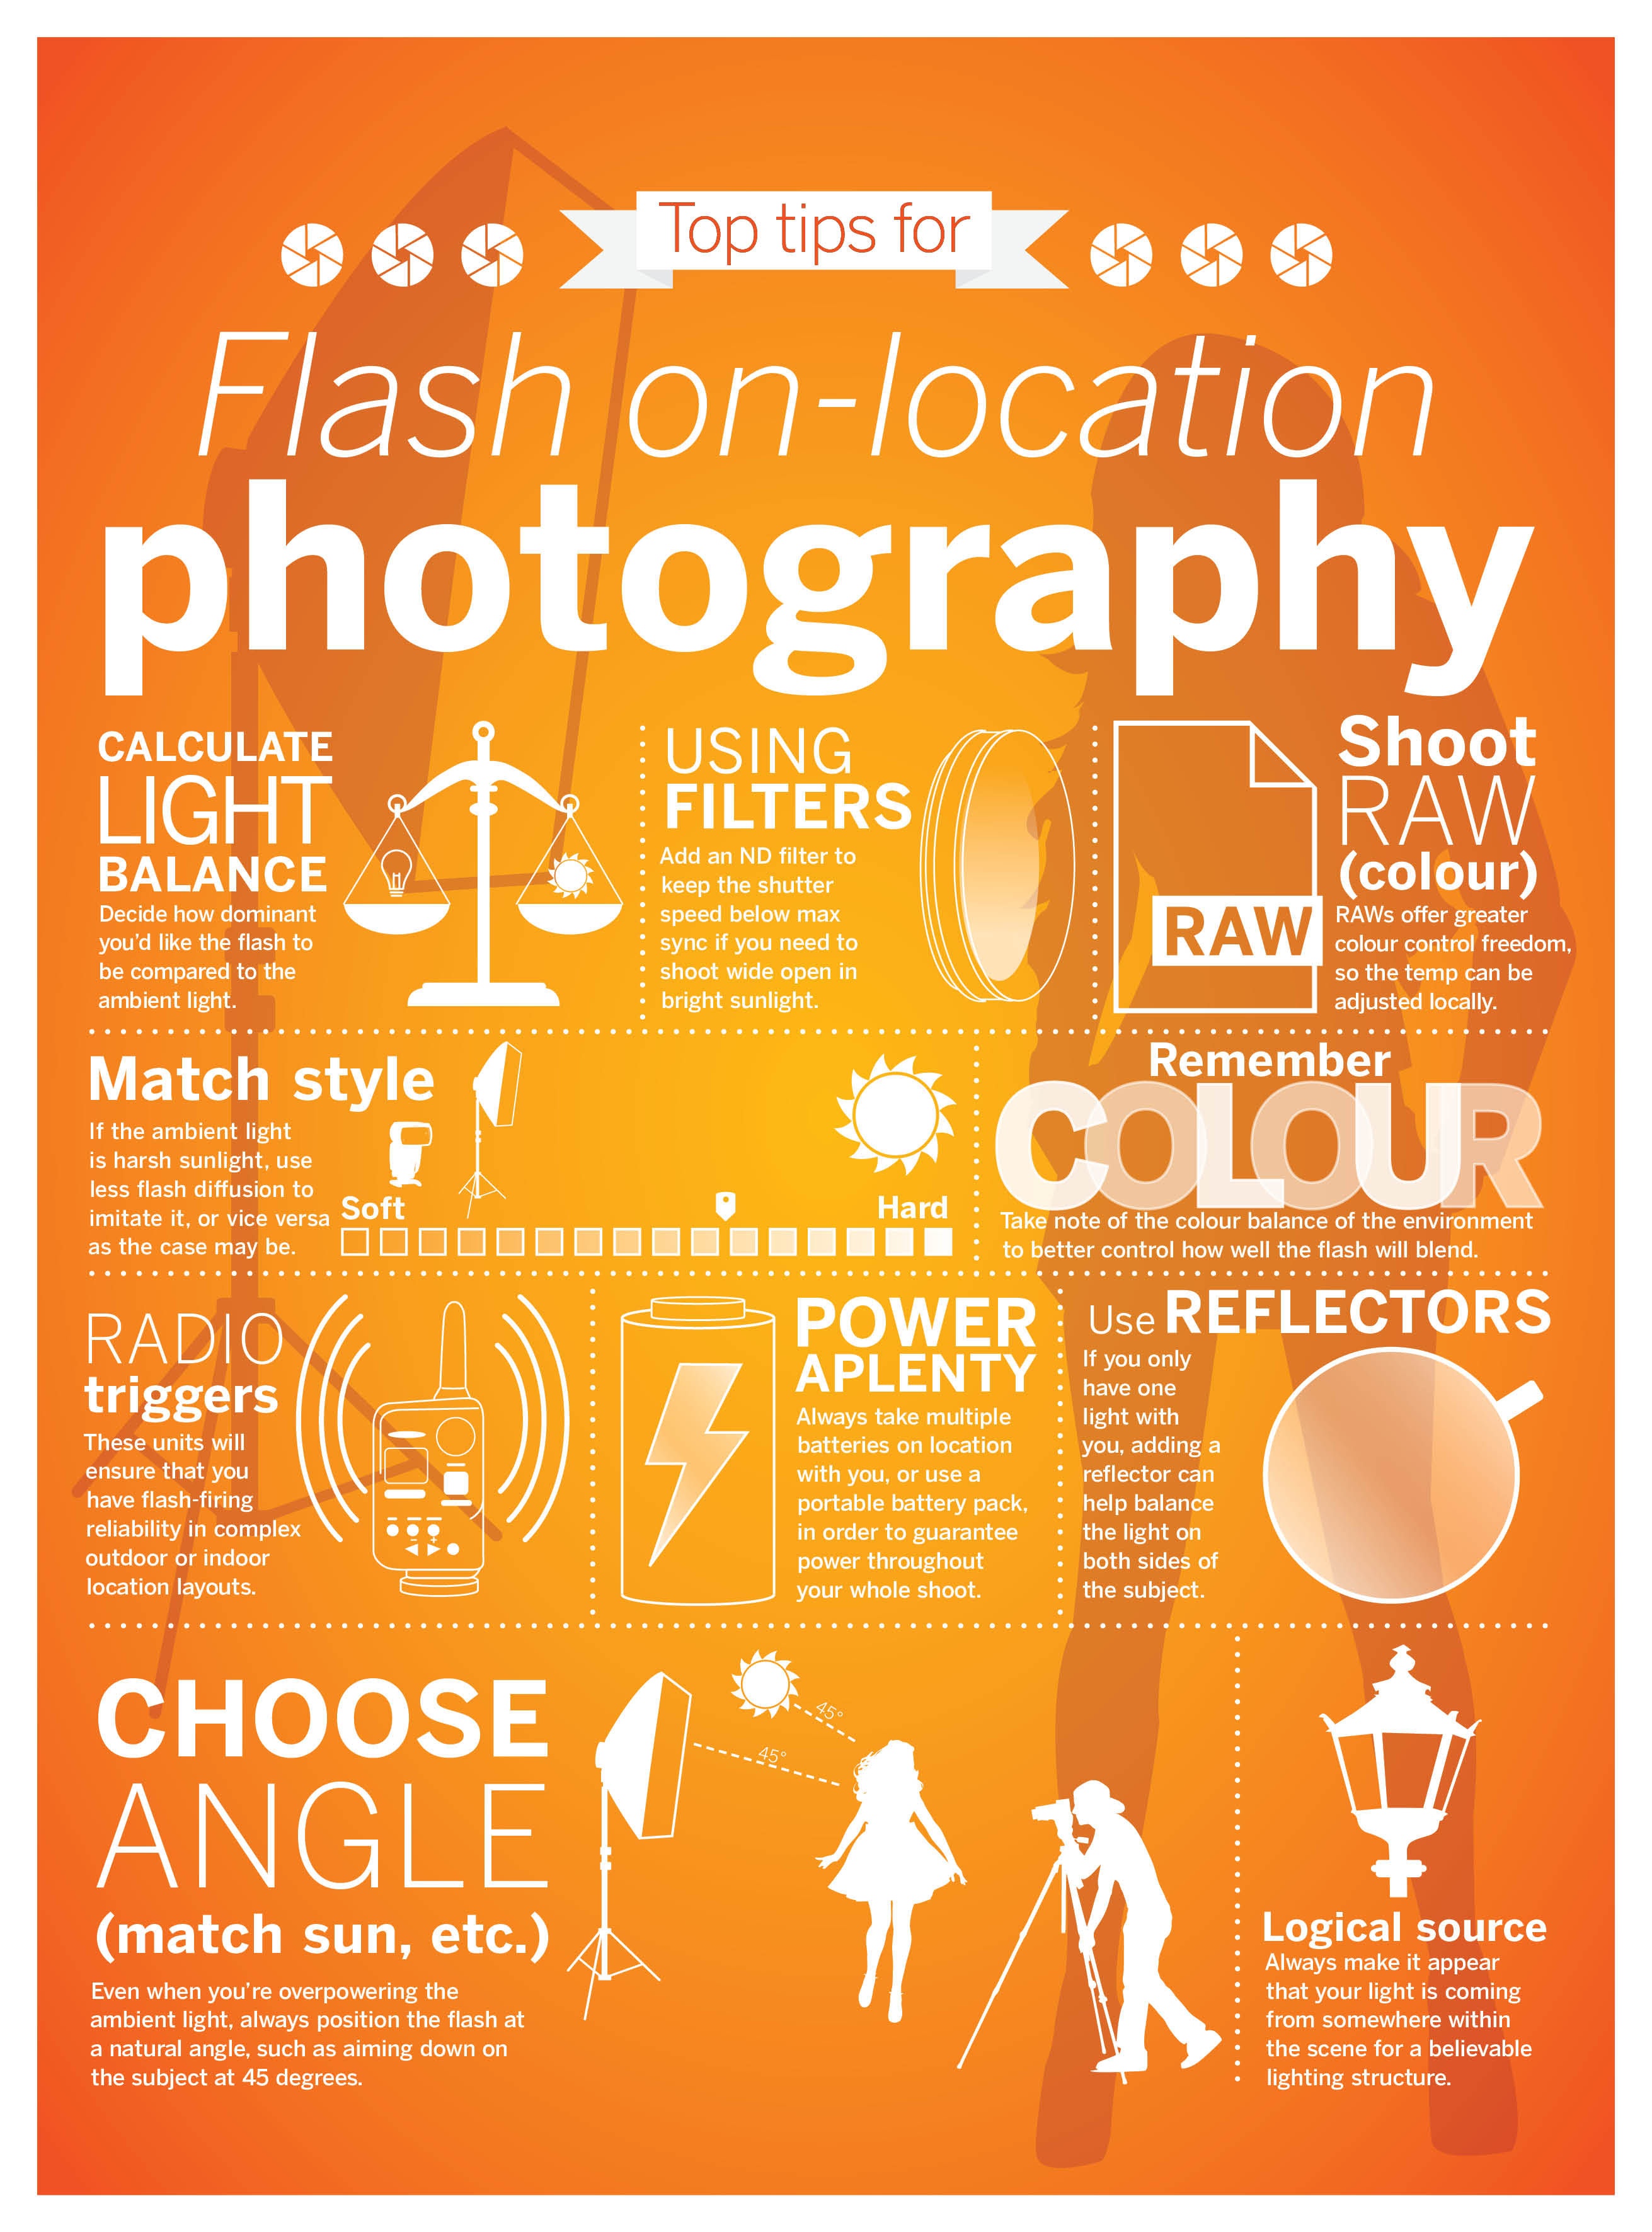
Learn to control lighting in many settings and master the art of using off-camera flashes and strobes – save our infographic to help
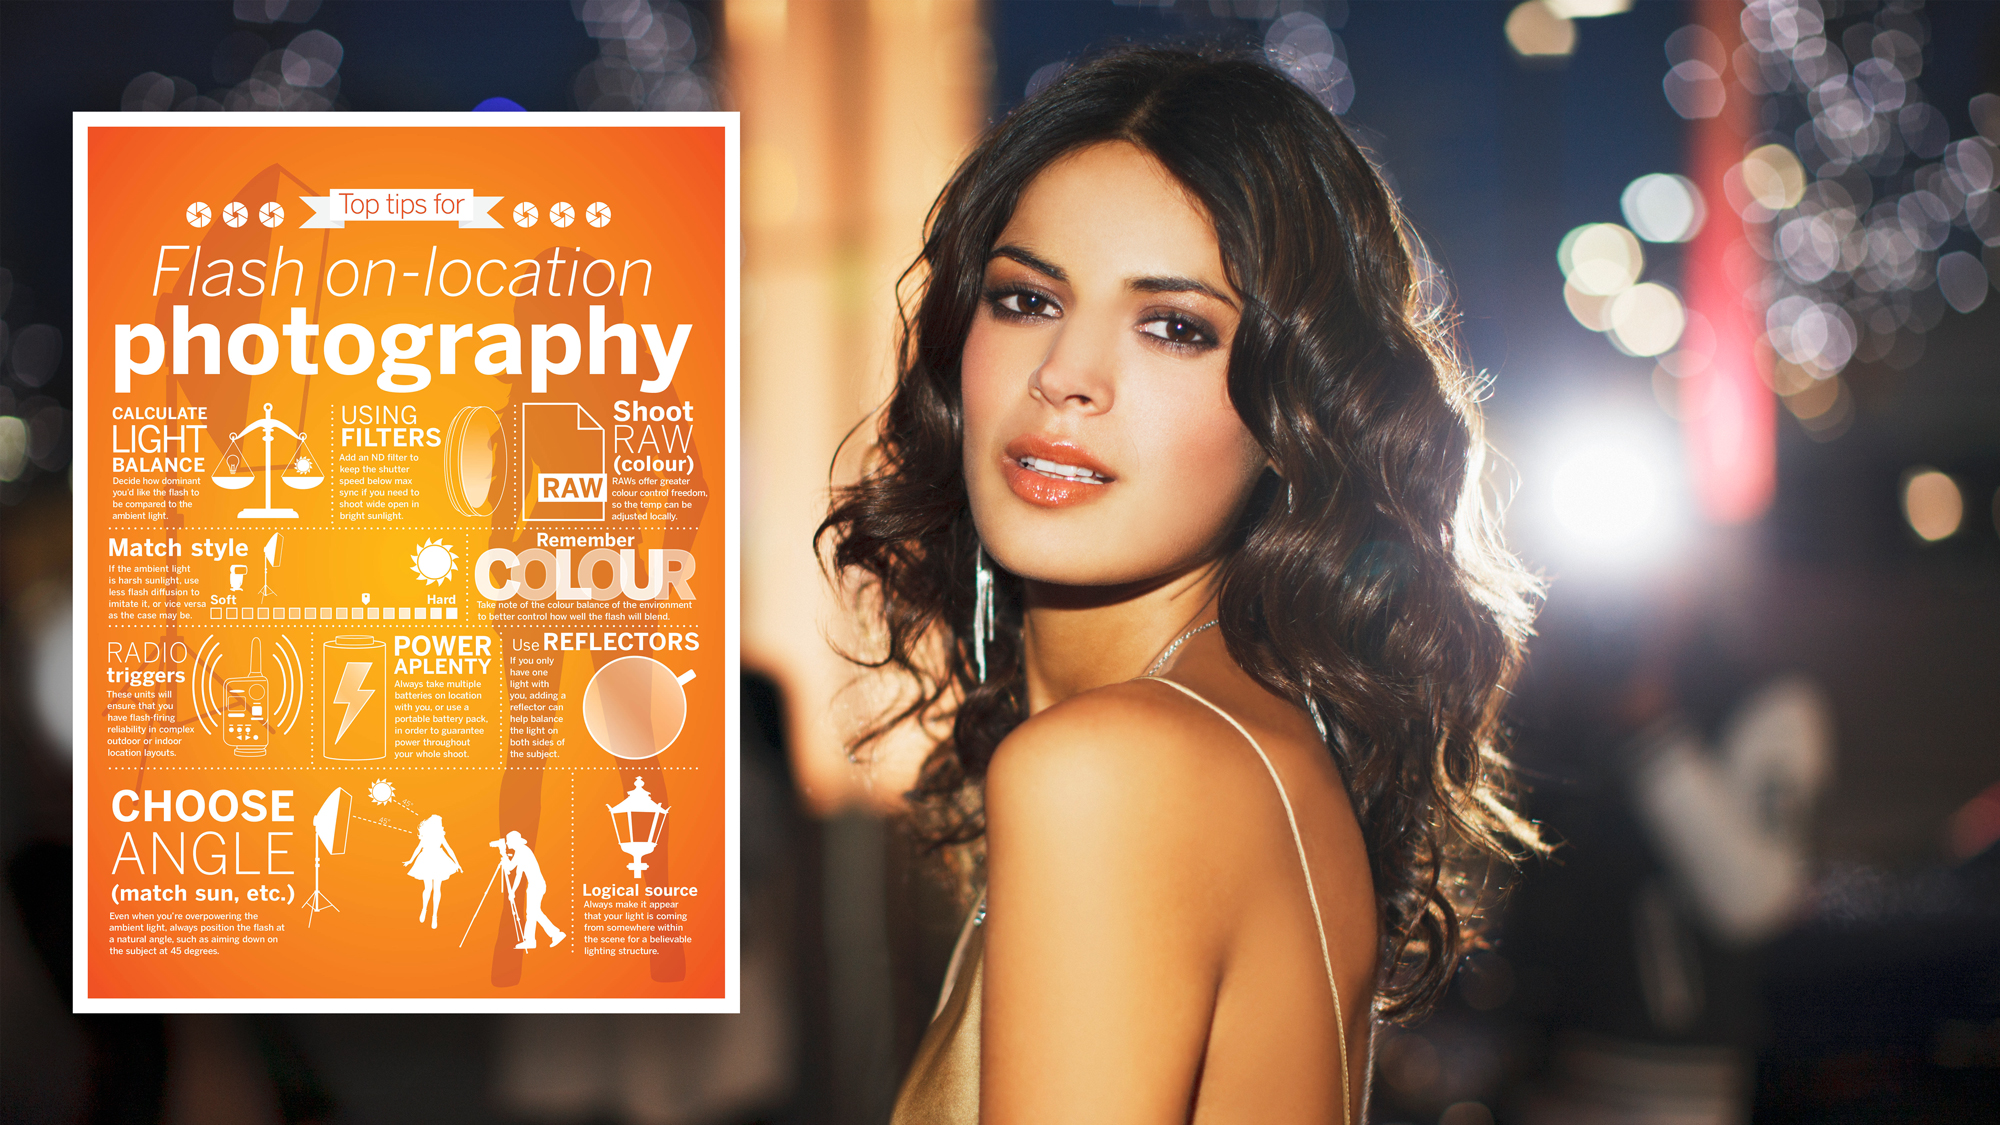
Studio-based photographers are usually experienced with using the best flashguns and strobes. The studio can be seen as the home of flash, as the indoor setting usually makes artificial lighting the main light source. When you’re shooting on-location, the use of flash isn’t essential, but rather a great way to create dynamic images.
Whether this is through the use of fill light to lift the shadows and balance the presence of natural and artificial illumination, or rim light to outline the subject, or even a strong backlight to create faux effects, location lighting would be uncontrollable without flash.
A main skill you’ll need when shooting any subject on location is crafting the light ratio between natural and artificial light. While there are challenges with shooting in a studio, the main advantage is that lighting structure can be built from the ground up and be completely tailored to the subject and style you’re shooting.
In an outdoor location, or an internal setting with different lighting sources, you need to work with lighting to either blend, overpower or make use of sunlight.
Let's take a closer look at some top location lighting techniques and help you to use flash with ease. Why not save and download our on-location flash cheat sheet at the bottom of this page to refer back to later?
What gear do you need for on-location flash?
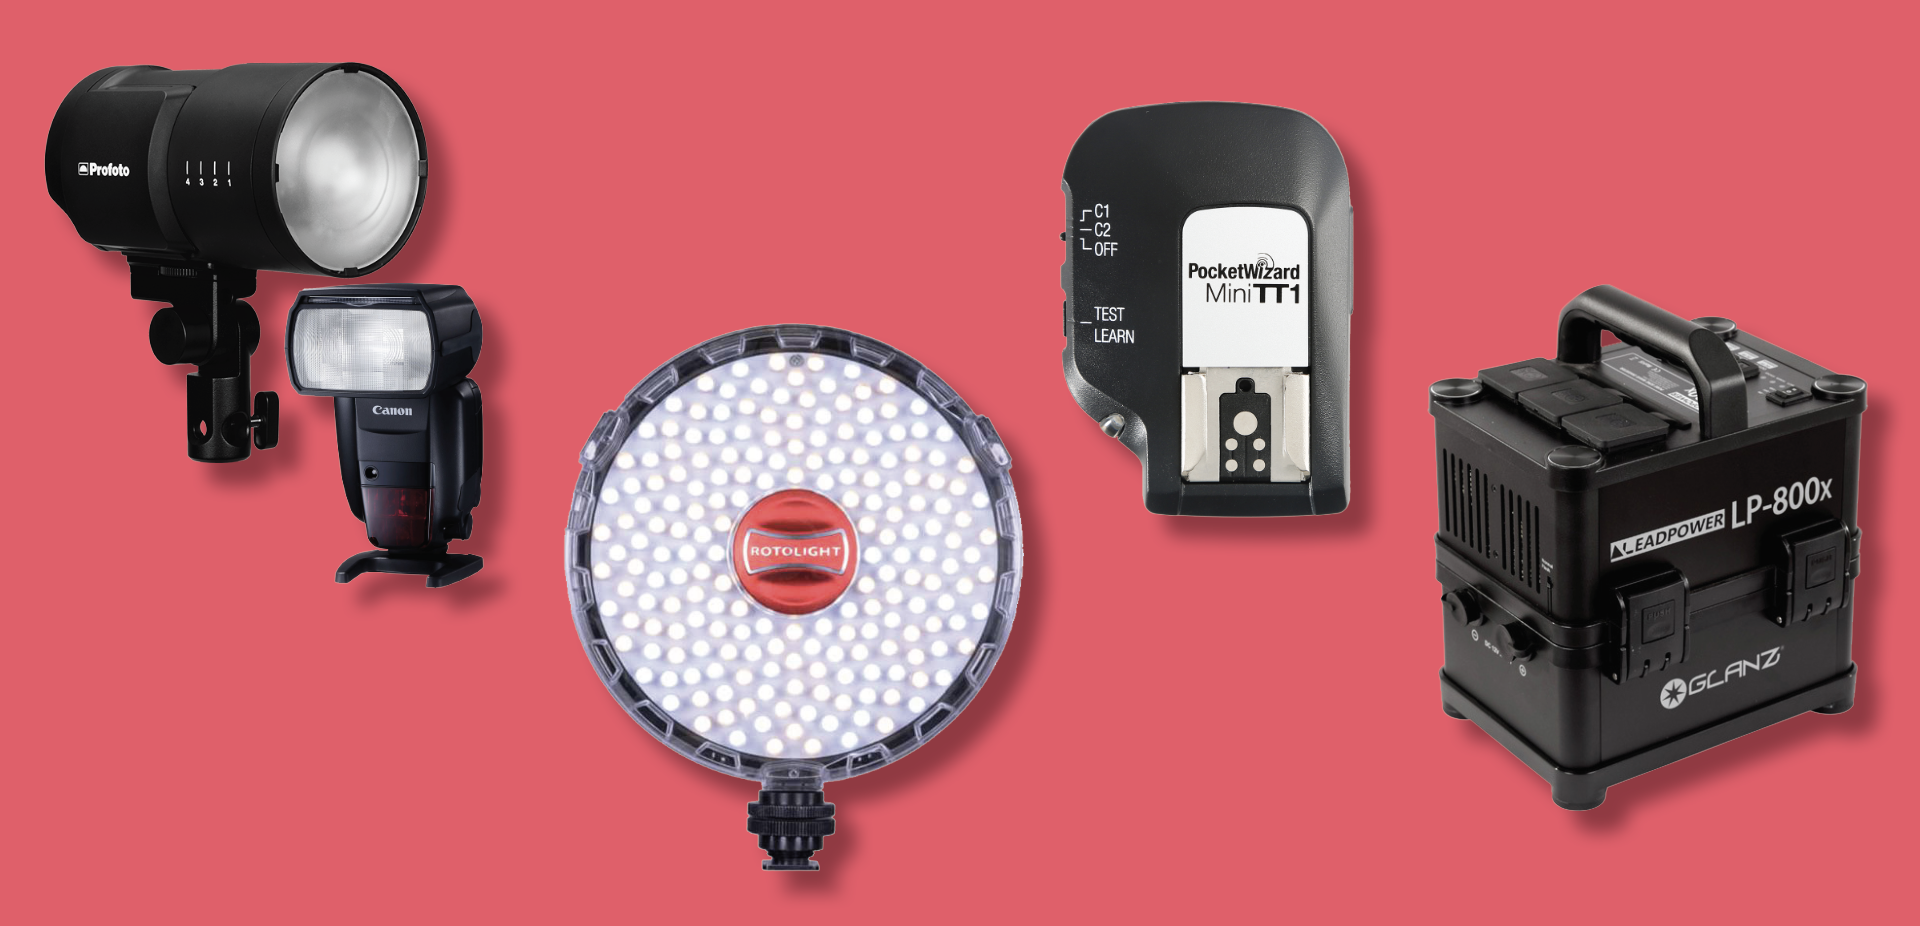
Location-based photography imposes time, space and weight restrictions on your shoot. The more gear you take, the more complex the setup becomes, and the greater the requirement for assistants and lighting technicians.
One of the cornerstones of successful flash photography is the concept of simplicity over complexity. If you can function using a single light and achieve the look you want, then it is completely unnecessary to add a second or third flash to the mix. The more light sources you add to a setup, the more you have to consider lighting ratio, diffusion and direction, as well as the challenges of setting up radio-trigger frequencies to control each lighting group individually.
Radio triggers
While Infrared (IR) triggers are usually effective in controlled lighting environments such as a studio, line-of-sight flash-triggering methods are less reliable in outdoor locations, where ambient light and physical barriers such as trees, walls and high ground can interfere with the signal. The best flash triggers for your camera are good for location shooting, letting you position a speedlight away from your camera.
Battery pack
On any pro photoshoot you’re going to be taking a significant number of frames, which can use up a lot of flash battery power. This is especially true if you are using your speedlight at full power to dominate the scene. Portable battery packs (or a solar generator) are essential if you want to use strobes, as they replace the mains power, but there are speedlight alternatives. Simply plug in your strobe, continuous light or speedlight and fire your flashes uninterrupted.
Flash vs. continuous light
Using flash in locations where you need to balance artificial and ambient light requires practice. Using continuous lights – either full-size studio models or LED light panels and portable models, such as the Rotolight NEO 3 – is more streamlined. You can see the effect in real time so there are fewer calculations involved to get the light balance right. However, the light output is lower than flash, so in darker settings it can be tough to prevent motion blur. Mixing light types often blends the best characteristics of each.
Strobe vs. speedlight?
Strobes are ideal when you need power – if you’re lighting a large space, for example. There are generally a bigger range of accessories for studio lights too, so you have greater flexibility of lighting styles. Speedlights are far more portable, however, and you can pack six or seven units with less weight penalty than two strobes. They are also better for shooting subjects in motion, due to the short flash duration.
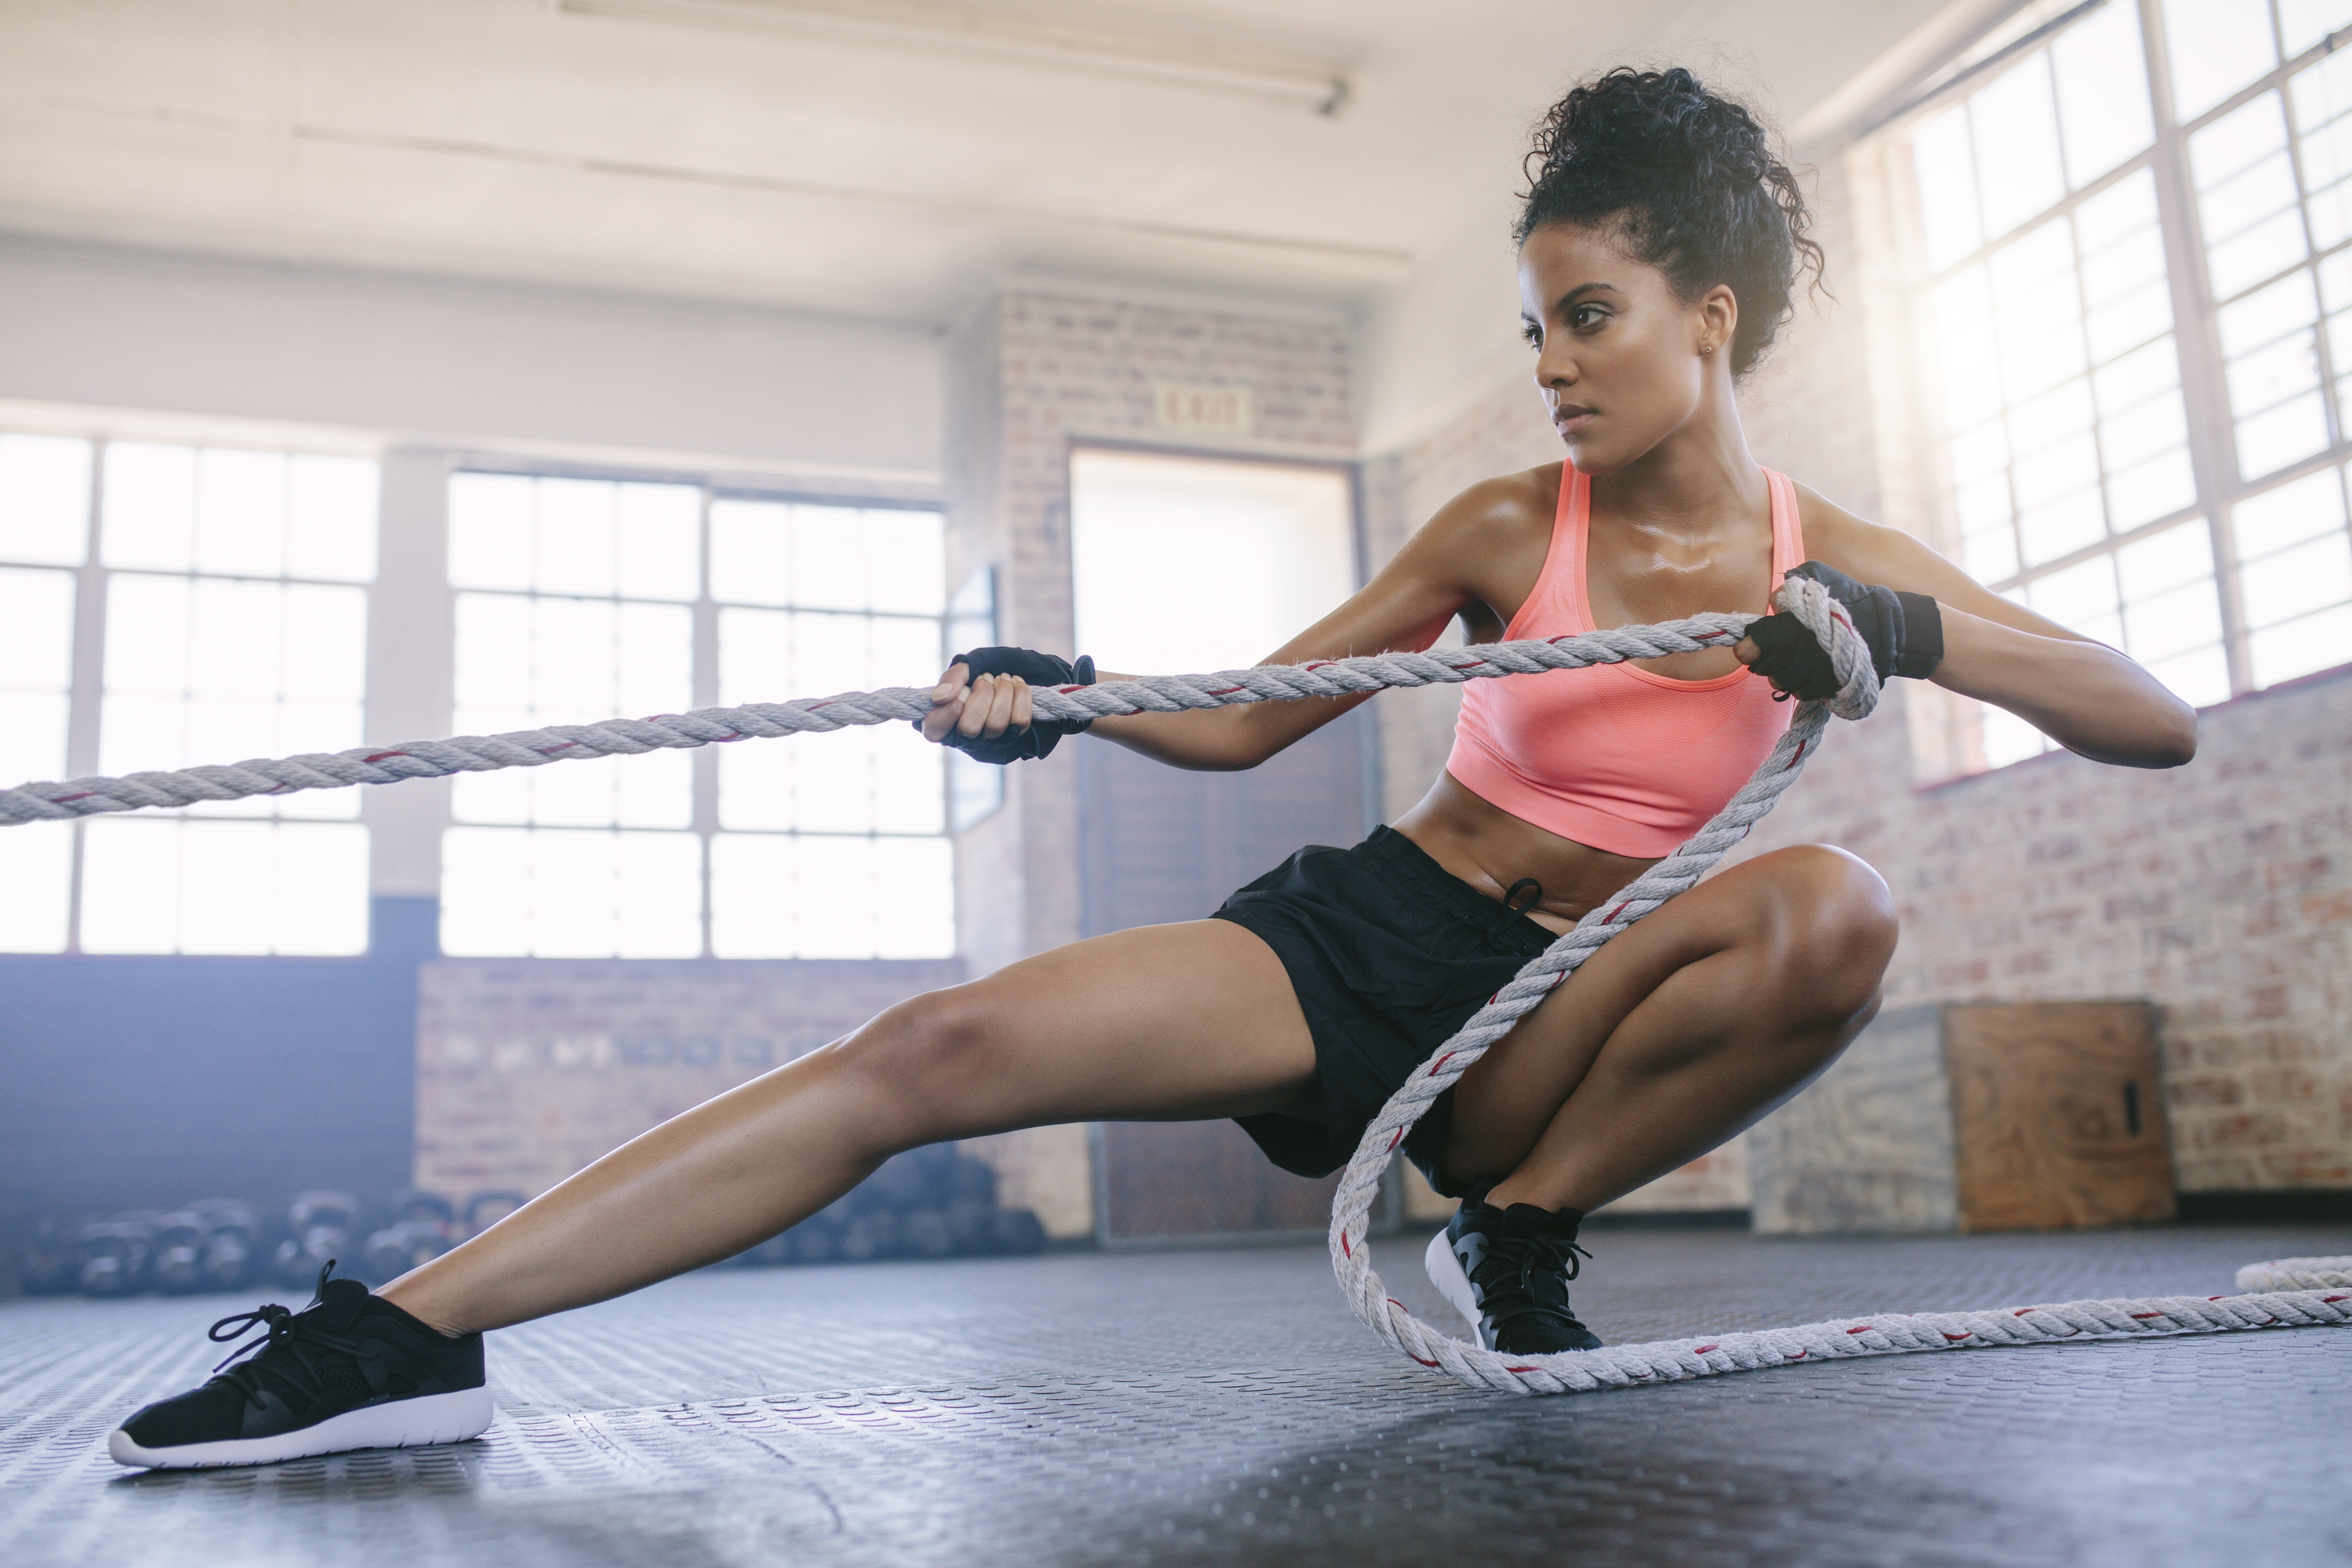
Blend flash and ambient light for a natural look
Sometimes you want the light from the flash to interact with ambient sunlight in a way that doesn’t reveal our lighting setup. You can use flash to take control of the lighting structure and create a direction that fits the composition and subject.
On a fashion shoot in the middle of the day, for example, you might want to make use of the harsh top-down light for the background, but would need to soften, shape and spread the subject light. Similarly, in a sunset landscape environmental portrait, you might need to add a fill light, especially if the subject is backlit, but would need to match the color of the flash to that of the background.
In each of these situations the goal is to make the light from our flashes appear as if it originated within the scene itself, rather than from an artificial source. This creates an organic feel to the shot and provides a stronger narrative, since the viewer is more focused on the setting.
Download our low-light photography cheat sheet
Read more
Photography cheat sheets
The best professional cameras
What are the best camera lenses to buy?
Get the Digital Camera World Newsletter
The best camera deals, reviews, product advice, and unmissable photography news, direct to your inbox!
Lauren is a writer, reviewer, and photographer with ten years of experience in the camera industry. She's the former Managing Editor of Digital Camera World, and previously served as Editor of Digital Photographer magazine, Technique editor for PhotoPlus: The Canon Magazine, and Deputy Editor of our sister publication, Digital Camera Magazine. An experienced journalist and freelance photographer, Lauren also has bylines at Tech Radar, Space.com, Canon Europe, PCGamesN, T3, Stuff, and British Airways' in-flight magazine. When she's not testing gear for DCW, she's probably in the kitchen testing yet another new curry recipe or walking in the Cotswolds with her Flat-coated Retriever.
