Pinhole photography: make your own pinhole camera using a body cap
Construct your own digital pinhole camera using your body cap!
Watch the video to find out how to make and use a pinhole lens
Believe it or not, you don’t need a lens to make an image. Instead, you can simply turn your DSLR or mirrorless system into a digital pinhole camera and capture stunning results without an expensive piece of glass!
Okay, the images you get won’t be perfect. In fact, they’re likely to be slightly blurred, but that’s all part of the charm. Pinhole photography is a great way to add a unique twist to your creative repertoire – and is a really cheap and easy technique to try.
There are readymade pinhole lenses, made by Thingyfy, if you want something that is professionally made - but it is a fun home project to have a go at making one yourself
All you need is a spare body cap for your camera, a piece of thin metal (a small, square piece of an aluminum drinks can is perfect), a pin or needle (about size 7 should be fine), a pair of scissors, black electrical tape, some fine sandpaper and a drill…

Photo hack: make your own pinhole lens
01 Drill your body cap
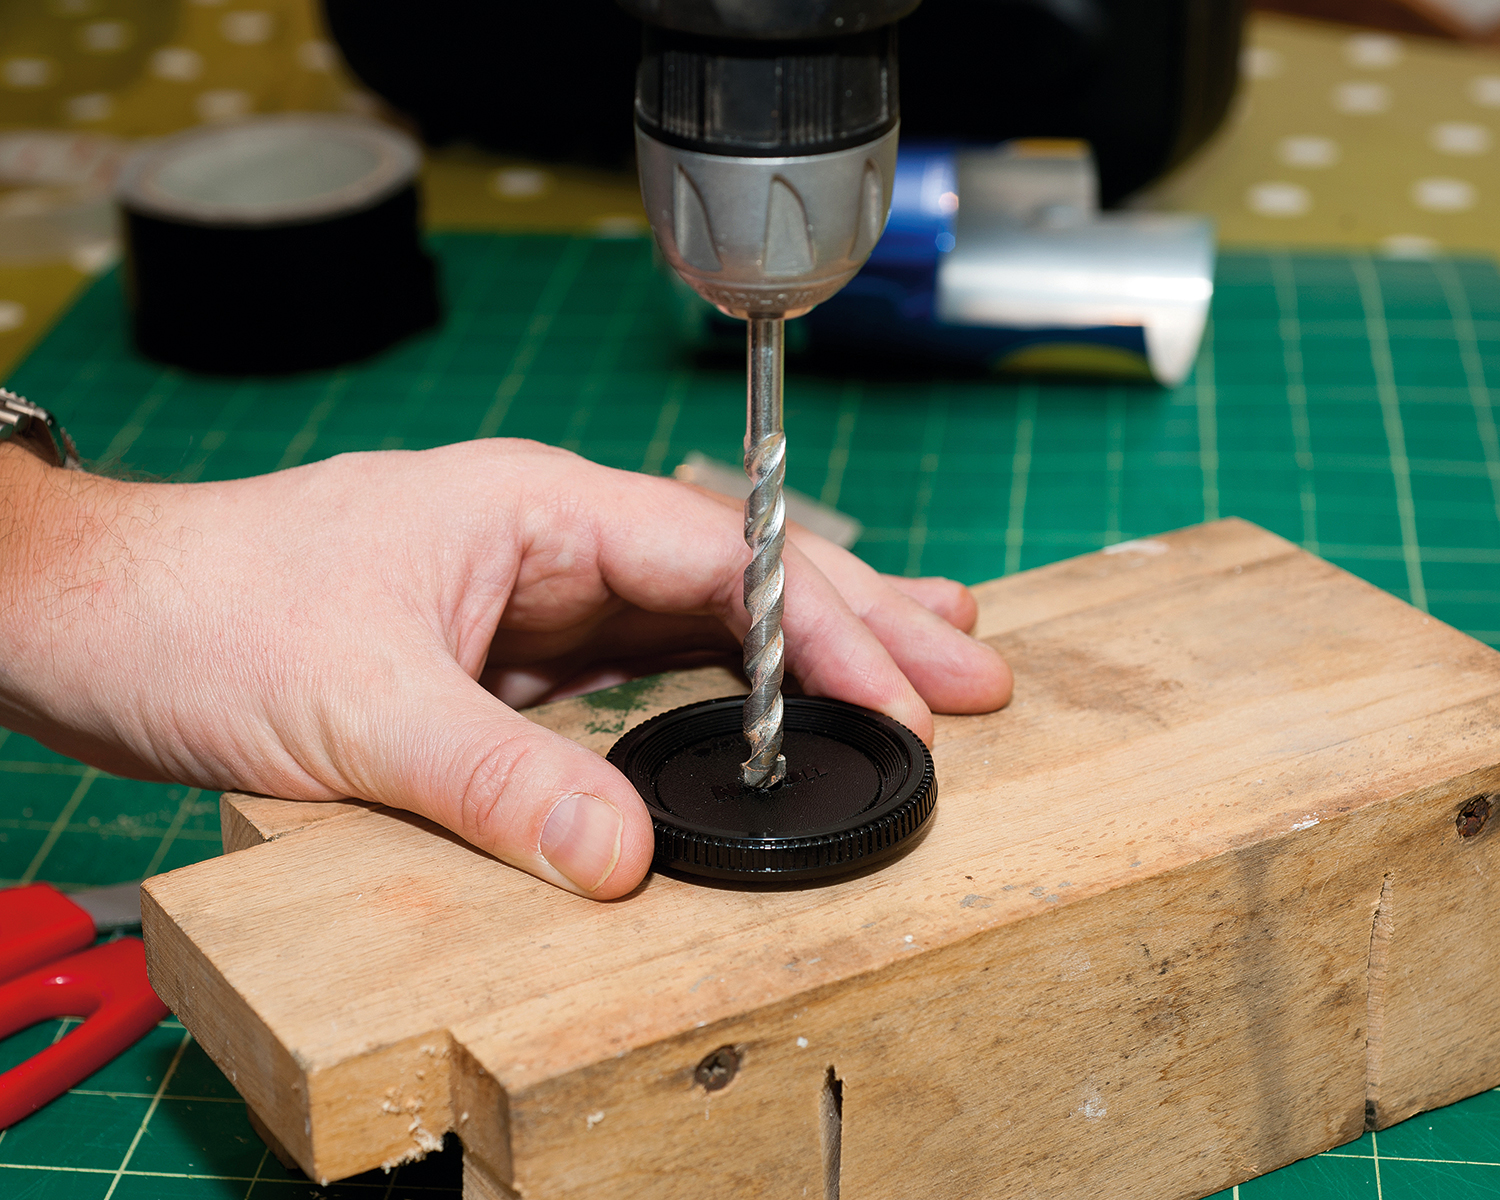
Place a spare body cap on a block of wood or other secure protective surface, and use a power drill to make a fairly large hole in the centre of the plastic (about 5mm in diameter). File away any loose bits of plastic so they don’t fall into your camera.
02 Make a hole
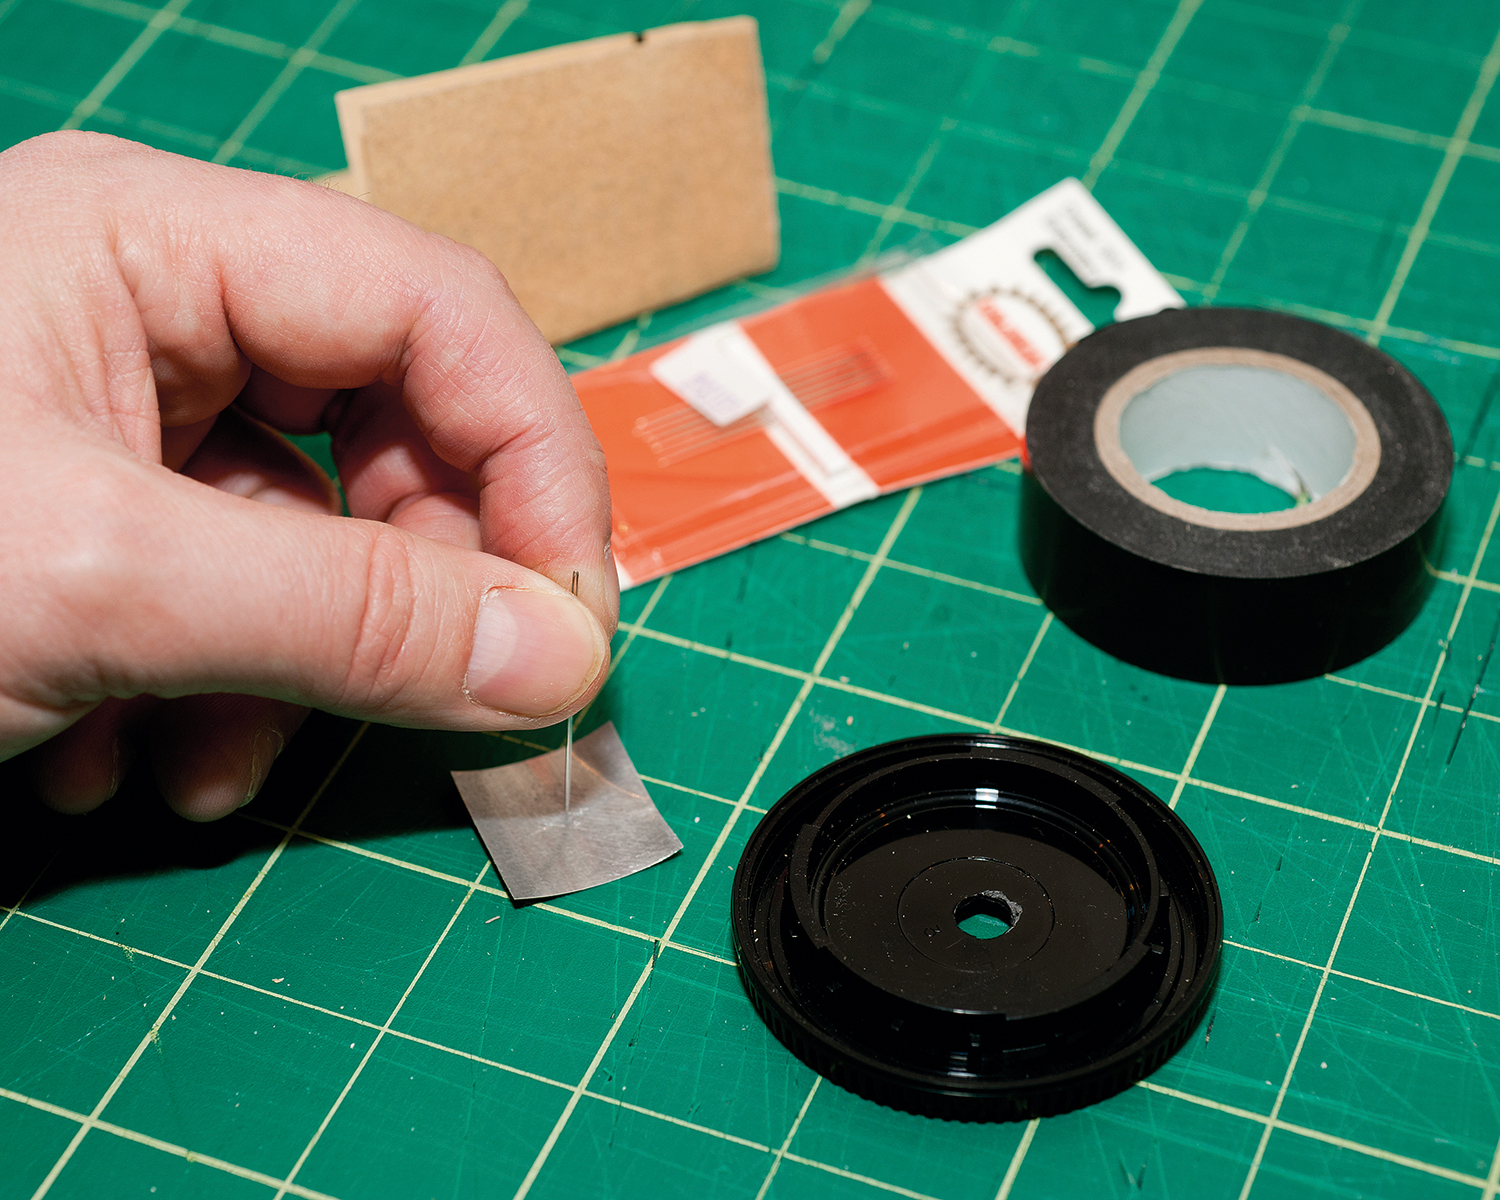
Use a size 7 needle to make a pin-sized hole in the aluminum square. Use fine sandpaper to file down the center of the hole until it’s smooth.
03 Set up and shoot
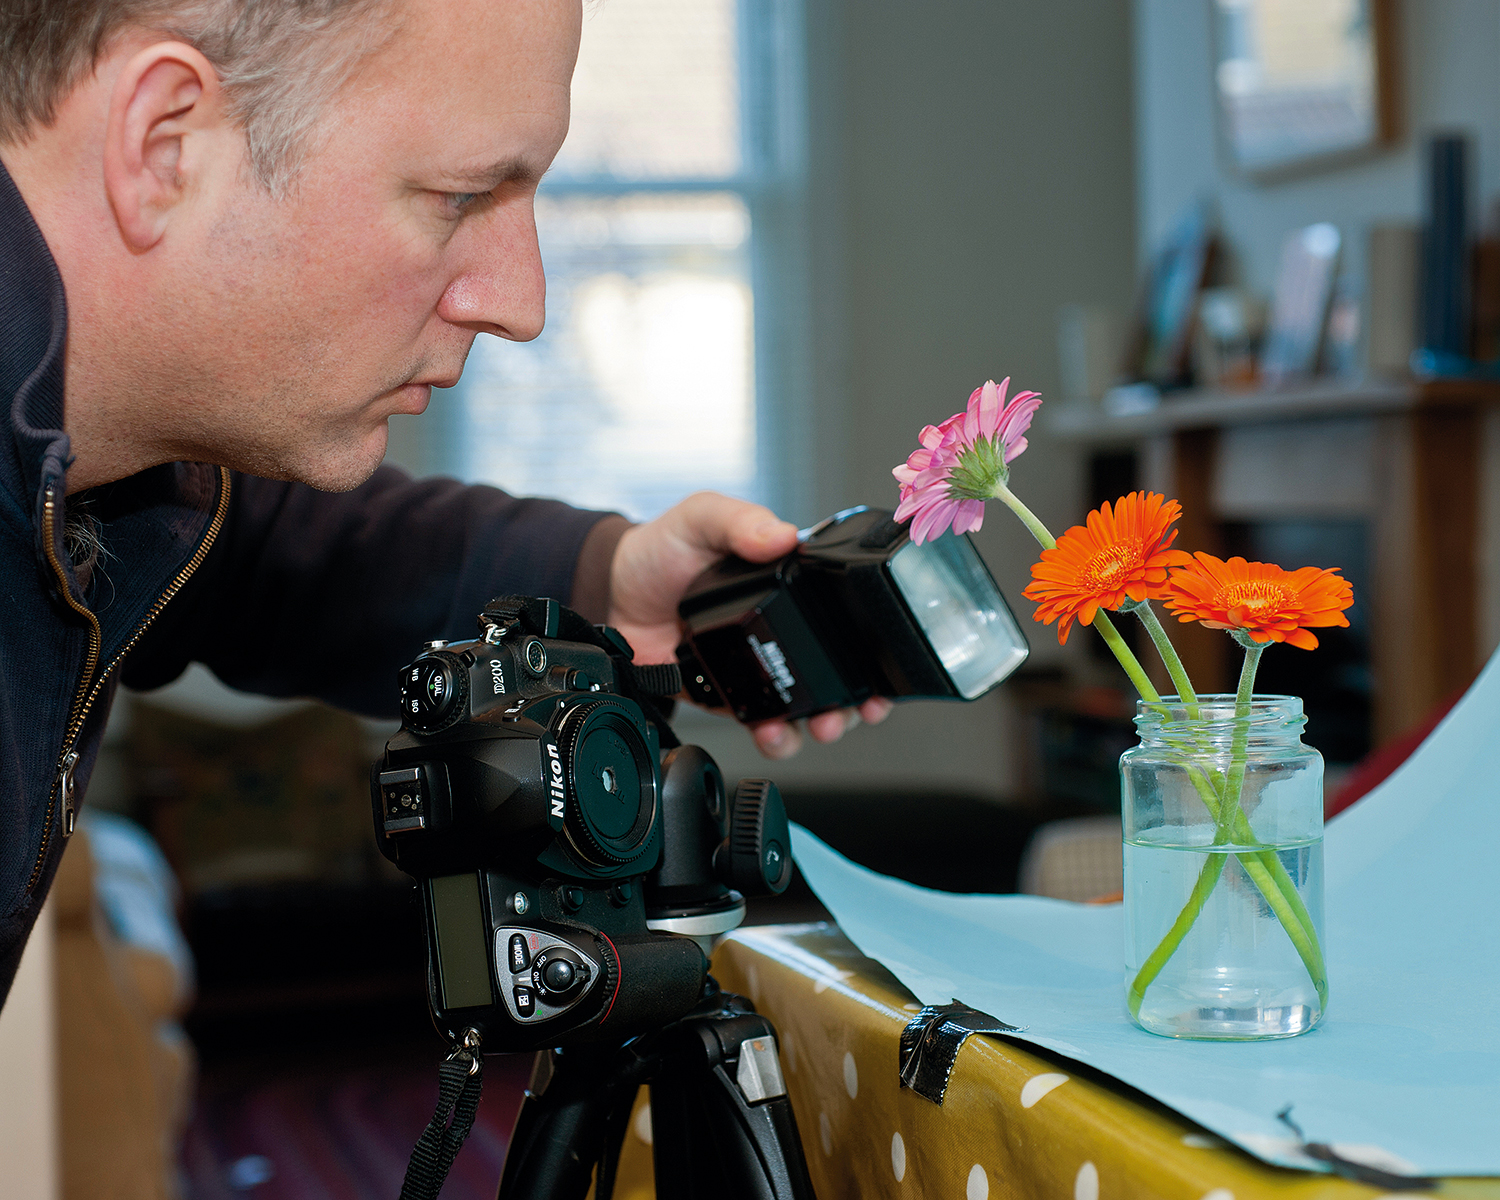
Attach your camera to a tripod, work manually and use the LCD display and histogram to set up a good exposure and composition. To light a still life, use an off-camera flashgun set to quarter power. Press the test button to fire multiple flashes during an exposure of 5 secs.
More videos:
Photo hack: make your own speedlight softbox
Photo hack: make your own beanbag camera support
The best photography tips videos
Free lensing: get the Lensbaby look and take macro shots with a standard lens
Create colorful cross-polarization effects
Get the Digital Camera World Newsletter
The best camera deals, reviews, product advice, and unmissable photography news, direct to your inbox!
Benedict Brain is a UK based photographer, journalist and artist. He graduated with a degree in photography from the Derby School of Art in 1991 (now University of Derby), where he was tutored and inspired by photographers John Blakemore and Olivier Richon, amongst others. He is an Associate of the Royal Photographic Society and also sits on the society’s Distinctions Advisory Panel.
Until July 2018 Benedict was editor of Britain’s best-selling consumer photography magazine, Digital Camera Magazine. As a journalist he met and interviewed some of the world’s greatest photographers and produced articles on a wide range of photography related topics, presented technique videos, wrote in-depth features, curated and edited best-in-class content for a range of titles including; Amateur Photographer, PhotoPlus, N-Photo, Professional Photography and Practical Photoshop. He currently writes a regular column, The Art of Seeing, for Digital Camera magazine.

