Portrait technique: shoot a creative starburst environmental study
Transform your outdoor portraits with this creative background lighting technique
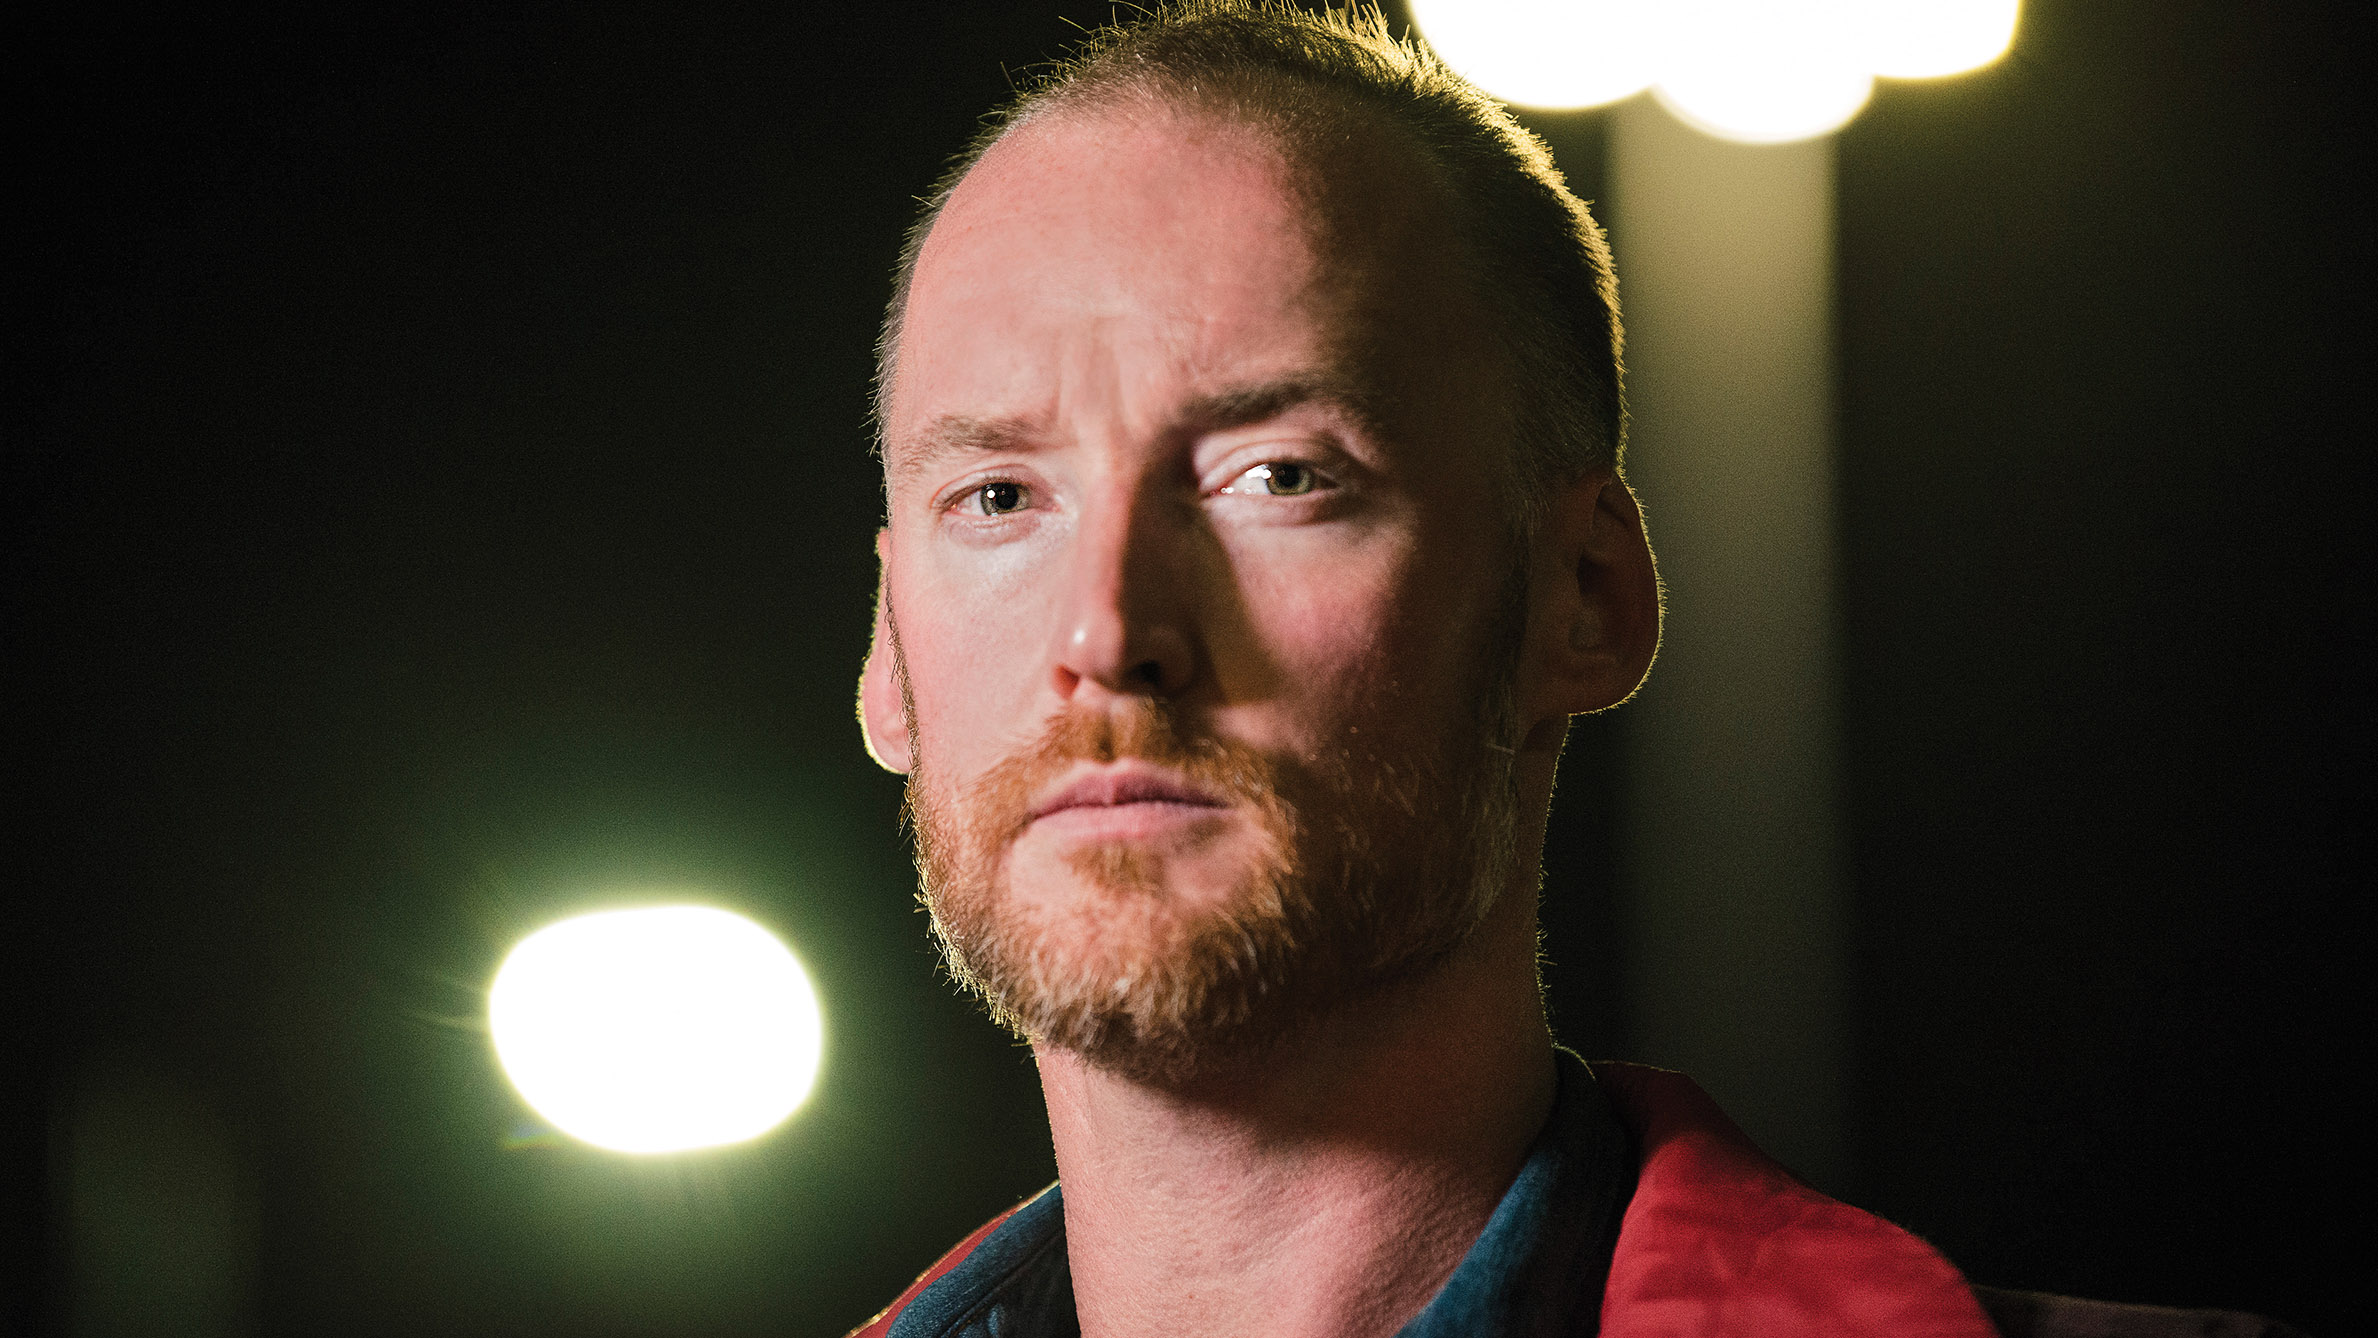
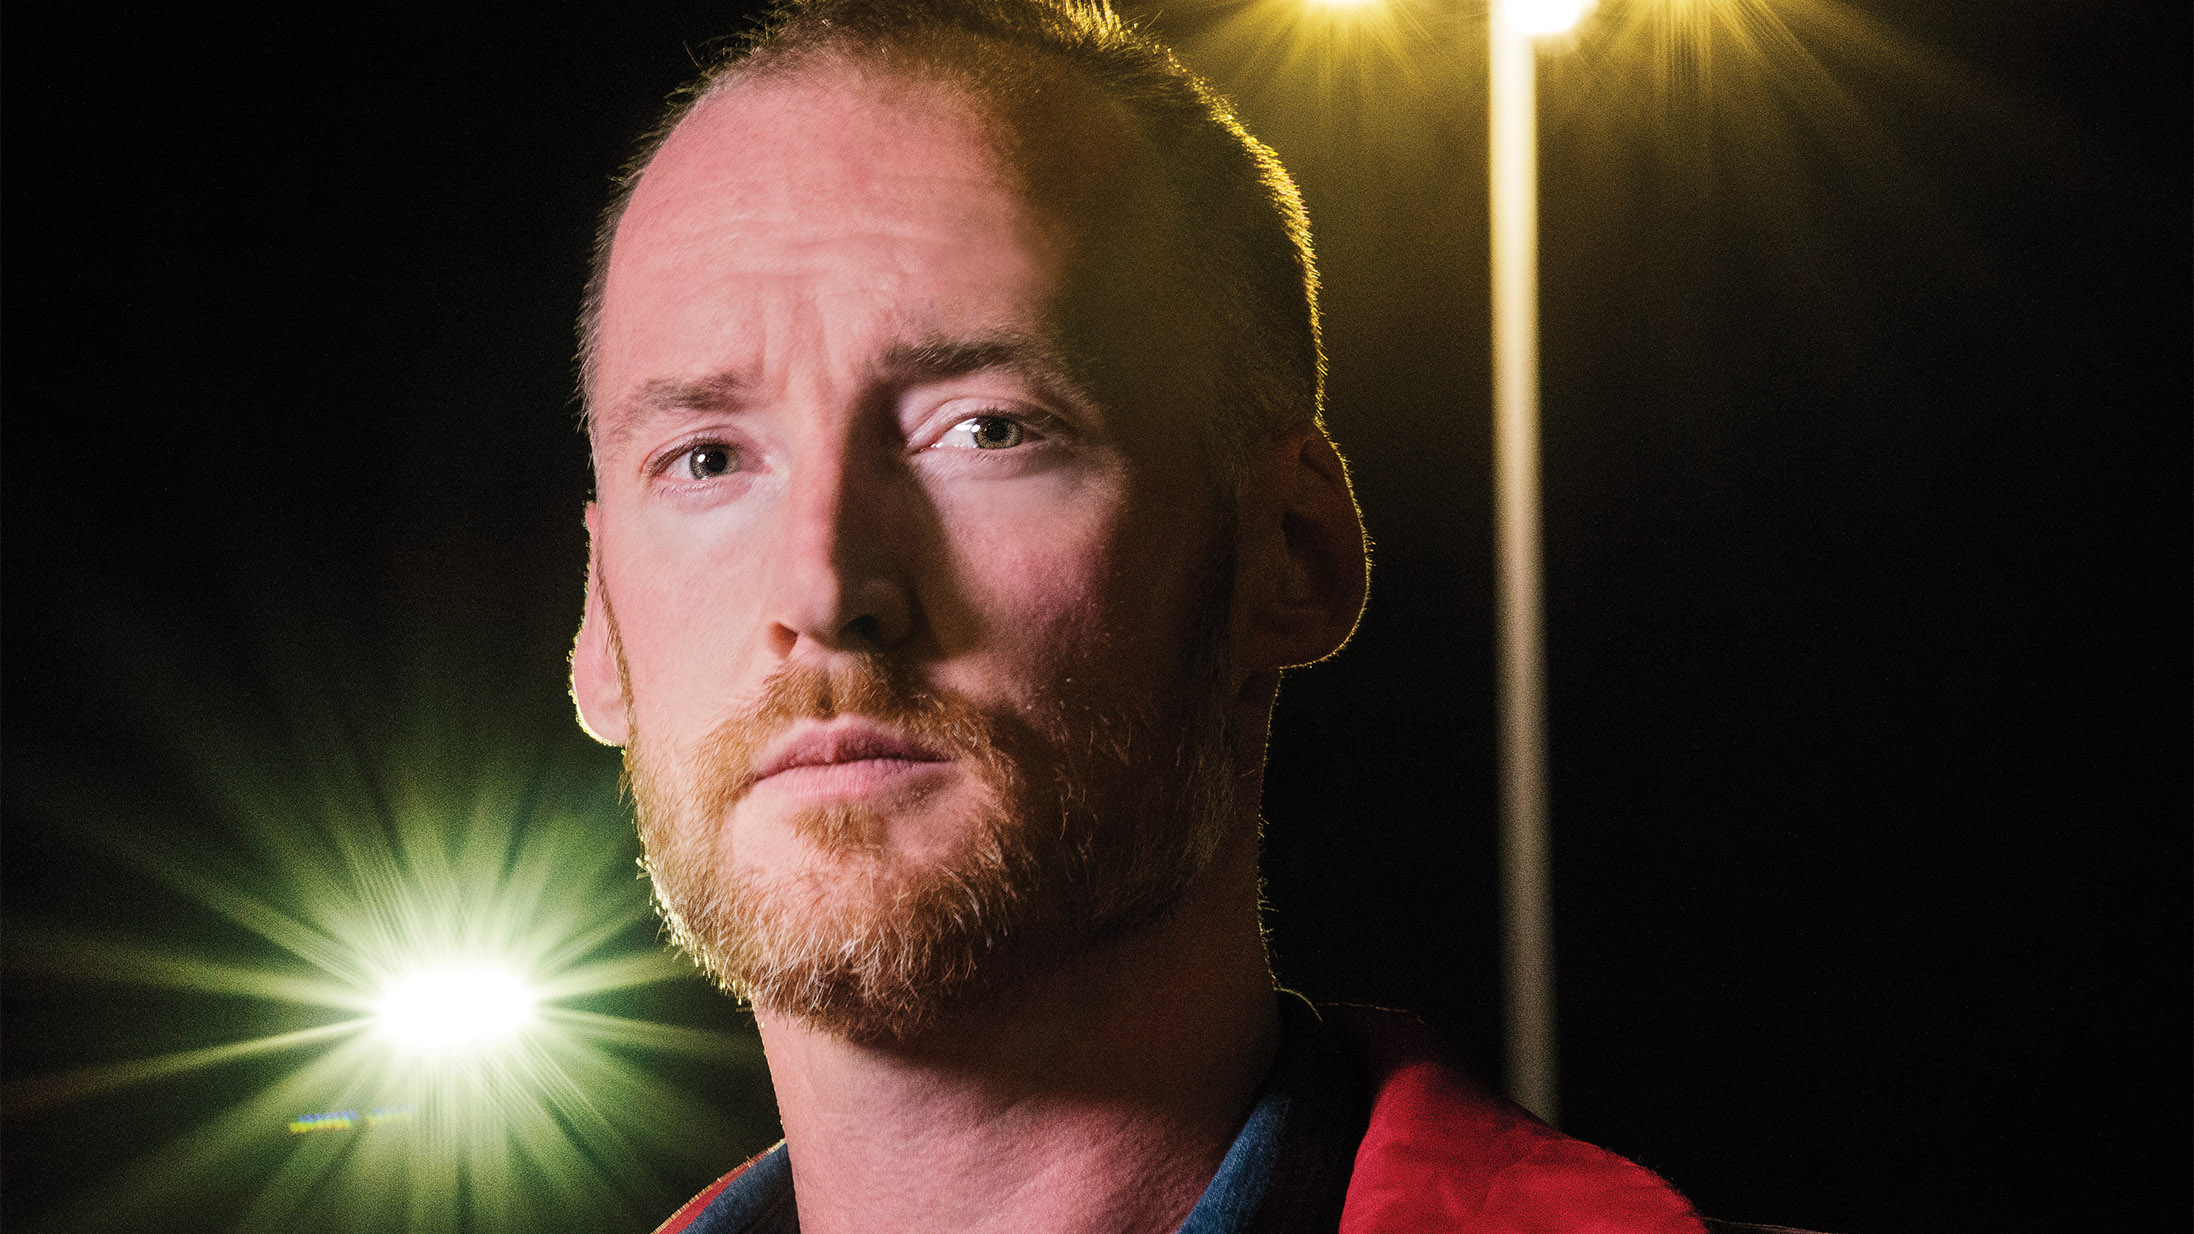
Low light shots in towns and cities offer a multitude of creative opportunities and exposure challenges in equal measure. High contrast between the dark environment and bright artificial light can make calculating exposure tricky. However, this contrast allows artistic use of very defined points of light, such as car headlights and street lamps, to produce photographs with added interest. A popular technique is to use the diffractive properties of very narrow aperture settings to render these lights as eye-catching ‘starbursts’, which can be used to create images with a dreamy, fairytale atmosphere.
This ‘look’ is applicable to any low-light urban landscape, where the photographer is aiming to create shots with a difference - this effect is not something we see with our own eyes, so it easily draws and holds a viewer's attention. Without the proper use of f/stop, lights will remain diffused bright areas, devoid of form and structure, which does not suit every composition.
By varying aperture, the extent of the diffraction of lights can be controlled, altering the effect strength, while focal length changes the size of the lights within your composition. With the correct subject matter and a subtle balance of effect strength and environmental interest, this technique can breath life into otherwise flat and dull scenes.
1- Select aperture-priority mode
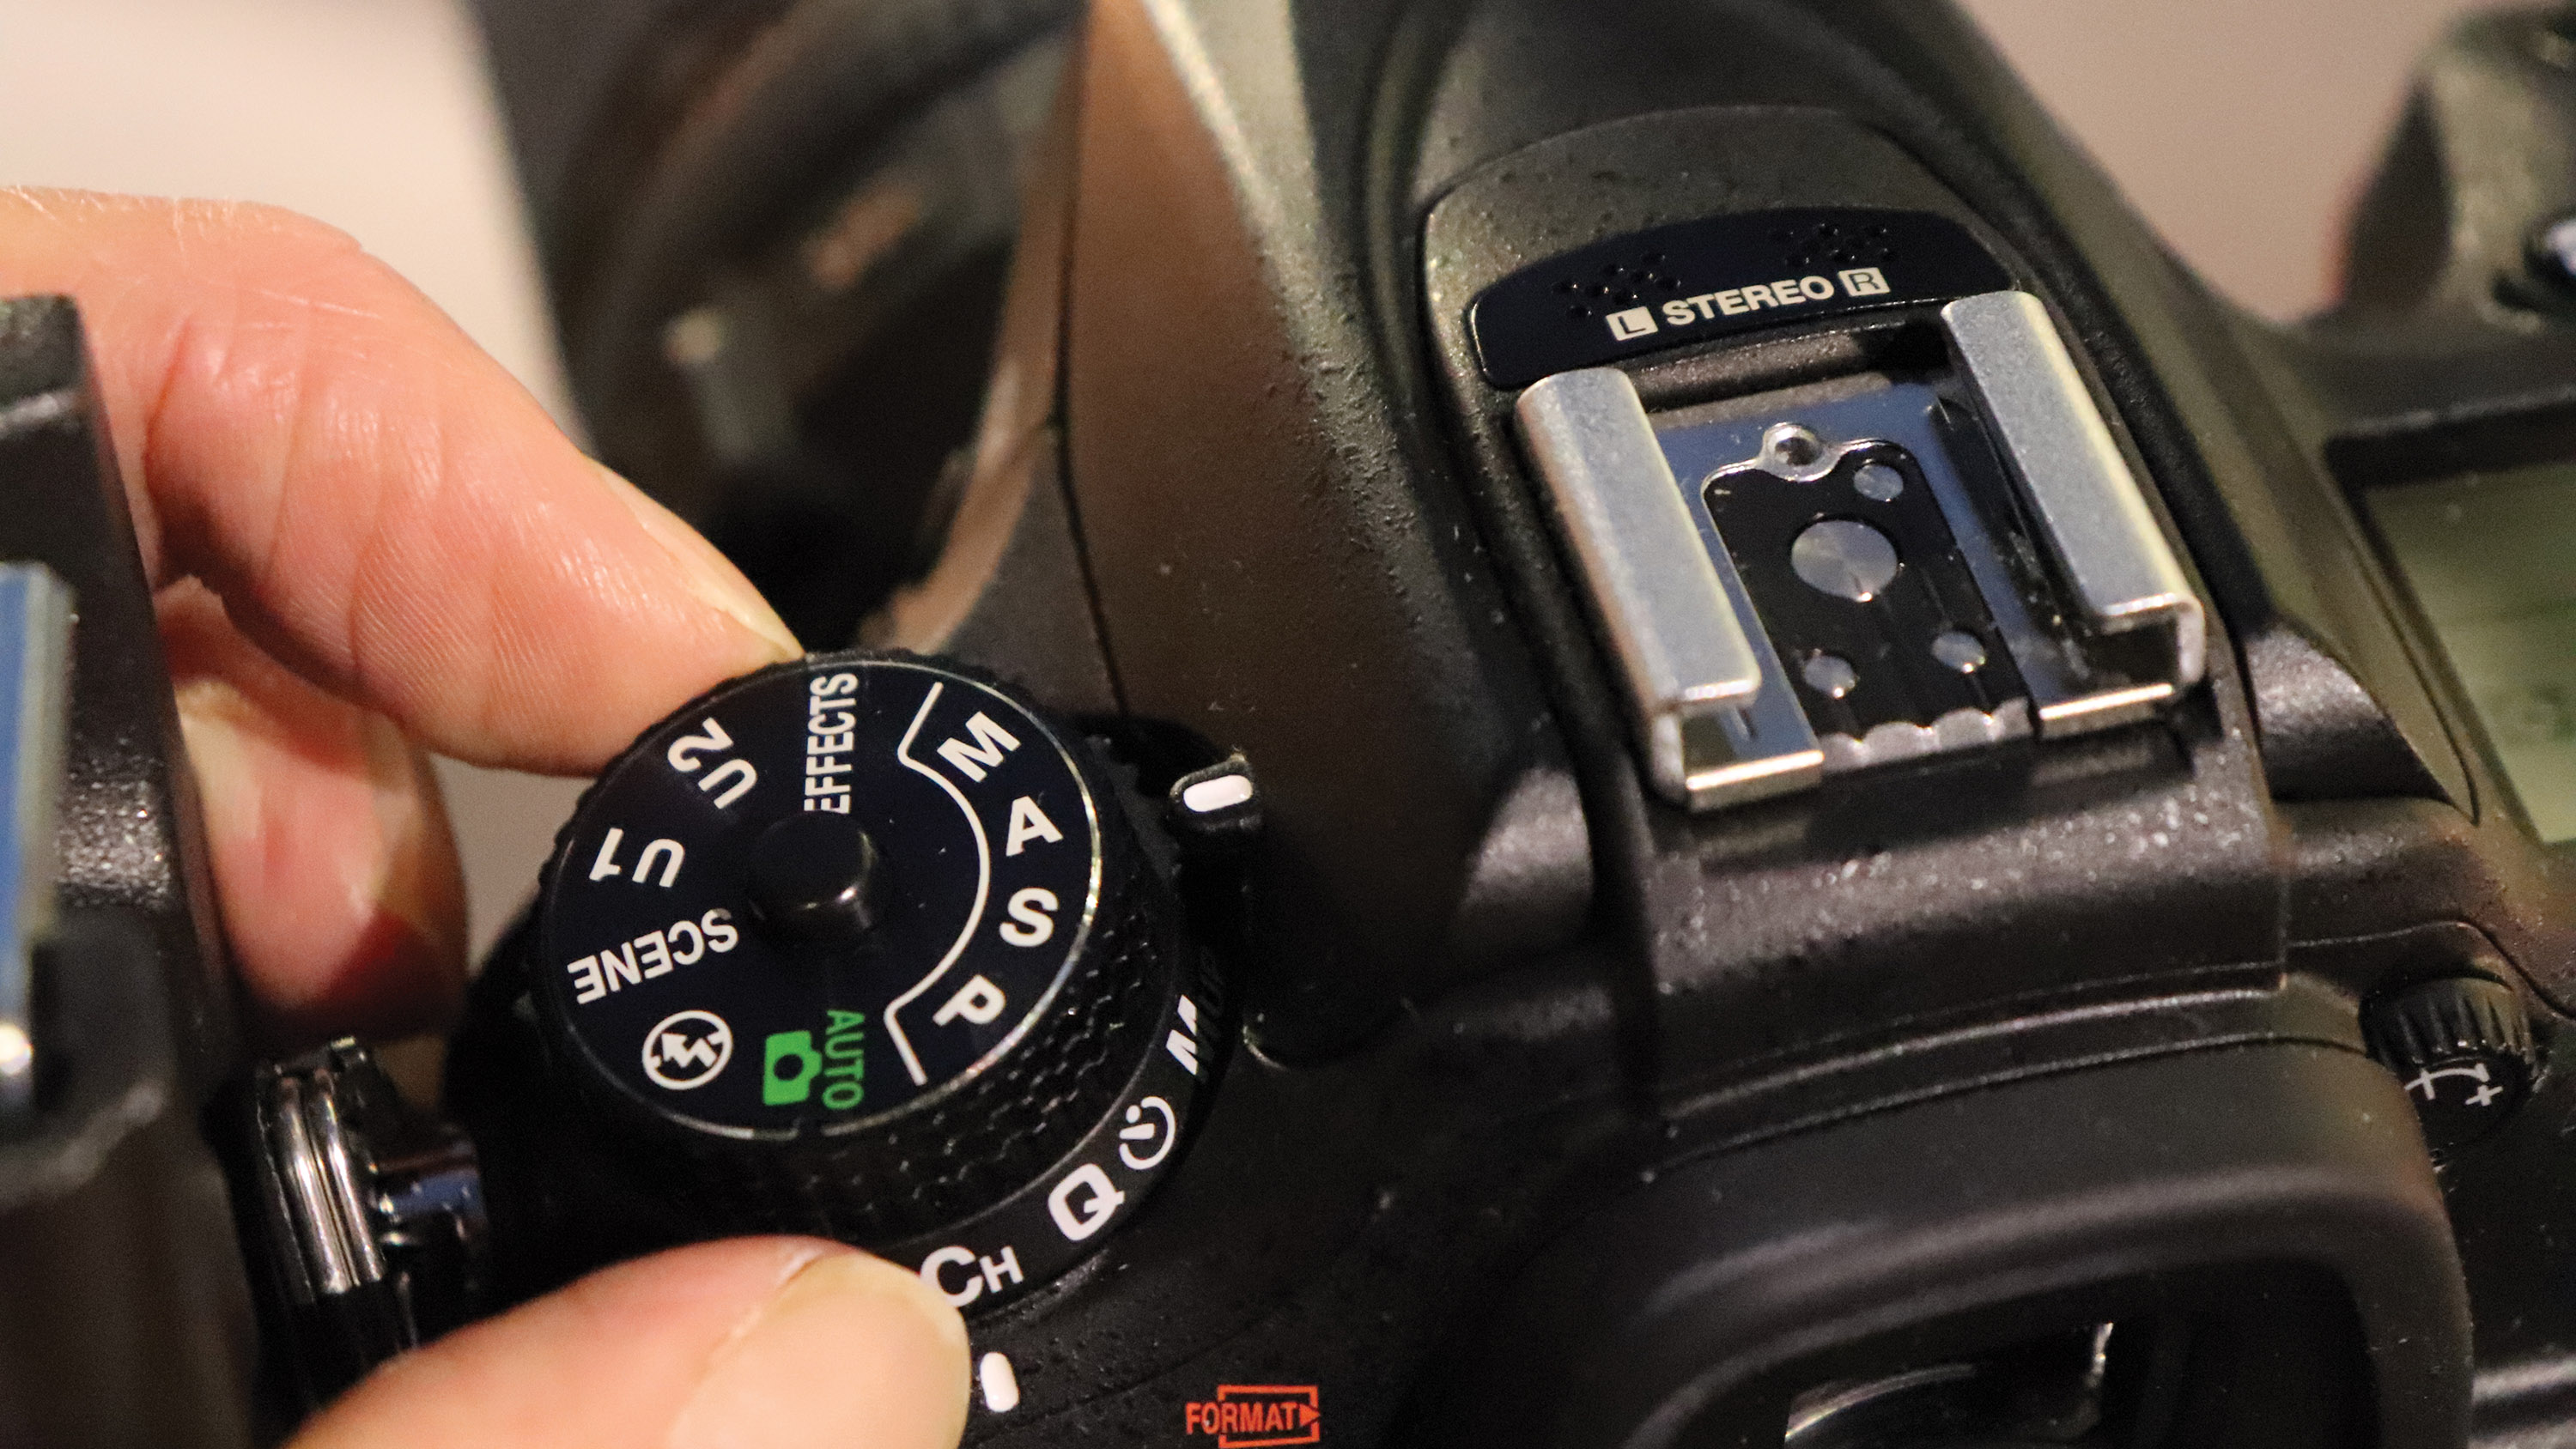
Set A (or Av) mode from your camera’s main shooting mode dial which will allow you to control f/stop while the camera monitors shutter speed for exposure. Set ISO 400 as a base setting from which to work.
2- Use a tripod
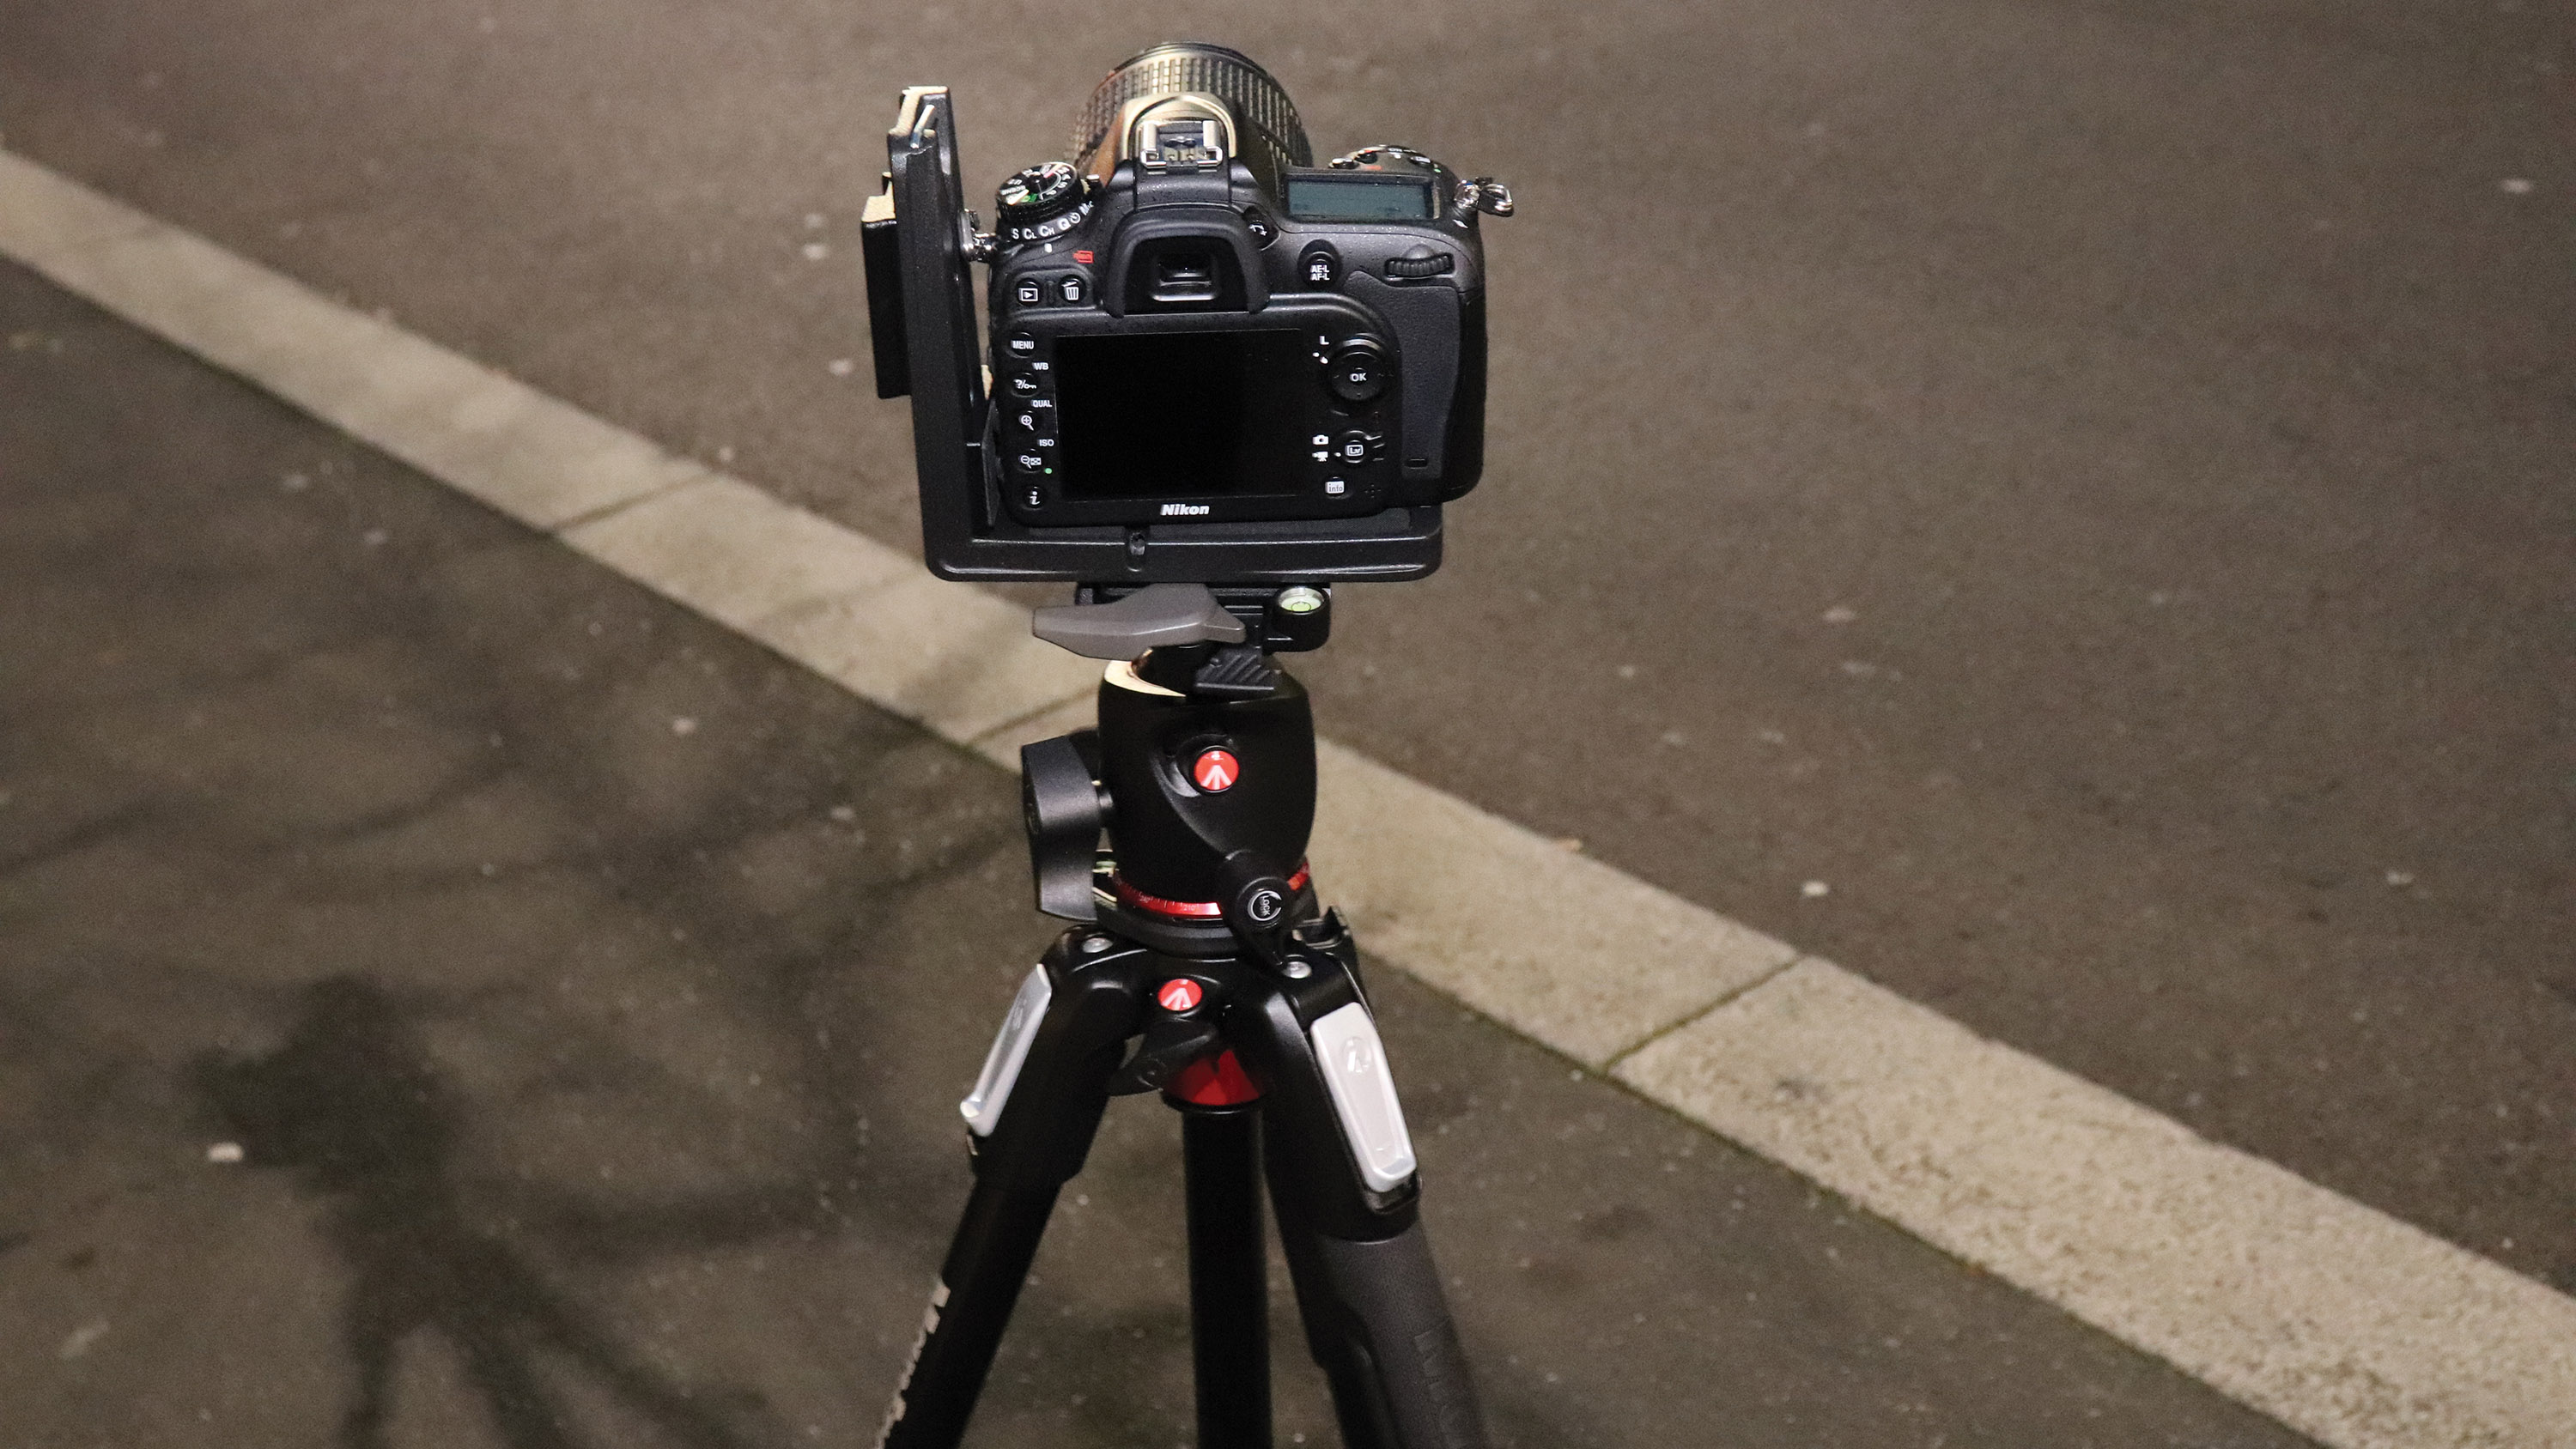
Due to the need to utilise a small aperture to create the starburst effect and the low ambient lighting, a tripod is recommended to keep images sharp. Try test compositions before affixing your camera
3- Stop down the aperture
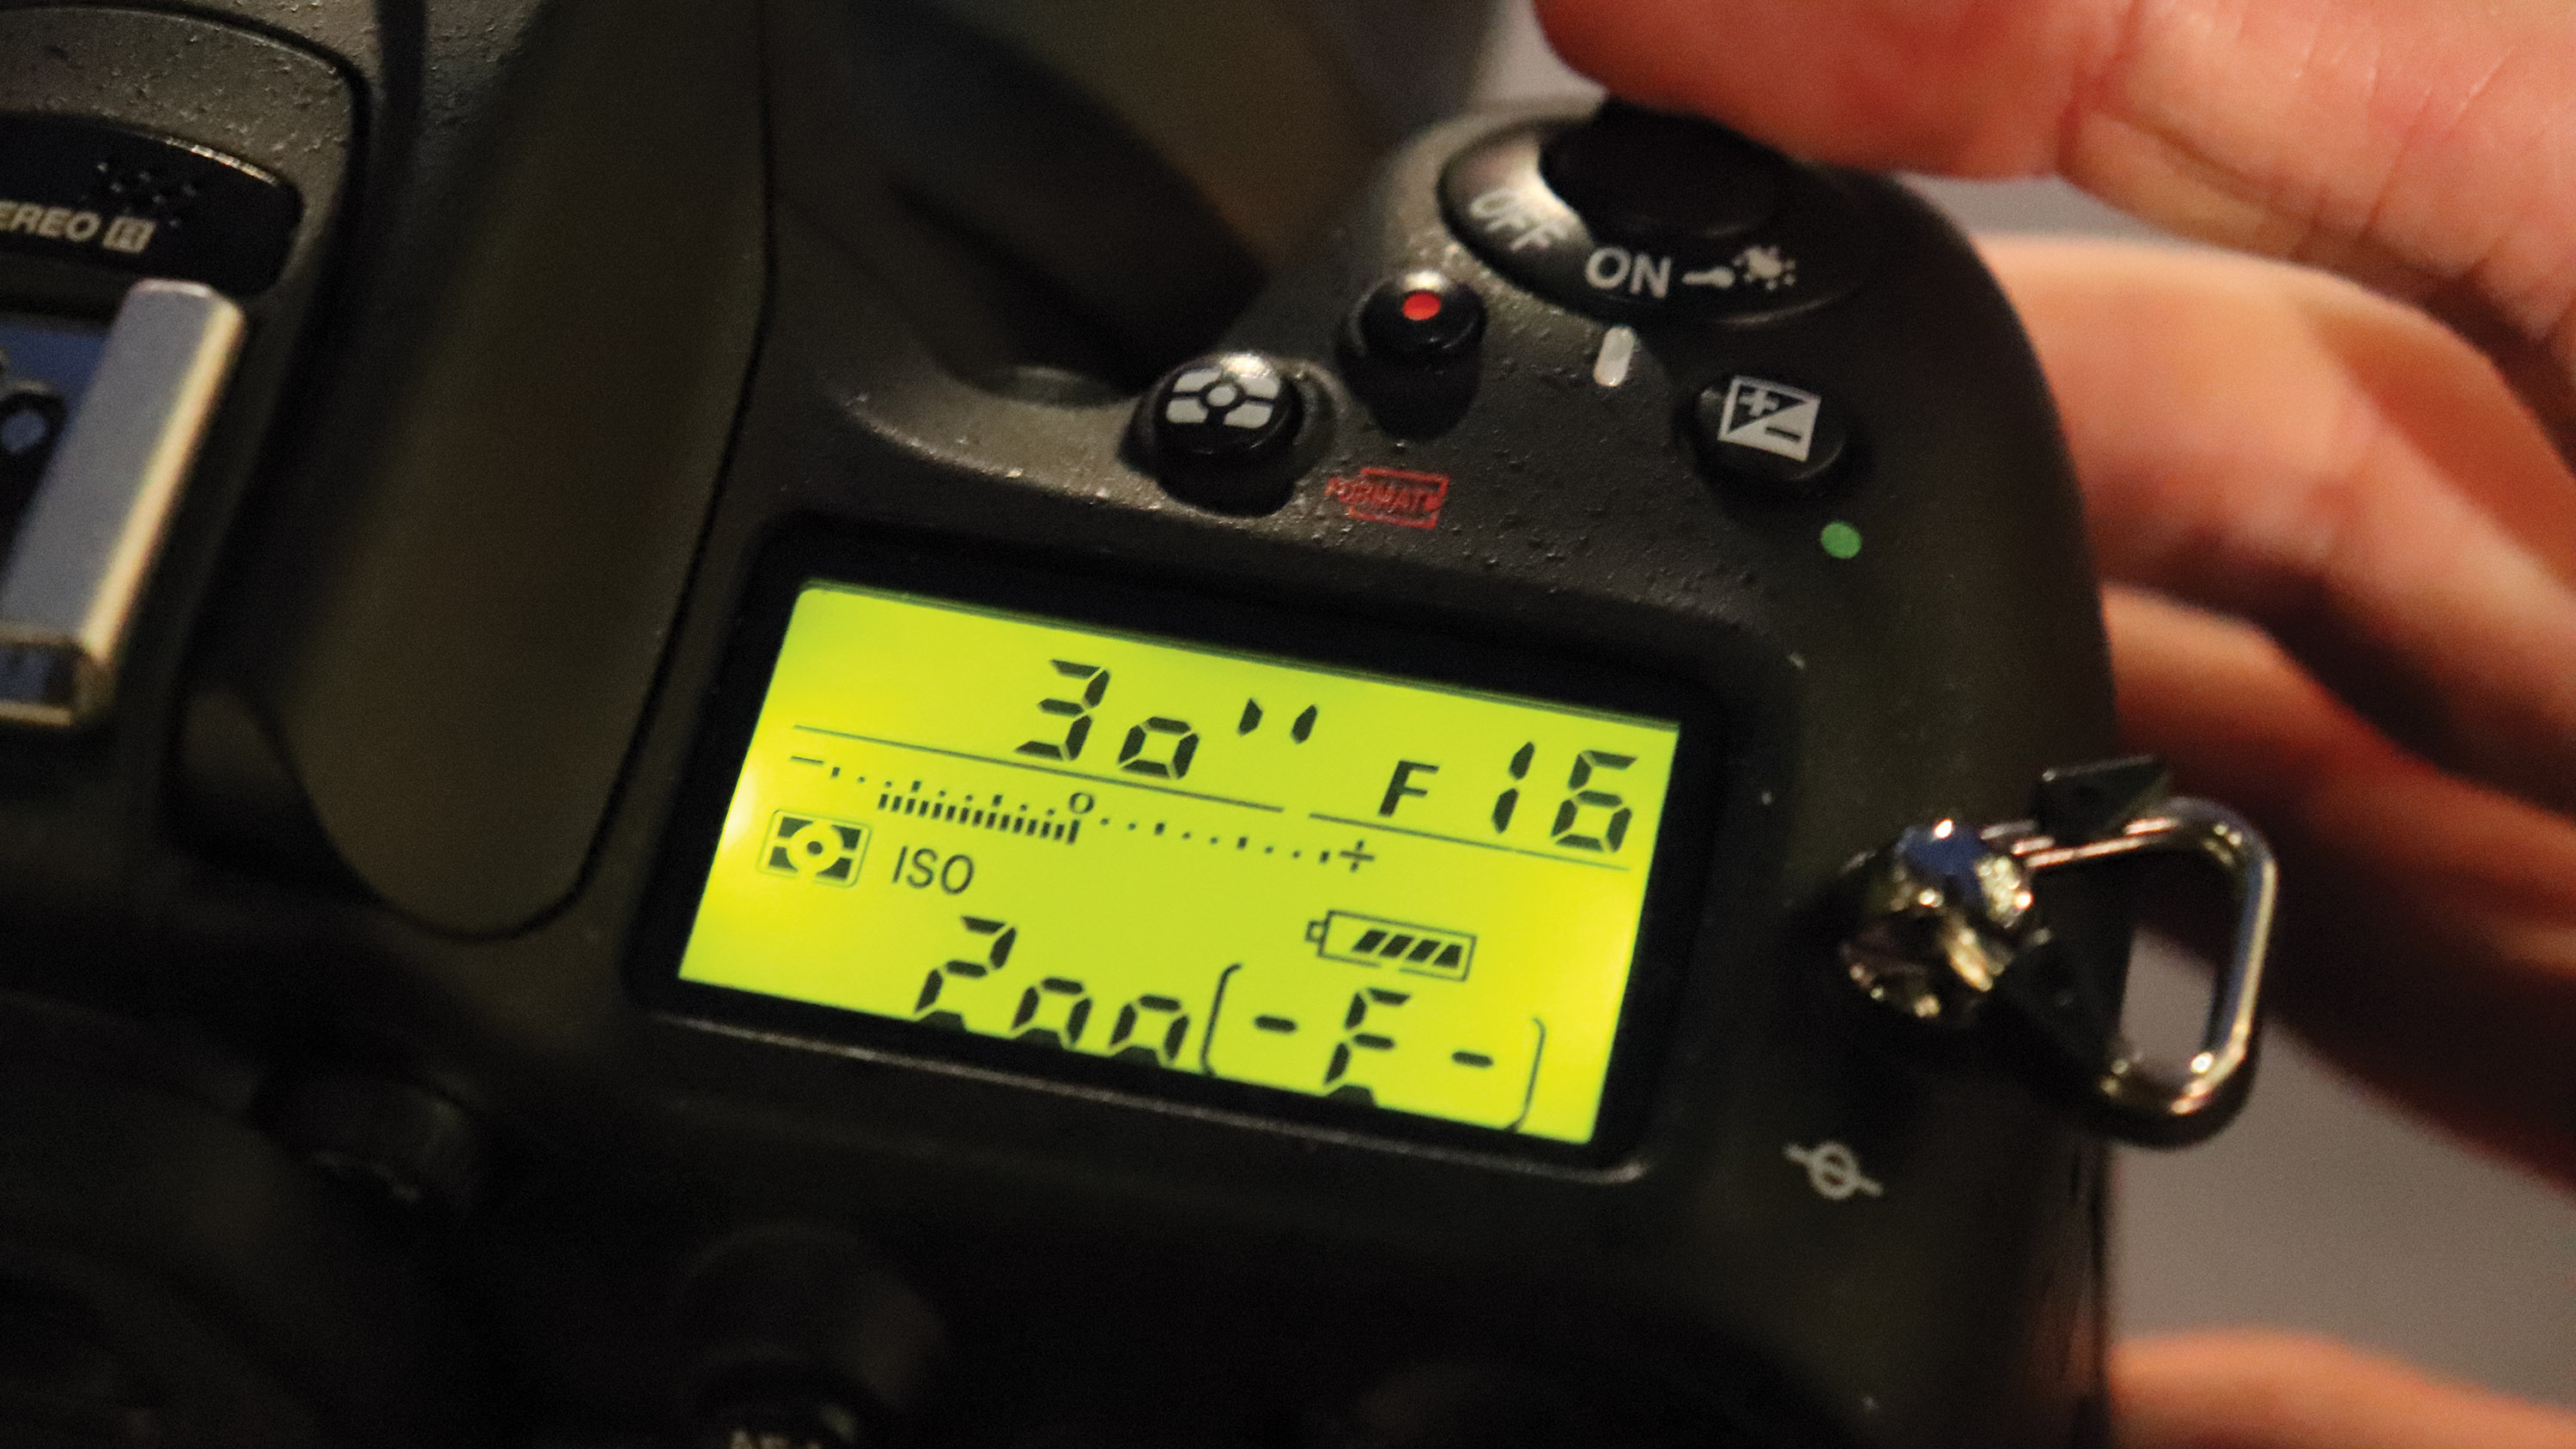
Use the camera’s control dial to set a narrow aperture. Start at f/16 for a balance of effect and diffraction blur and only go to f/22 or beyond if you need a stronger, more defined effect on your lights
4- Adjust your exposure
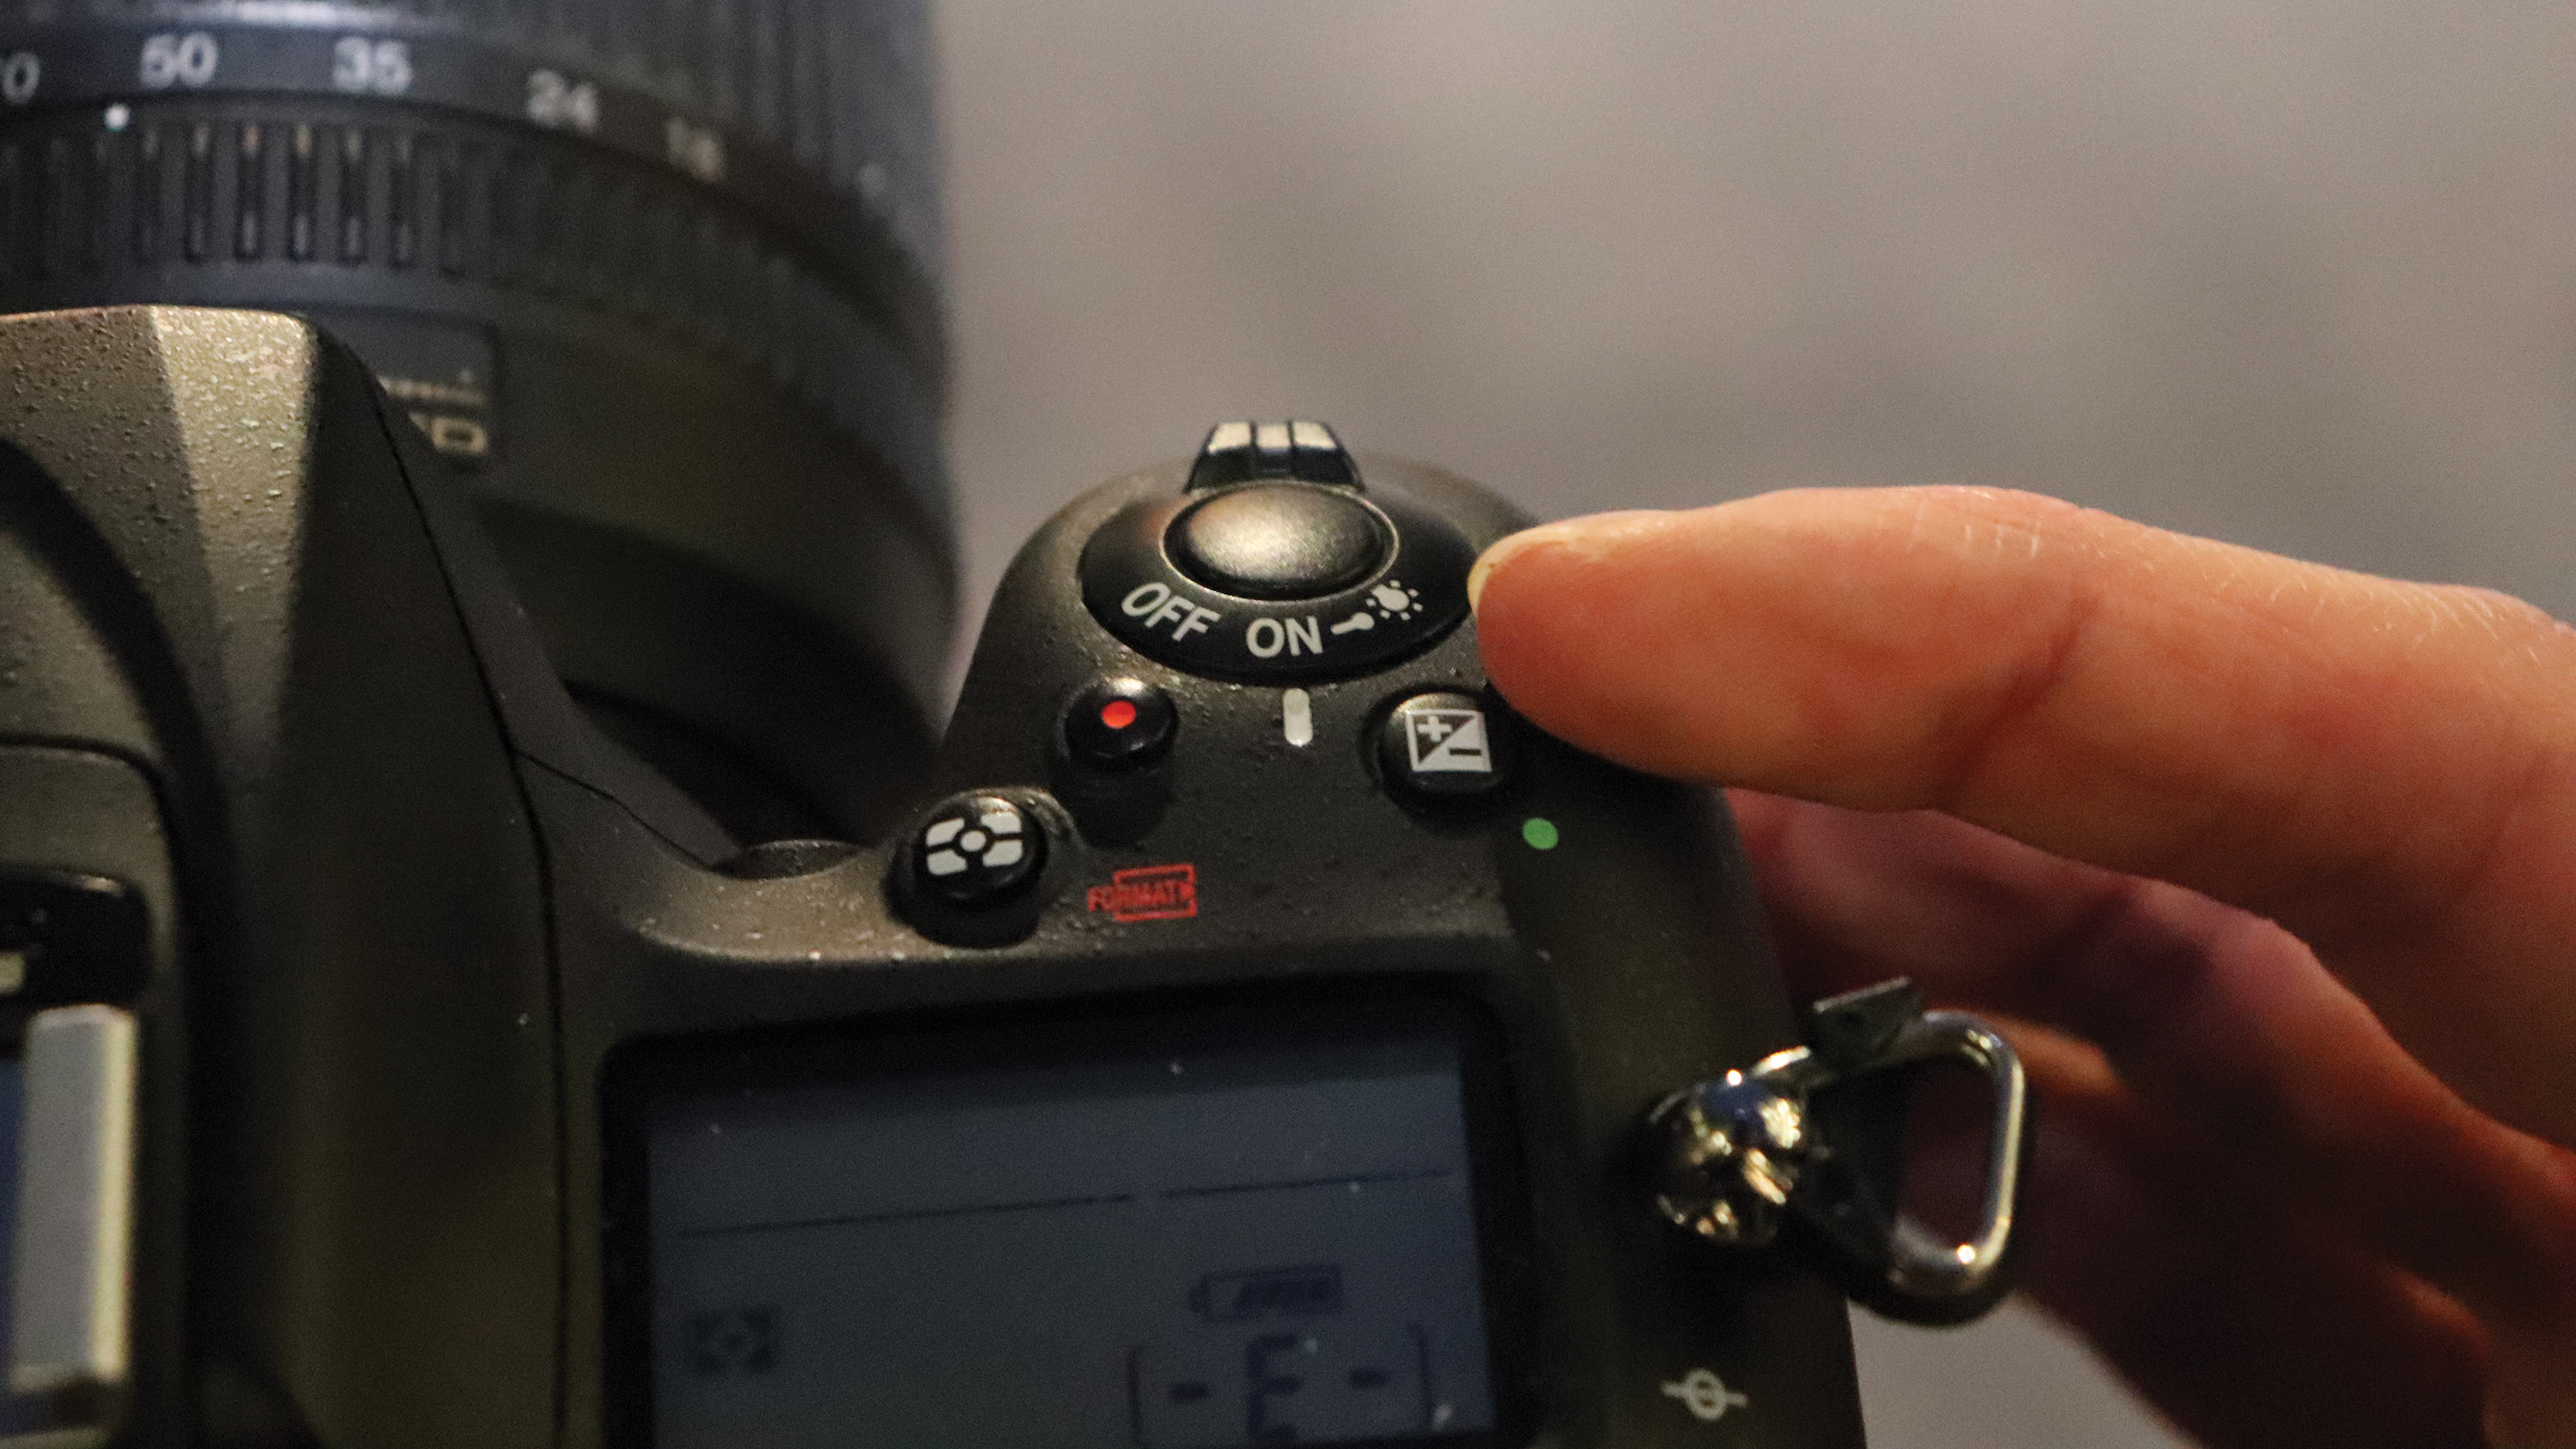
We need to create good contrast between the lights and background. Underexpose slightly using exposure compensation to produce a darker, dramatic atmosphere, so the diffracted lights stand out for depth
5- Place your subject
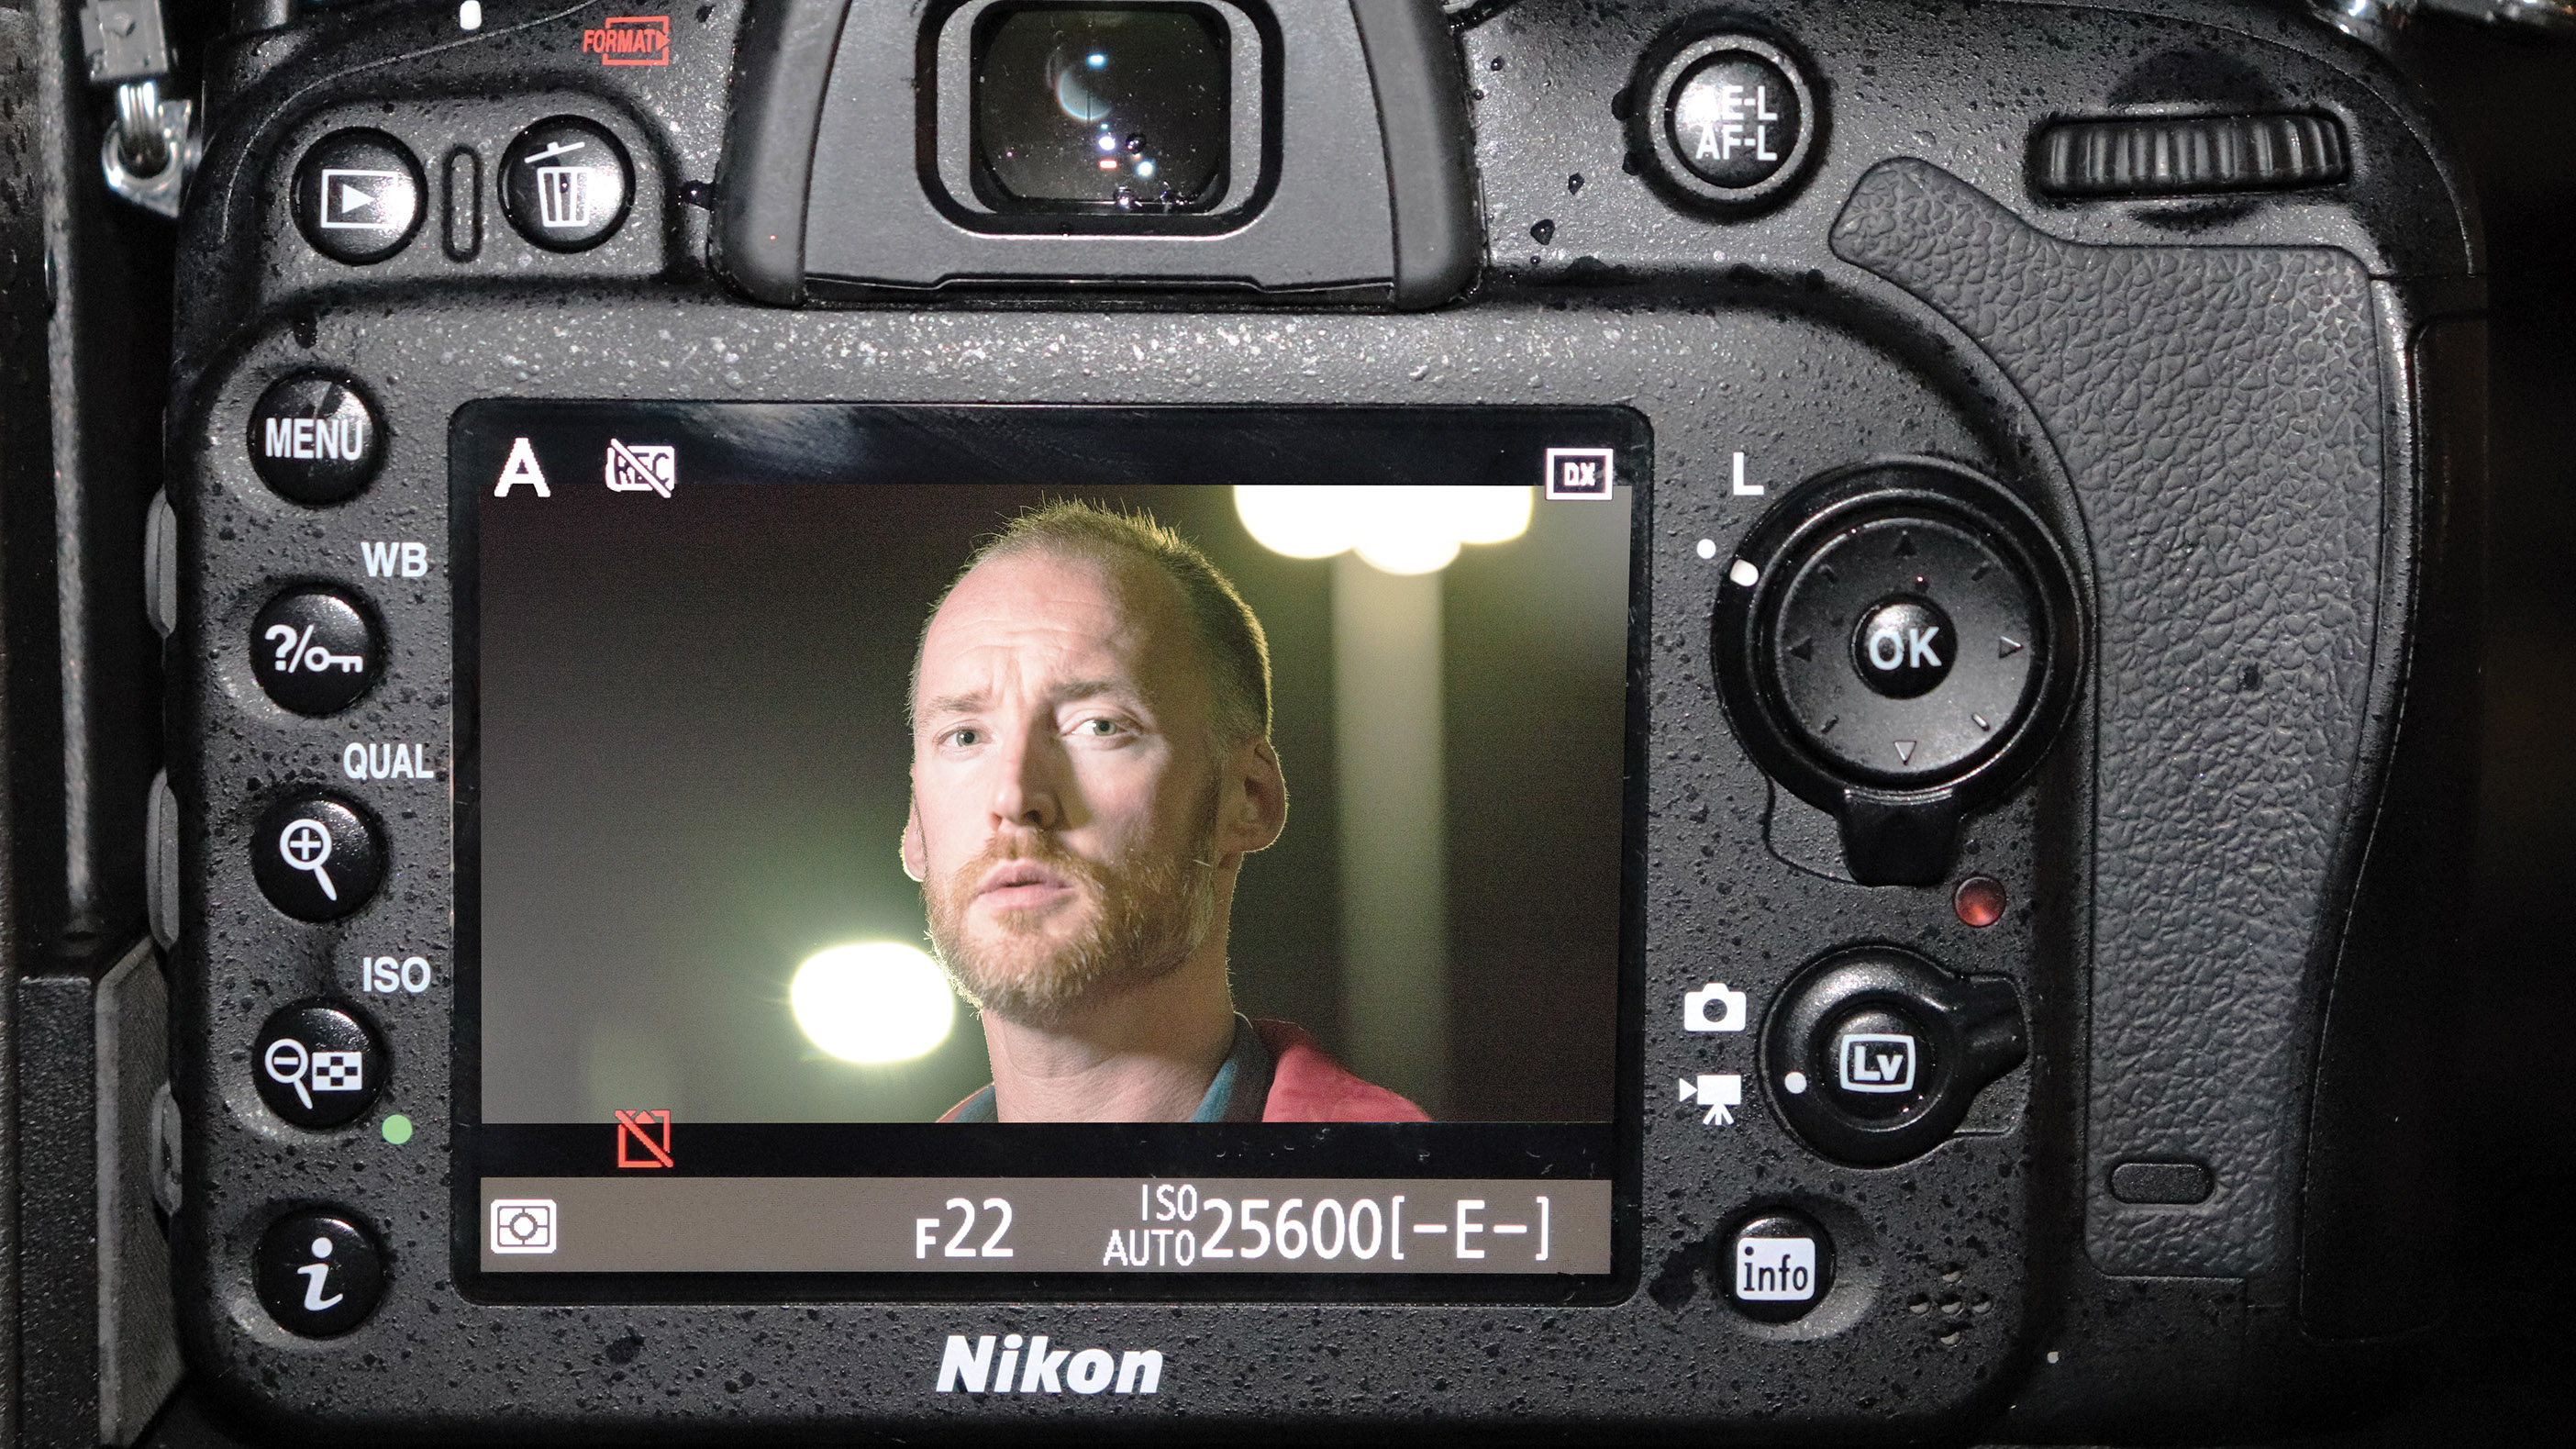
Use live view to compose your image, placing your subject within your pre-arranged background. Try varying subject position, overlapping them with the lights in some shots to experiment with flare effects
6- Shoot and review
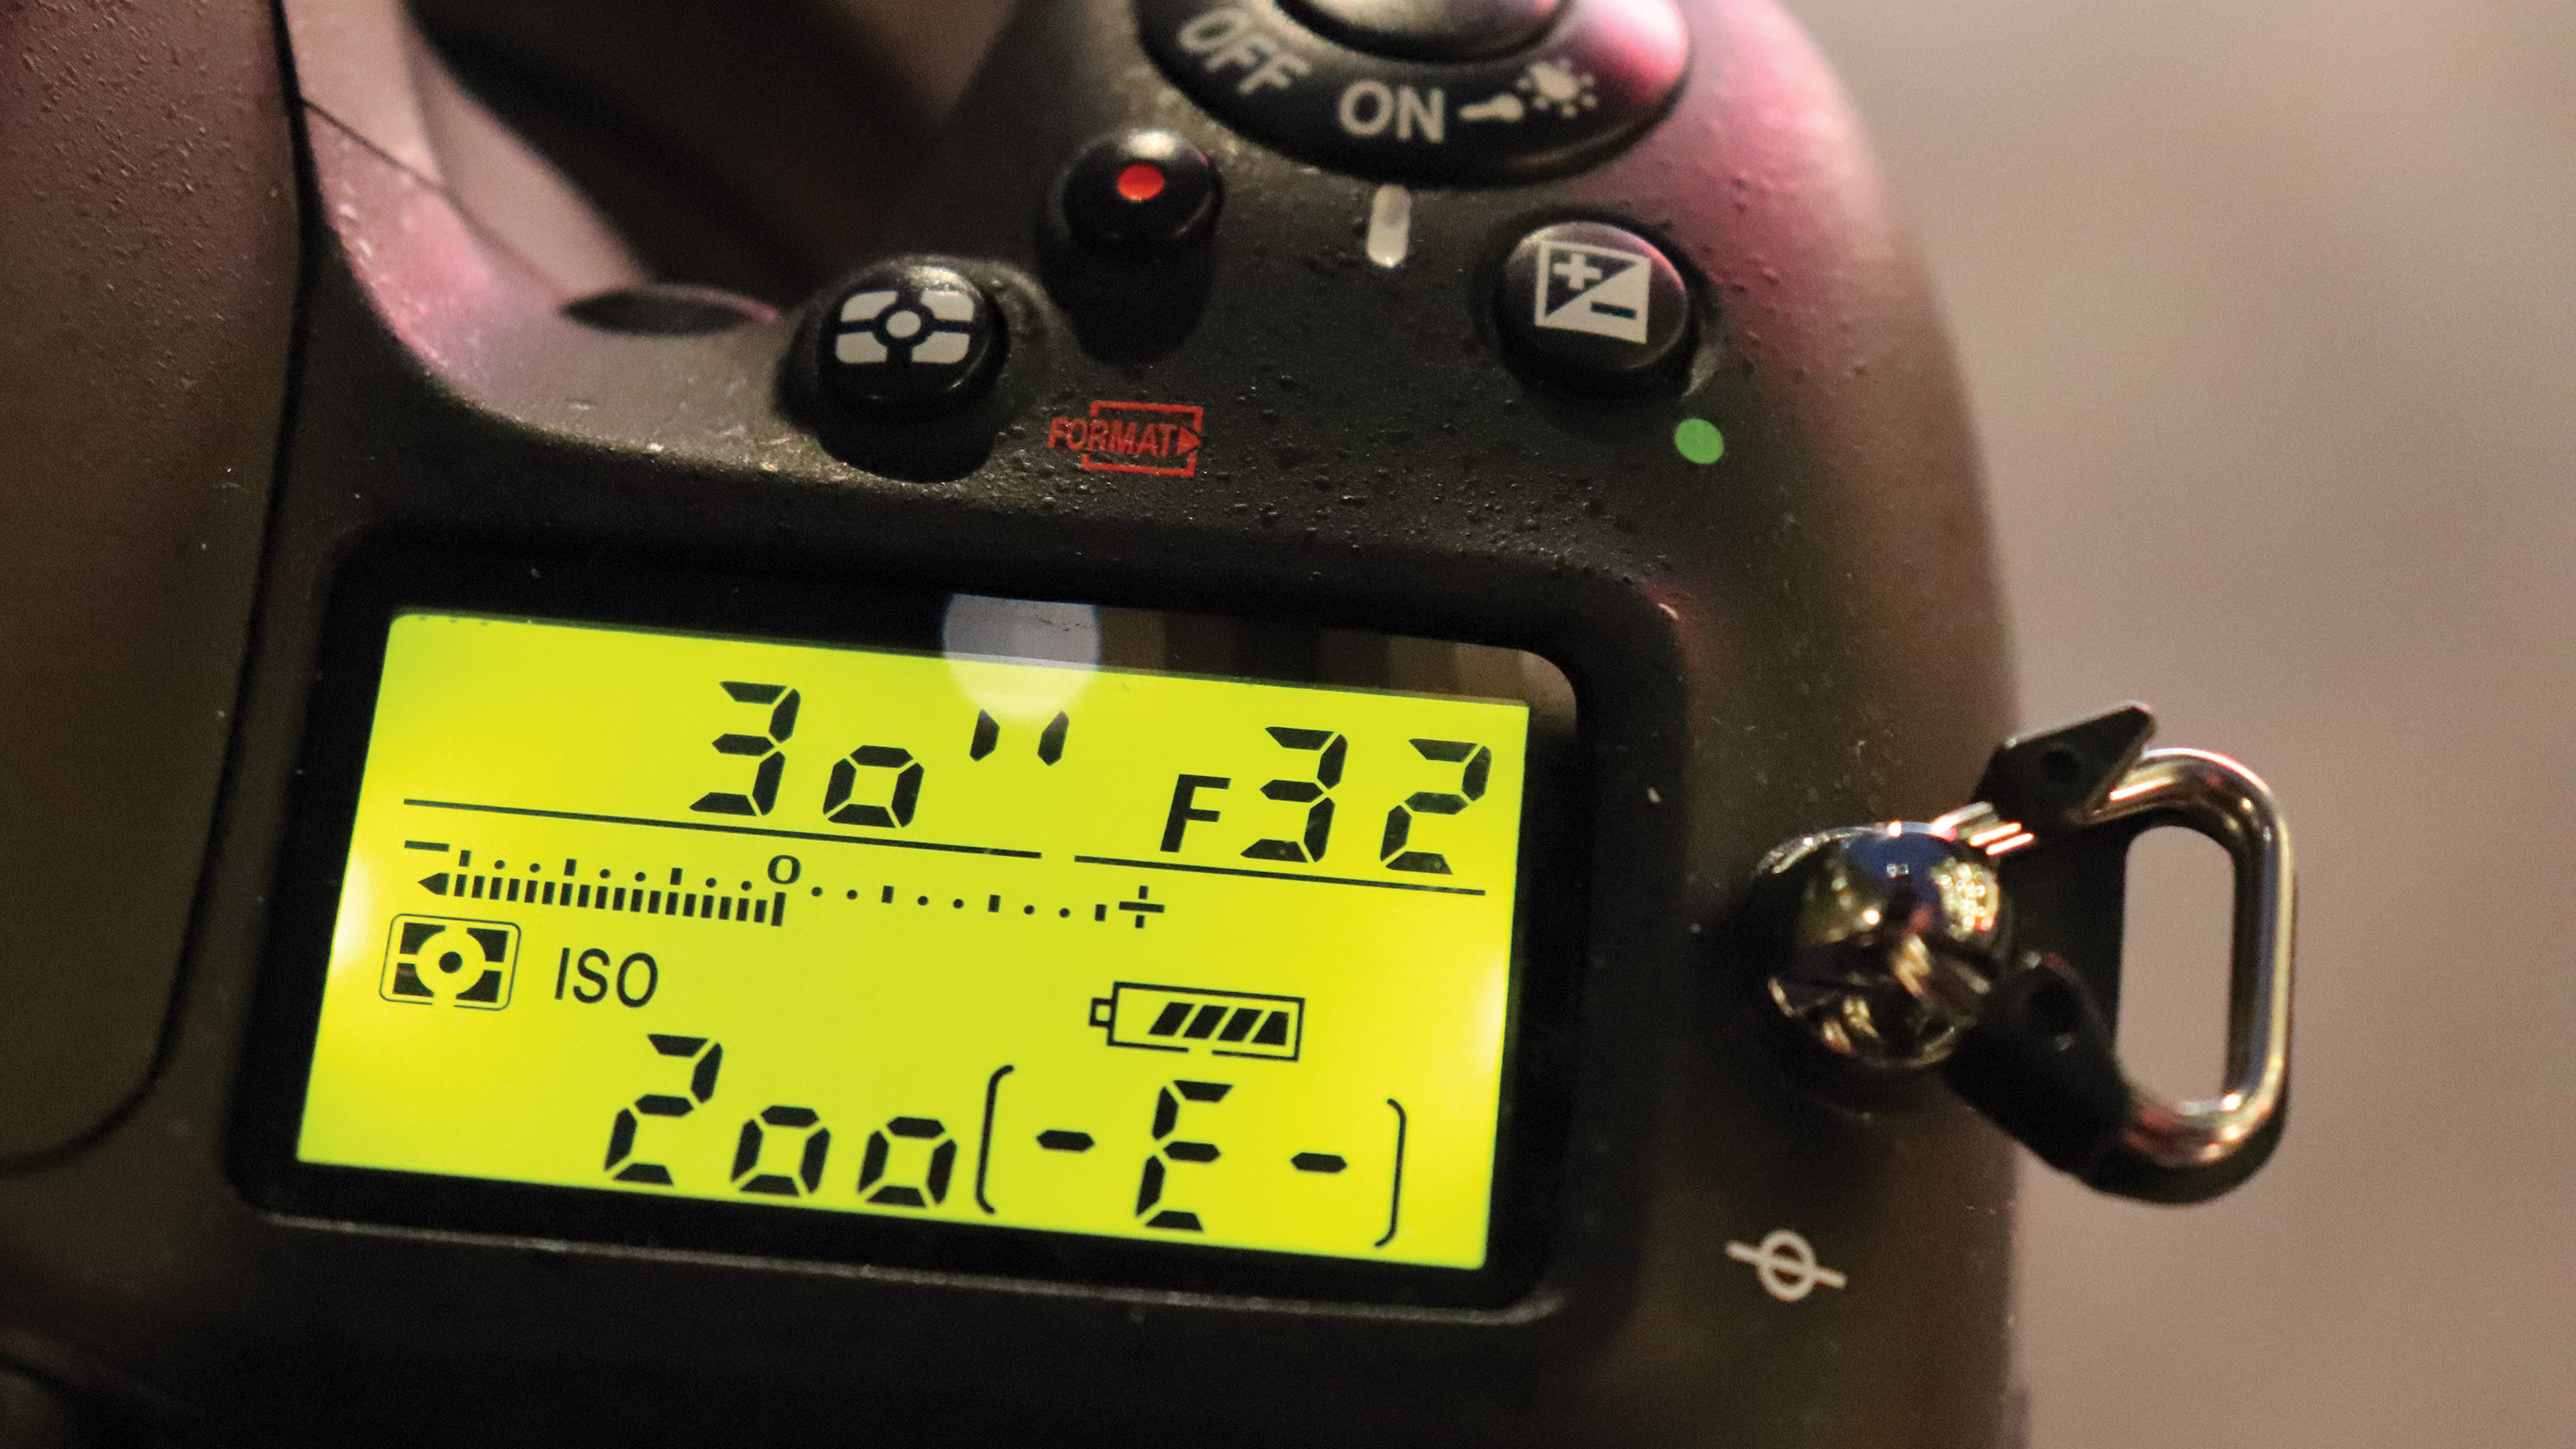
The small aperture will produce deep depth-of-field, so shoot multiple images to ensure a clean background, free of distractions. Increase the f/number further if the effect is not yet strong enough.
Read more
Hollywood trickery! Turn the daytime to night in-camera
Get the Digital Camera World Newsletter
The best camera deals, reviews, product advice, and unmissable photography news, direct to your inbox!
As the Editor for Digital Photographer magazine, Peter is a specialist in camera tutorials and creative projects to help you get the most out of your camera, lens, tripod, filters, gimbal, lighting and other imaging equipment.
After cutting his teeth working in retail for camera specialists like Jessops, he has spent 11 years as a photography journalist and freelance writer – and he is a Getty Images-registered photographer, to boot.
No matter what you want to shoot, Peter can help you sharpen your skills and elevate your ability, whether it’s taking portraits, capturing landscapes, shooting architecture, creating macro and still life, photographing action… he can help you learn and improve.
