Pro car photographer shares his top GoPro mounting tips & camera settings
Fix your GoPro in place properly for dramatic shots of your truck
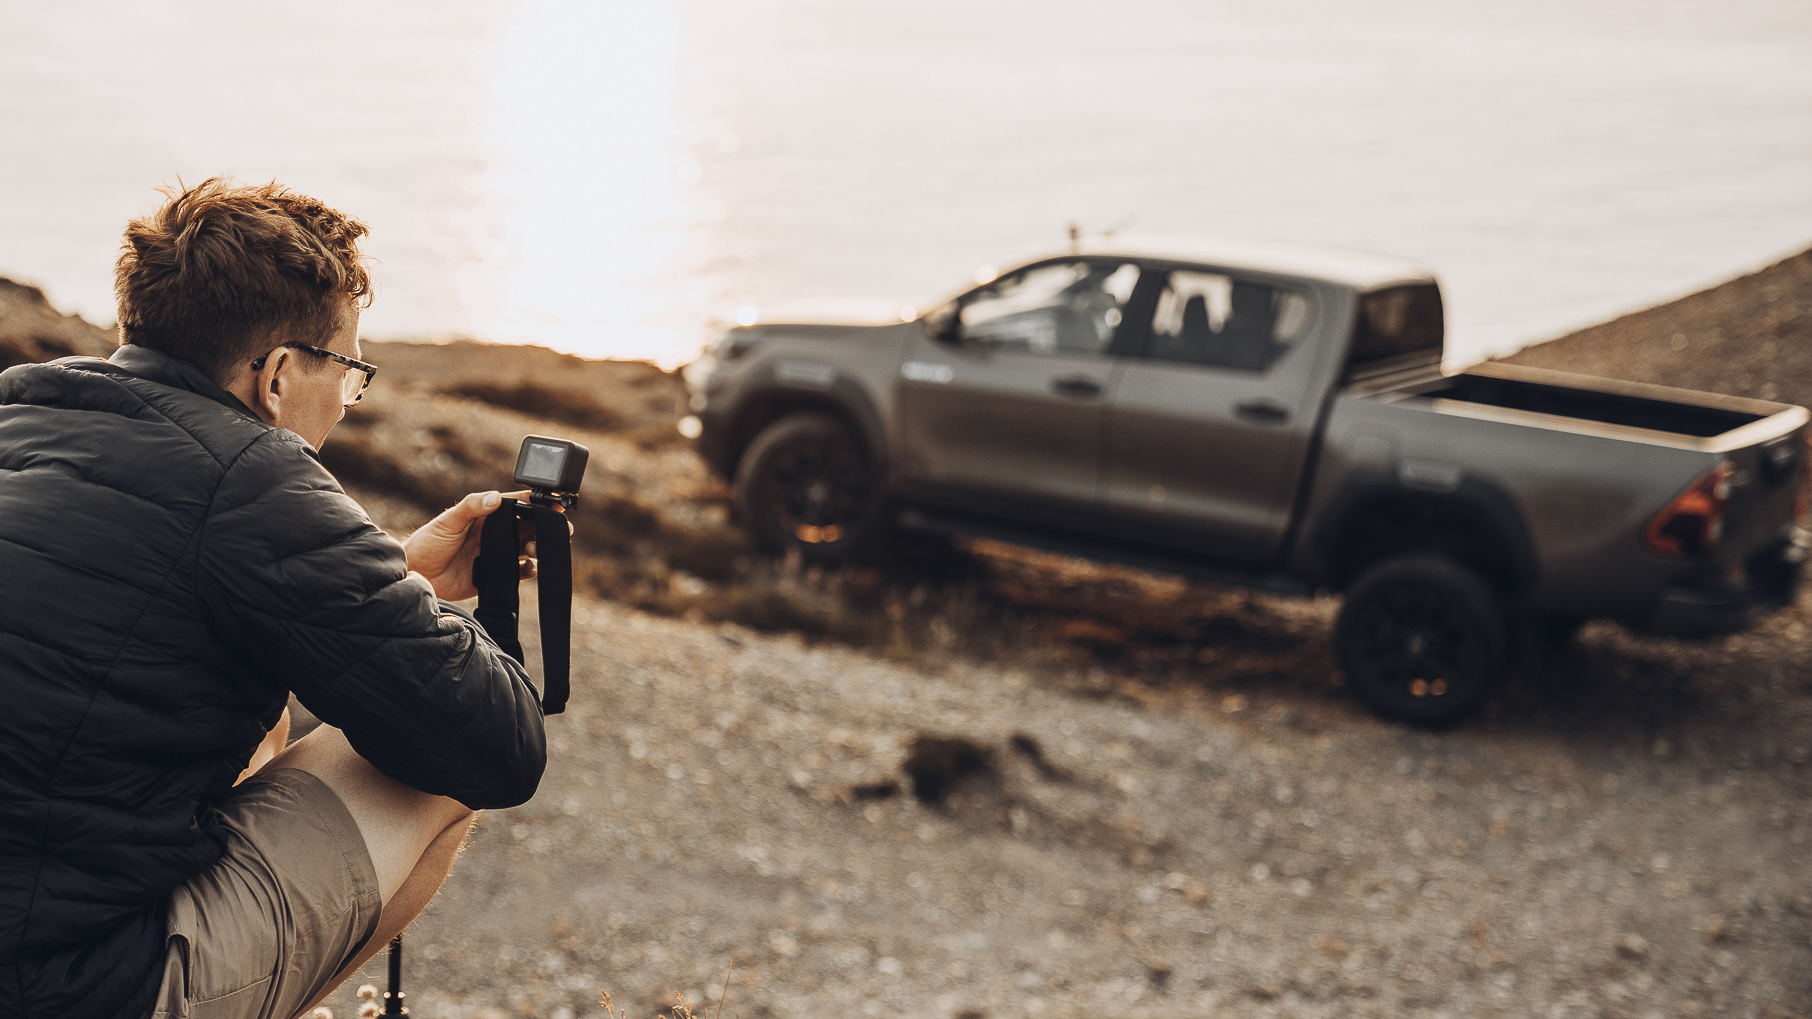
GoPro has teamed up with pickup truck manufacturers Toyota to create a series of videos to show you how to use your action camera for dramatic car photography. Presented by professional cameraman Sam Werkmeister, the films show off different techniques and GoPro accessories while filming off-road, on the water and setting up a time-lapse video of the new Hilux Invincible in a clifftop setting at sunset.
Werkmeister has worked with GoPro for the last five years, specializing in motorsport film production. His experience includes filming the PWA windsurfing world tour, the Olympics, and ocean racing, so he knows the tricks of the trade for capturing great footage in dynamic settings.
Here below are some of his best GoPro tips for settings and accessories, along with two of his videos…
GoPro camera settings
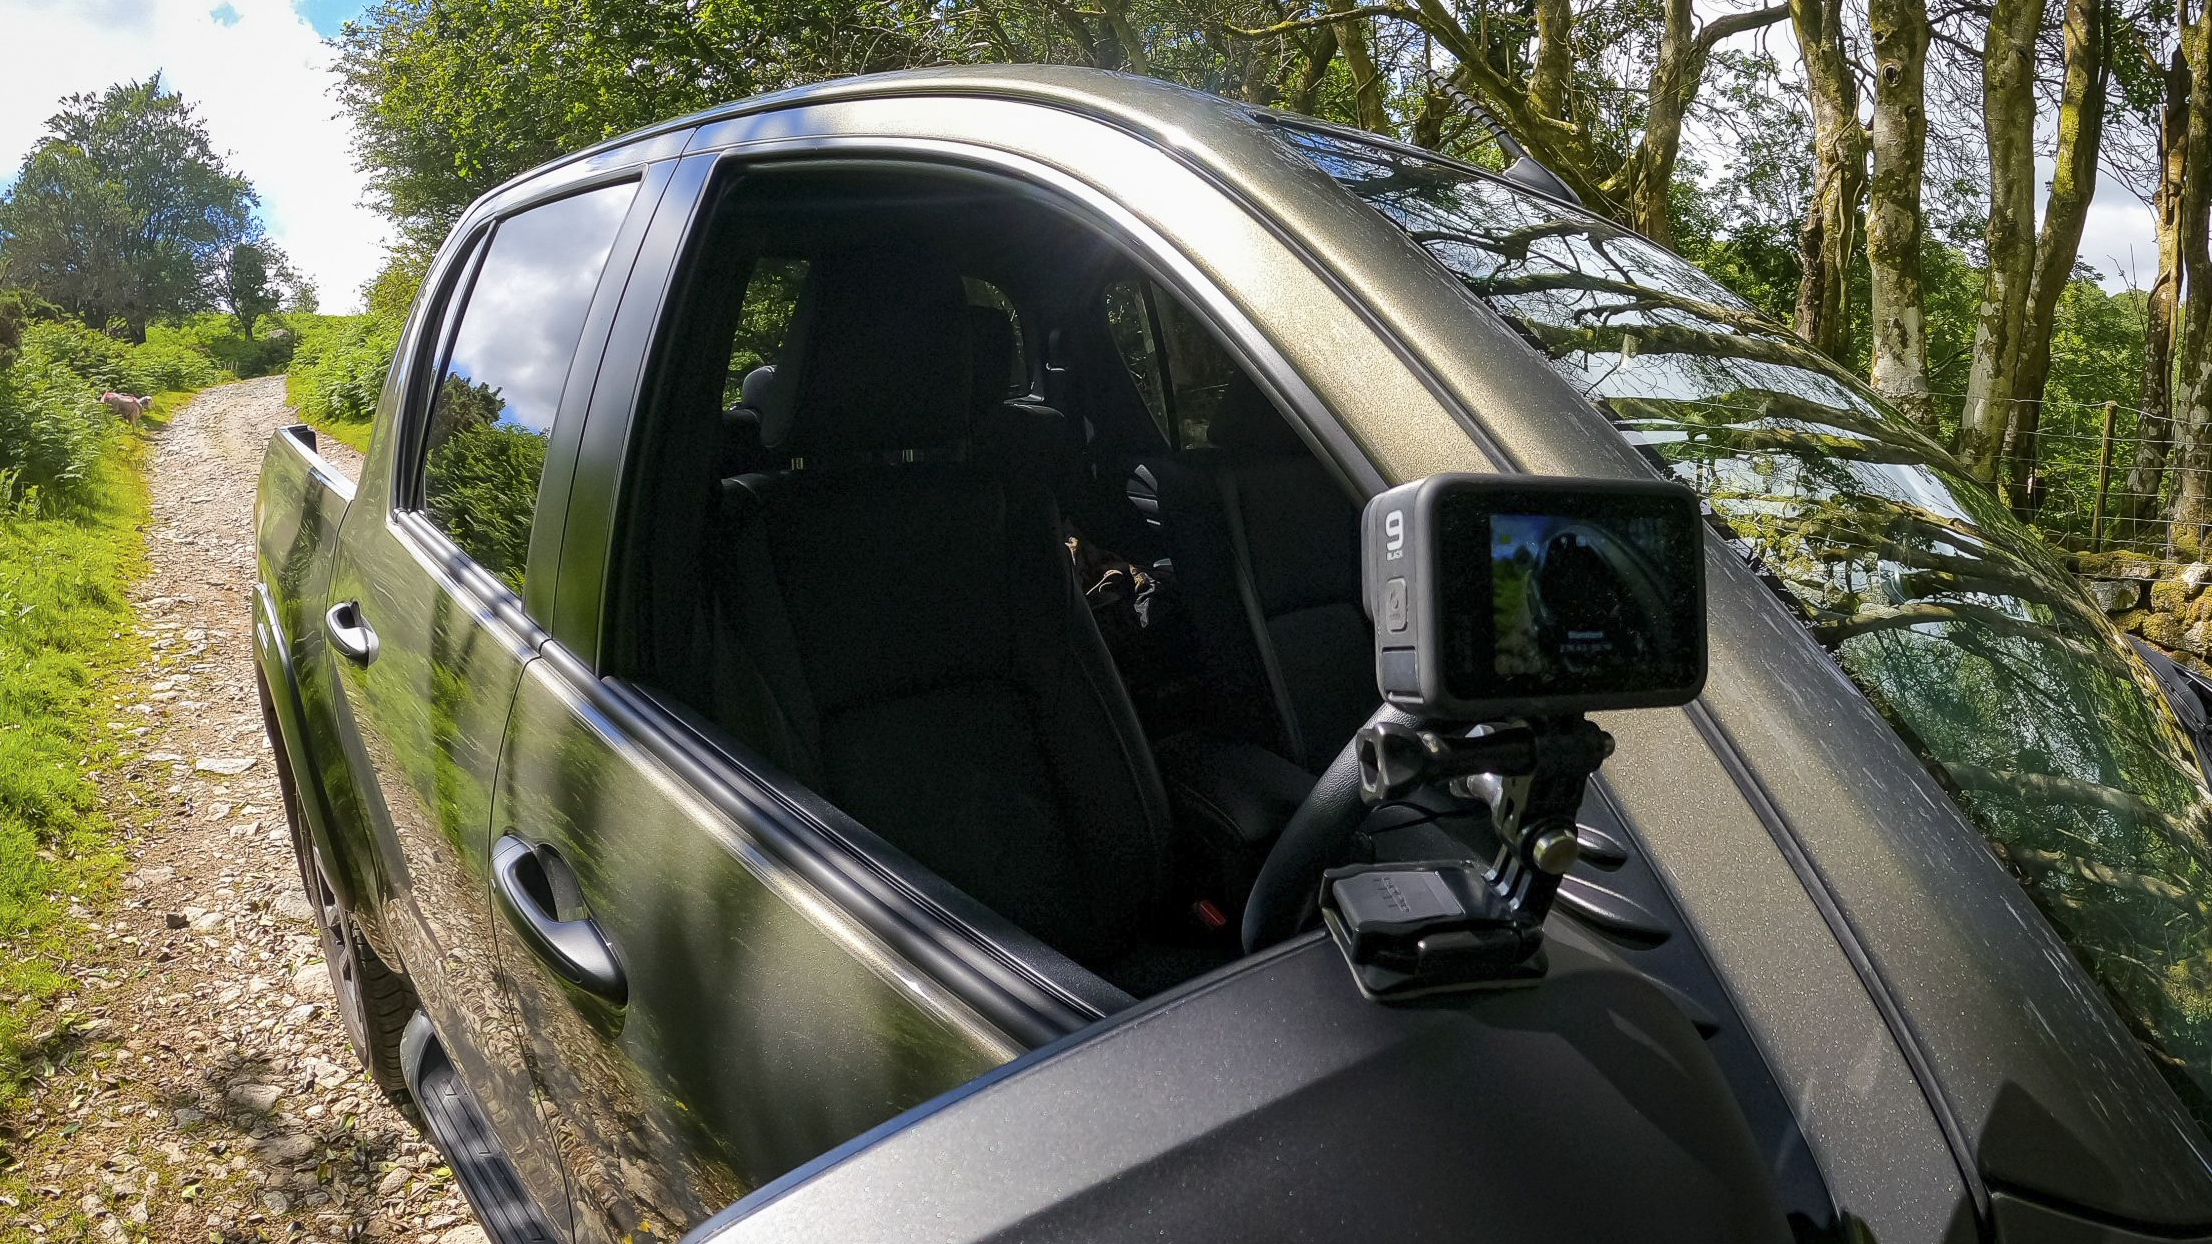
“I think GoPro is the best camera to use for video, photo, and time lapses,” says Werkmeister. “You can place the camera in several places on the vehicle, inside or out, knowing that the right GoPro mount will hold your camera securely. I’ve attached GoPro cameras to cars and motorbikes, when driving at more than 100mph and personally, I’ve not had one fall off. GoPro produce a range of mounts, to suit a ton of situations, it’s up to your imagination and creativity, to push the boundaries.
“The GoPro HERO9 Black offers a wide range of settings. For all video, I’ll use either 4k 25fps or 2.7k 50fps and shoot in 4:3. The GoPro has a 4:3 sensor and when you use its full resolution, you get no cropping, which means you can have more top and bottom in the shot.
"When filming in a high resolution, you can ‘zoom in/crop’ the edit, to achieve the 16:9 shot, without losing quality. Currently, most social media platforms will allow 4:3 posting, so it’s rare that I’ll use a 16:9 resolution, unless it’s for YouTube. For non-action shots, I use 4K, which gives me a lot of options for cropping or using a large canvas.
“When I really want to push for some epic slow-motion shots, I use 1440P at 120fps, which lets me capture amazing slow-motion in a fantastic resolution. I always have ‘HyperSmooth’ on, for super-smooth footage; if the activity needs more stabilization, simply add the boost on the touch screen. The boost will crop into the image slightly, but it will even out bumps and wobbles.”
Get the Digital Camera World Newsletter
The best camera deals, reviews, product advice, and unmissable photography news, direct to your inbox!
Mounting your GoPro
Werkmeister advises: “When I plan where to mount the camera, I like to think about what angles will showcase the best of the vehicle. Bonnet, roof, wheel arches, underneath and wing mirror – these are my ‘go-to’ angles. I start with the Jaws Flex Clip, which provides a secure seal to the bodywork. First, I hold the GoPro in the area where I want to position it, checking that the angle is correct, so I won’t have to keep attaching and removing the mount, and I look at where I can securely attach the unit. All areas with a gloss finish are perfect. The button in the centre of the mount will push all air out of the cup, giving you a really secure mount.
“The Jaws Flex Clip has an amazing grip, and its low profile works well when mounted under the vehicle. You can extend the mount further by adding a goose neck. When using the HyperSmooth that’s built into the camera, you’ll never have a shaky shot.
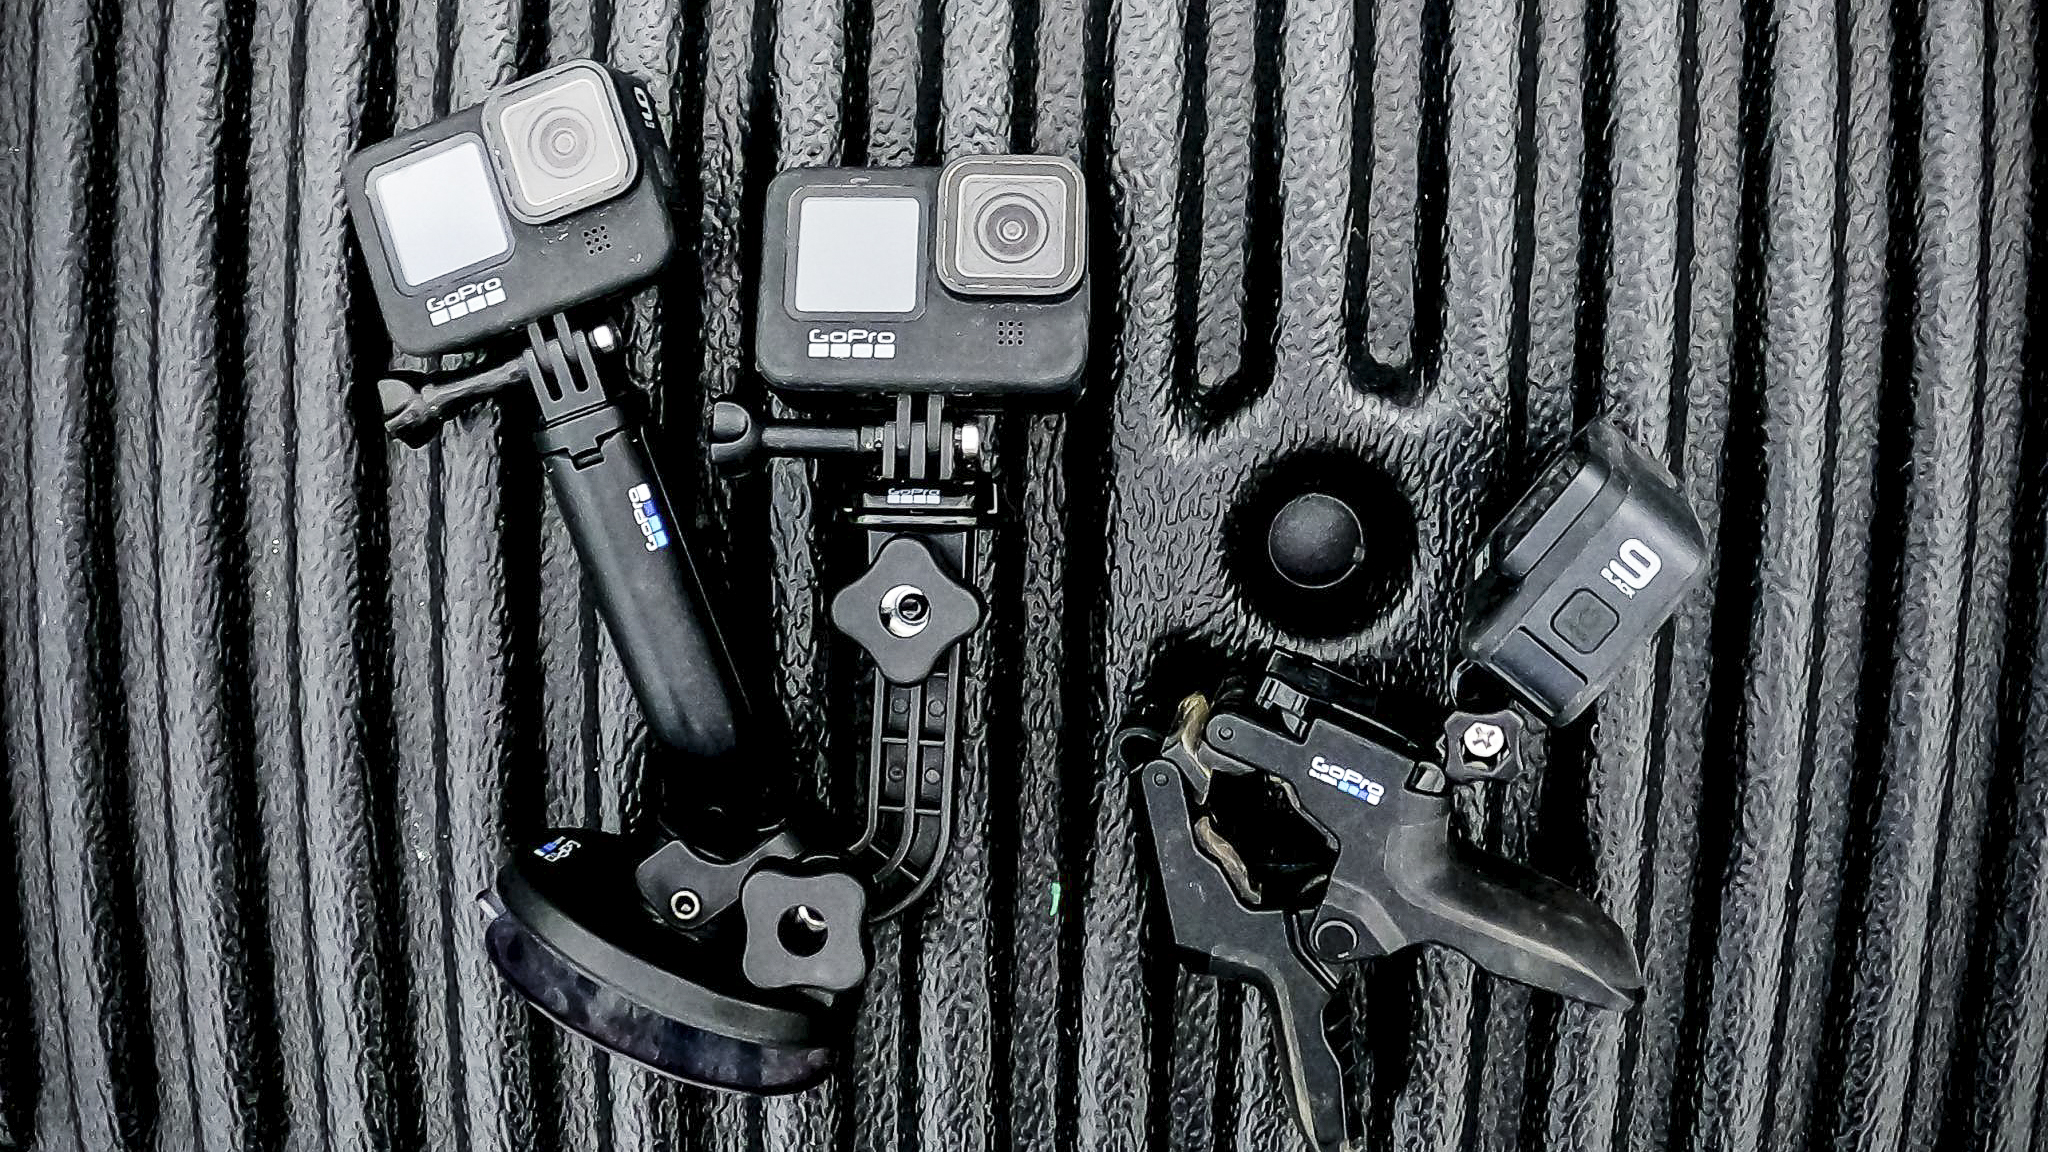
"The final mount is the GoPro Adhesive Mount. Whether you use the flat or curved versions, these are waterproof and an easy way to mount the camera on many different surfaces. I use them inside the cab to capture the driver and any passengers.
“If you find the mount hard to remove, one tip is to use the stem of a screwdriver and position it diagonally across the mount and twist. This will push from two corners and the mount will twist off.
Static shots with a GoPro
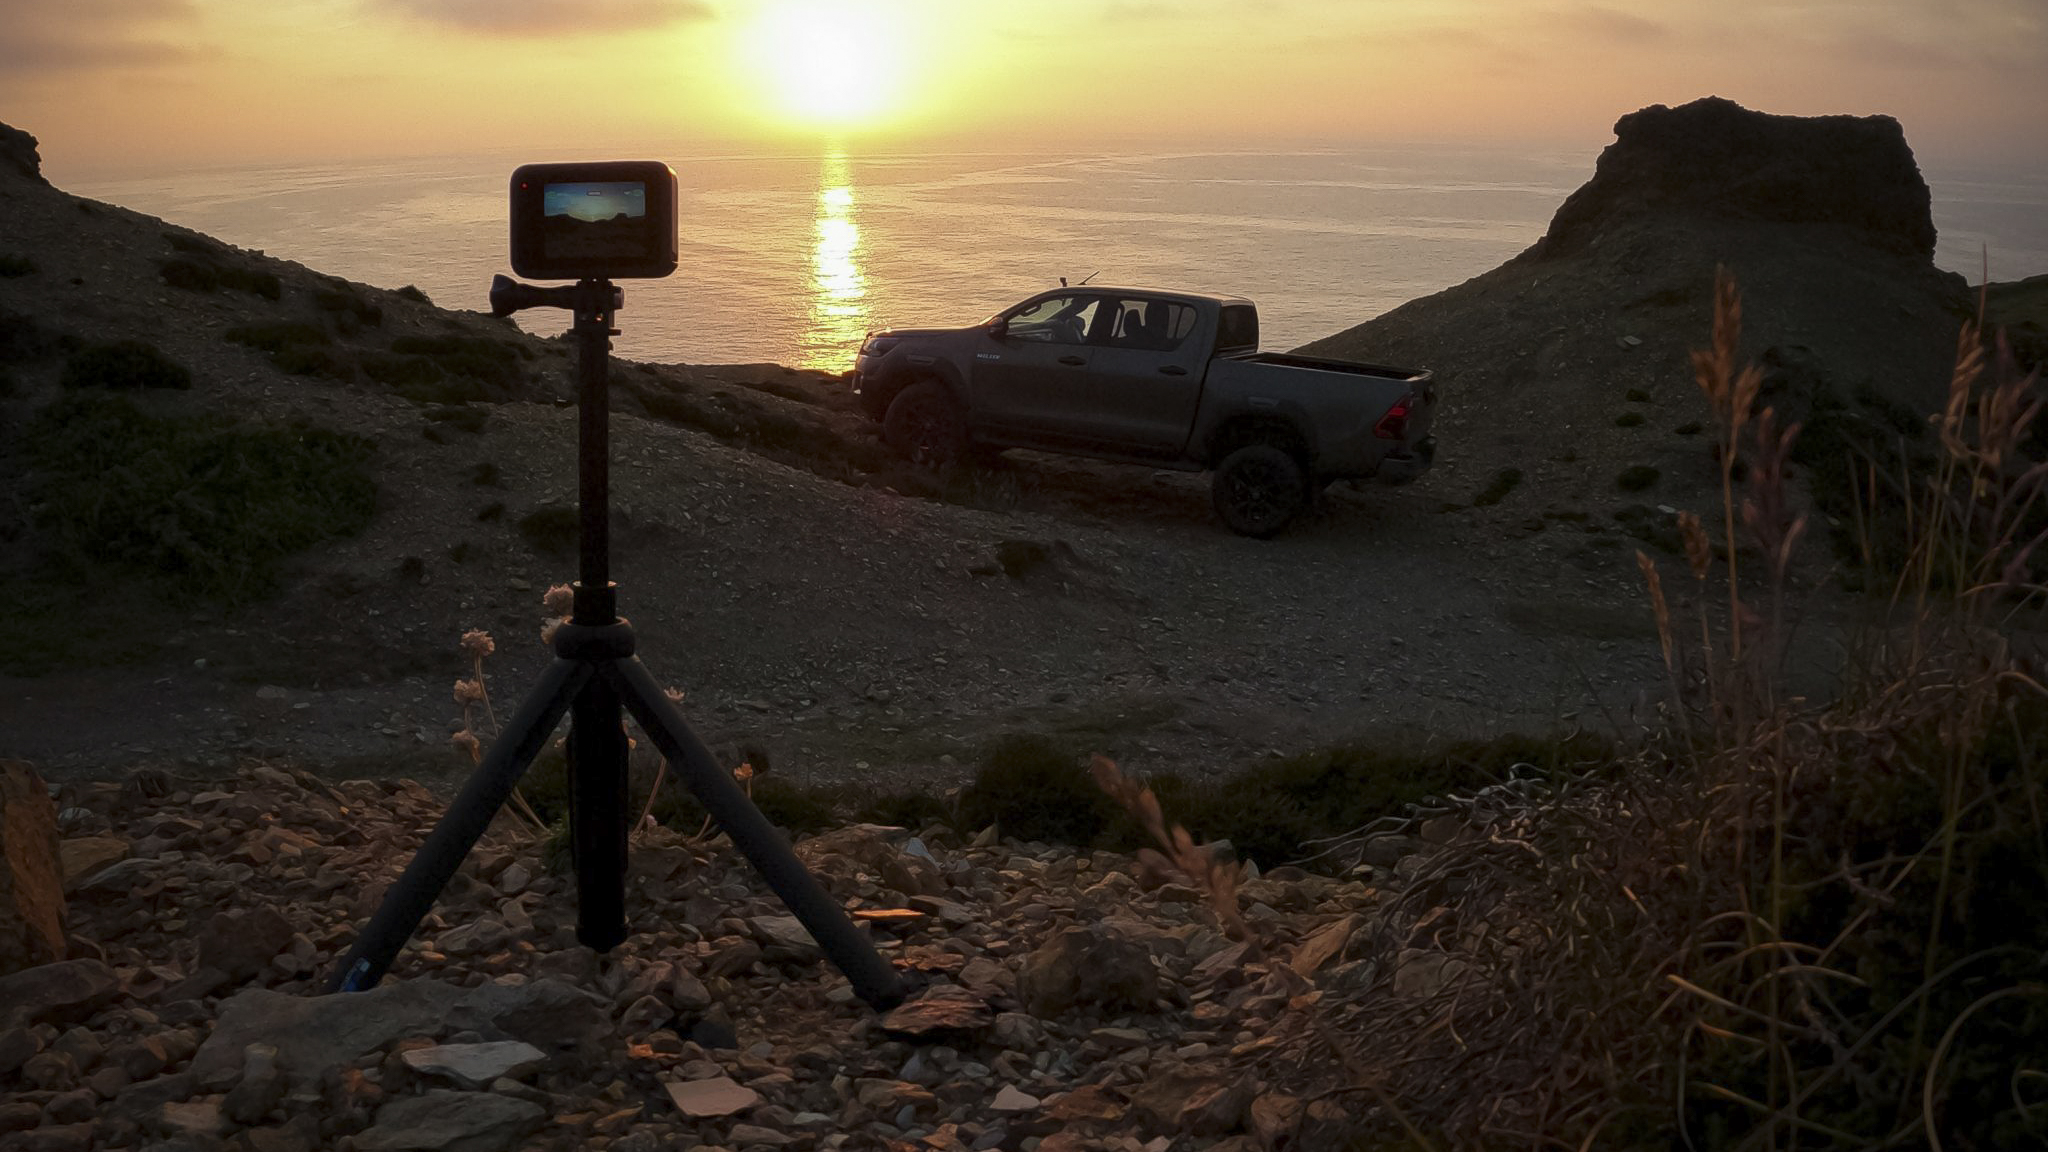
“The GoPro is not just an action/POV (point of view) camera, it’s amazing for filming yourself with the car, or grabbing a tripod and placing the camera on the ground or a wall to capture yourself driving. Either place the camera itself on the floor or grab a mount and get the best angle. I carry a mini tripod with my camera at all times. I can throw the camera down and get the epic shot from a new angle, plus I can use the mini tripods to film myself vlogging. The new screen on the front of the Hero9 enables you to check the shot, without having to look at the back screen.
One more tip: activate voice control and then you are hands-free. Just say ‘GoPro start recording’”.
GoPro timelapse settings
“For time lapse filming, I first plan my angle. Whether this is on a tripod or tucked away on a rock, it’s completely up to you. After I have my angle, I decide what time interval I want. For shots of people moving in an area, I will use a setting of 0.5 seconds. If I am shooting a sunset, I’ll use between 10 and 30 seconds. You have to remember that ‘frames per second’ is made up of 25 frames, so each shot is 1 of 25, which is 25 of 1 second. It can be very confusing, but once you practice, you’ll know exactly what setting you want before you start. Press the red button and you will start recording. I try to turn off any extra options on the camera, like the front screen, as this saves battery.”
“One major tip is to use an external laptop power bank. Flip the GoPro battery door and plug your USB cable into the power, and the other end into a battery pack/charger. This will keep the GoPro powered for hours and charge the battery at the same time. It’s ideal for any time lapse filming and will make sure you don’t lose power at a crucial moment.”
Chris George has worked on Digital Camera World since its launch in 2017. He has been writing about photography, mobile phones, video making and technology for over 30 years – and has edited numerous magazines including PhotoPlus, N-Photo, Digital Camera, Video Camera, and Professional Photography.
His first serious camera was the iconic Olympus OM10, with which he won the title of Young Photographer of the Year - long before the advent of autofocus and memory cards. Today he uses a Nikon D800, a Fujifilm X-T1, a Sony A7, and his iPhone 15 Pro Max.
He has written about technology for countless publications and websites including The Sunday Times Magazine, The Daily Telegraph, Dorling Kindersley, What Cellphone, T3 and Techradar.
