Shoot the perfect pet portrait
Capture your furry best friends with studio style lighting at home
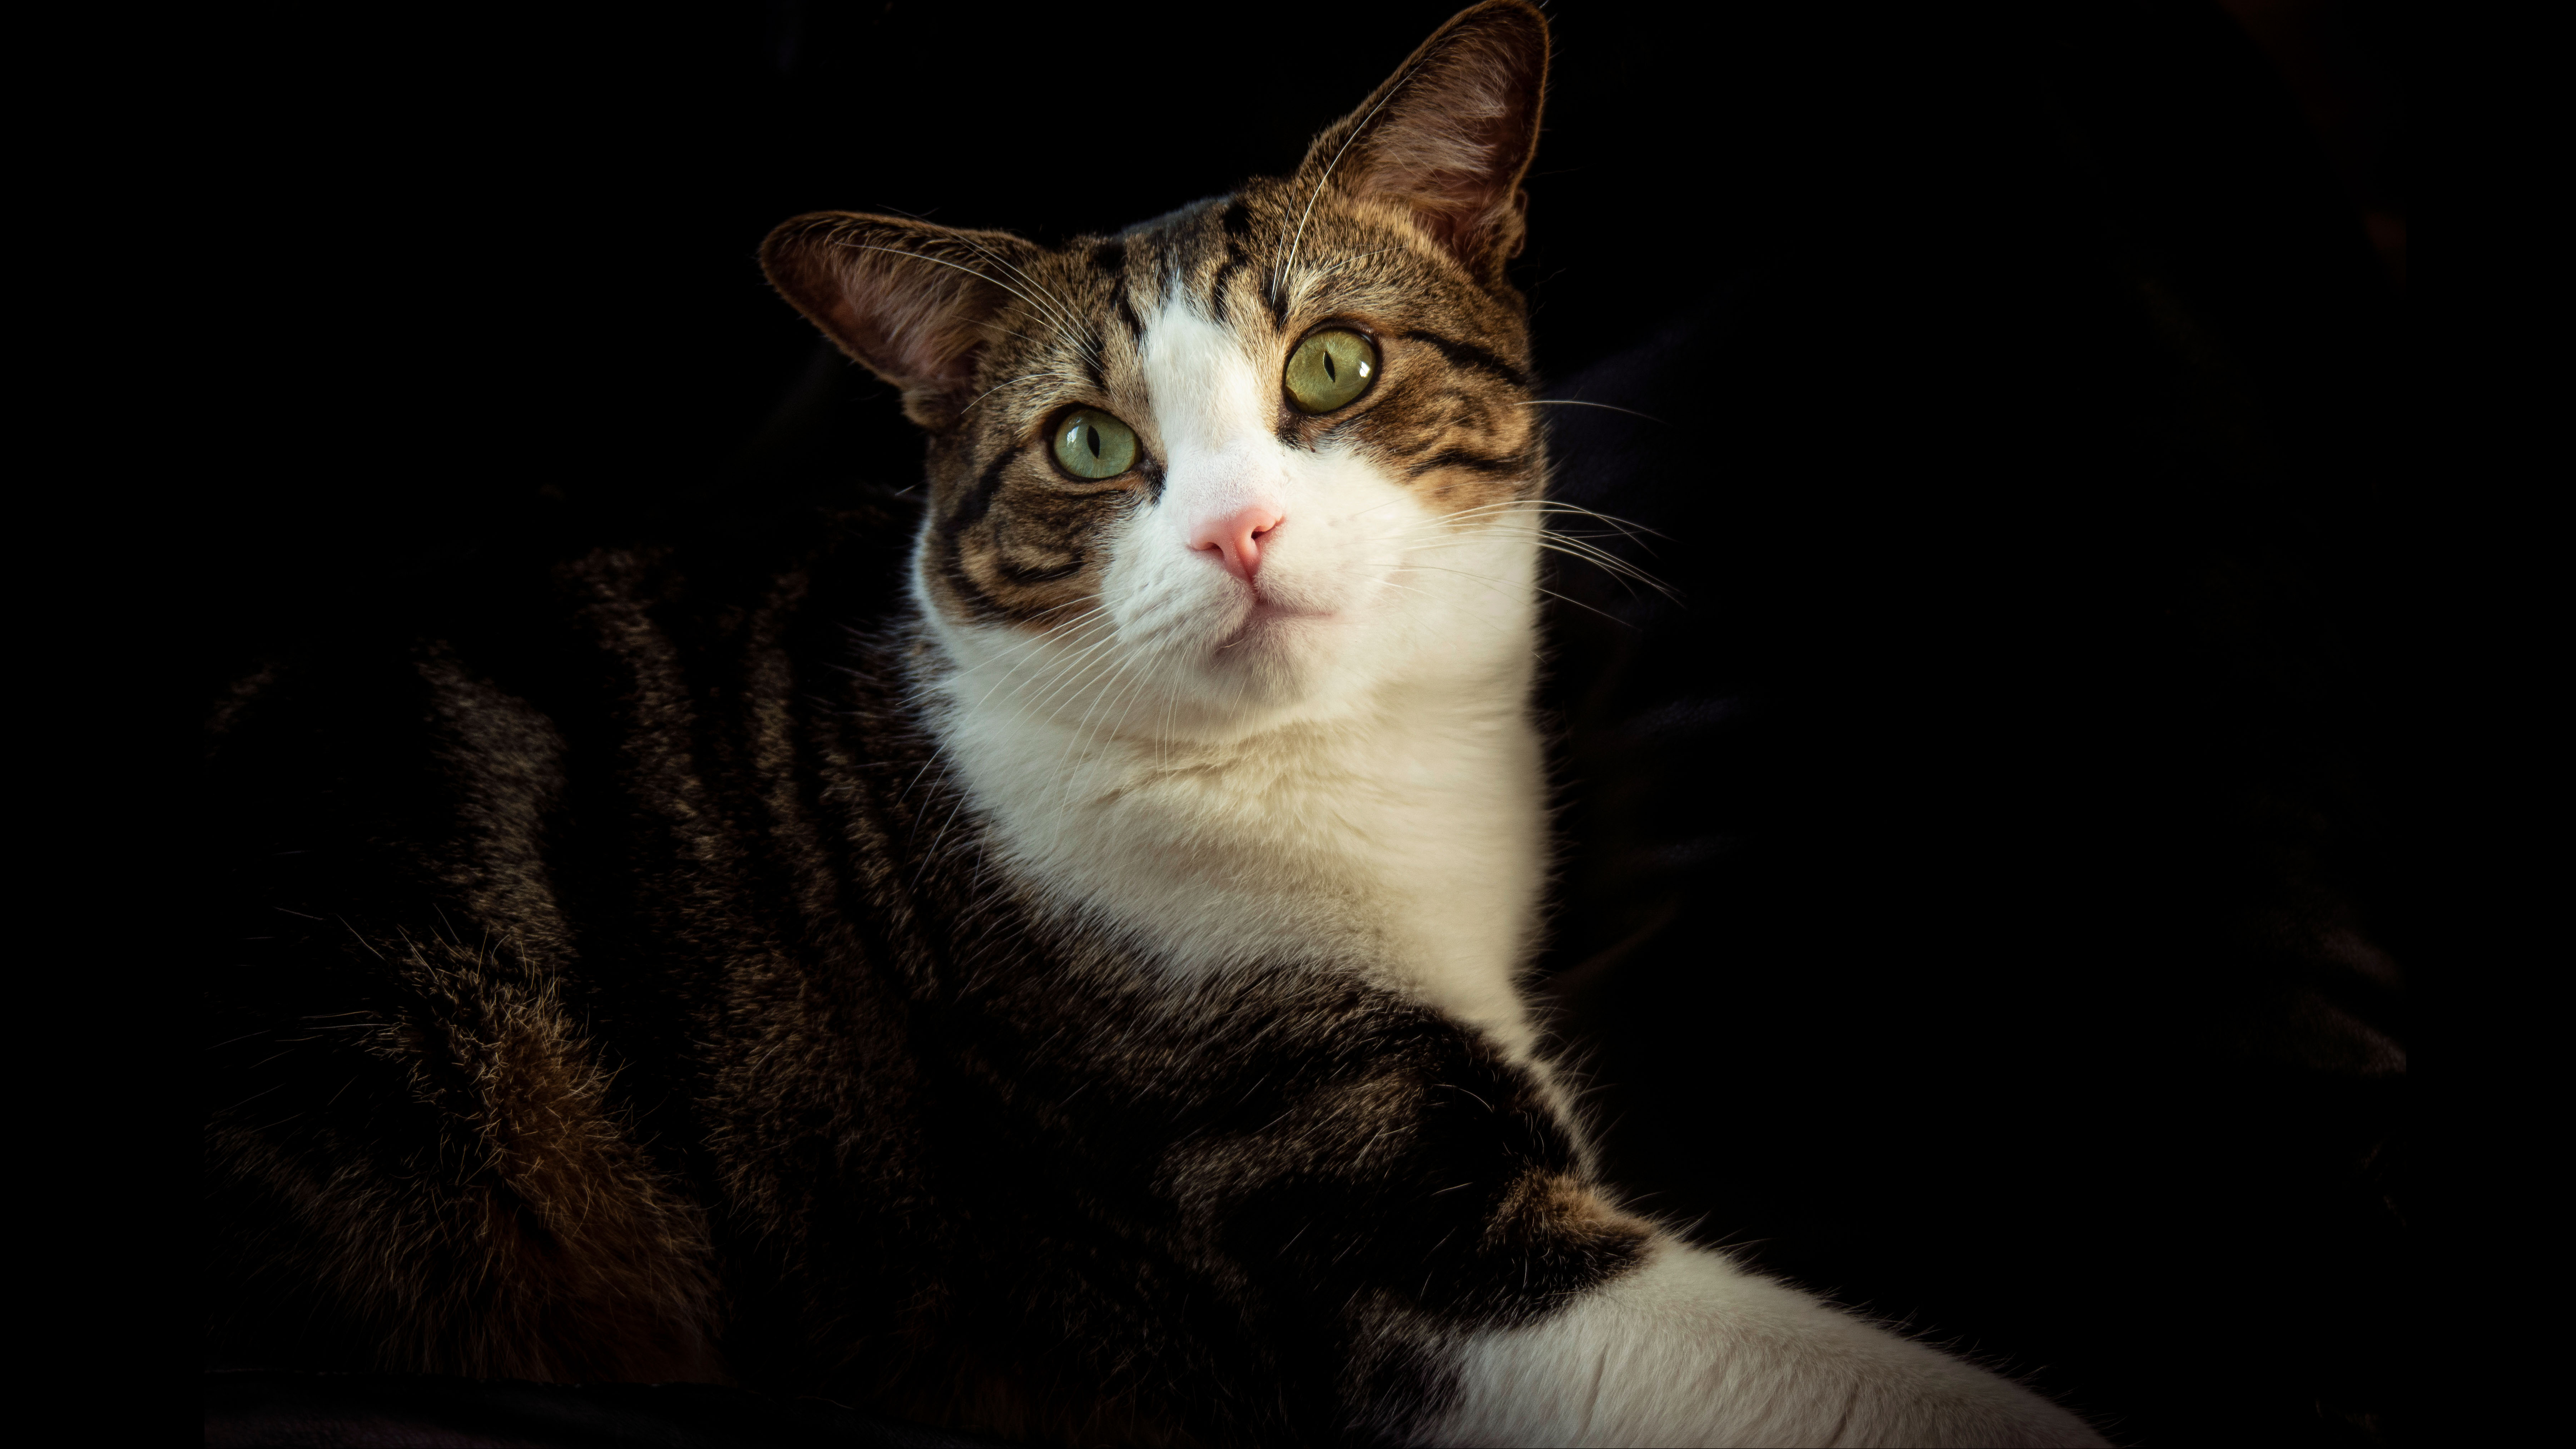
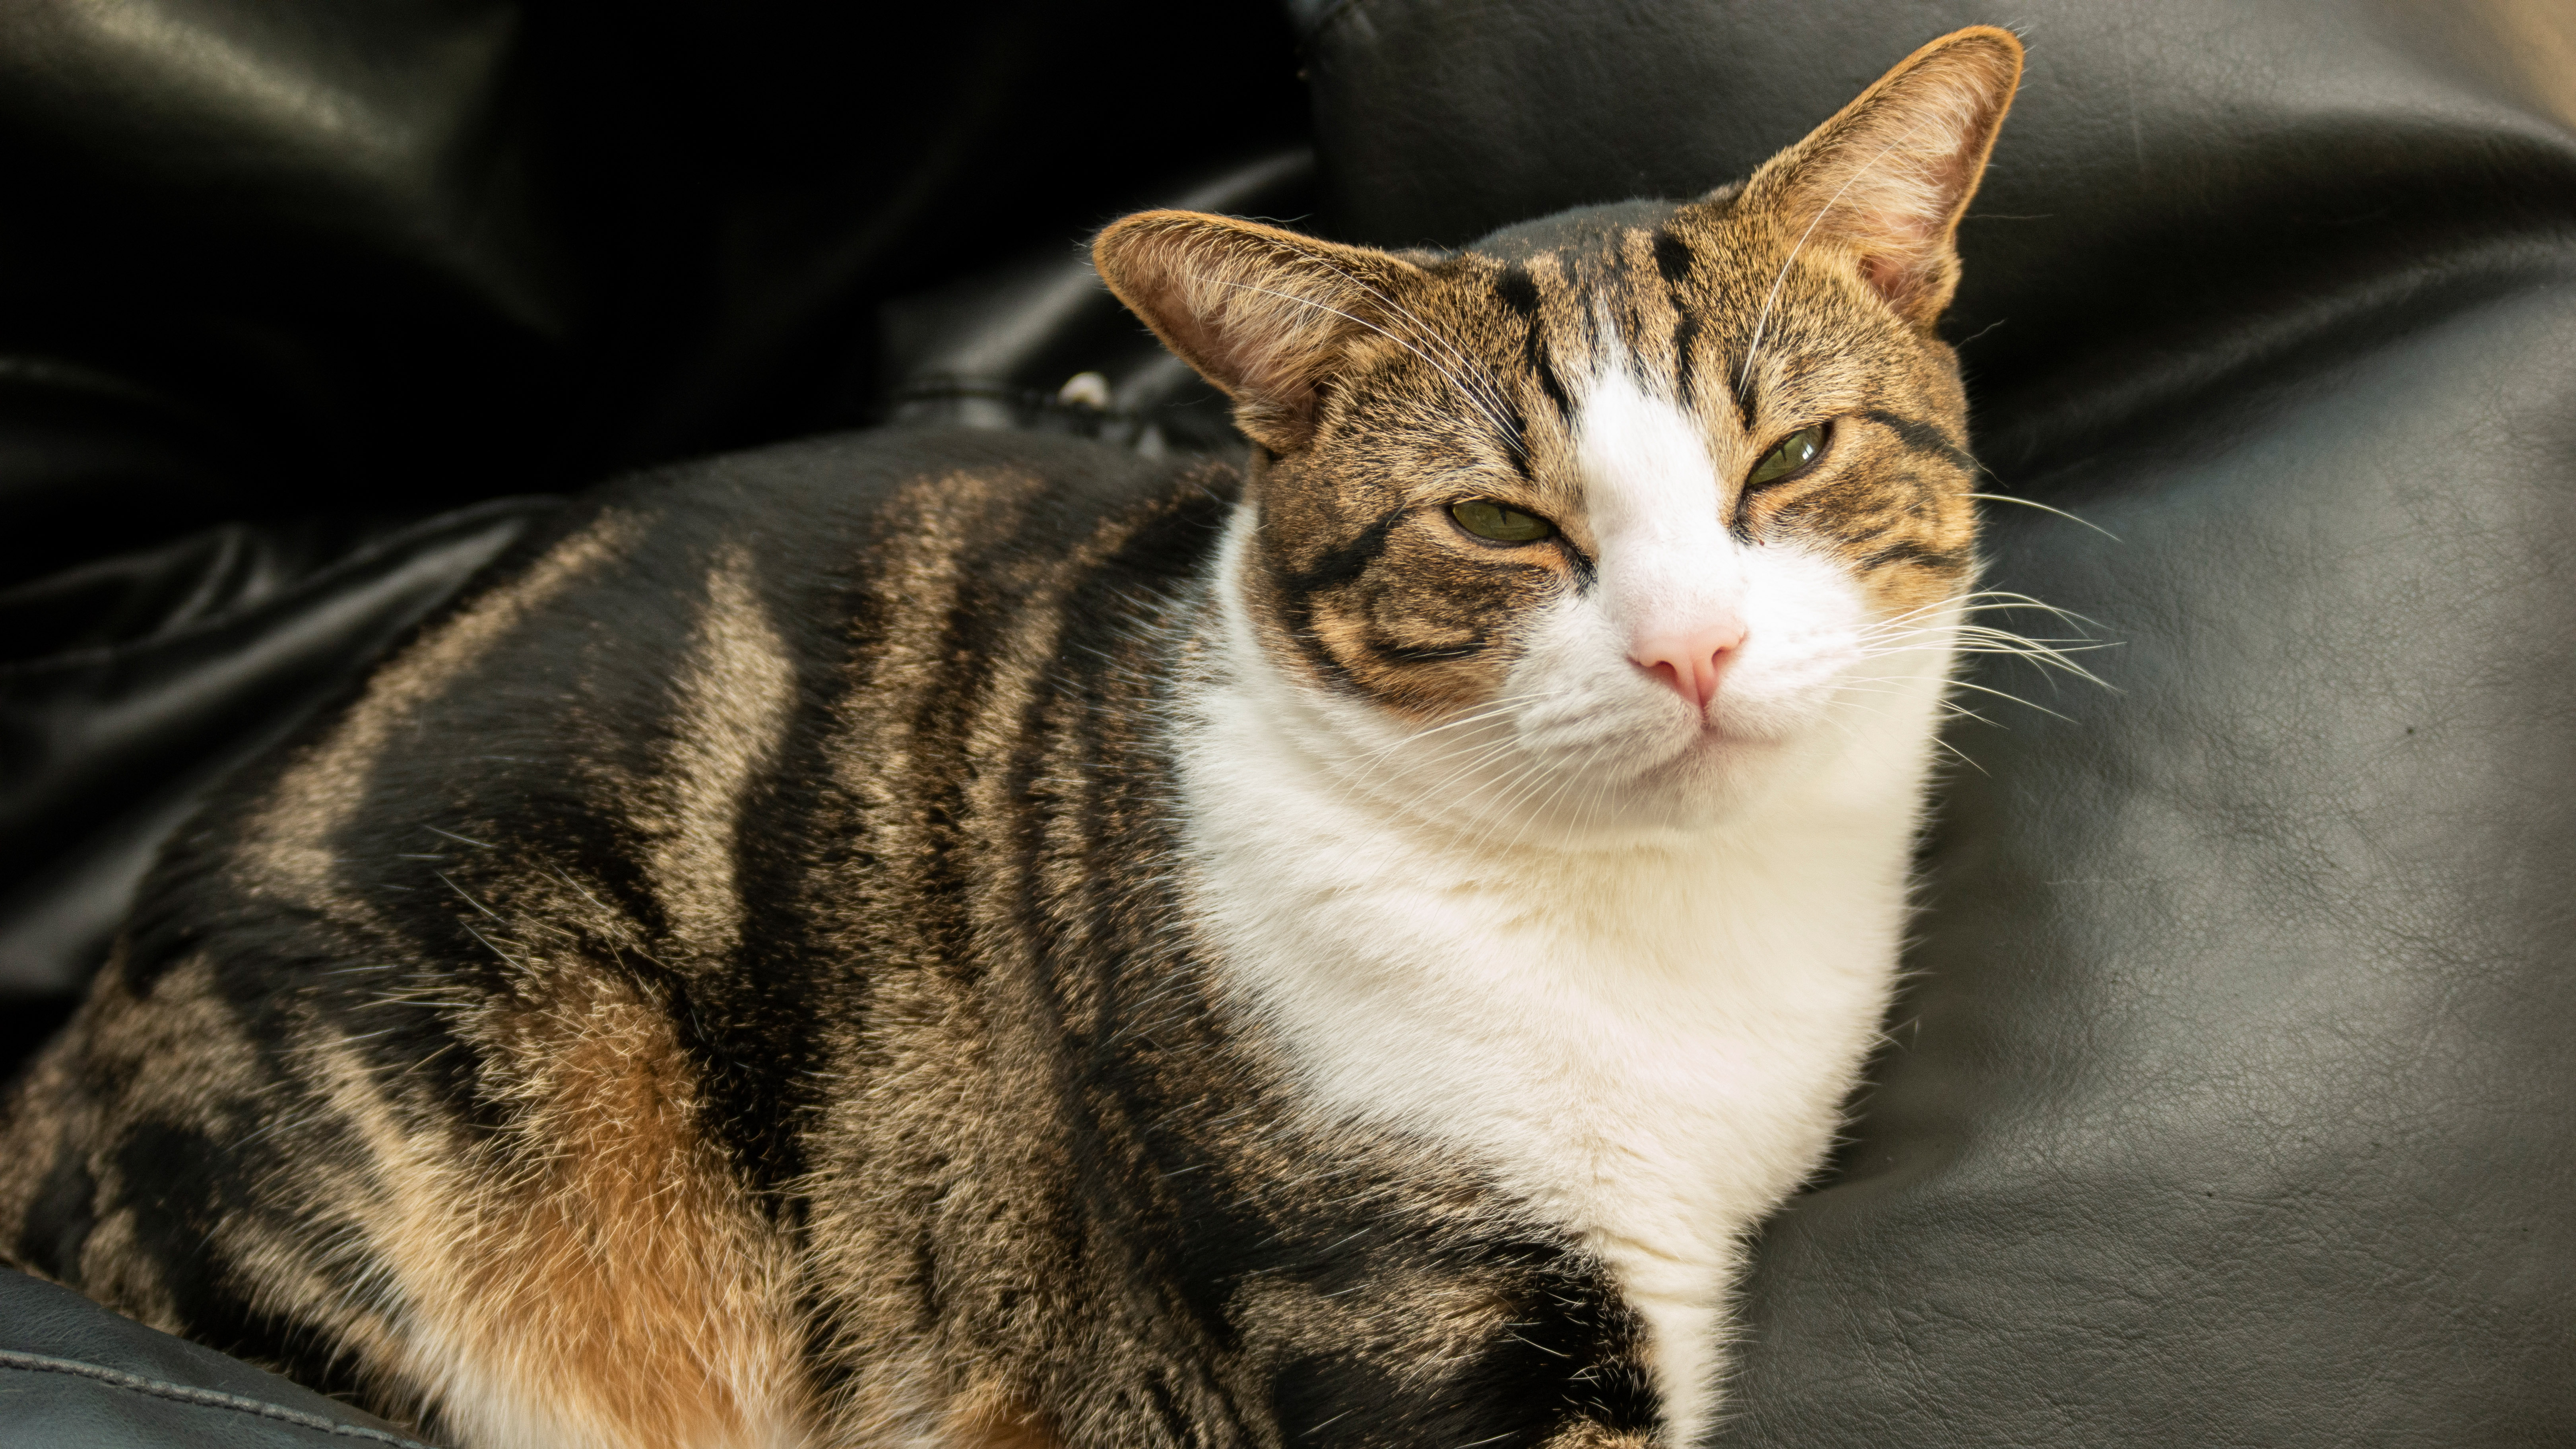

At some point in a photographer’s professional career they will be asked to shoot a pet portrait. High street customers reliably want images of their pets, and many photographic studios will be visited by four-legged subjects on a regular basis.
However, more photographers have embraced the benefits of remote working, freeing themselves from the overheads of a fixed base. This, combined with the common request by clients to have portraits taken in their home, creates the need to work without studio lights and their associated accessories.
The greatest challenge in any environment outside the studio is controlling the ambient light, to enable the photographer to shape the illumination of the subject. In addition to this, a person’s home may be filled with visual distractions and unphotogenic elements, which must be worked out of the frame to create a clean composition.
With a combination of shutter speed, off-camera flash and careful framing it is possible to produce images that appear to have been taken in a controlled studio setting, allowing you to work under any conditions.
Take the lighting look with you wherever you go and learn to work with minimal kit for a painterly, high-contrast animal portrait your clients will love.
Place the animal
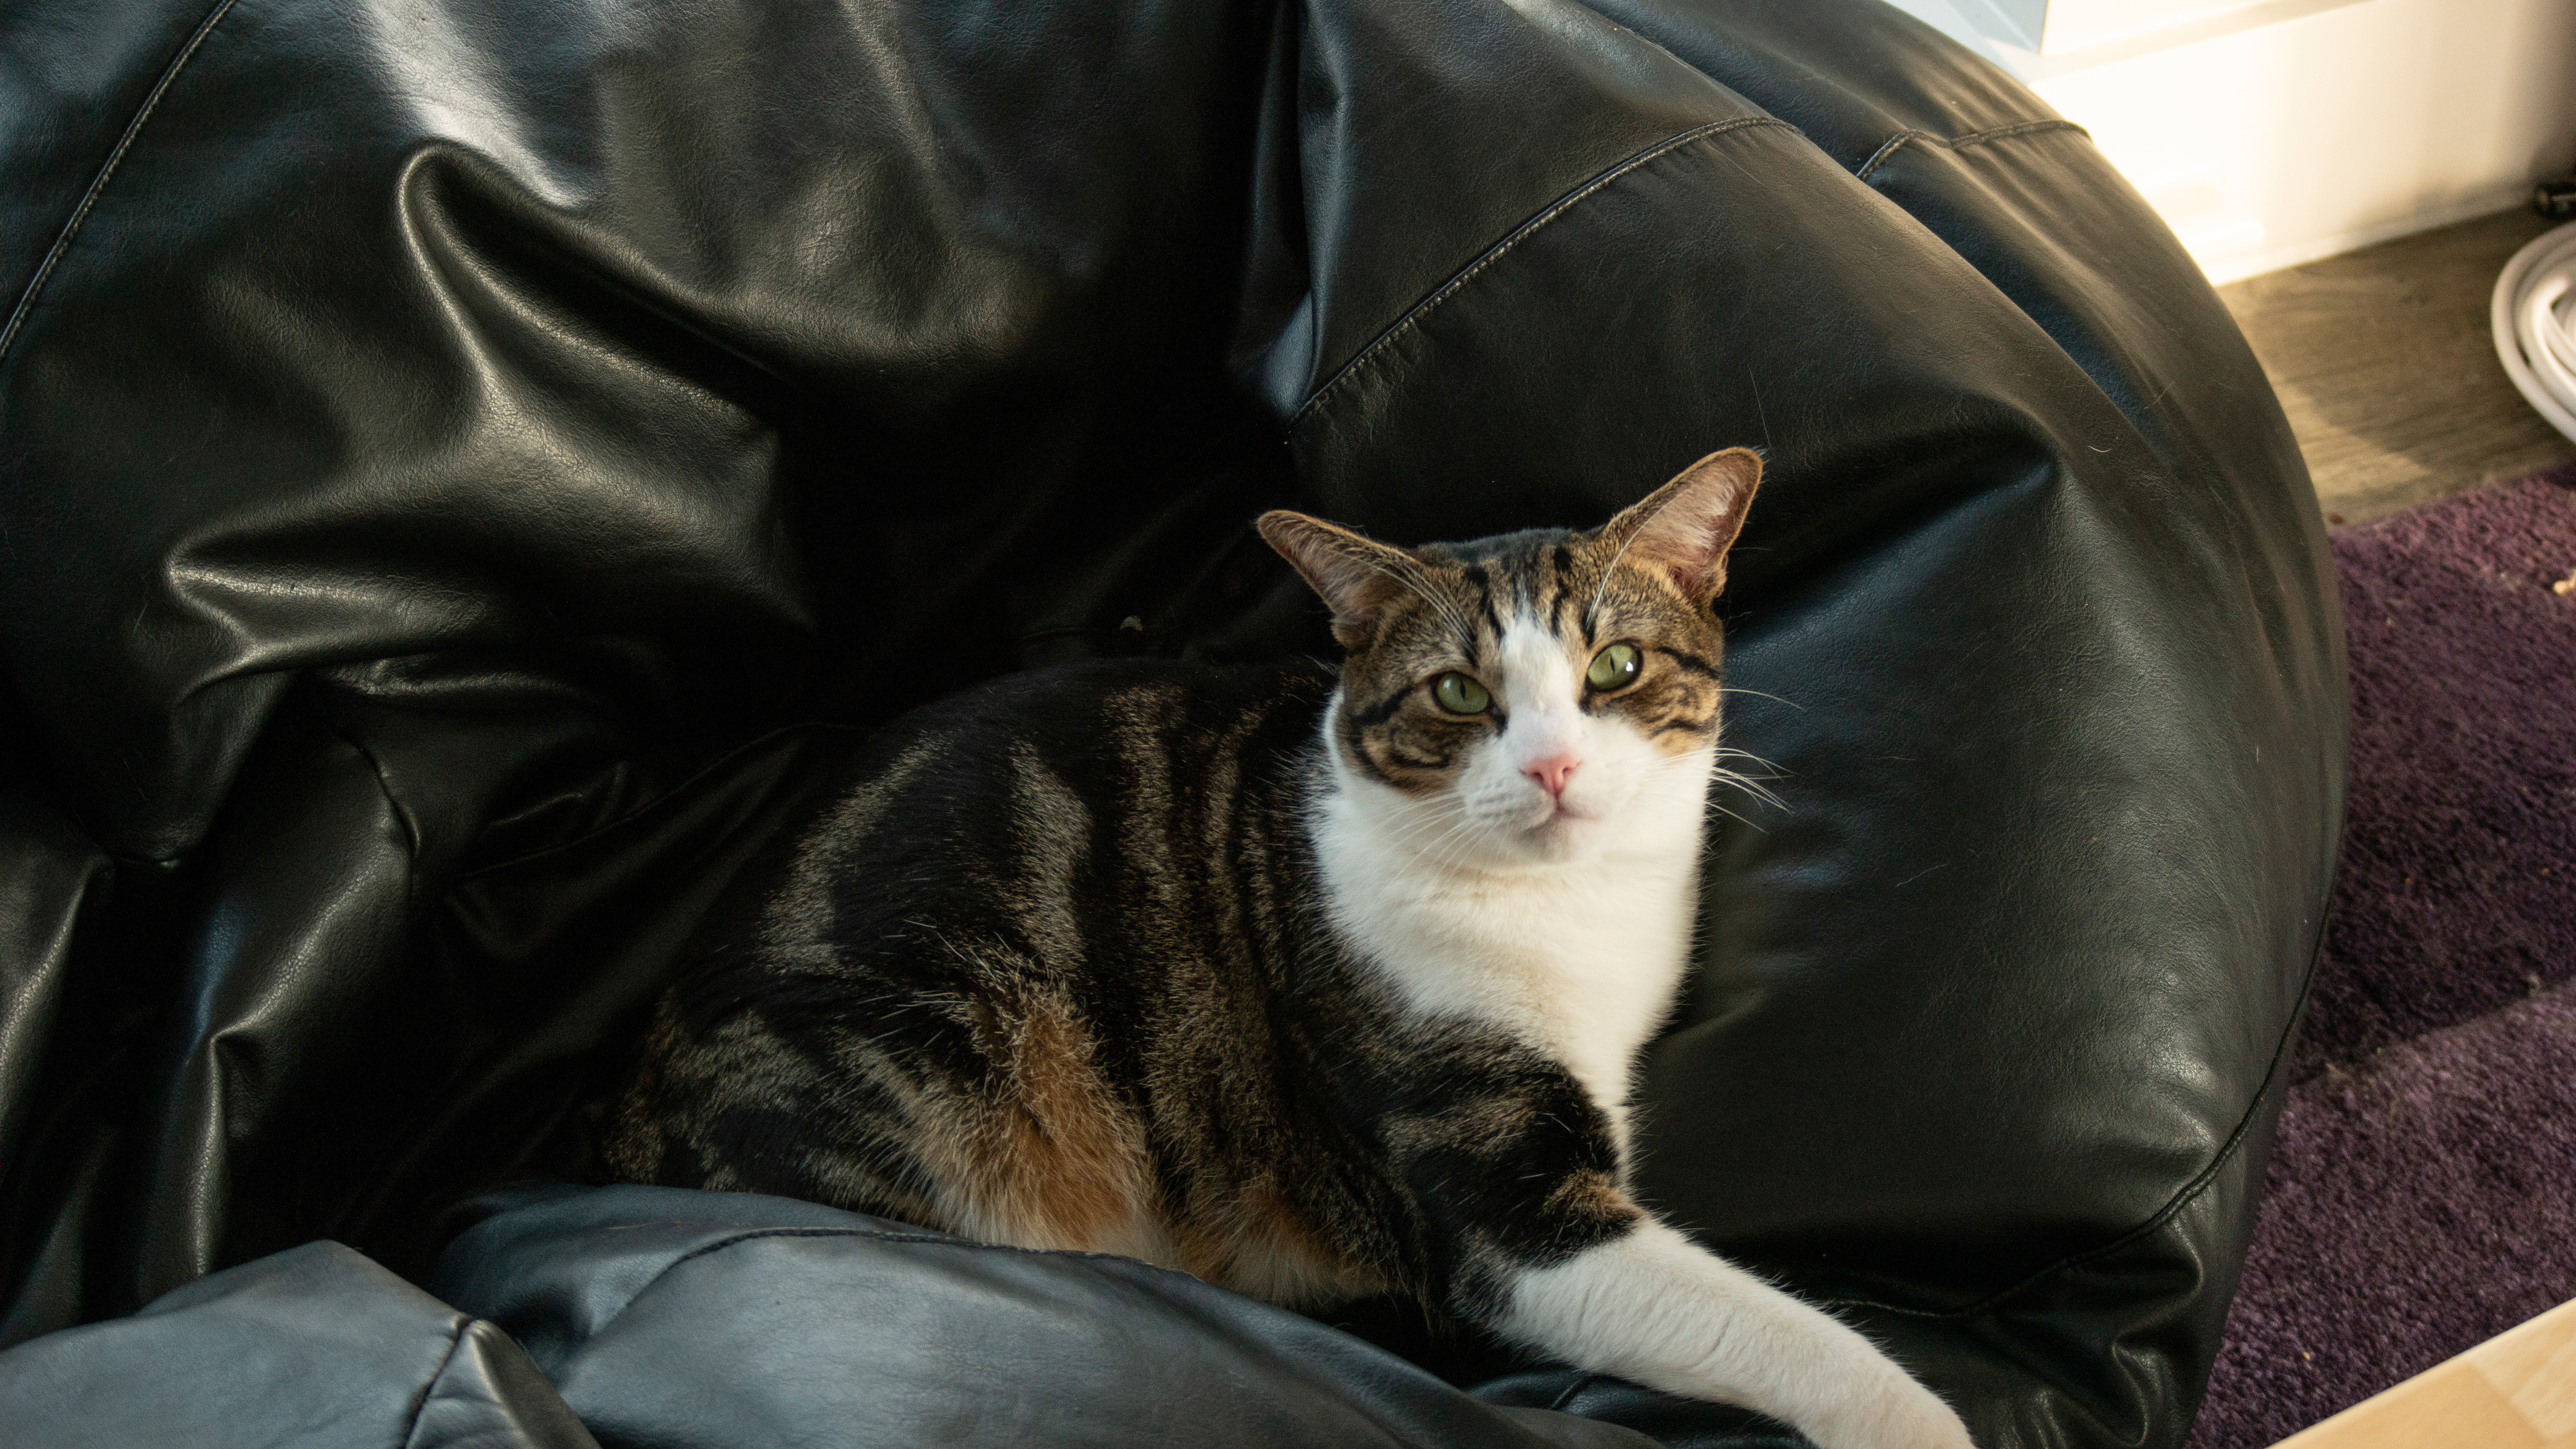
While we lack a seamless background, having the cat sit on a black cushion will make it easier to control background brightness, as more light will be absorbed by the dark material.
Make the flash directional
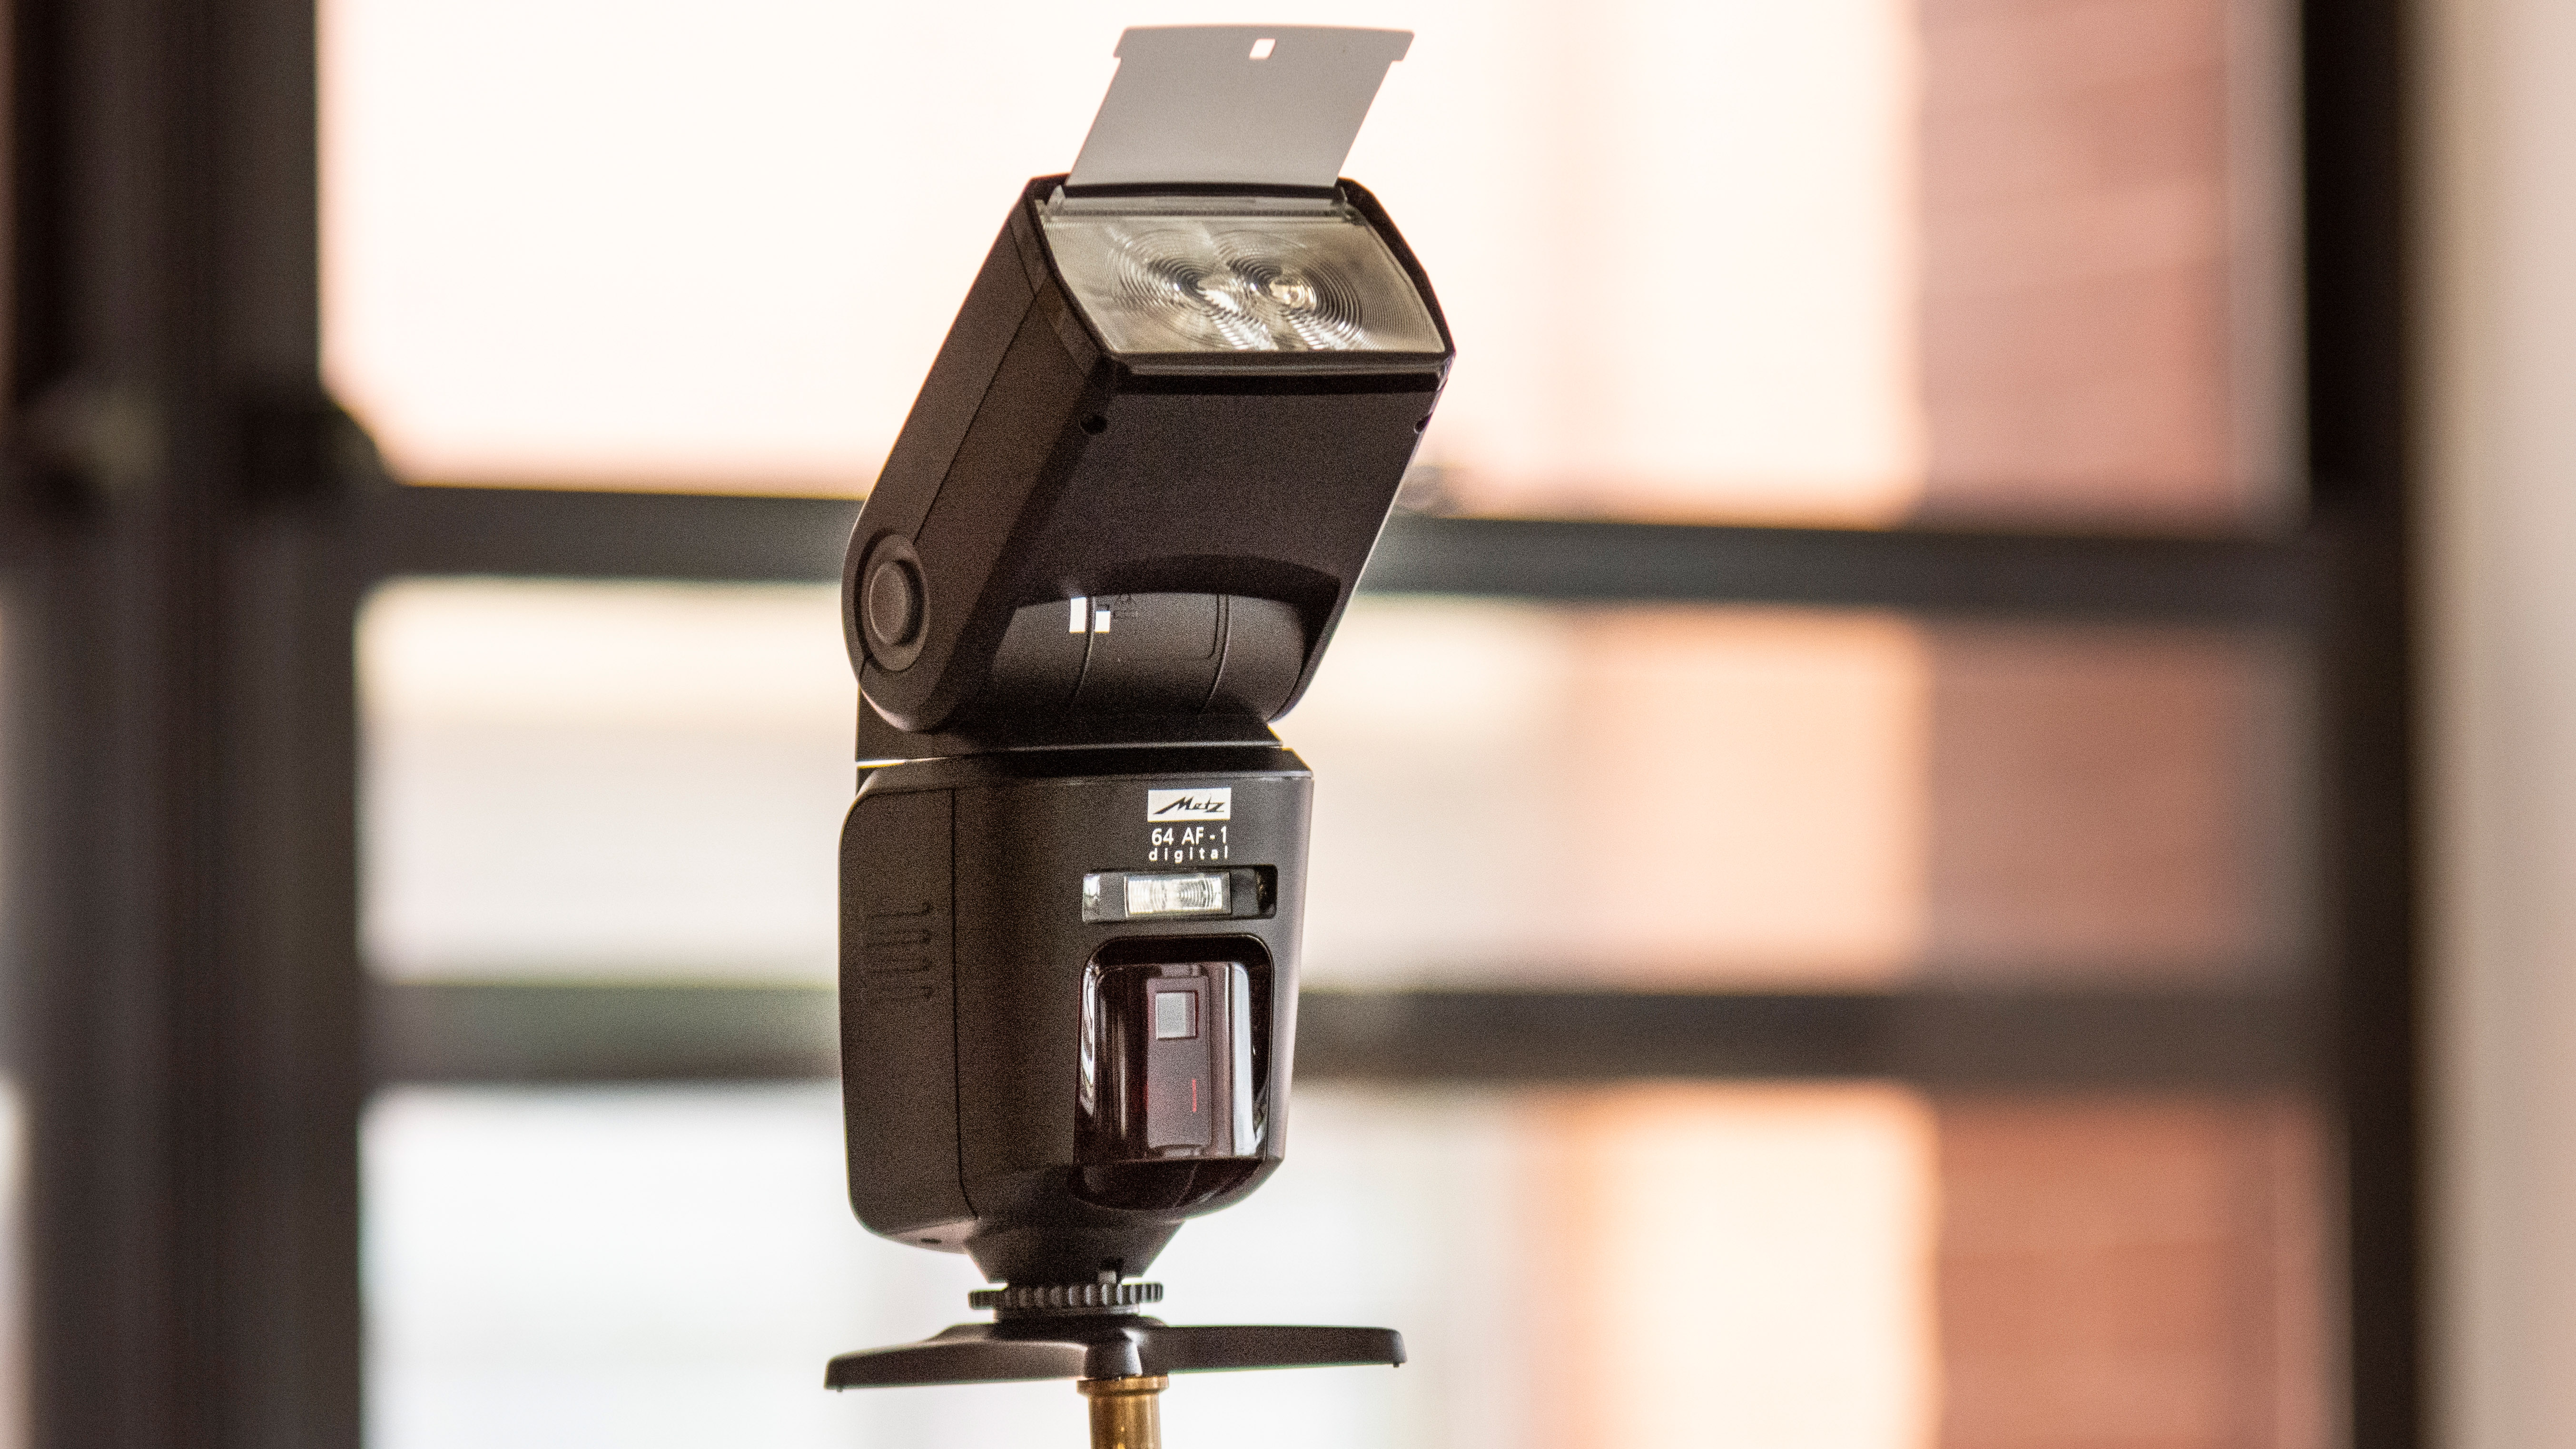
Attach a wireless trigger to your speedlight and place this off to one side, at a 90º to 45º angle, elevated slightly above the subject and facing down, approximately where you’d place a strobe.
The best camera deals, reviews, product advice, and unmissable photography news, direct to your inbox!
Set speedlight zoom

Use the controls on the rear of the flash to increase the head zoom position. Select the longest zoom setting (in this case 105mm) to narrow the beam for a focussed effect.
Cut ambient light
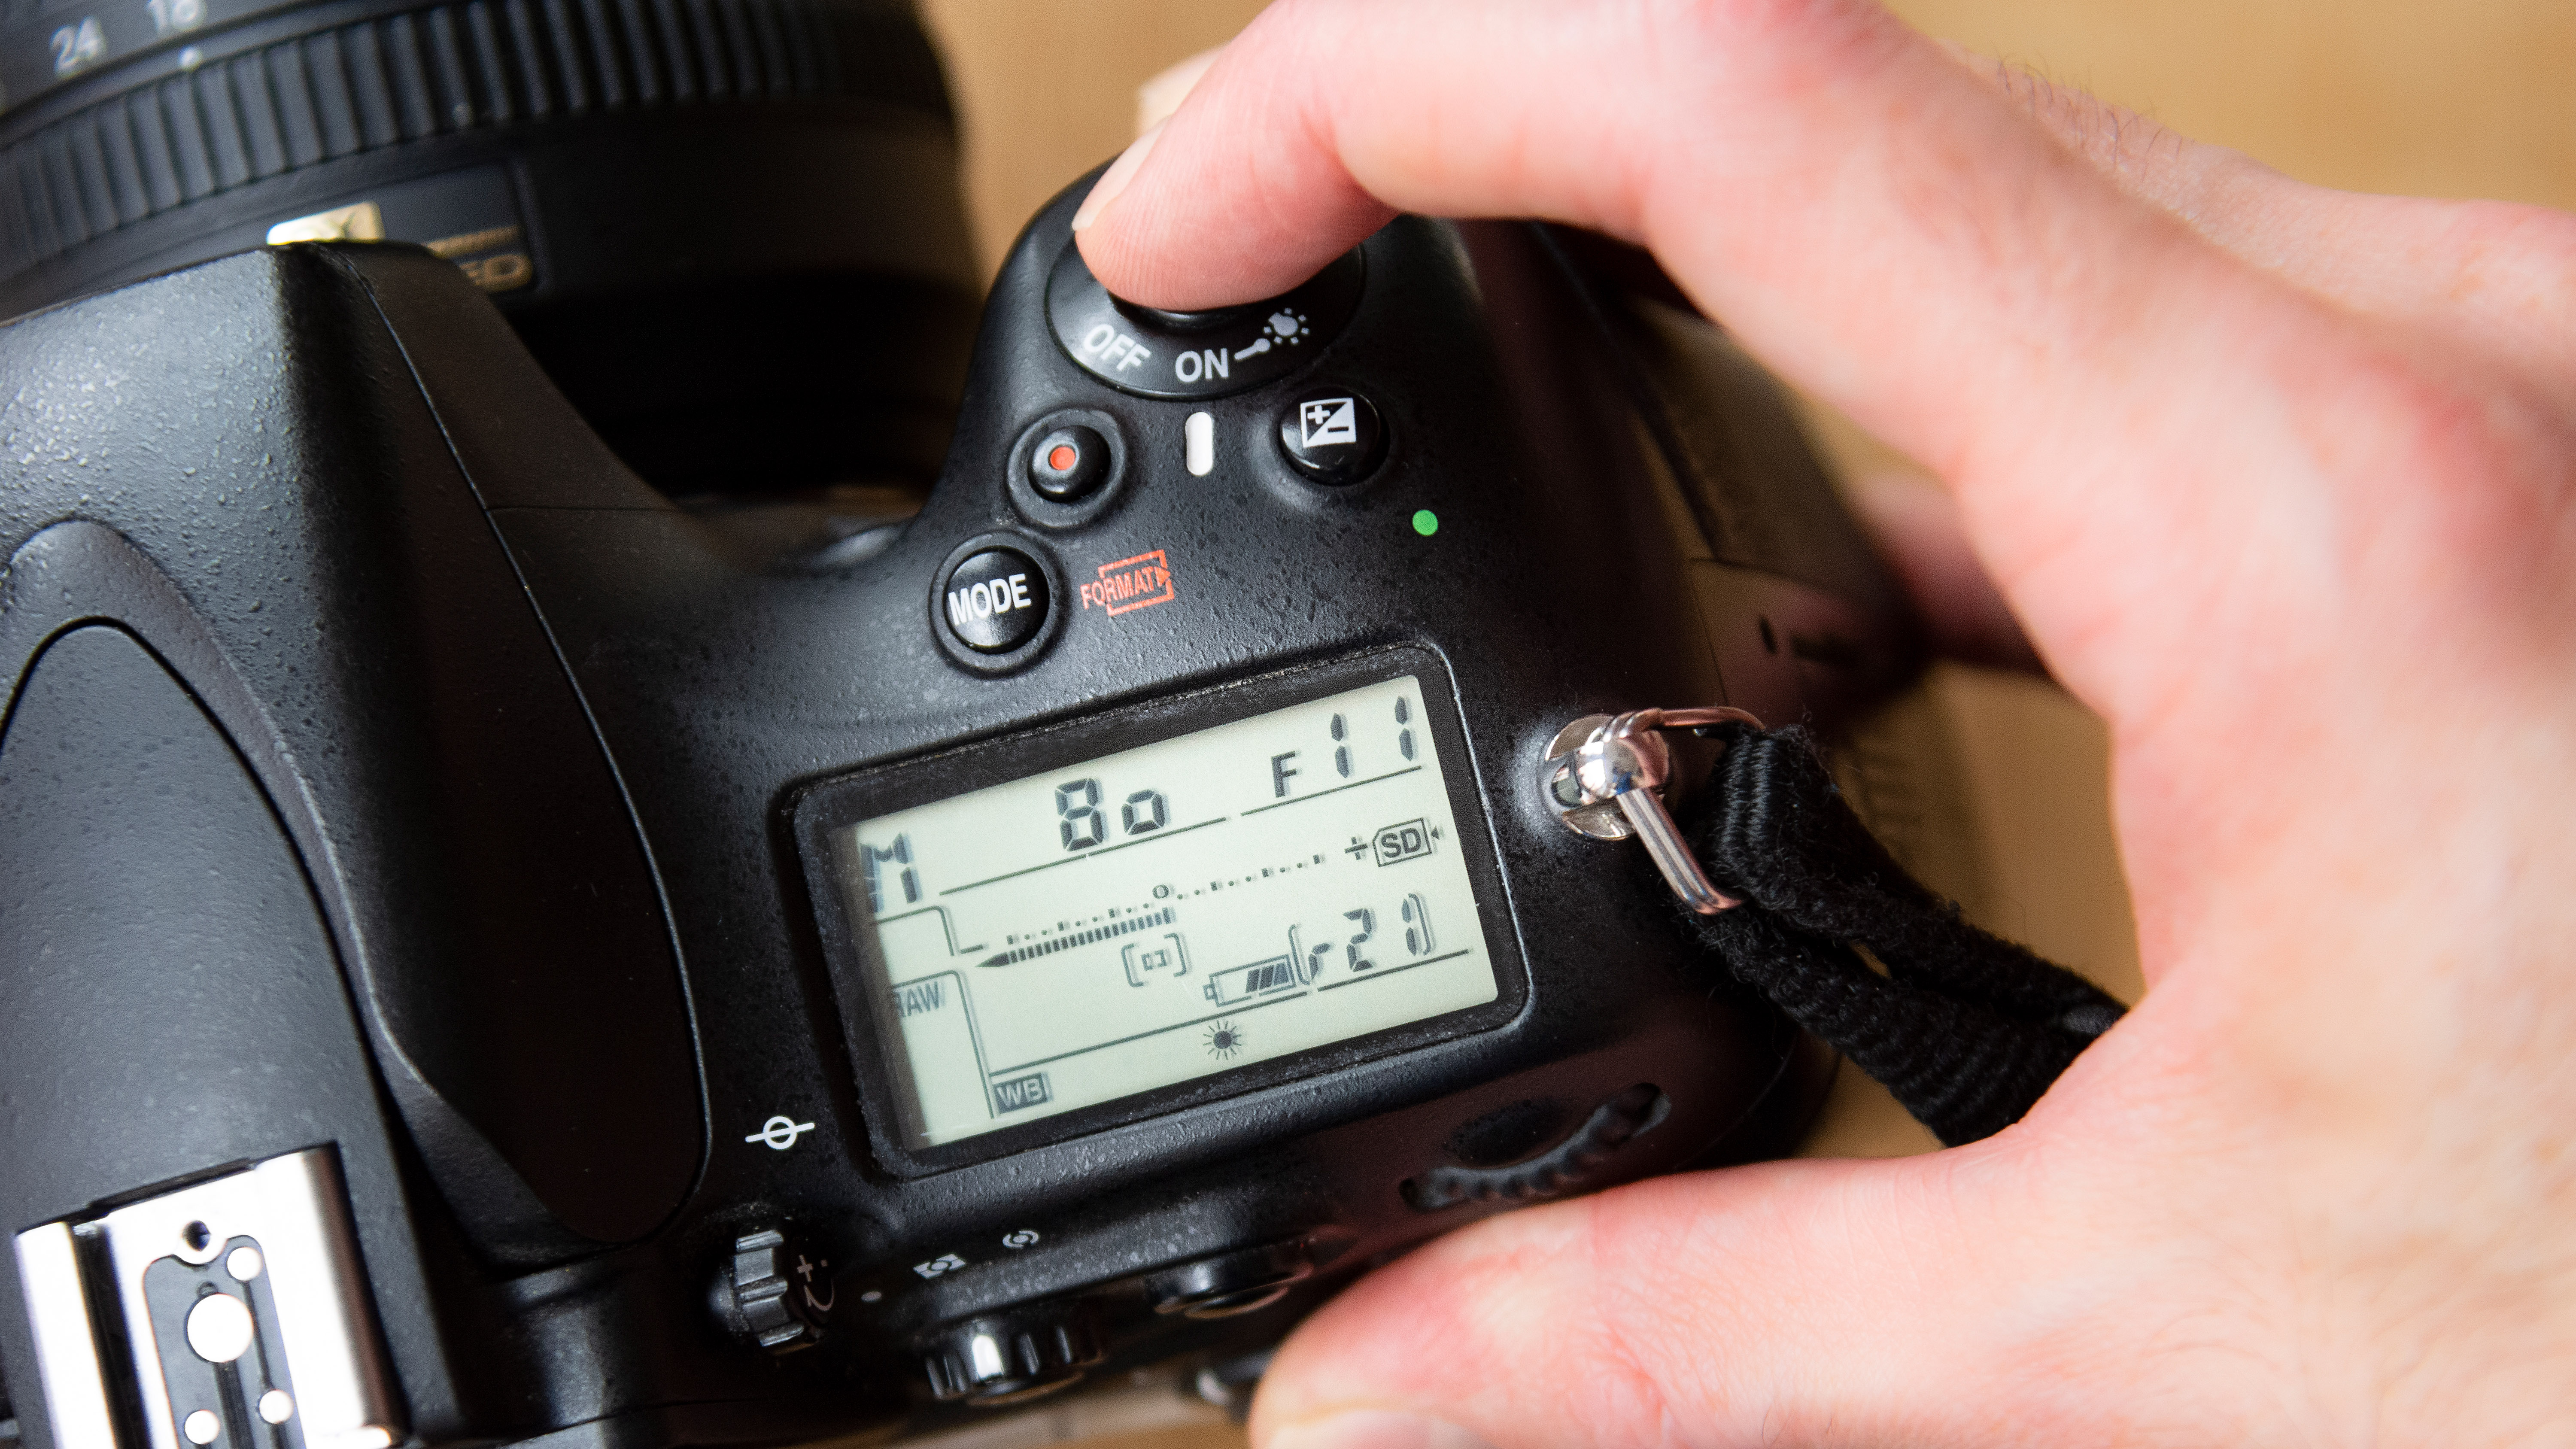
Increase the shutter speed or stop down the aperture to reduce visible background detail. Start by lowering the ISO, choosing the base sensitivity if possible, then the speed or f-stop if this is insufficient.
Increase flash power
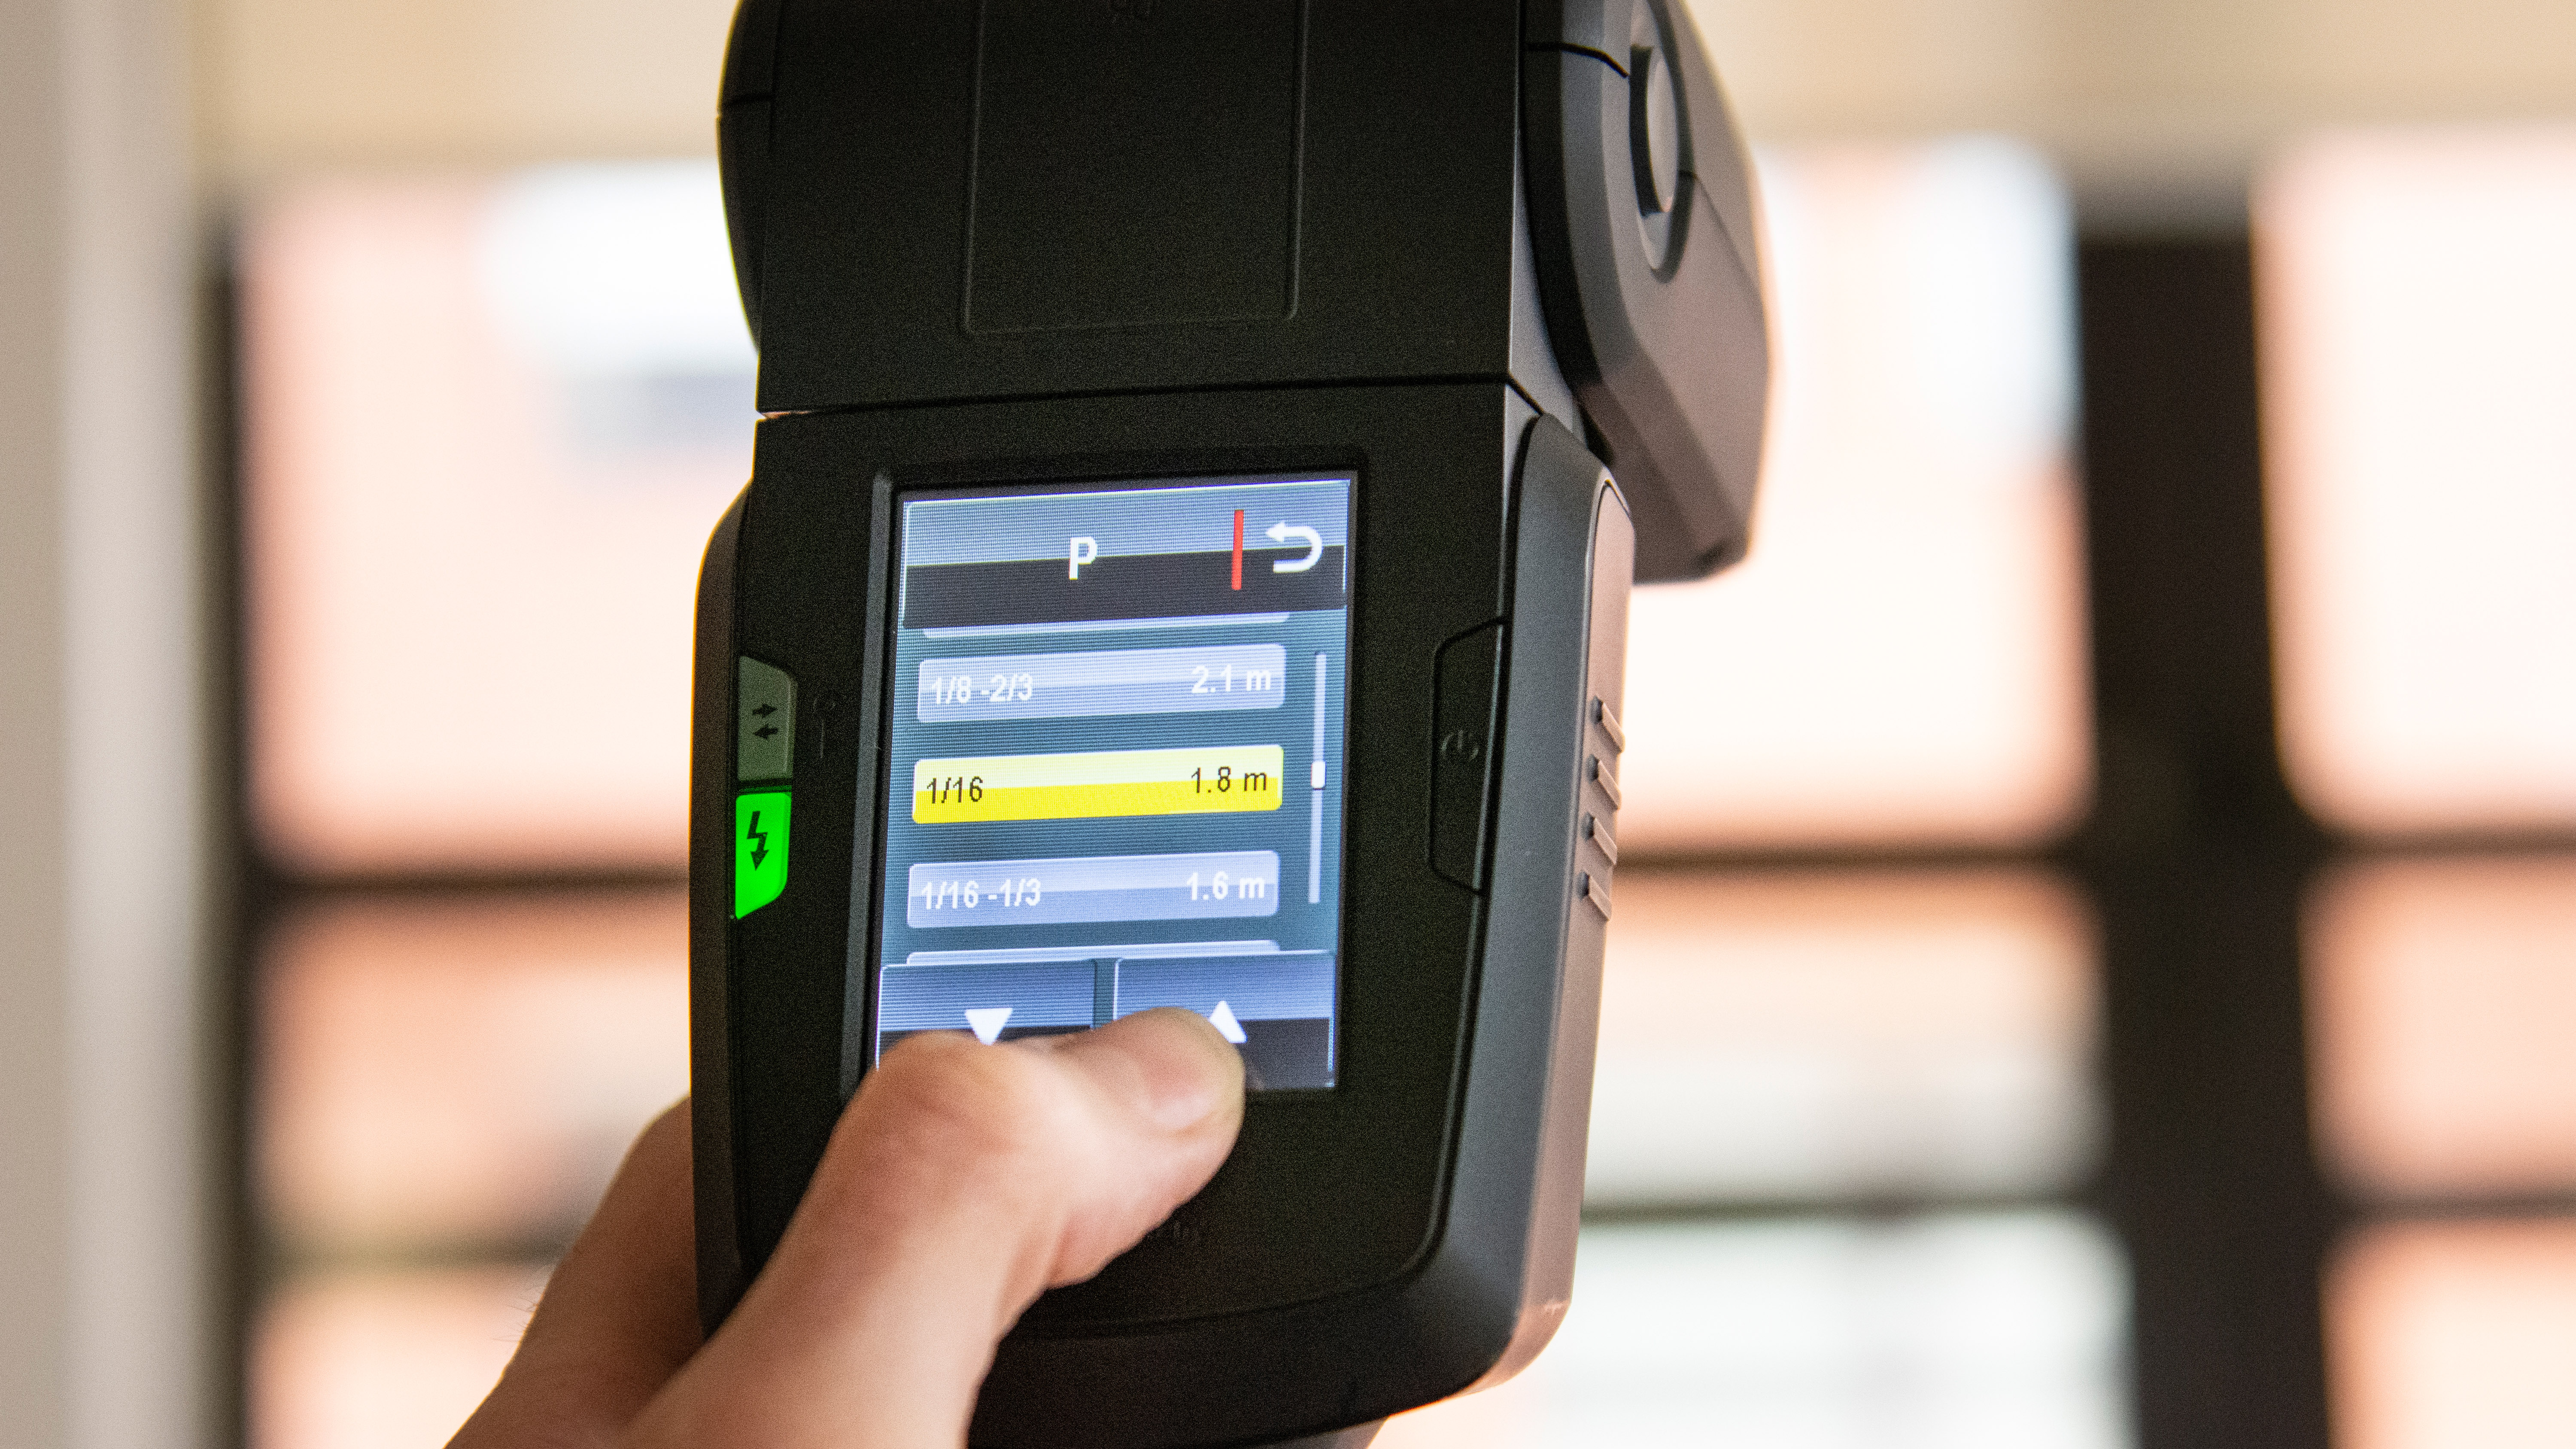
To further darken the environment, increase the flash output and adjust camera settings to match. This will overpower ambient illumination even more, to help with the seamless background effect.
Focus the light
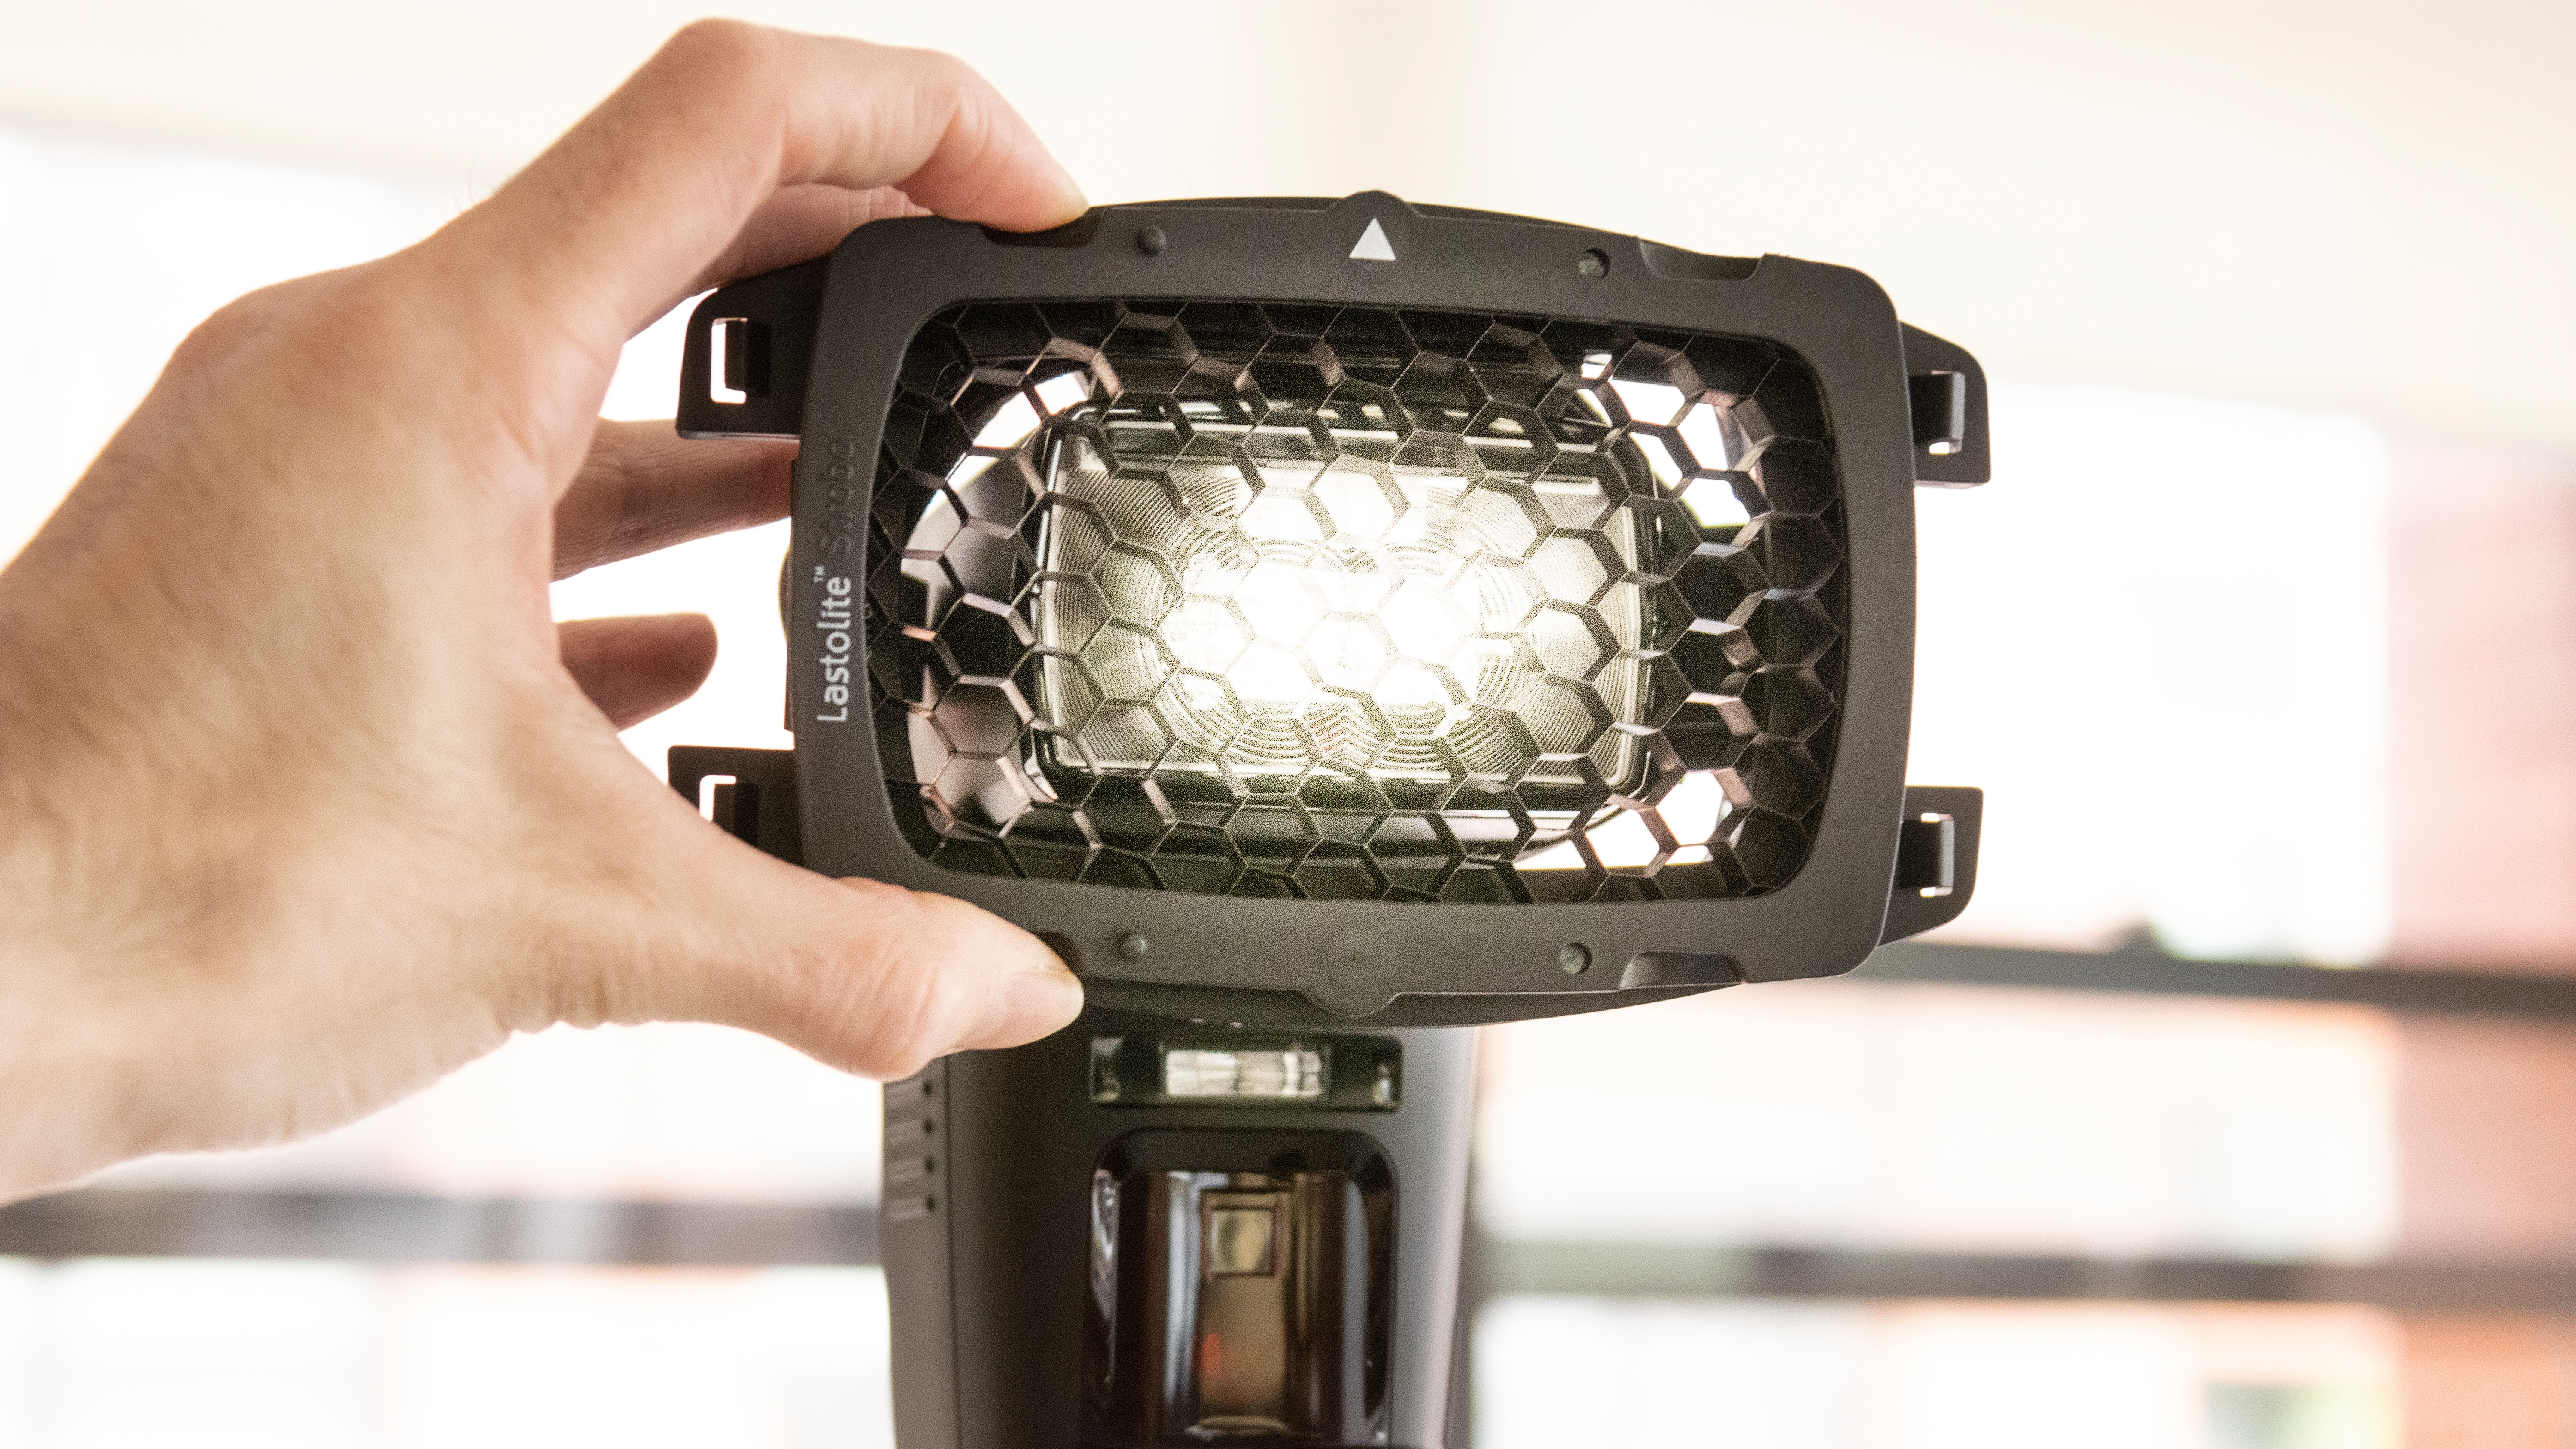
To reduce light spill further, consider adding a small flash snoot or honeycomb grid to your speedlight. This 9mm model fitted directly to the flash head to create an even more focussed light.
Adjust WB
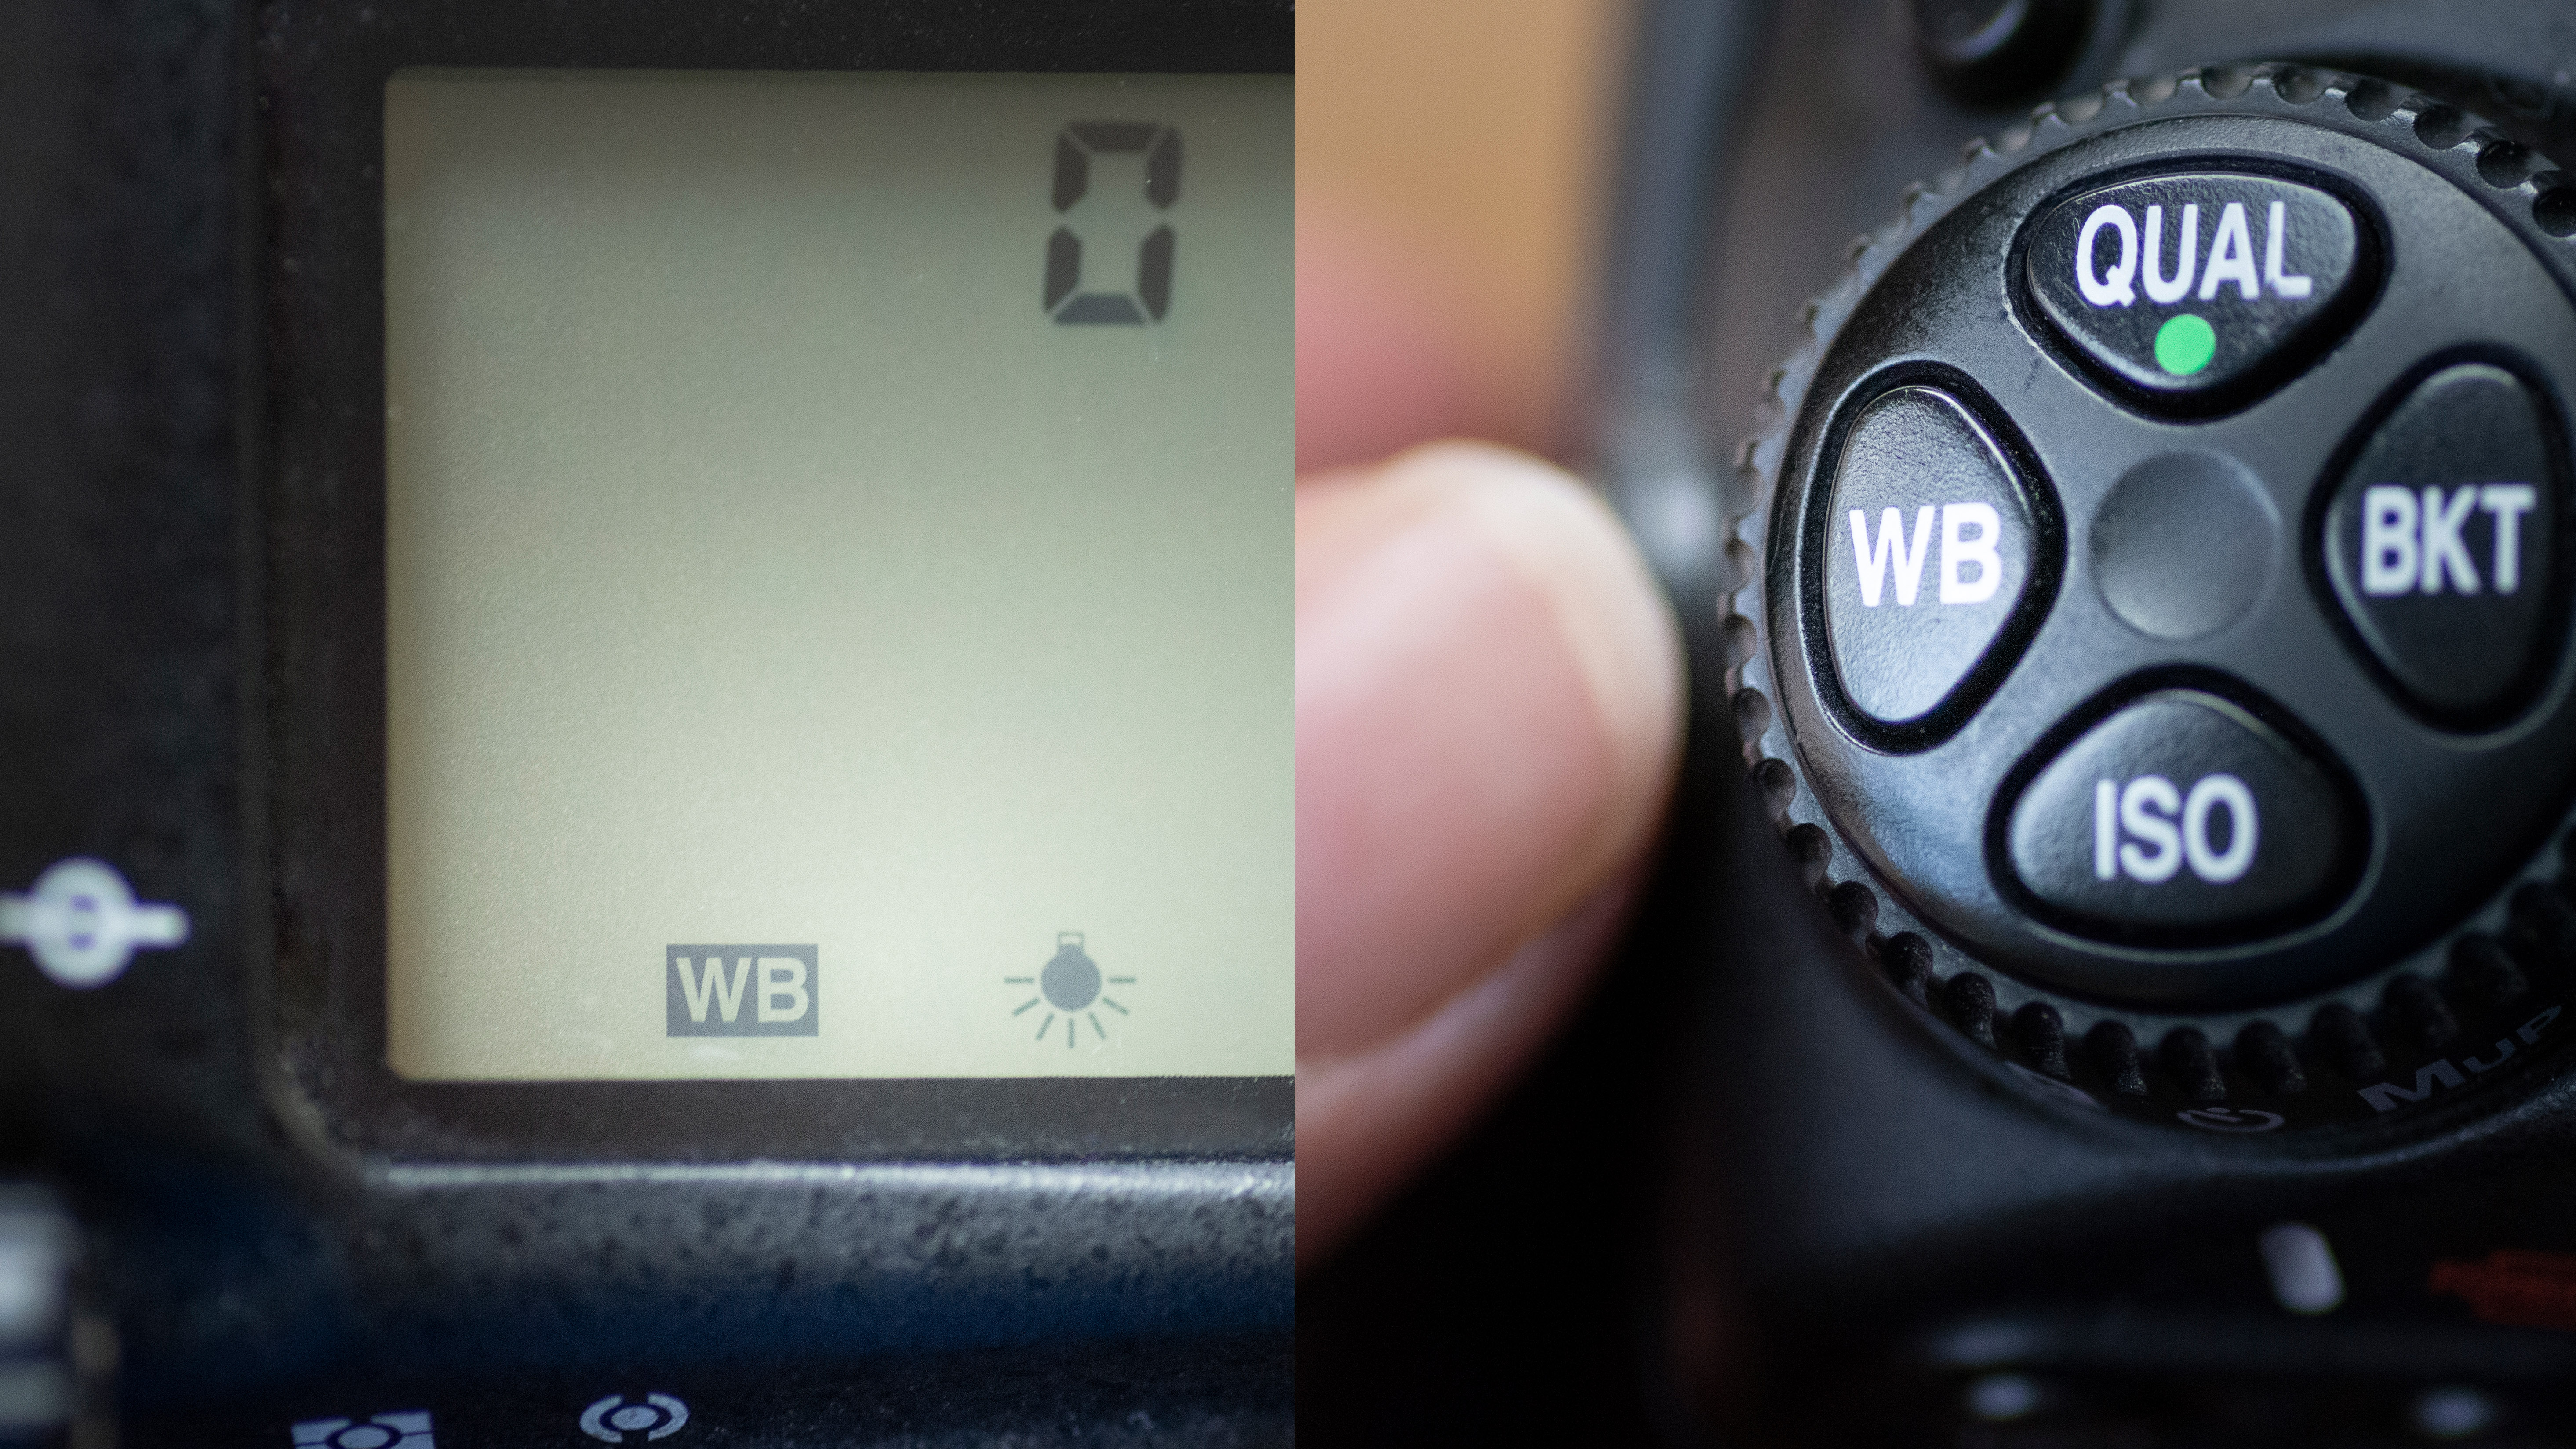
Many home settings feature light bulbs with a low Kelvin setting, creating a warm cast. Use a Tungsten White Balance preset or make a custom setting for a more neutral, studio-like colour palette.
Adjust zoom
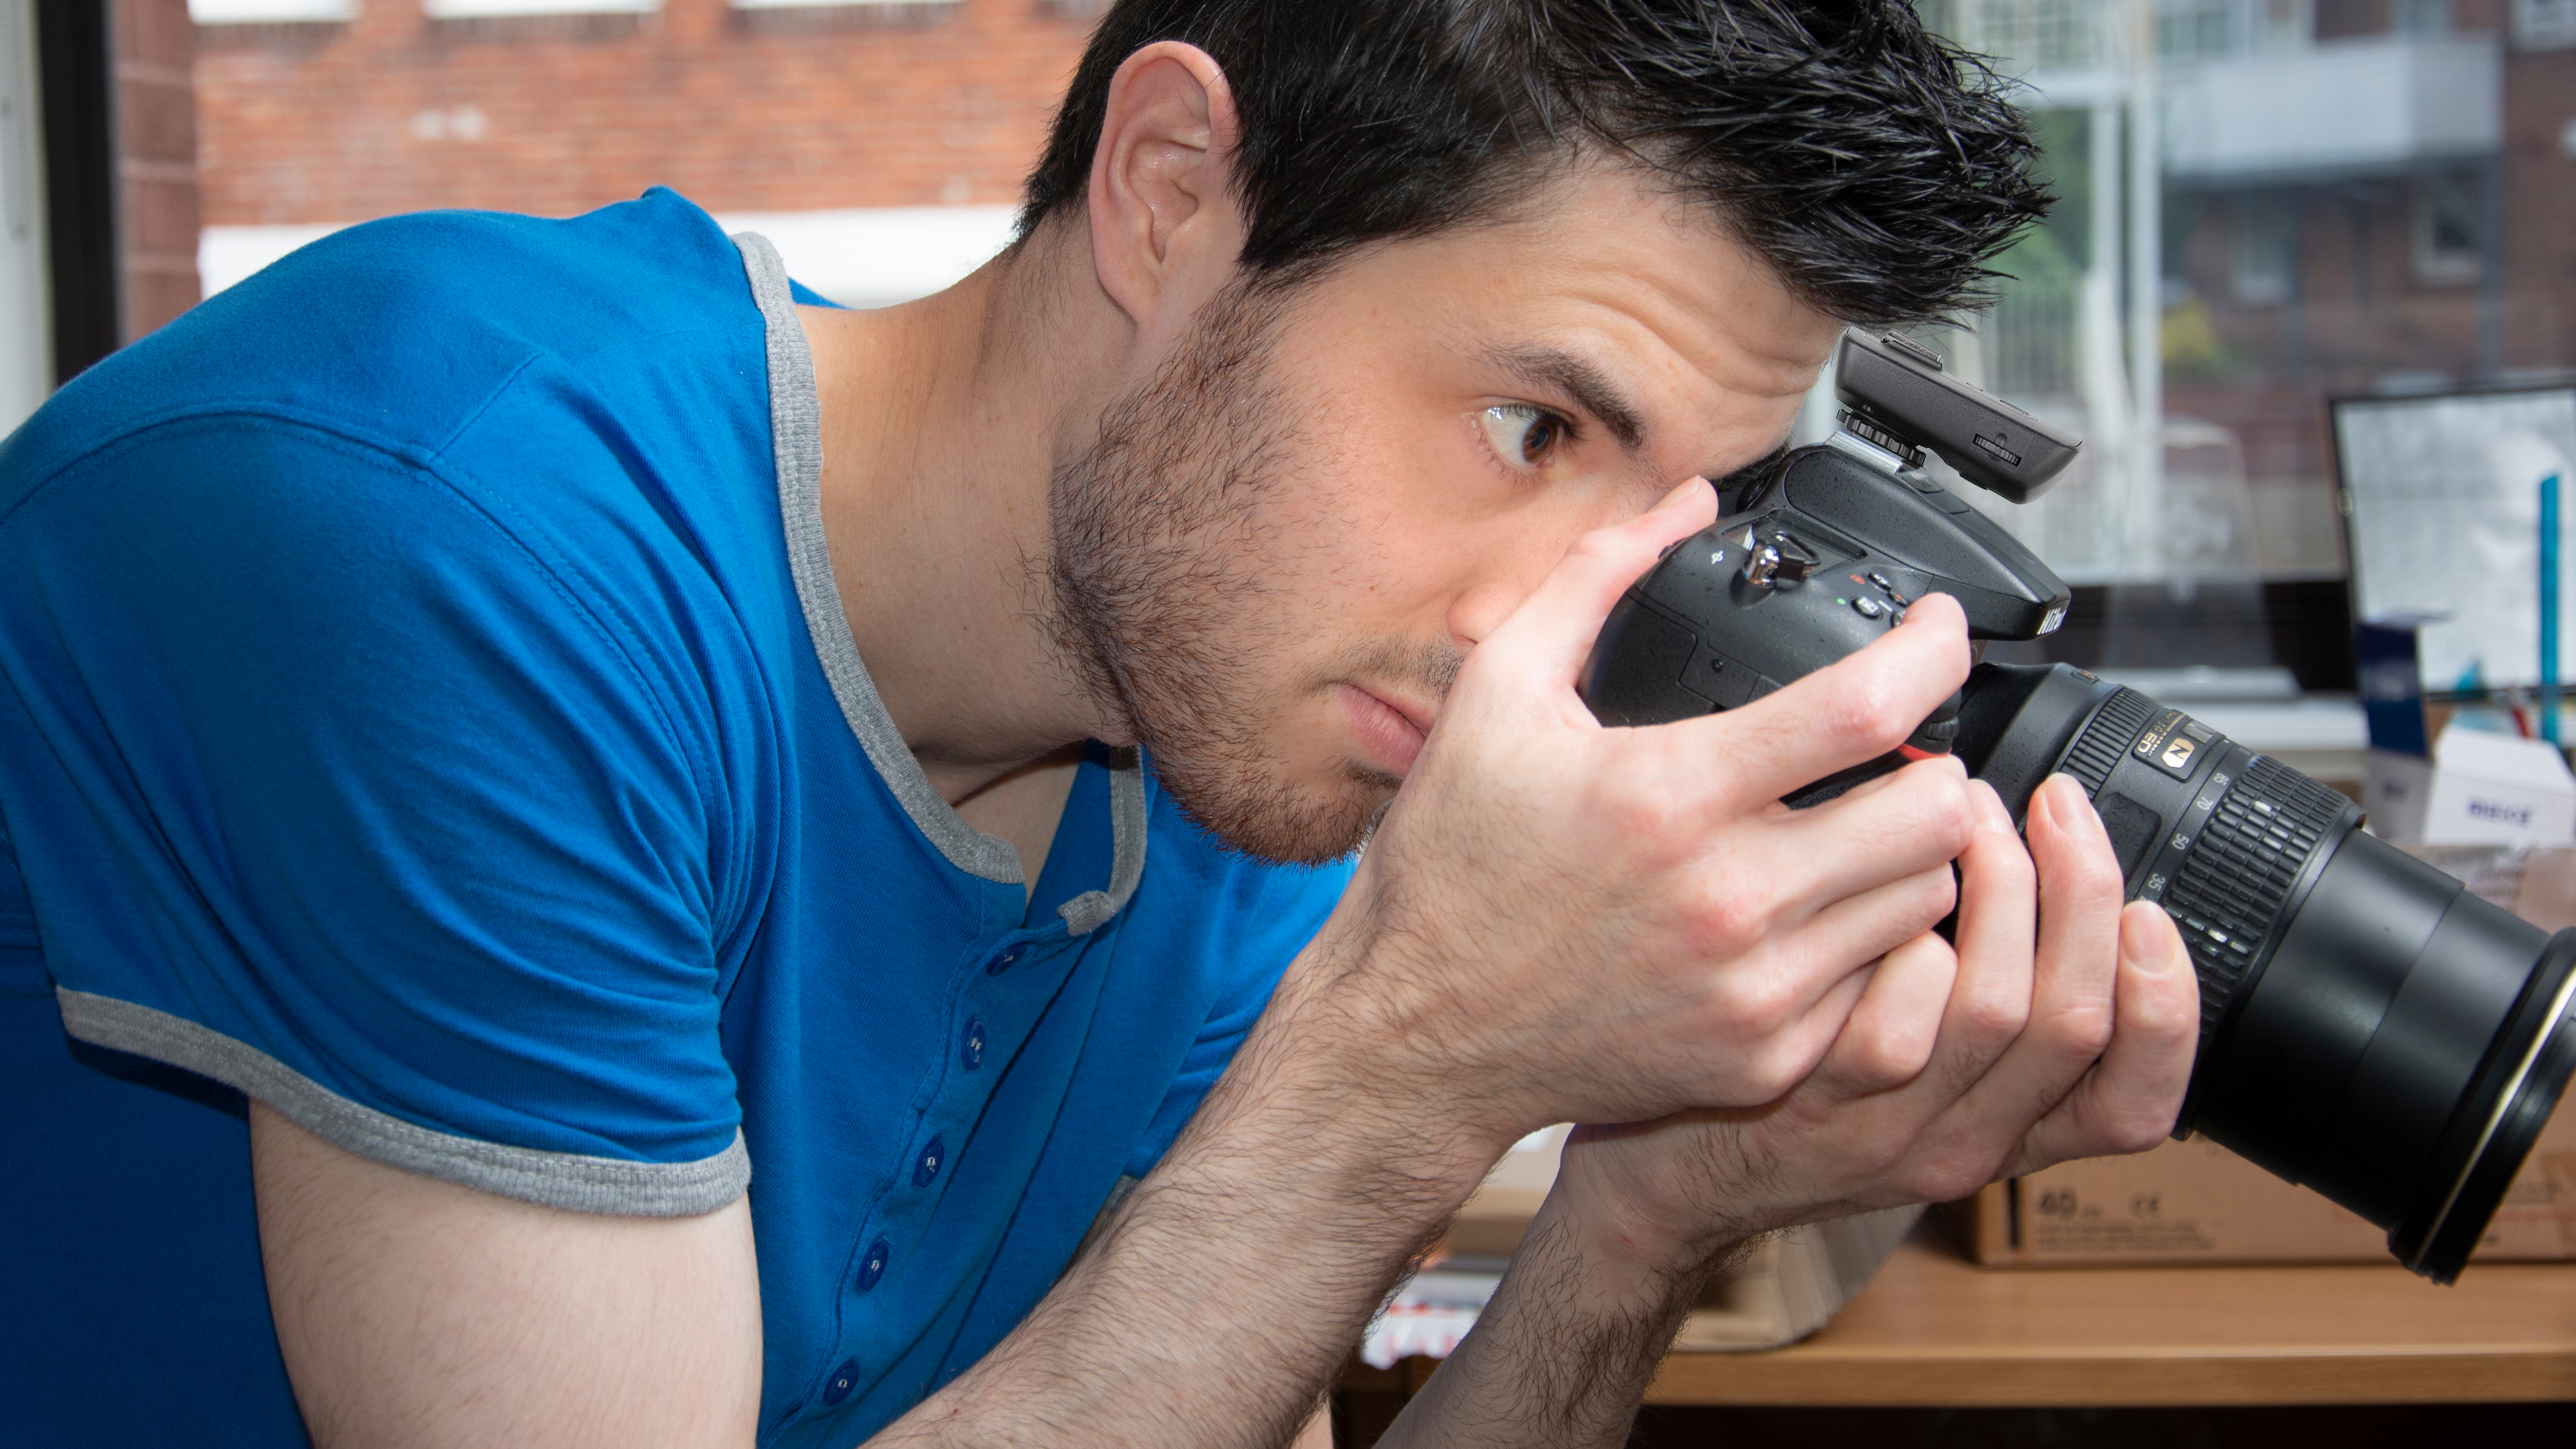
Zoom to exclude edge detail and fill the frame with your faux black background, limiting context to minimize the need for software object removal. Shoot multiple frames to capture the perfect pose.
Read more
Bounce flash: tips to achieve natural lighting with a flashgun
The best flash diffusers, softboxes and modifiers for your speedlight
215 photography tips, video tutorials and techniques to take photos of anything
Digital Photographer is the ultimate monthly photography magazine for enthusiasts and pros in today’s digital marketplace.
Every issue readers are treated to interviews with leading expert photographers, cutting-edge imagery, practical shooting advice and the very latest high-end digital news and equipment reviews. The team includes seasoned journalists and passionate photographers such as the Editor Peter Fenech, who are well positioned to bring you authoritative reviews and tutorials on cameras, lenses, lighting, gimbals and more.
Whether you’re a part-time amateur or a full-time pro, Digital Photographer aims to challenge, motivate and inspire you to take your best shot and get the most out of your kit, whether you’re a hobbyist or a seasoned shooter.
