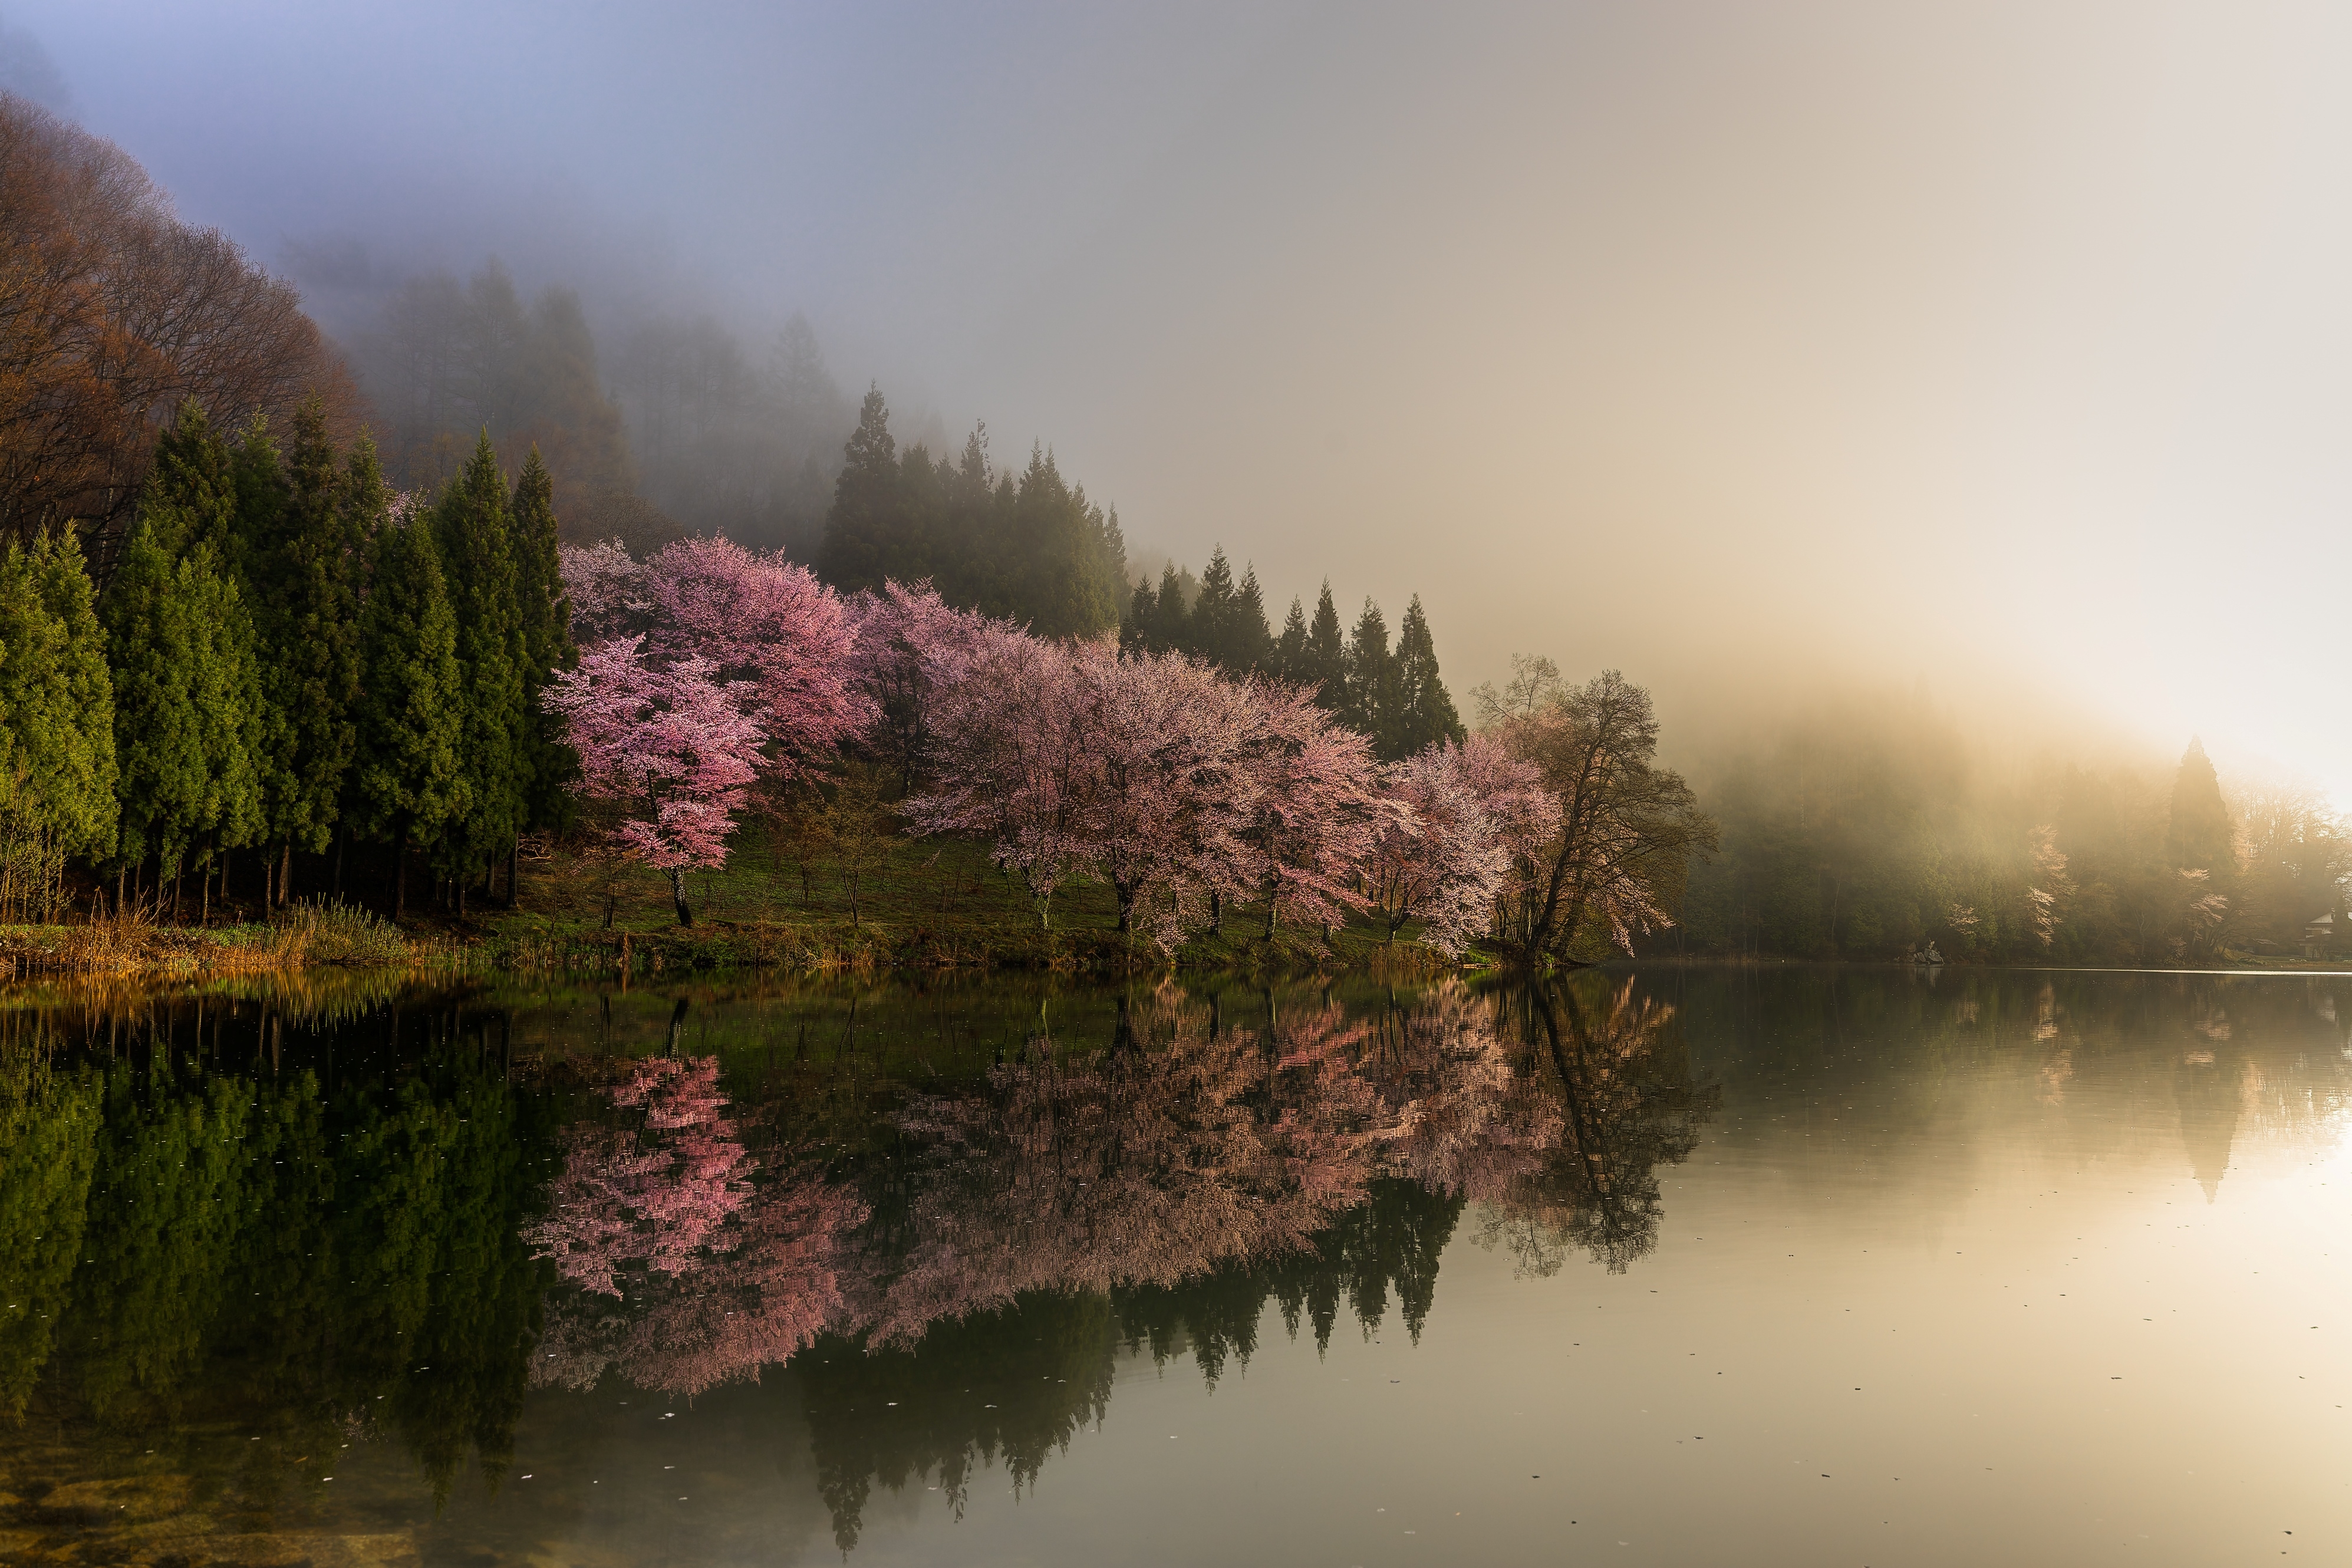
Home photography ideas: Shoot a double exposure in-camera
Shoot double exposures and multiple exposures in-camera, without resorting to editing tricks!
Watch video: Home photography ideas: Shoot a double exposure in-camera
If you’ve used an analogue film camera, you might have experimented with double exposures – or maybe you just got one by accident when you had a roll of film developed at the drug store!
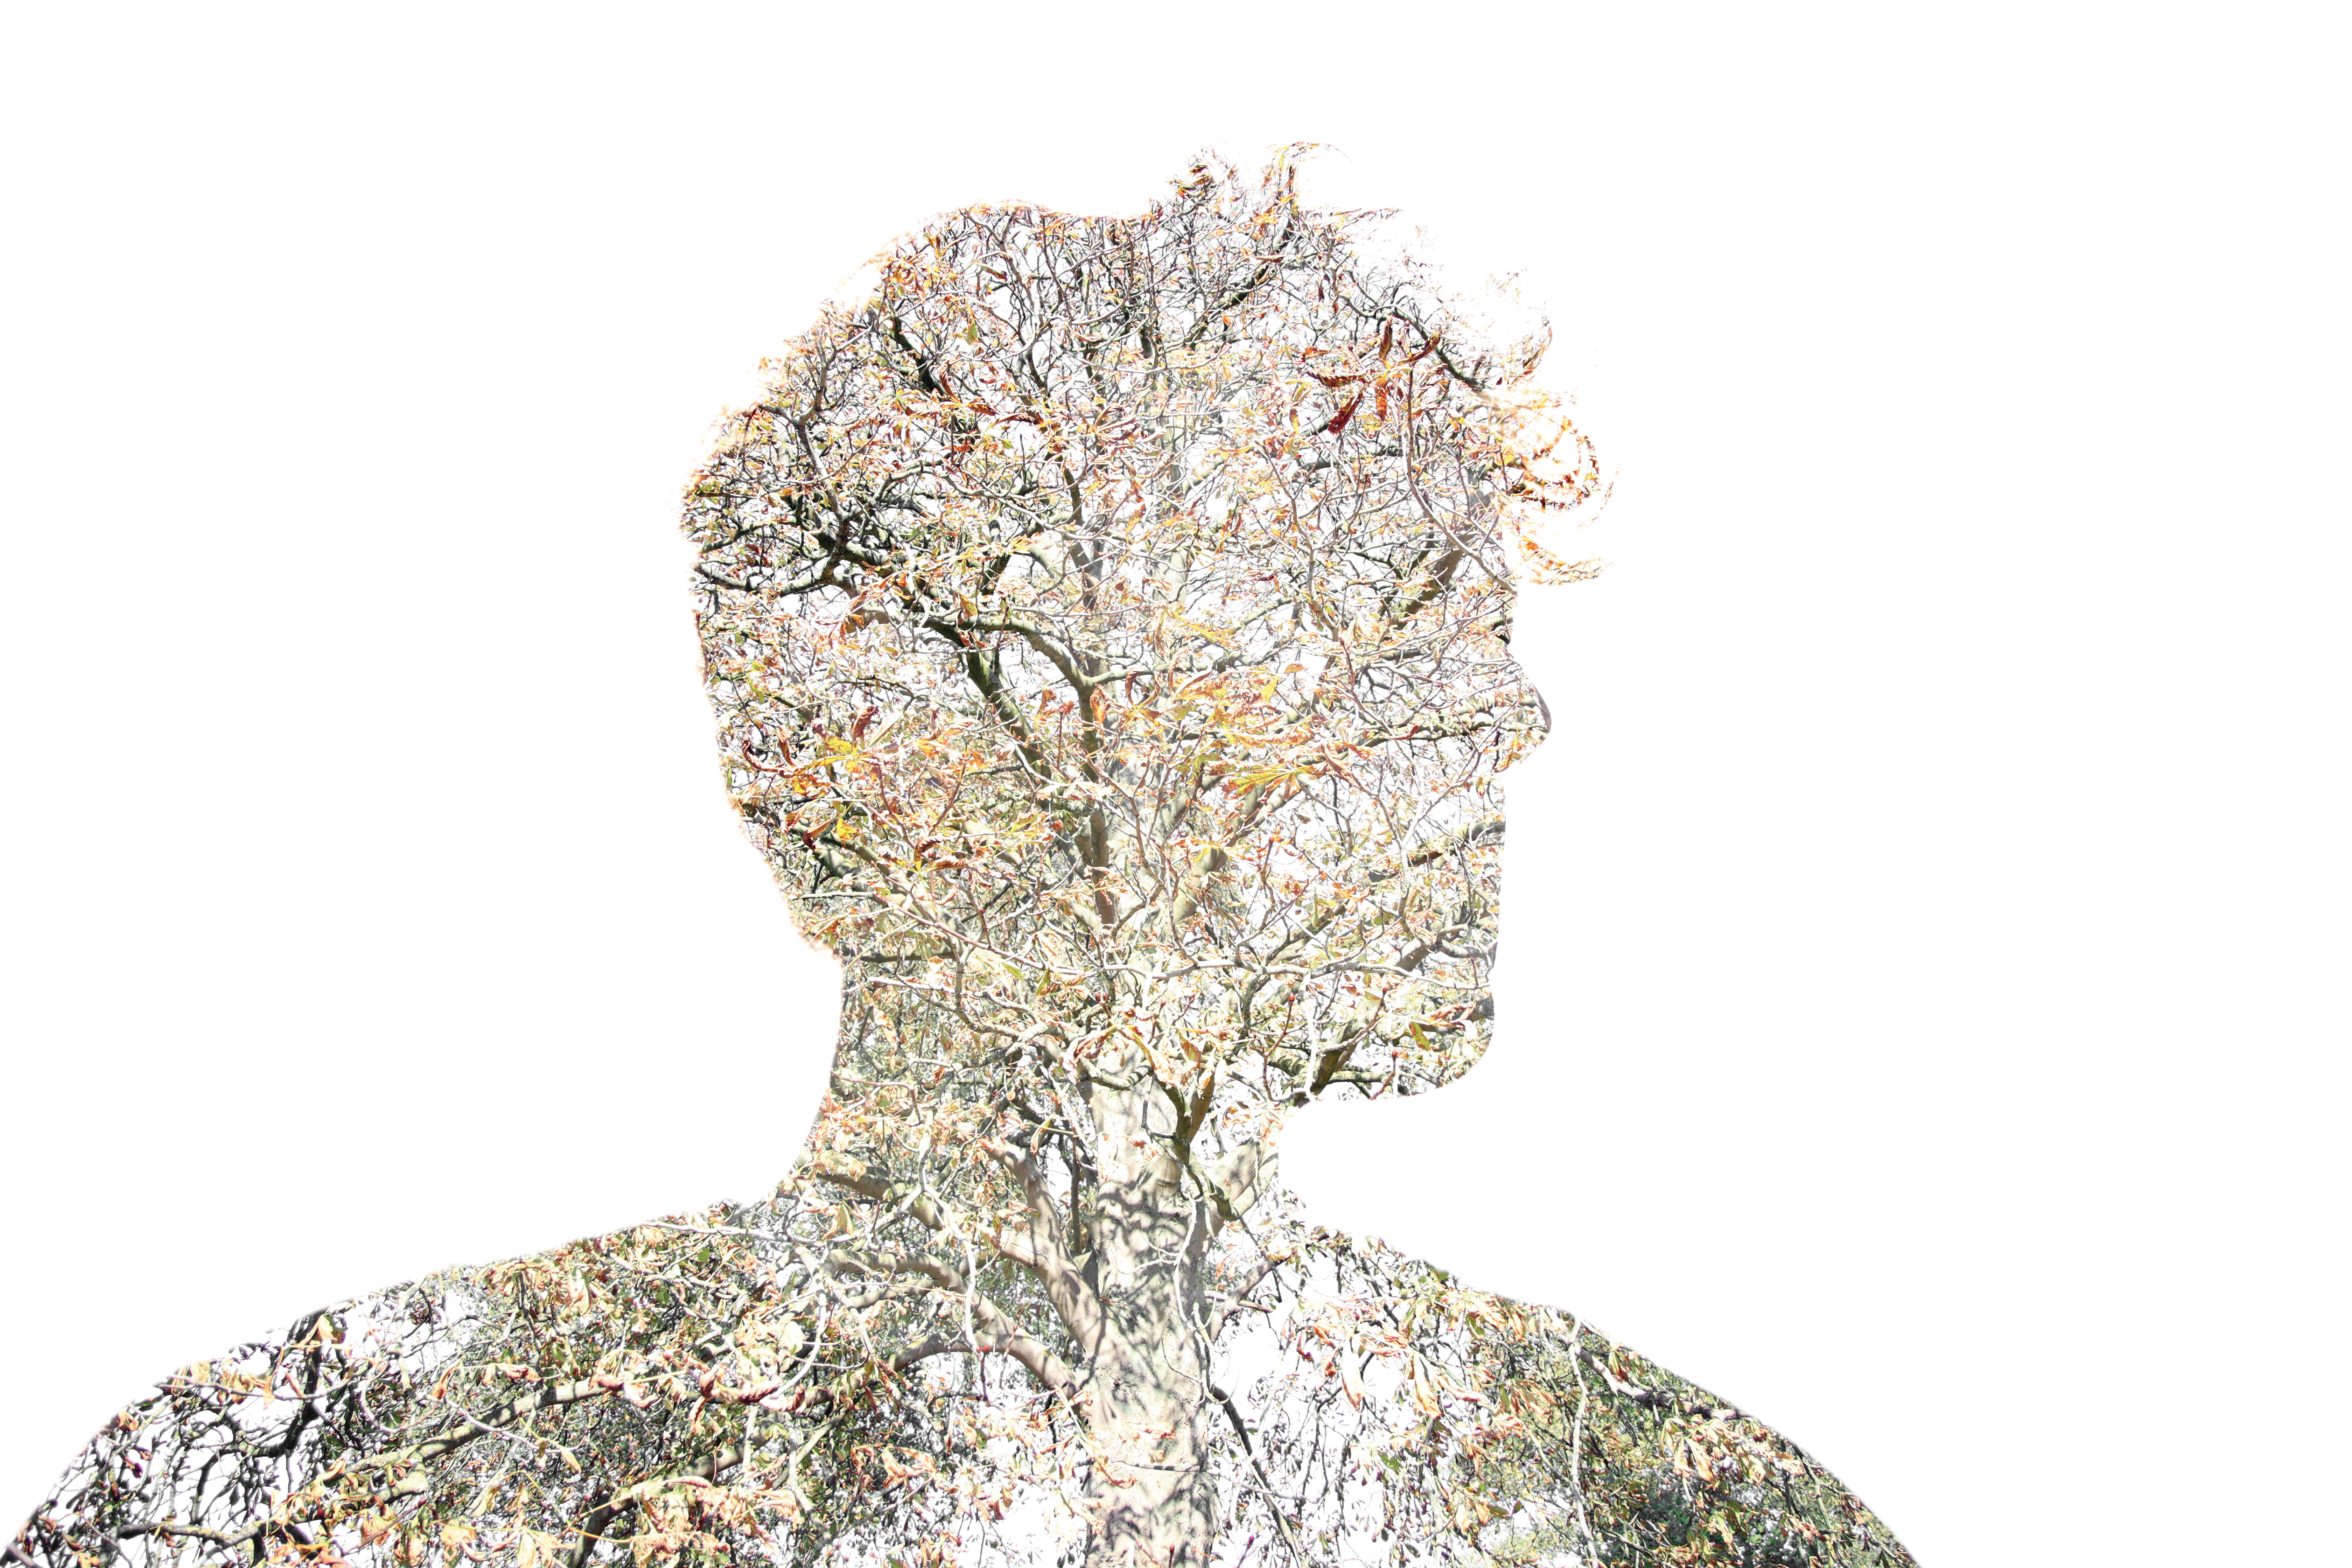
As the name suggests, this technique is achieved when a single slide of film is exposed twice instead of once. This occurs, intentionally or accidentally, when the film is not wound on after taking a shot, resulting in two images being exposed on the same slide.
Shooting double exposures is one of the most creative effects you can achieve on an old film camera, but you can also replicate this on numerous DSLRs and mirrorless cameras. In our video we demonstrate the technique on the Canon EOS R, but the feature is available on other cameras such as the Olympus OM-D E-M5 Mark III, Nikon D850, Fujifilm X-Pro3, Canon EOS 5D Mark IV and many others.
• 10 best online photography courses
• Get more Home photography ideas
Obviously you’re using a memory card instead of a roll of film so, instead of taking two exposures on the same slide, you need to tell your camera that you want to expose two images on top of one another. The best part? You can preview what the final image will look like before you take your second shot, meaning no waiting!
Once you’ve practiced combining two exposures, you can start playing with more complicated multiple exposures. Some cameras only enable you to combine three images, while others let you combine 999, so experiment and see just how creative you can get!
The best camera deals, reviews, product advice, and unmissable photography news, direct to your inbox!
The steps below are tailored to Canon cameras, but they're pretty much the same on other camera systems with the feature. So just dive into your menus and look for the multiple exposure function.
And if you'd like to try creating a double exposure using your existing pictures, without going out to shoot the images 'live', check out our video tutorials on how to create a double exposure in Photoshop Elements and how to create a double exposure in Affinity.
01 Enable multiple exposures
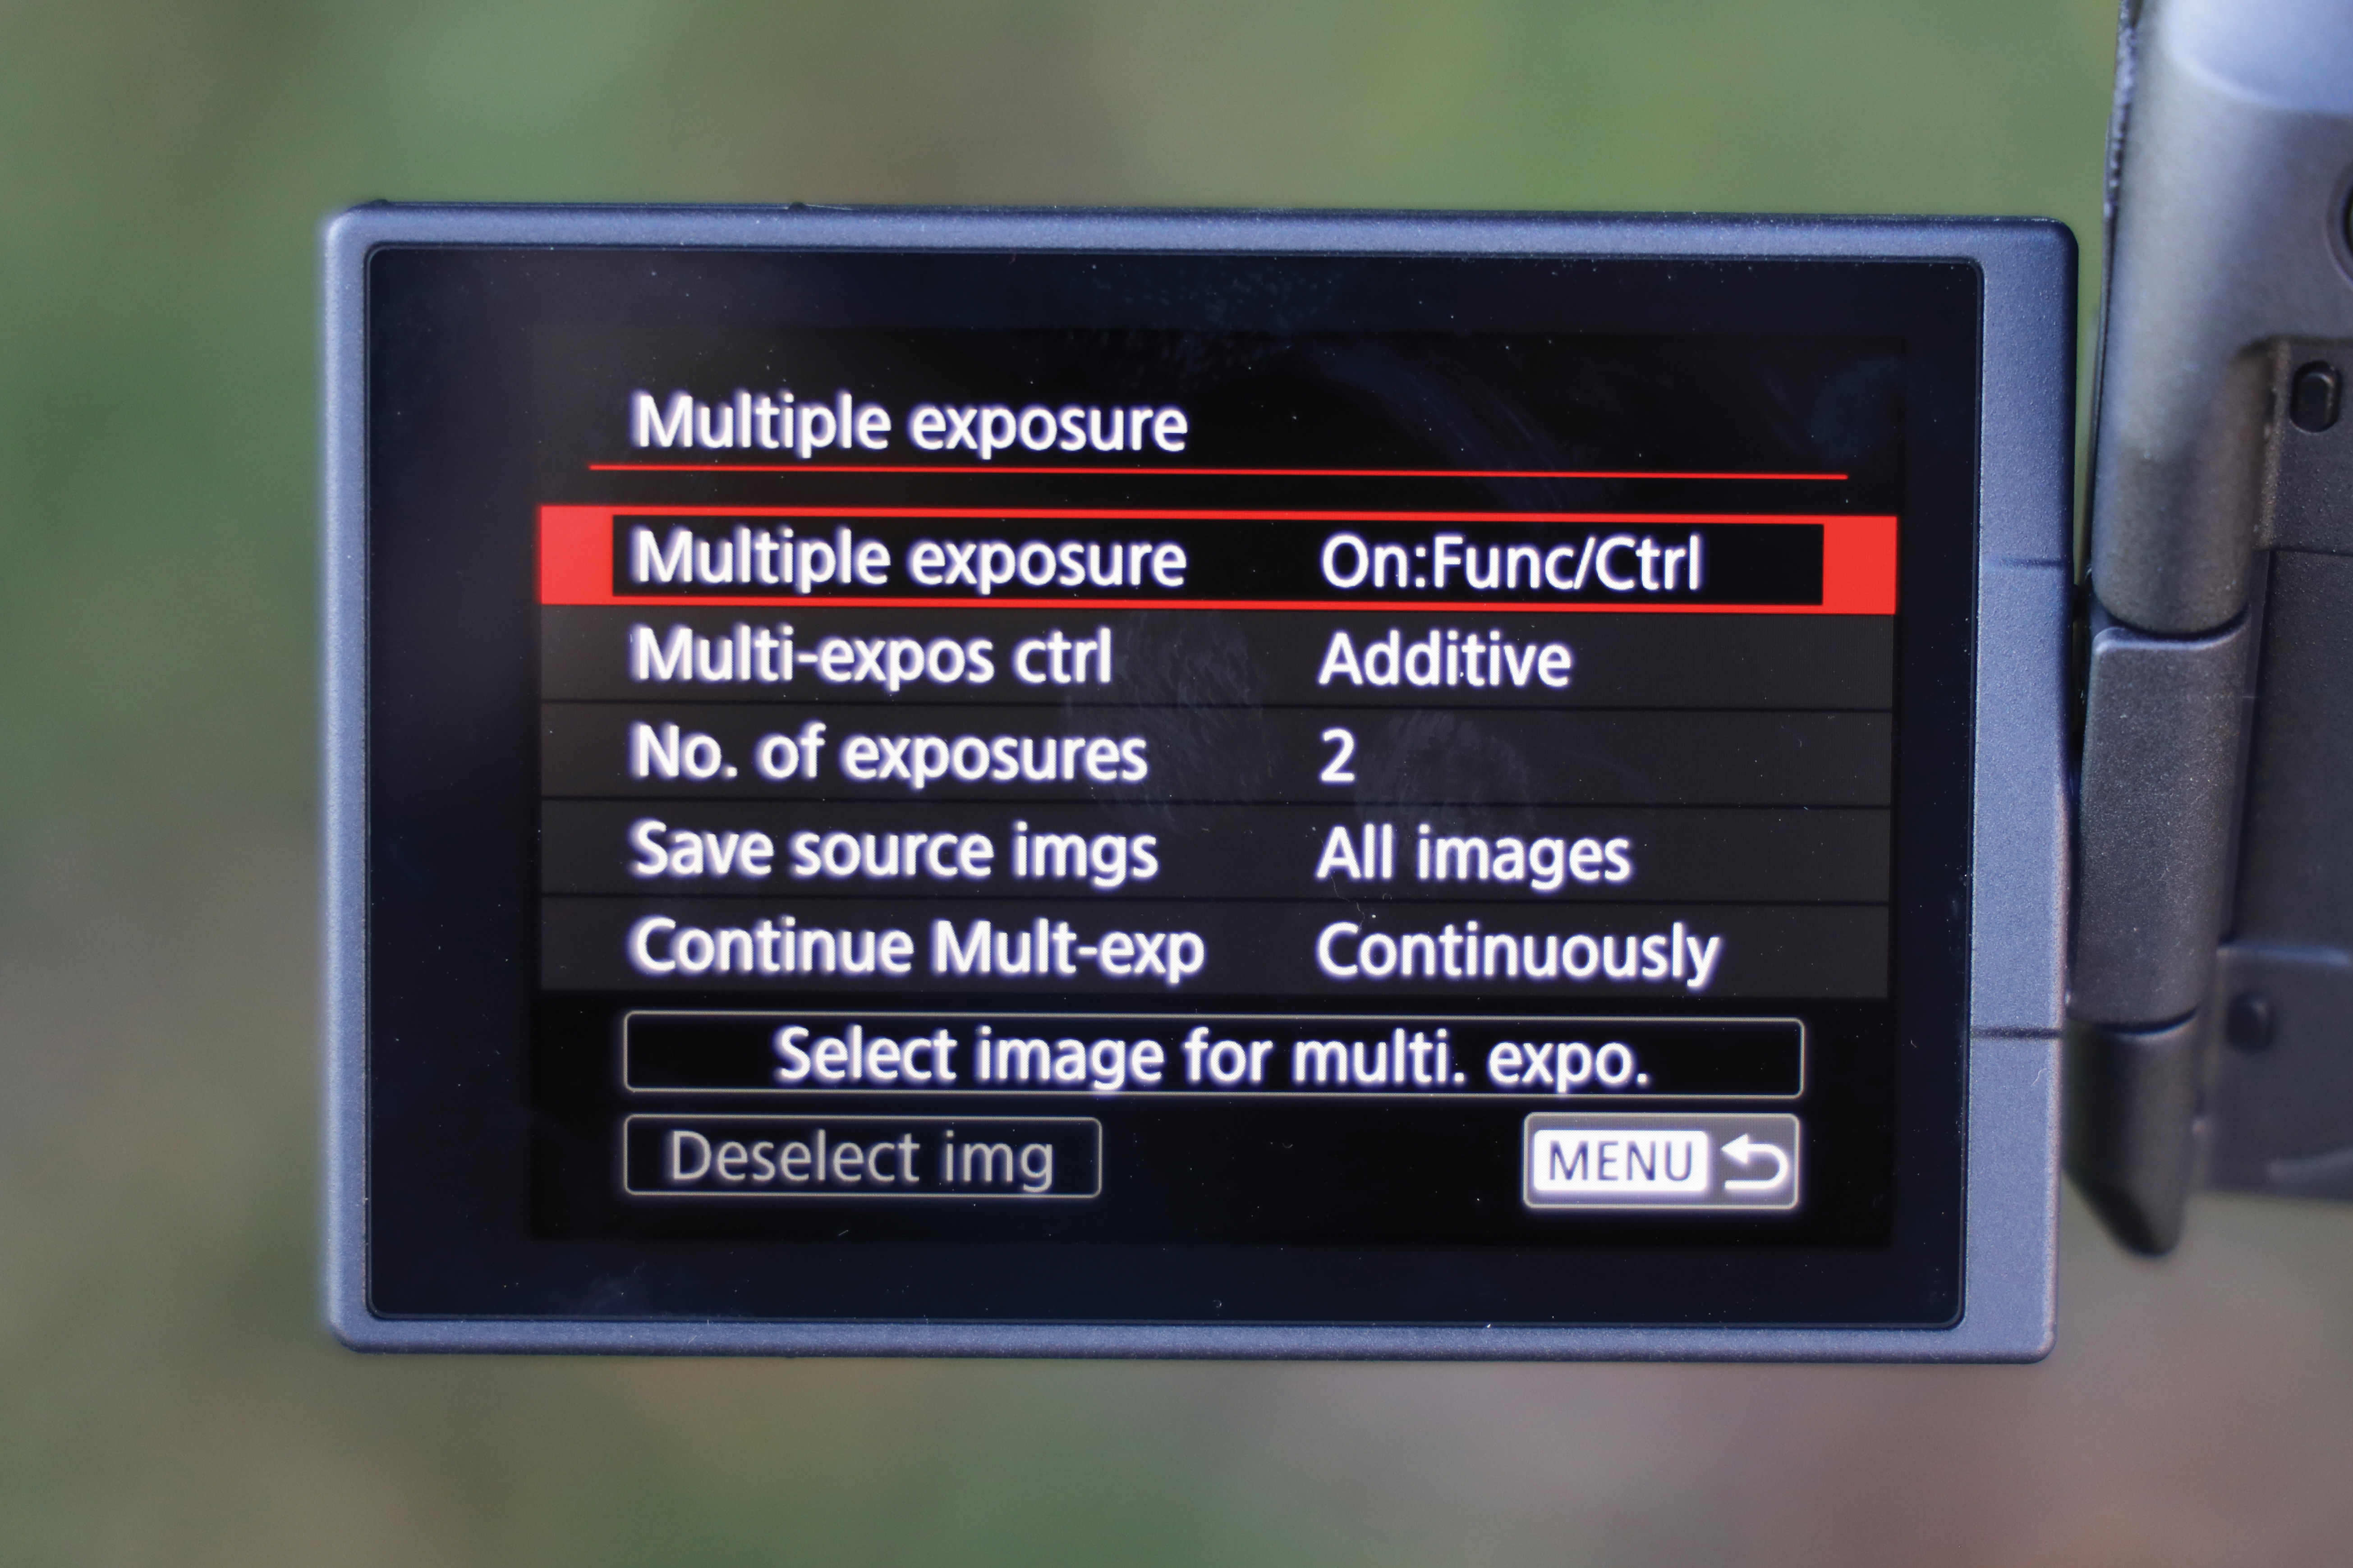
The first step is to go into the shooting menus and head to the ‘Multiple exposure’ option. By default it will be set to Disabled, so go into the submenu and turn it on – for this specific project, we want to enable the first option, ‘On:Func/Ctrl’.
02 Dial in the settings
In the ‘Multi-expos ctrl’ panel select the Additive setting, as it mimics the behavior of film cameras. Keep the ‘No. of exposures’ setting to 2, make sure that ‘Save source imgs’ is set to All images, and that Continue Mult-exp is set to Continuously.
03 Take your first exposure
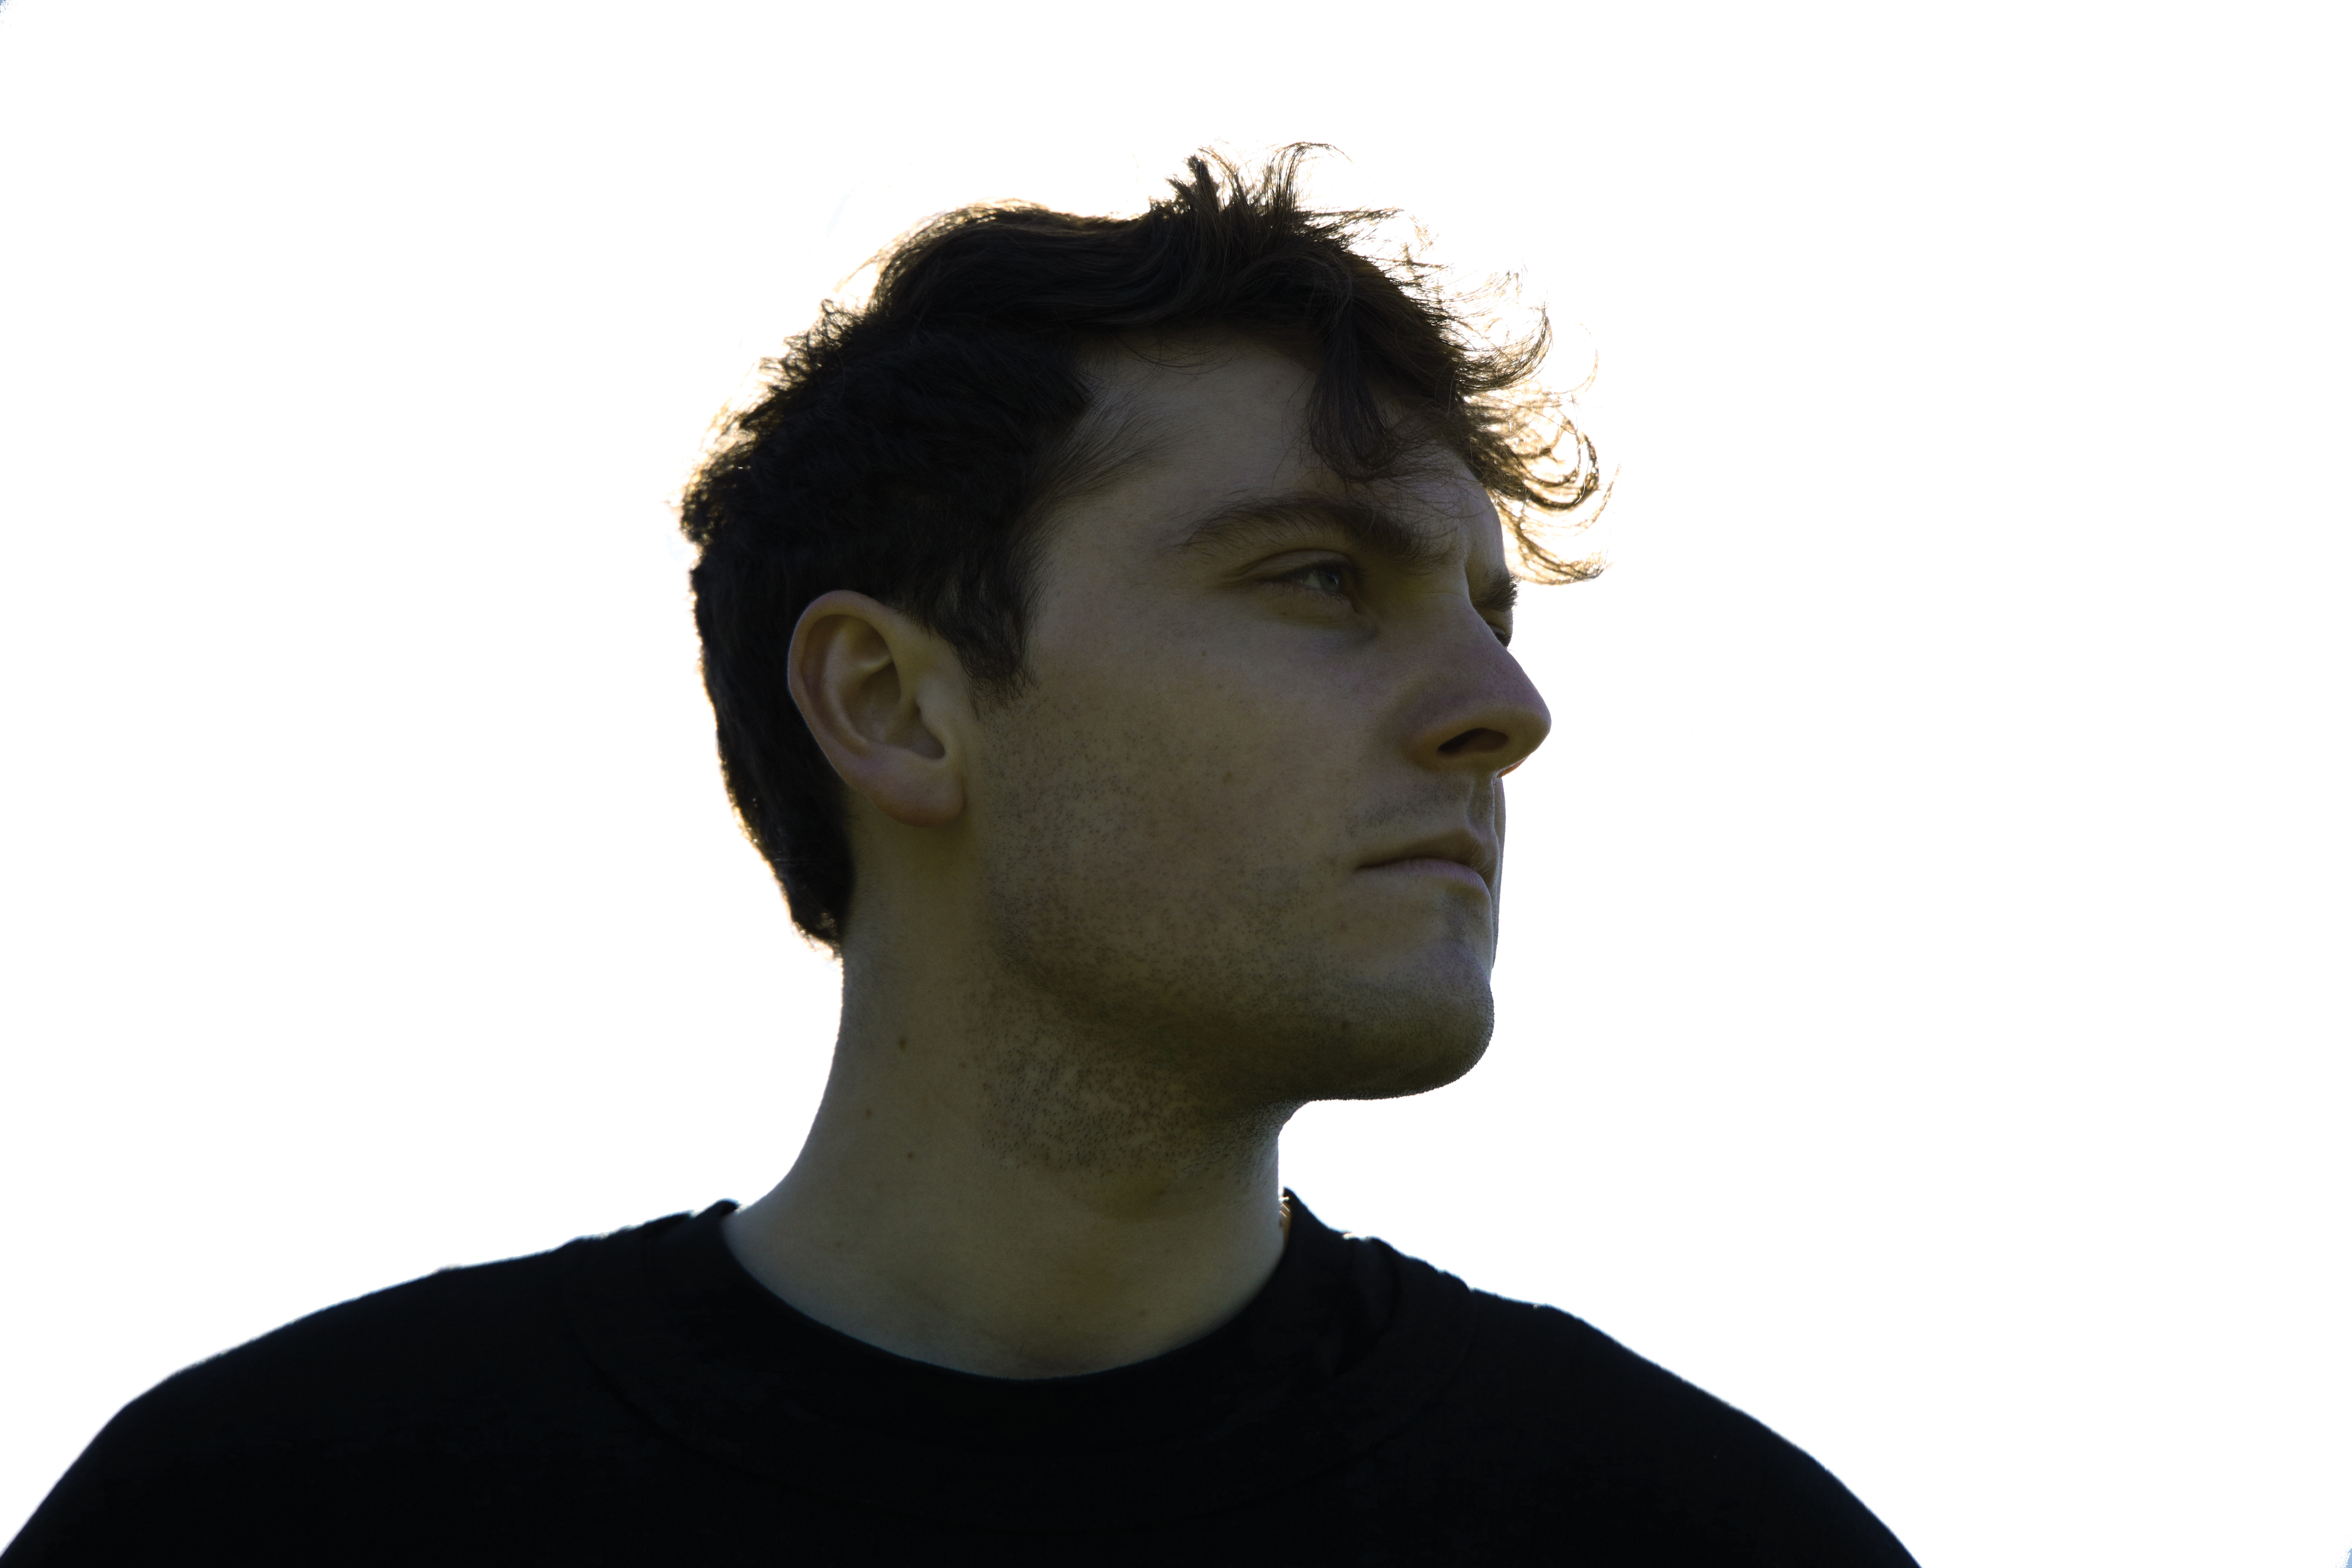
Now it’s time to start shooting! For best results taking double exposures, you ideally want your first frame to be a near silhouette. This works best with a building or a person harshly exposed against the sky, to get a dark area against a white backdrop.
04 Now take your second exposure

When you take your first frame, the camera overlays a “ghost” image of it on the LCD in Live View. This previews what your finished double exposure will look like, so use it to compose your second frame. Once you’re done, the camera will merge both images into a single file.
05 Multiple mono
If you want your double exposures to be in black-and-white, you can achieve this in-camera as well – there’s no need to do any of this process in Photoshop! Just change your shooting mode to monochrome before starting the process; this will take all your exposures in black-and-white (or, indeed, any other picture style or art mode you choose) and merge them into a nice contrasty mono image.
06 Got an existing shot? Use it!
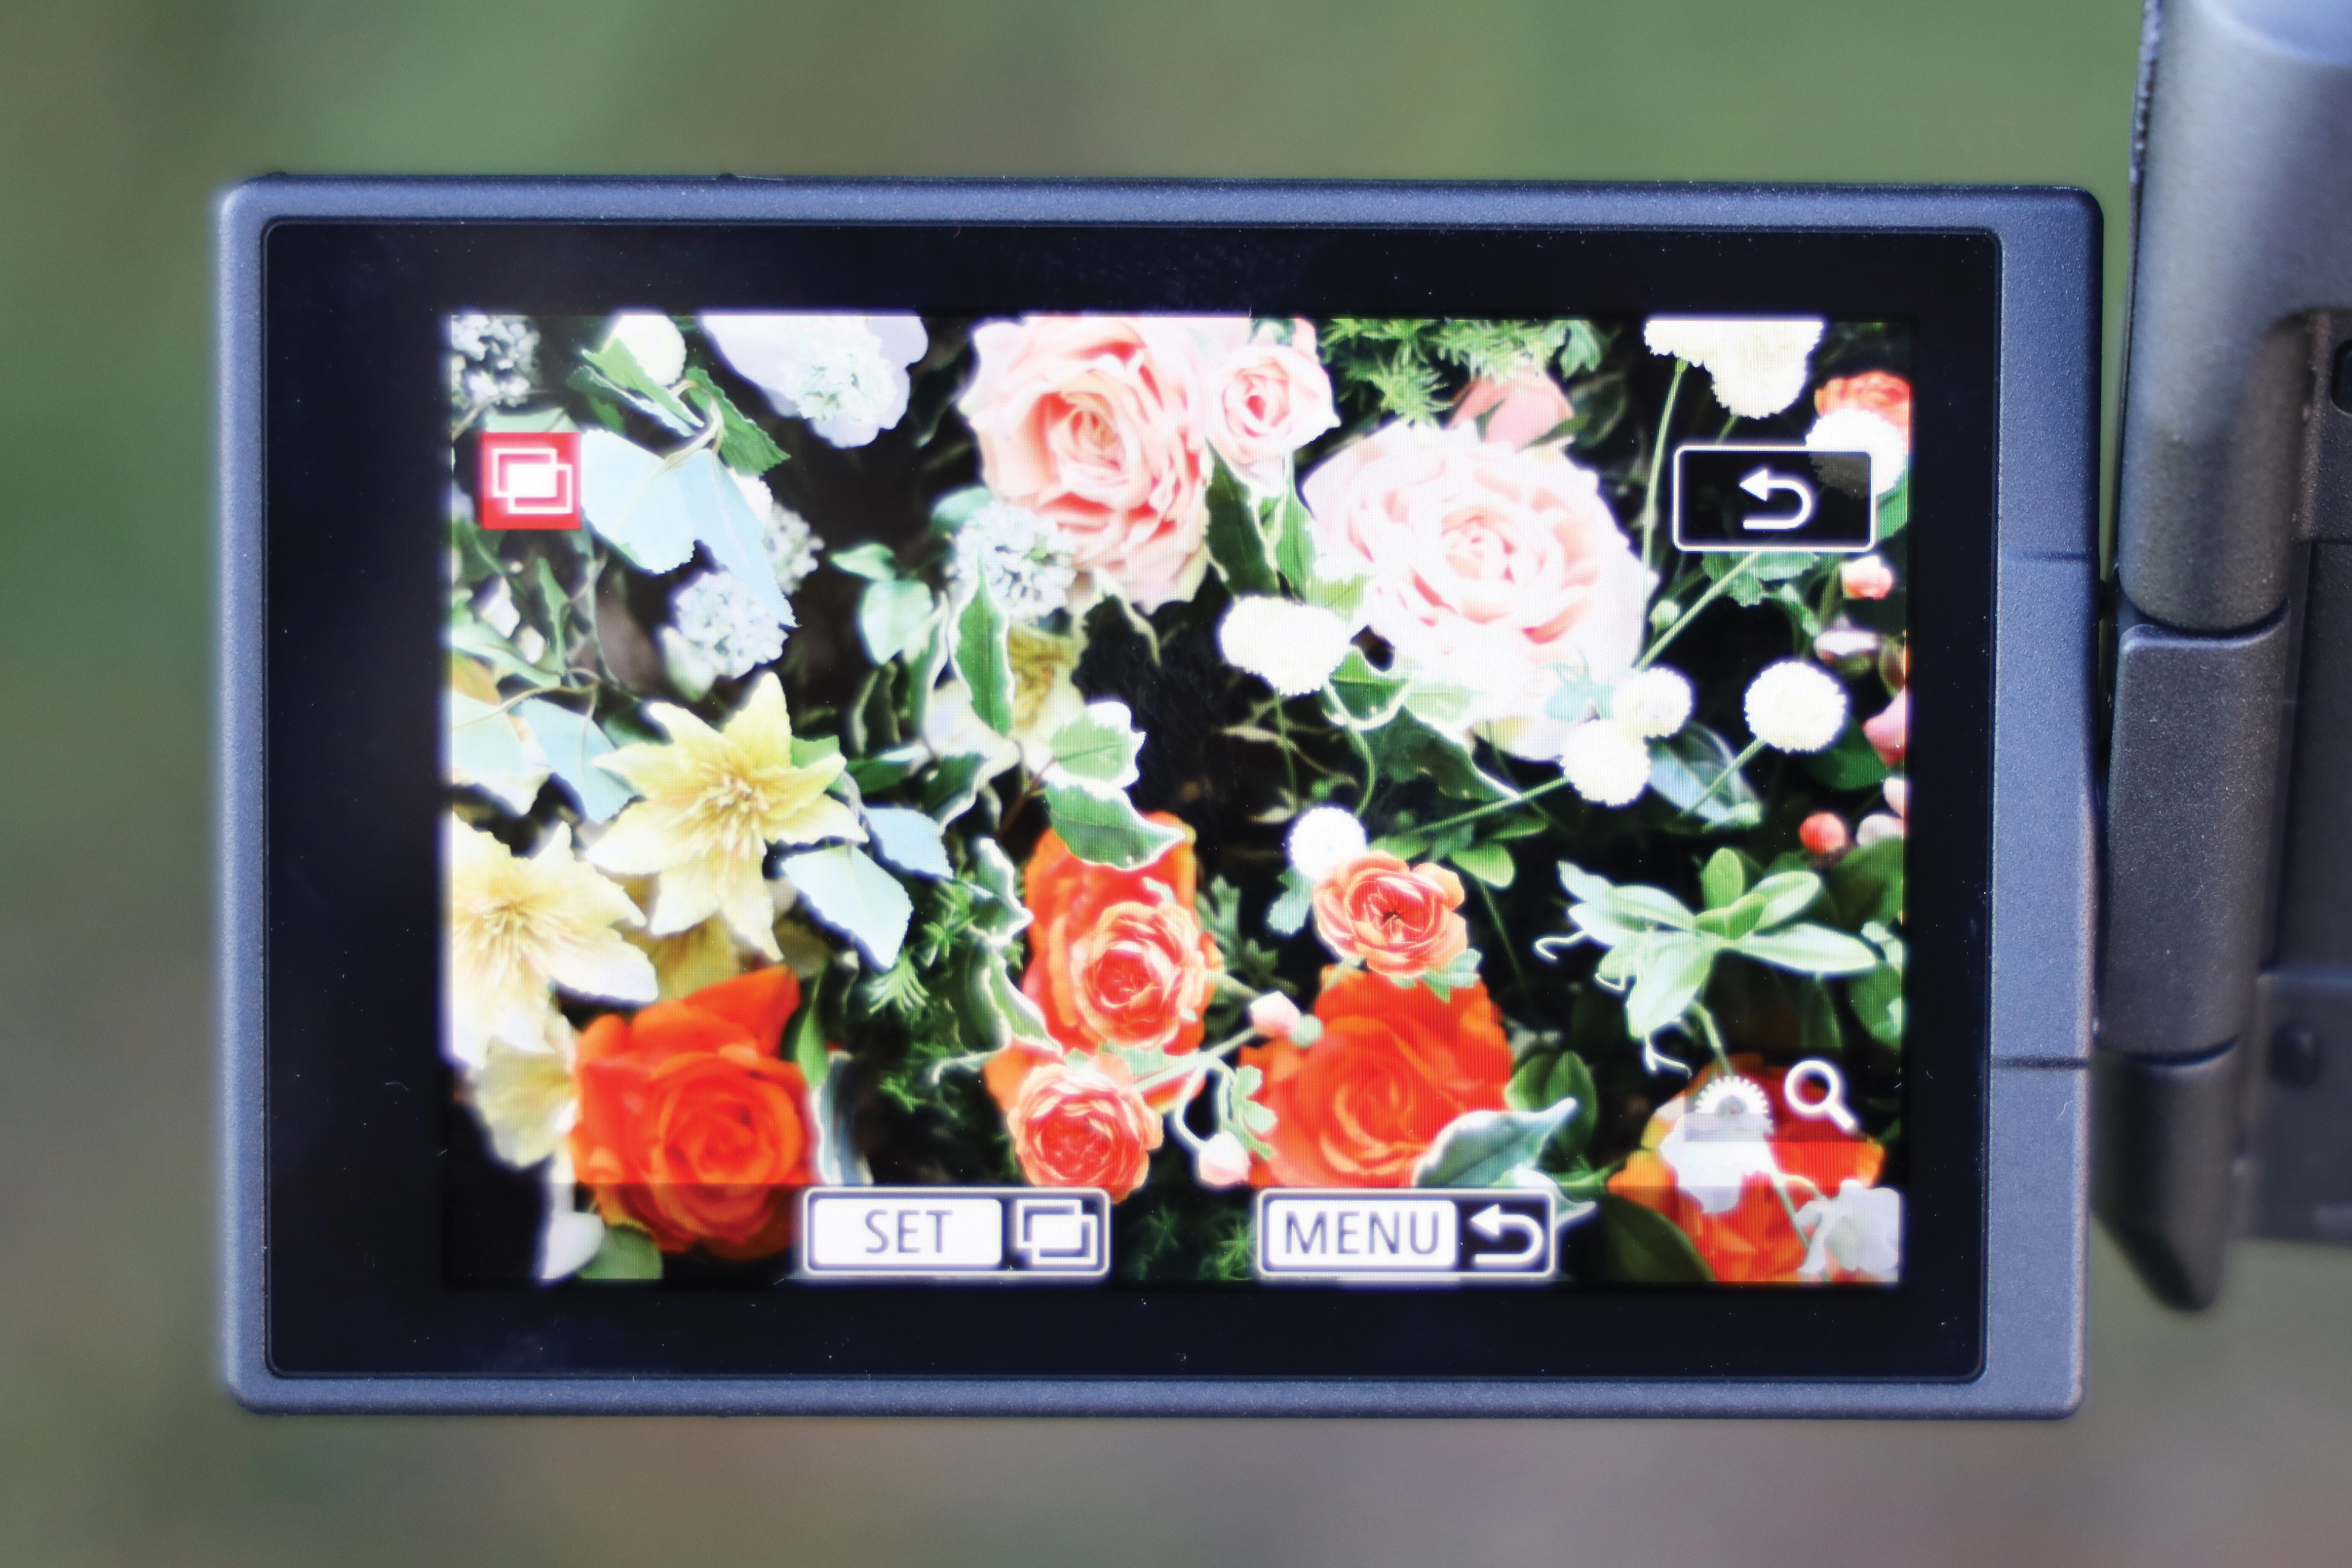
You might already have a perfect image on your card that would make a great double exposure. The reason we set ‘Save source imgs’ to all in the setup was so that each of your individual frames will be saved, not just your merged double exposures. So if you've got a shot from an earlier double exposure attempt, or just a RAW image on a card from a previous shoot that you'd like to play with, you can!
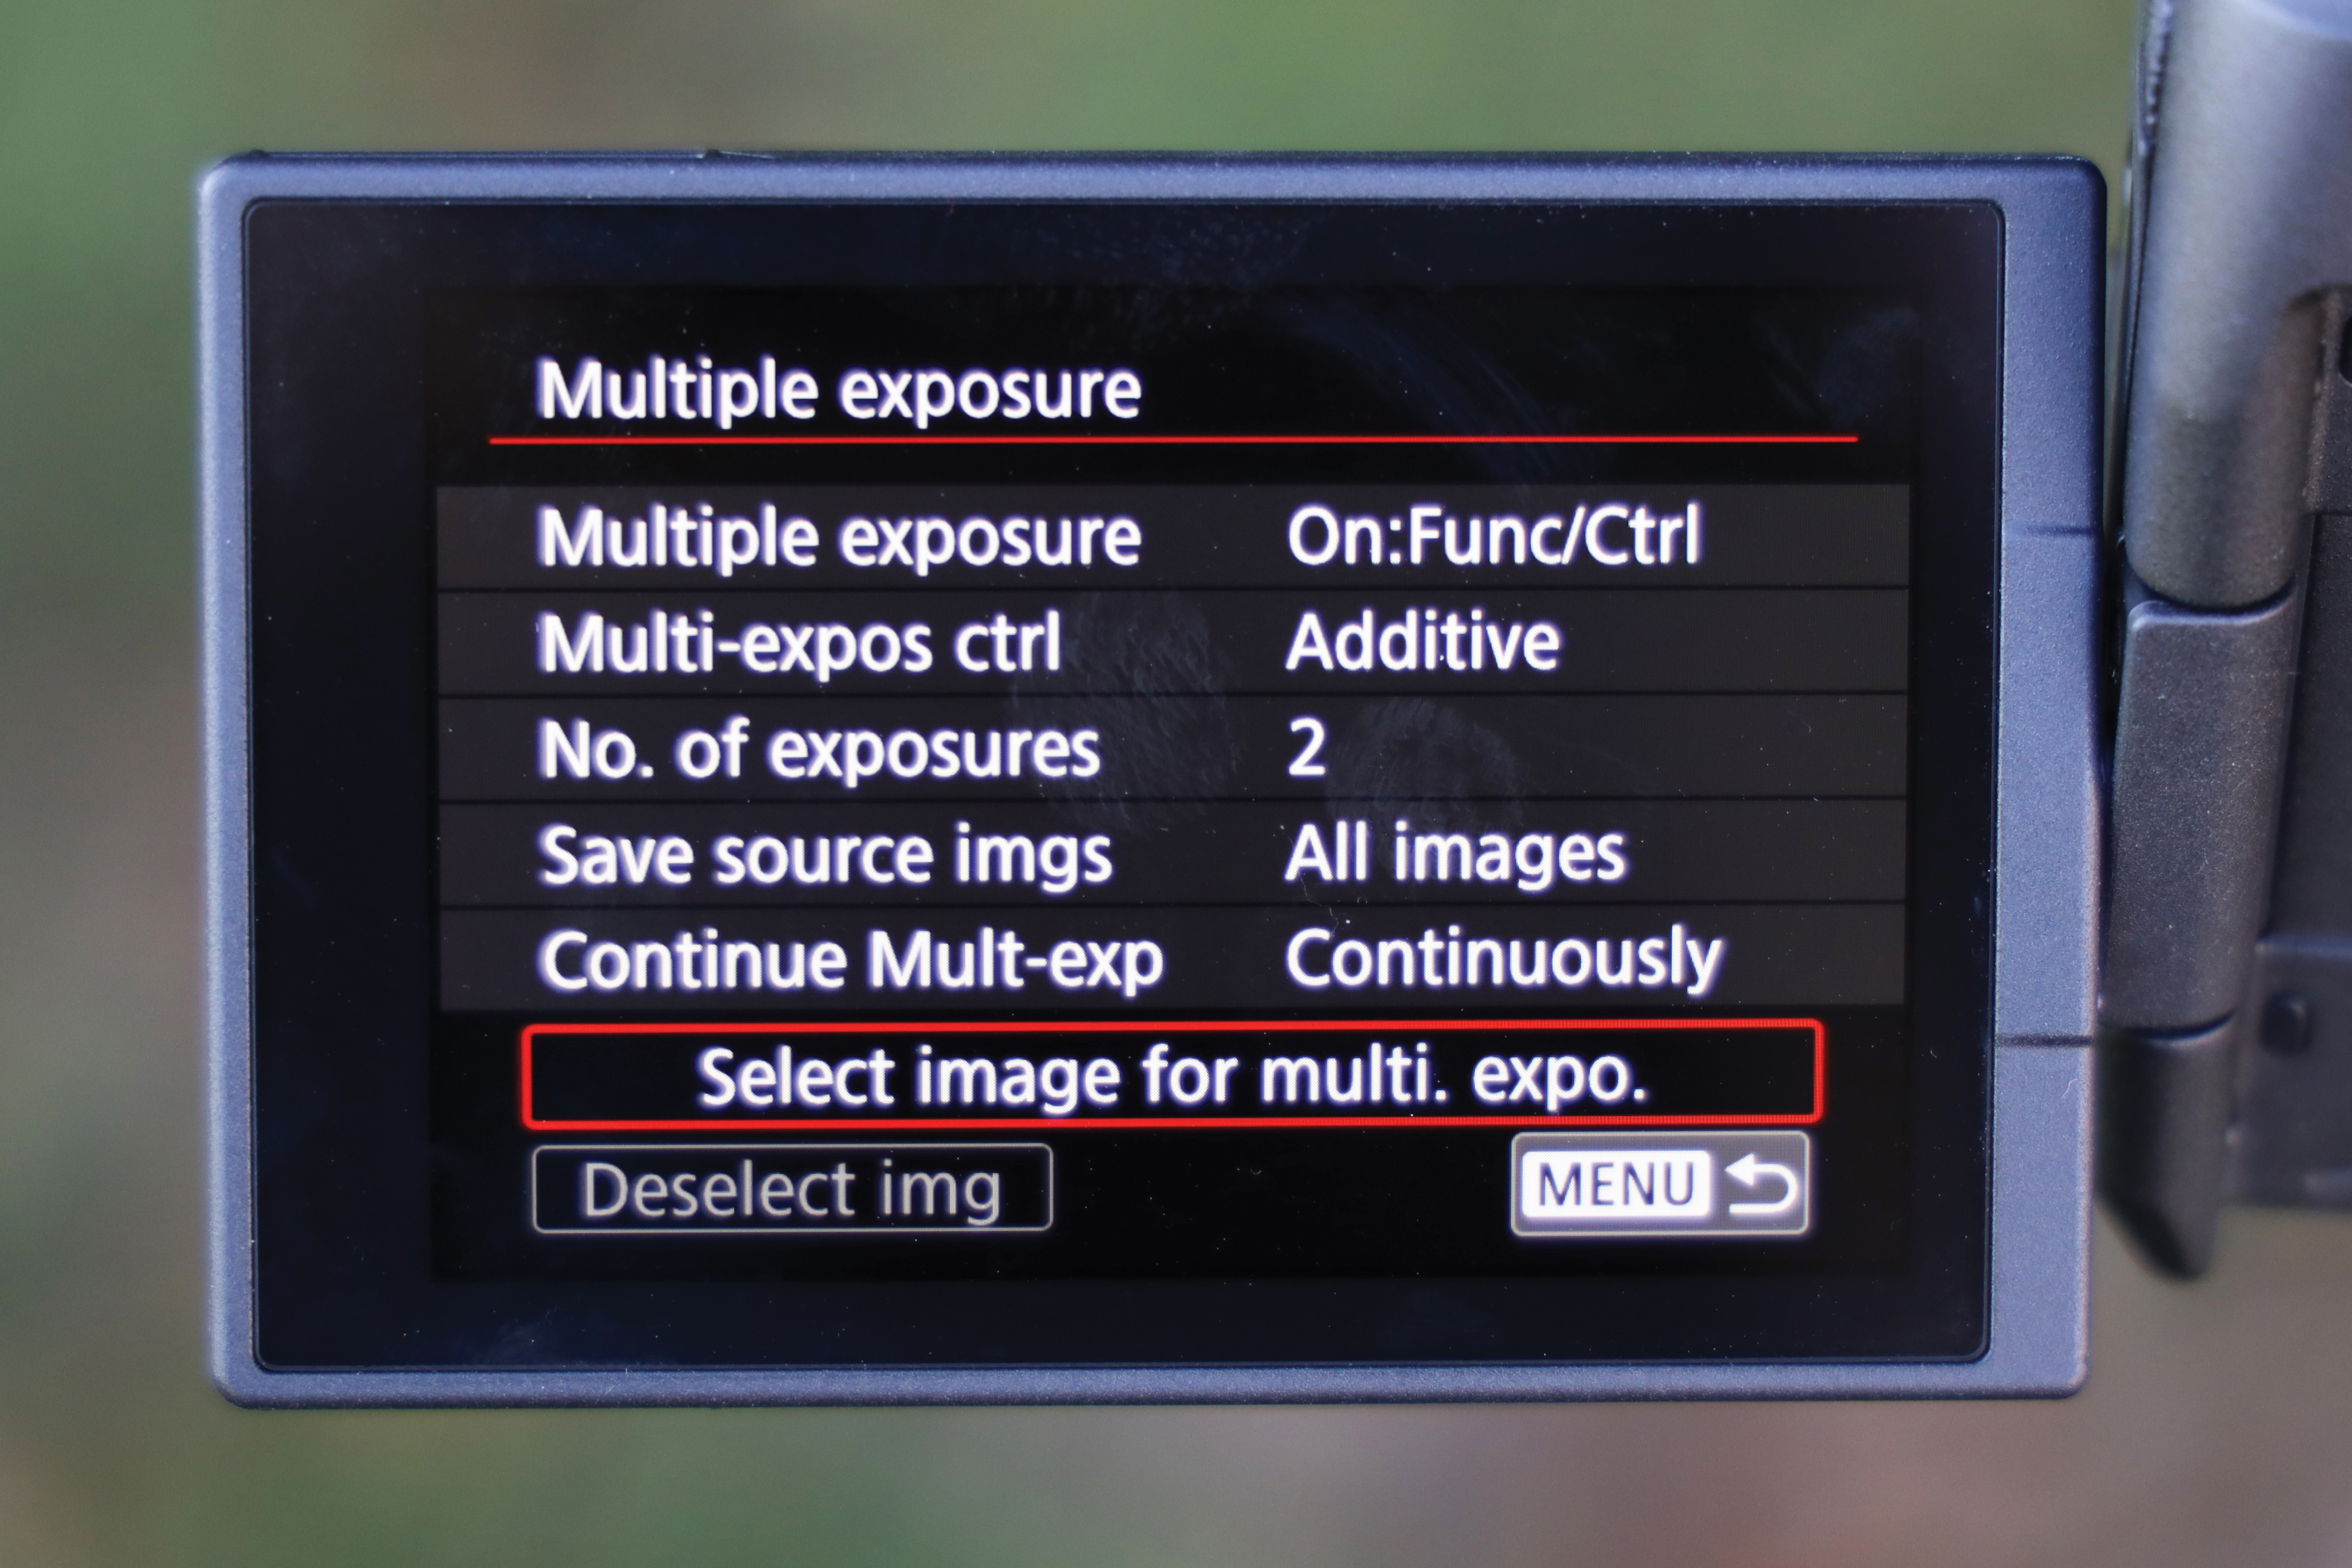
In the Multiple exposure menu, scroll down to ‘Select image for multi. expo.’ This enables you to go back through the images on your card and choose one for your first frame (note that you must have shot the image in RAW, or RAW+JPG, for it to be usable). Now just continue the process from step 04!
Read more:
Canon EOS R review
How to create a double exposure in Photoshop Elements
How to create a double exposure effect in Affinity Photo: layer blending secrets

James has 25 years experience as a journalist, serving as the head of Digital Camera World for 7 of them. He started working in the photography industry in 2014, product testing and shooting ad campaigns for Olympus, as well as clients like Aston Martin Racing, Elinchrom and L'Oréal. An Olympus / OM System, Canon and Hasselblad shooter, he has a wealth of knowledge on cameras of all makes – and he loves instant cameras, too.

