Shoot like a pro in 5 steps: Tommy Reynolds on dramatic studio portraits
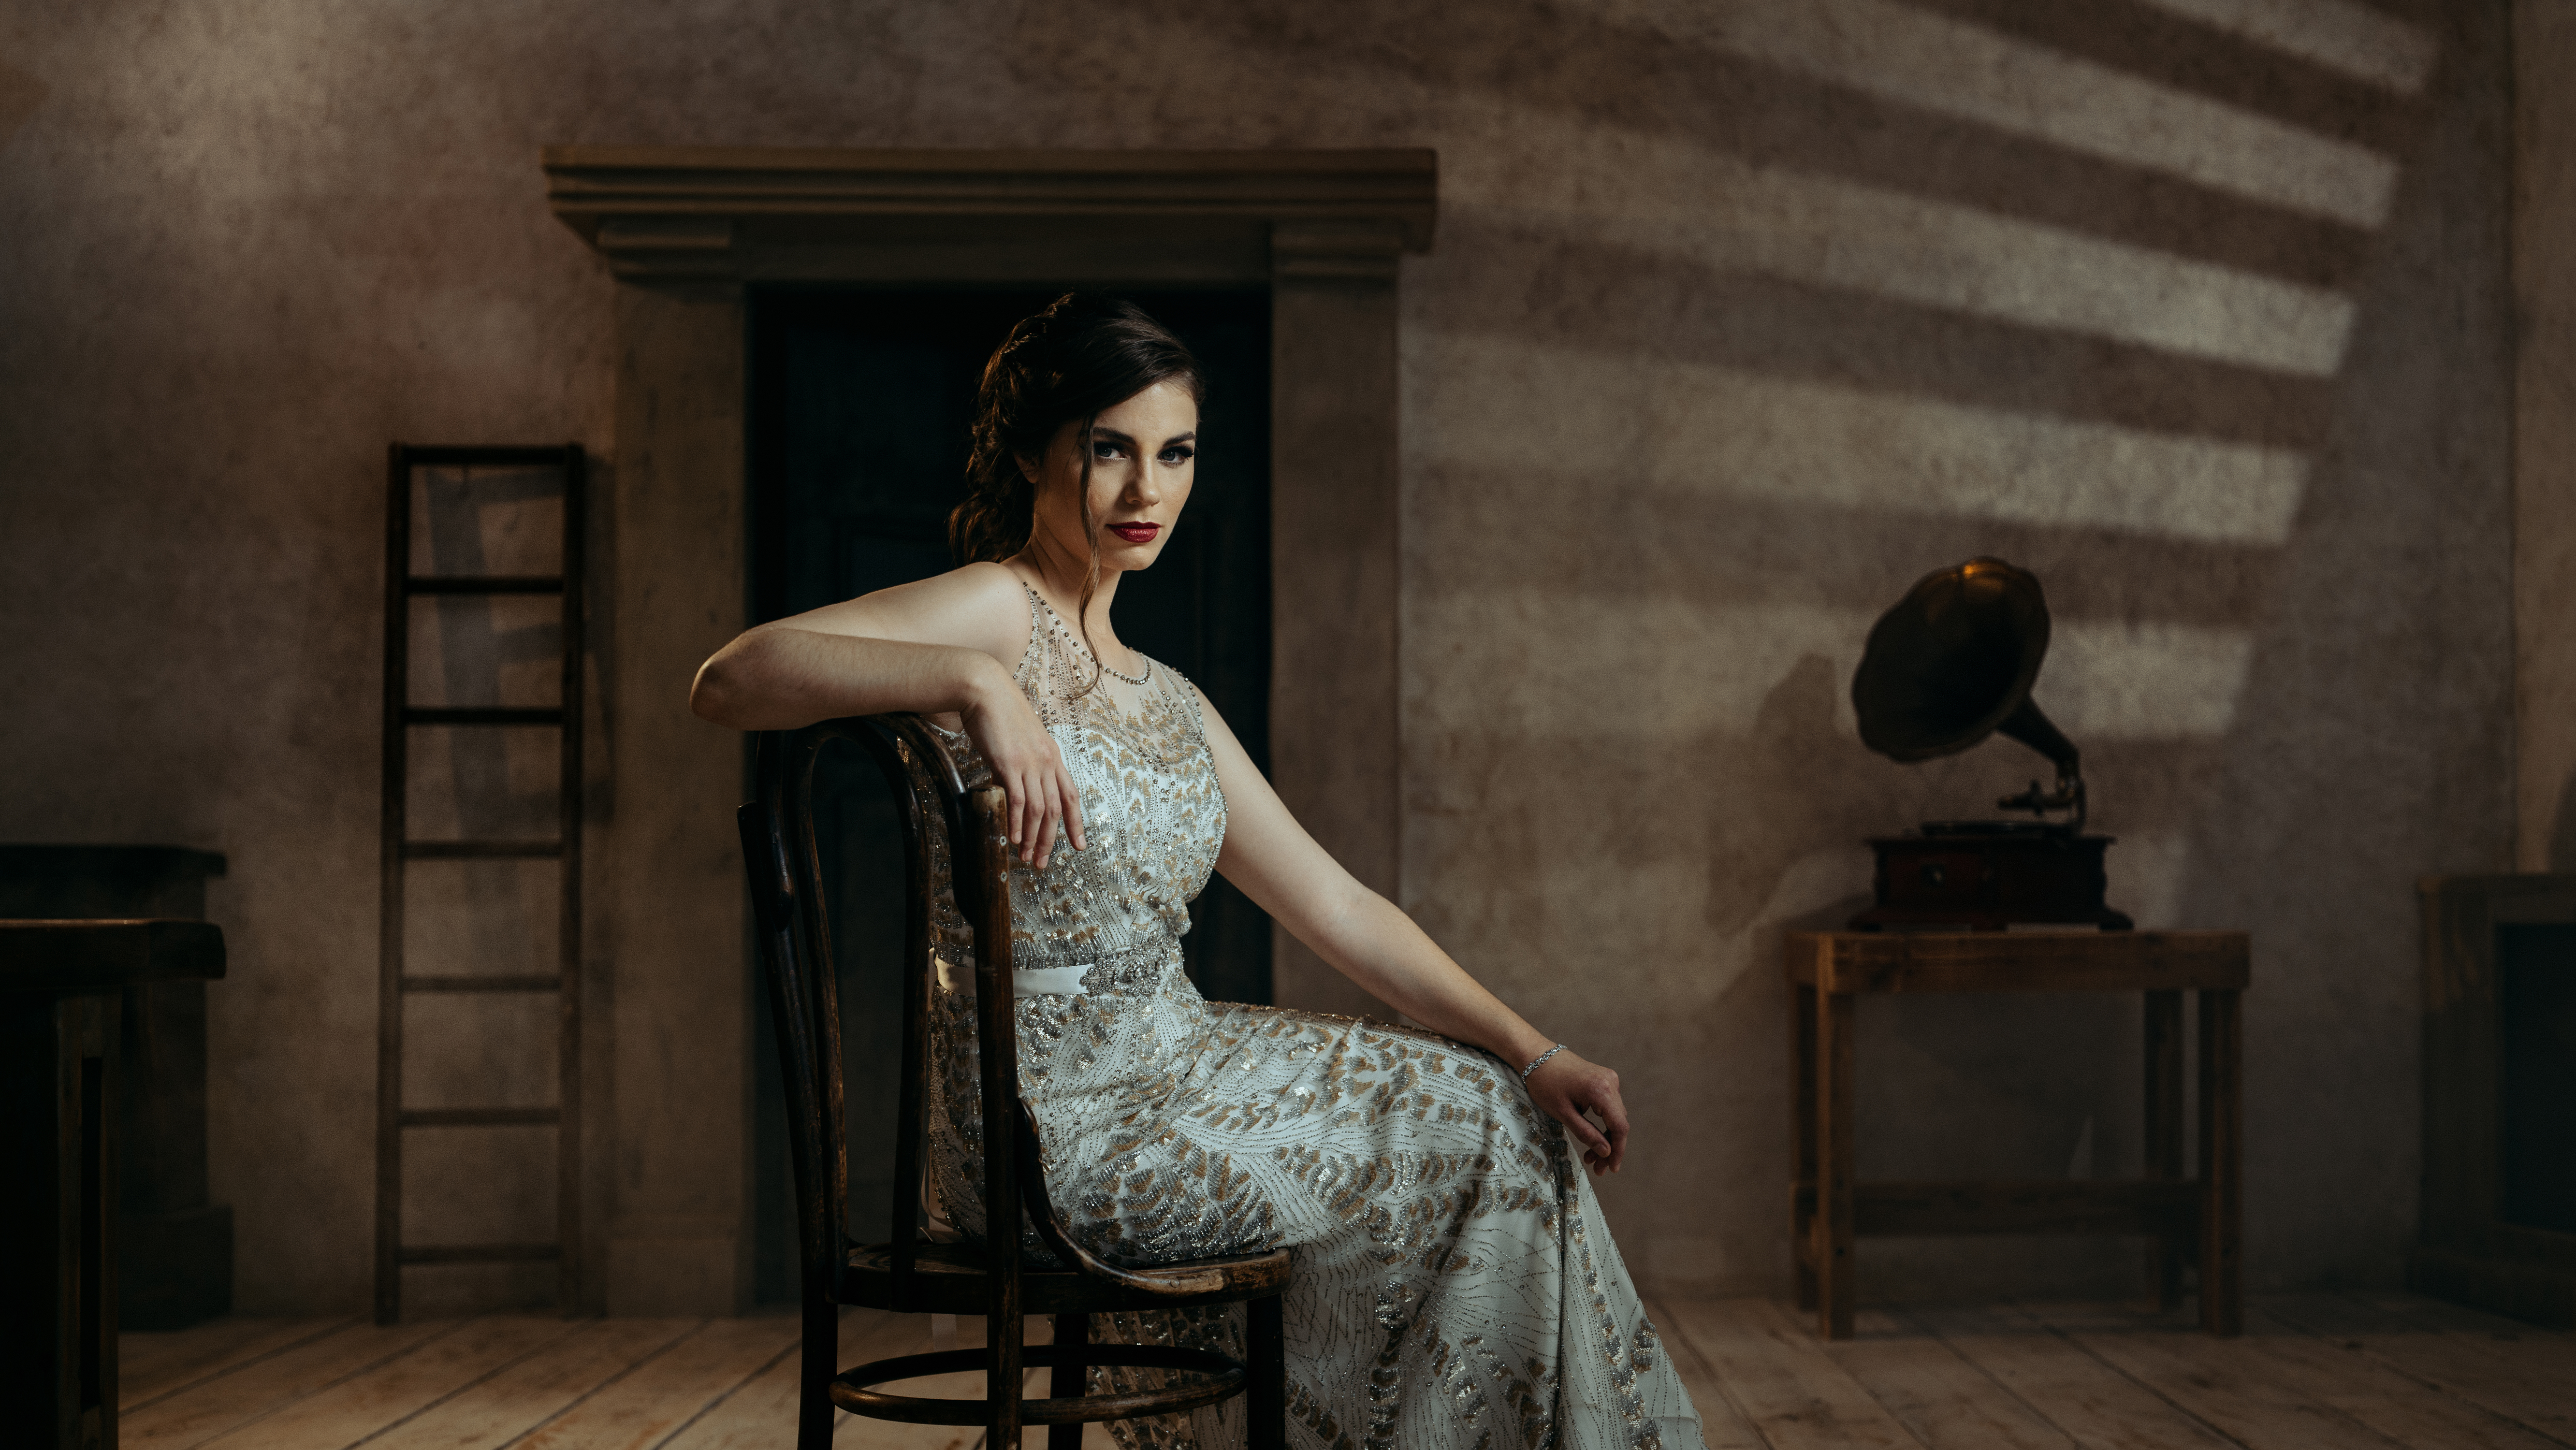
Go behind the scenes with the portrait pro on a special studio portrait-cum-wedding dress shoot
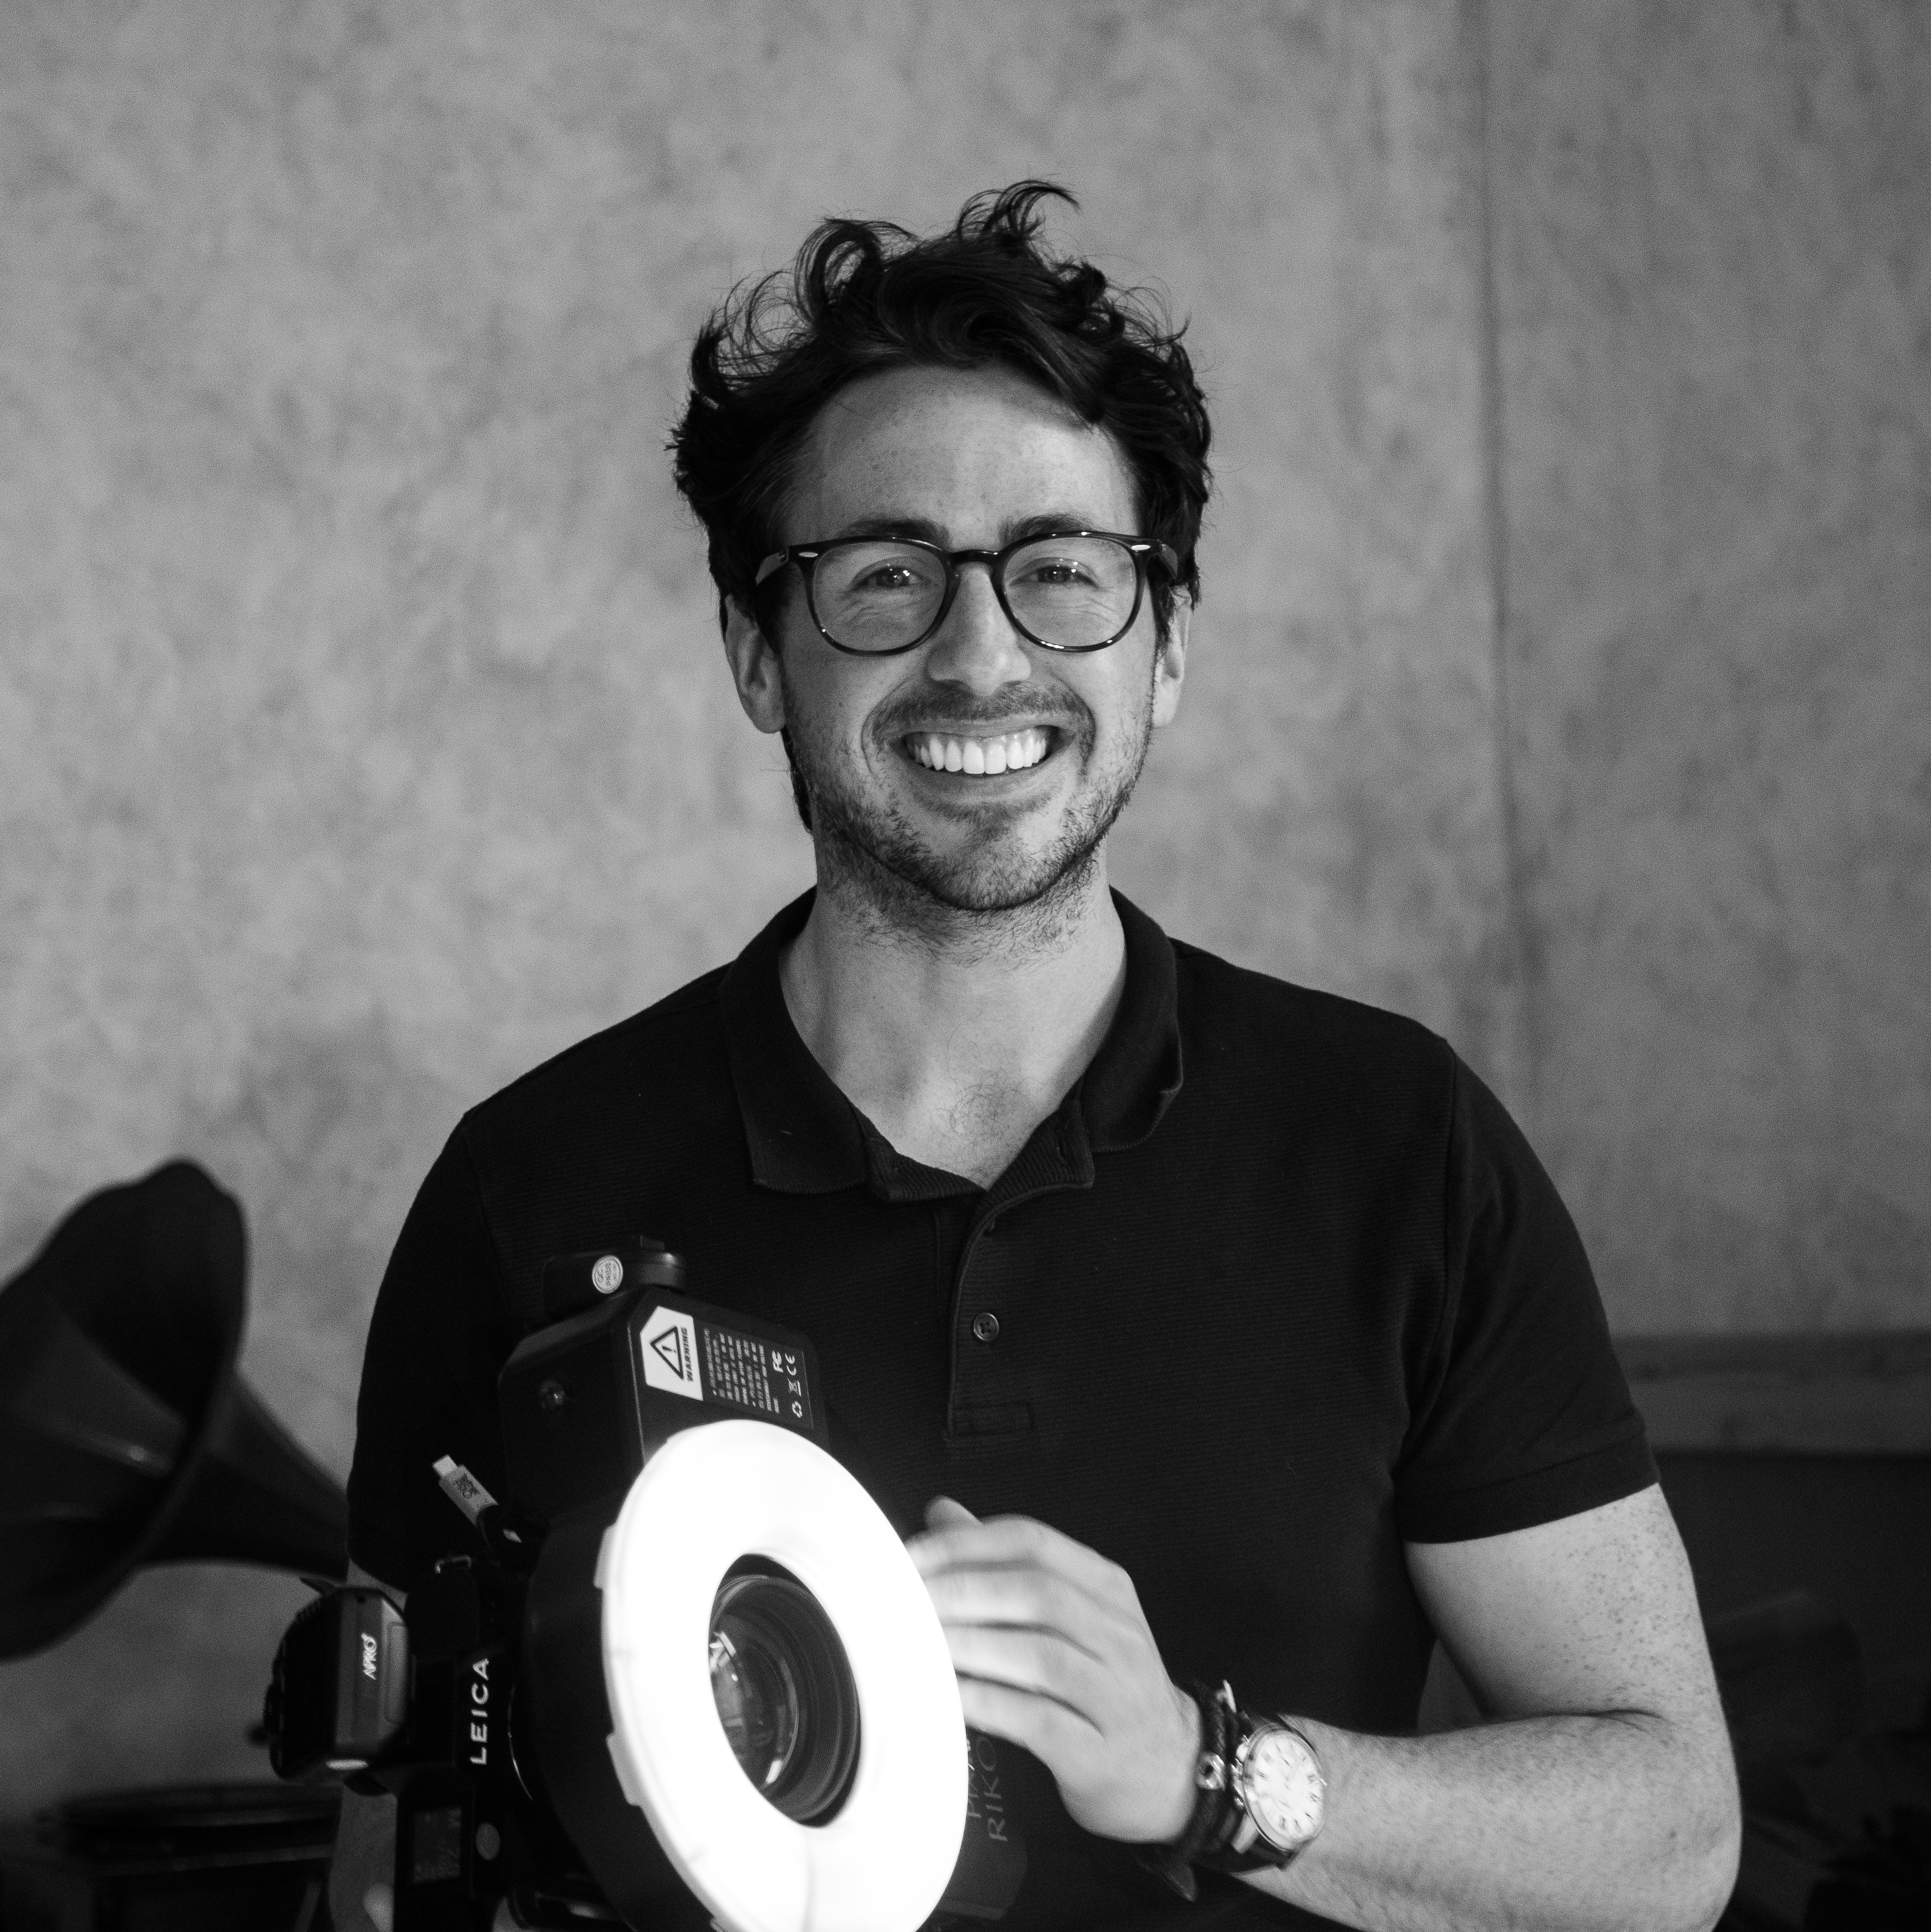
Tommy is a wedding, portrait and travel photographer based in Kent, UK. He’s also created commercial work for Sony Music, Olympus and Pixapro. As a vlogger and cinematic video producer, he shares content on his growing YouTube channel and gives live photo talks.
Every month in Digital Photographer magazine, we shadow a pro photographer and glean their tips, tricks and techniques on a different genre of image-making.
After watching Tommy’s moving talk at last year’s (virtual) Photography Show, we knew that he was the perfect person to shadow behind the scenes of a shoot. Luckily for us, he already had a very personal project in the pipeline, and was more than willing for us to join in on the day.
The idea of the shoot sounded a little unorthodox at first, but unravelled as a beautiful idea: Tommy’s close friend Hazel was due to get married, but unfortunately the wedding didn’t go ahead.
Hazel still wanted to wear her vintage style wedding dress, and as Tommy was originally booked for the wedding day, she asked him to photograph her on an empowering shoot. Here's how he captured such a dramatic image...
Shooting this dramatic look in 5 steps
1. Light sources
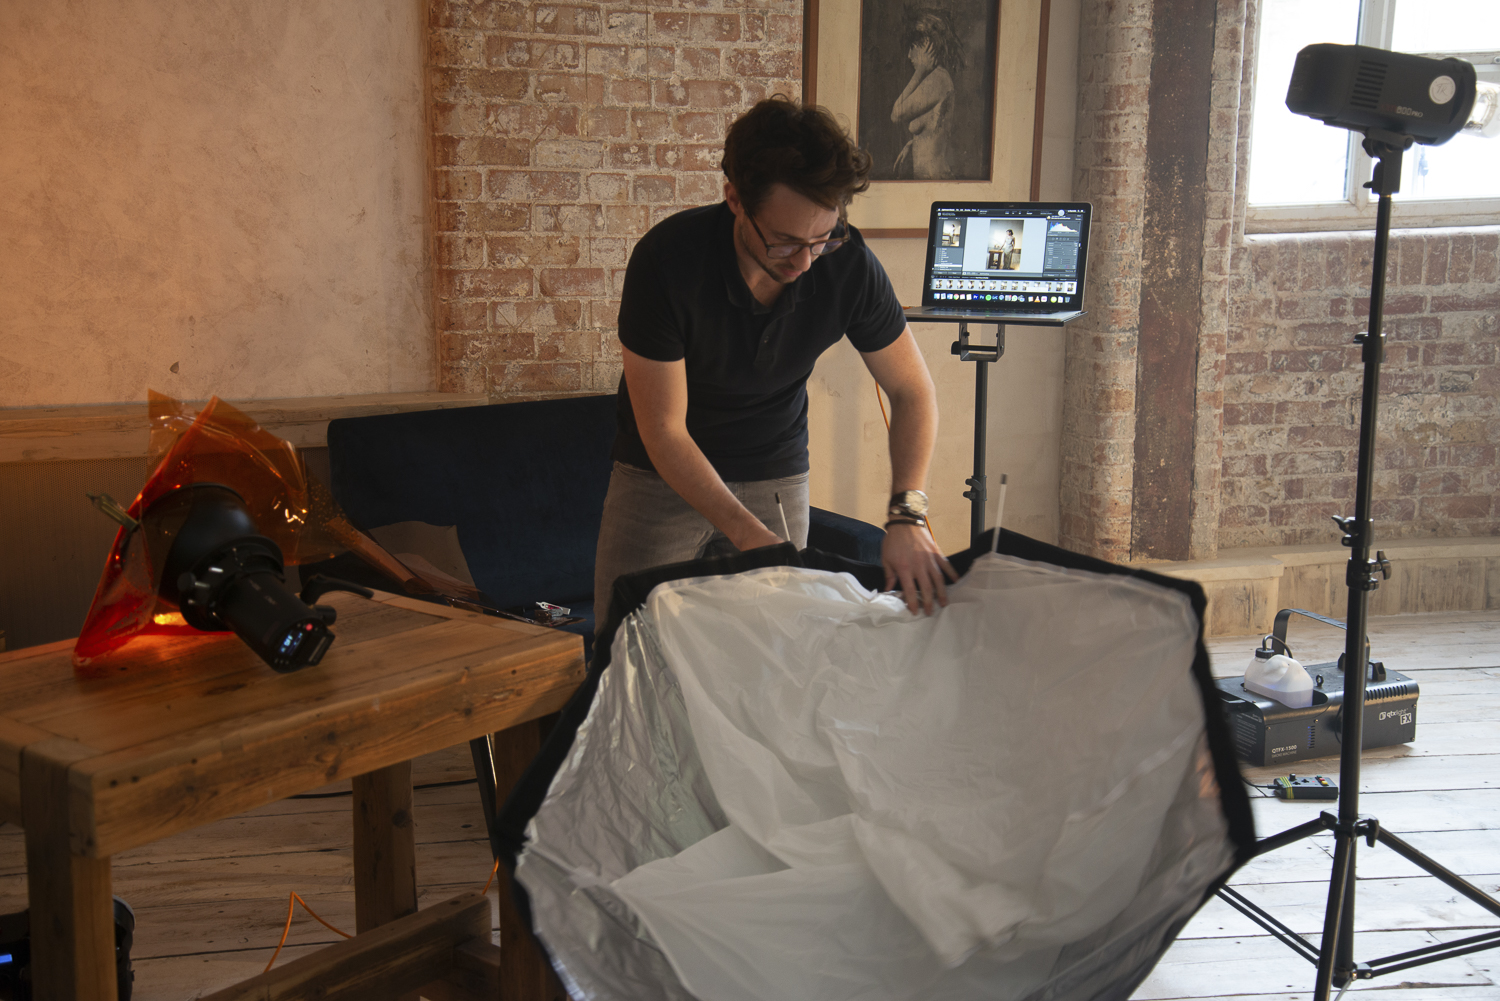
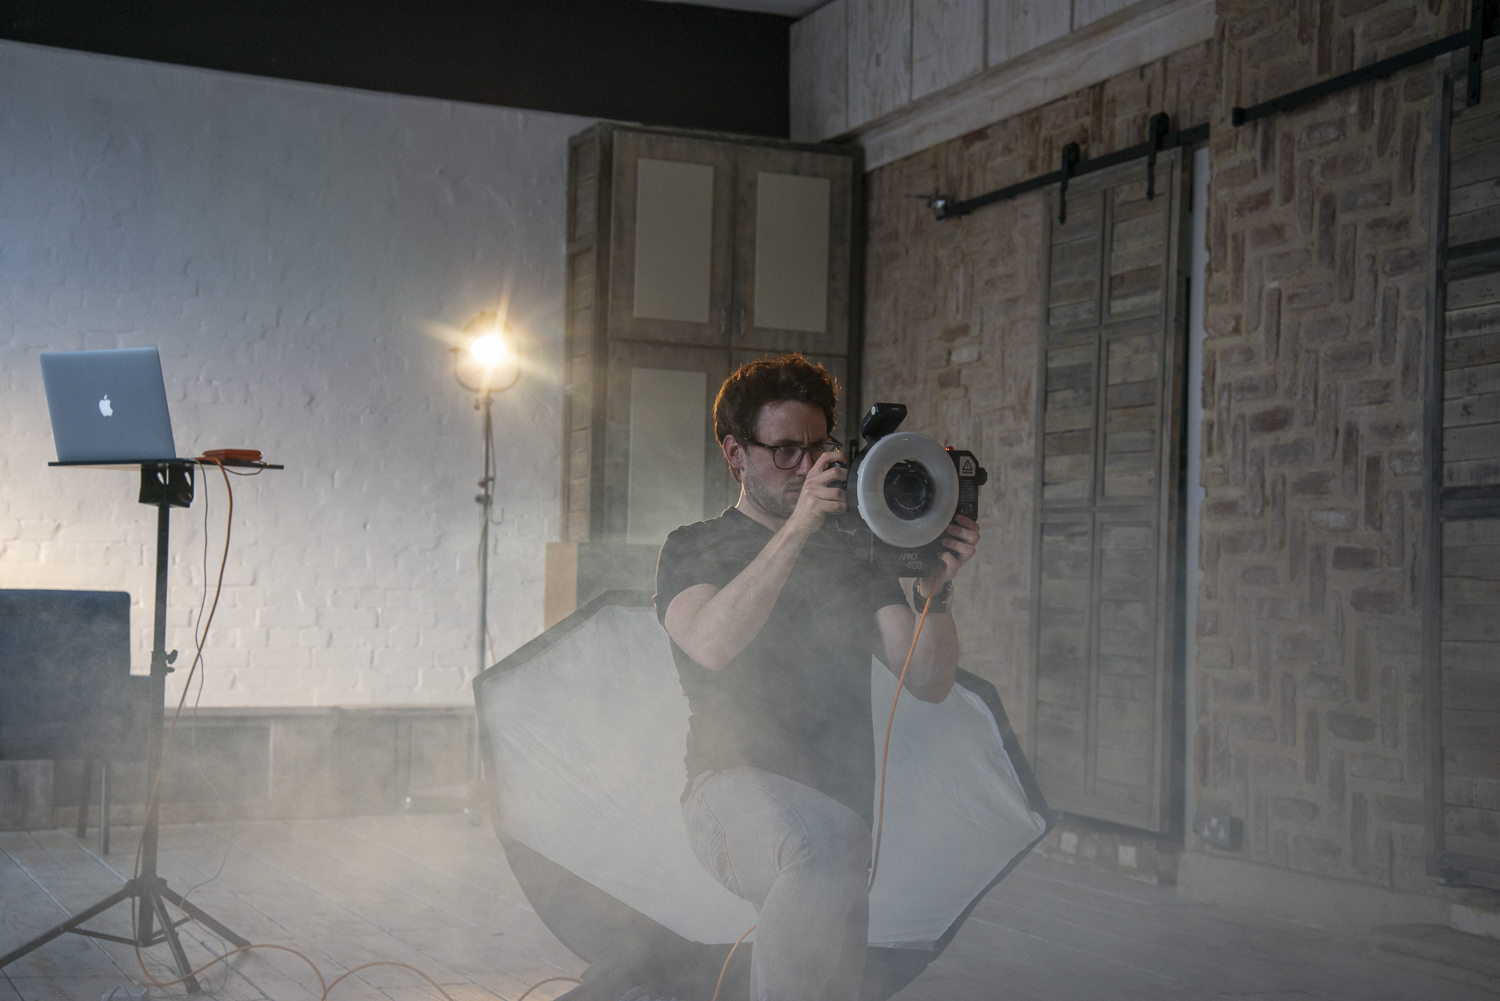
Tommy uses a PIXAPRO 55cm beauty dish as the main key light. He also sets up a bare bulb with a CTO gel behind Hazel, and experiments with the power of each.
2. Fill light
The best camera deals, reviews, product advice, and unmissable photography news, direct to your inbox!
A RIKO400 400Ws Ring Flash was mounted to the front of Tommy’s camera to provide fill lighting. This slightly reduced the contrast of the scene and created a softer look.
3. Light modifiers
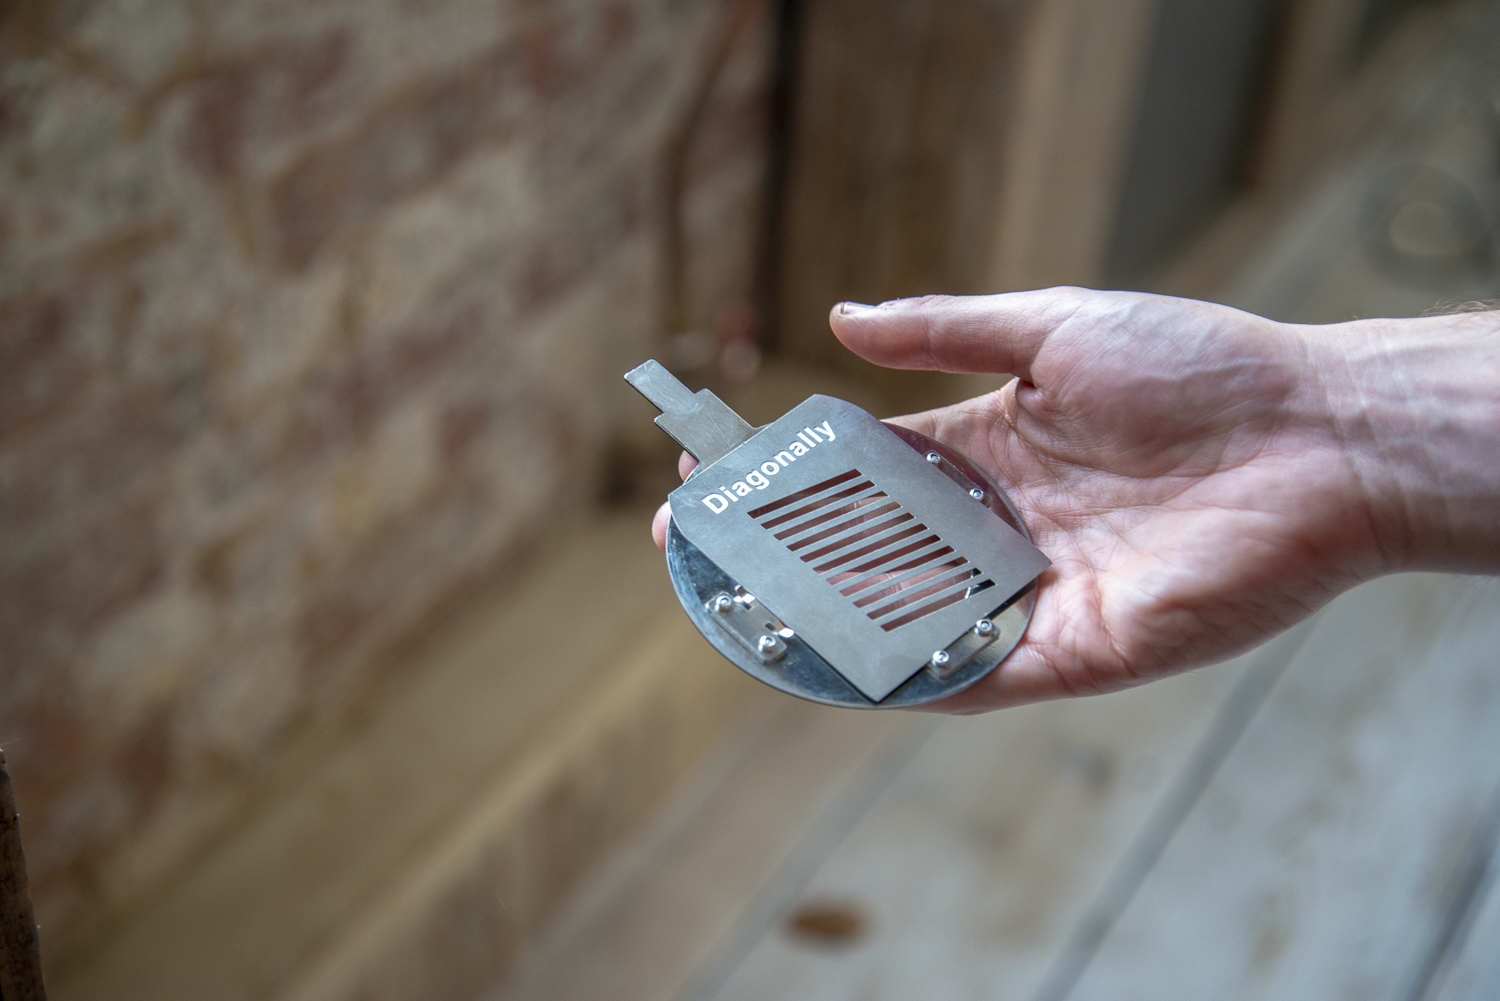
Confident studio users often modify the light for professional results. Tommy also added an optical snoot with a horizontal gobo and a color temperature orange (CTO) gel.
4. Lens choice
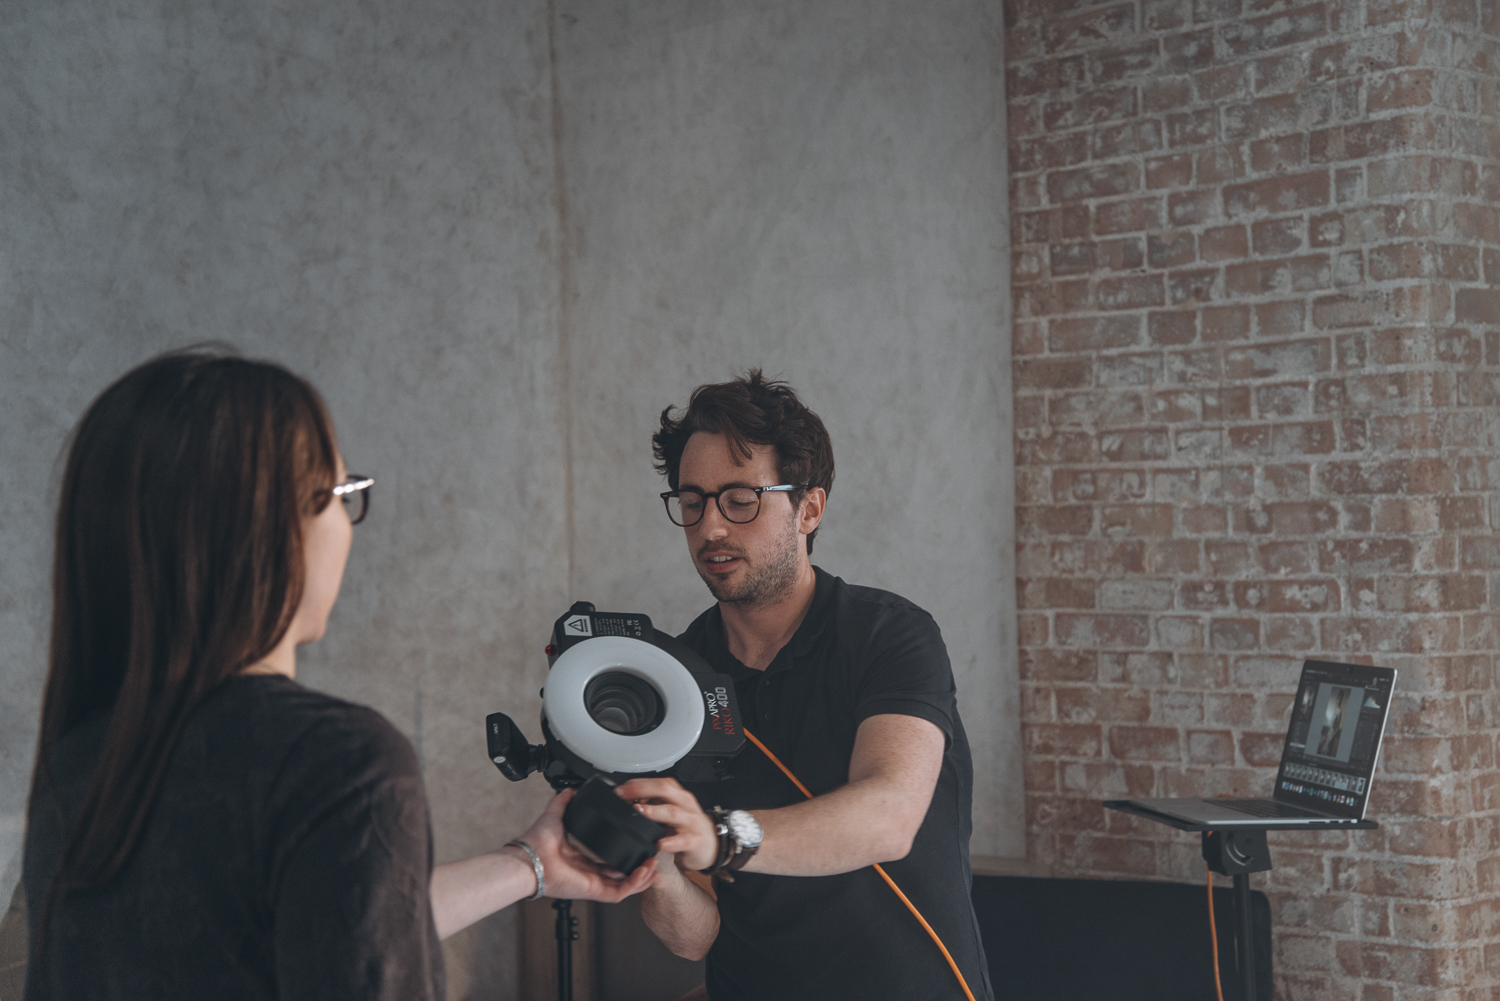
Tommy used a Sigma 35mm f/1.4 lens for this portrait, a wider focal length which enabled him to include the studio surroundings, props and Hazel’s full dress in the frame.
5. Camera settings
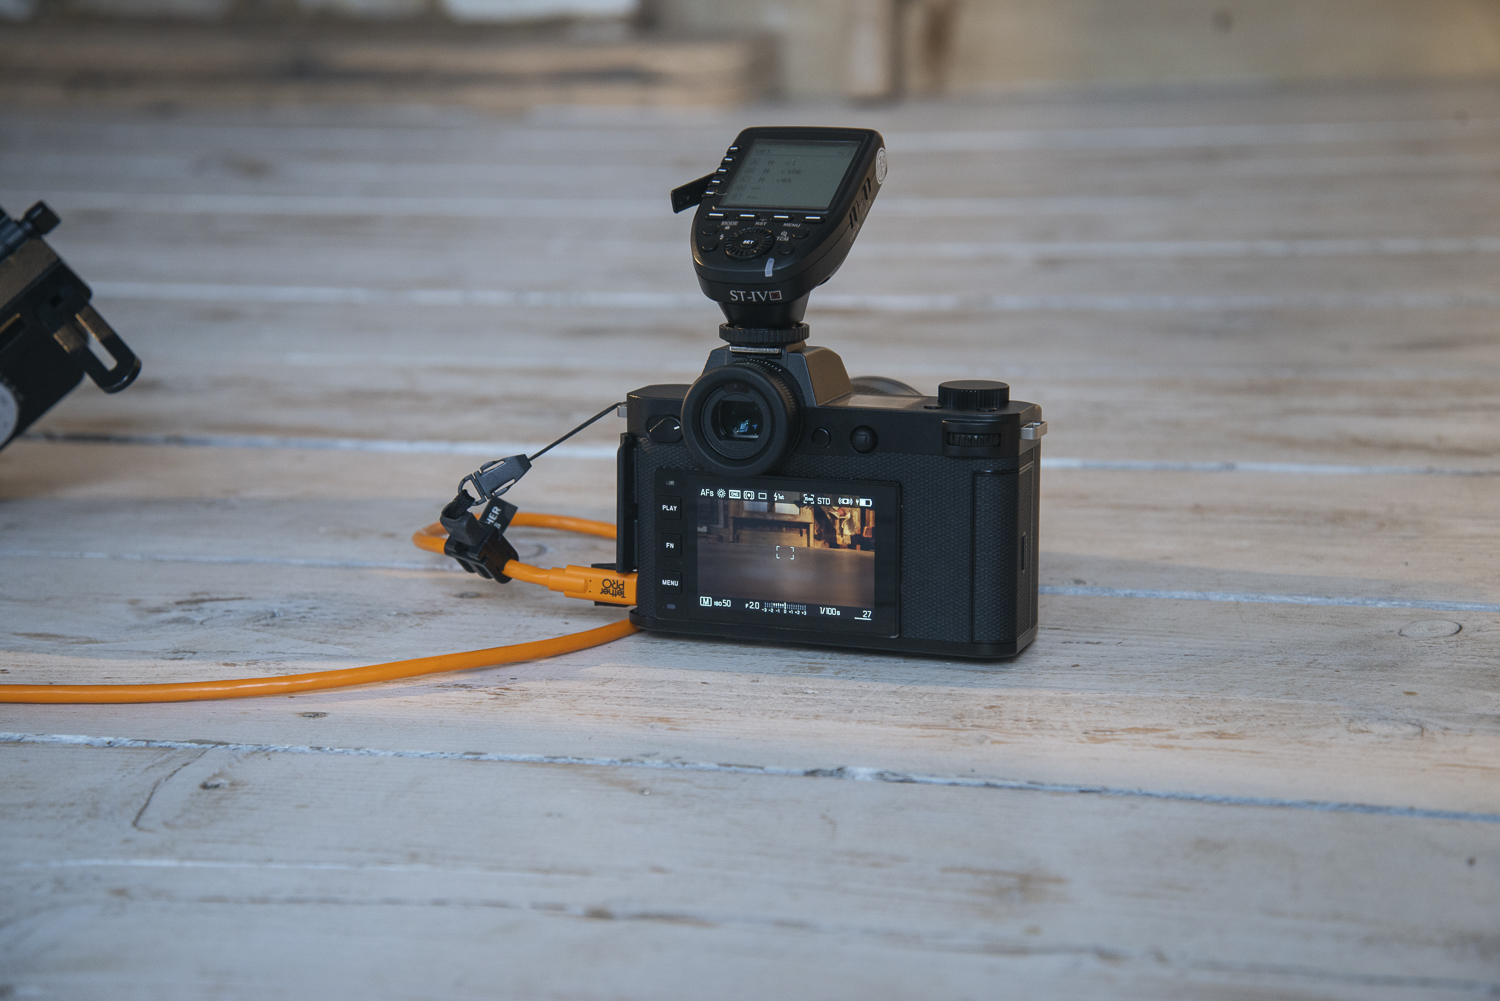
In a controlled studio environment, aim to set the camera to its lowest ISO. Tommy used Manual exposure mode, ISO 50 and Live View to compose.
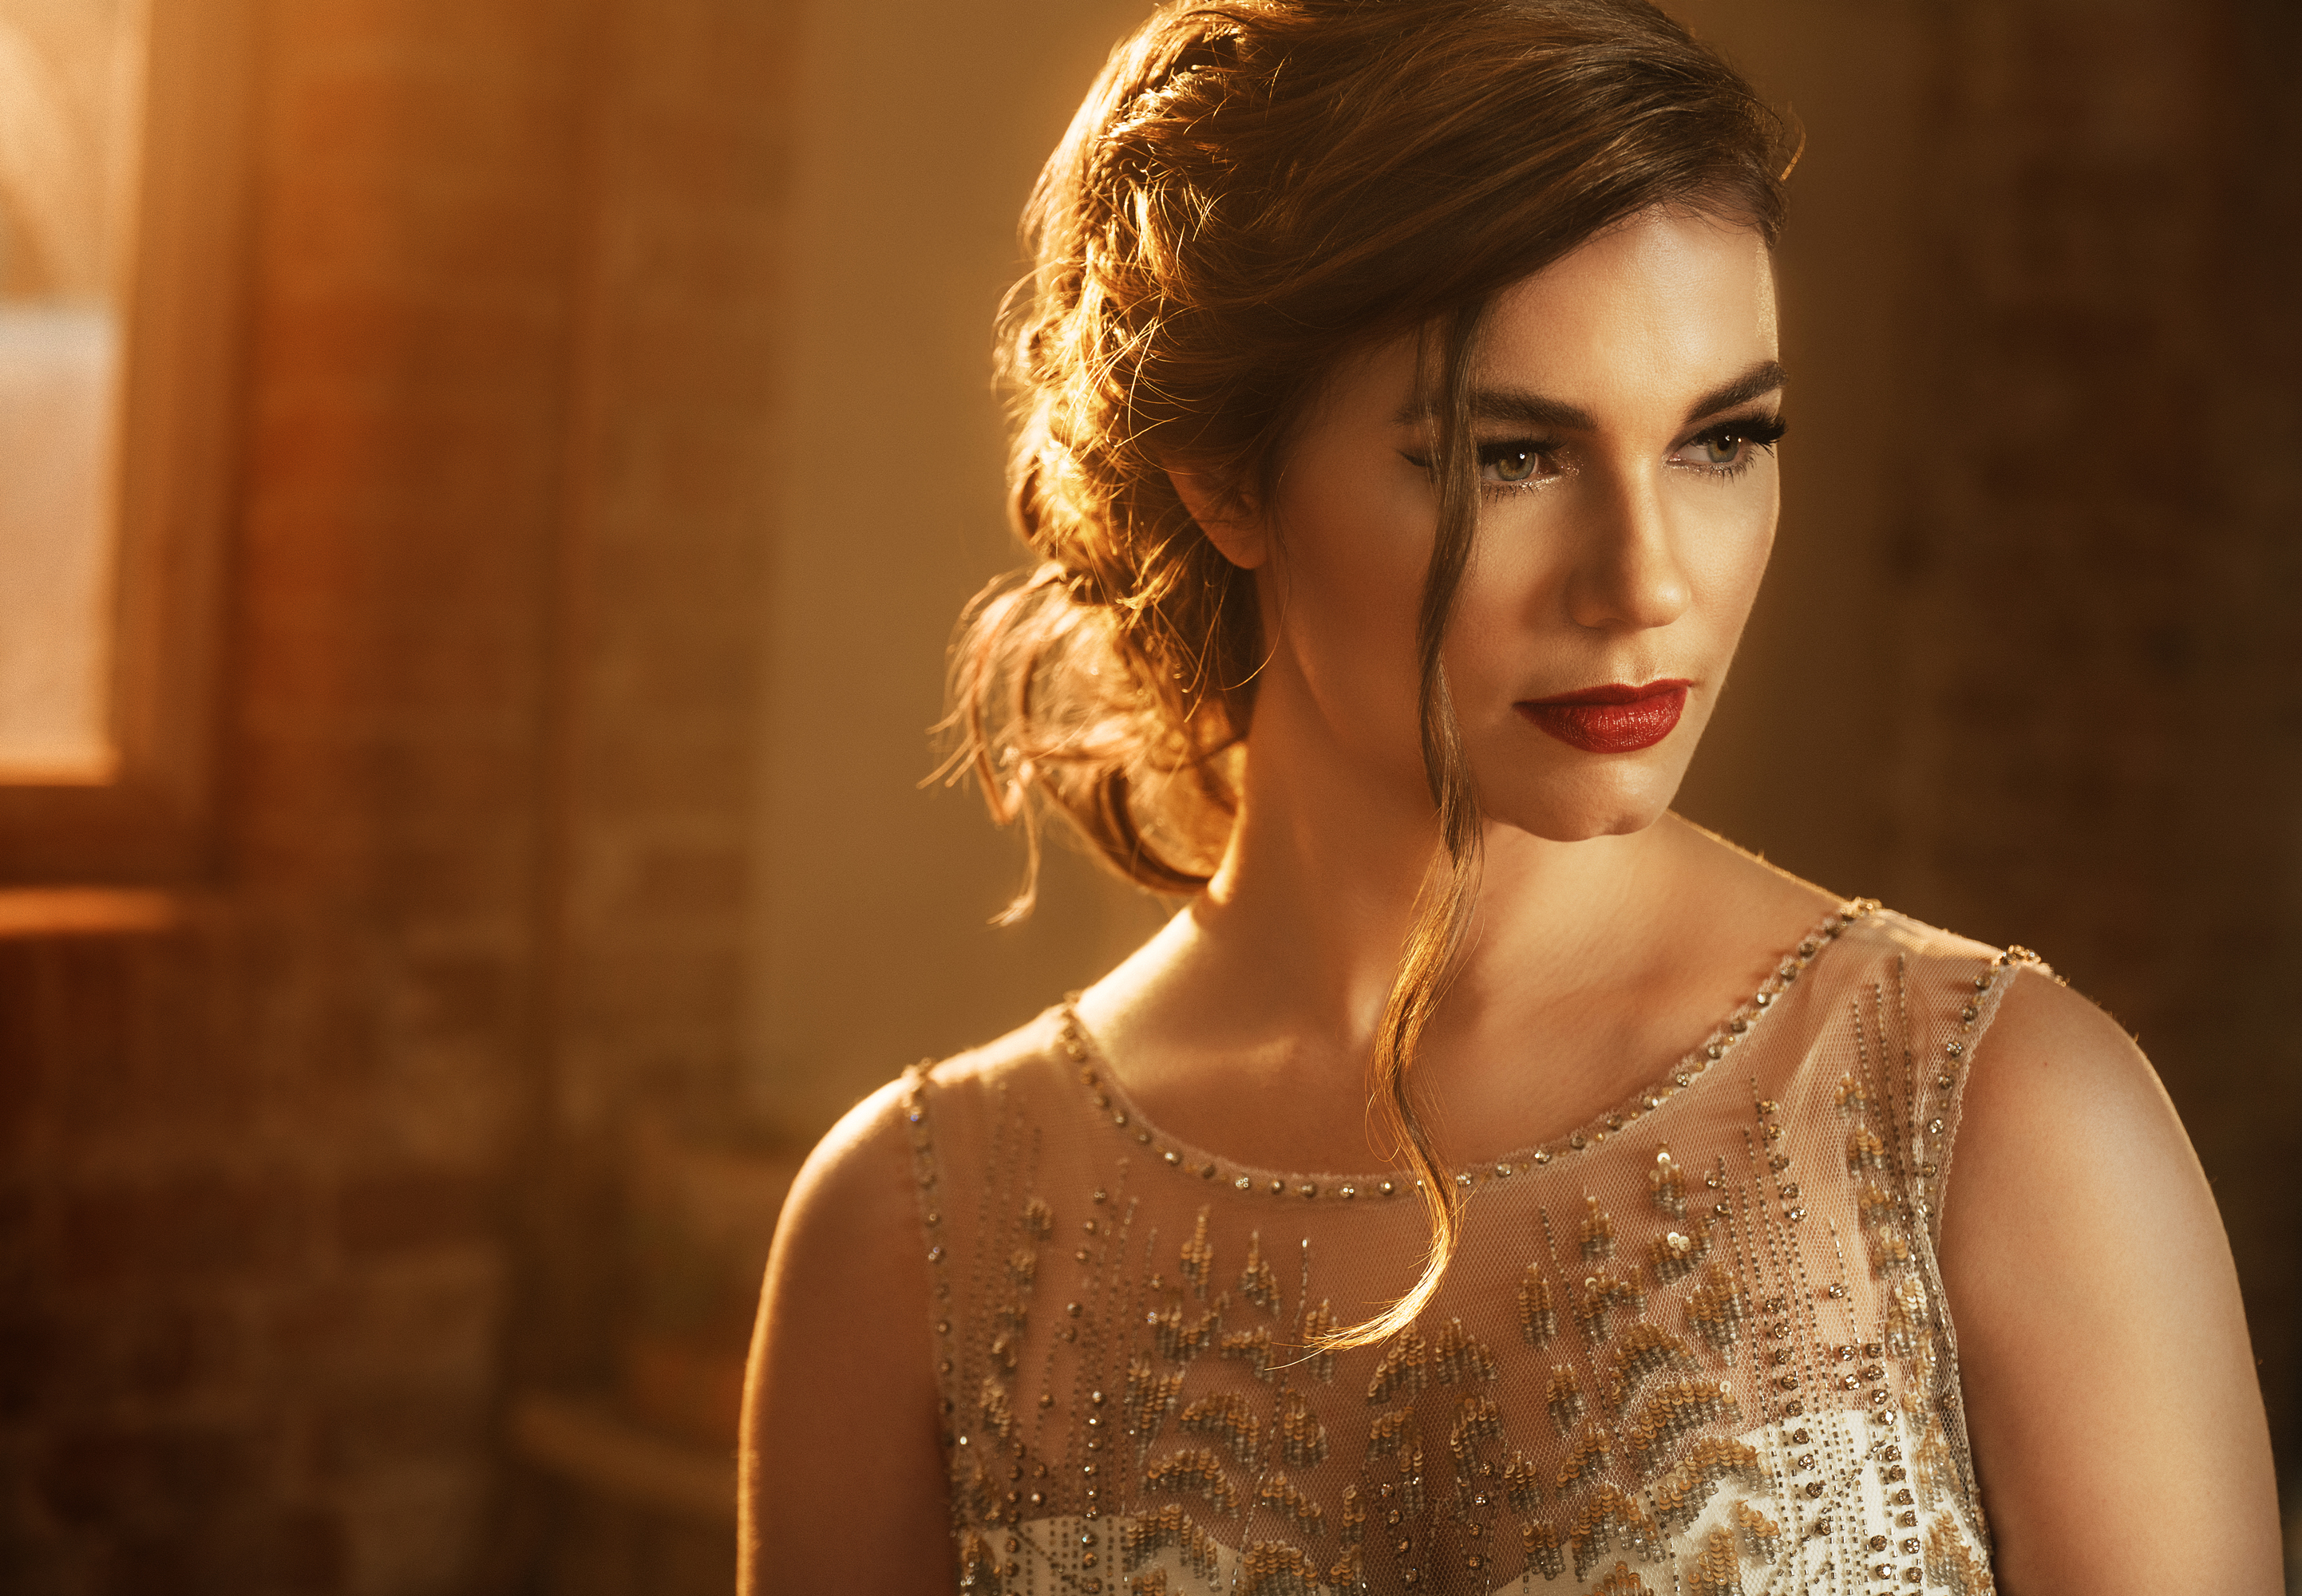
“How is the light shaped? You don’t need to spend loads of money on powerful strobes. Instead, invest in different modifiers for different looks,” says Tommy.
Aside from having a solid understanding of lighting, directing models is an important element of any studio session. Working with people comes more naturally to some pros than others, and although Tommy already knew Hazel, he still had to give her enough posing feedback.
When you’re not working with professional models or subjects that feel comfortable in front of the camera, giving guidance can help them to feel more at ease.
“I tell the model to fidget,” Tommy says. “It’s my favourite phrase to use, especially if you’re not the most confident. Fidgeting allows them to make little movements between photos that feels right without you having to give them specific direction. Works like a charm.”
Read more:
Amazing talks from The Virtual Photography Show 2020
Try this magical lens filter for shooting portraits
10 portrait photographers to follow in 2020
Lauren is a writer, reviewer, and photographer with ten years of experience in the camera industry. She's the former Managing Editor of Digital Camera World, and previously served as Editor of Digital Photographer magazine, Technique editor for PhotoPlus: The Canon Magazine, and Deputy Editor of our sister publication, Digital Camera Magazine. An experienced journalist and freelance photographer, Lauren also has bylines at Tech Radar, Space.com, Canon Europe, PCGamesN, T3, Stuff, and British Airways' in-flight magazine. When she's not testing gear for DCW, she's probably in the kitchen testing yet another new curry recipe or walking in the Cotswolds with her Flat-coated Retriever.
