Home photography ideas: Commercial product photos at home
Create eye-catching, advertising-style product shots with a simple but effective lighting setup
Photography projects at home
• Home photography ideas
Useful home photography kit
• Best tripods
• Best lighting kits
• Best reflectors
• Best macro lenses
Commercial product photography can often be seen as a formulaic and dull genre of photography. This is a strange misconception, as high-end product shoots are incredibly creative and fun projects to work on.
In the current climate most of us are working from home, which adds an extra layer of challenge when attempting to shoot a studio-style advertising image. What this situation requires is a little open-mindedness, as well as the ability to think outside the box.
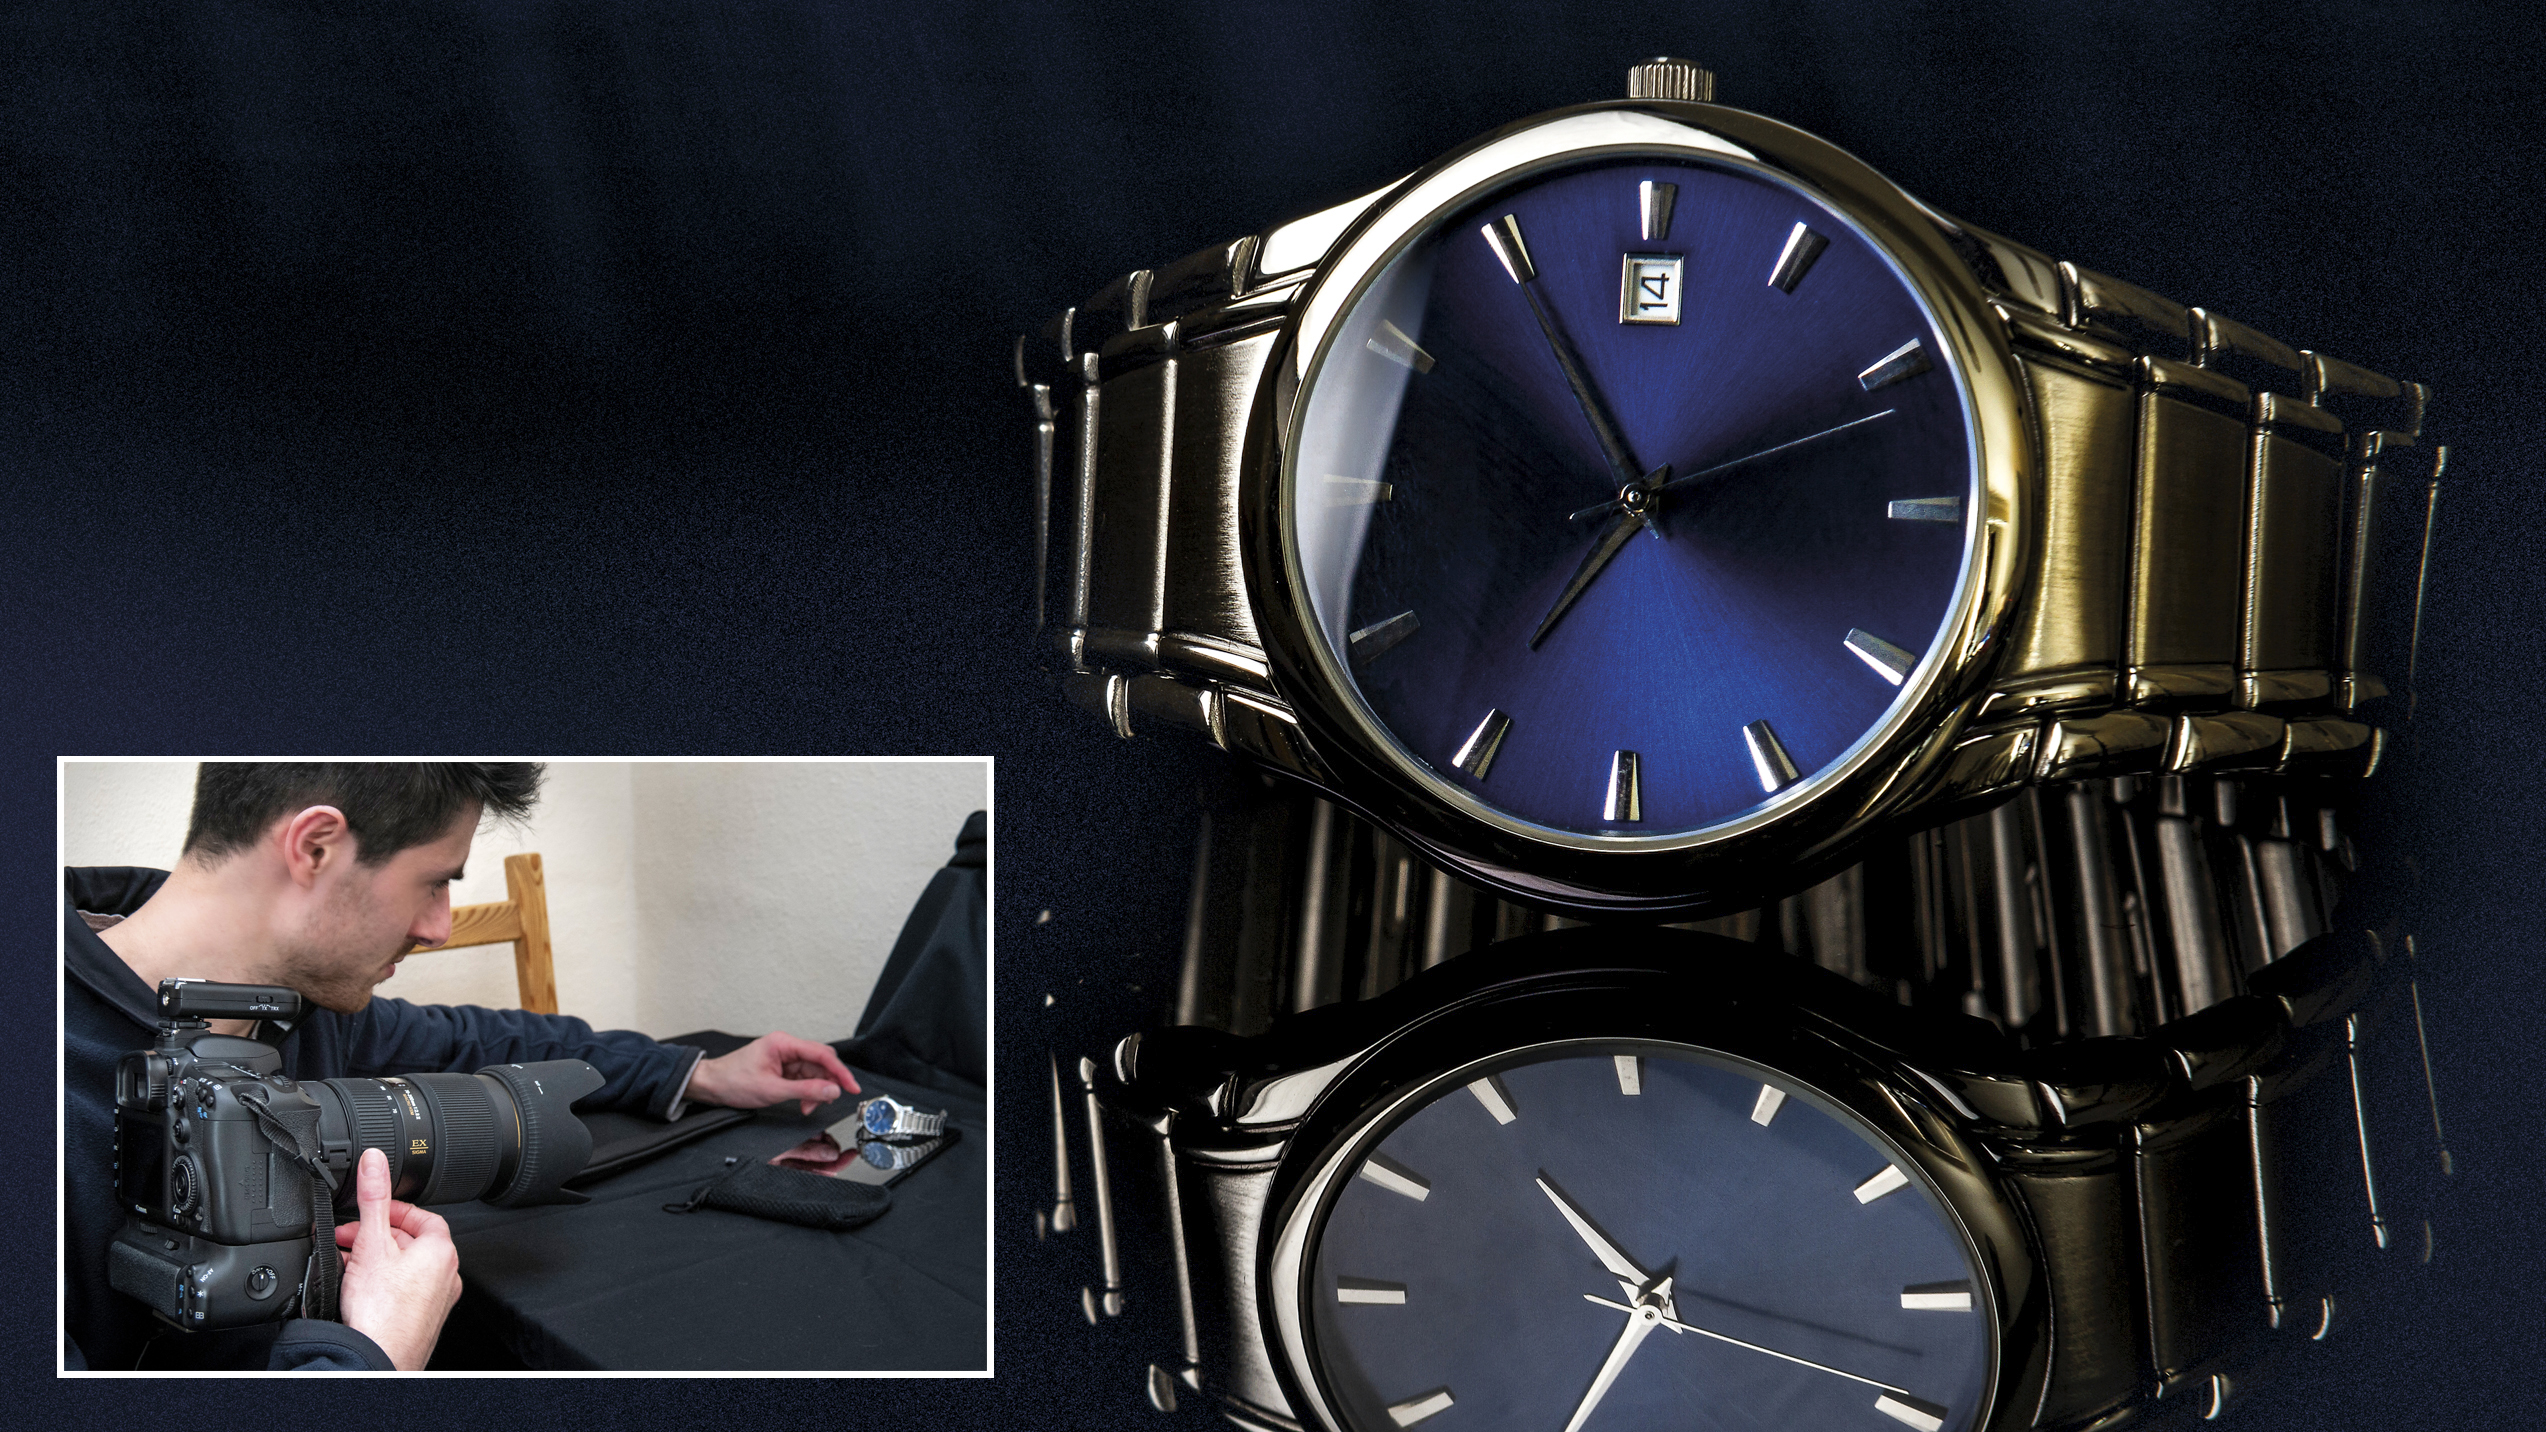
Look for ways of creating effects using only what you have to hand. For this shot, the brief was to produce a classy image of a watch in an environment that demonstrated its durability and universal appeal.
• Best camera for product photography
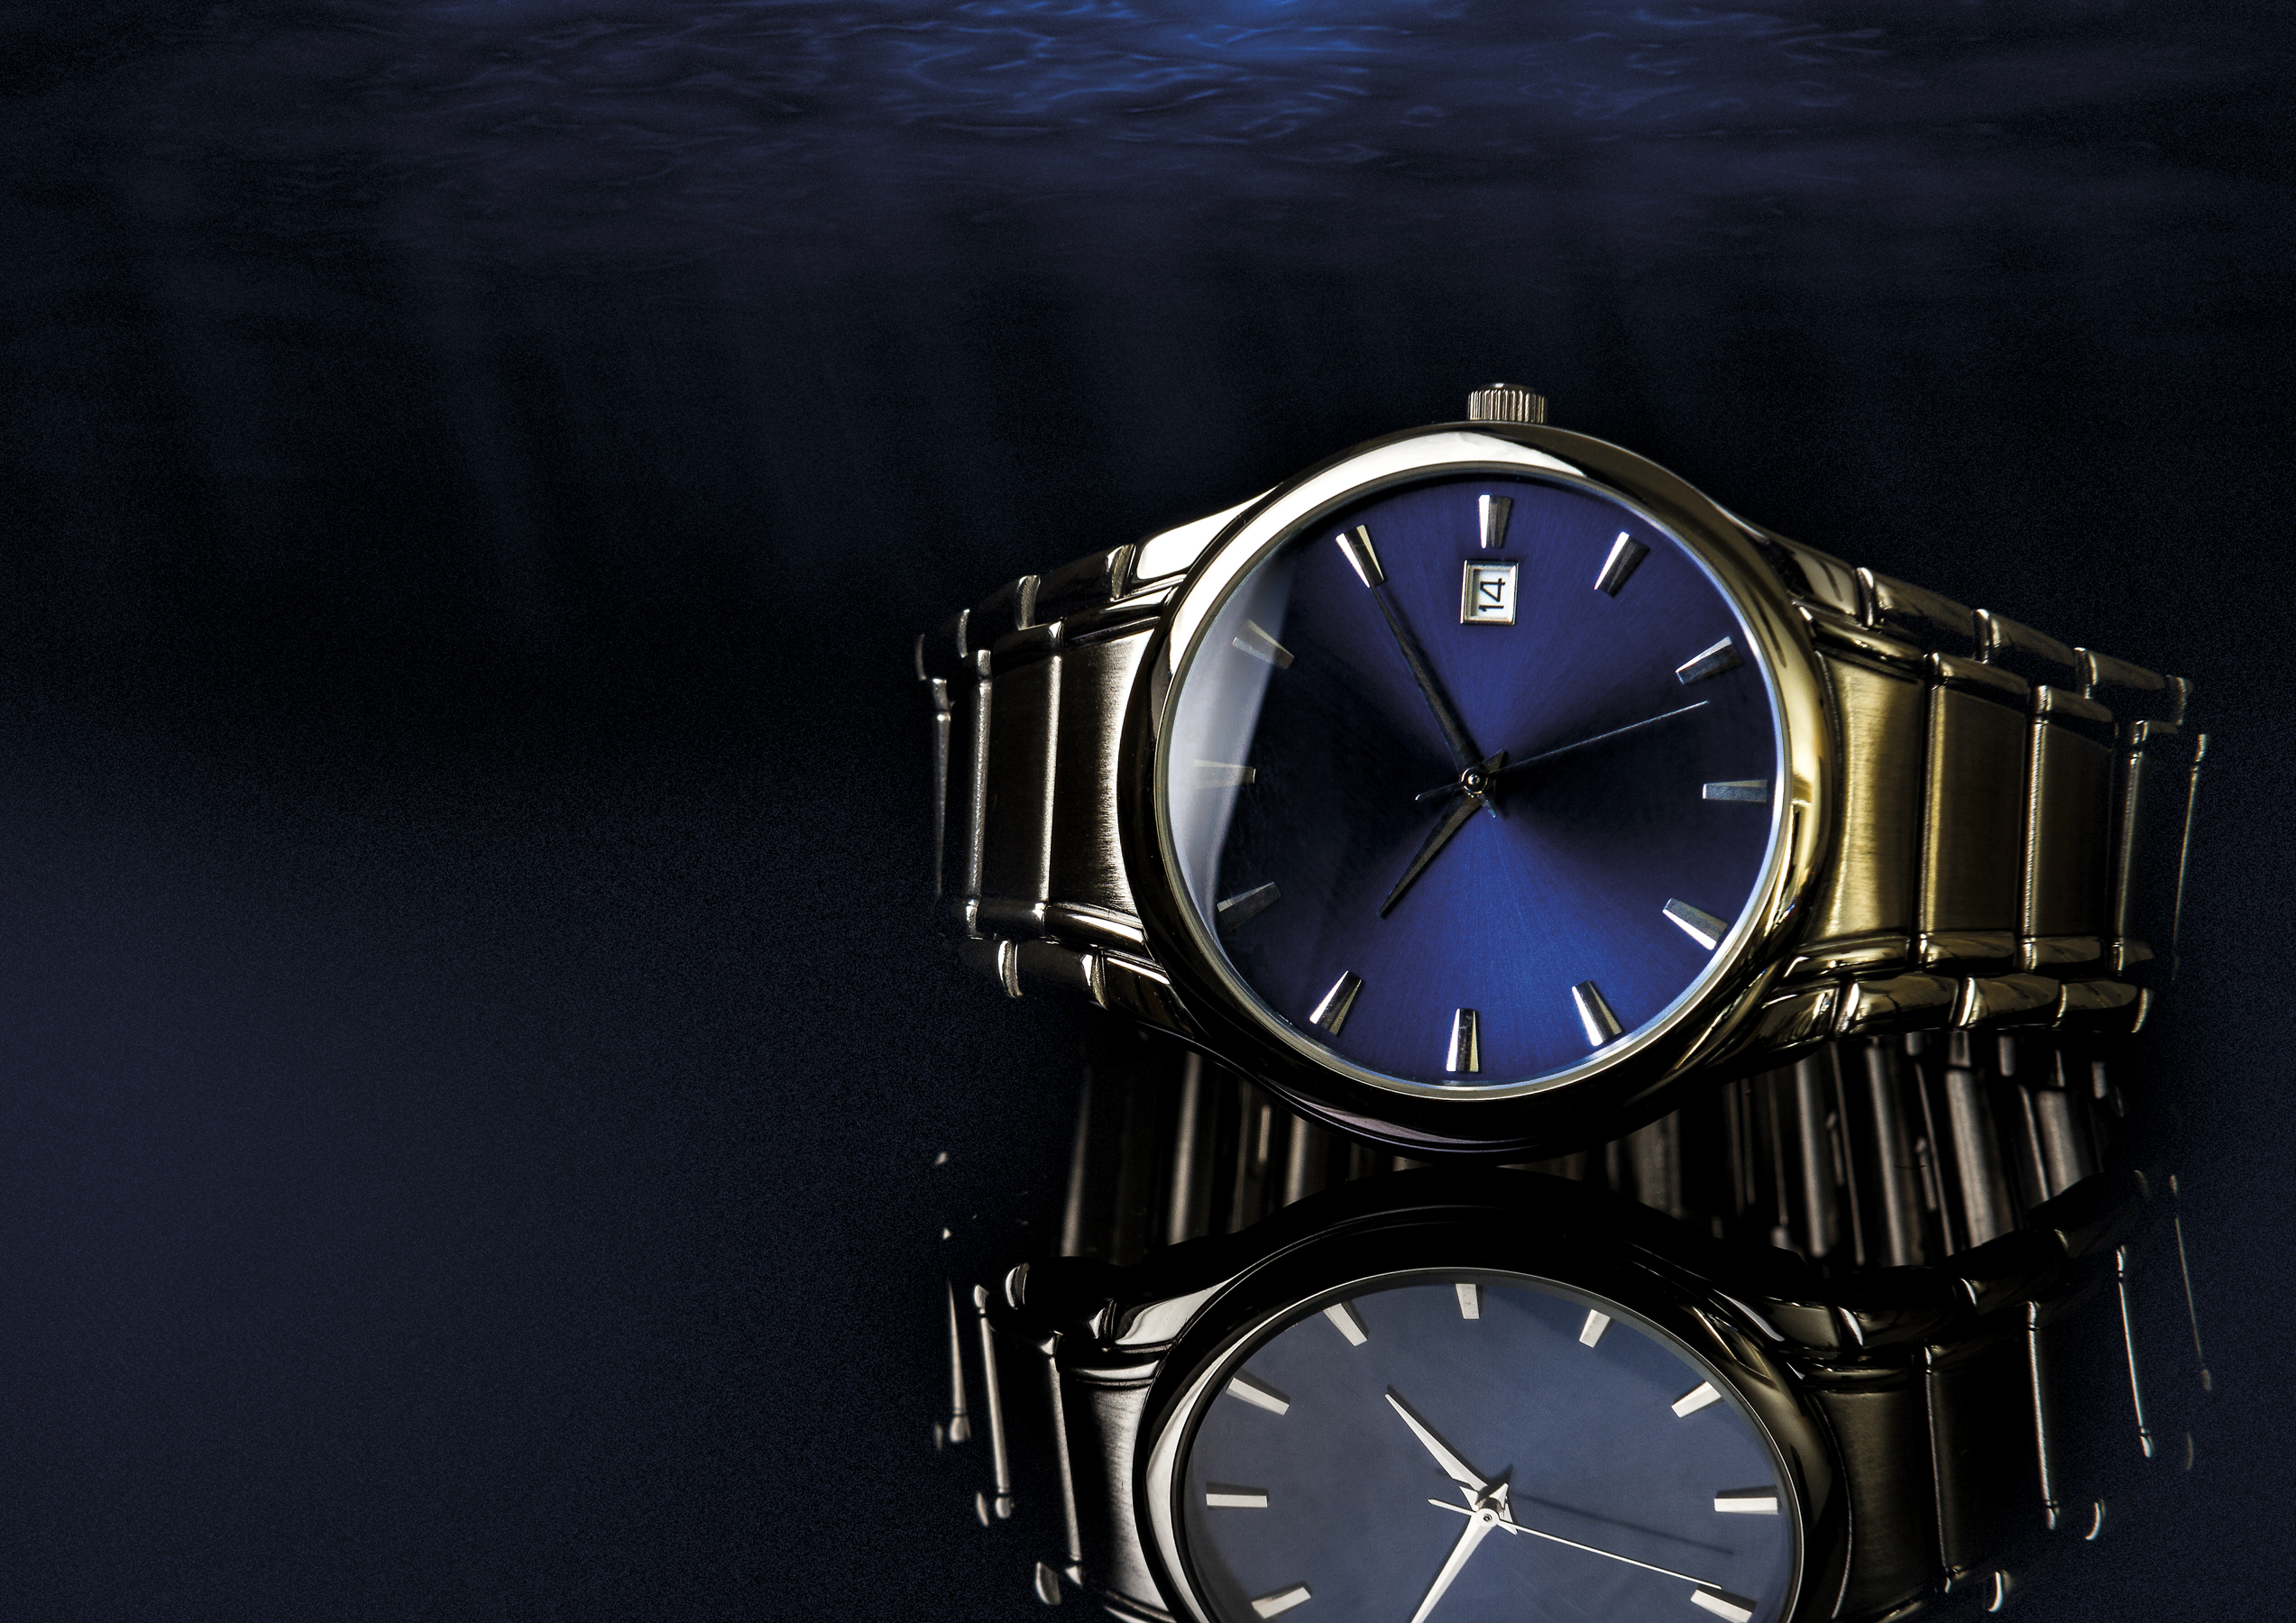
An underwater effect followed the ‘Neptune’ theme of the product’s branding, but because space was restricted and the photographer had only limited equipment available – without a dedicated studio space – a little innovation was required.
The final image made use of a combination of practical and software techniques, and a simple lighting setup in a home studio. Here’s how it was achieved…
The setup
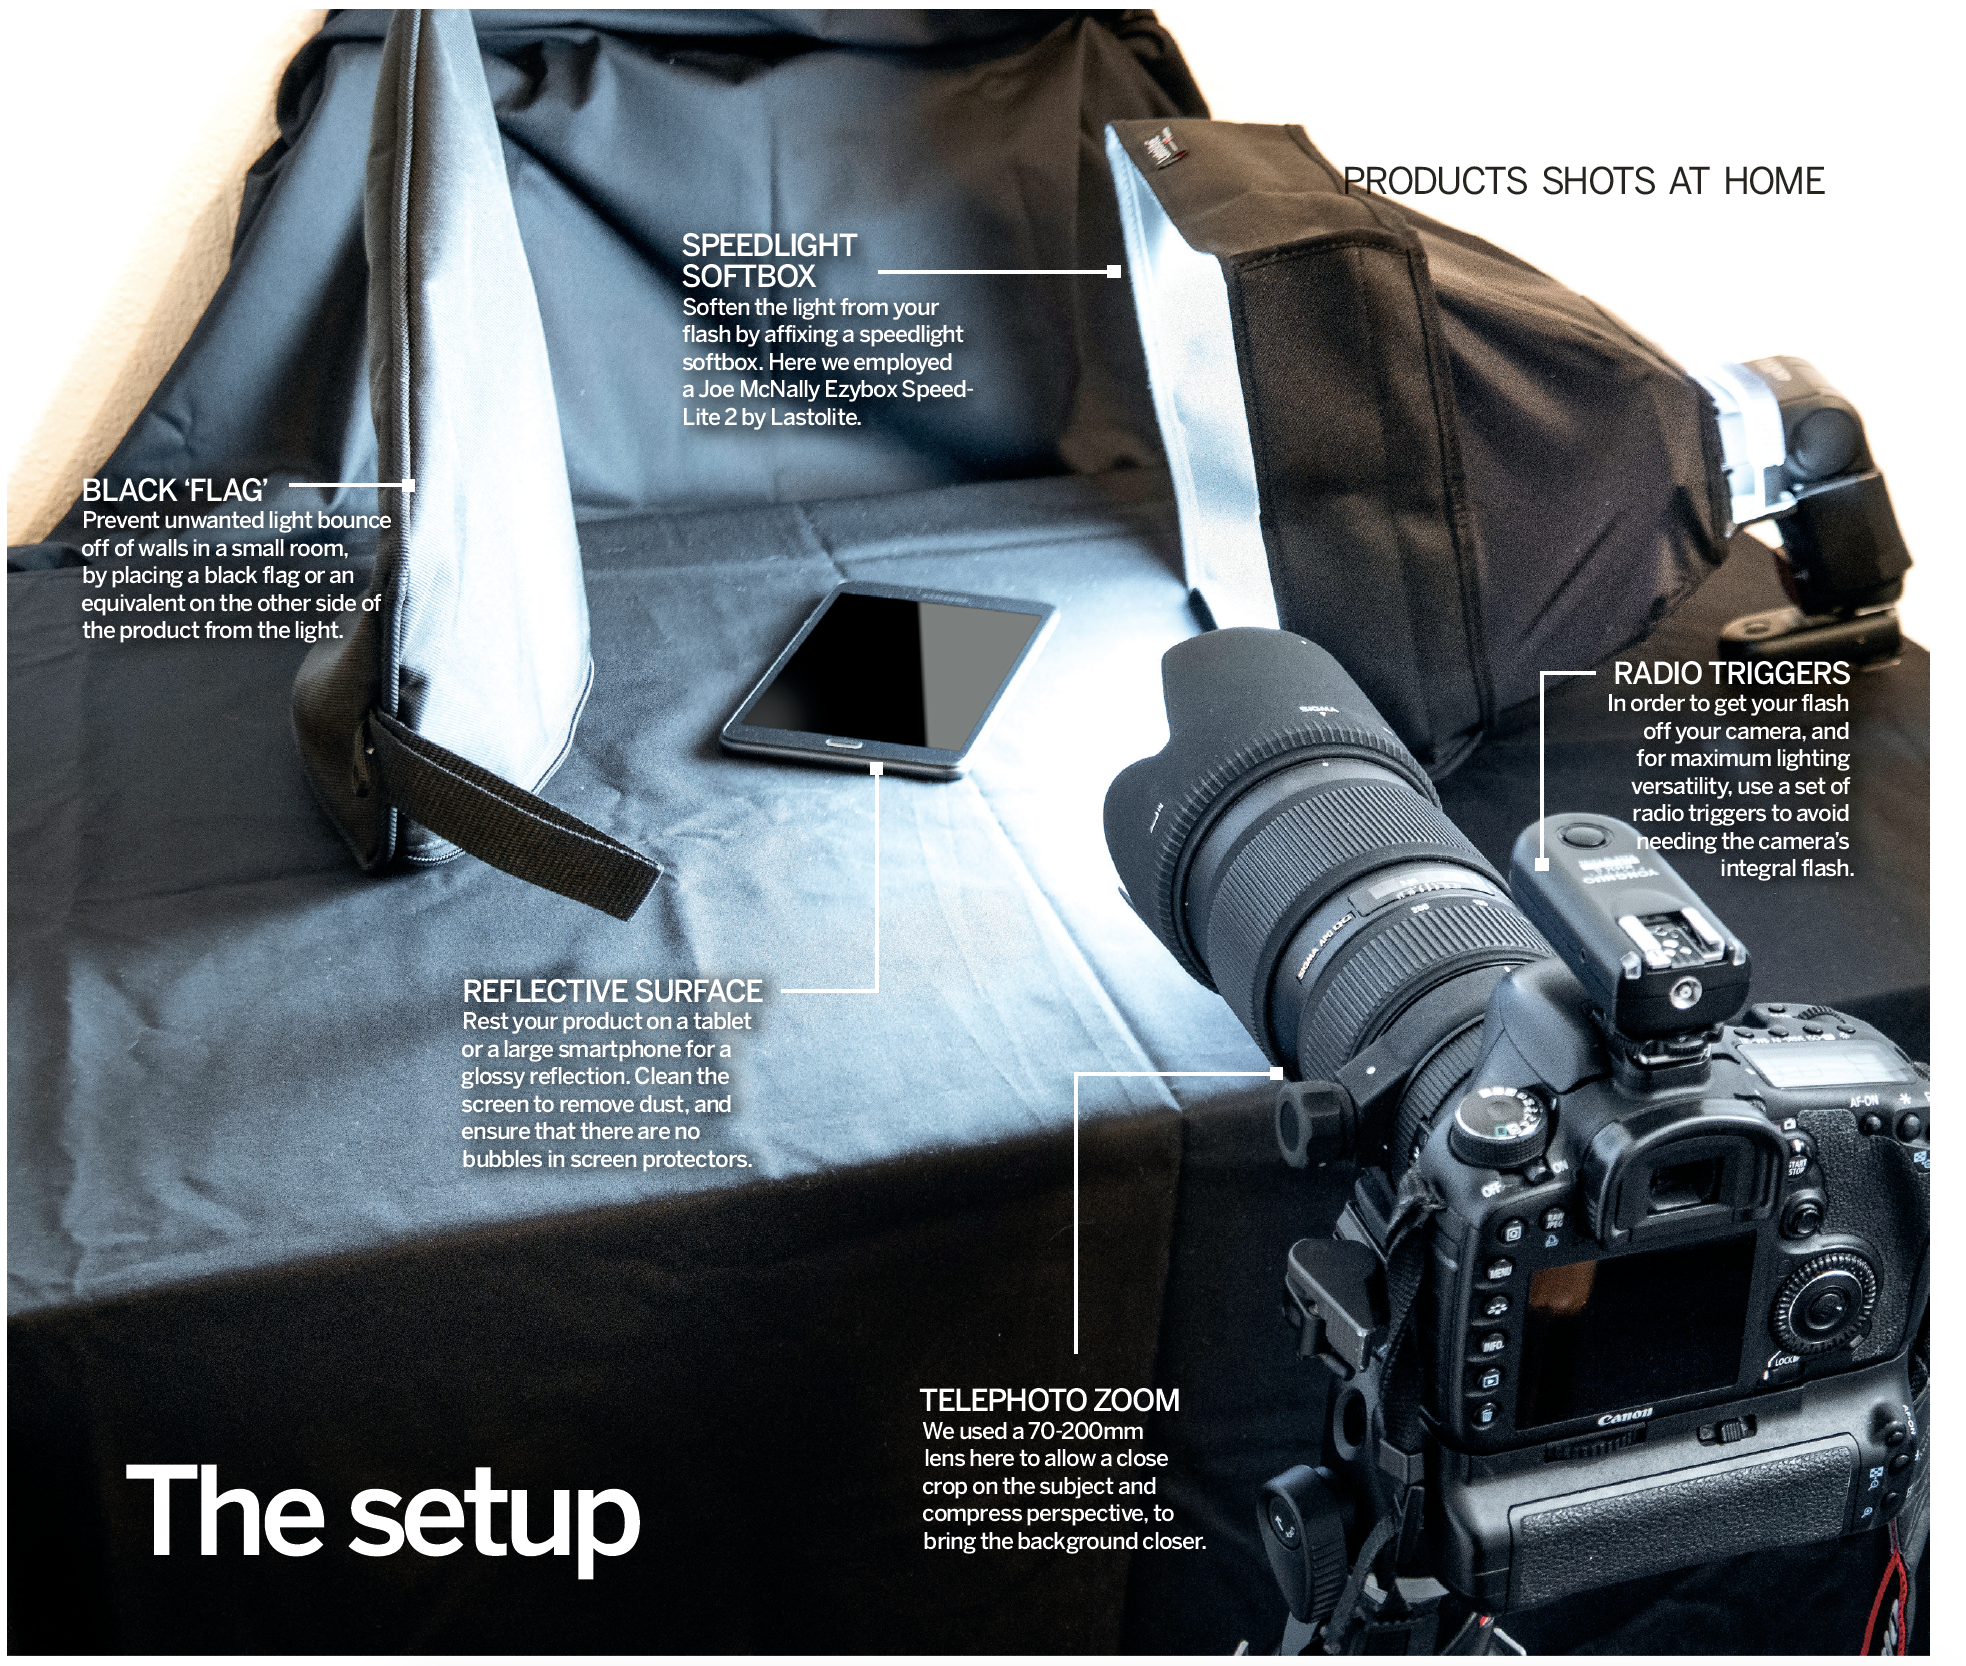
There are a few key things you'll need for this project. Primarily you'll need a telephoto lens – we used a 70-200mm, but anything between the 100-300mm range will be just fine. You'll also need a wireless flash gun with a modifier to soften the light, as well as flash triggers to fire it. Finally, you'll require some black material, some Saran wrap or cling film, and a reflective surface to shoot on.
Shooting steps
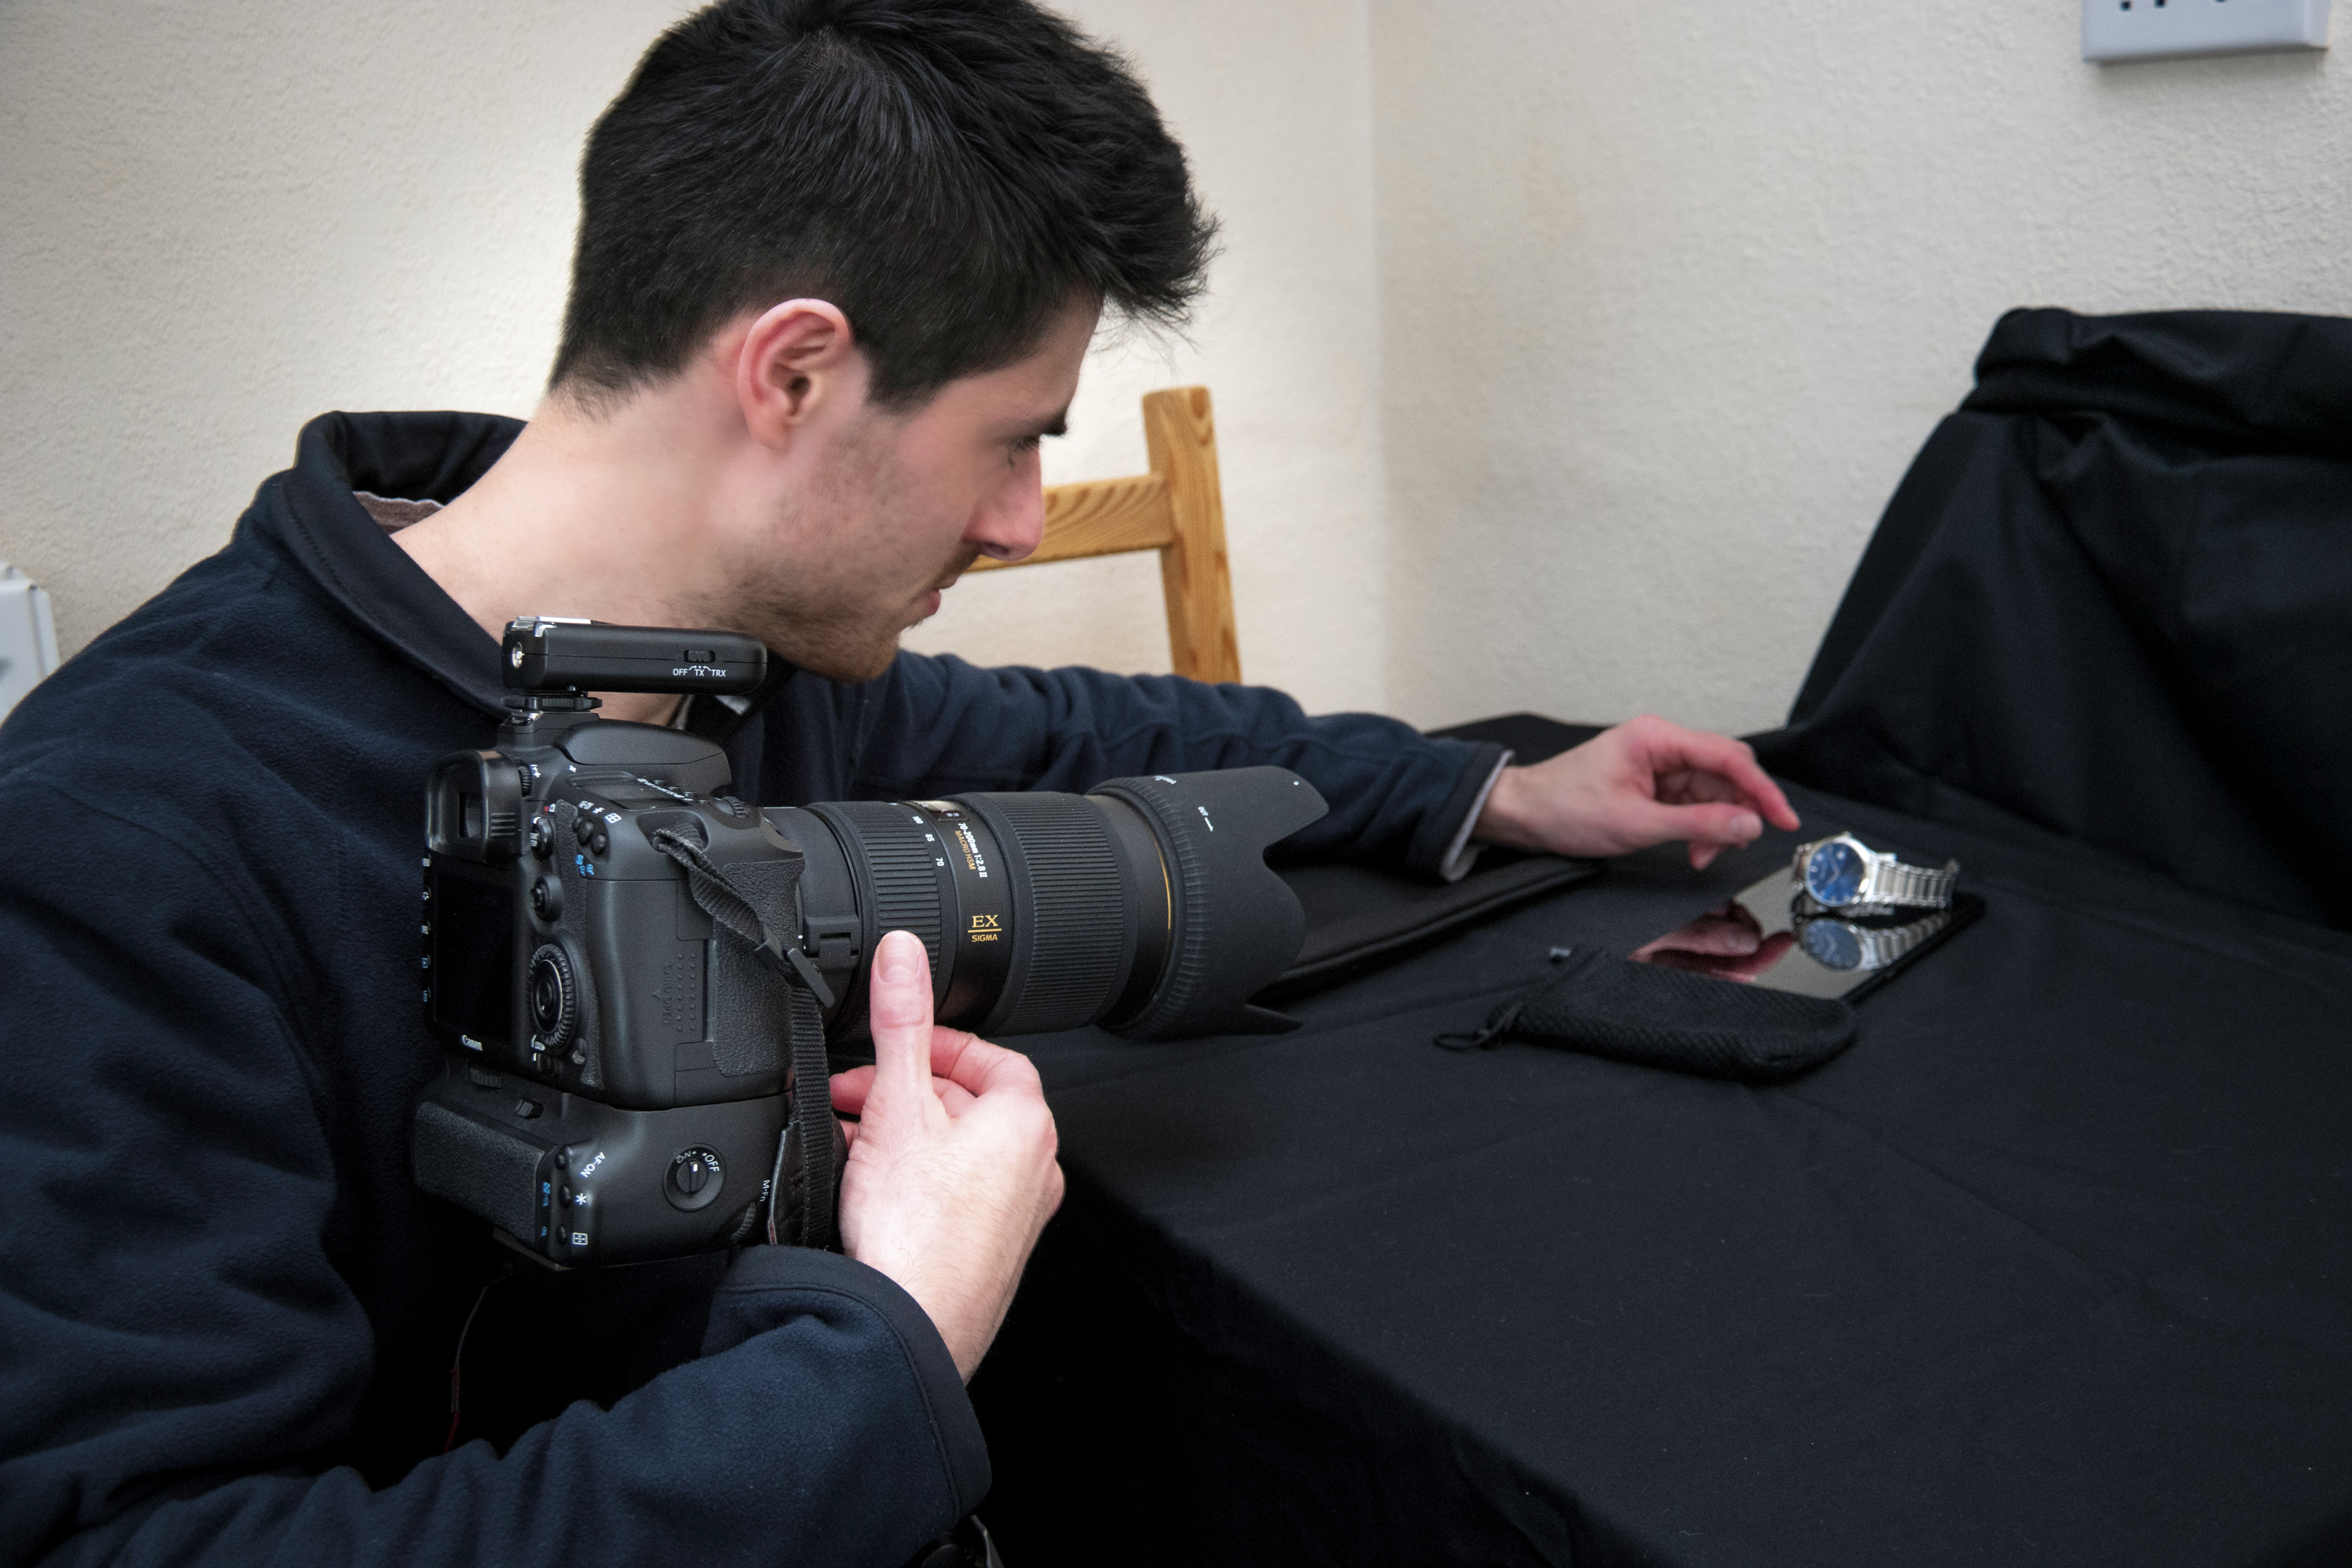
01 Position the camera
Since we’re shooting the product on a small surface, with minimal surrounding space, lower the camera until it’s at the level of the product. This will also ensure that the perspective on the watch and environment will align in the final image, after compositing.
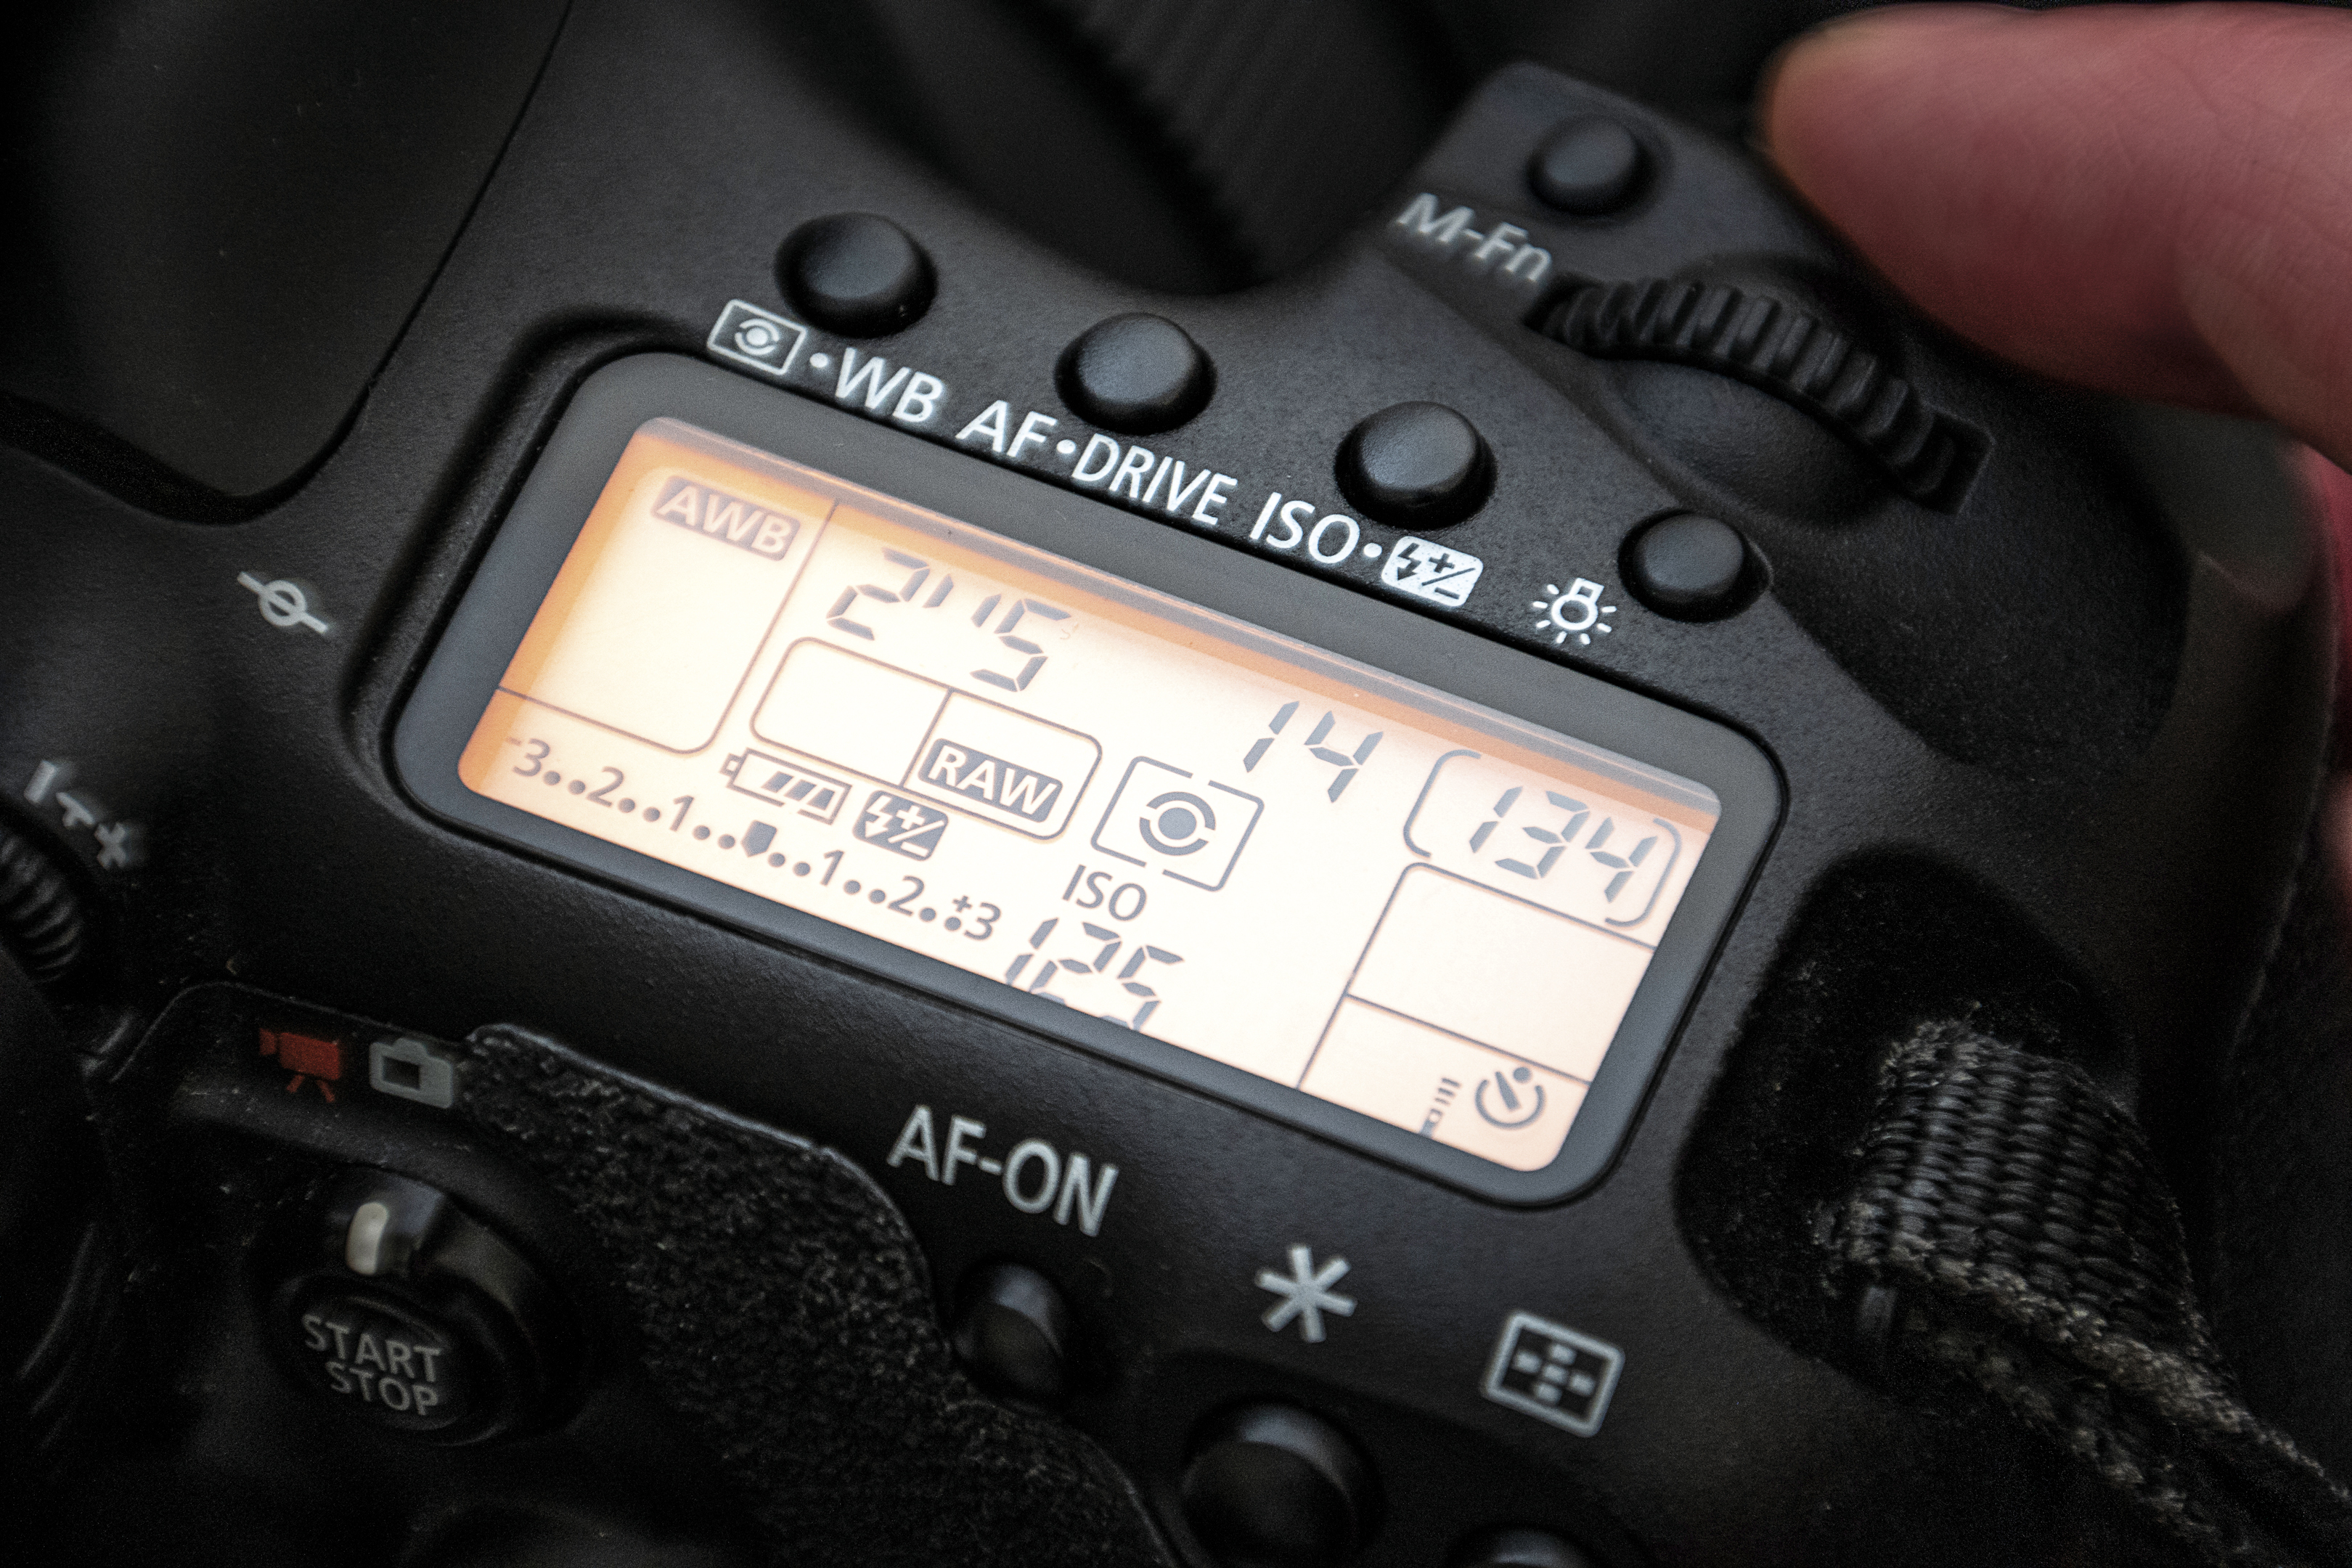
02 Set focus and exposure
Take a meter reading from the product using spot metering to avoid confusion with the black background. Switch to manual mode and lock these settings in to avoid unexpected changes. Focus on the subject, and then switch to manual focus for fine-tuning and to prevent refocusing between shots.
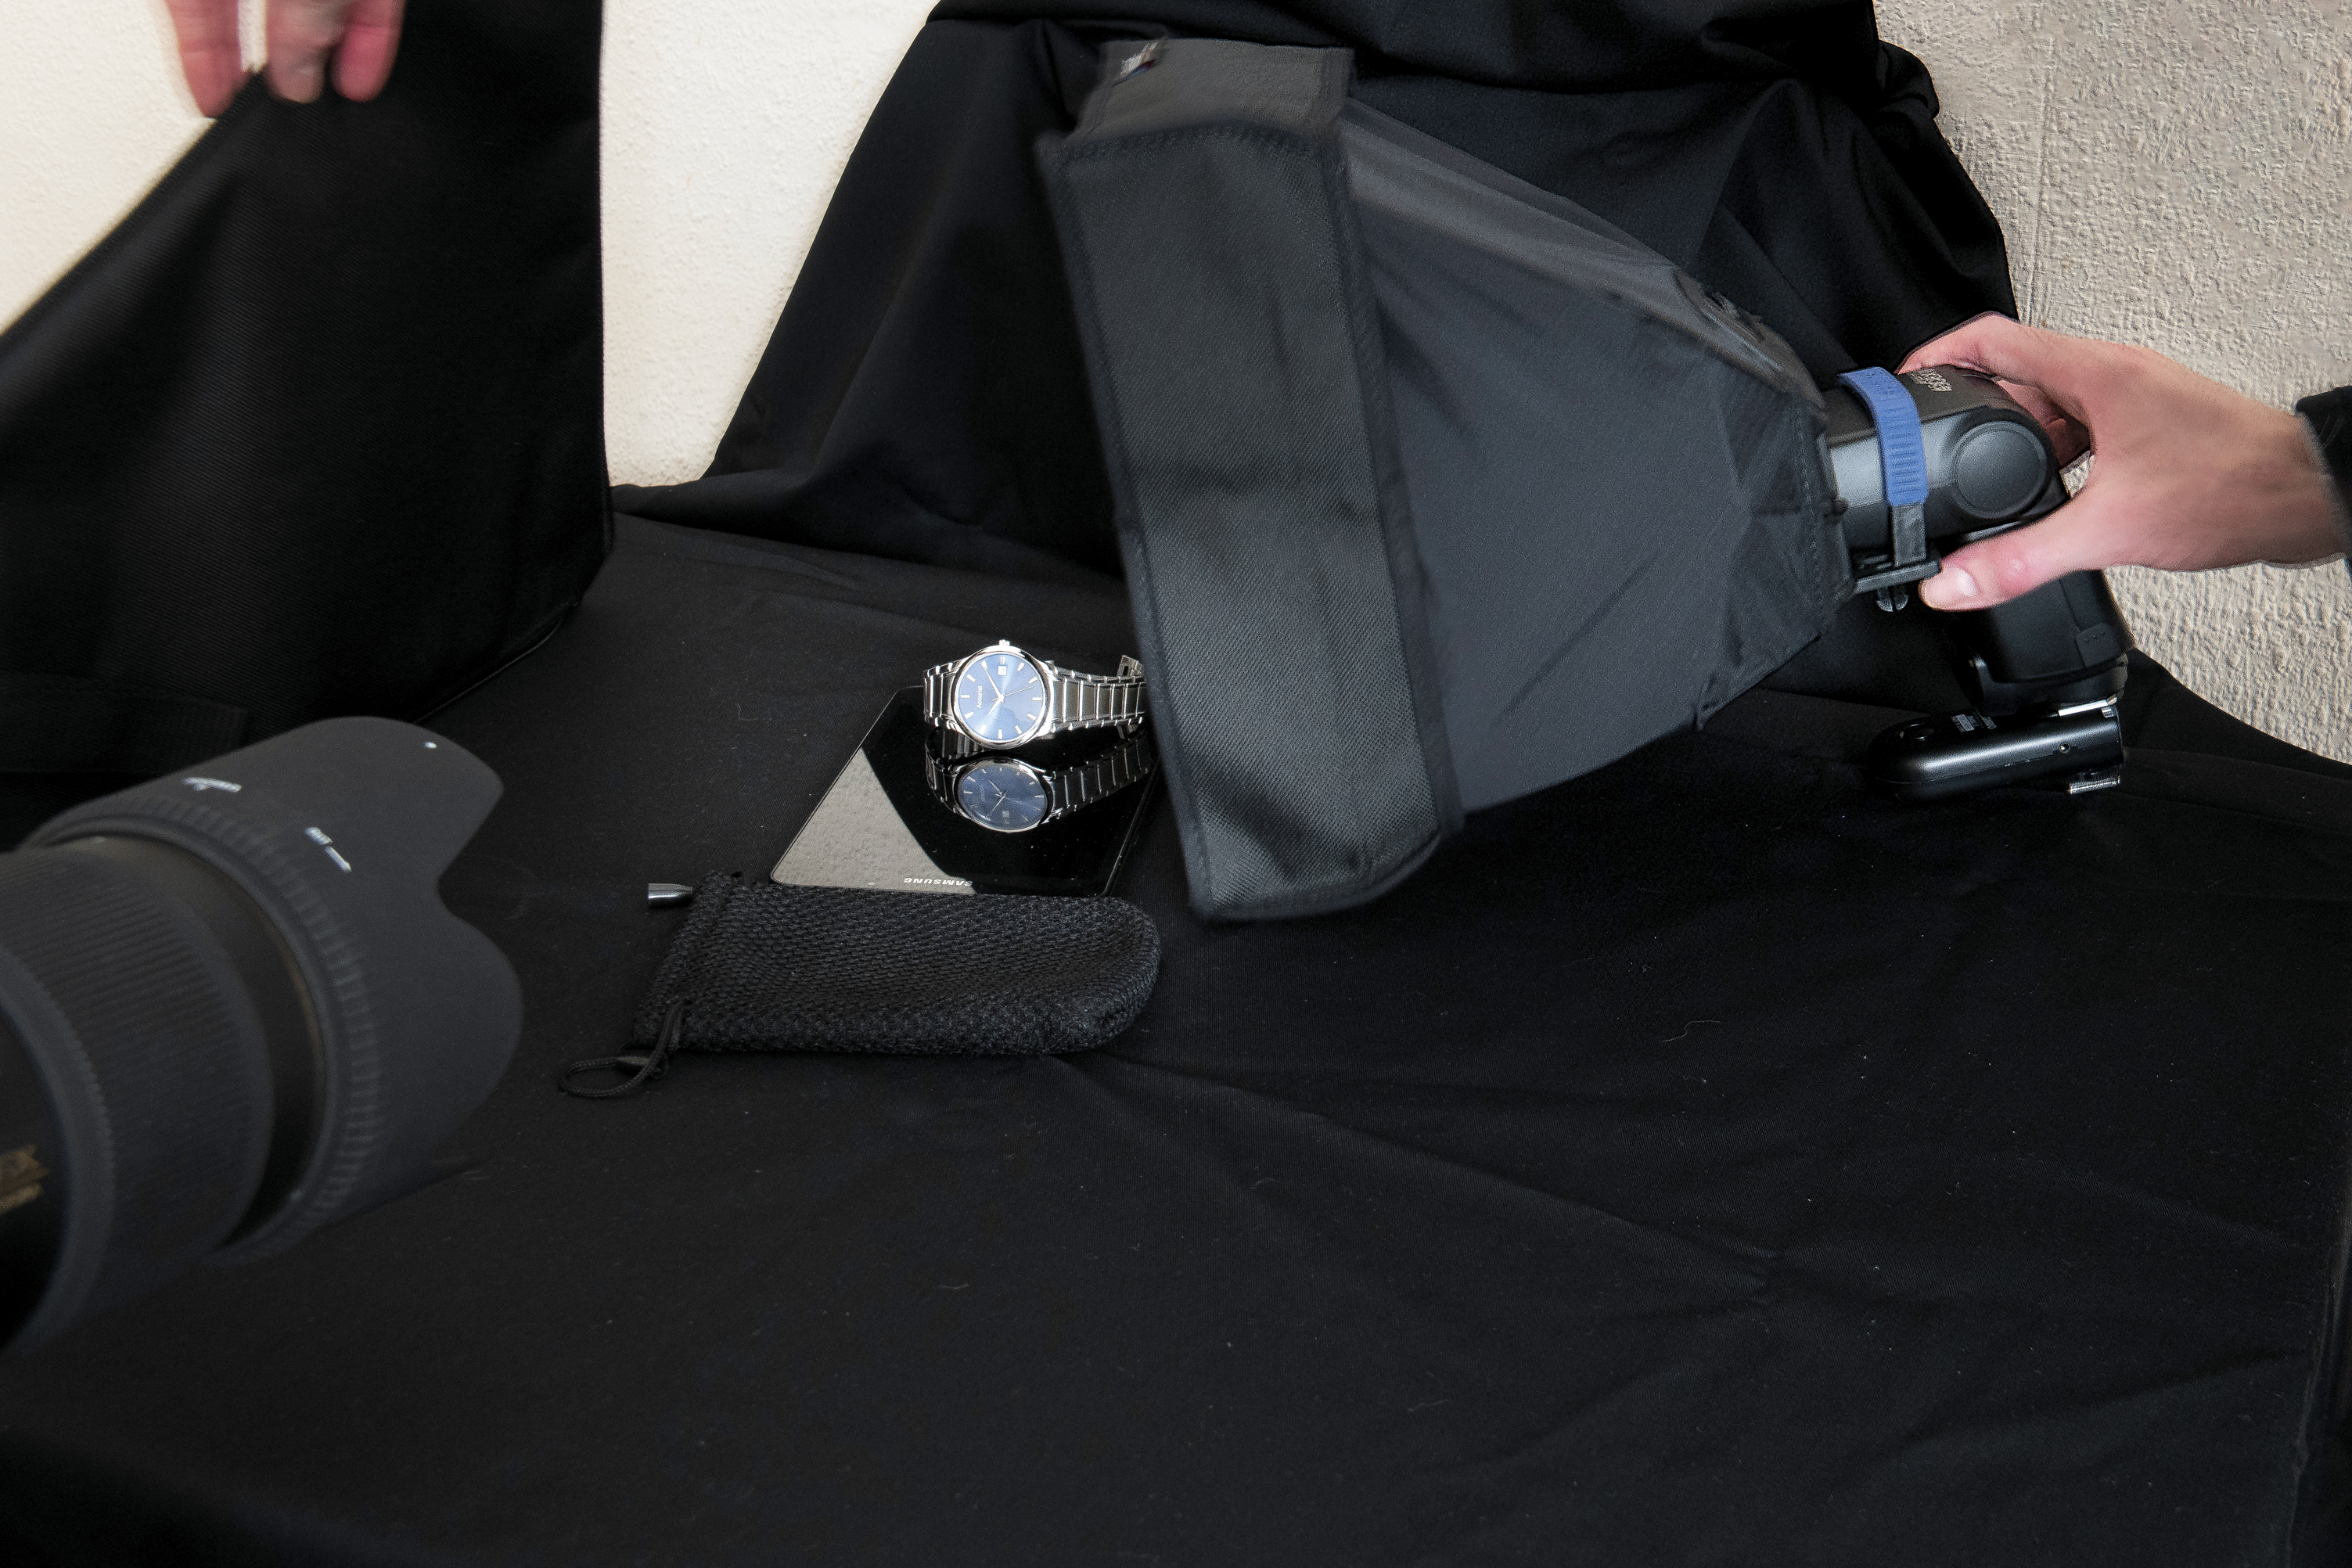
03 Light the product
Position the speed light to one side of the product and take a test shot. Then move the light around to try various lighting effects, which can be blended together later if necessary. Here one light was used to light both sides and above the product.
04 Adjust flash power
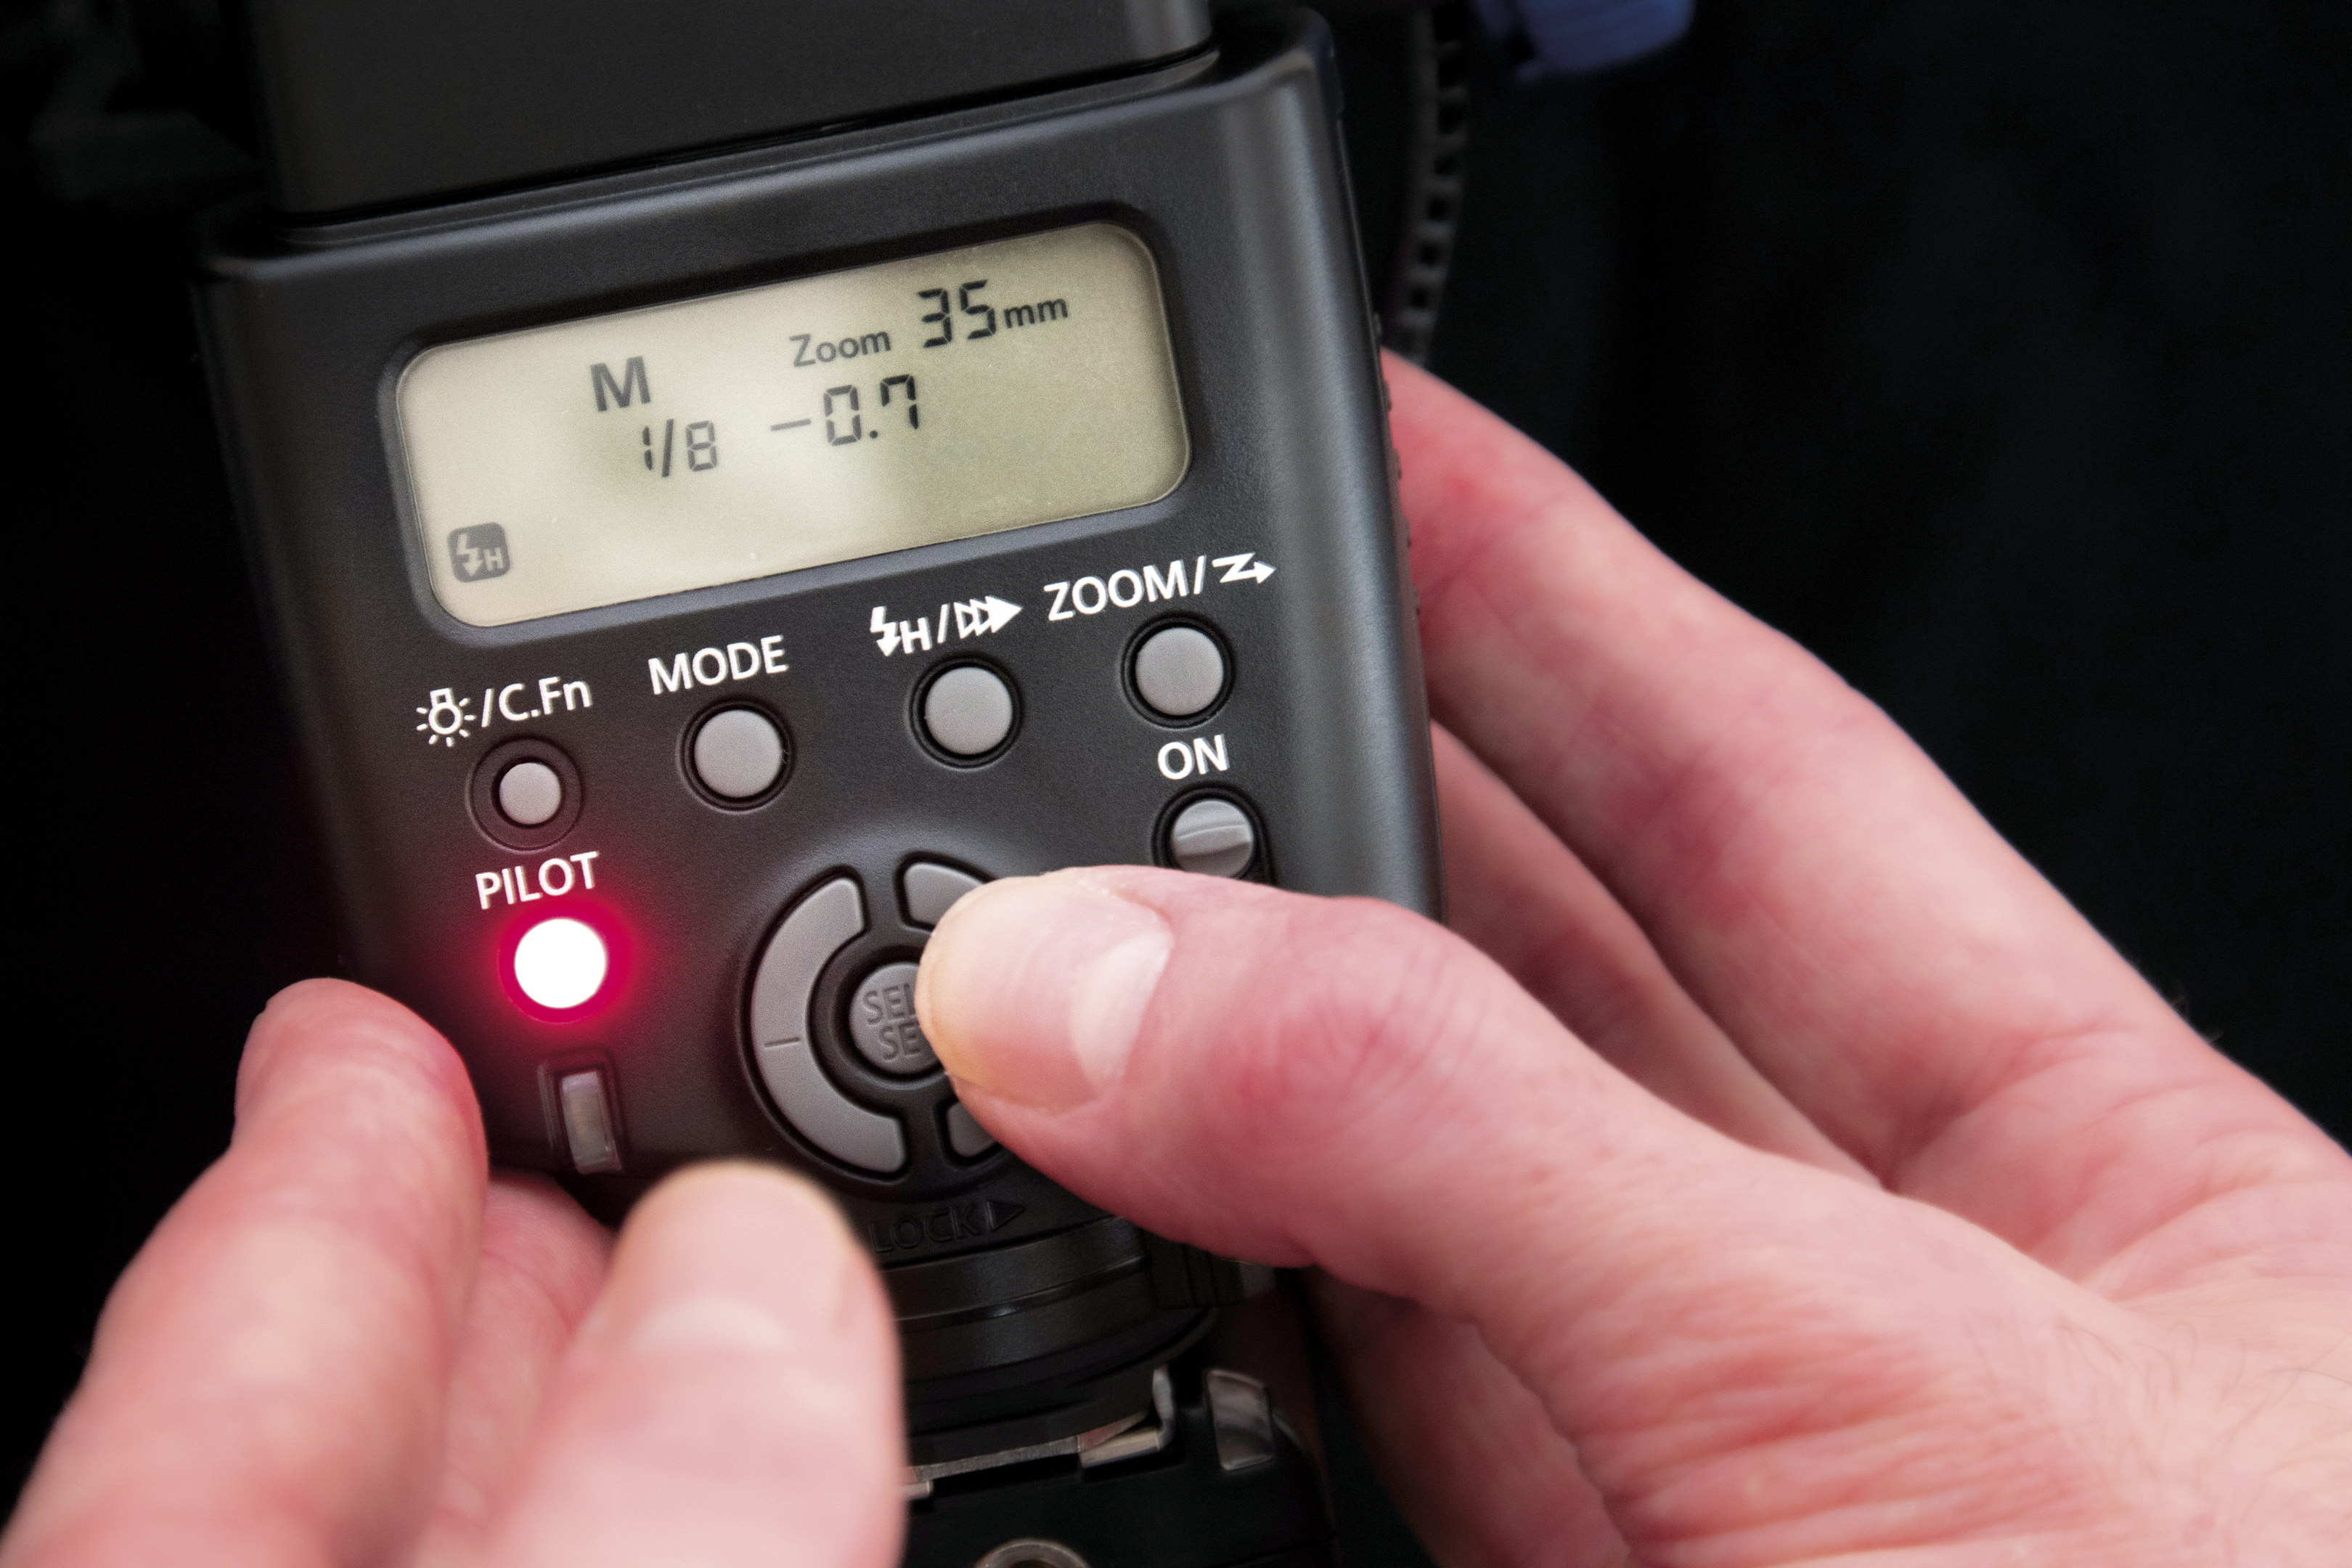
Start low and progressively increase the flash output until it overpowers the ambient light in the room. Move the flash as close to the subject as possible for to provide wrapping light, and feather it by turning the light so that it only grazes the product, to better control contrast.
05 Vary light structure
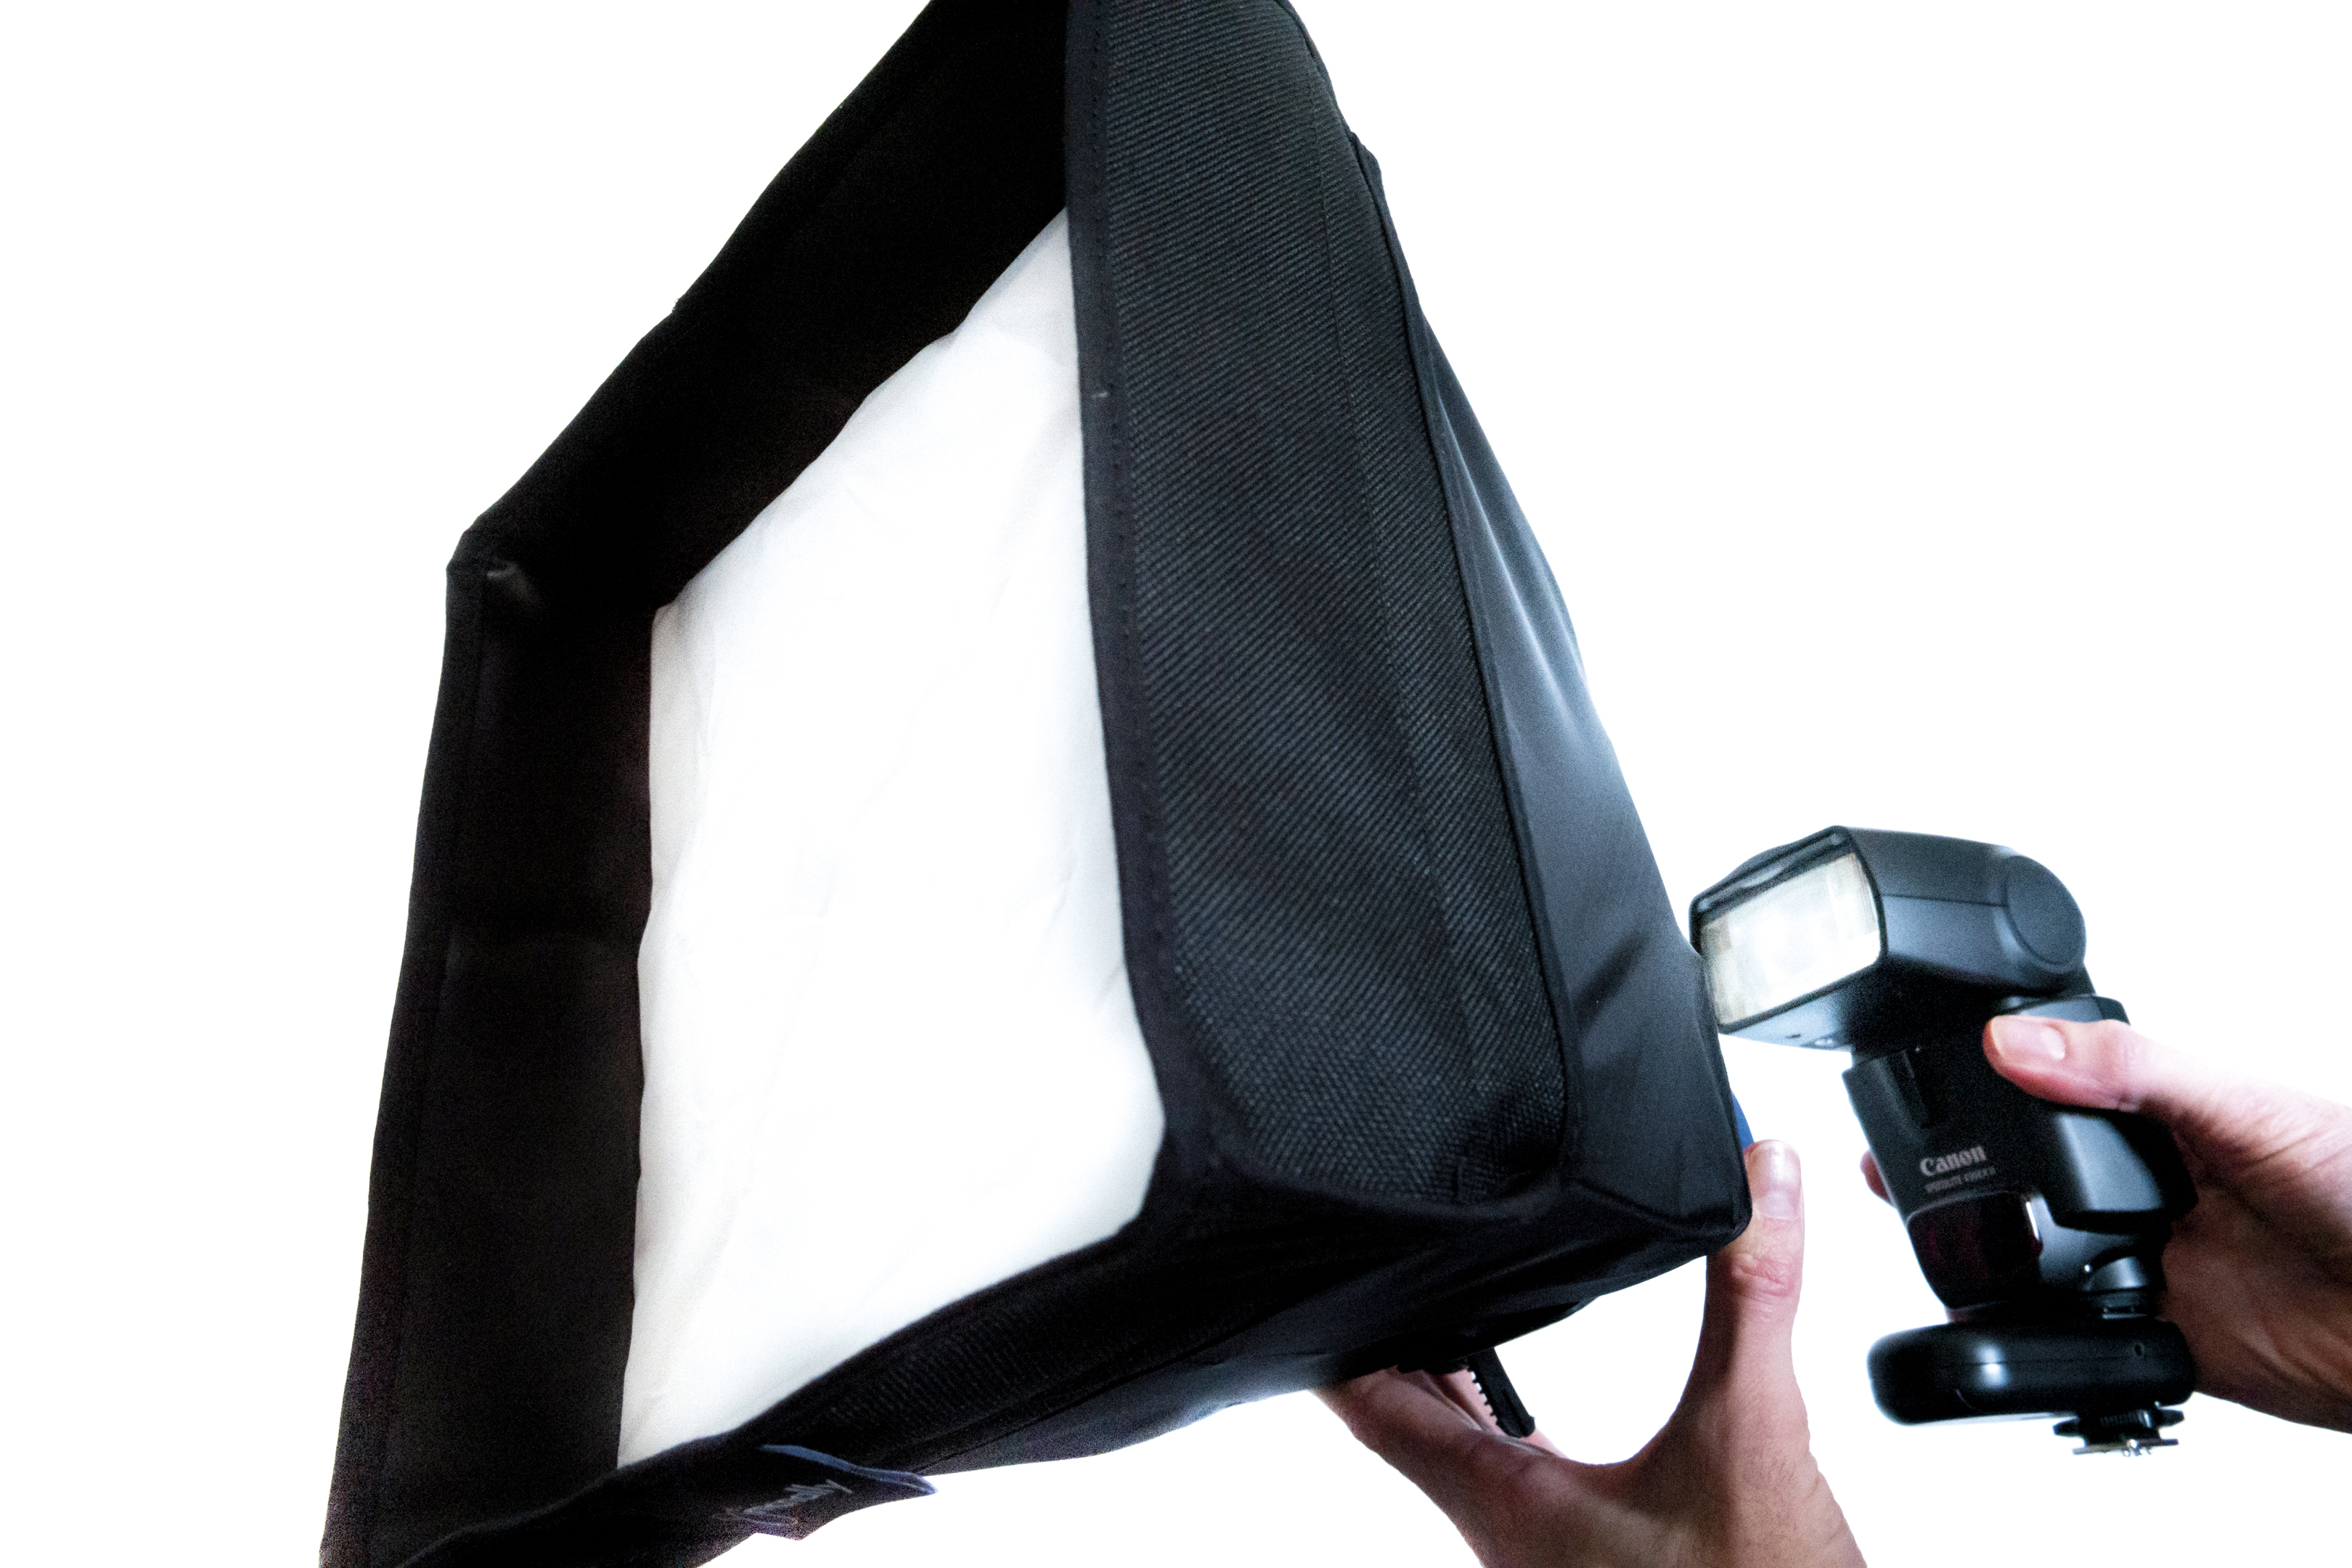
Modify the light's hardness by changing the distance between the flash and the subject and by shooting with and without the diffuser. This can produce various shadow and highlight shapes on different areas of the product, which can be combined during post processing.
06 Check depth of field
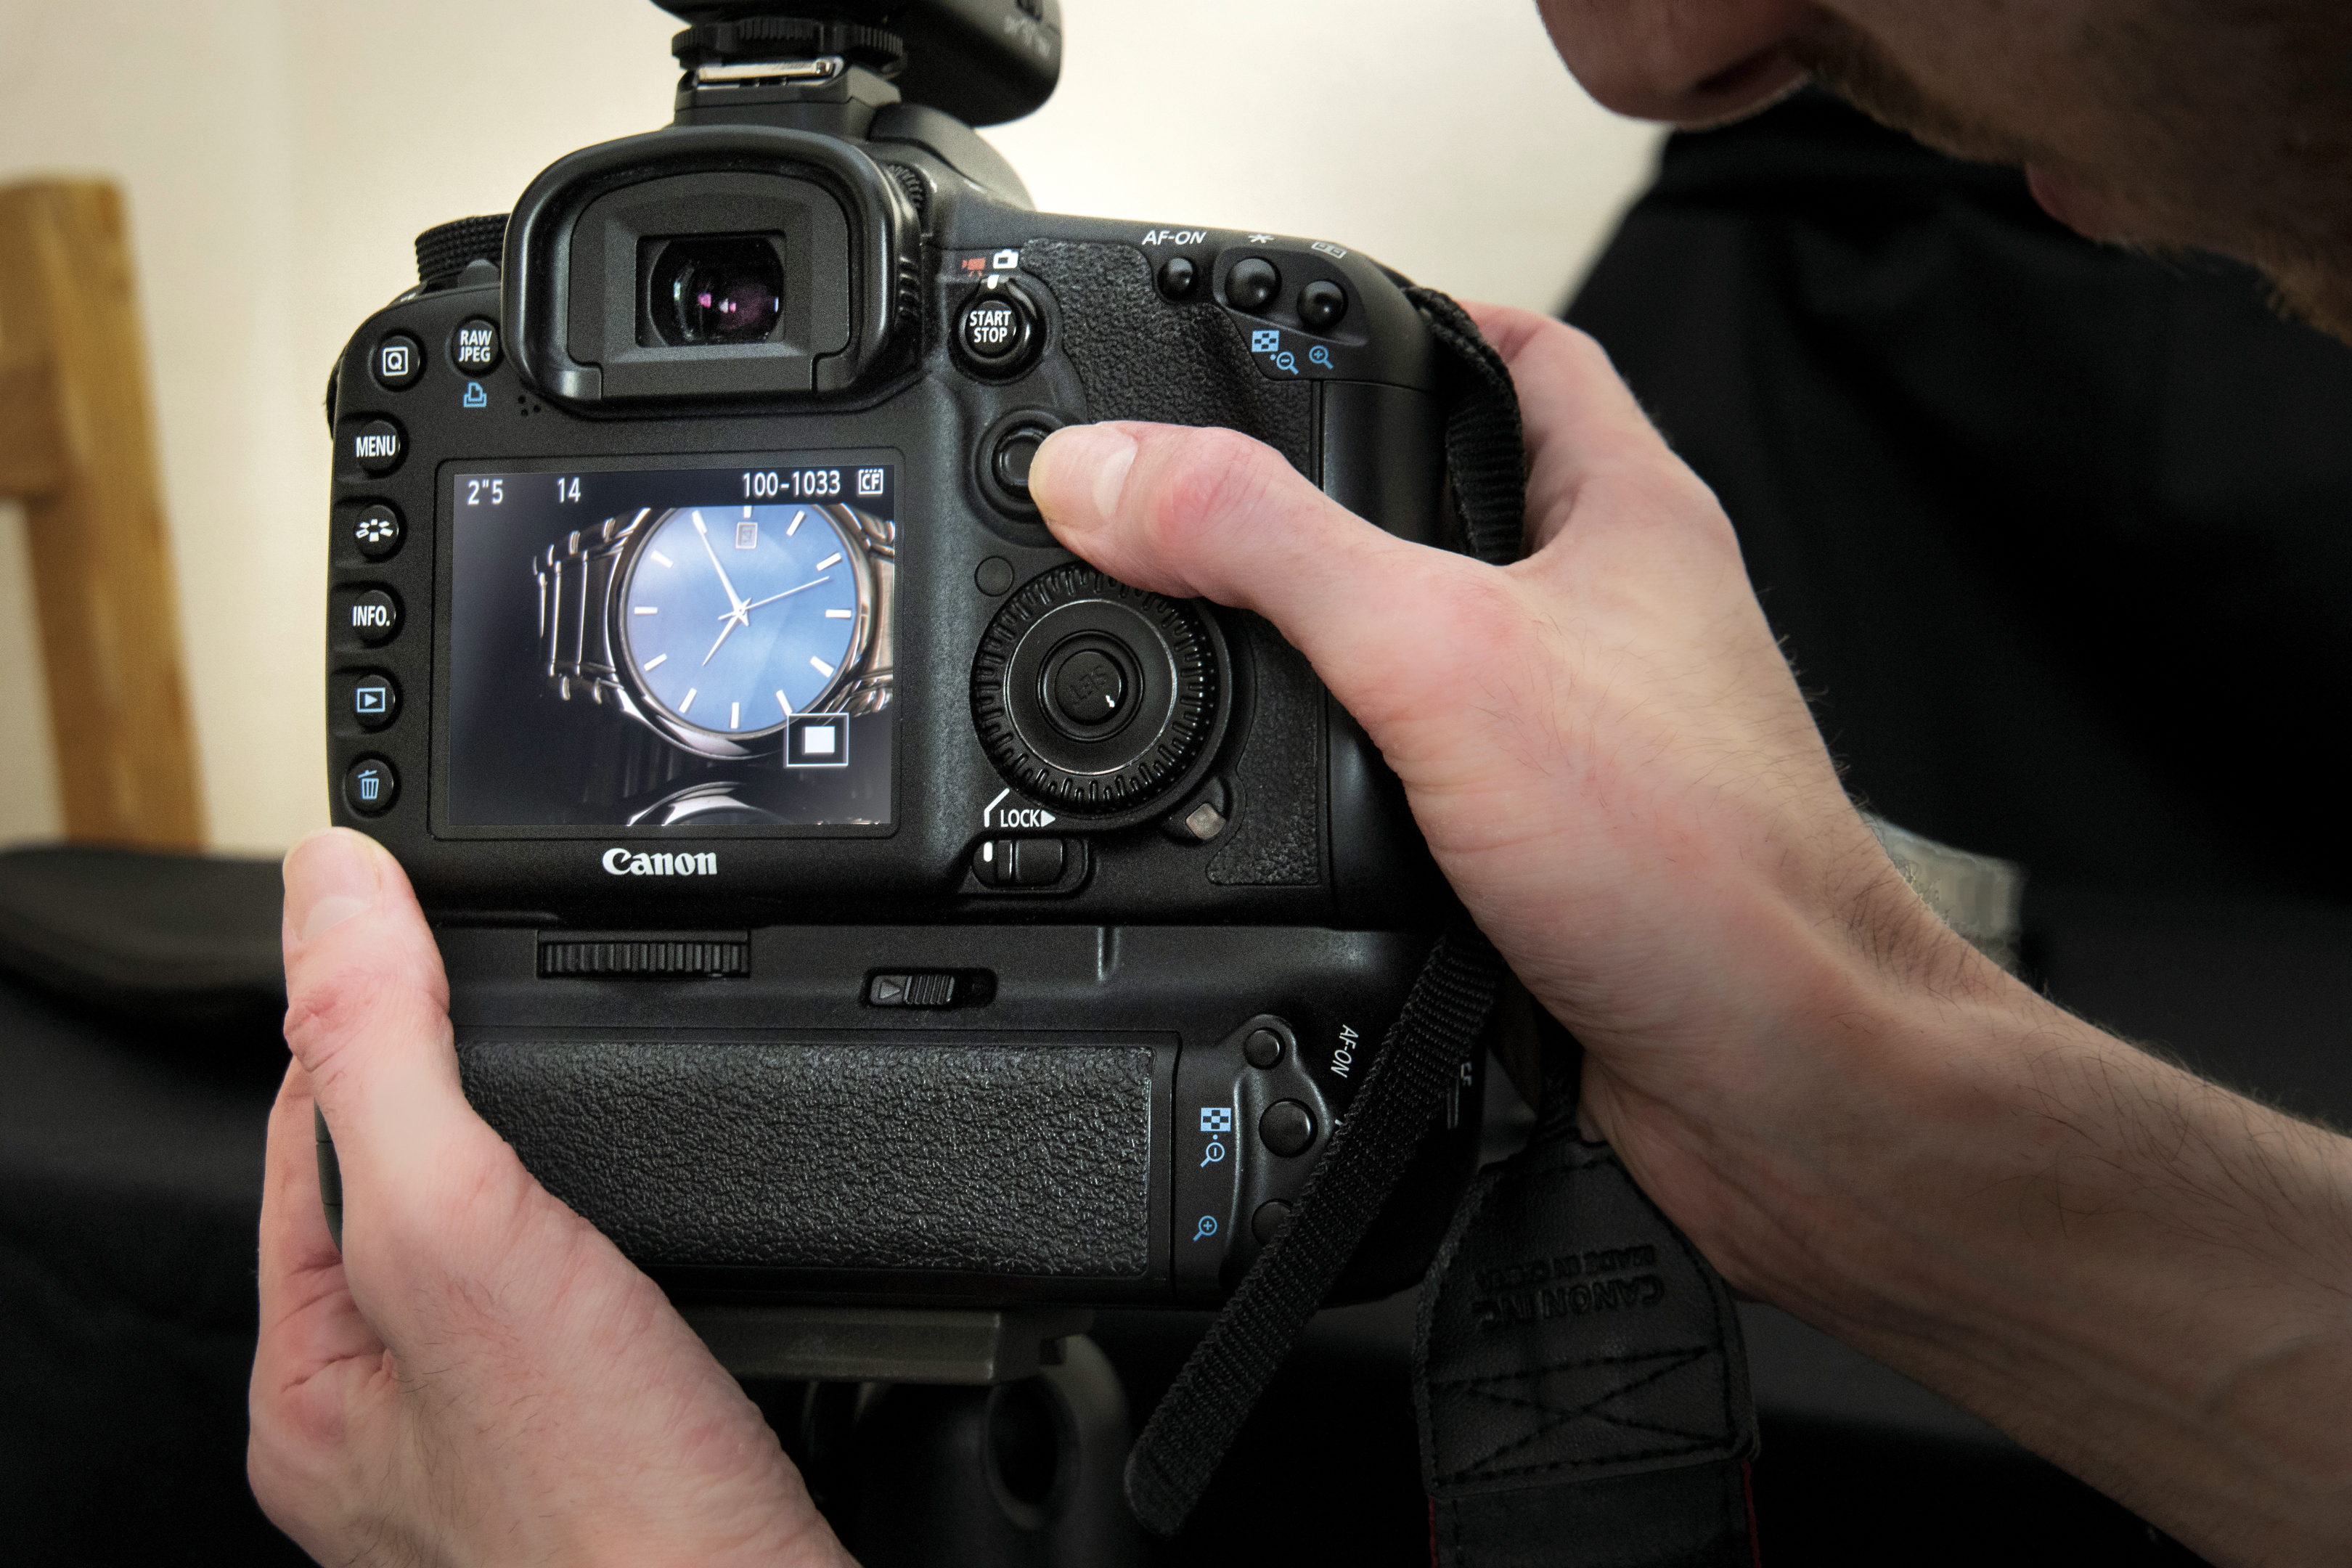
With product photography, sharpness is of paramount importance. To ensure that the watch fits with its environment in the final shot, it needs front-to-back sharpness. Stop down to at least f/11, zoom in to 100%, and perform a quality-control check.
07 Simulate a water effect
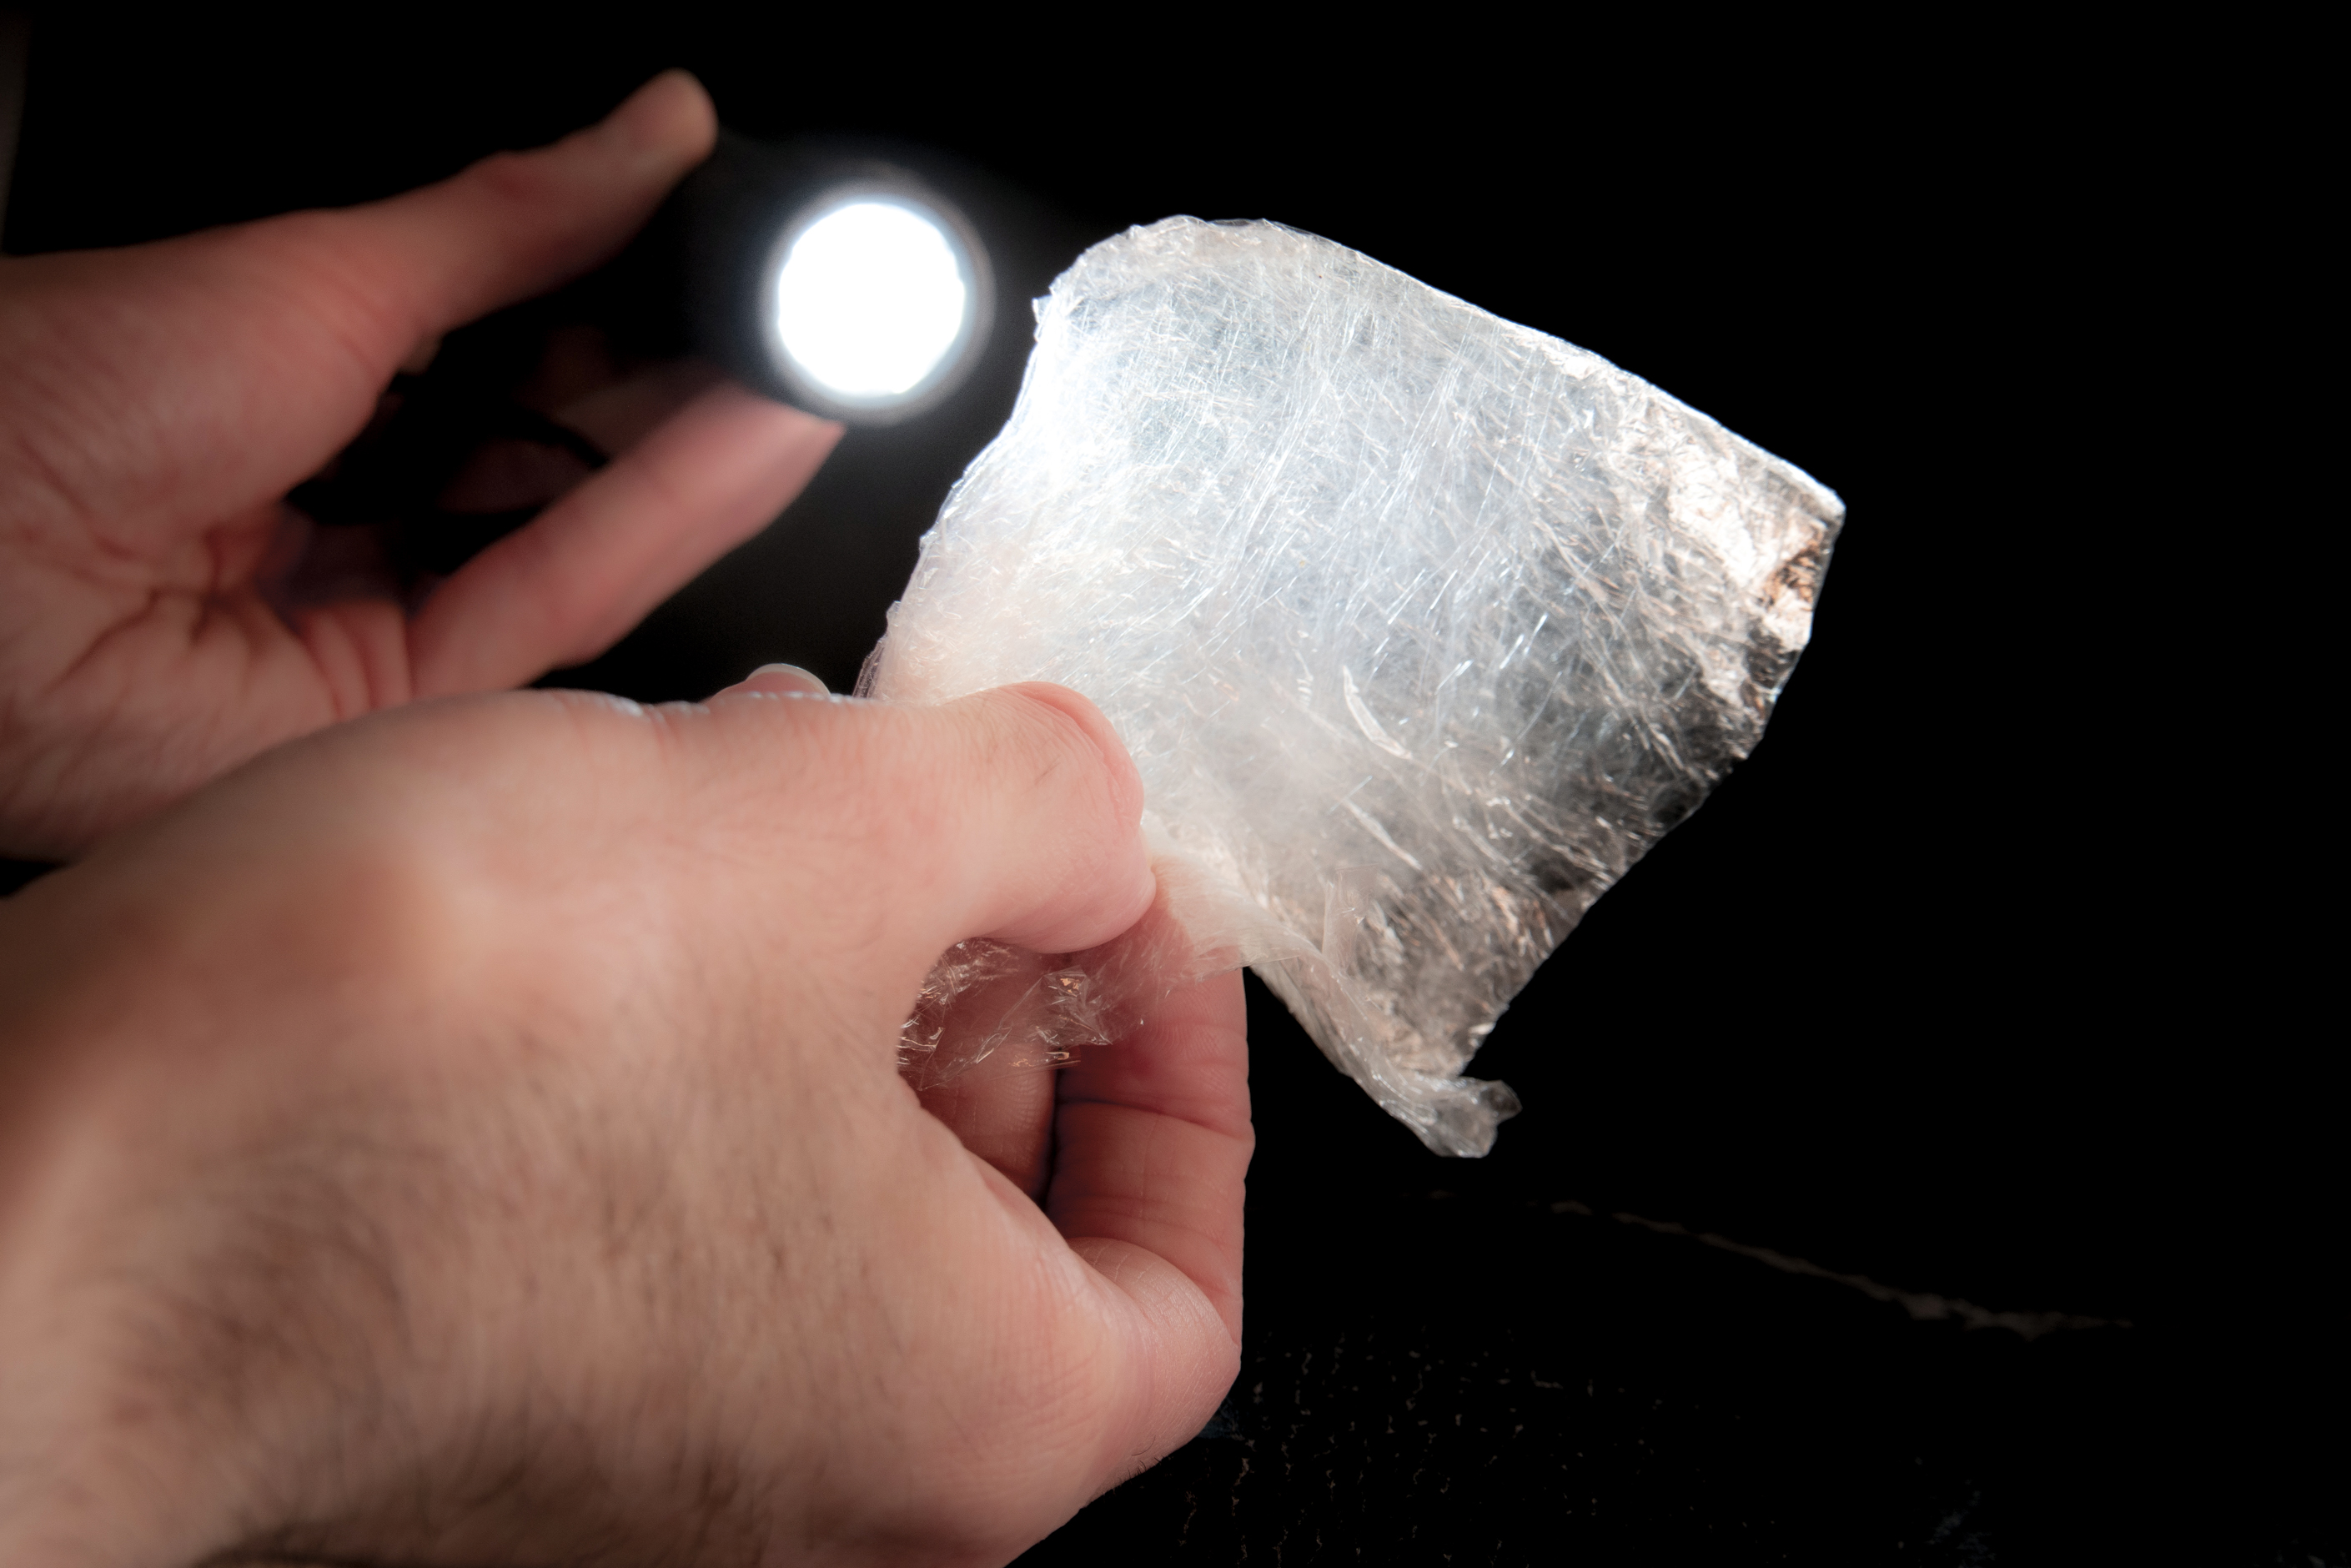
For the final image we want to create the appearance of being underwater and looking up at the surface. So we'll need to shoot an image to use as a layer that possesses this look (step 4 in the editing process below).
To produce this effect, take a piece of plastic wrap from your kitchen, fold it several times to increase its opacity, and place it against the black background. Light it from behind using an LED torch, and fill the frame with it using your zoom lens; the background can be easily removed later in processing. Try varying the number of folds to achieve different effects.
Editing the shot
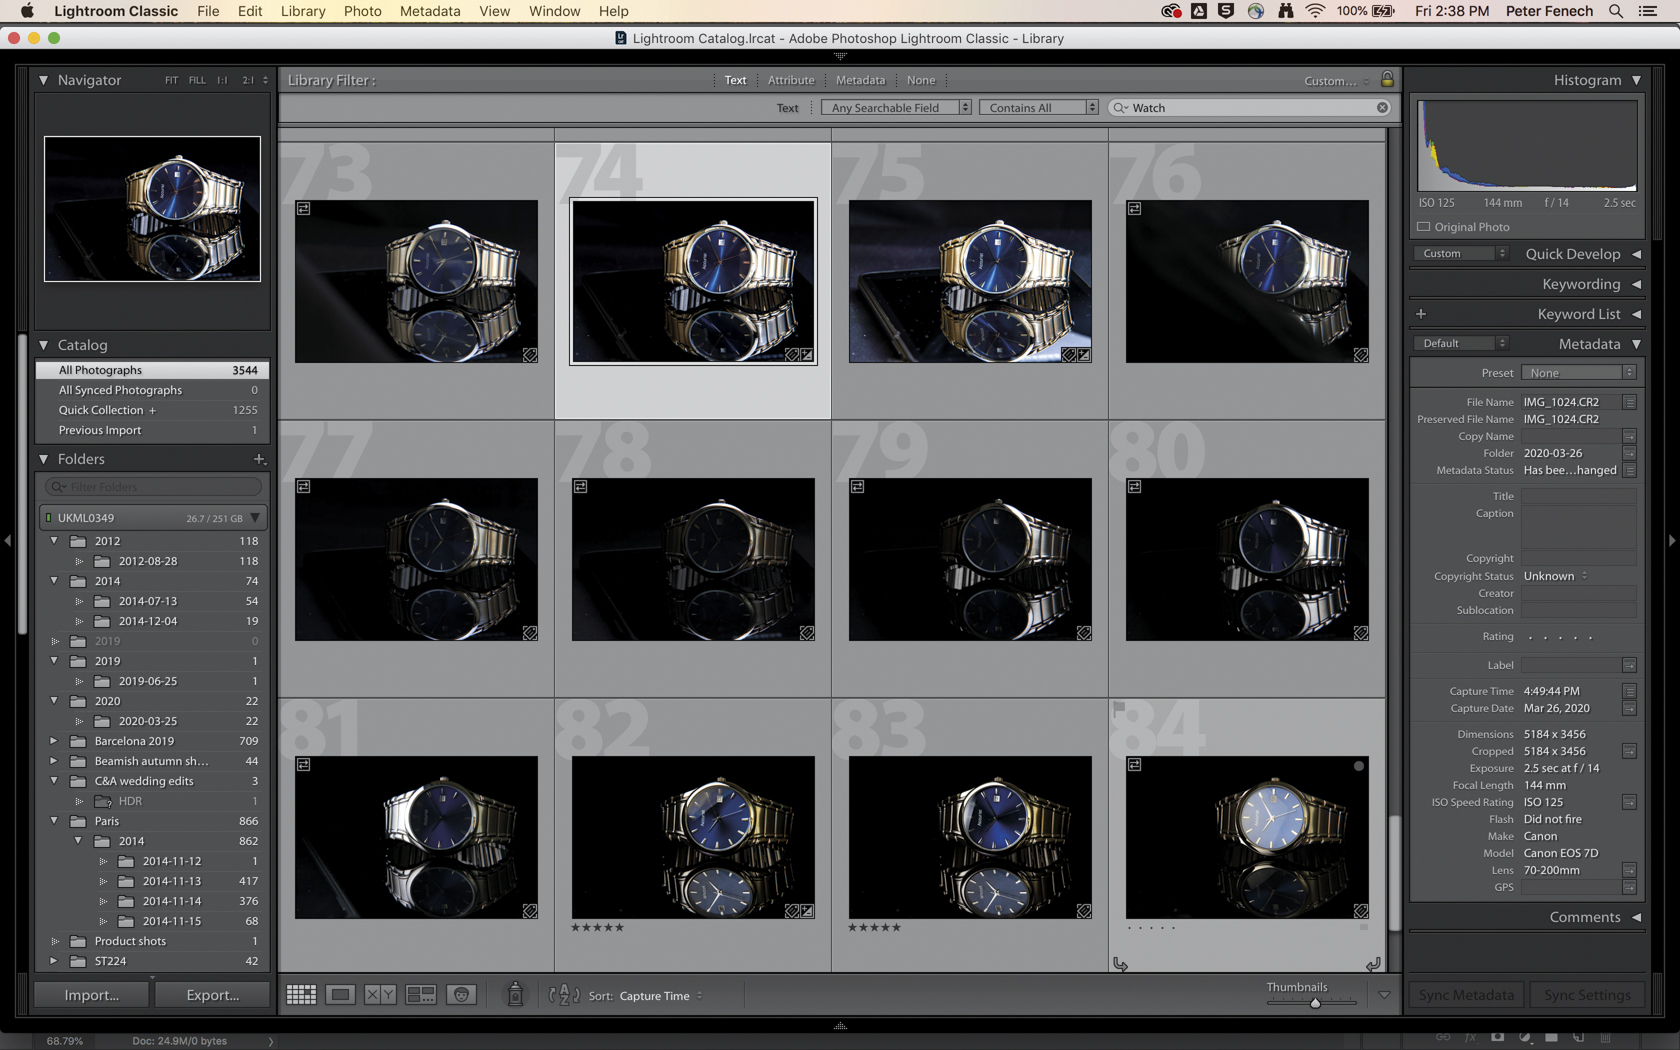
01 Import images
Import your product images into Lightroom and view them all in grid view to assess the lighting style in each frame. By changing the light position while shooting on a tripod, you will have the same composition but with multiple light directions.
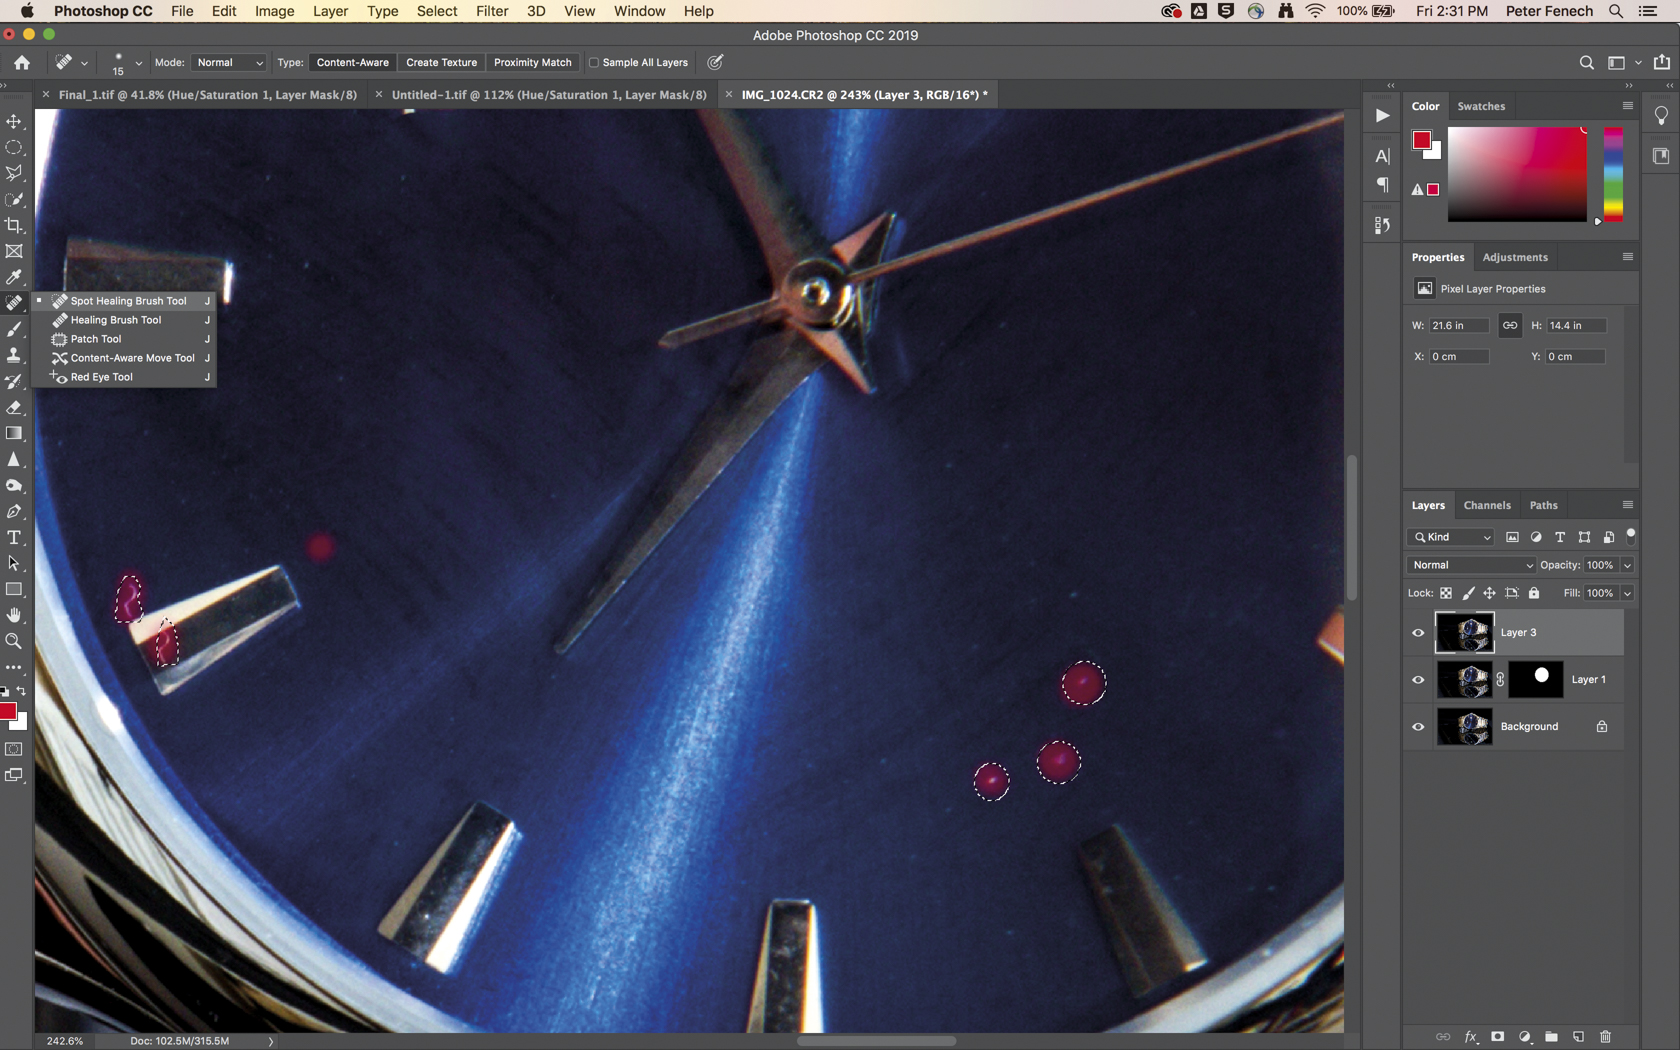
02 Retouch the product
Select a base frame that has minimal reflections in essential areas, such as the watch face. Make tonal adjustments, then use the Spot Removal tool in Lightroom or the Spot Healing tool in Photoshop to remove dust and scratches.
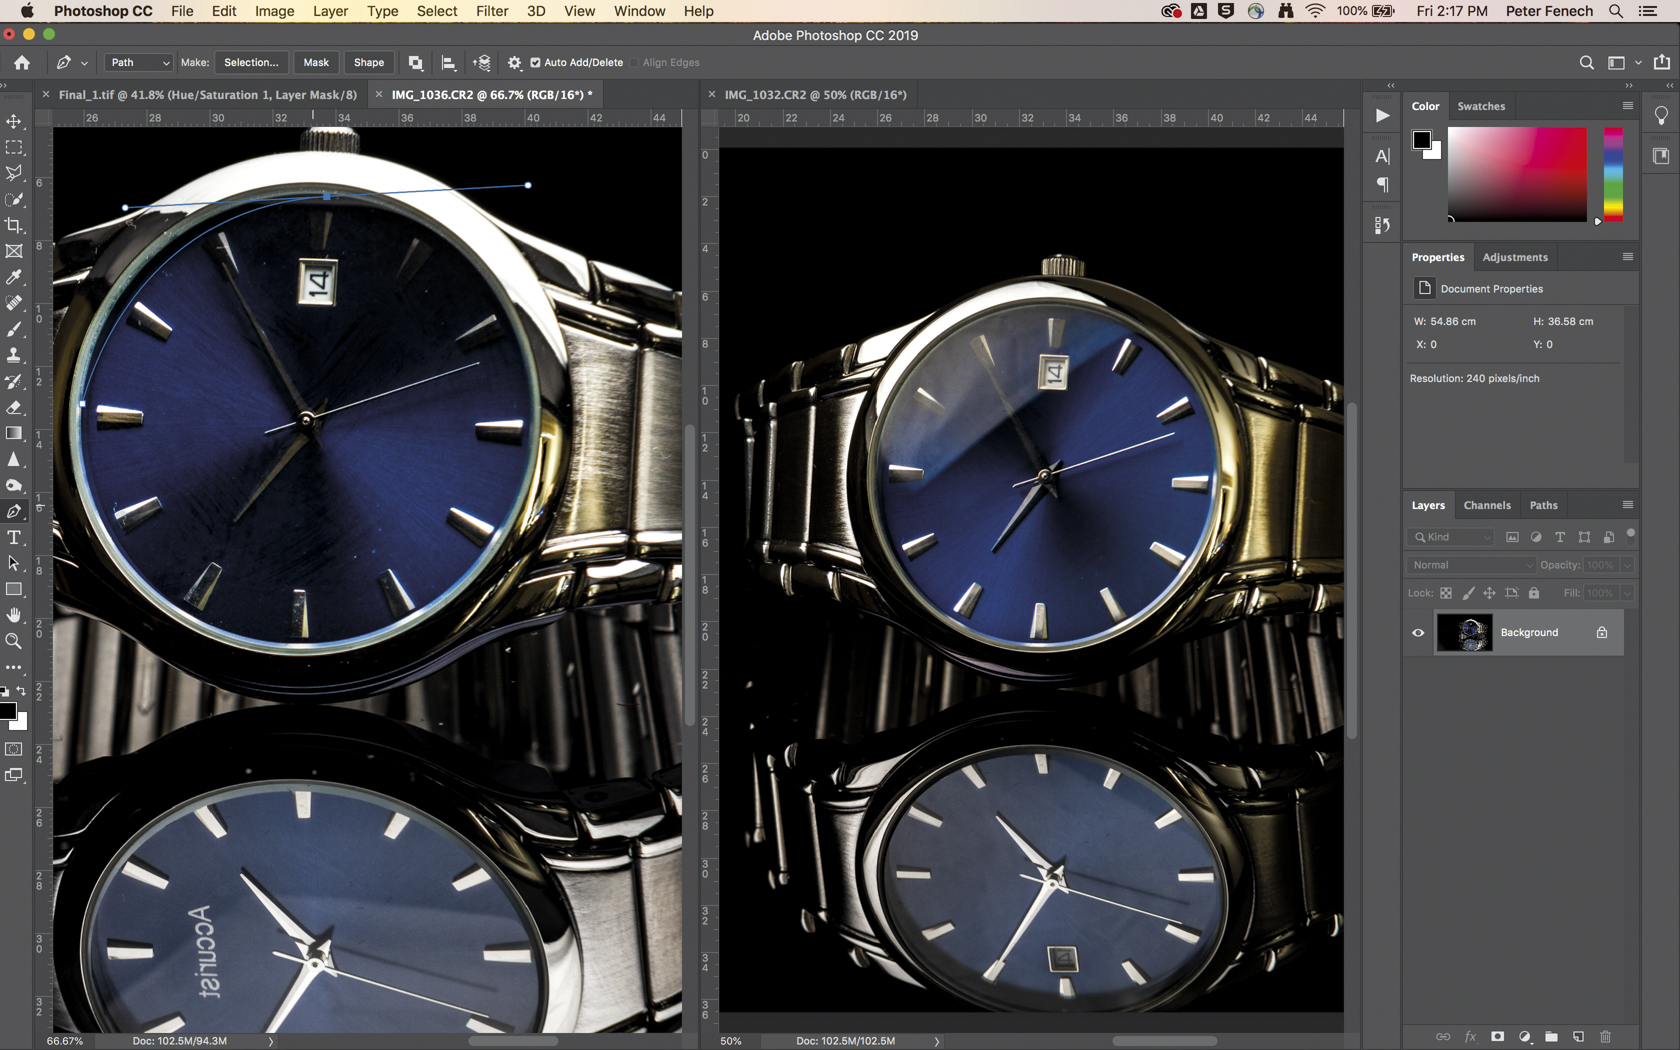
03 Composite lighting
The shot with the ideal lighting for the top of the watch has too much of a highlight on the face. This area is therefore selected from another frame using the Pen tool (P) and composited on the base image, which has a better reflection and tonal range.
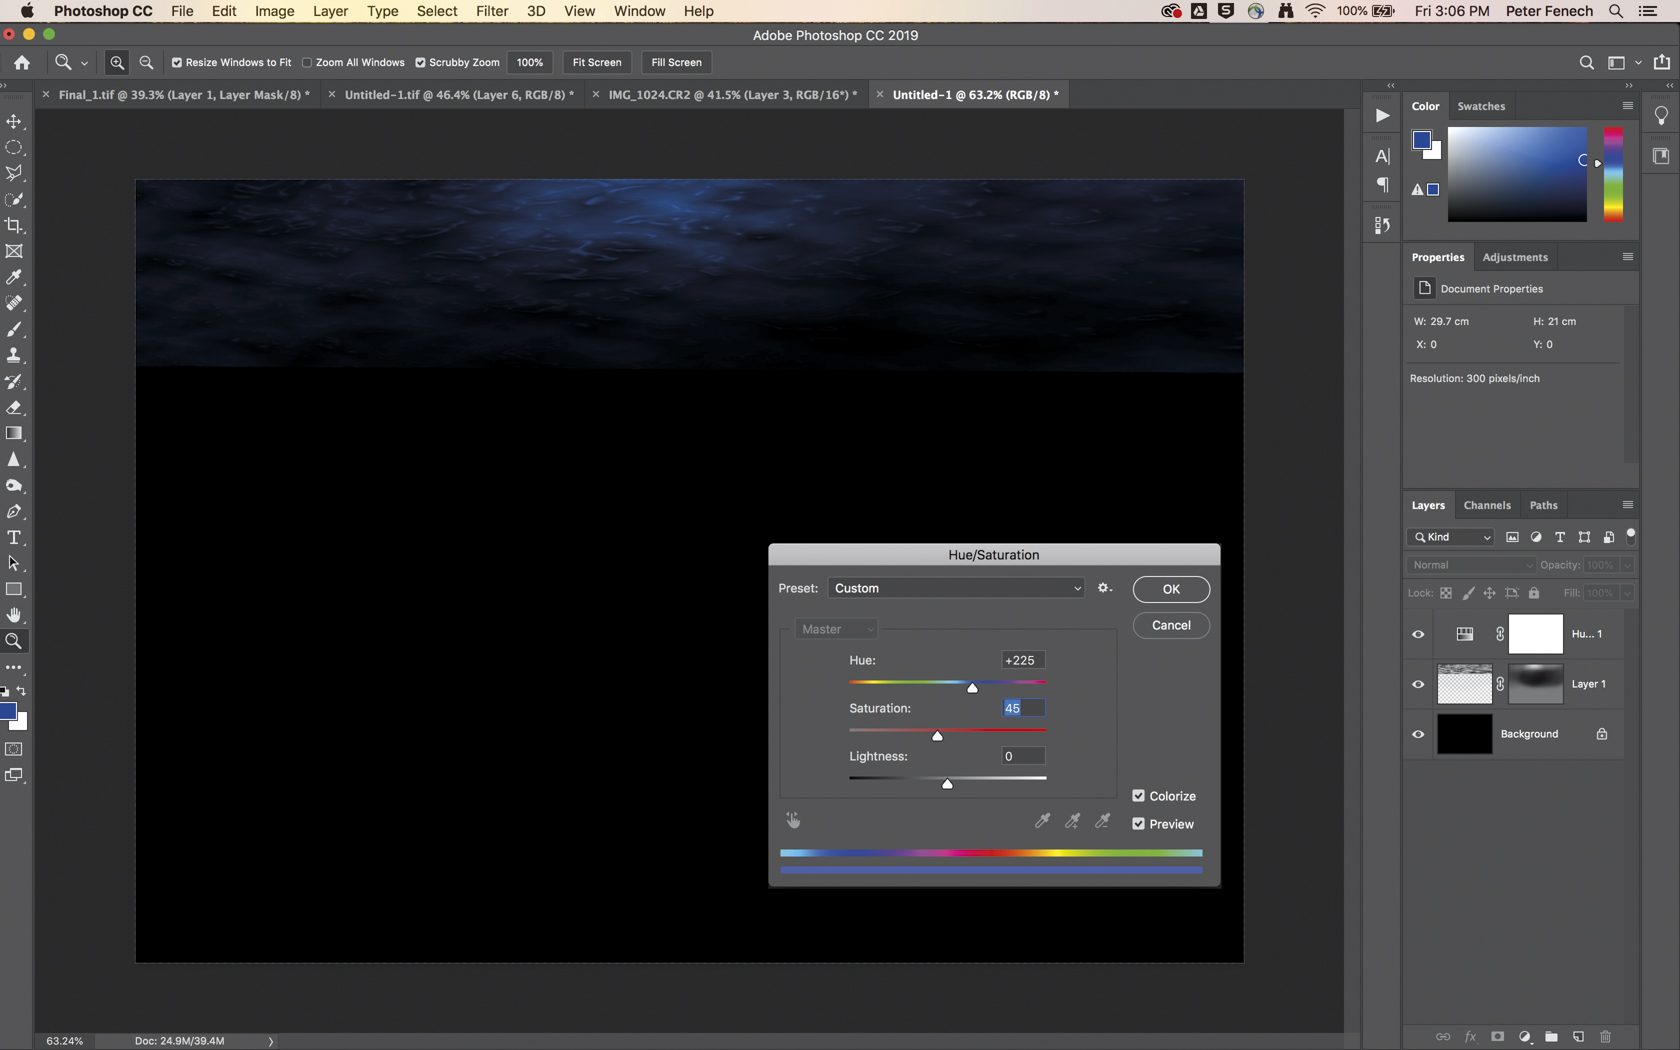
04 Add the water
Create a new Photoshop document, fill it with black, convert the plastic wrap image to monochrome, and drag it onto the new background. Change the blend mode to Screen. Use Distort (Image > Transform > Distort) to place the texture at the top of the frame.
05 Blend the water effect
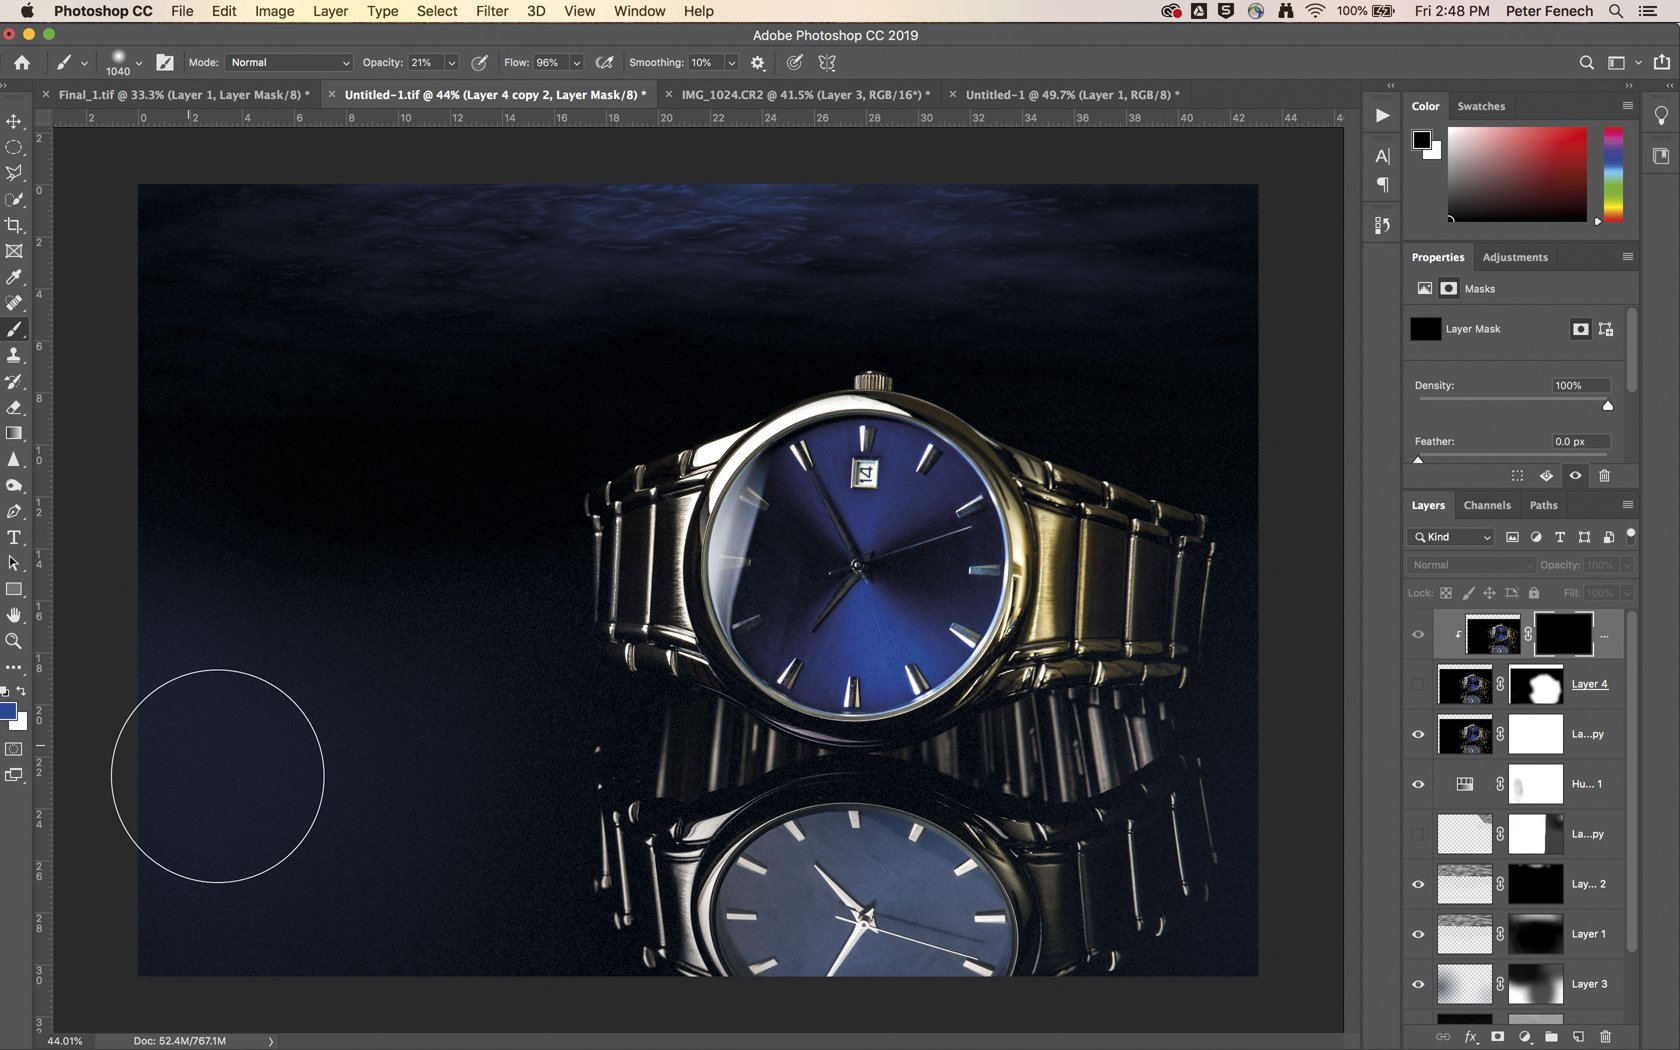
Color the plastic effect to make it appear like the surface of an ocean. Use Layer > New Adjustment Layer > Hue/Saturation. Check Colorize and select a blue color. Add a mask to the plastic layer, and use a Radial Gradient to fade the edges.

06 Finish the composite
Drag the watch image onto the background document, add a layer mask, and erase any peripheral detail. Using a soft brush, add some colorful watery mist to fill space. To simulate filtering light, click several times with a brush on a new layer and use Motion Blur.
Read more:
The best flashgun: the best strobe units for Canon cameras, Nikon and more
Best telephoto lens: top zooms for your camera
The best flash diffusers, softboxes and modifiers for your speedlight
Get the Digital Camera World Newsletter
The best camera deals, reviews, product advice, and unmissable photography news, direct to your inbox!
As the Editor for Digital Photographer magazine, Peter is a specialist in camera tutorials and creative projects to help you get the most out of your camera, lens, tripod, filters, gimbal, lighting and other imaging equipment.
After cutting his teeth working in retail for camera specialists like Jessops, he has spent 11 years as a photography journalist and freelance writer – and he is a Getty Images-registered photographer, to boot.
No matter what you want to shoot, Peter can help you sharpen your skills and elevate your ability, whether it’s taking portraits, capturing landscapes, shooting architecture, creating macro and still life, photographing action… he can help you learn and improve.
