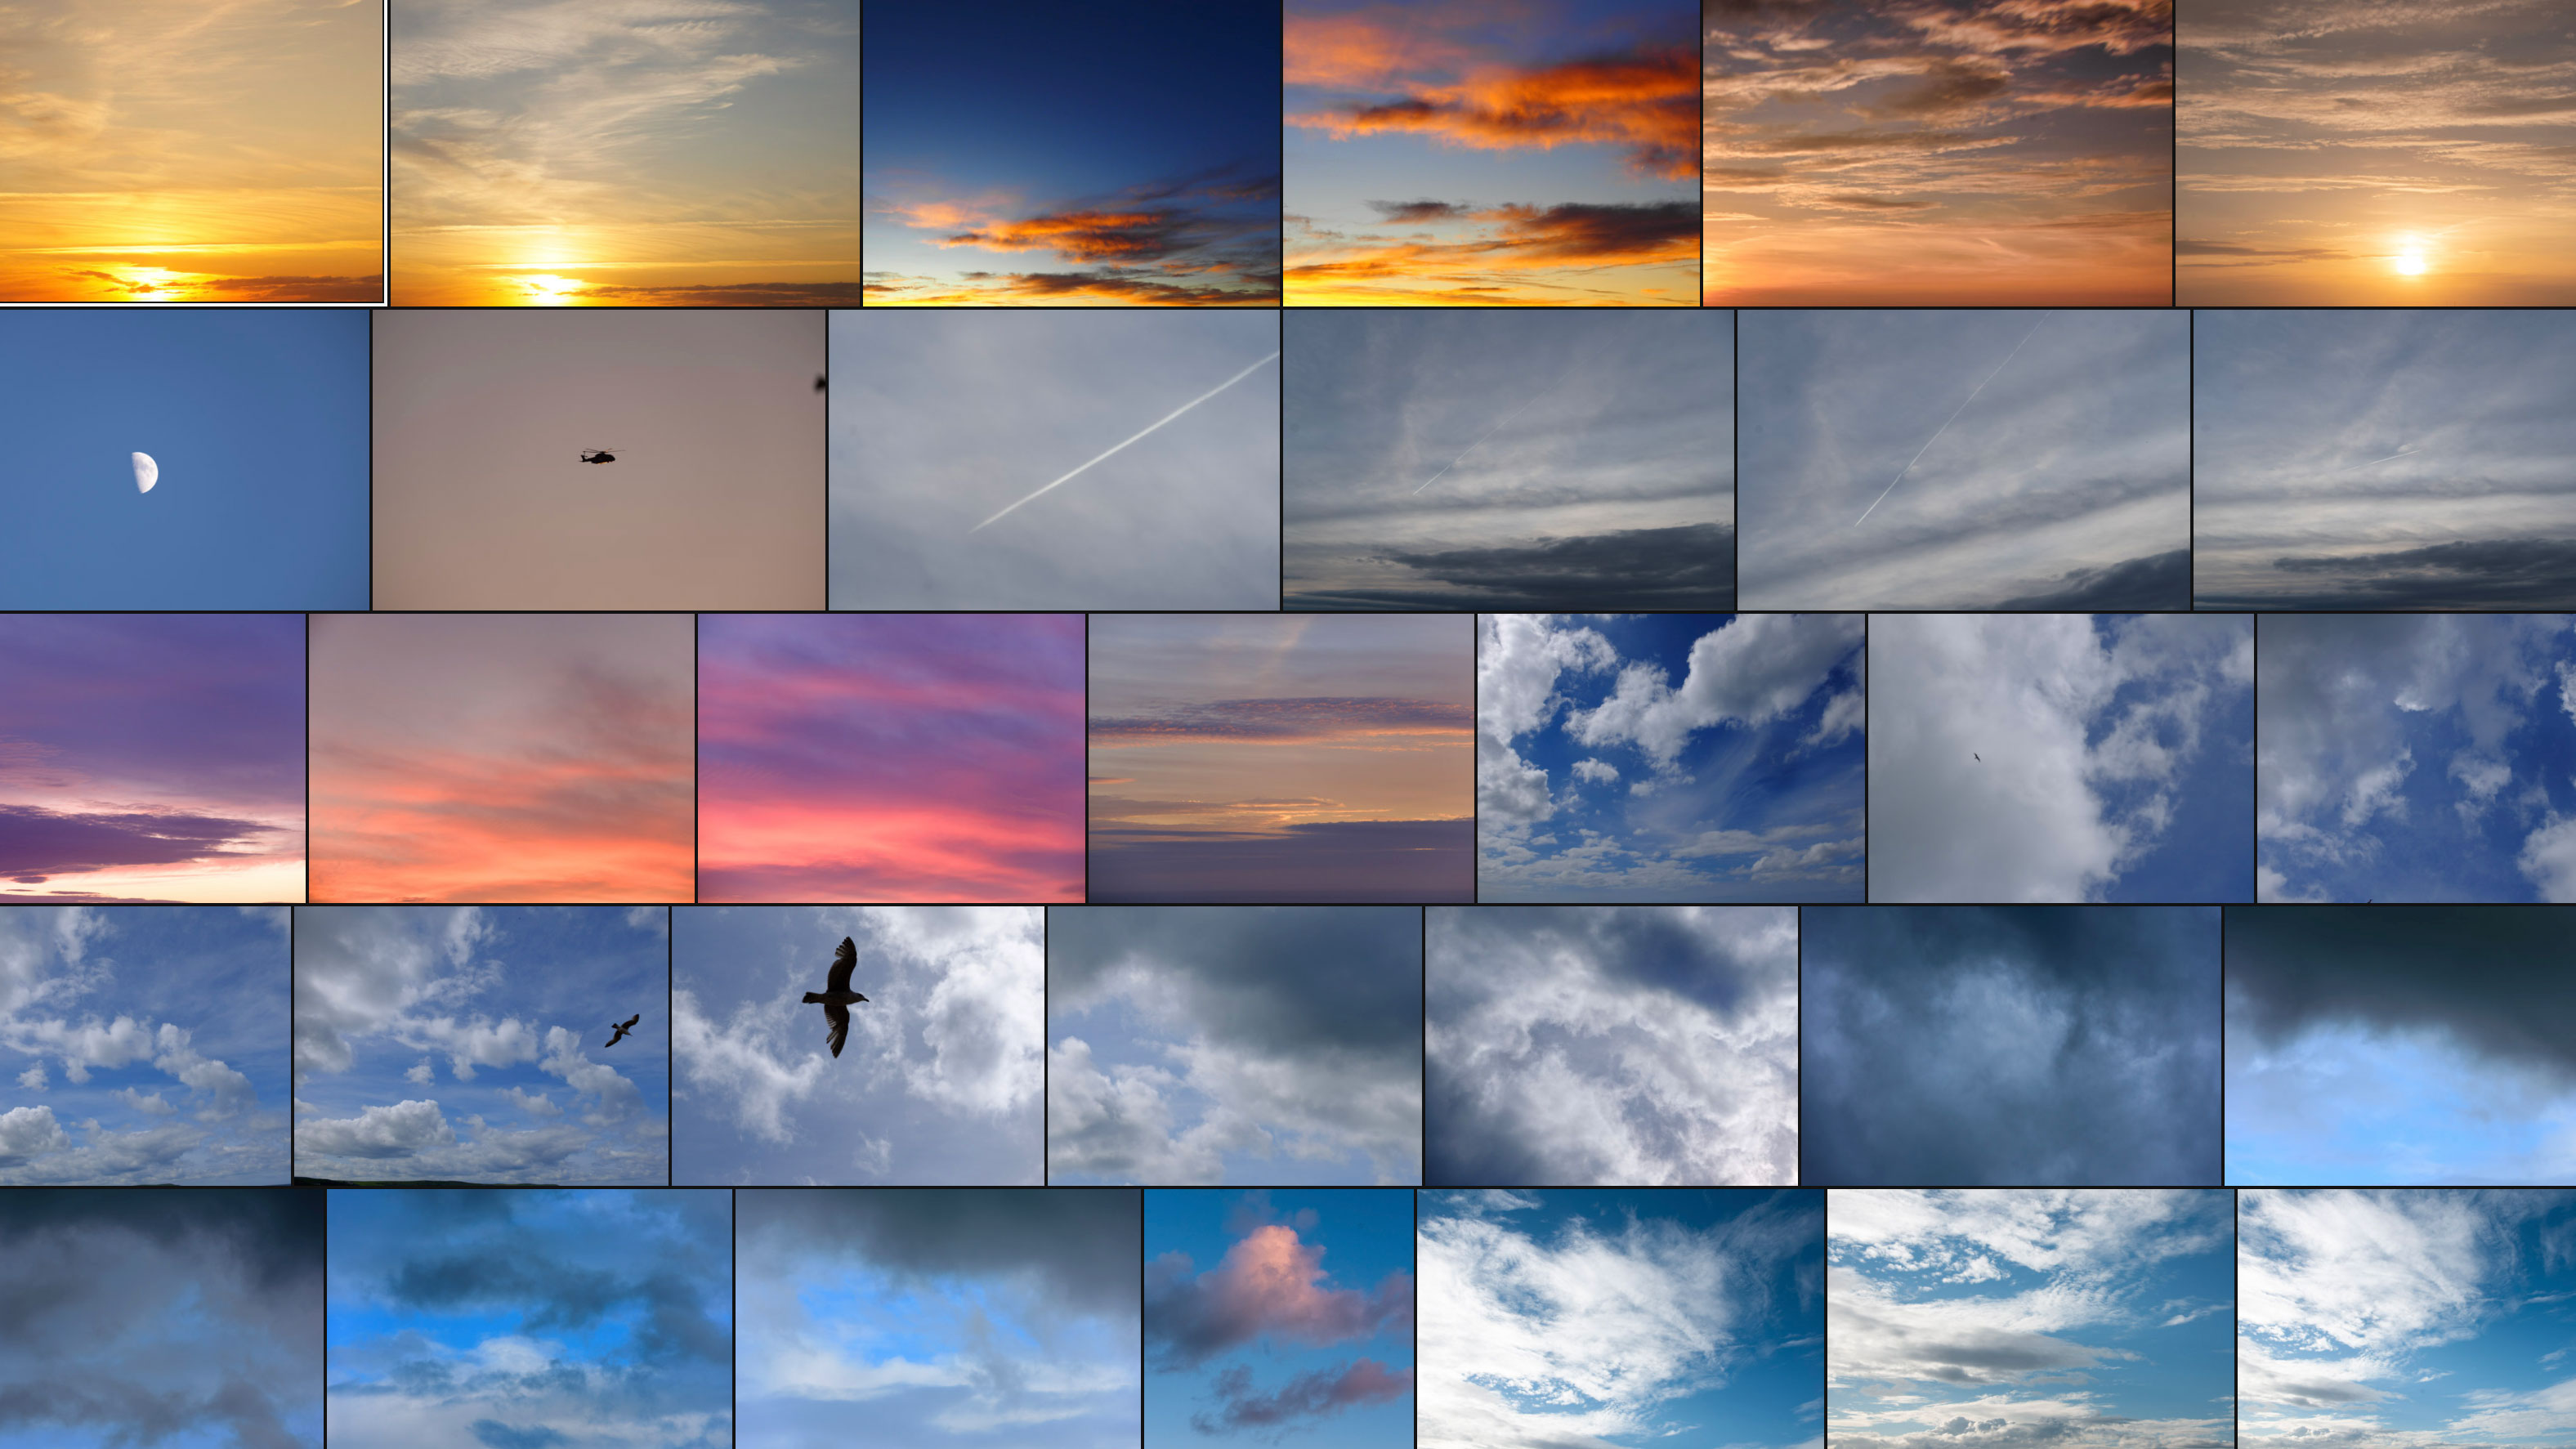
Shoot some skies! They are there for all of us and you don't need to leave the house
Get your camera, open a window, shoot some skies. You can enjoy them on their own and use them in composite images
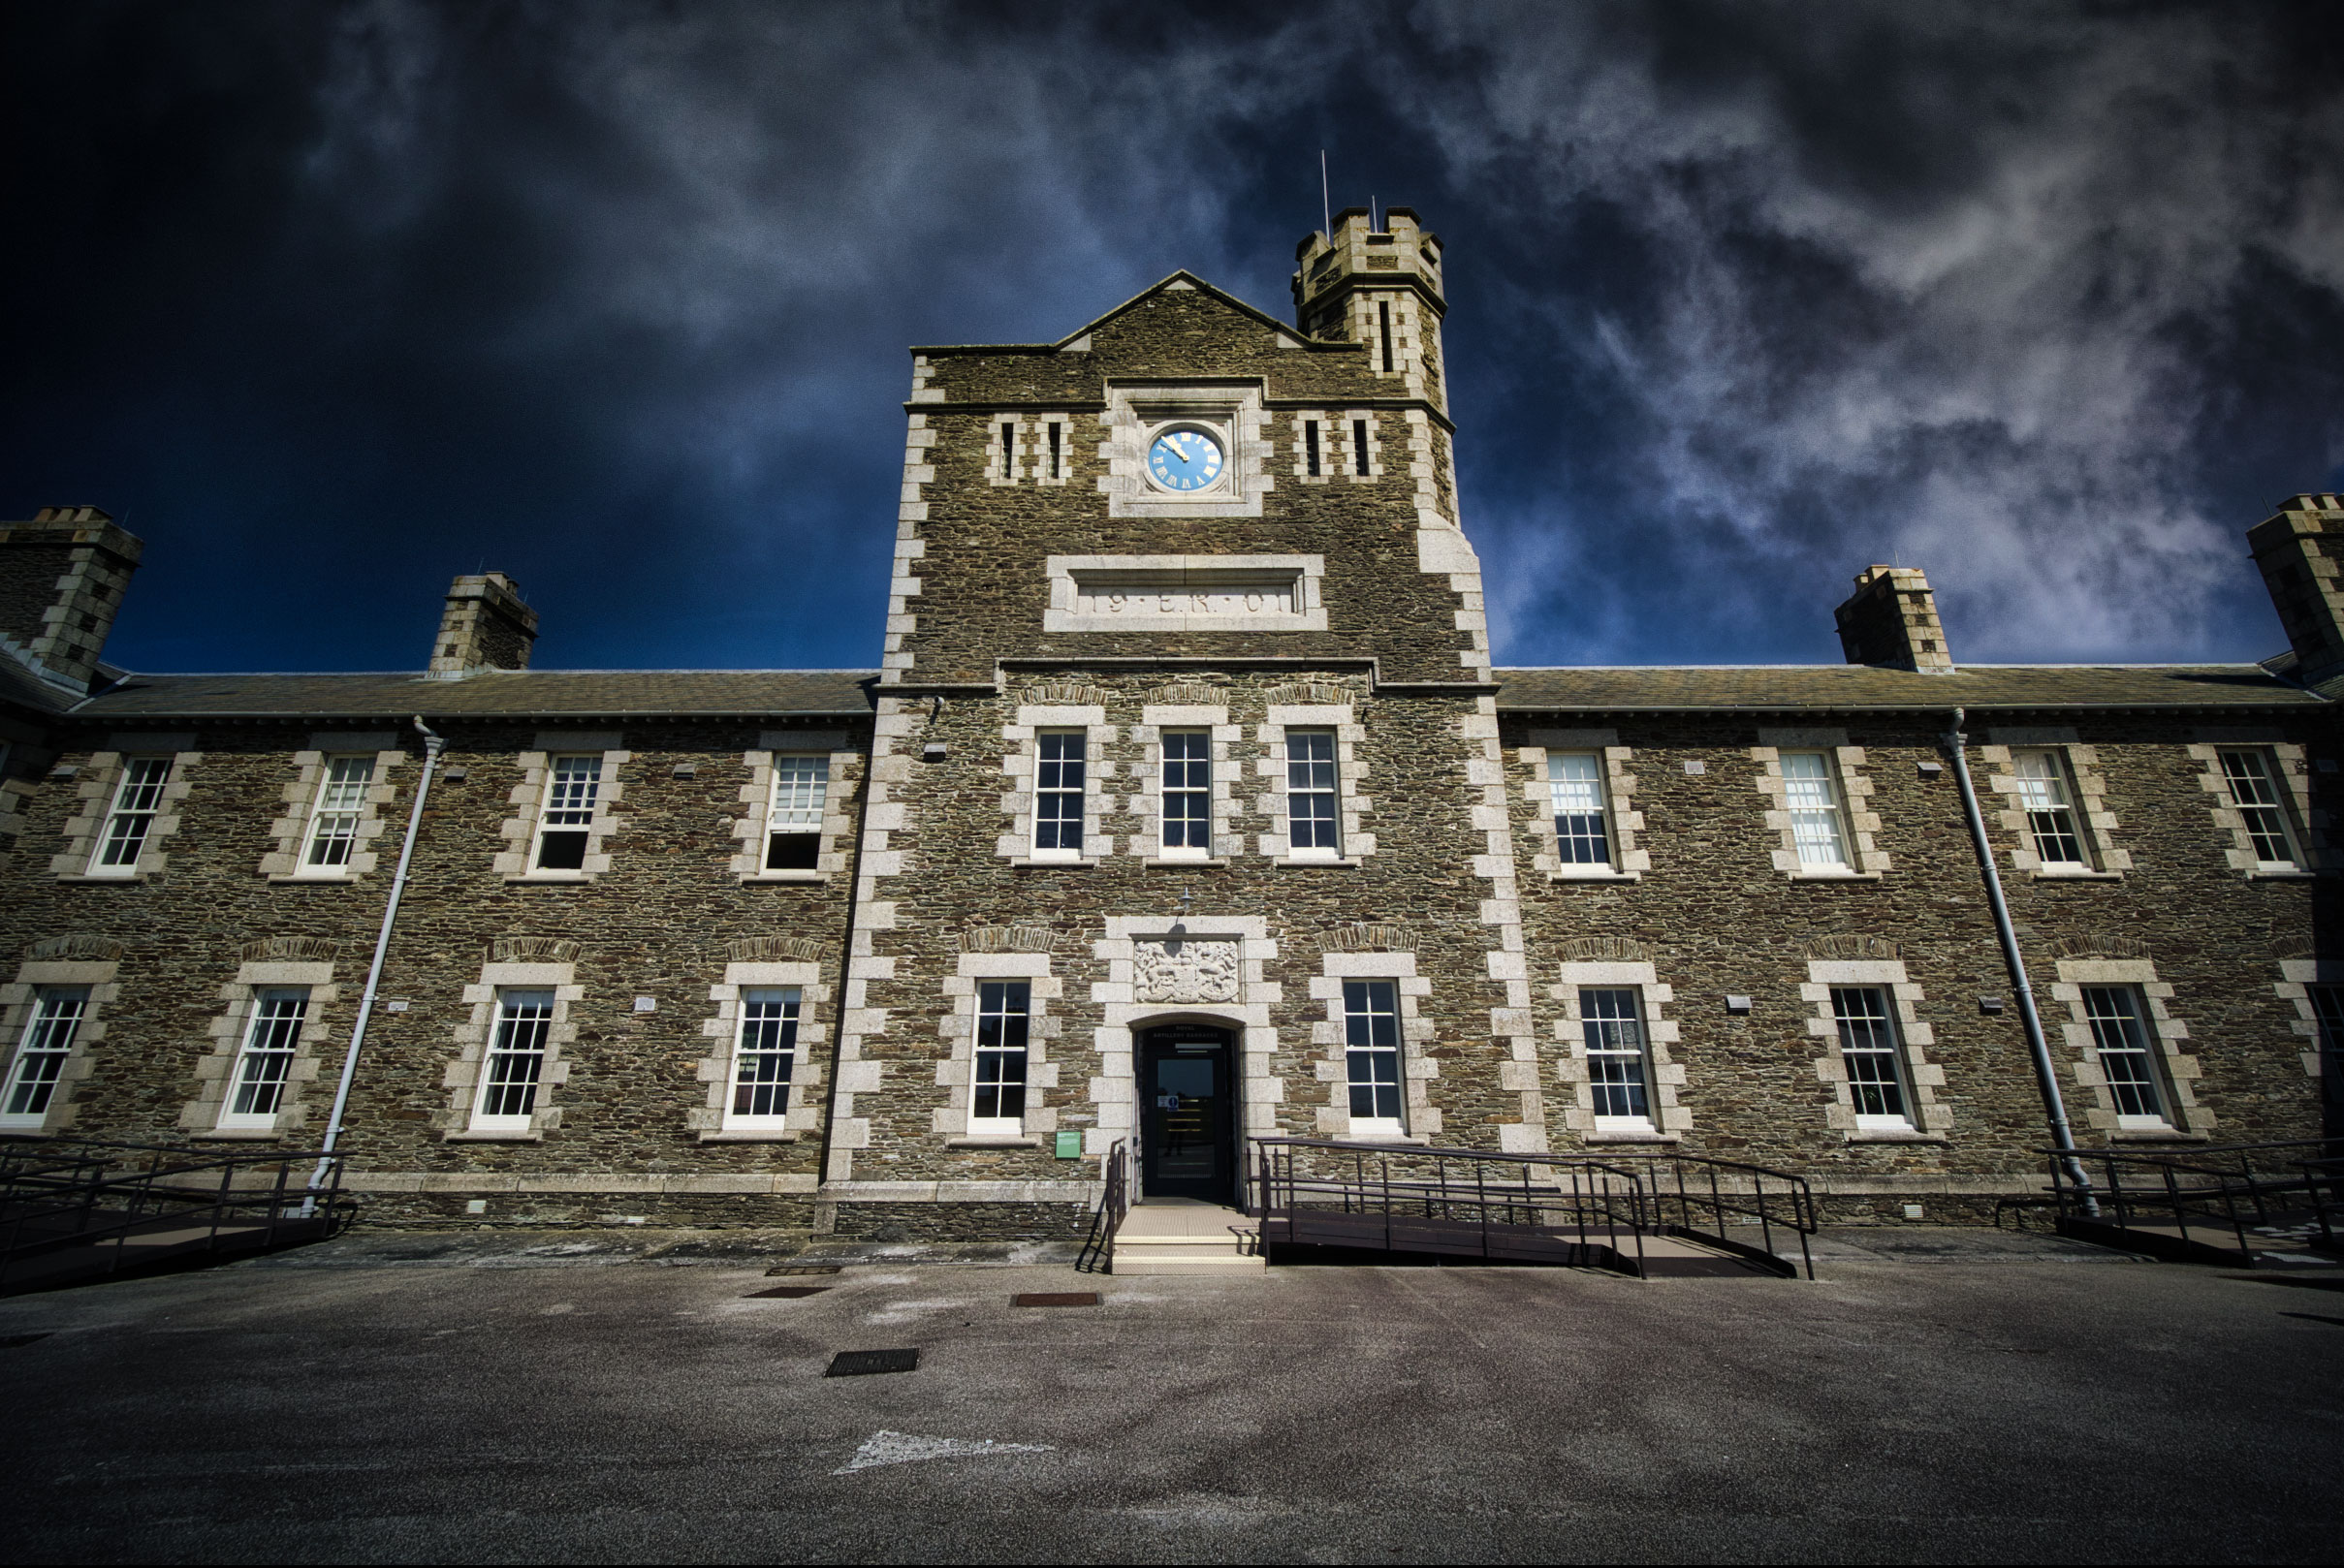
With the advent of digital imaging it’s easy to splice a new sky into a landscape shot that isn’t quite working. With the right Photoshop layers, blending and masking skills, it’s possible to create seamless composite images that look completely natural – and with the clever AI Sky Replacement tool in Luminar 4, it’s easier still.
Practical help
• More home photography ideas
• Luminar Sky replacement
• How to add a sky in Photoshop
• Replace a sky in Affinity Photo
Inspiration
• Travel photographers to follow
• Landscape photographers
• Portrait photographers to follow
• Still life photographers to follow
• Food photographers to follow
• Wedding photographers
But where do you get your skies? That’s easy – from your back yard, from your front porch, from an upstairs window. The key is to keep your eyes open for changes in the sky from day to day and hour to hour… and always have your camera ready. You don't have to travel the world to find the best skies (which is just as well, right now). Skies are the same for everyone, everywhere.
You don’t need any special equipment. Any DLSR or mirrorless camera with a kit lens will be fine, or even a point and shoot camera or your smartphone. Don’t worry too much about exposure or white balance either – just make sure you shoot raw files if possible. That way, you can adjust your sky shots later to match the tone and exposure of the images you want to blend them with.
Sky photography tips
- Get some variety – blue skies with fluffy white clouds, stormy overcast skies, yellow/orange sunset skies, cool blue dawn skies – the sky is changing all the time
- Change the angle – it’s good to have ‘wideangle’ skies to go with wideangle images, or zoomed-in sky details to match up with longer focal length outdoor shots like portraits
- Vary the direction – if you shoot straight upwards you’ll get a more even tone but a perspective that might not match up well with your photos. Make sure to get shots framed just above the horizon, too, which will give a better gradation in the sky and more natural perspective for wide-angle landscape shots.
- Keep your sky shots separate – if you leave them with all your regular photos you’ll probably never be able to find them again later when you need them – instead, store them in a separate, clearly-marked folder.
- Don't worry about image size – you can enlarge/shrink skies as necessary in your photo editing software to match the image you're putting them with. You don't look for sharp detail in skies.
- Catch birds, planes and the moon too. Birds can add life to landscapes, planes are good for cityscapes and you might need a shot of the moon to enhance your night shots.

Is it cheating?
That's for you and your conscience. If you're creating a documentary record of an actual event or scene, then dropping in a new sky is definitely not the right thing to do. But if you want to create dramatic, beautiful, thought-provoking images (insert your own adjective here) via photography, then adding in a new sky is just one of the ways you can do it.
Get the Digital Camera World Newsletter
The best camera deals, reviews, product advice, and unmissable photography news, direct to your inbox!
Rod is an independent photography journalist and editor, and a long-standing Digital Camera World contributor, having previously worked as DCW's Group Reviews editor. Before that he has been technique editor on N-Photo, Head of Testing for the photography division and Camera Channel editor on TechRadar, as well as contributing to many other publications. He has been writing about photography technique, photo editing and digital cameras since they first appeared, and before that began his career writing about film photography. He has used and reviewed practically every interchangeable lens camera launched in the past 20 years, from entry-level DSLRs to medium format cameras, together with lenses, tripods, gimbals, light meters, camera bags and more. Rod has his own camera gear blog at fotovolo.com but also writes about photo-editing applications and techniques at lifeafterphotoshop.com
