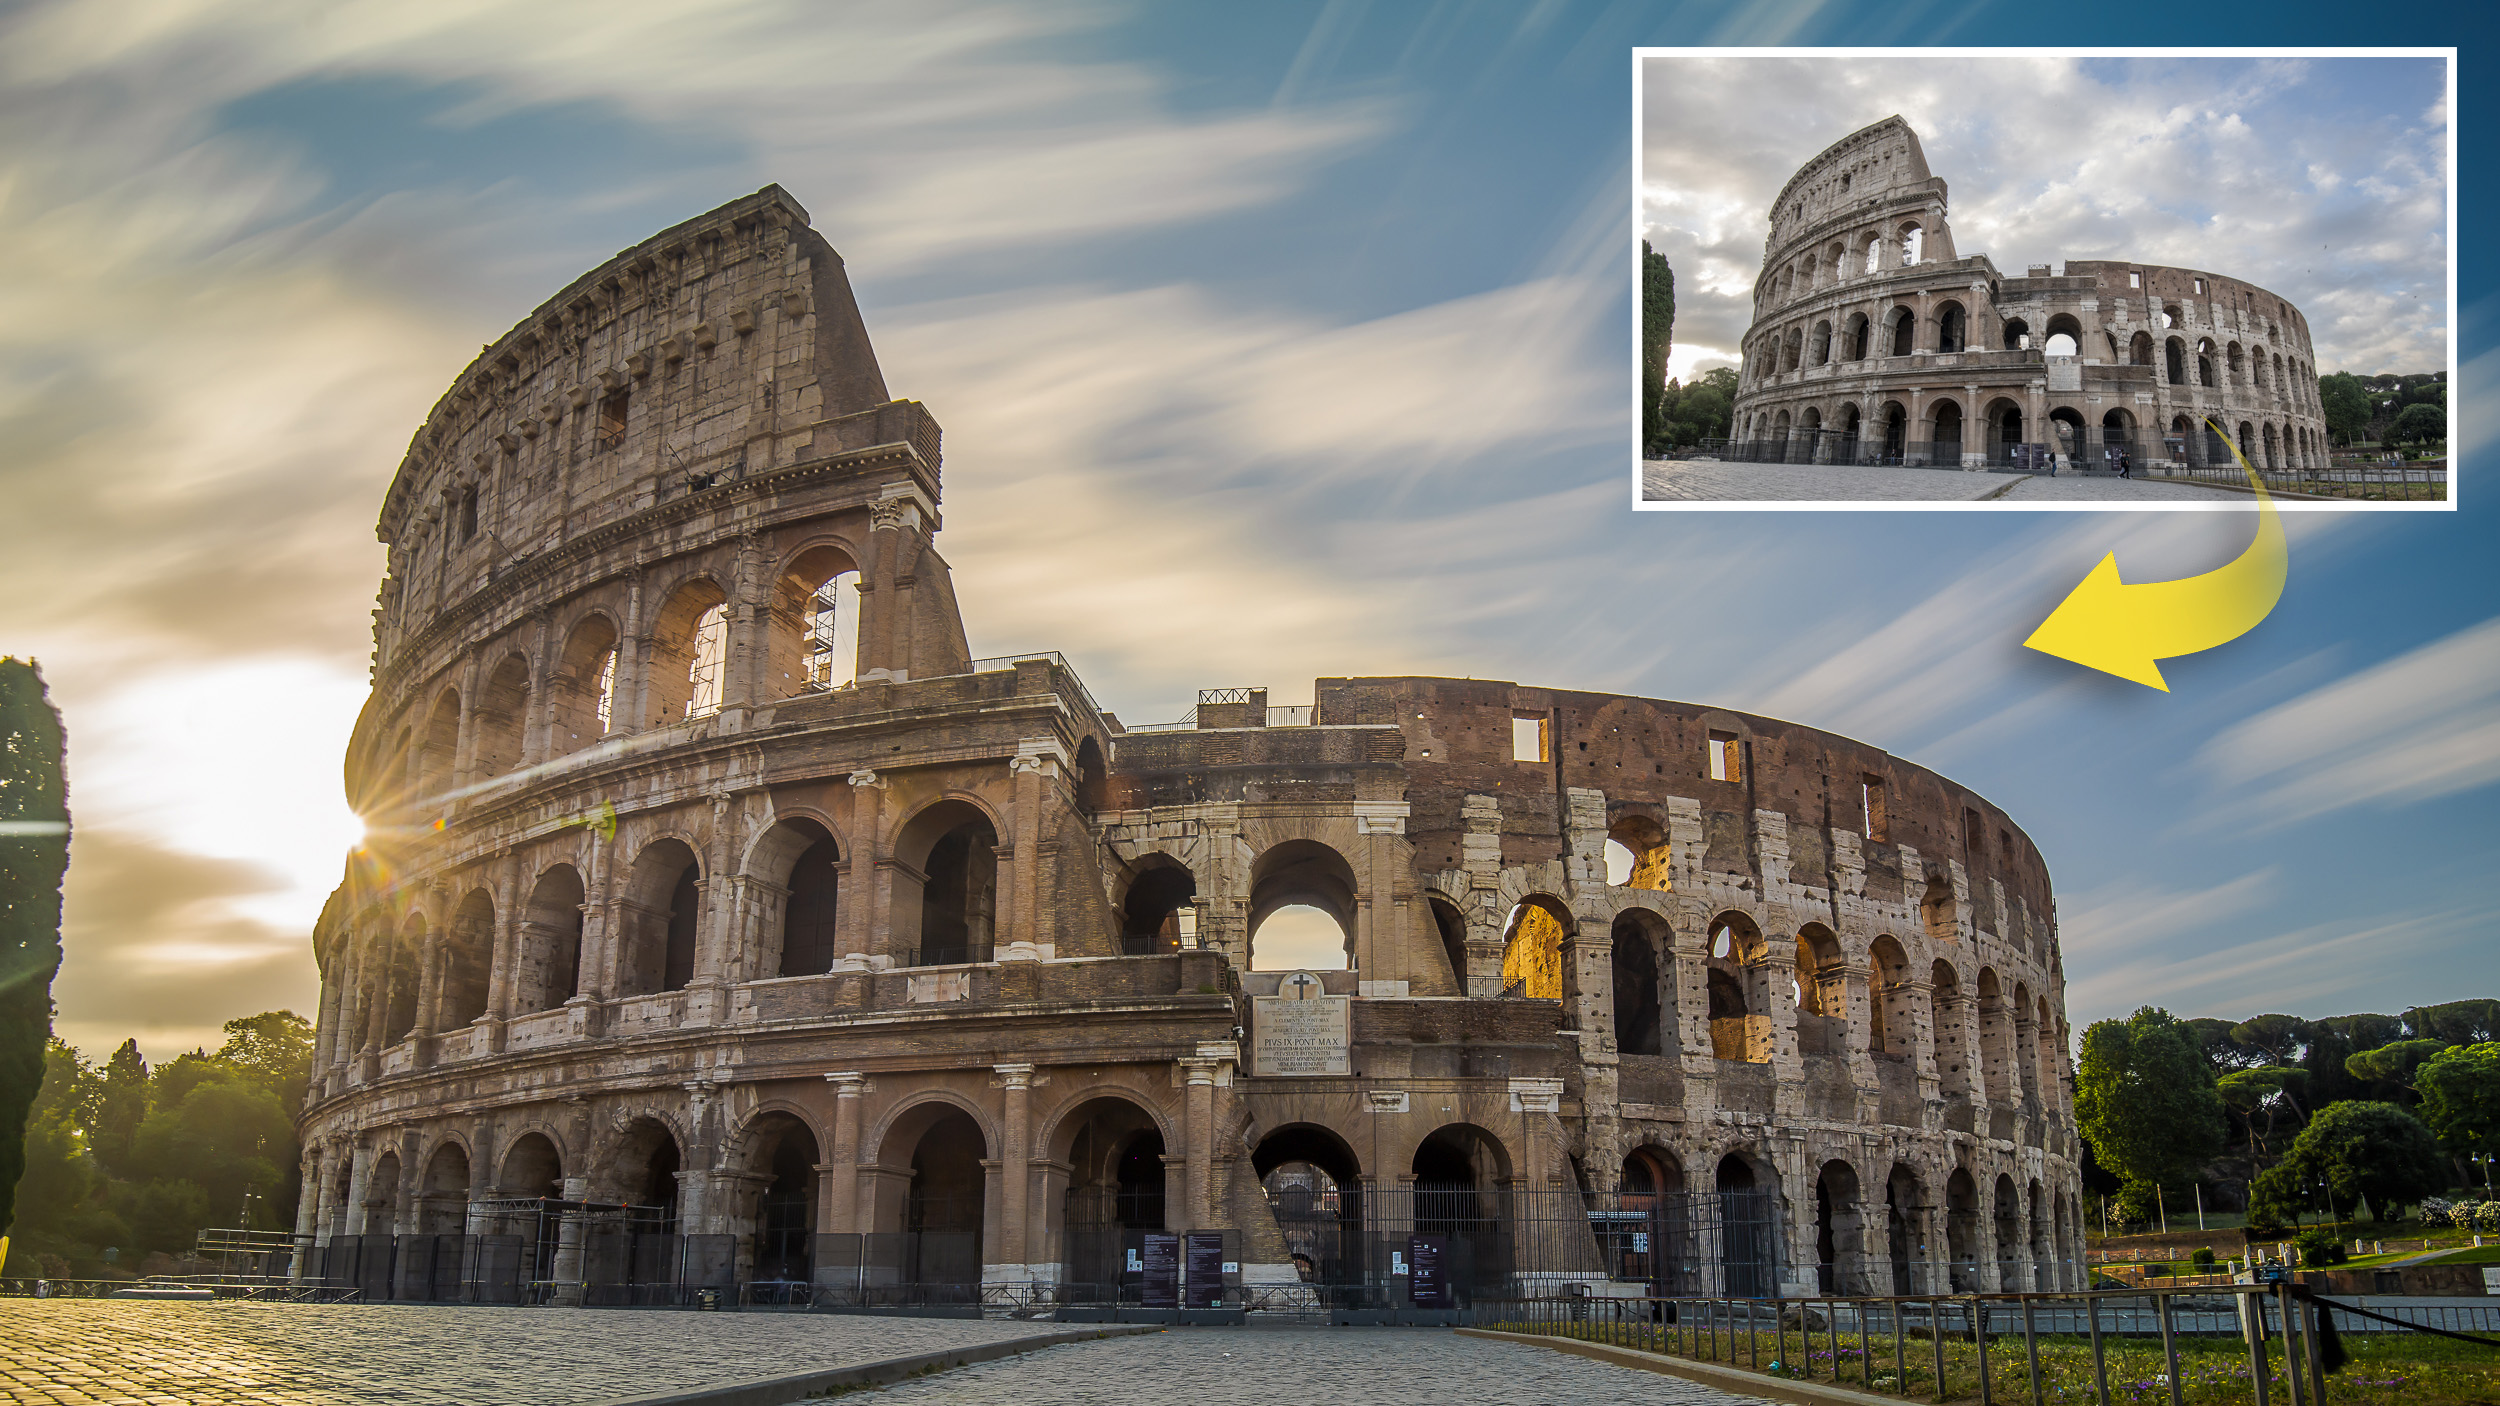
Shoot super-long 2-minute exposures in daylight, using a 16-stop ND filter
Armed with a 16-stop ND filter and a lot of patience, here's how to create stunning long exposures at any time of the day
Watch video: Shoot super-long exposures with a 16-stop ND filter
Famous locations such as the Colosseum in Rome are both easy and difficult to photograph. Easy because, well, look at it – it’s incredible. Difficult because it attracts tourists and photographers by the thousands. As such, not only is it tricky to take an unusual photo, but it’s also hard to find an angle that isn’t swarming with people.
This is where a strong neutral density filter can be a huge asset. It enables us to use shutter speeds of one to two minutes in daylight, which means that people moving past the frame don’t register in the shot. Plus it creates lovely motion blur in the clouds, which serves both as an eye-catching visual and an indication of how this grand structure has stood for millennia while activity buzzes all around.
When shooting in the day, you need a strong ND filter for this to work, but how strong? A 10-stop ND is popular, but not always enough. A 16-stop filter opens the door to super-long exposure times, even in the brightest sun. With this monster attached to the lens, we can open the shutter for minutes under the midday sun.
However, there are things to consider when using near-opaque ND filters like this. First there are the practicalities of shooting long exposures, such as positioning the tripod, focusing and preventing light leaks. Then there are image concerns, such as increased noise and color casts. And with exposure times over two minutes, there’s also the waiting. Lots and lots of waiting. However, patience is rewarded with stunning results…
1. Take a test shot
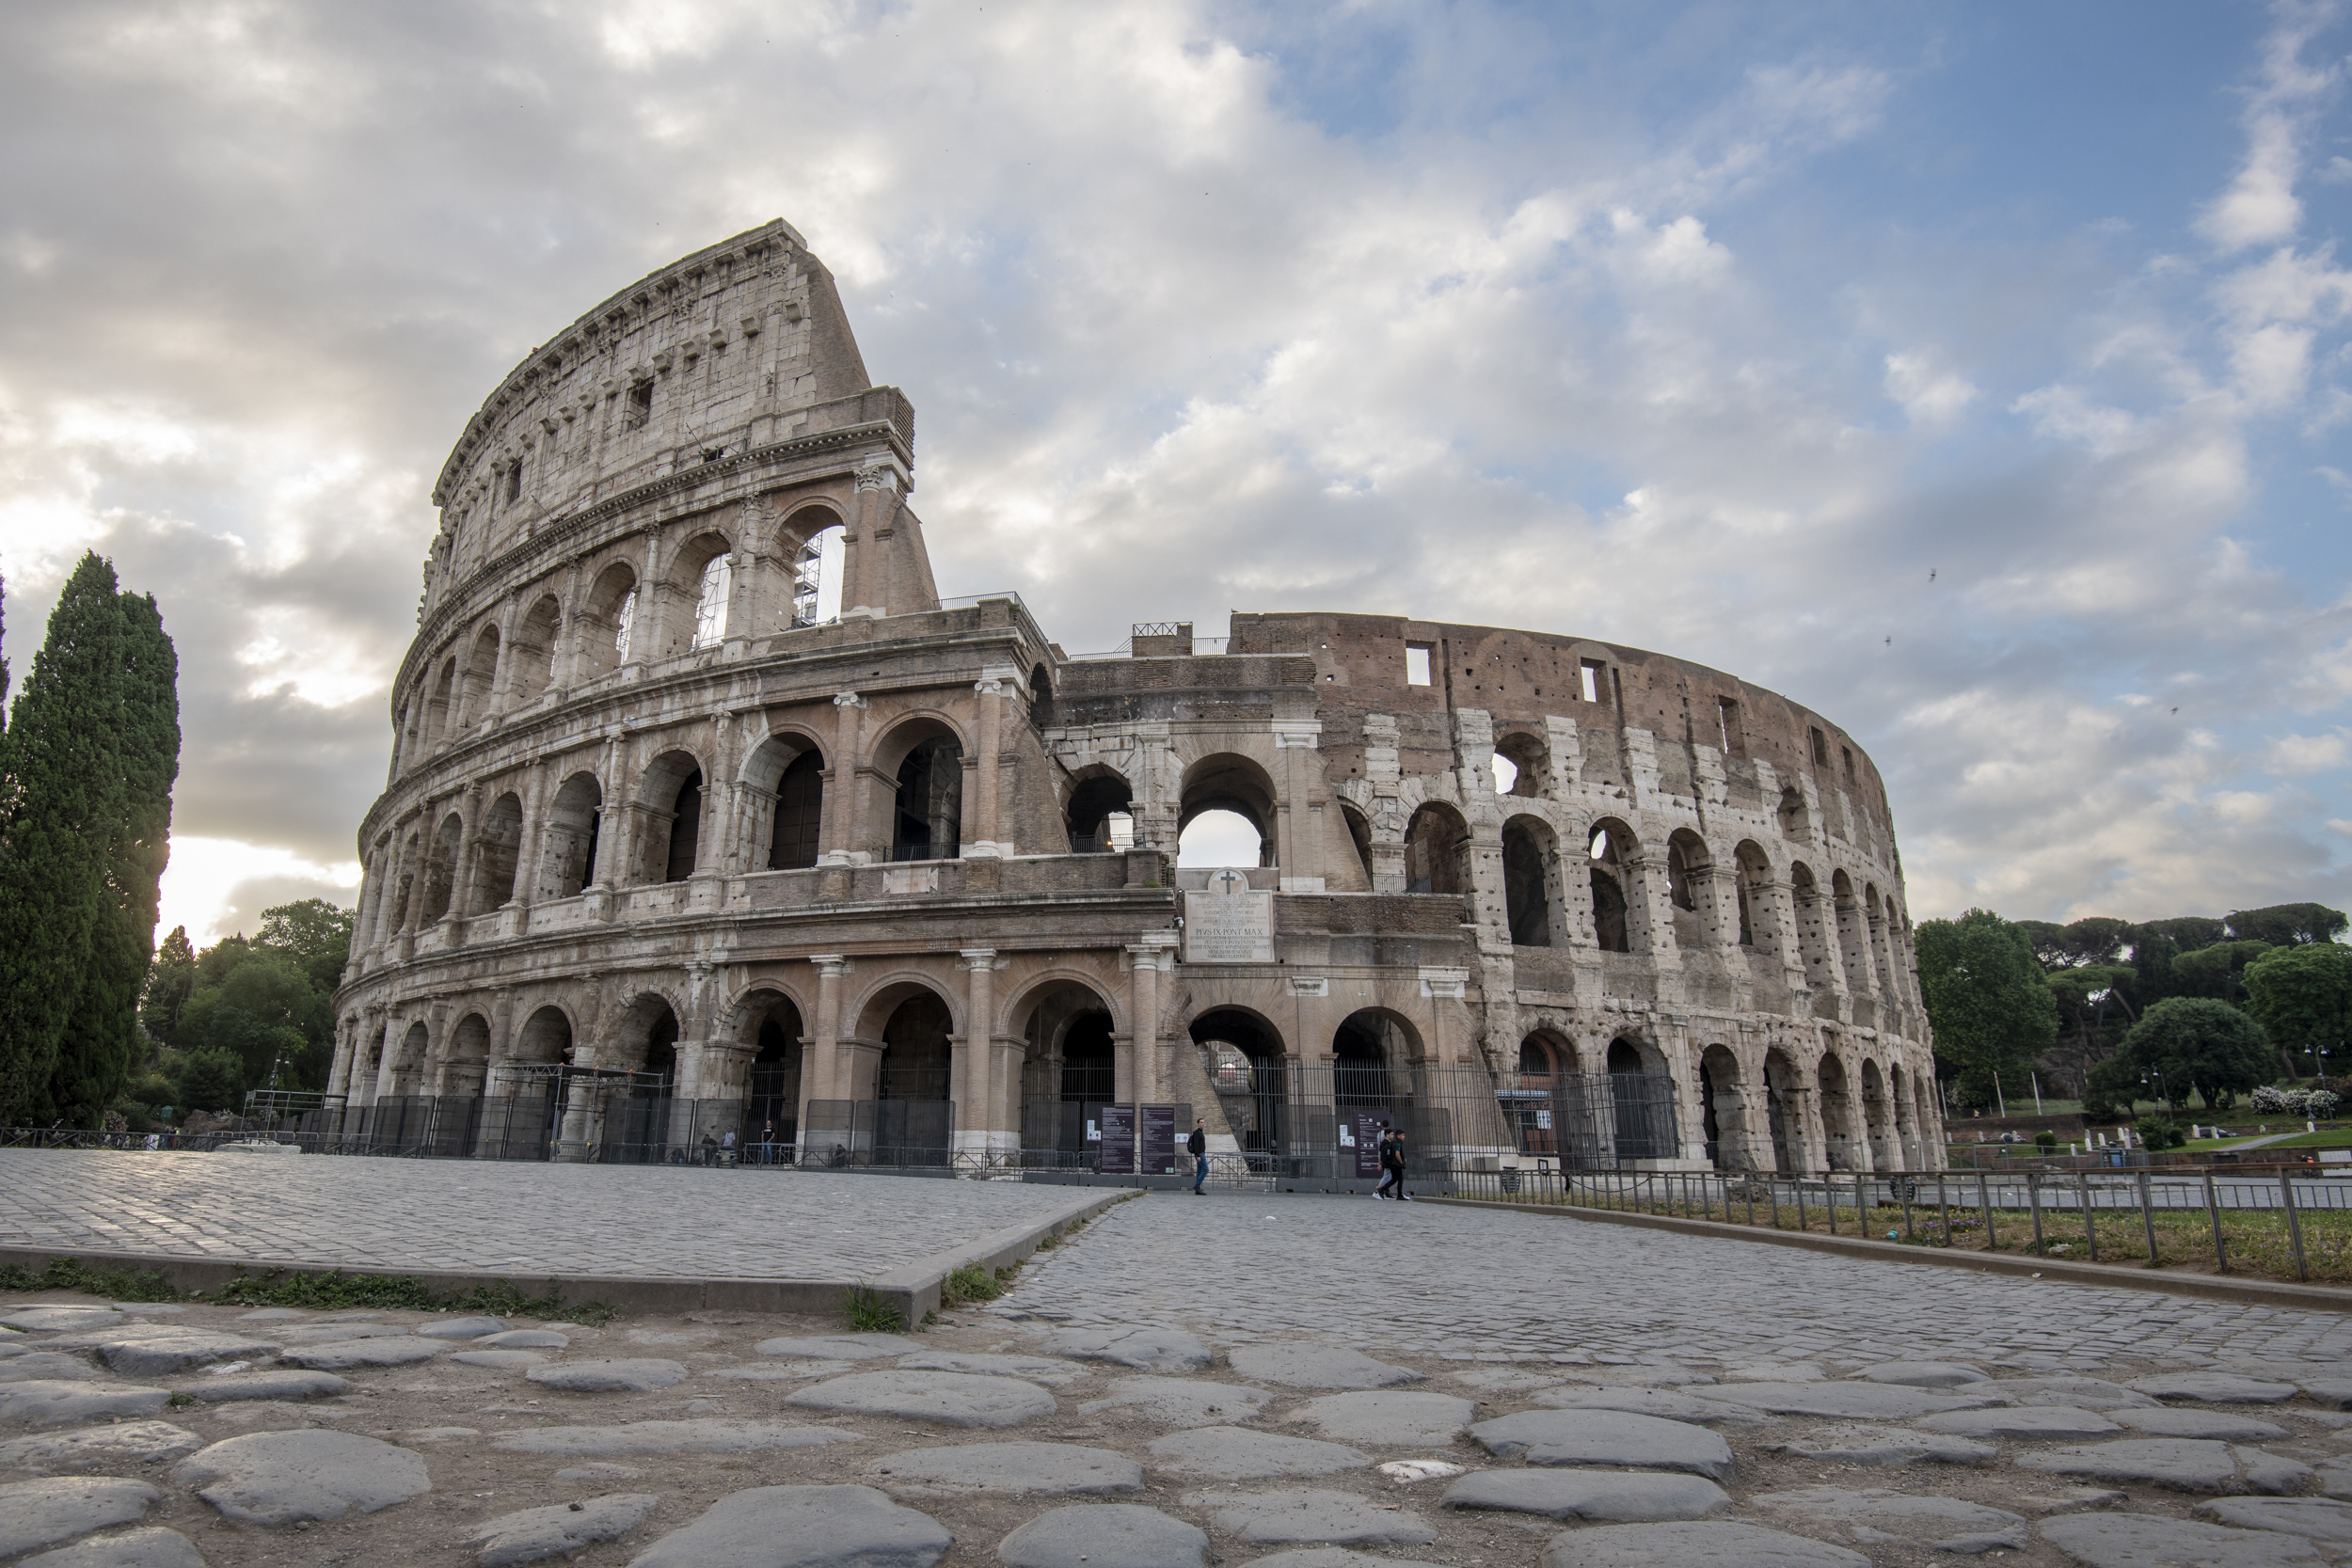
Before attaching the filter, take a test shot to work out a normal exposure of the scene. Use settings you’re comfortable with – a good option is Aperture Priority, with aperture f/8, ISO100. Experiment with compositions and fine tune your framing.
2. Lock focus
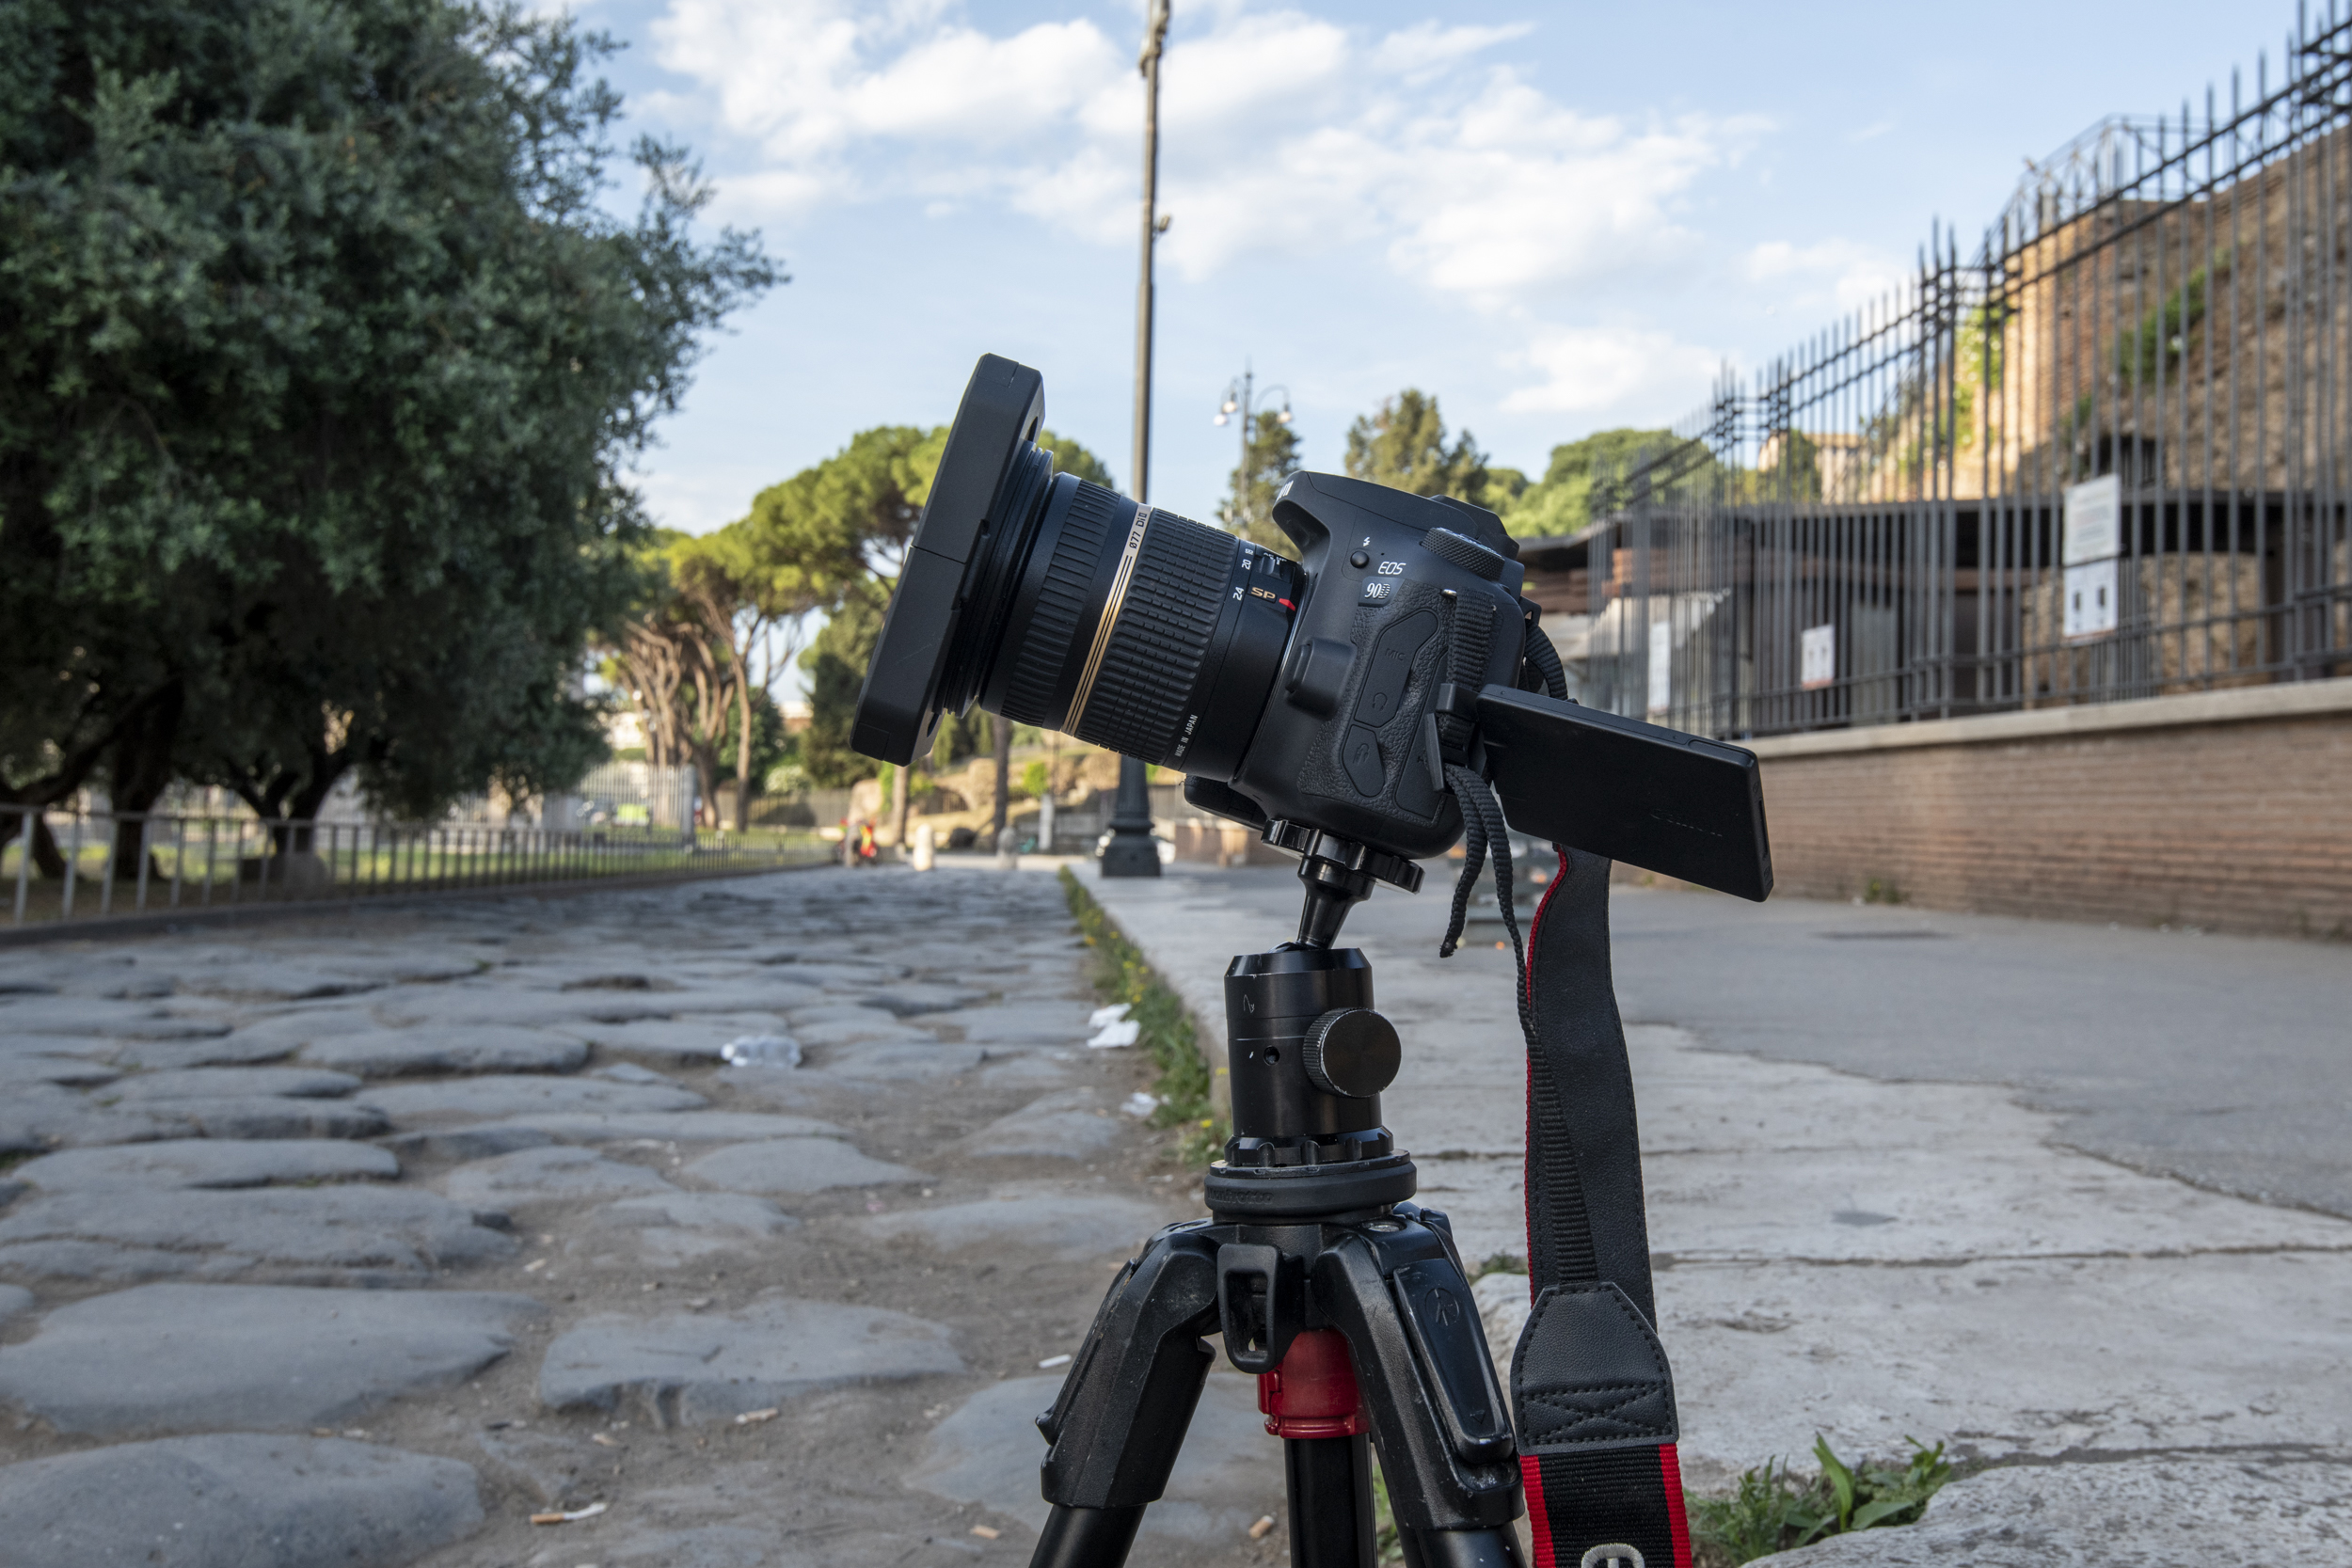
The filter is almost opaque, so once in place you can’t focus or compose. Set your focus before switching the lens to manual focus to stop it from hunting. Next fit the filter – making sure not to nudge the tripod out of place – and if you're using a DSLR, block the viewfinder to stop light leaks.
3. Using a 16-stopper
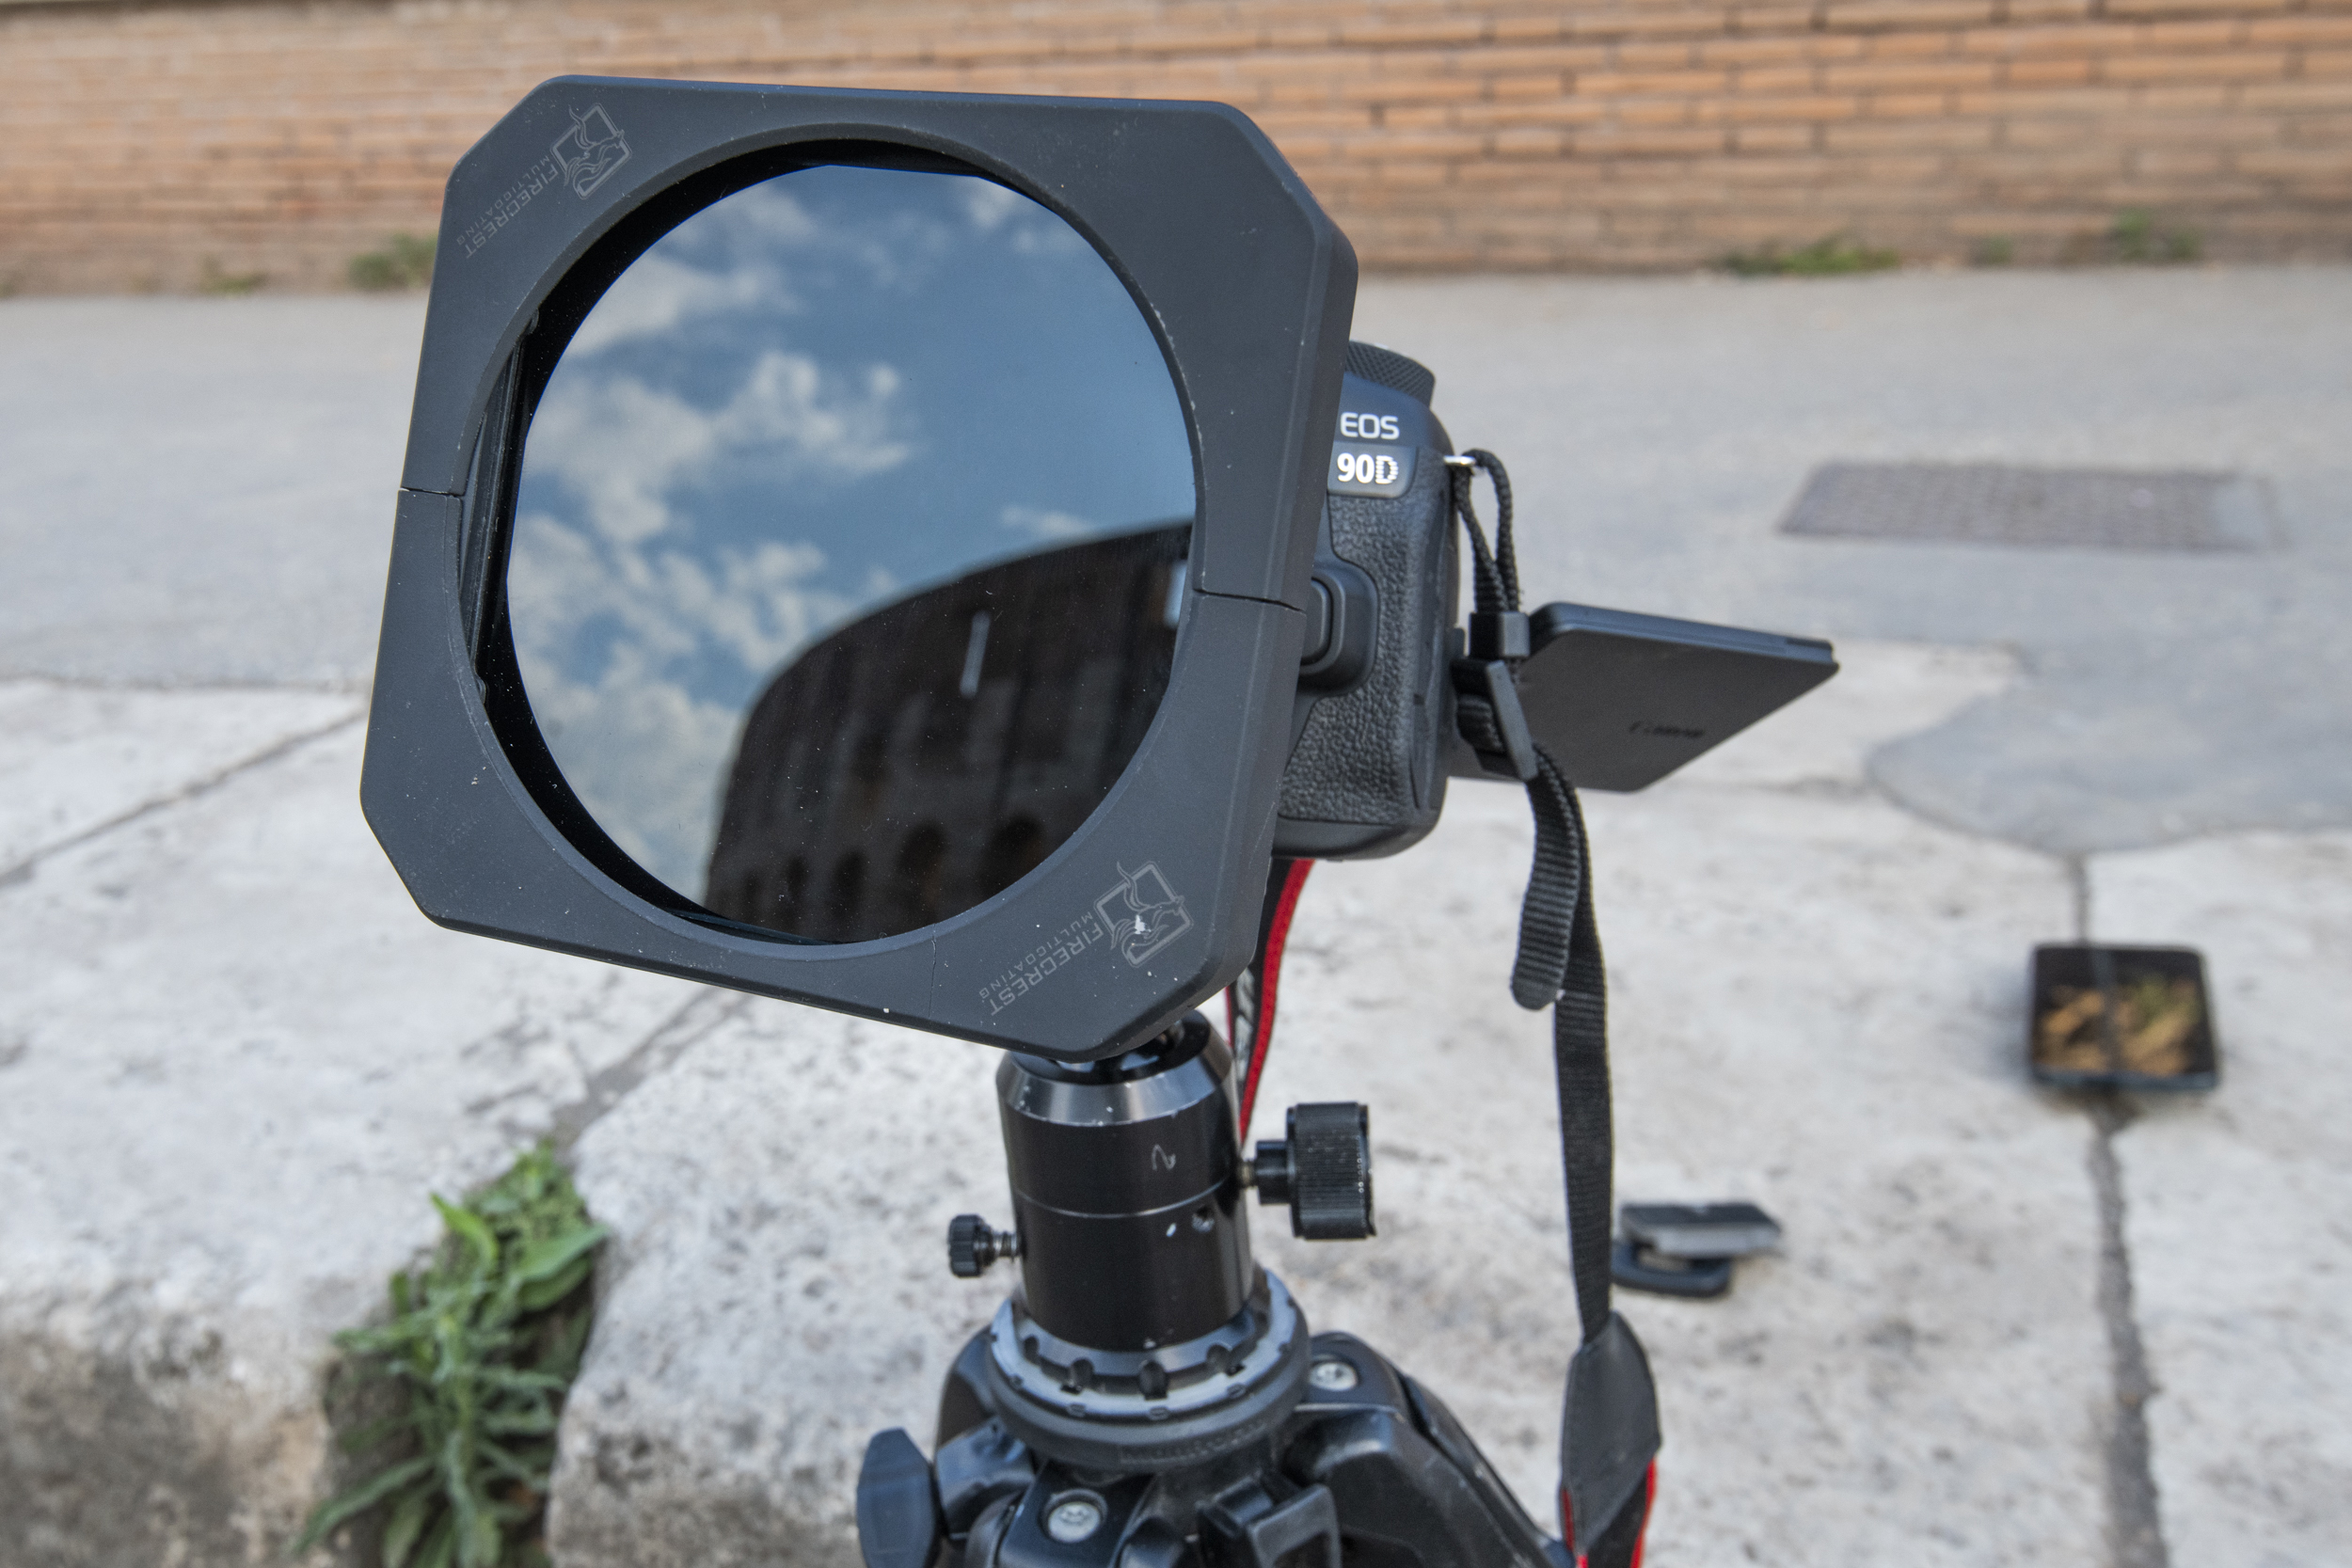
The 16-stop filter is suited to daylight conditions with bright skies; it’s overkill for most situations, and we wouldn’t try it in low light – unless you’re into four-hour exposure times! If you like the long-exposure look or minimalist scenes, though, it’s a great addition to your kit.
4. Work out an exposure time
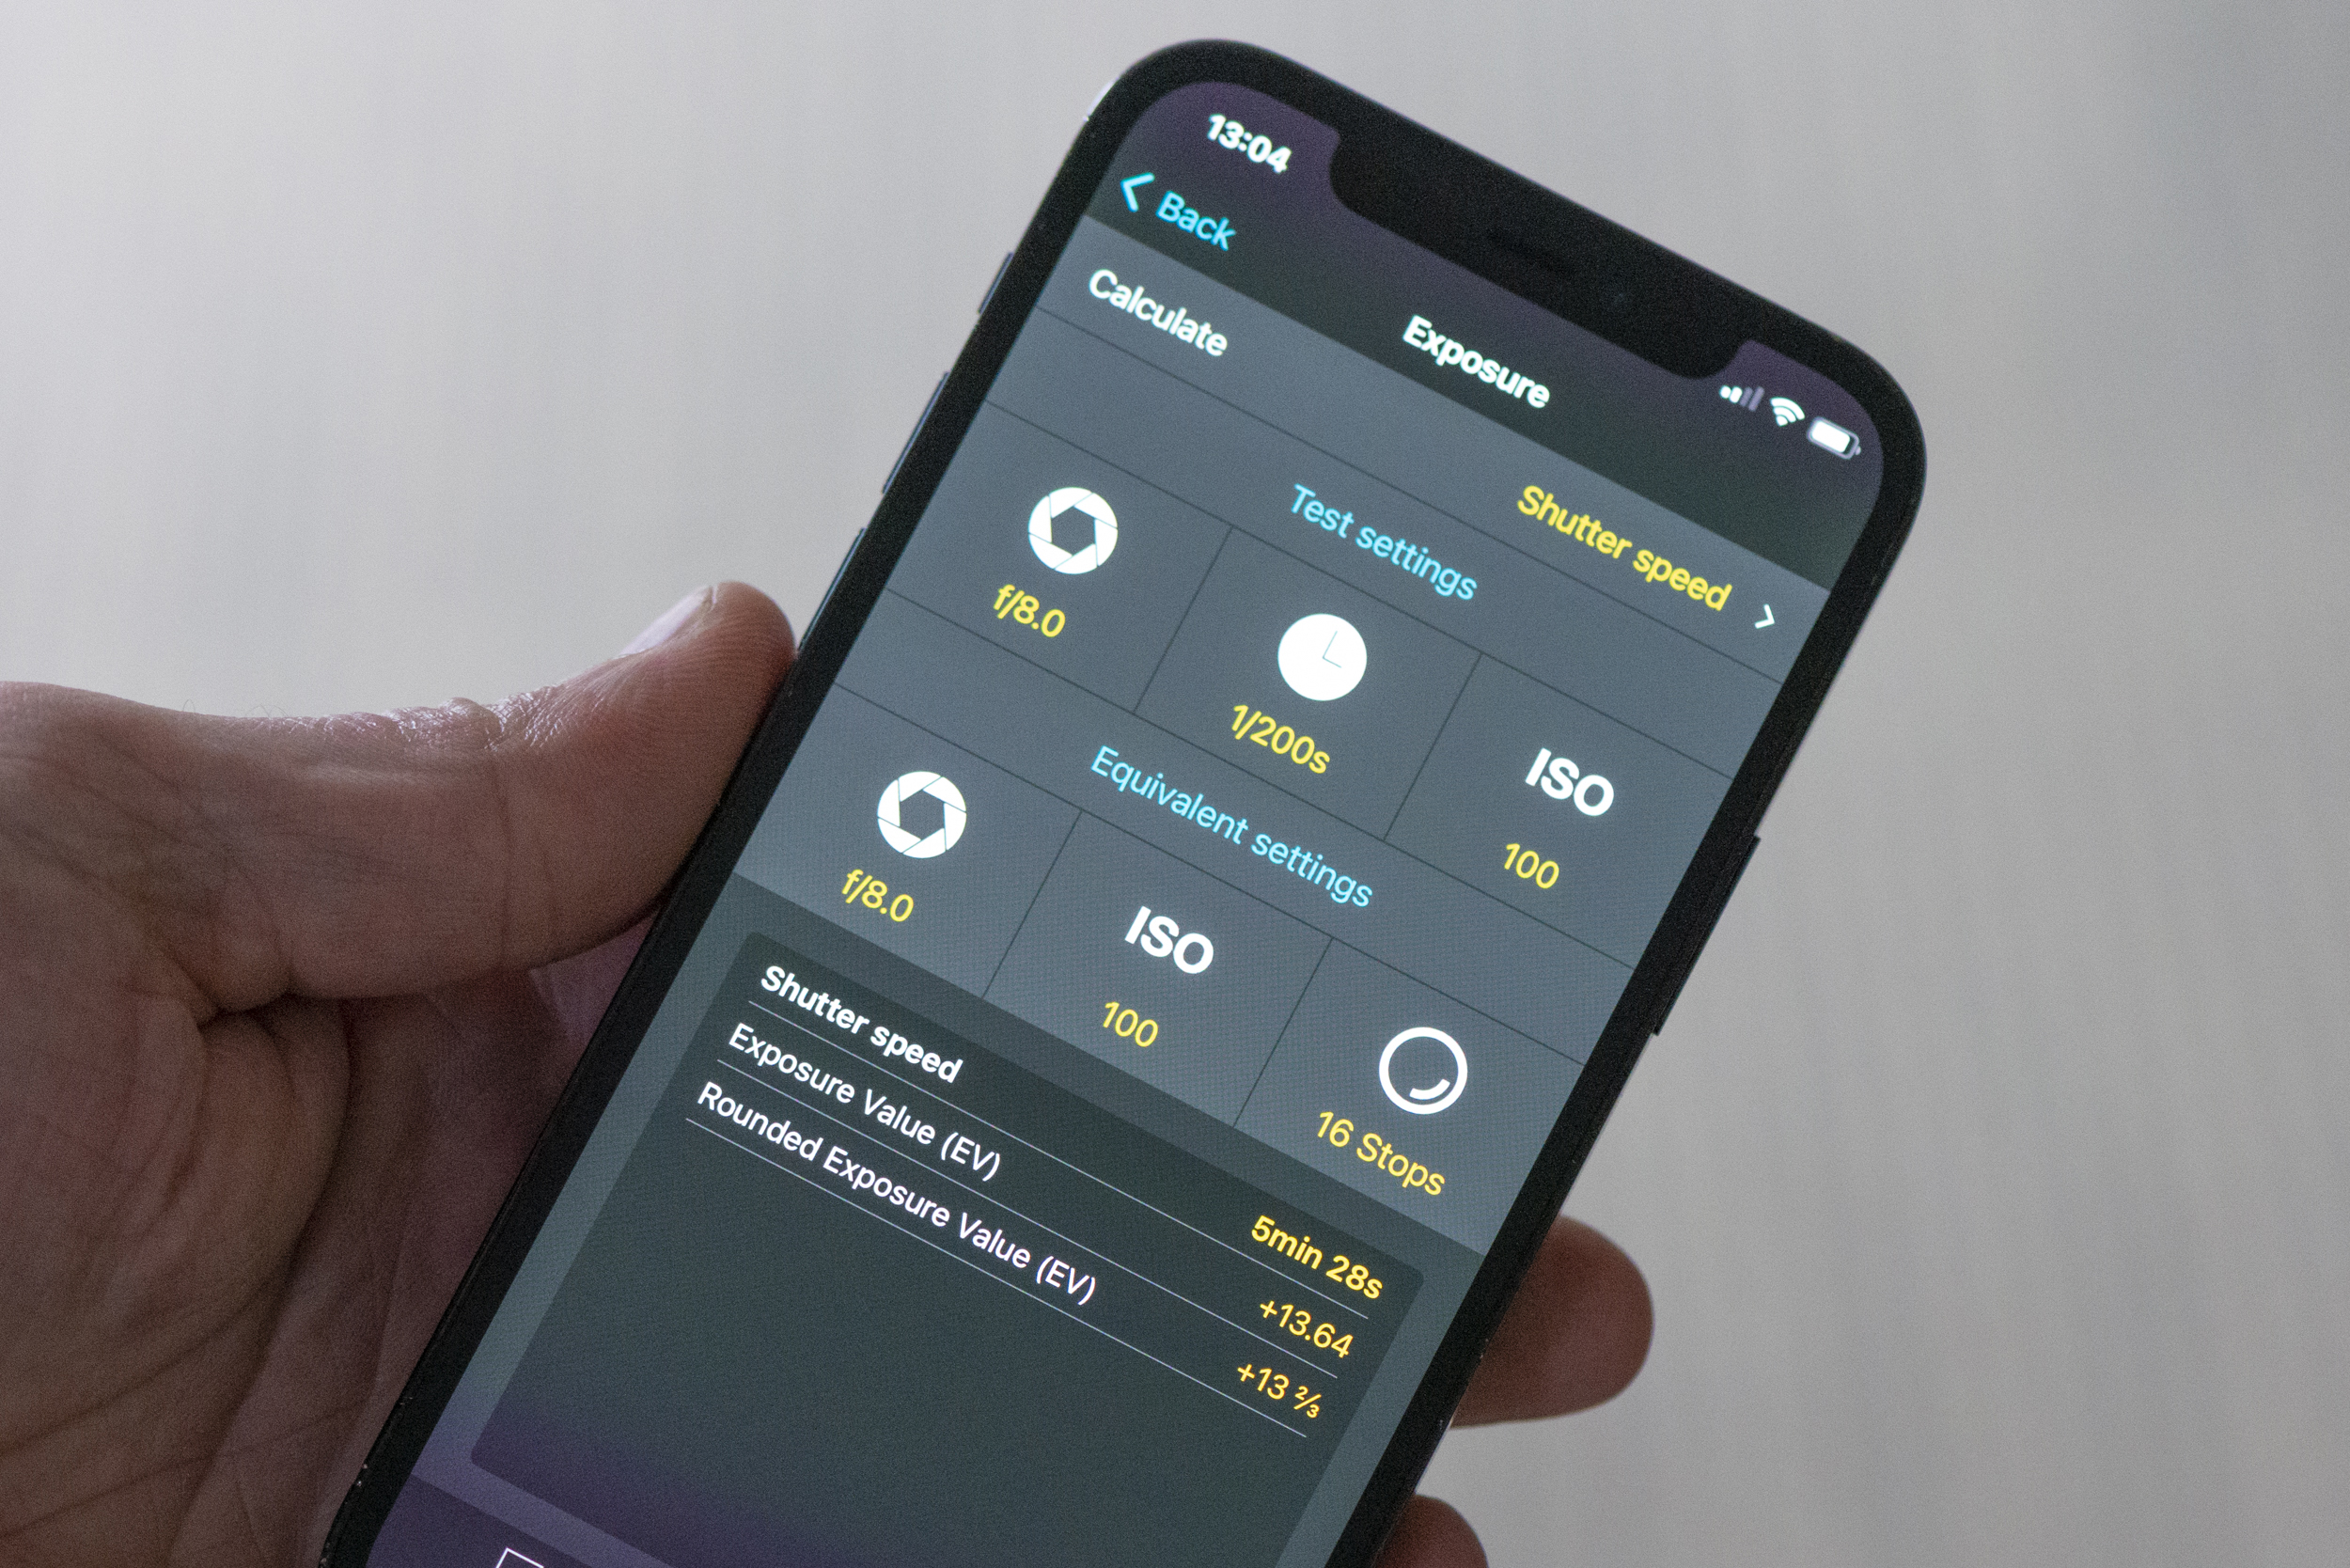
An exposure calculator such as the PhotoPills app is helpful. We input the settings for our non-filter test shot, set the number of stops, then let the app calculate the new shutter speed. Each stop doubles the time – 1/200 sec becomes 5 mins, 28 secs.
5. Set to bulb
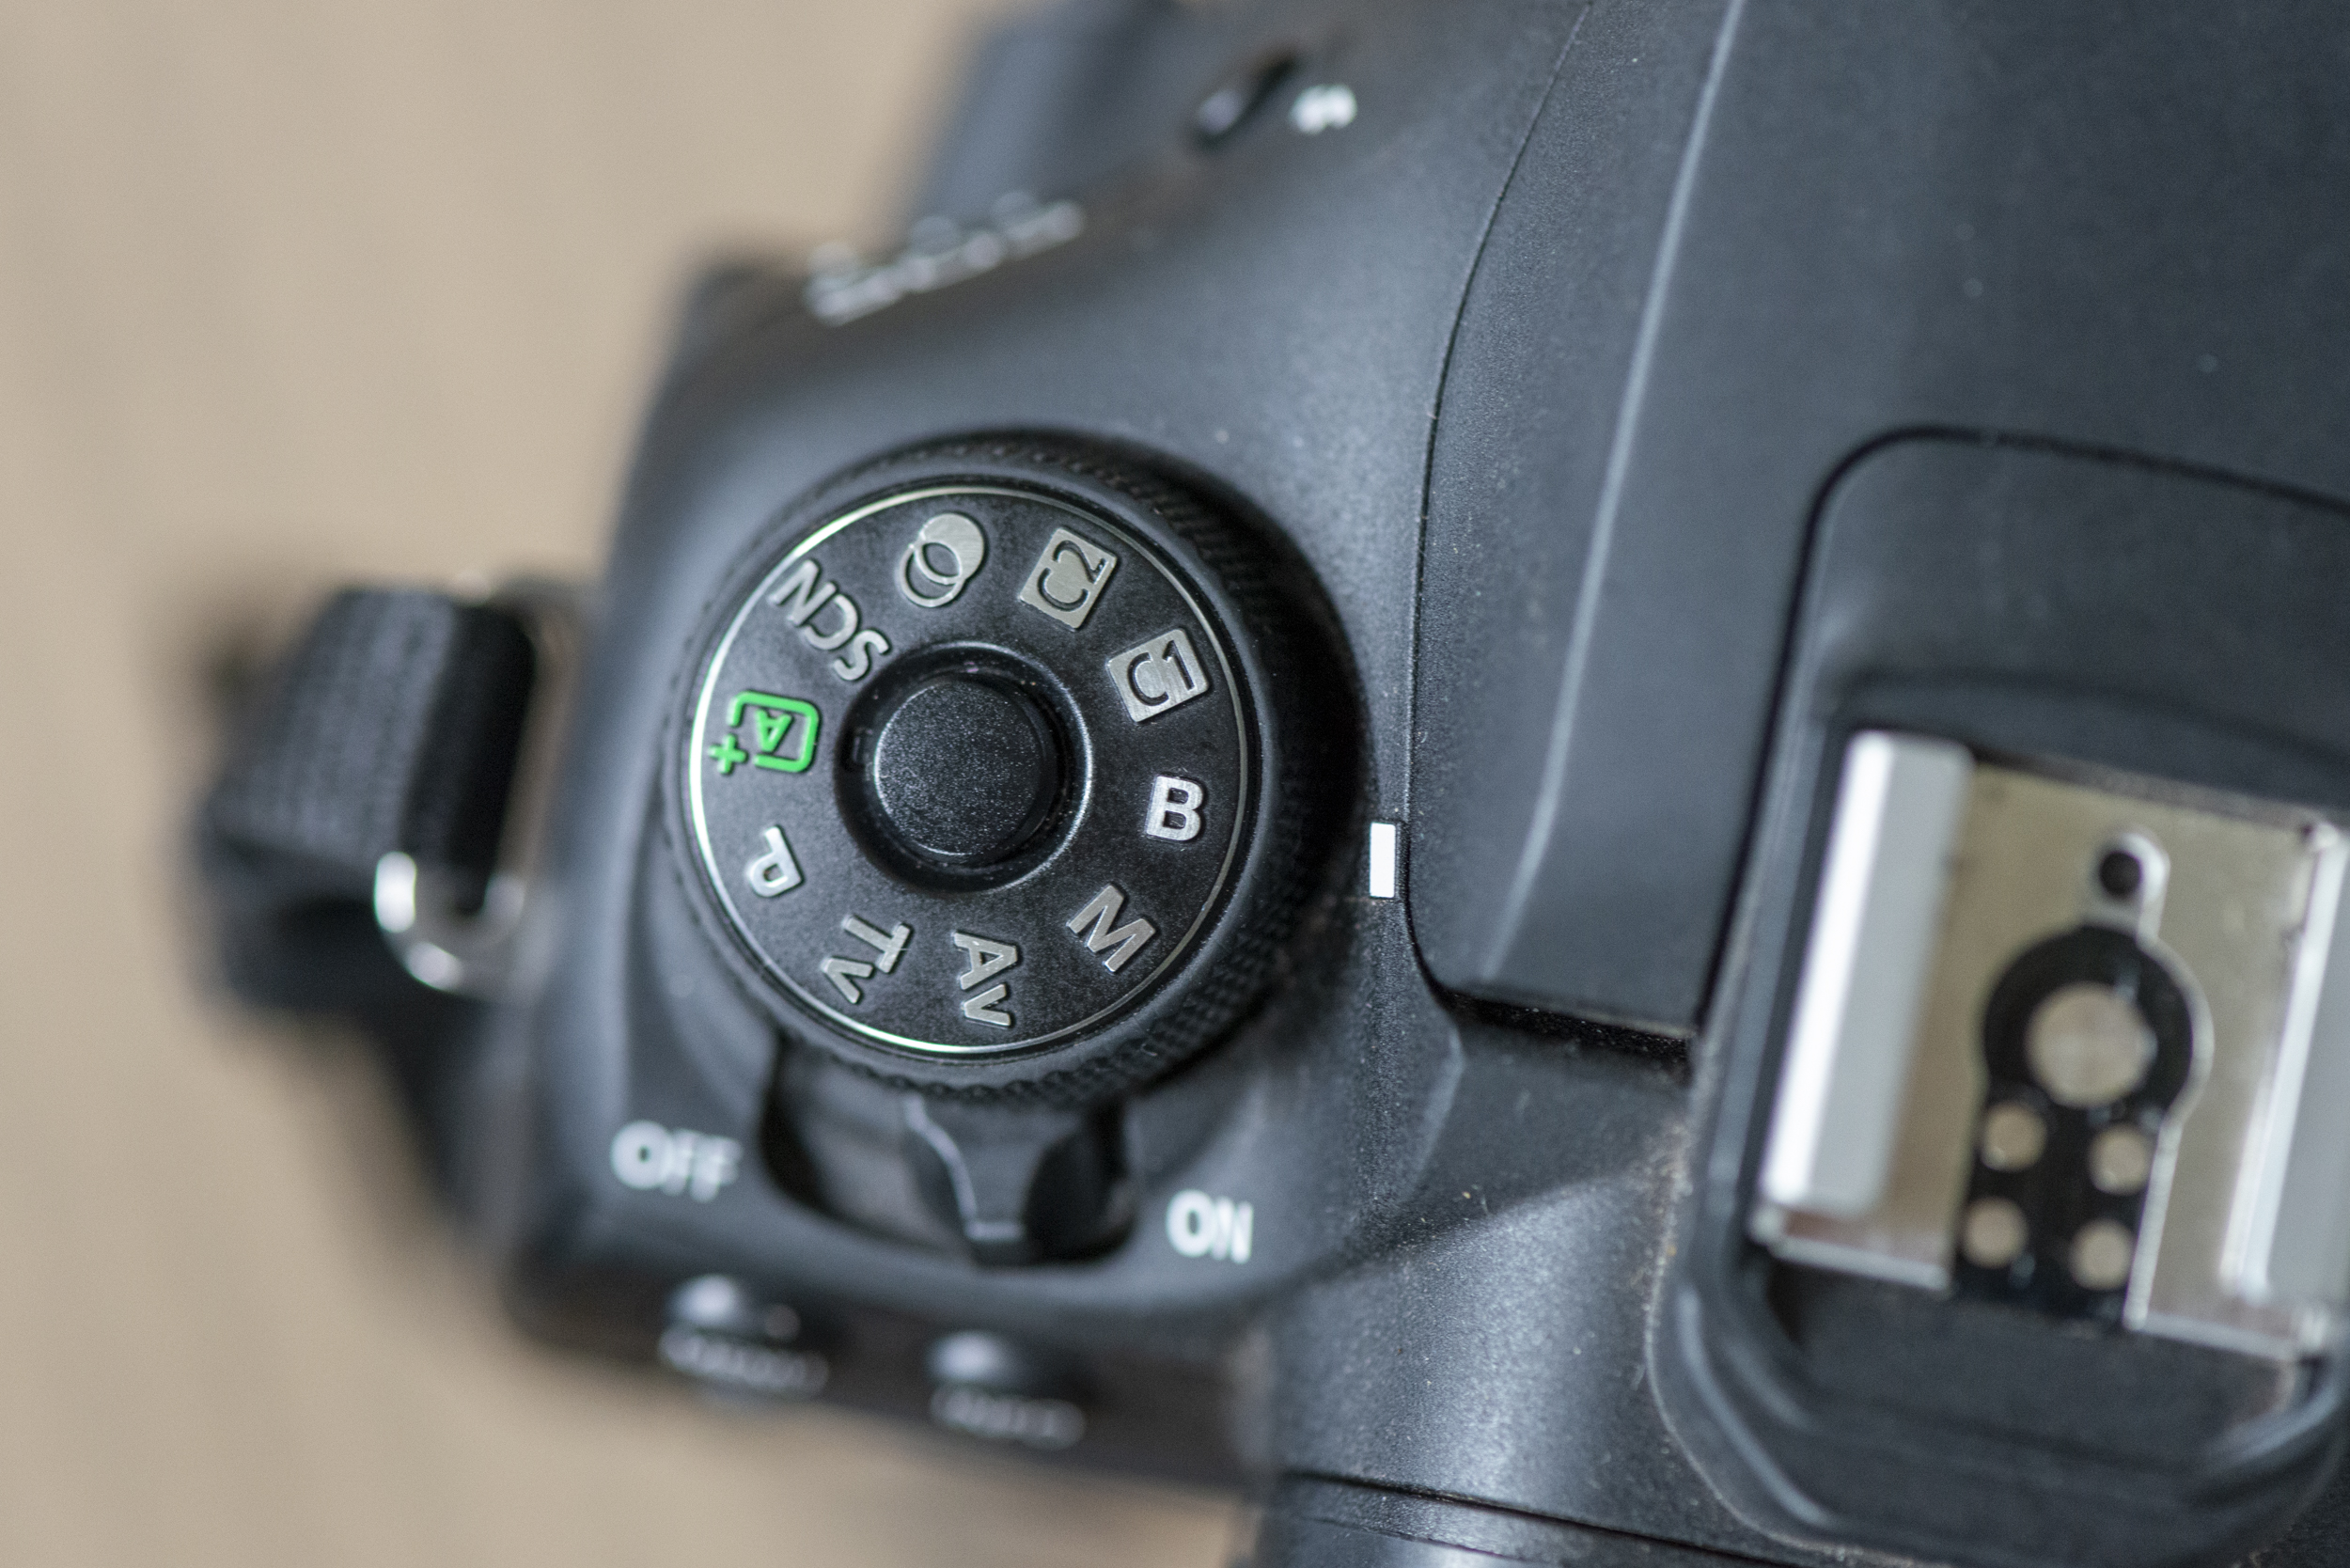
Most cameras max out at a 30-second shutter speed, so if you want to go slower you'll need to set it to Bulb mode. This way the camera stays open as long as the shutter is engaged. We don’t want to touch the camera, so we need to use a cable or wireless release, or a phone if you can connect via WiFi or Bluetooth.
6. Watch your timing
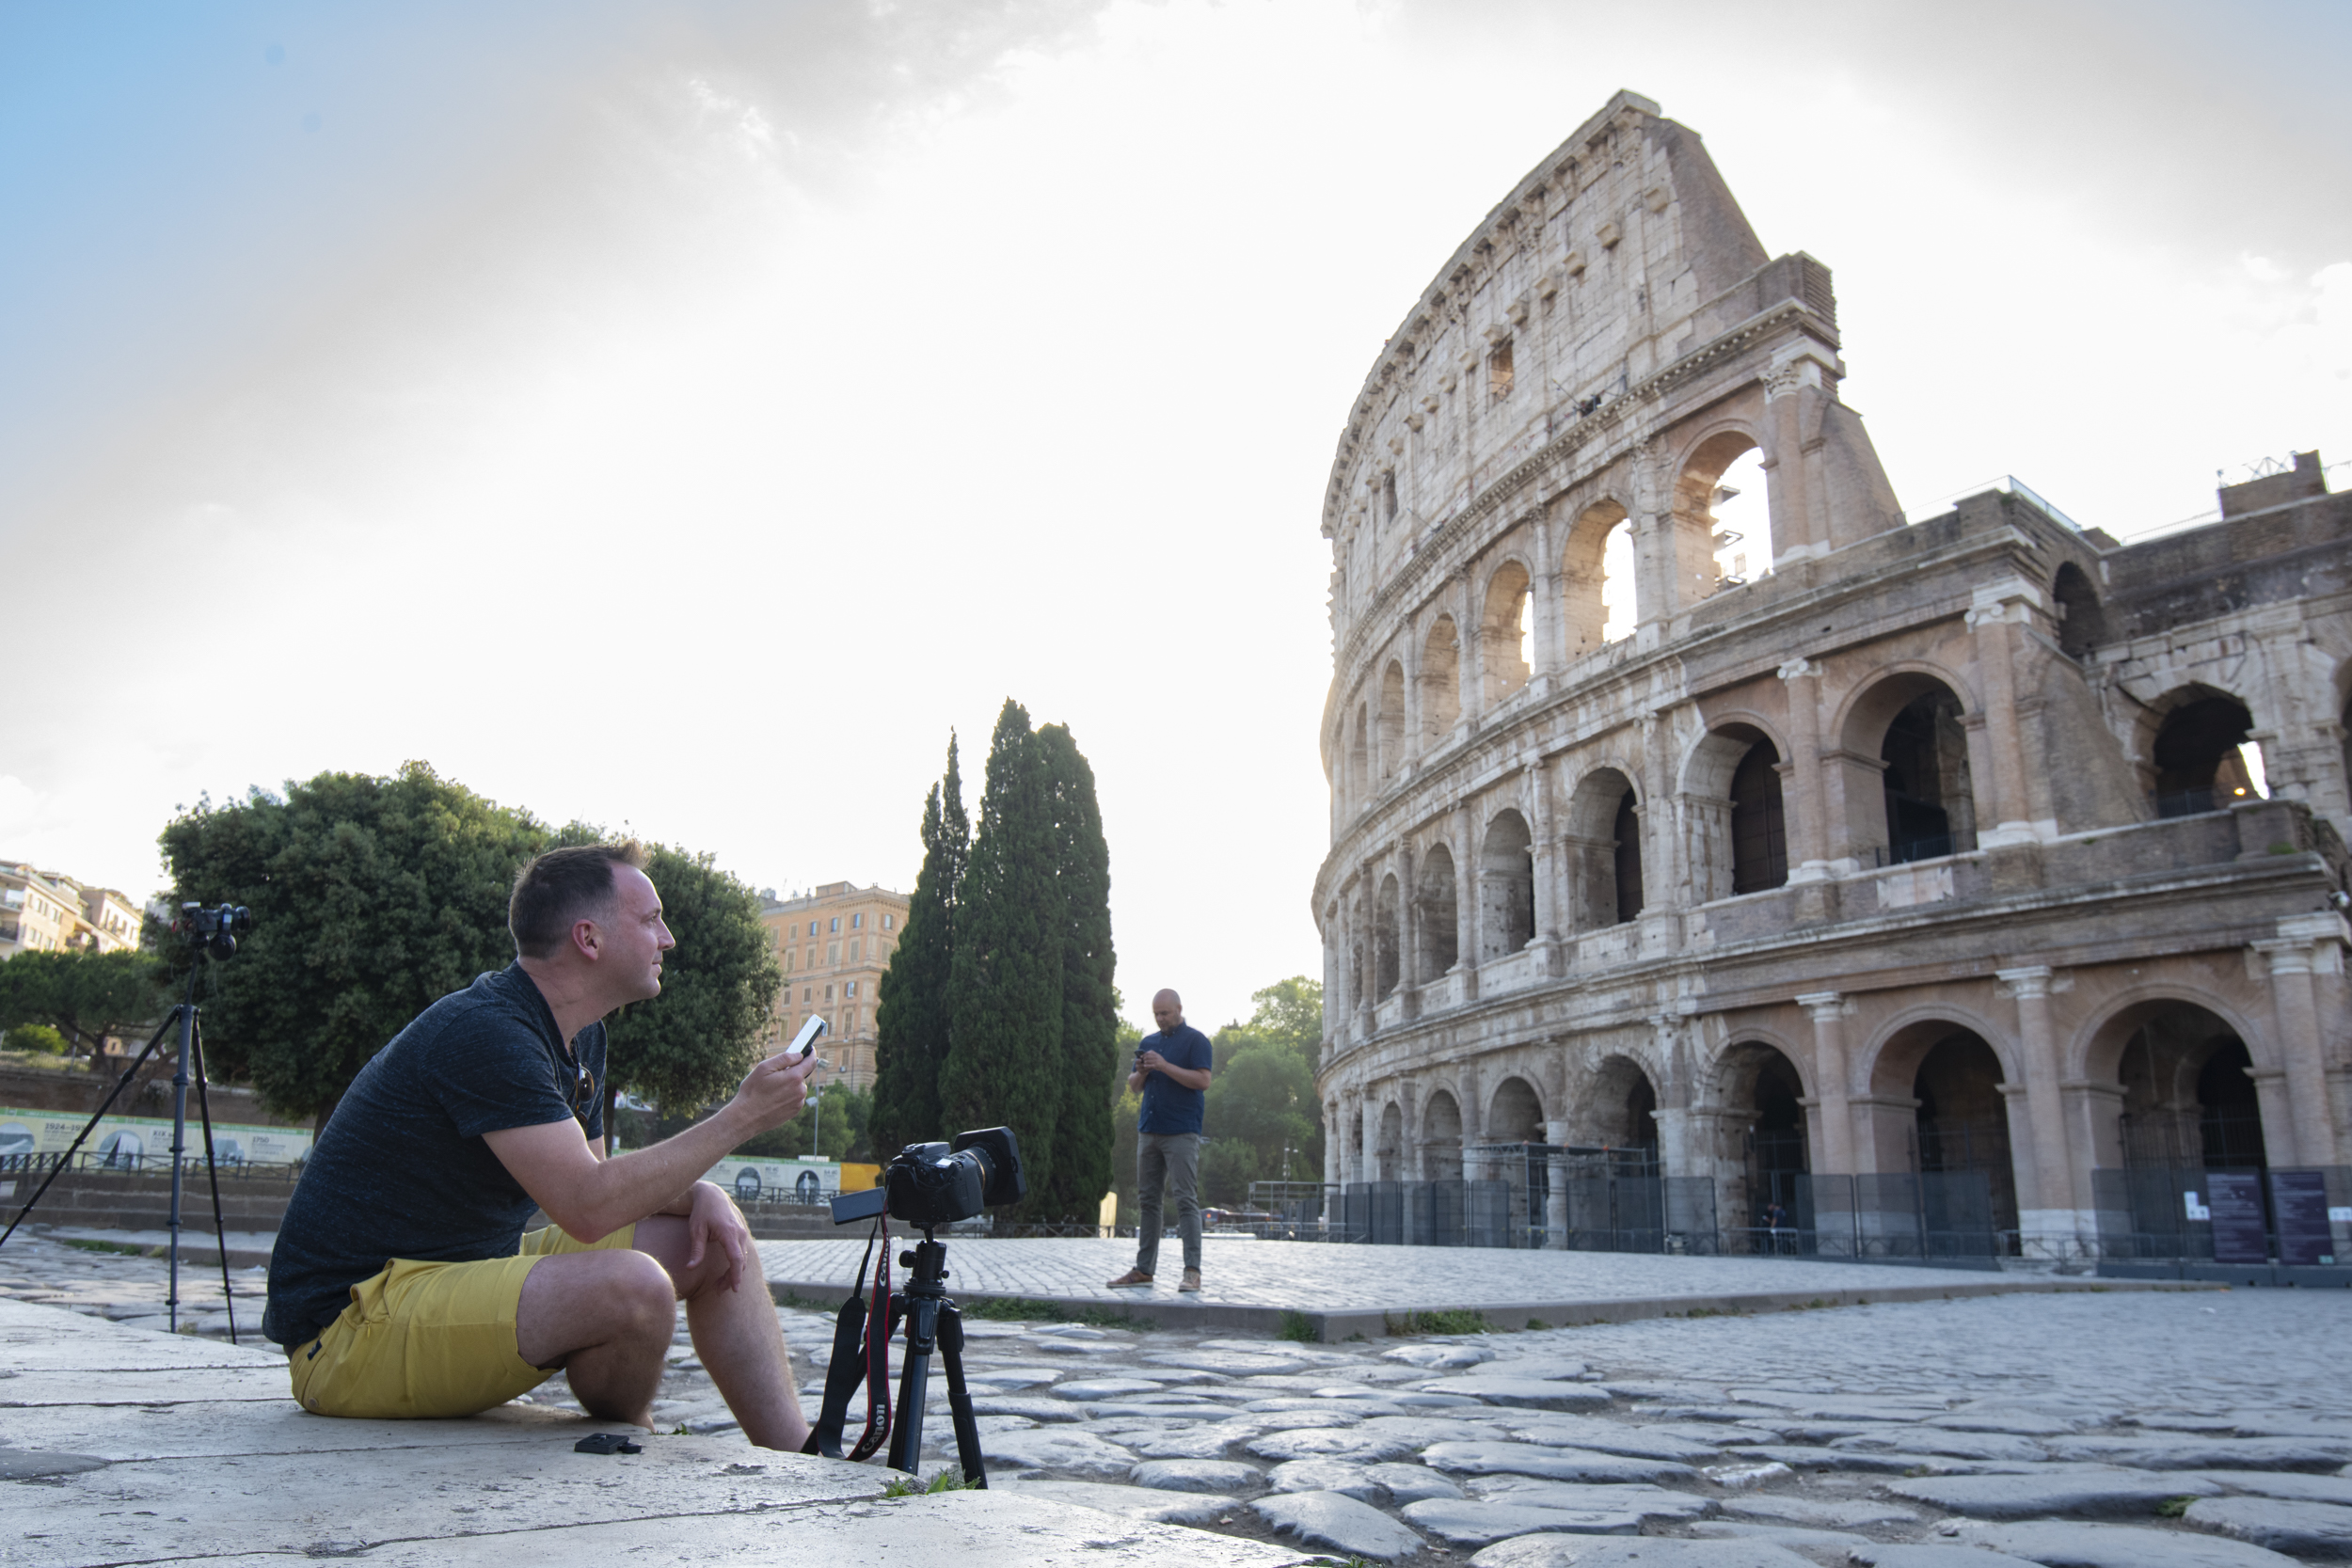
Sit back and wait, using a timer to watch the exposure length. Conditions may change during the exposure, so you may need to judge things on the fly. Here the sun broke out during a planned five-minute exposure, so we stopped it at just over two minutes.
7. Correct noise
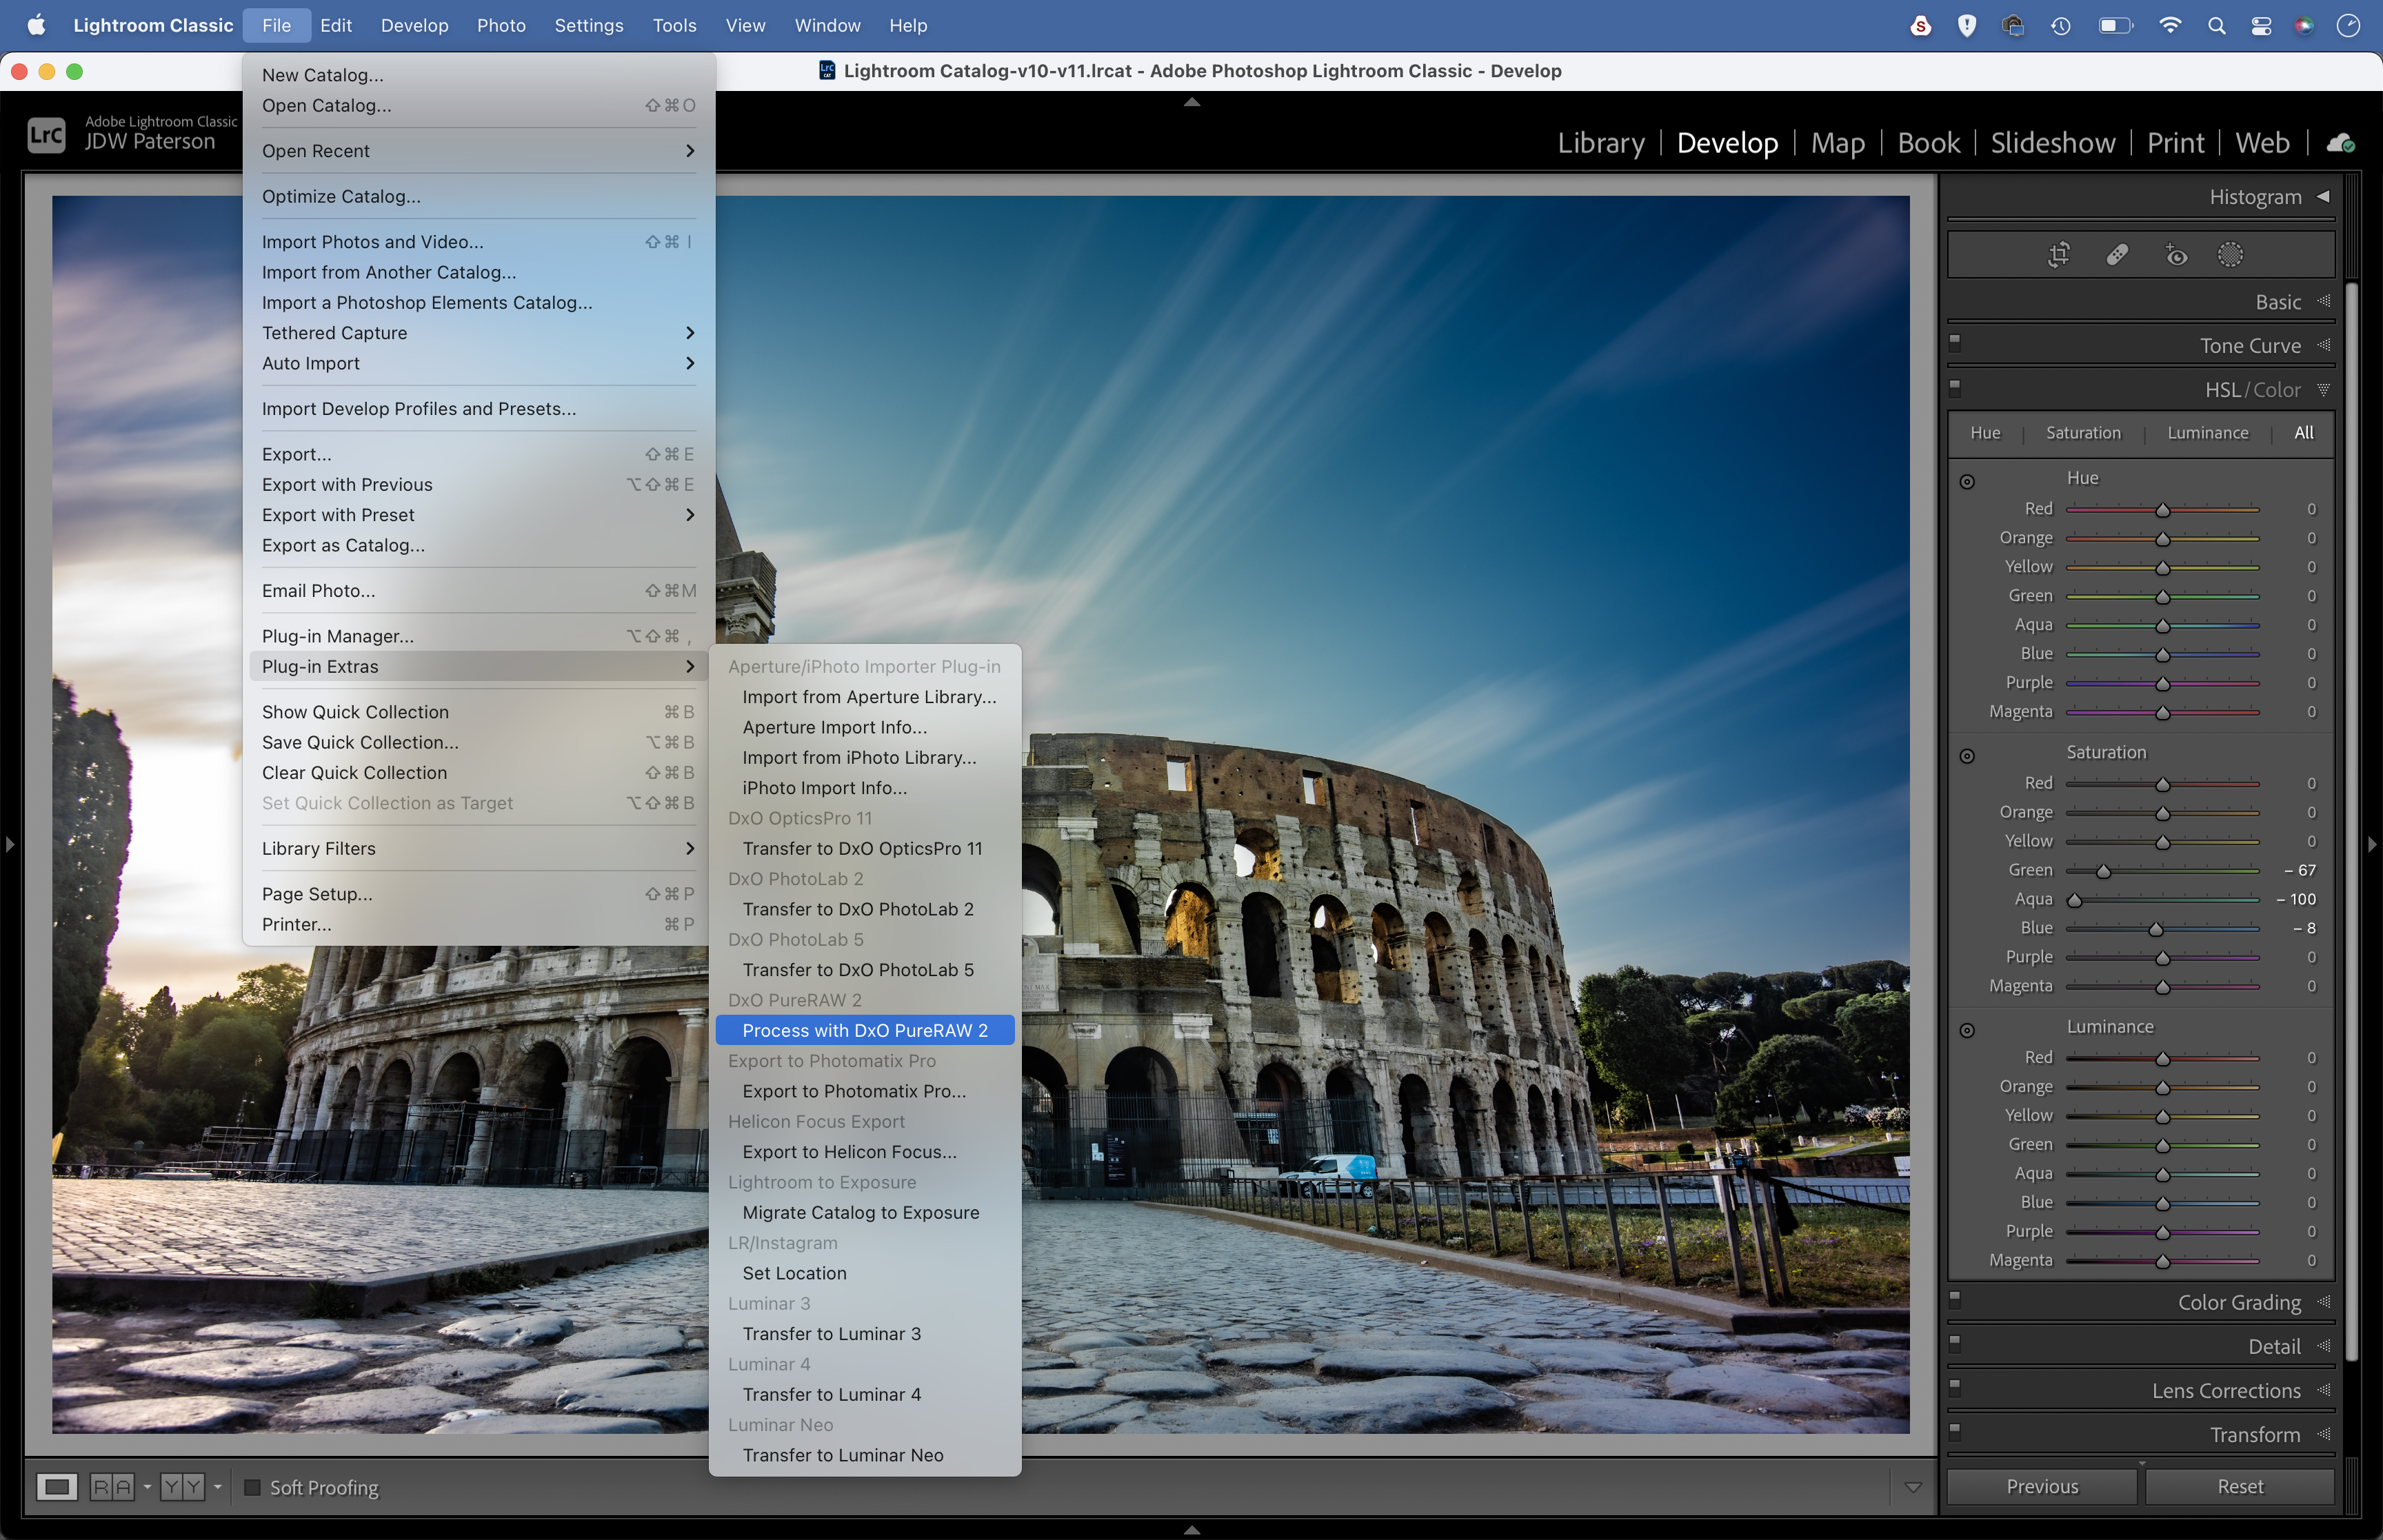
The camera sensor heats up during a long exposure, causing increased noise and hot pixels. Lightroom’s noise reduction tools can help, but a better option is DxO’s DxO PureRaw 2, a Lightroom CC plug-in that can automatically fix an astonishing level of noise and produce a better Raw file.
8. Fix color casts
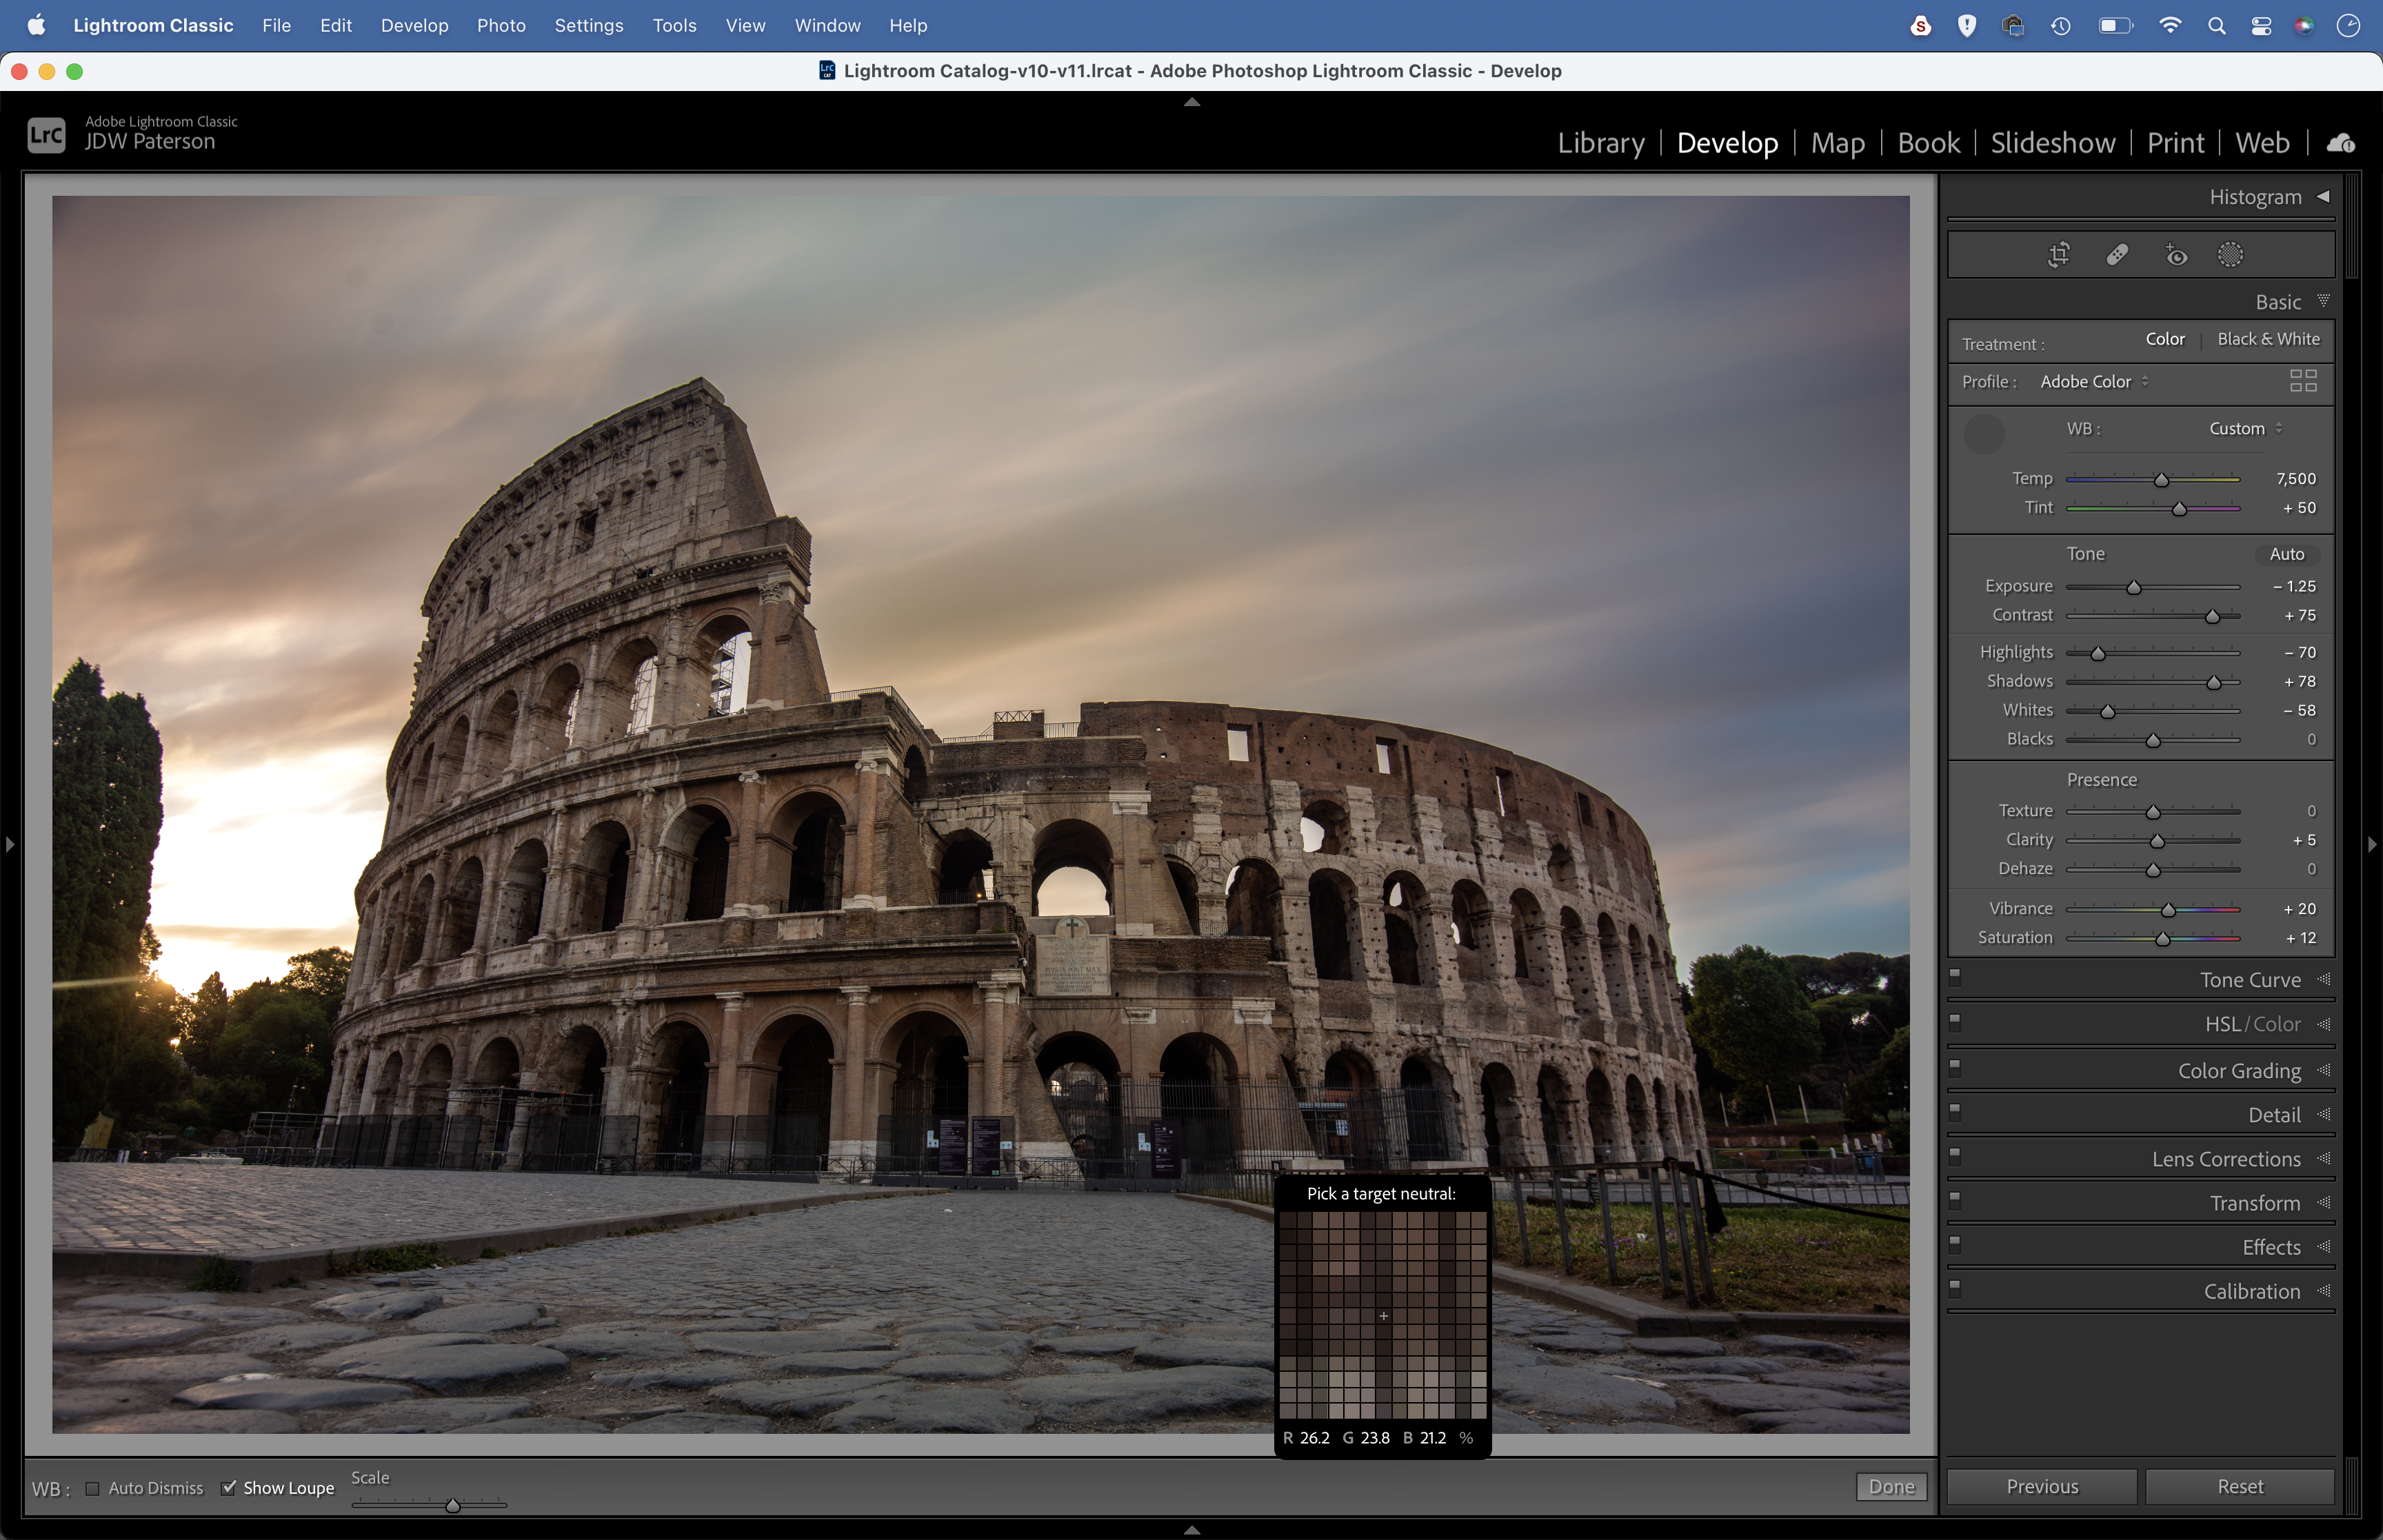
Strong ND filters leave the image looking slightly cool. In Lightroom, grab the white balance eyedropper and click on a neutral point (such as the path) to fix color casts. Sometimes light can leak in to give edges a magenta cast. This can be fixed with a radial filter set to reduce magenta tints.
9 Combine frames
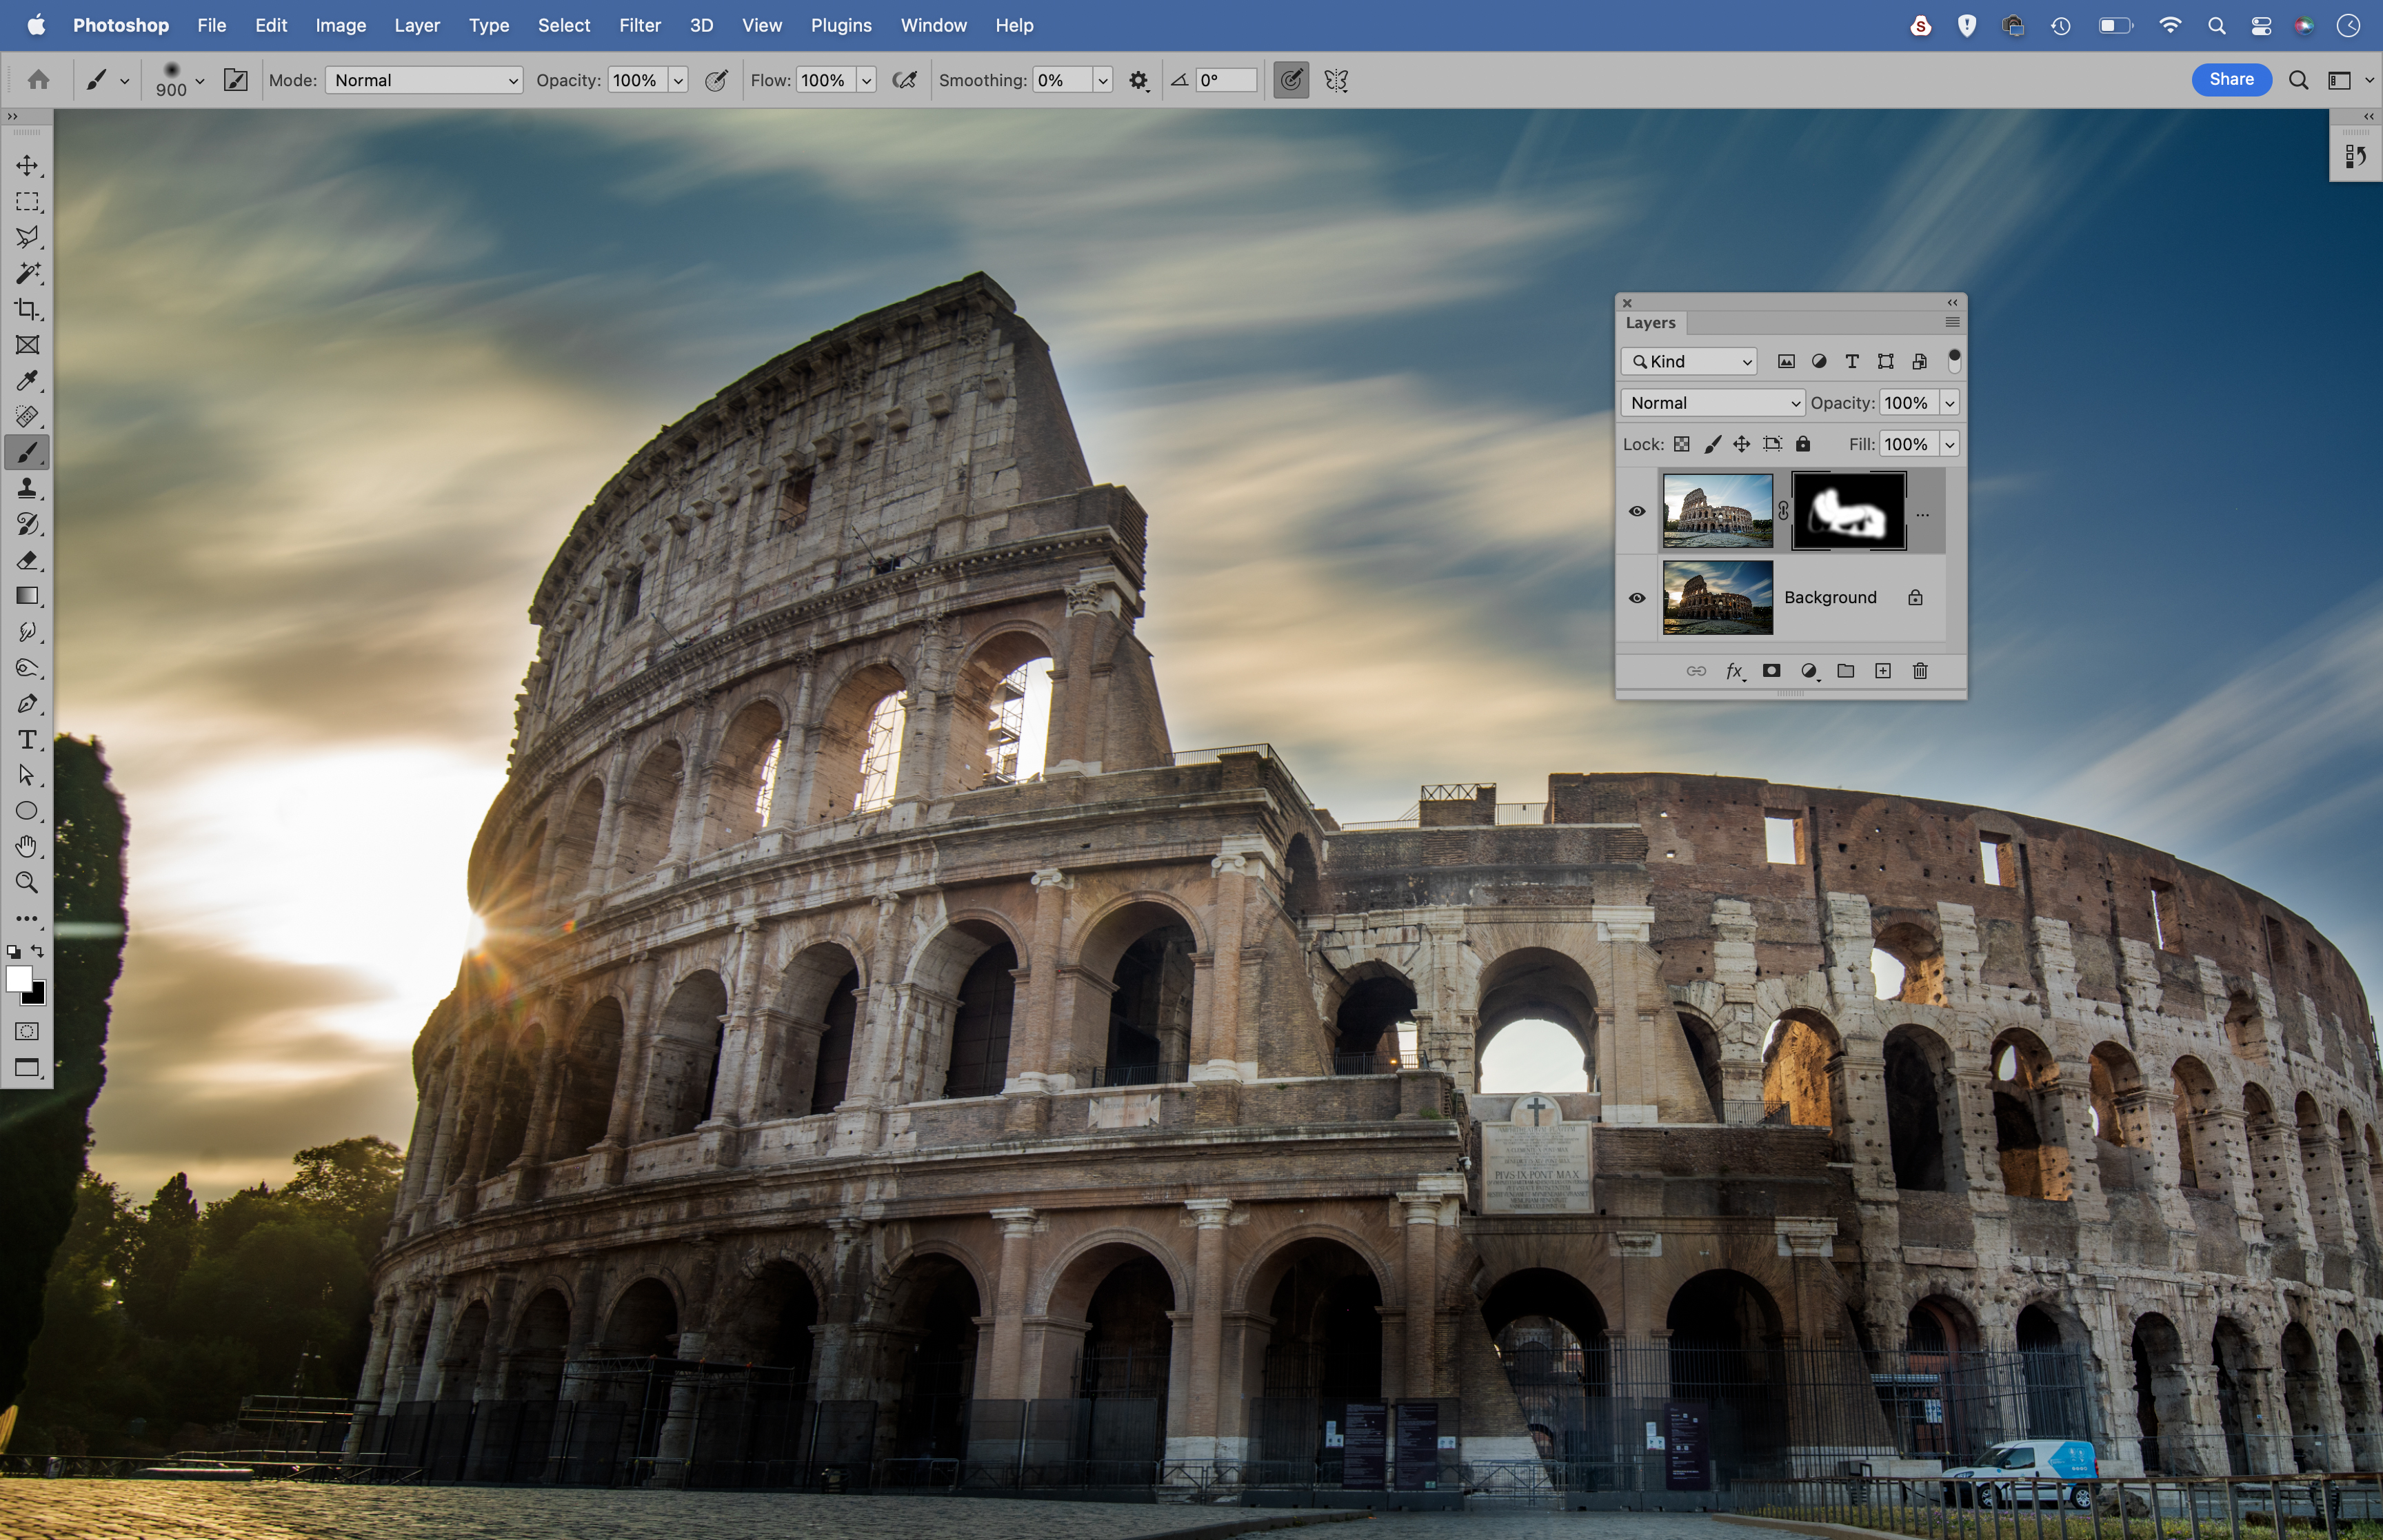
Long exposures can be tricky to get right, so you may need to use exposure blending to combine more than one frame. In Photoshop, copy one image on top of another, then Alt-click the Layer Mask icon to add a full mask to hide the top layer. Paint with white to reveal areas you want.
PhotoPlus: The Canon Magazine is the world's only monthly newsstand title that's 100% devoted to Canon, so you can be sure the magazine is completely relevant to your system.
Read more:
Best cameras for landscapes
Best landscape photography tips
Best neutral density filters
Best photo editing software
Best photo-editing laptops
Get the Digital Camera World Newsletter
The best camera deals, reviews, product advice, and unmissable photography news, direct to your inbox!
The lead technique writer on Digital Camera Magazine, PhotoPlus: The Canon Magazine and N-Photo: The Nikon Magazine, James is a fantastic general practice photographer with an enviable array of skills across every genre of photography.
Whether it's flash photography techniques like stroboscopic portraits, astrophotography projects like photographing the Northern Lights, or turning sound into art by making paint dance on a set of speakers, James' tutorials and projects are as creative as they are enjoyable.
He's also a wizard at the dark arts of Photoshop, Lightroom and Affinity Photo, and is capable of some genuine black magic in the digital darkroom, making him one of the leading authorities on photo editing software and techniques.


