Shoot to score! Tips to take your sports photography further from the sidelines
Pro Canon photographer Matty Graham shares his tactics to help you take premier league photos
Watch video: Shoot to score!
It’s the most popular sport in the world, and netting great football shots can feel like a win too! Successful images capture a moment in time and help tell the story of the match; scoring a goal, battling in a tackle, the jubilance of victory or the pain of defeat.
While pitchside access at bigger games will be limited, there are plenty of lower league options available to photographers looking to practise their craft, so head to a local game and get permission to take some action shots. There are, however, a few techniques you can incorporate into your photo game to improve your chances of taking winning photos. Some of these elements are kit-based, but most are focused around EOS skills.
By selecting the right focus and drive modes, you are giving your camera more chances of capturing those sharp, split-second shots that all sports photographers seek out. Ready for the first-half whistle? Let’s kick off!
The kit you'll need
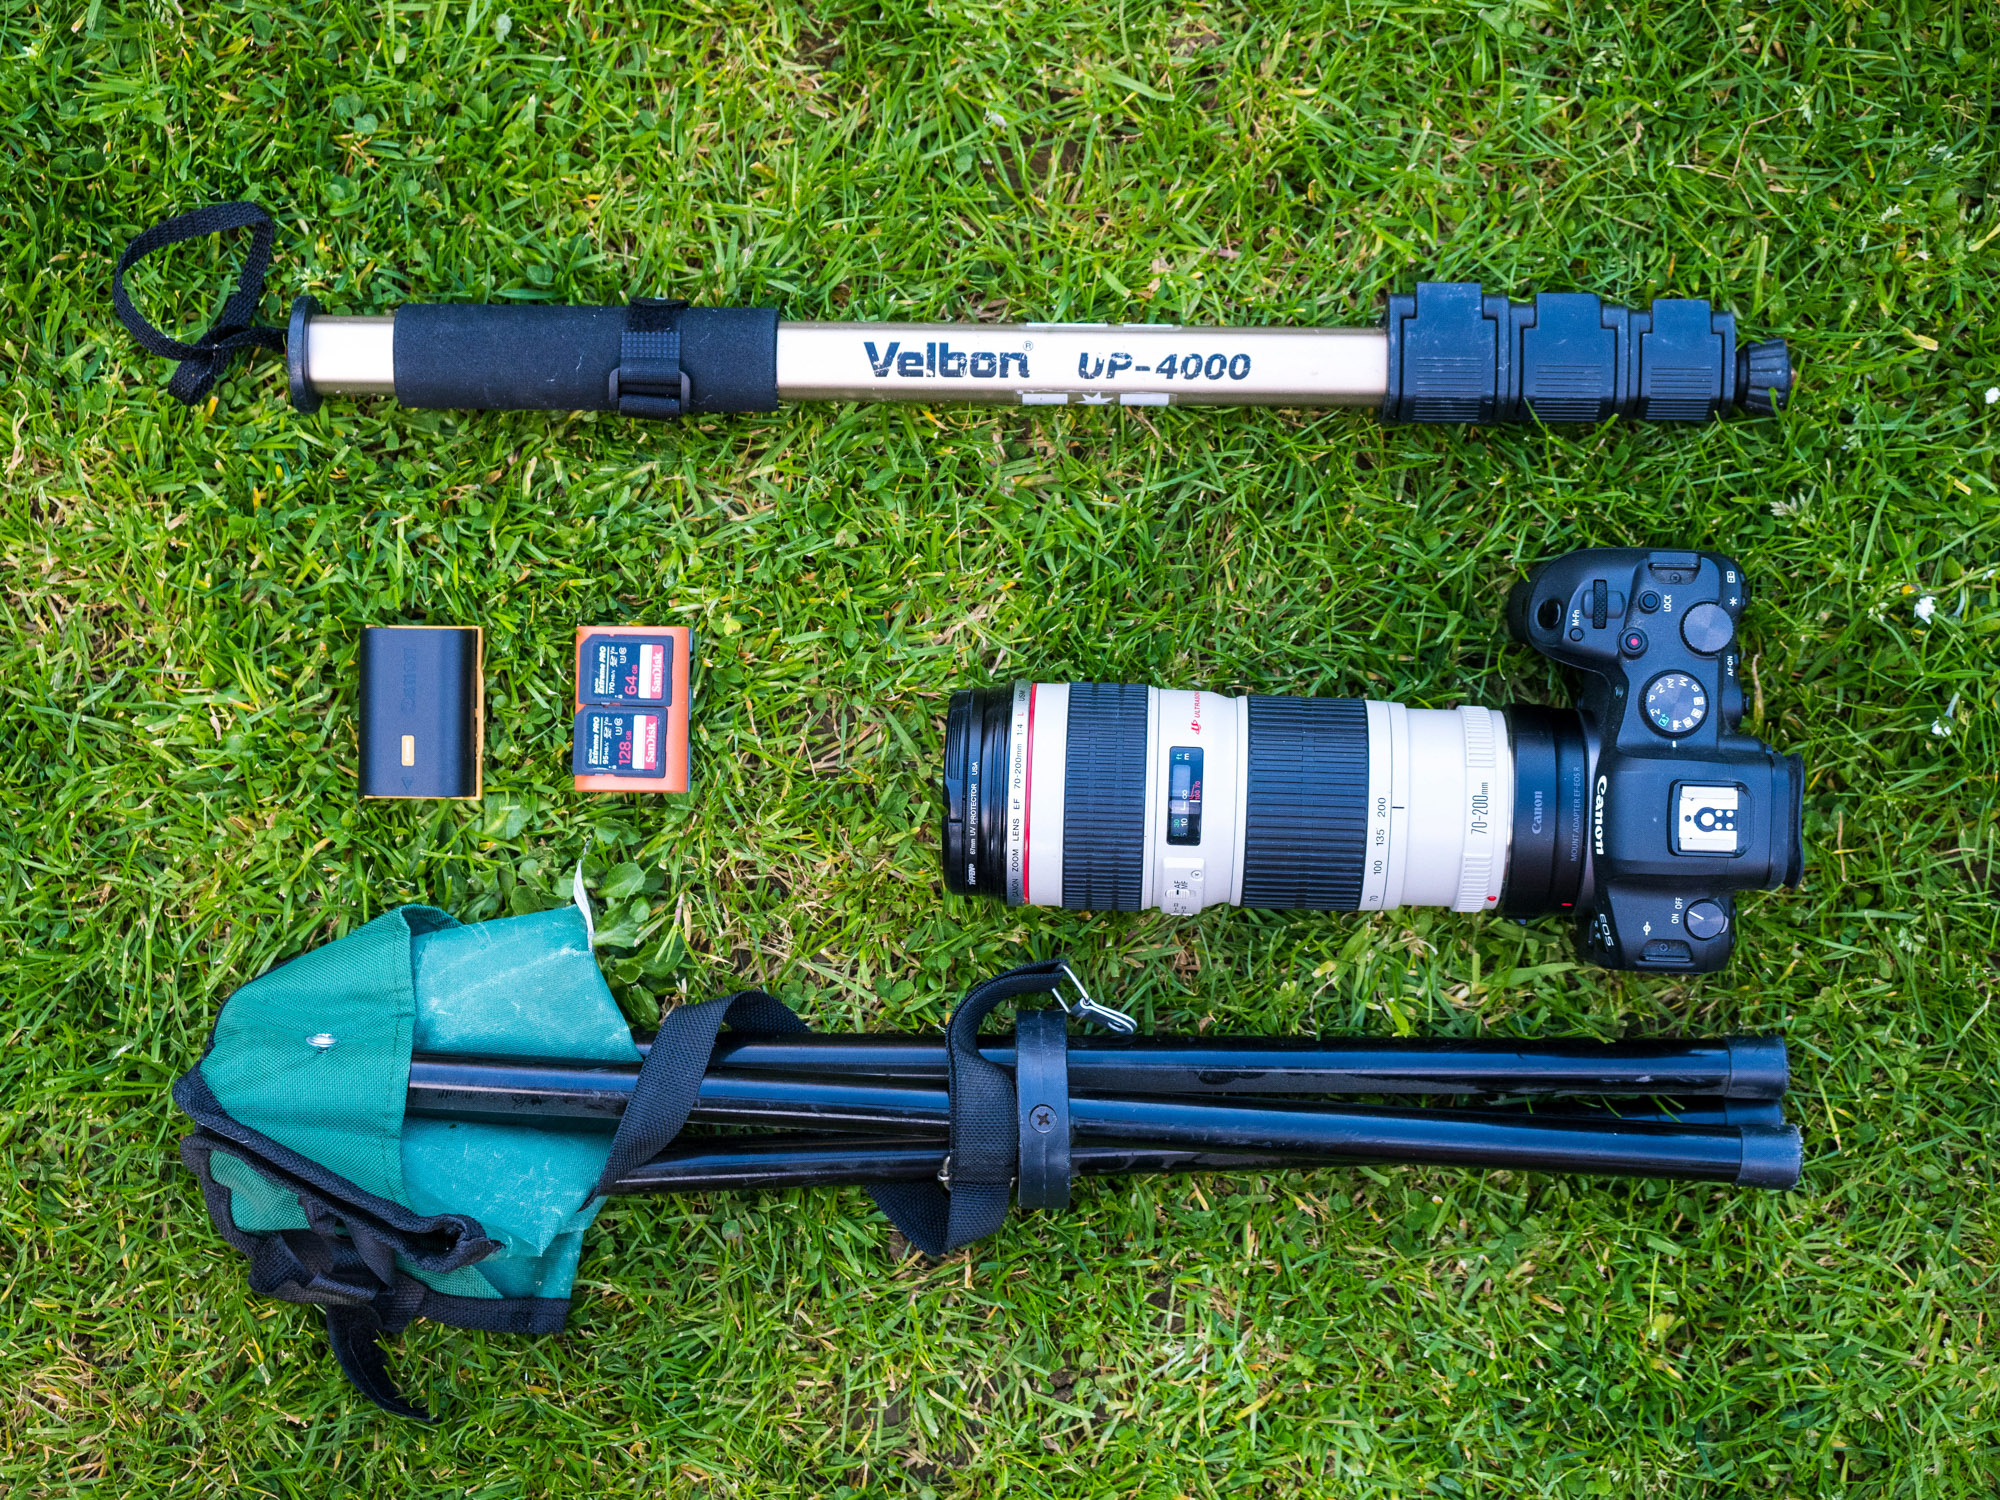
01 Foldable stool
It may sound like an inconsequential item, but for football you’ll standing around for 90 mins. At more professional games, you will need to kneel so you don’t block fans’ views. So pack a cheap foldable stool, it also means you’ll be lower for better shots.
02 Telephoto zoom lens
To zoom in on the action we used a Canon EF 70-200mm f/4L IS USM on our EOS R6 with the EF-EOS R adapter, but an f/2.8 option would provide faster shutter speeds and lower ISOs. Focal lengths of 300mm or 400mm may be needed at big grounds.
03 Extra batteries & Cards
Football games are action-packed, so it’s likely your high burst modes, Image Stabilisation and constant autofocusing will drain your batteries and fill cards quickly. Pack plenty of spare camera batteries, or even use a battery grip to give you extra juice.
1. Dial in the settings
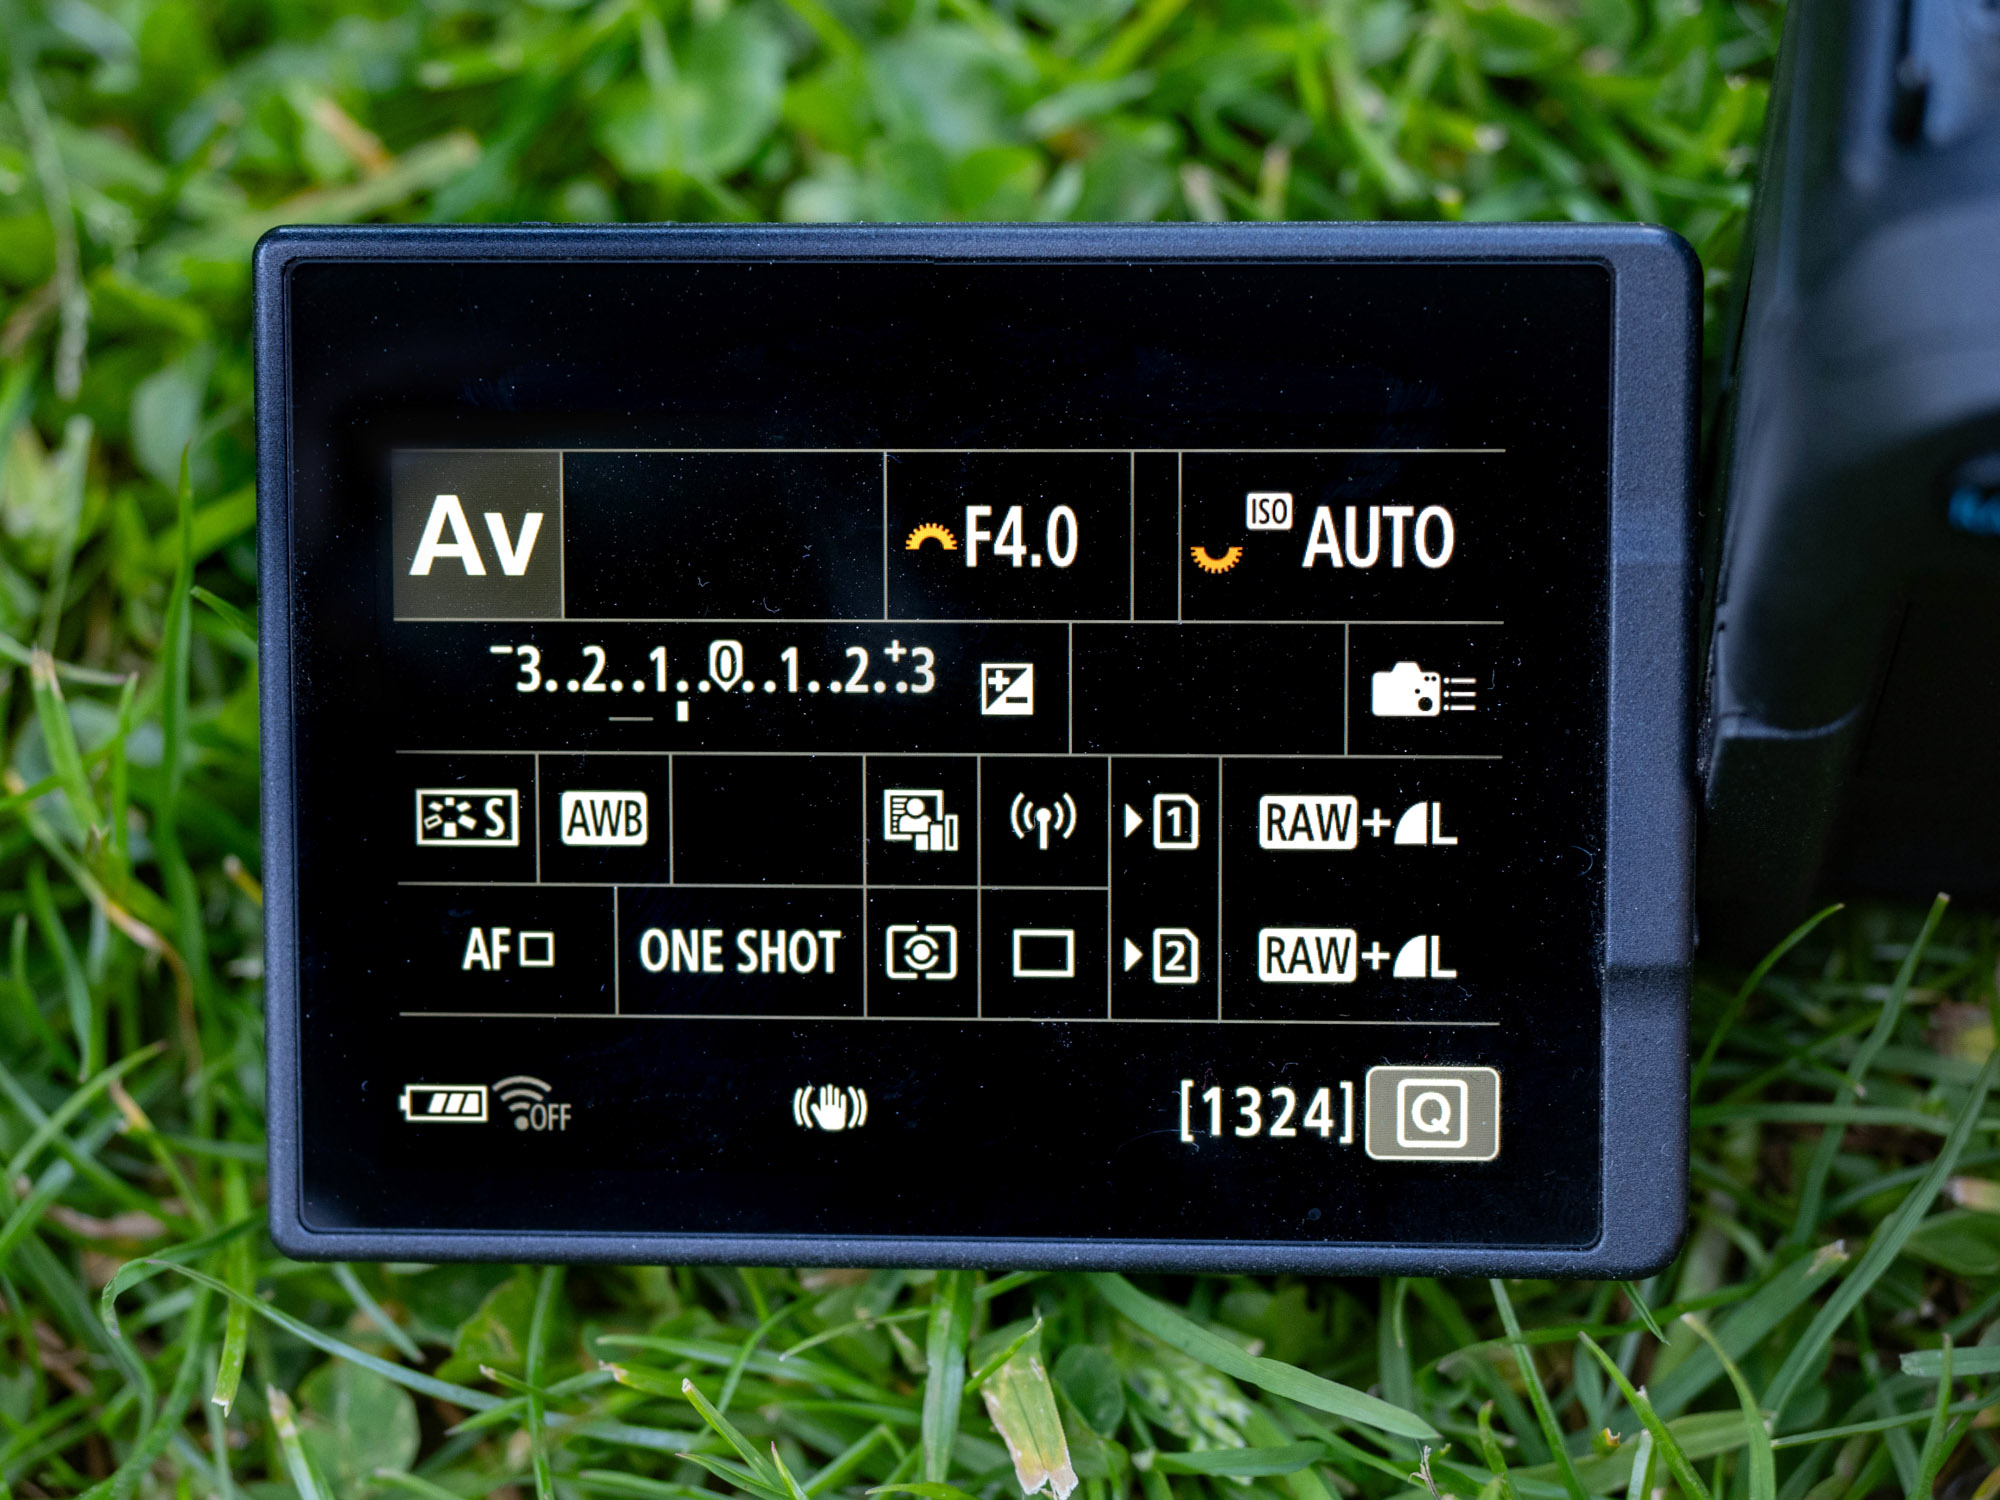
Let’s start by taking a look at which settings you should use. One approach is to shoot in Shutter priority mode (Tv on the dial) and to set a fast shutter of around 1/640 sec, with the camera then selecting the correct aperture thanks to this being a semi-automatic mode. But, I prefer to work in Aperture priority mode (Av on the mode dial) and set my aperture to the widest allowed by the lens (either f/4 or f/2.8 depending on your lens). I also change the ISO to Auto, this will help give a balanced exposure if light levels change during the game. This is especially important if you are photographing a night game under flood lights, as the lighting will change drastically around the pitch.
2. Be a speed king
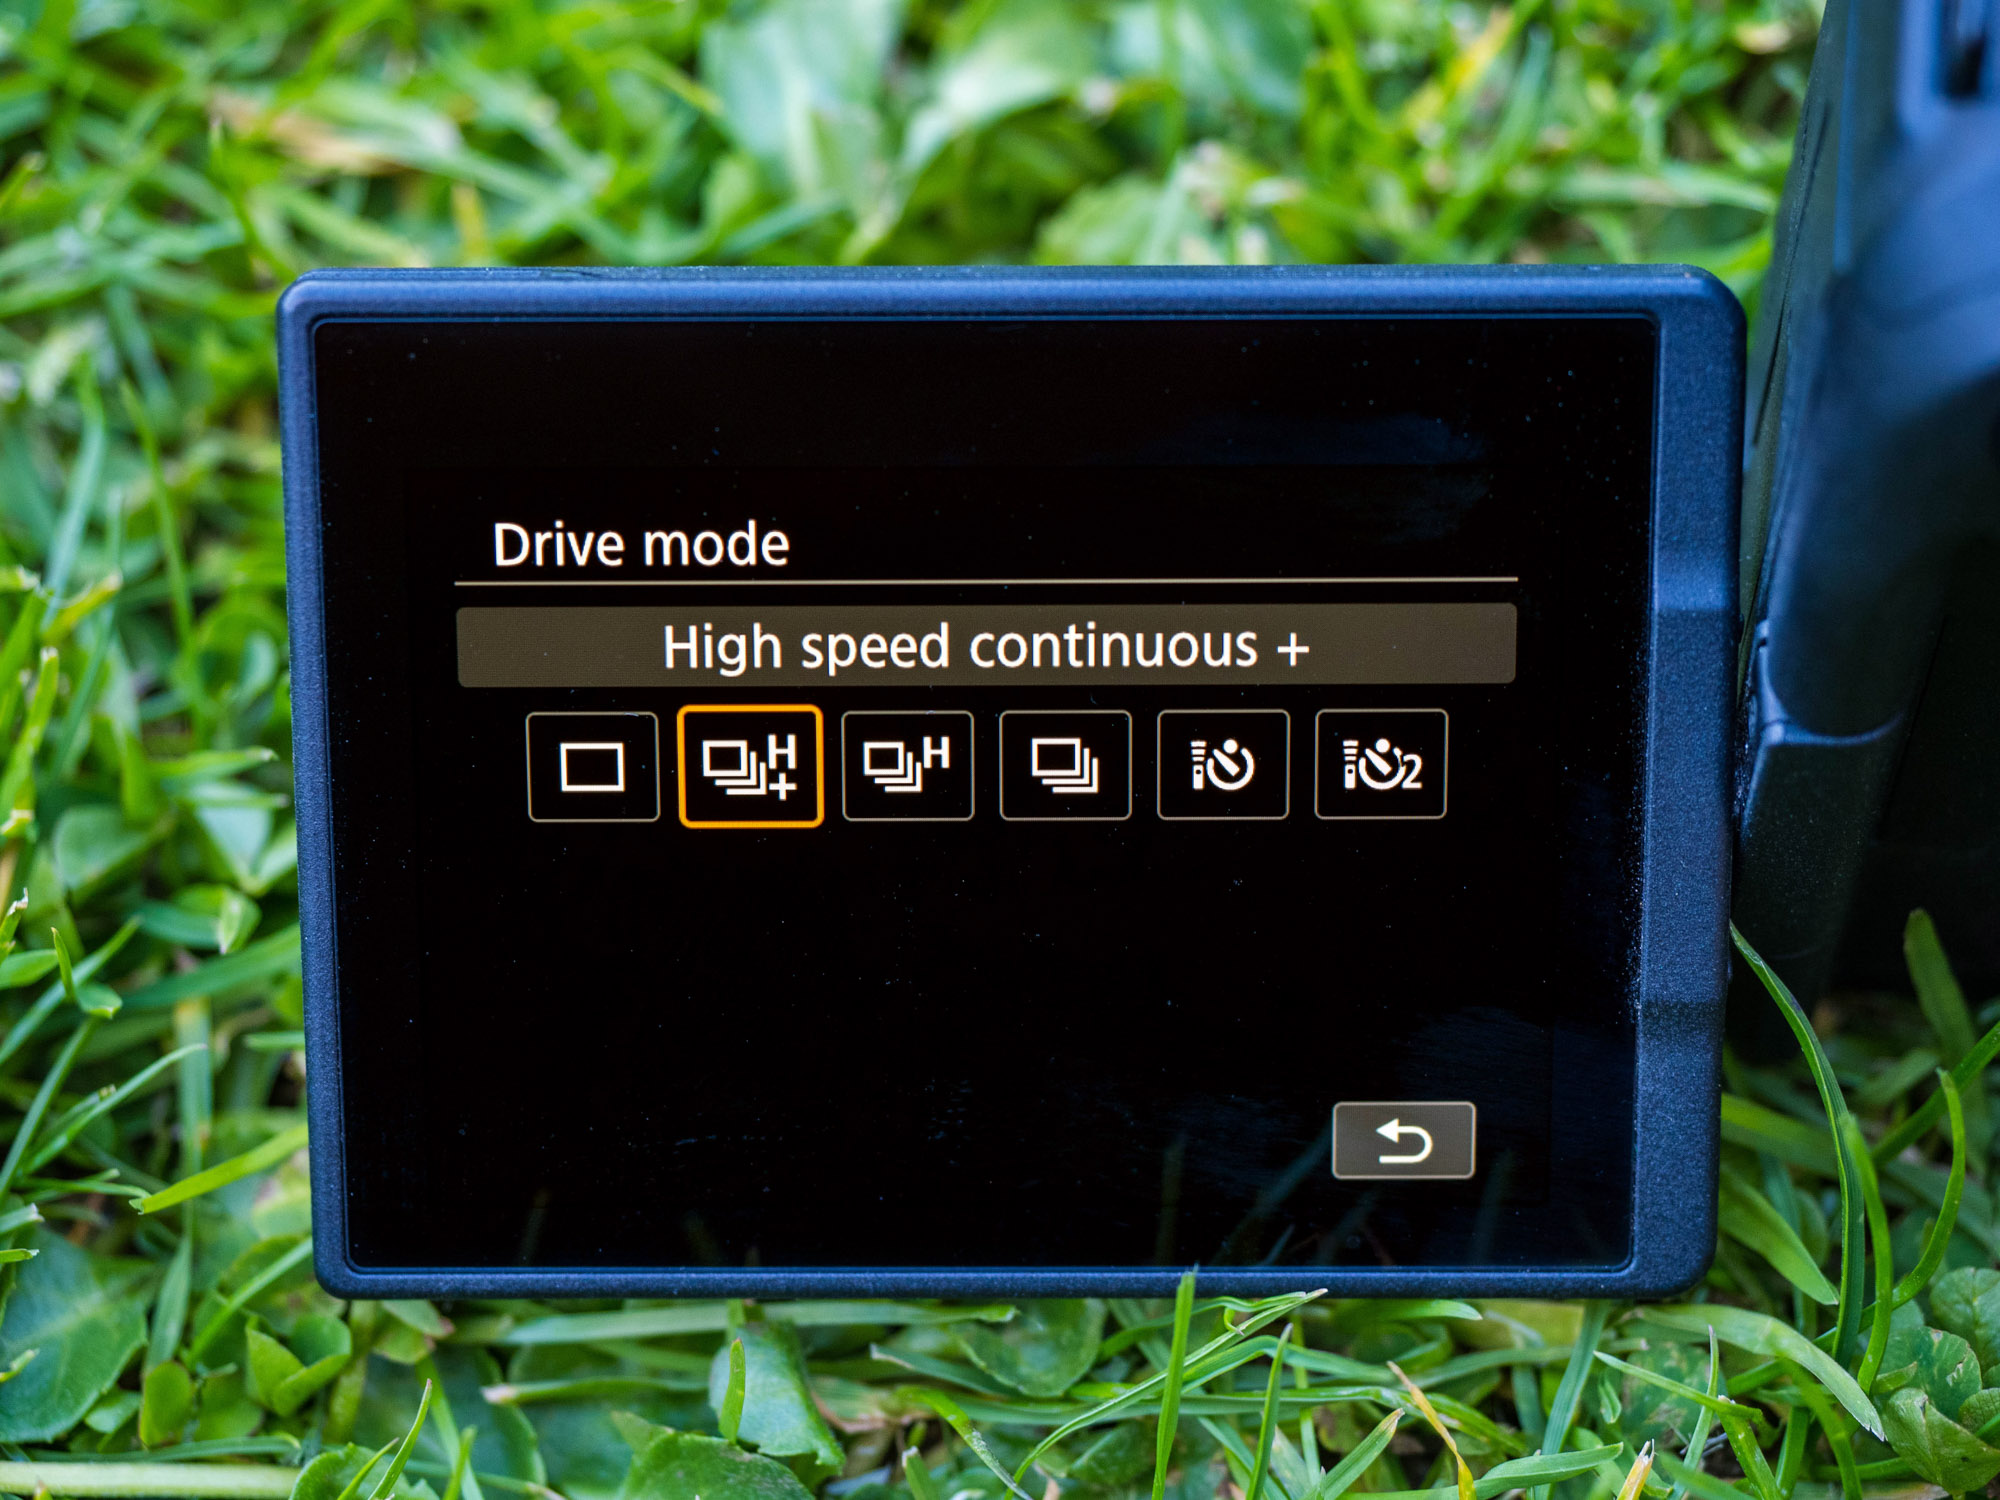
Using Single Shot autofocus, the camera will focus when you press the shutter button and then stay locked, meaning if your subject is sprinting towards you, they will be out of focus by the time you’ve fired the trigger! Instead, use AI Servo where the camera will continue to track and refocus over your active AF point, or group of AF points.
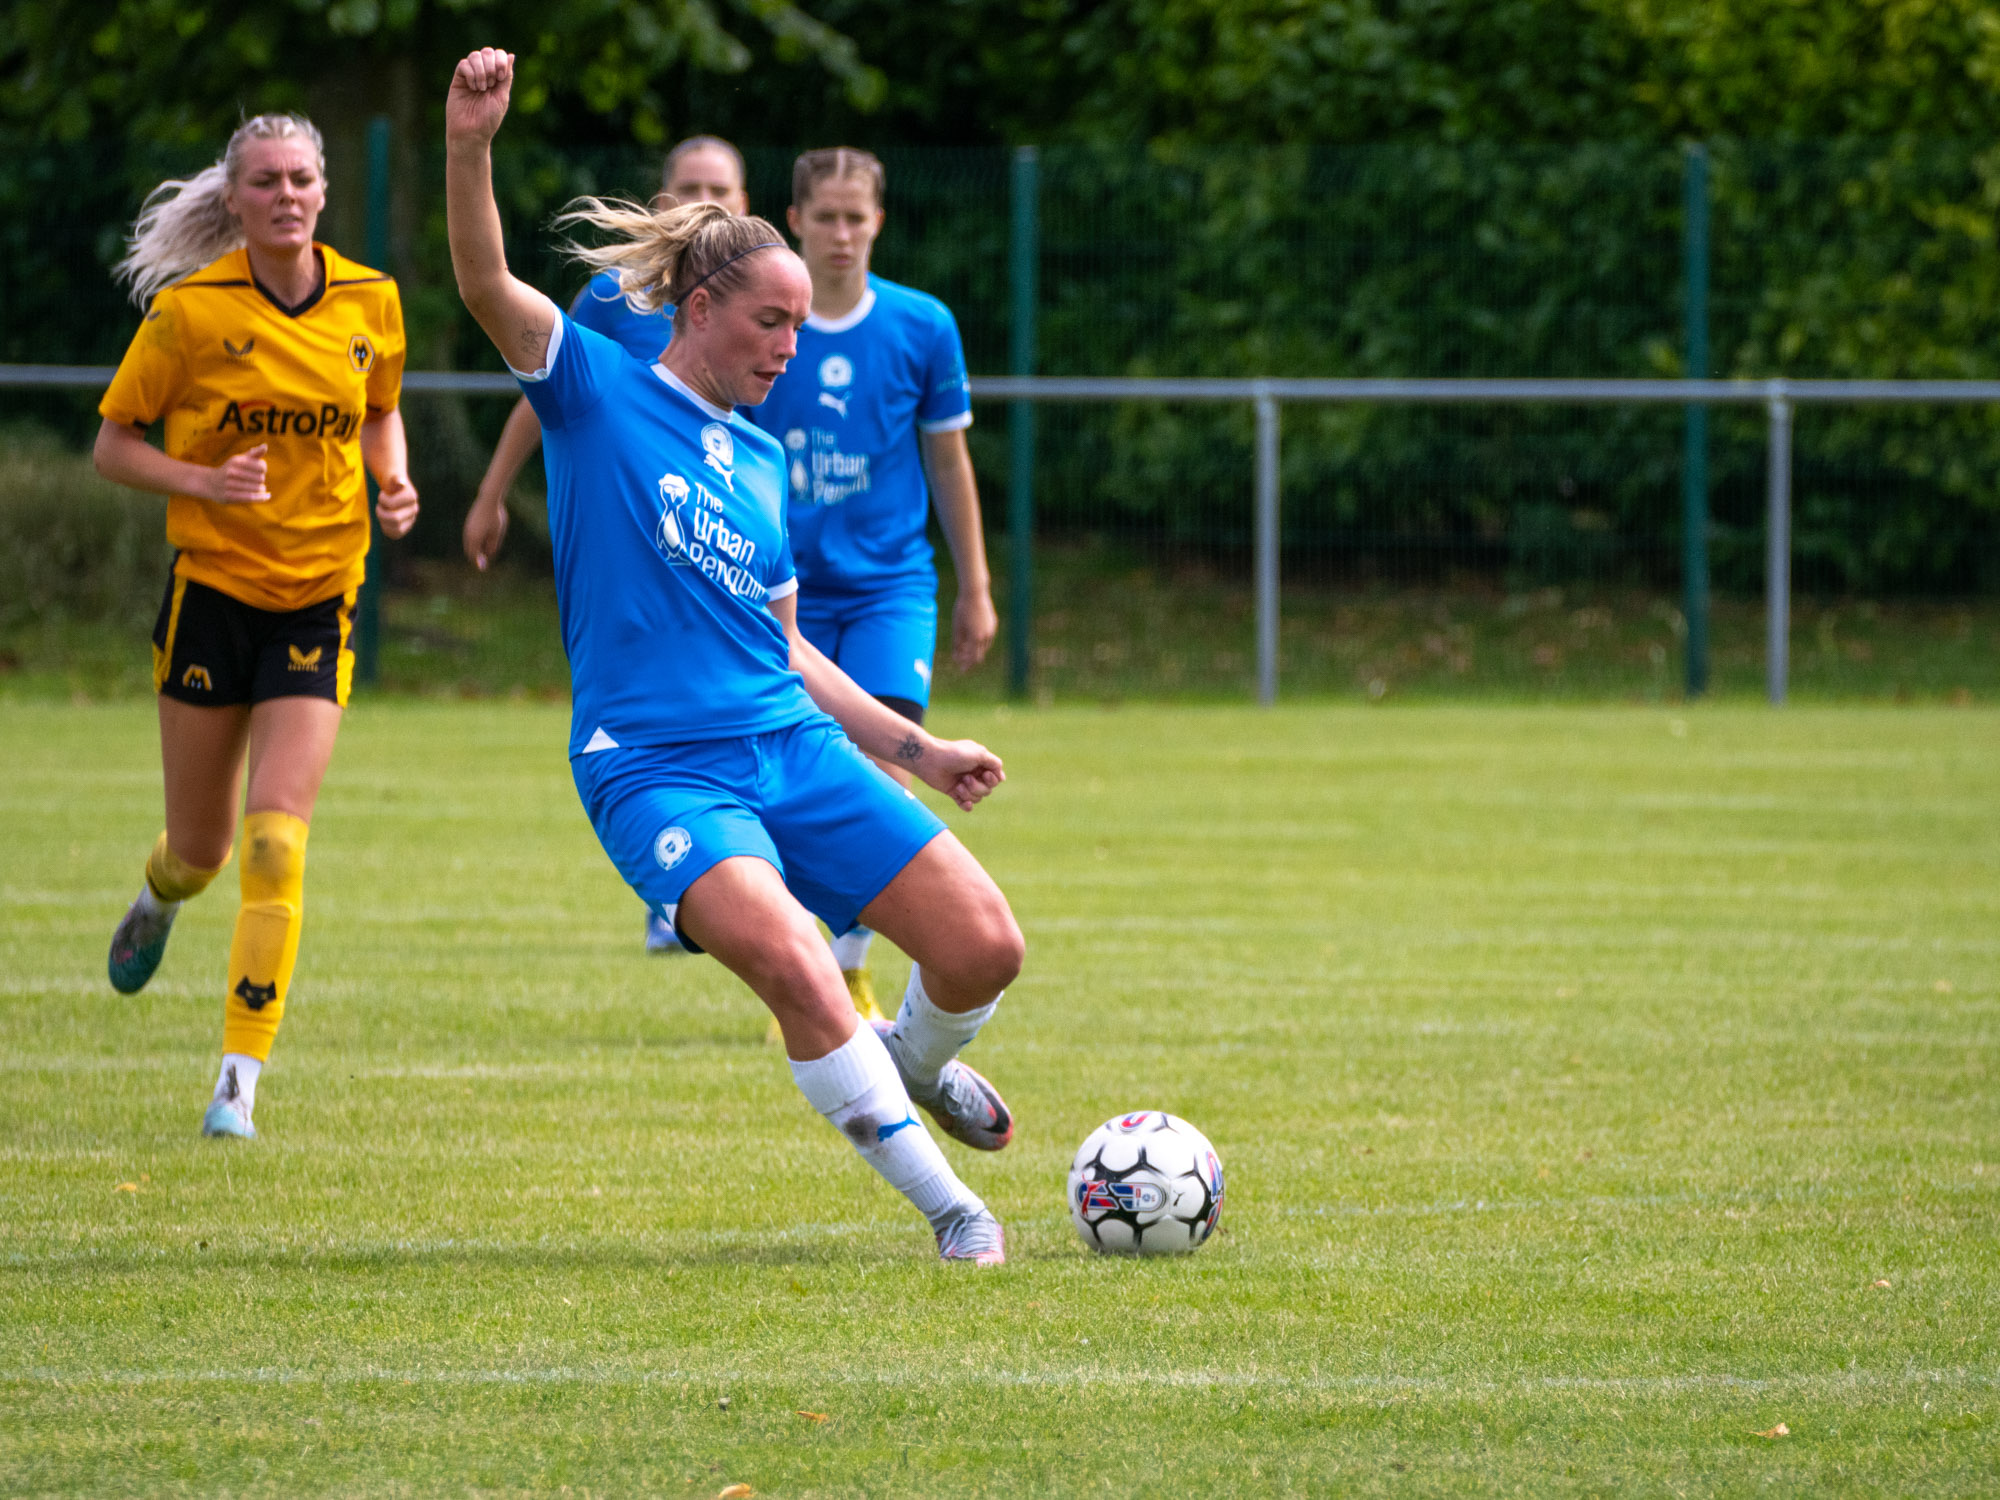
Alternatively, use Face Detection to let your camera automatically focus on players so you can concentrate your attention on composition and timing, though you have less control over which player will be tracked in this mode. You’ll also want to use your Canon’s High Speed Continuous Drive Mode to take bursts of images when the action happens to boost your chances of catching a winner.
3. Split-second timing
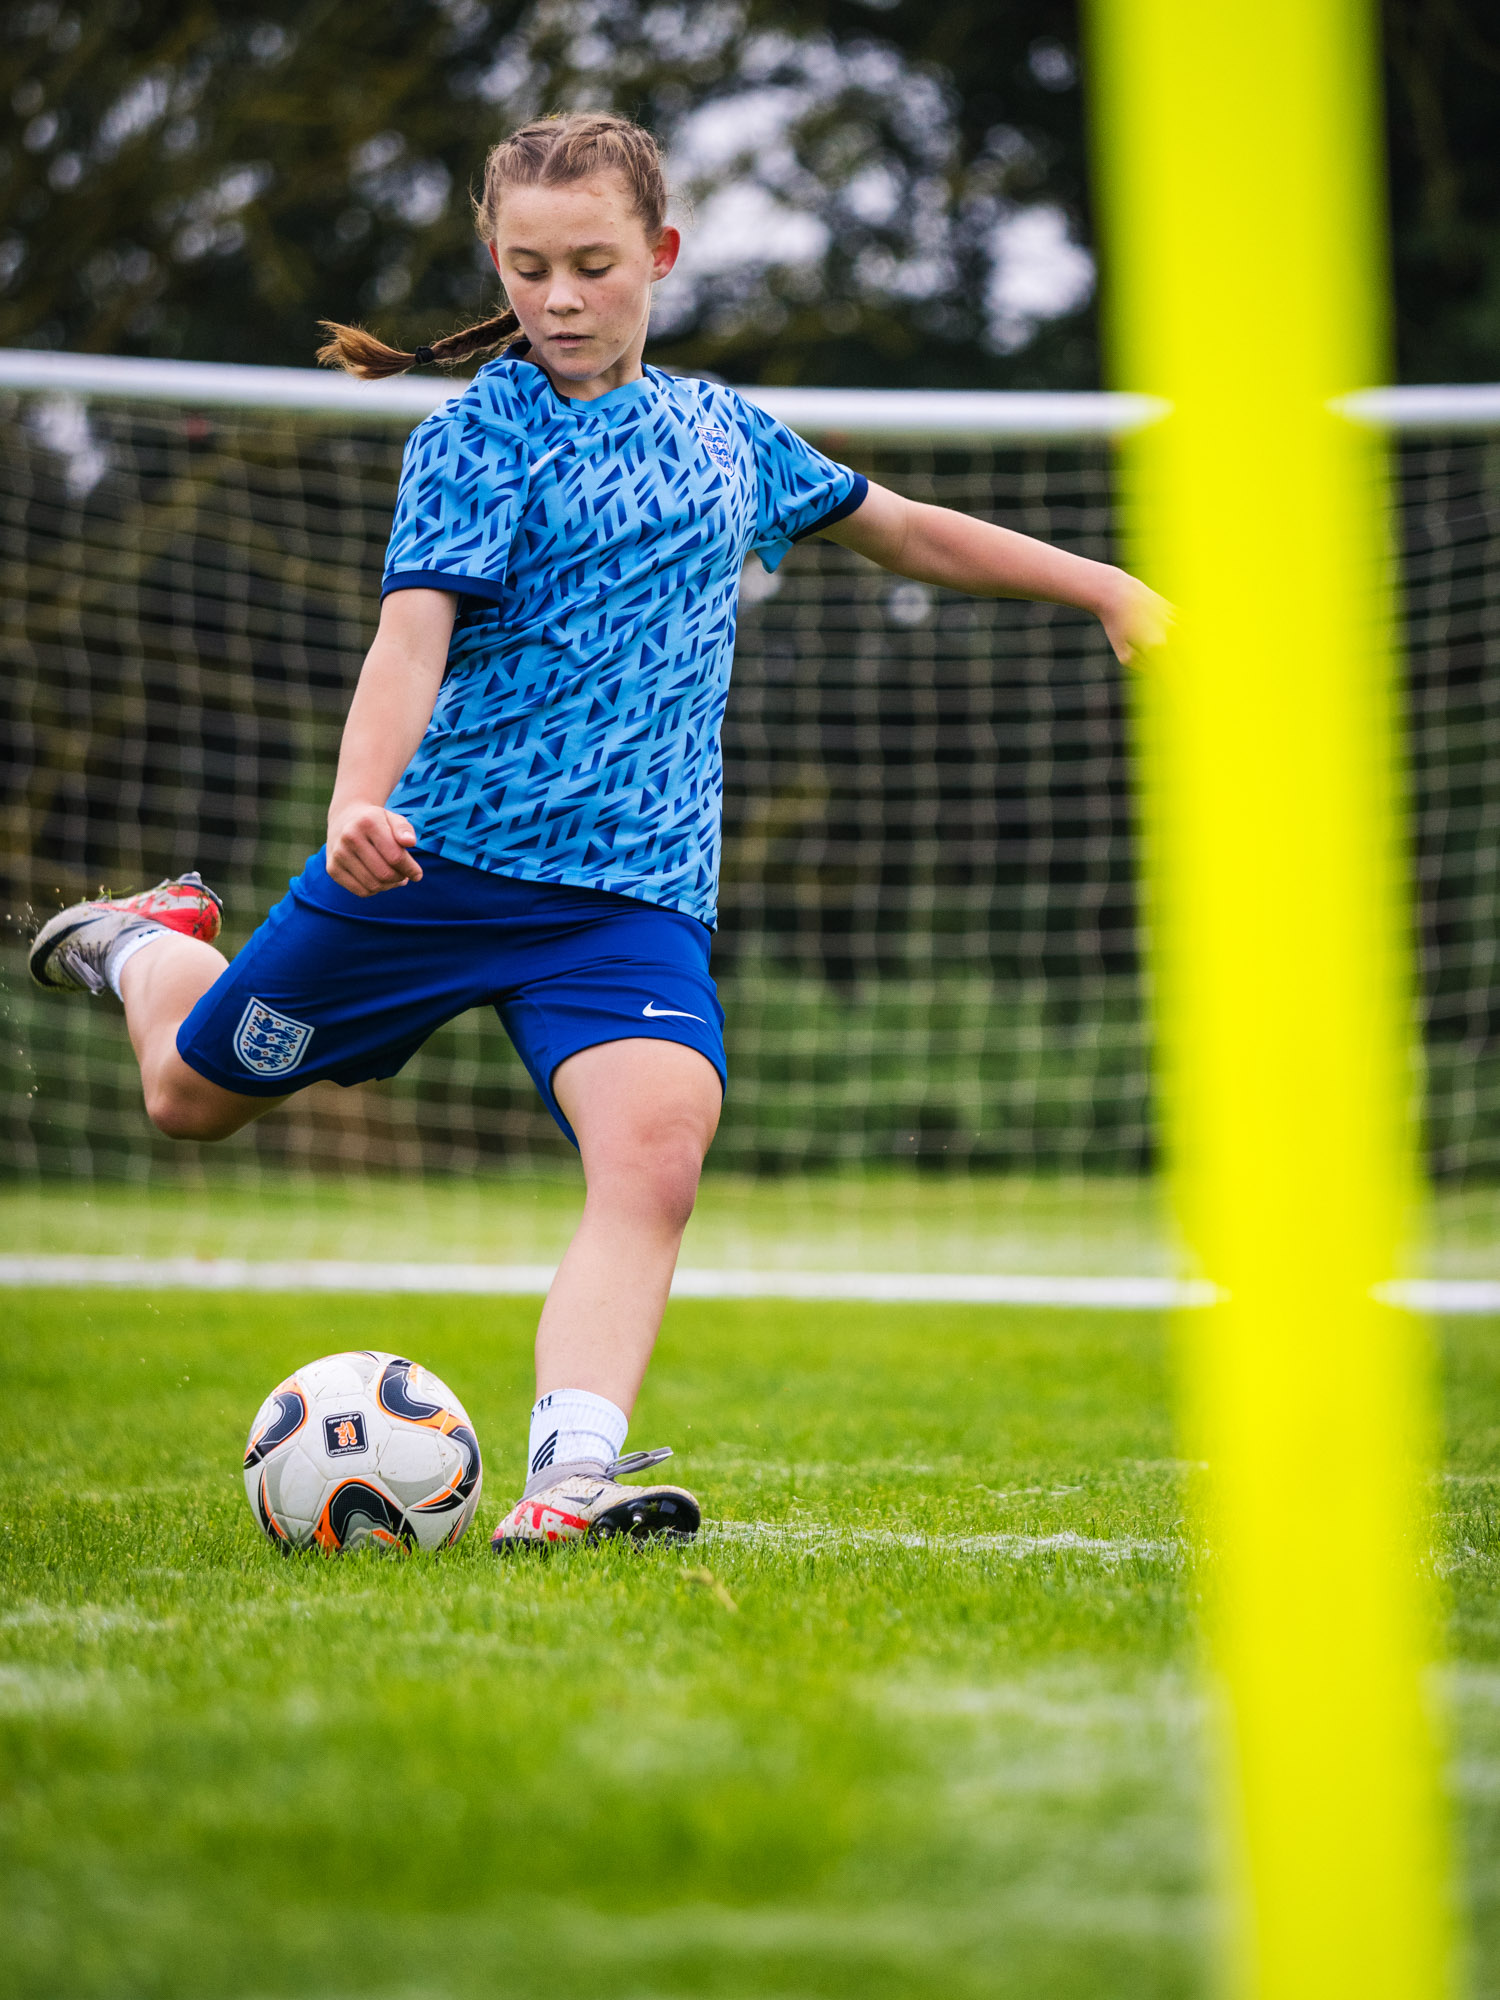
It can be easy to fall into the trap of shooting static images of players during breaks in play, but, with a few exceptions, this doesn’t lead to great images. Instead, try and follow the ball with your camera and look for moments of engagement; this could be players going for headers, taking a shot or sliding in for a tackle.
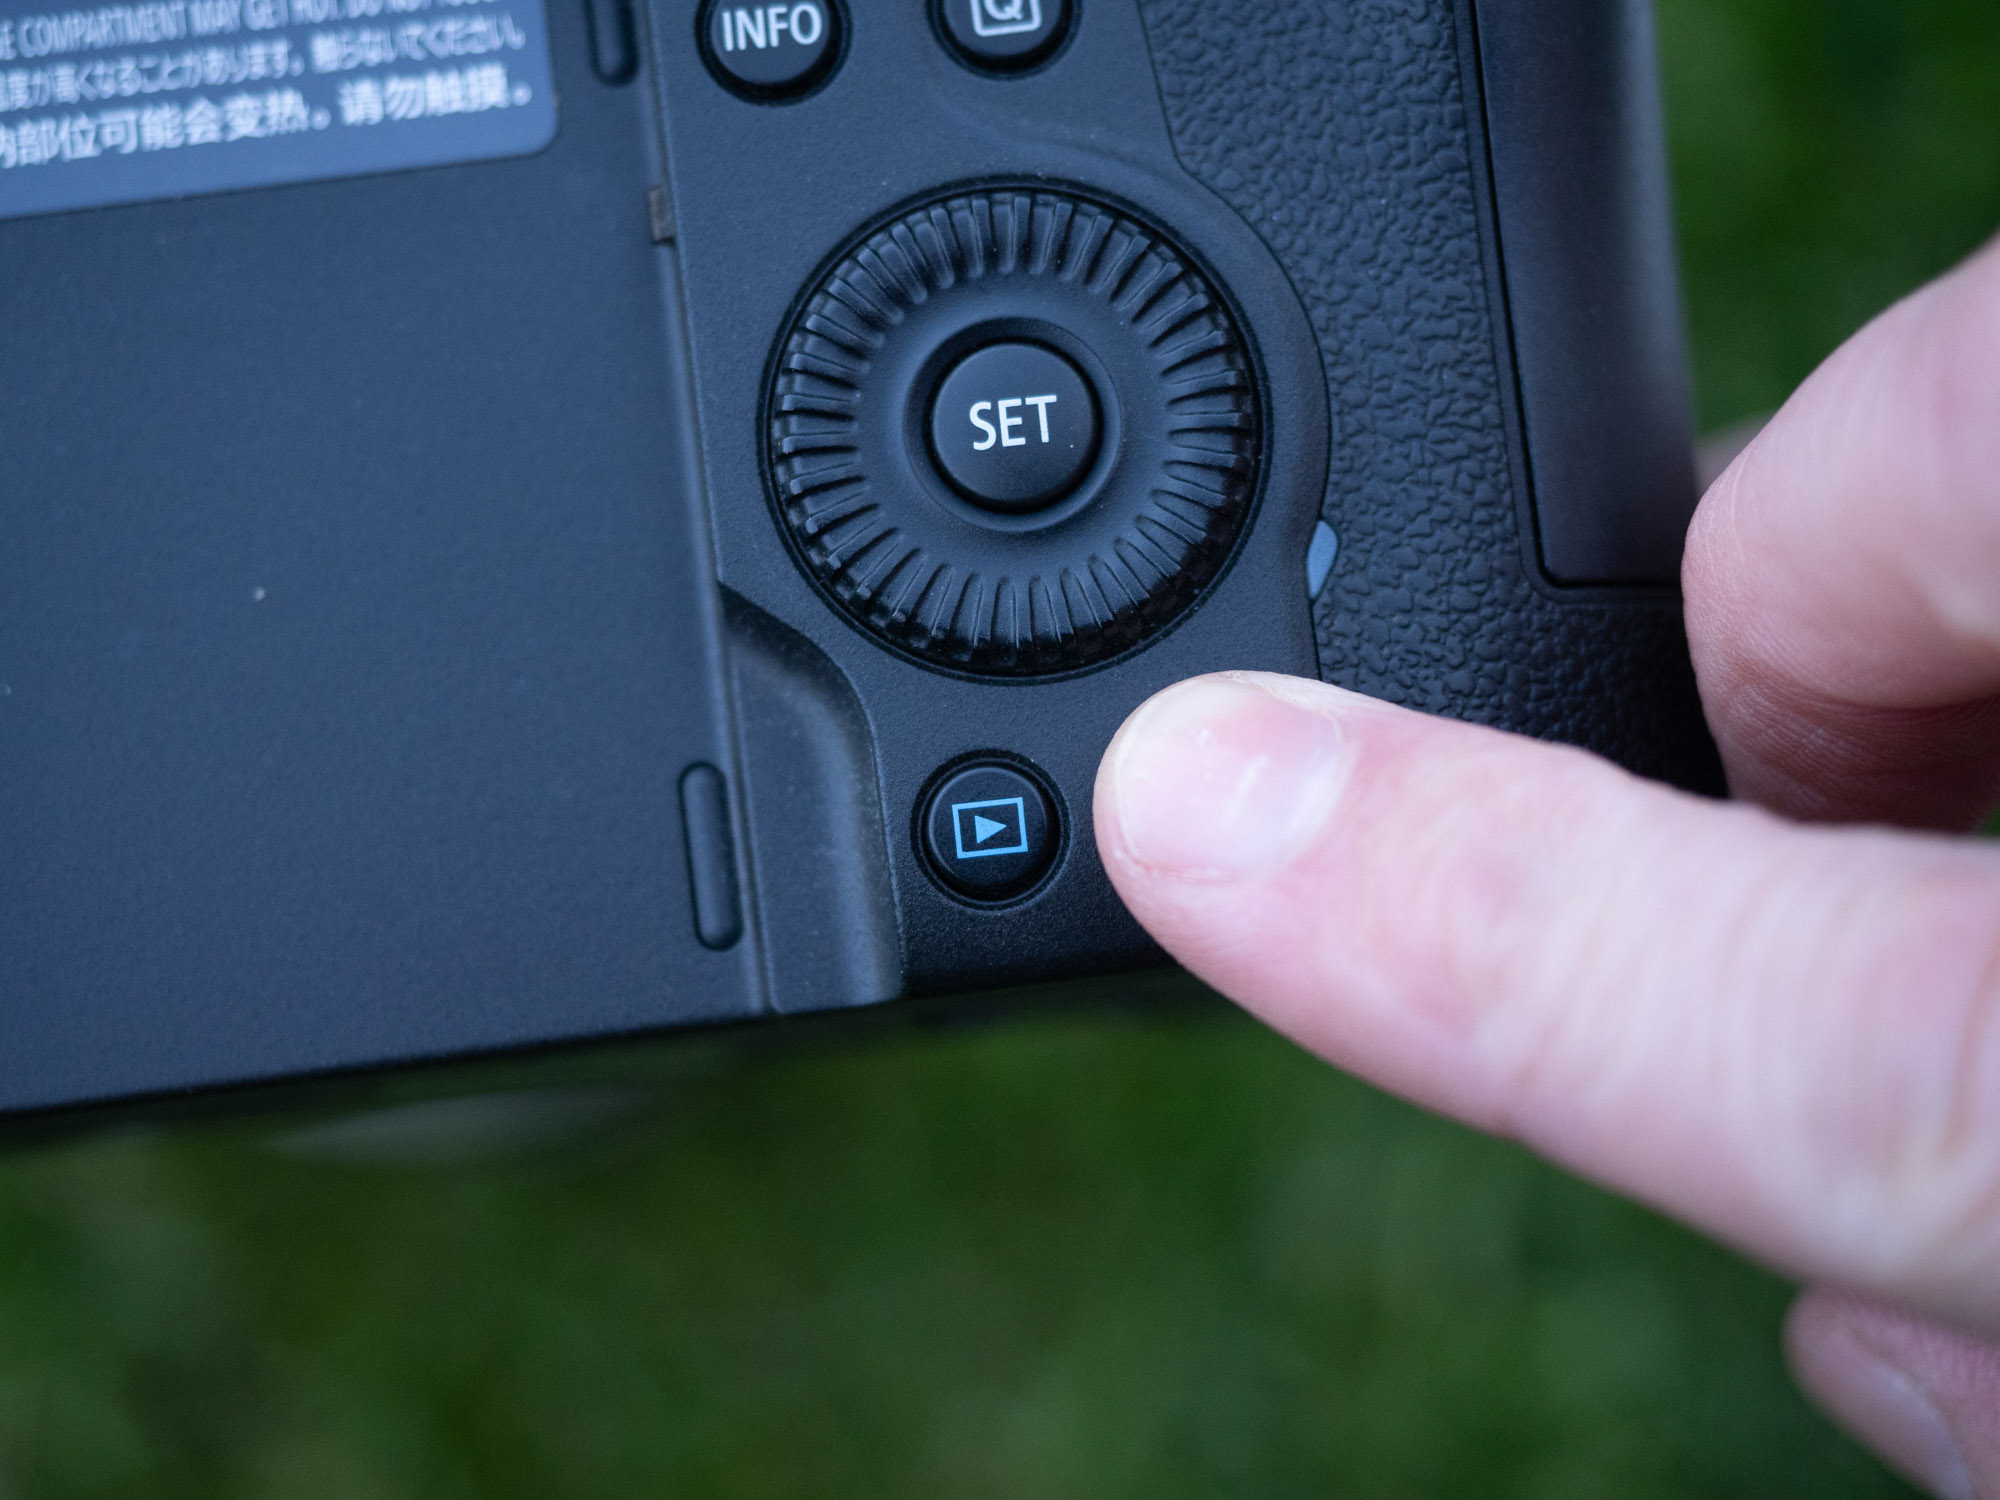
When the ball does go dead, use this time for reviewing images, zooming in to check detail. Spend this time wisely fine-tuning your settings and don’t waste it going through and deleting images when you’re pitchside as this increases the risk of you missing a winning moment. Culling images can be done quickly back at the computer in Adobe Bridge or Lightroom.
4. Work the light
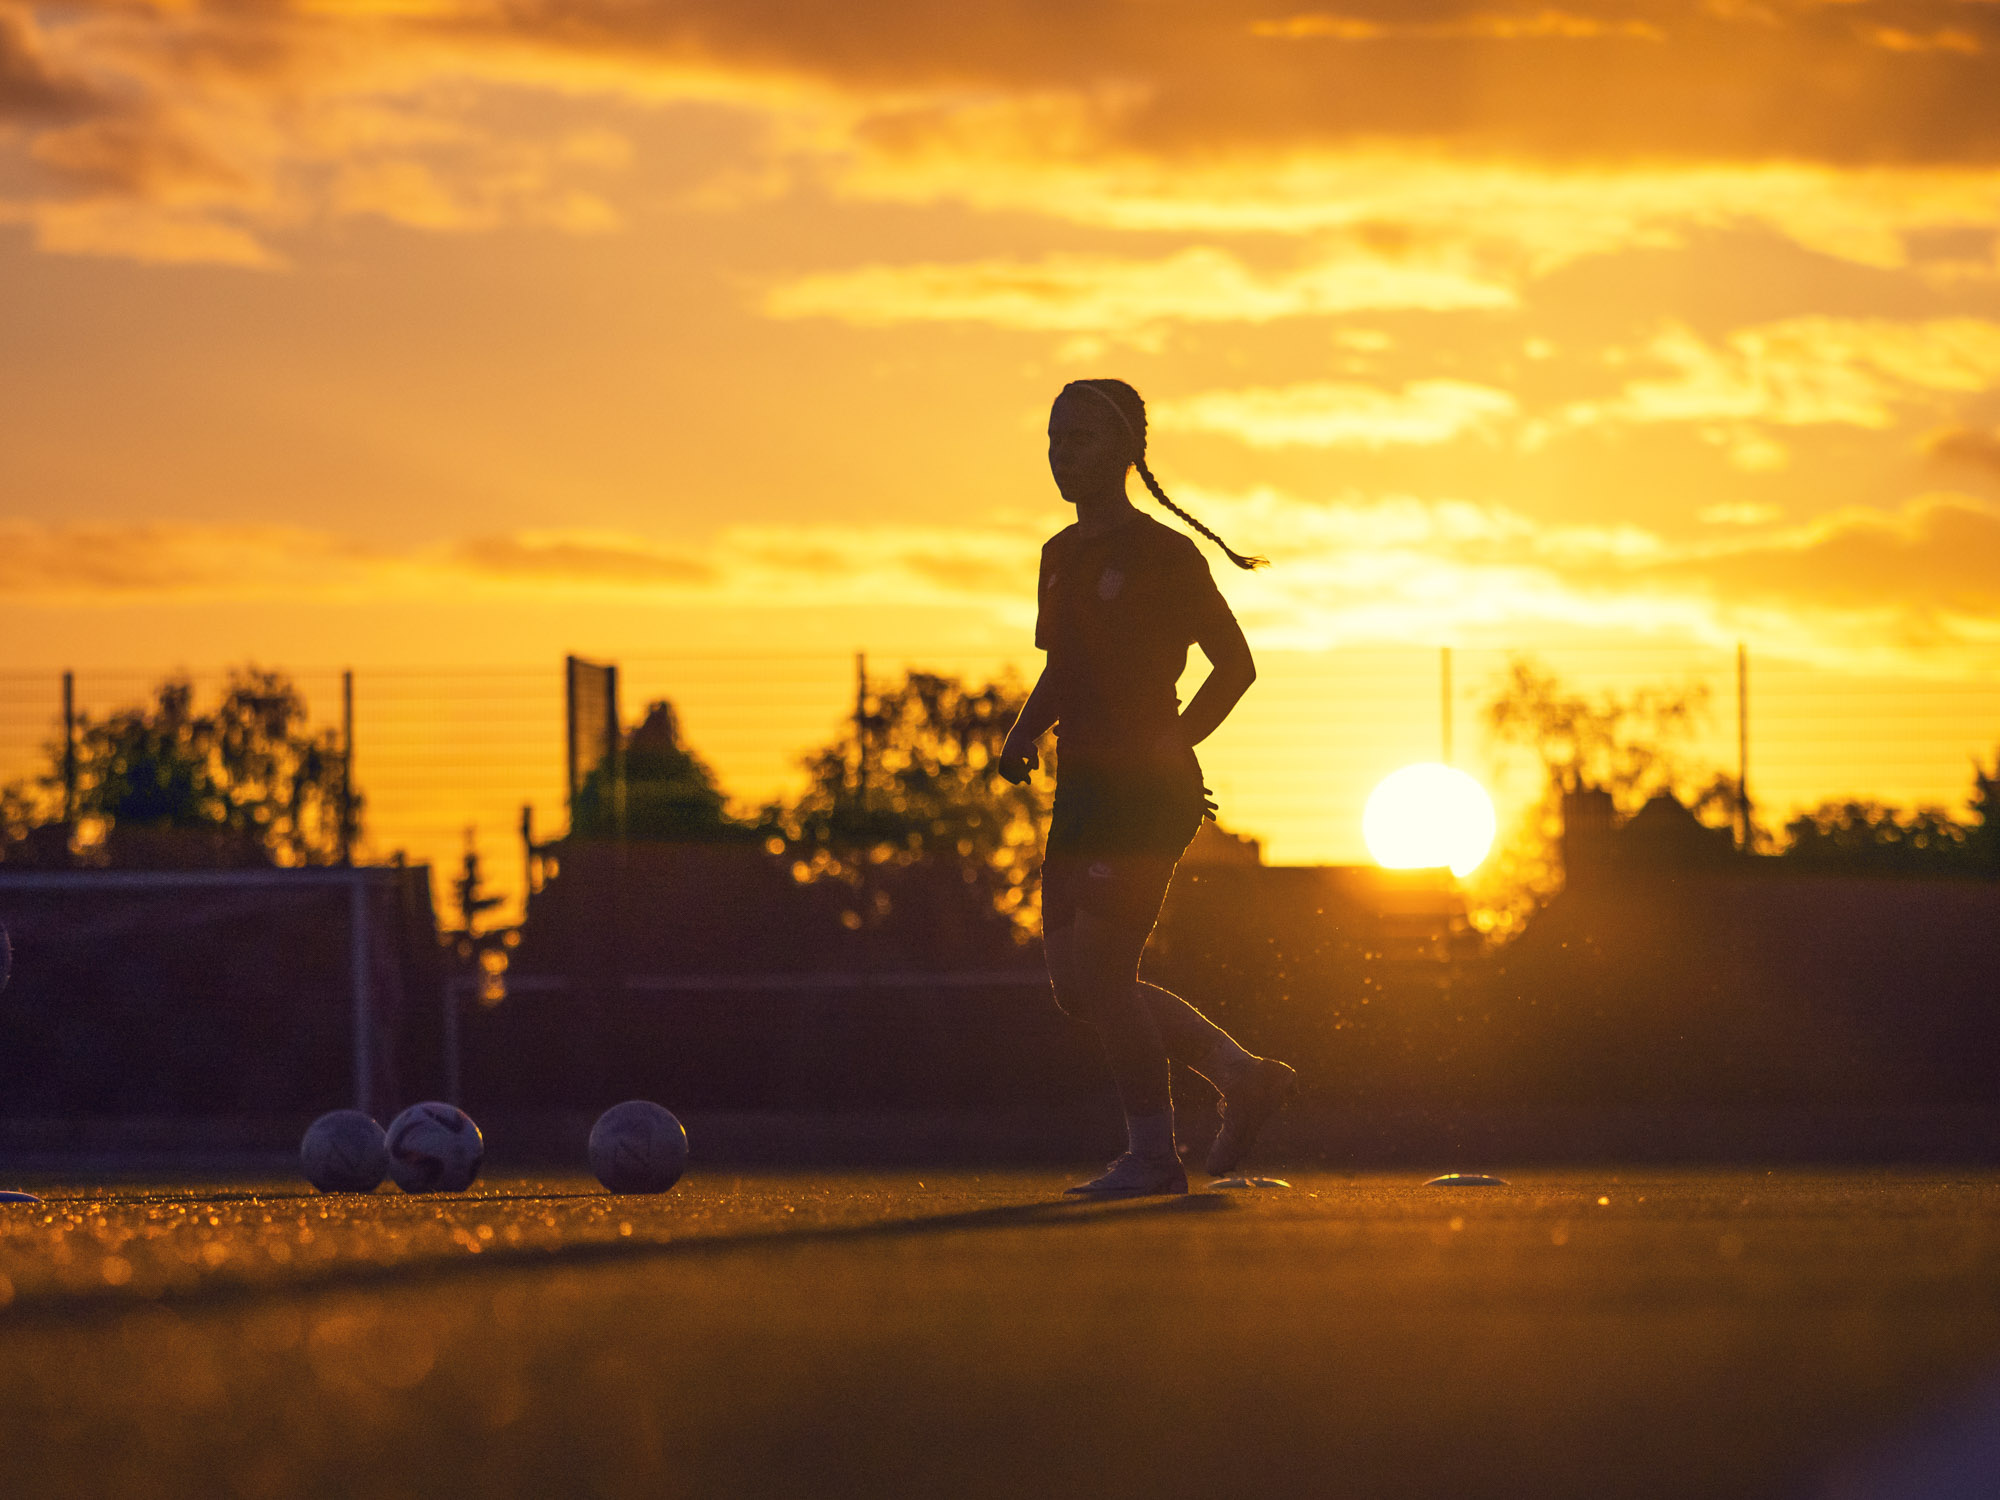
One common pitfall many football photographers fall into is making their images appear too similar. If you can try changing viewpoints, moving from the side to either end of the pitch to create different angles. This will work especially well if you can shoot into the light, which will add a contre-jour backlit style to your photography. You can take this even further by casting your subject into a silhouette so that their form and shape tells the story of the frame.
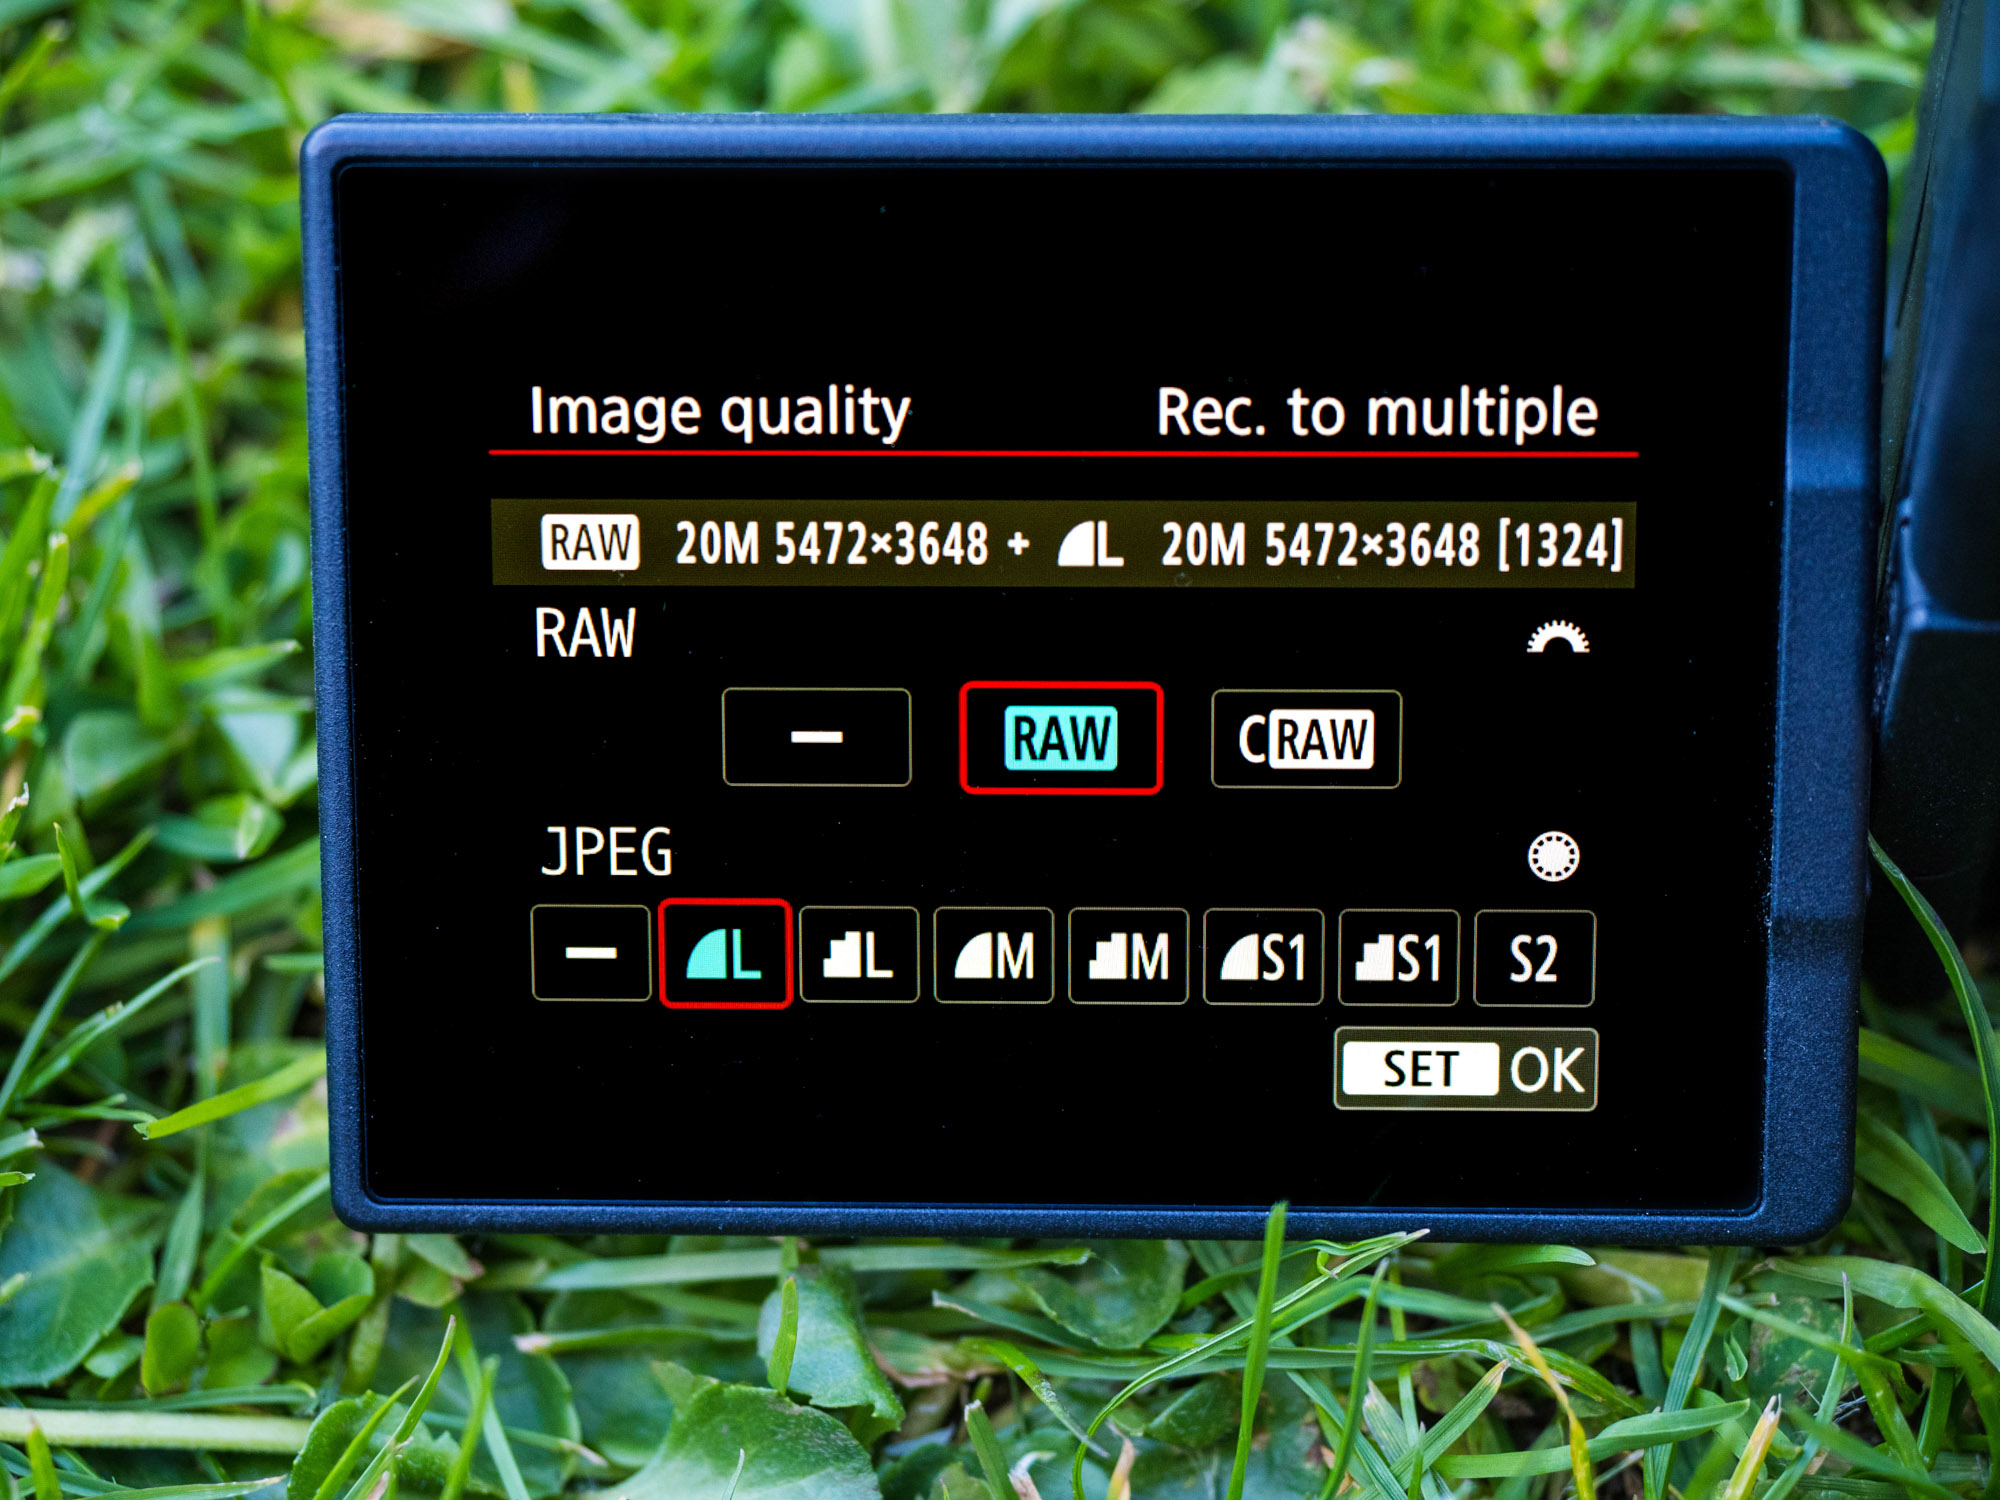
This is where working with the RAW file format will be advantageous as the extra tonal retail will help you recover highlights from the sky if your original exposure wasn’t spot on so be sure to enable it before kick-off!
PhotoPlus: The Canon Magazine is the world's only monthly newsstand title that's 100% devoted to Canon, so you can be sure the magazine is completely relevant to your system. Every issue comes with downloadable video tutorials too.
If you're serious about scenery, take a look at the best cameras for landscape photography along with the best lenses for landscapes.
Get the Digital Camera World Newsletter
The best camera deals, reviews, product advice, and unmissable photography news, direct to your inbox!
Matty has worked for a number of photographic magazines including Professional Photo, Digital Photo and Digital SLR magazine. He is an accomplished car and lanadscape photographer, who runs his own video production and content creation business in Lincolnshire.
- Dan MoldDeputy Editor
