Smoke bomb photography: how to shoot explosive fashion shots
How smoke bomb photography can create a stunning, stylized scene for your shoot

Lockdown photography projects
• Home photography projects
• Photo projects to try indoors
• Photography tips, tutorials and videos
Useful home photography kit
• Best tripods
• Best lighting kits
• Best reflectors
• Best macro lenses
This is something I’ve wanted to try for a while. A few years ago, I was doing the lighting on a feature film where we used a smoke machine almost every day – and it was brilliant. Although it was only capable of chucking out standard white smoke, it elevated the look of the image to an incredible extent.
When I came across these relatively new colored canisters, I was eager to get some to try. The main issue with standard white smoke is that it is reflective, and bounces the light around, sometimes leading to an overexposed image.
Smoke is a bit of a wild beast and, depending on the weather on the day, can be almost uncontrollable. If you use white smoke, and are working fast before the smoke evaporates, you can be in such a rush to capture the moment that when you finally look down at your camera, all your images are extremely bright. Colored smoke is darker, so your overall image exposure is more consistent.
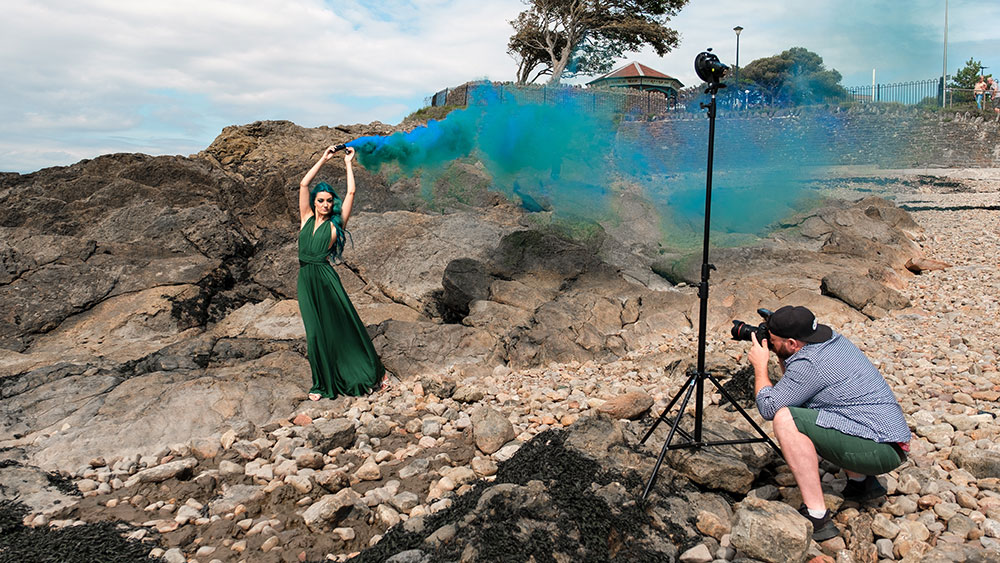
Top tips for shooting with smoke bombs
01 Scout out your location
Using Google Maps’ Street View, I was able to pinpoint a great spot before arriving – and locate the local car parks.
02 Check the weather
Understanding the wind strength and direction for your shoot will give you a much better chance of capturing the smoke plumes.
03 Talk to people close by
Be sure to let anybody in the immediate area know what you are doing. Tell them what’s about to happen so that it’s not a surprise when the smoke starts.
04 Be prepared
Take a pair of builder’s or gardener’s gloves with you, to pick up the canisters after use. They can get pretty hot, so discard them only once it’s safe.
05 Try not to shoot close to main roads
The smoke can be quite dense upon release. If possible, set yourself up where you can use the wind to take the smoke in the opposite direction.
Step-by-step guide to shooting with smoke bombs
01 Find your background
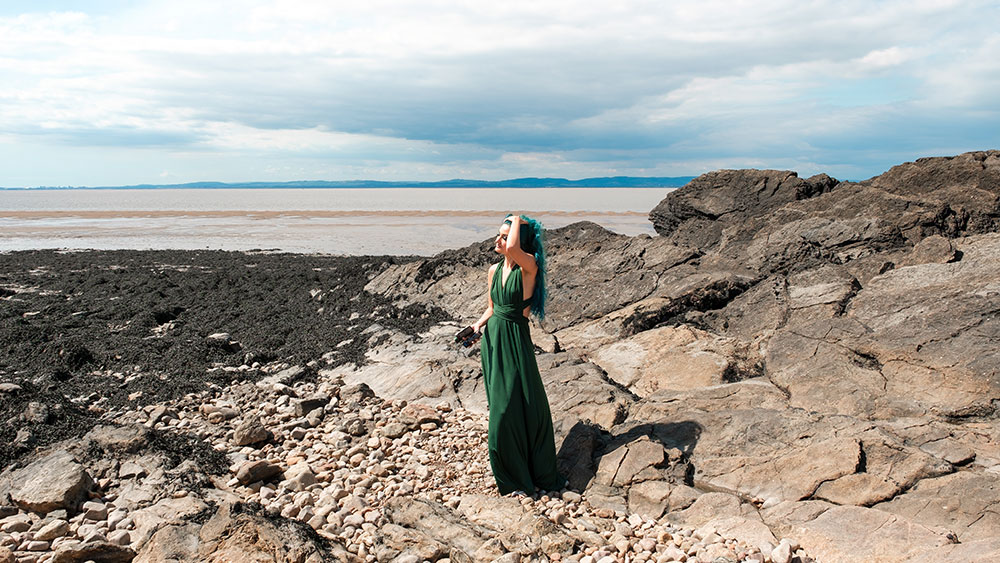
Giving yourself different options is great. I could have shot directly out towards the sea for a clean sky backdrop; alternatively, I could have used the more textured background of the rocks to add another layer. I usually take a quick test shot with my model to see how things are looking.
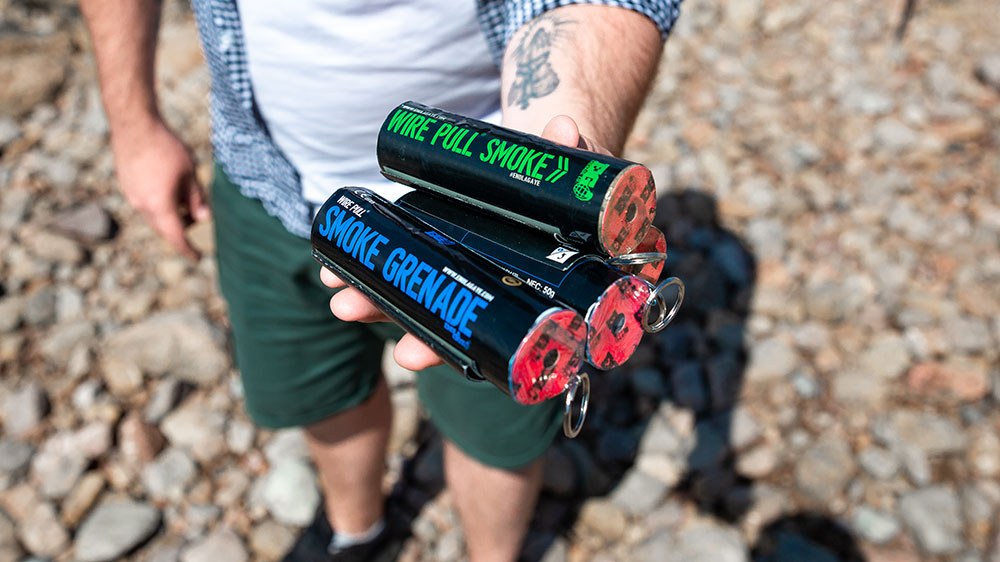
02 No smoking, please
On a serious note: if you’re at all concerned about using smoke grenades in a certain area, you should pause and re-evaluate. They can get pretty hot, so make sure you have some water nearby, just in case. I sourced mine from the Enola Gaye Grenade Co – they’ll give you around 90 seconds of smoke.
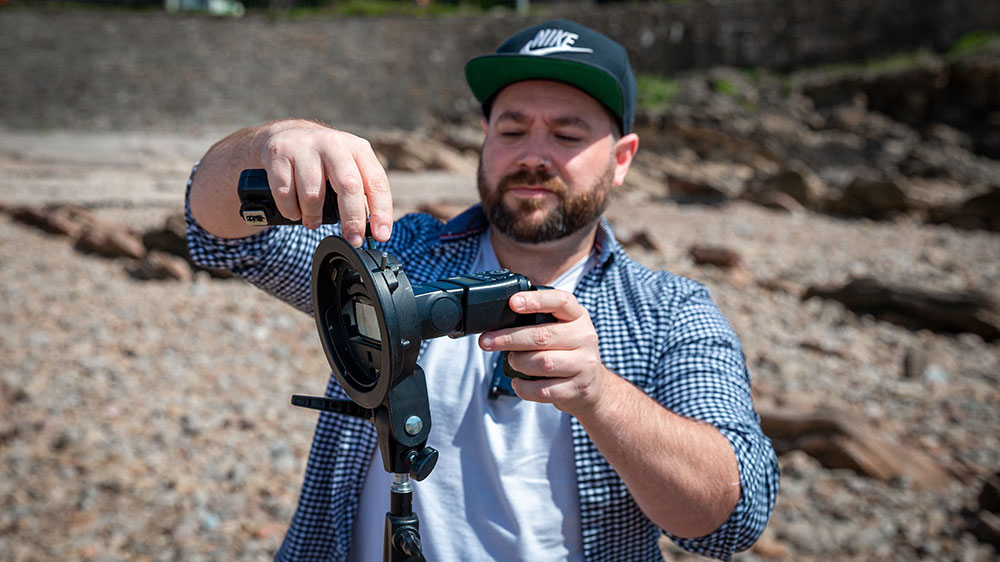
03 Add off-camera flash
On the day of the shoot there was some harsh sun, with cloud cover moving in and out. I probably could have shot this with 100% natural light, but I decided to use one flashgun – just to lift the exposure on my model Rebecca. I knew I could easily switch it off during the shoot if I needed to.
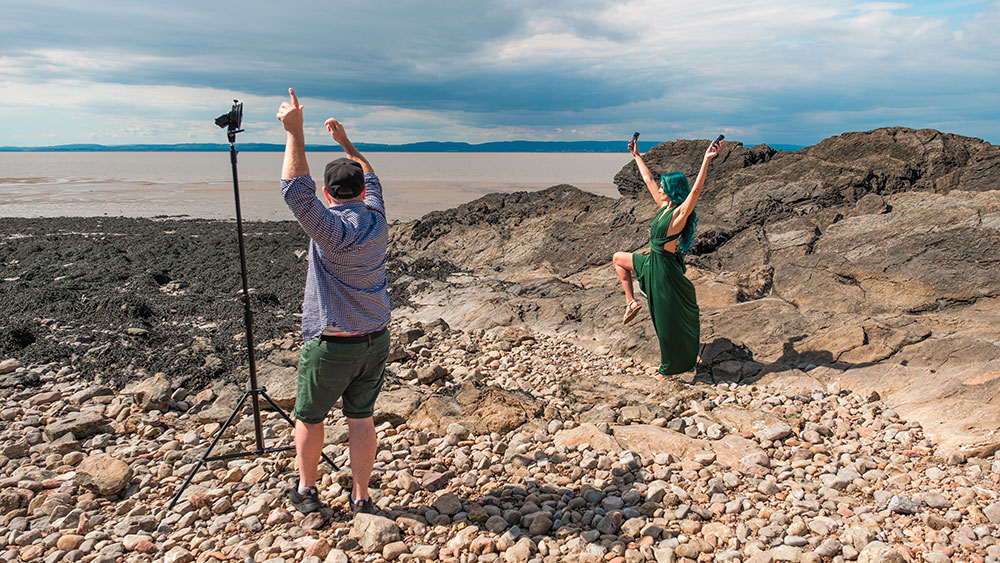
04 Rehearse before you take the shot
This is possibly the most important part of a shoot using smoke grenades. I had a clear conversation with Rebecca where we practiced the movement and established the frame’s edge, so that she didn’t walk off-shot. While 90 may seem like a long time, once you trigger the grenade and start shooting, it’s over in a flash.
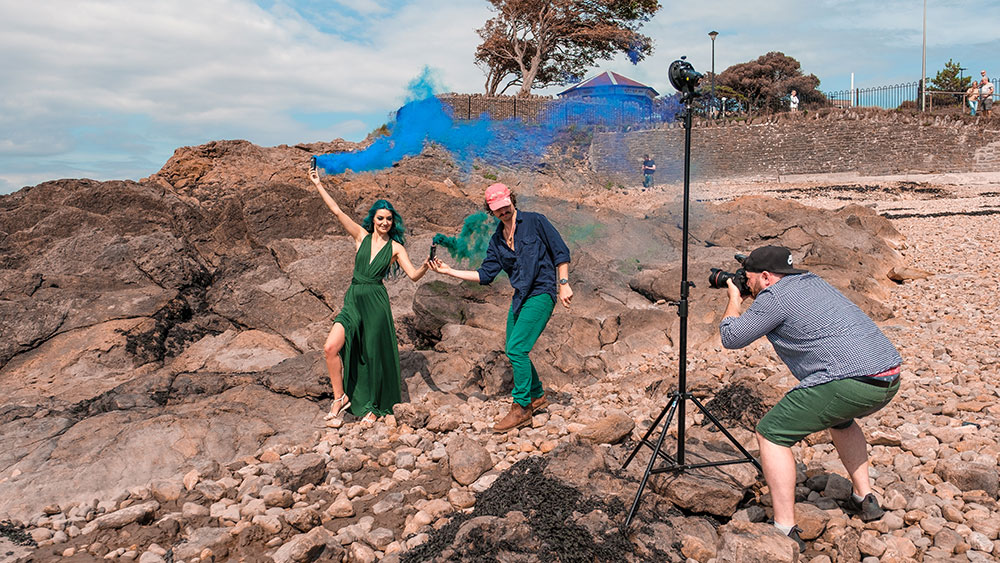
05 Have a helping hand
It’s not always possible but, whenever you can, try to have an extra pair of hands available. I was lucky enough to be joined by a co-worker, Kieran, who enabled us to get the smoke grenades opened much faster, before quickly jumping out of shot. Thanks to him, we were up and shooting within five seconds of them going off.
Read more:
The best photography lighting kits in 2020: for studio, location and video
Home photography ideas: Atmospheric rays of light using a fog machine
Portrait photography how: tips and tricks for great portrait shots
Get the Digital Camera World Newsletter
The best camera deals, reviews, product advice, and unmissable photography news, direct to your inbox!
Alistair is the Features Editor of Digital Camera magazine, and has worked as a professional photographer and video producer.
