Star trail photography: tips for achieving amazing astrophotography shots
Learn how to take a series of shots of the night sky and combine them to create stunning star trail photography
Watch the video above on how to shoot star trails
There’s something magical about a photo capturing the movement of the stars. In the days of film, taking one would involve a single exposure of many minutes or even hours. However, very long exposures on a digital camera will result in very high levels of noise – and then there’s the problem of keeping your camera powered up throughout the exposure.
A much better approach is to shoot a sequence of shorter exposures and then combine them. As well as minimizing noise, combining images has other advantages; for the single-exposure method you need a location with as little light pollution as possible, but the multiple-exposure technique enables you to shoot when the sky isn’t completely dark. This means that you can shoot star trail images in cities.
• The best lenses for astrophotography
Even using the multiple-exposure technique you need to be able to see the stars to photograph them, though. So a clear night will give the best results while the less light pollution there is, the more stars you will be able to see – meaning that there’s still a good case for getting out of town to shoot star trails.
Getting great star trail images is all about preparation and persistence. Make sure that you have checked the weather forecast, and be prepared to stand out in the cold for a few hours. Ensure that you have fully charged your camera battery and have plenty of space on your memory card – spares of both are handy!

01 Camera settings
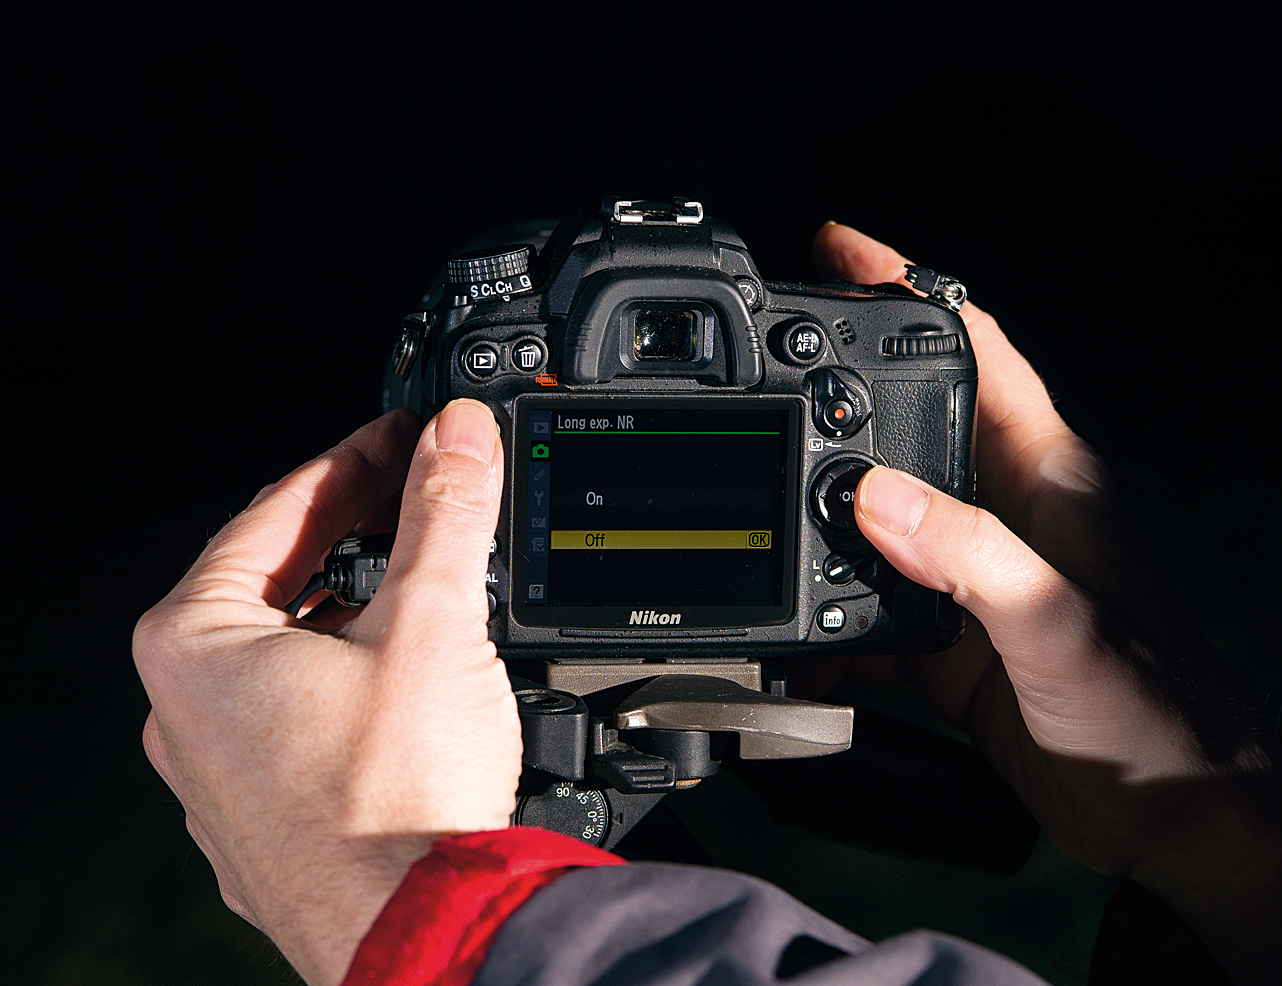
First, turn off the long exposure noise reduction and image review options on your camera, as both can cause problems when shooting star trails. Make sure you’ve got a fully charged battery and lots of space on your memory card.
The best camera deals, reviews, product advice, and unmissable photography news, direct to your inbox!
02 Focus with care
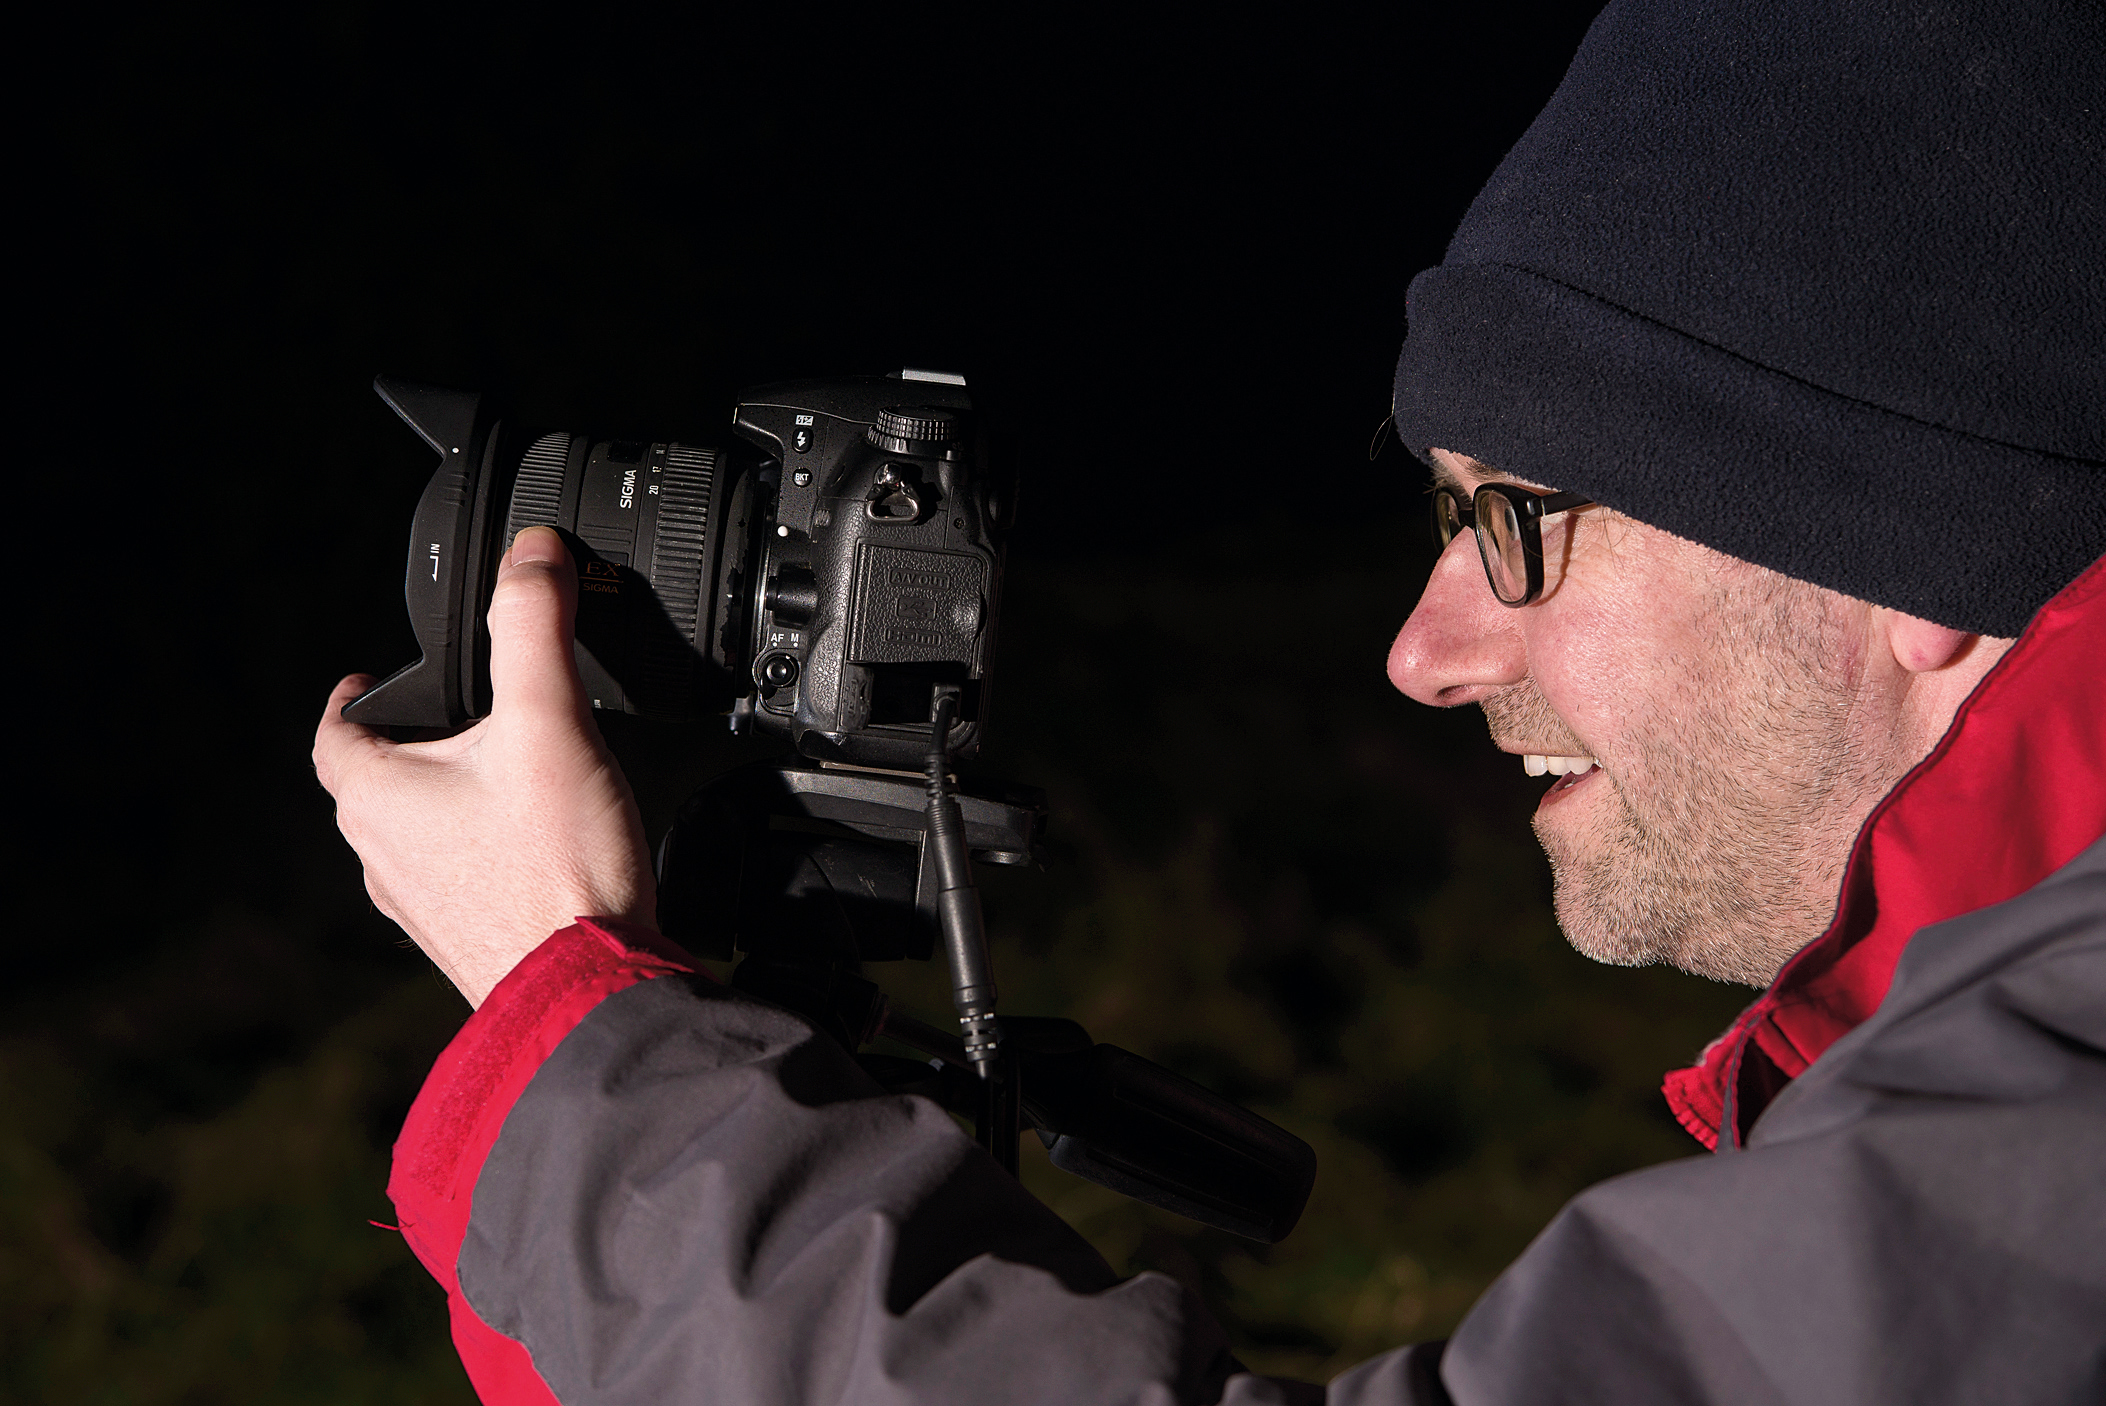
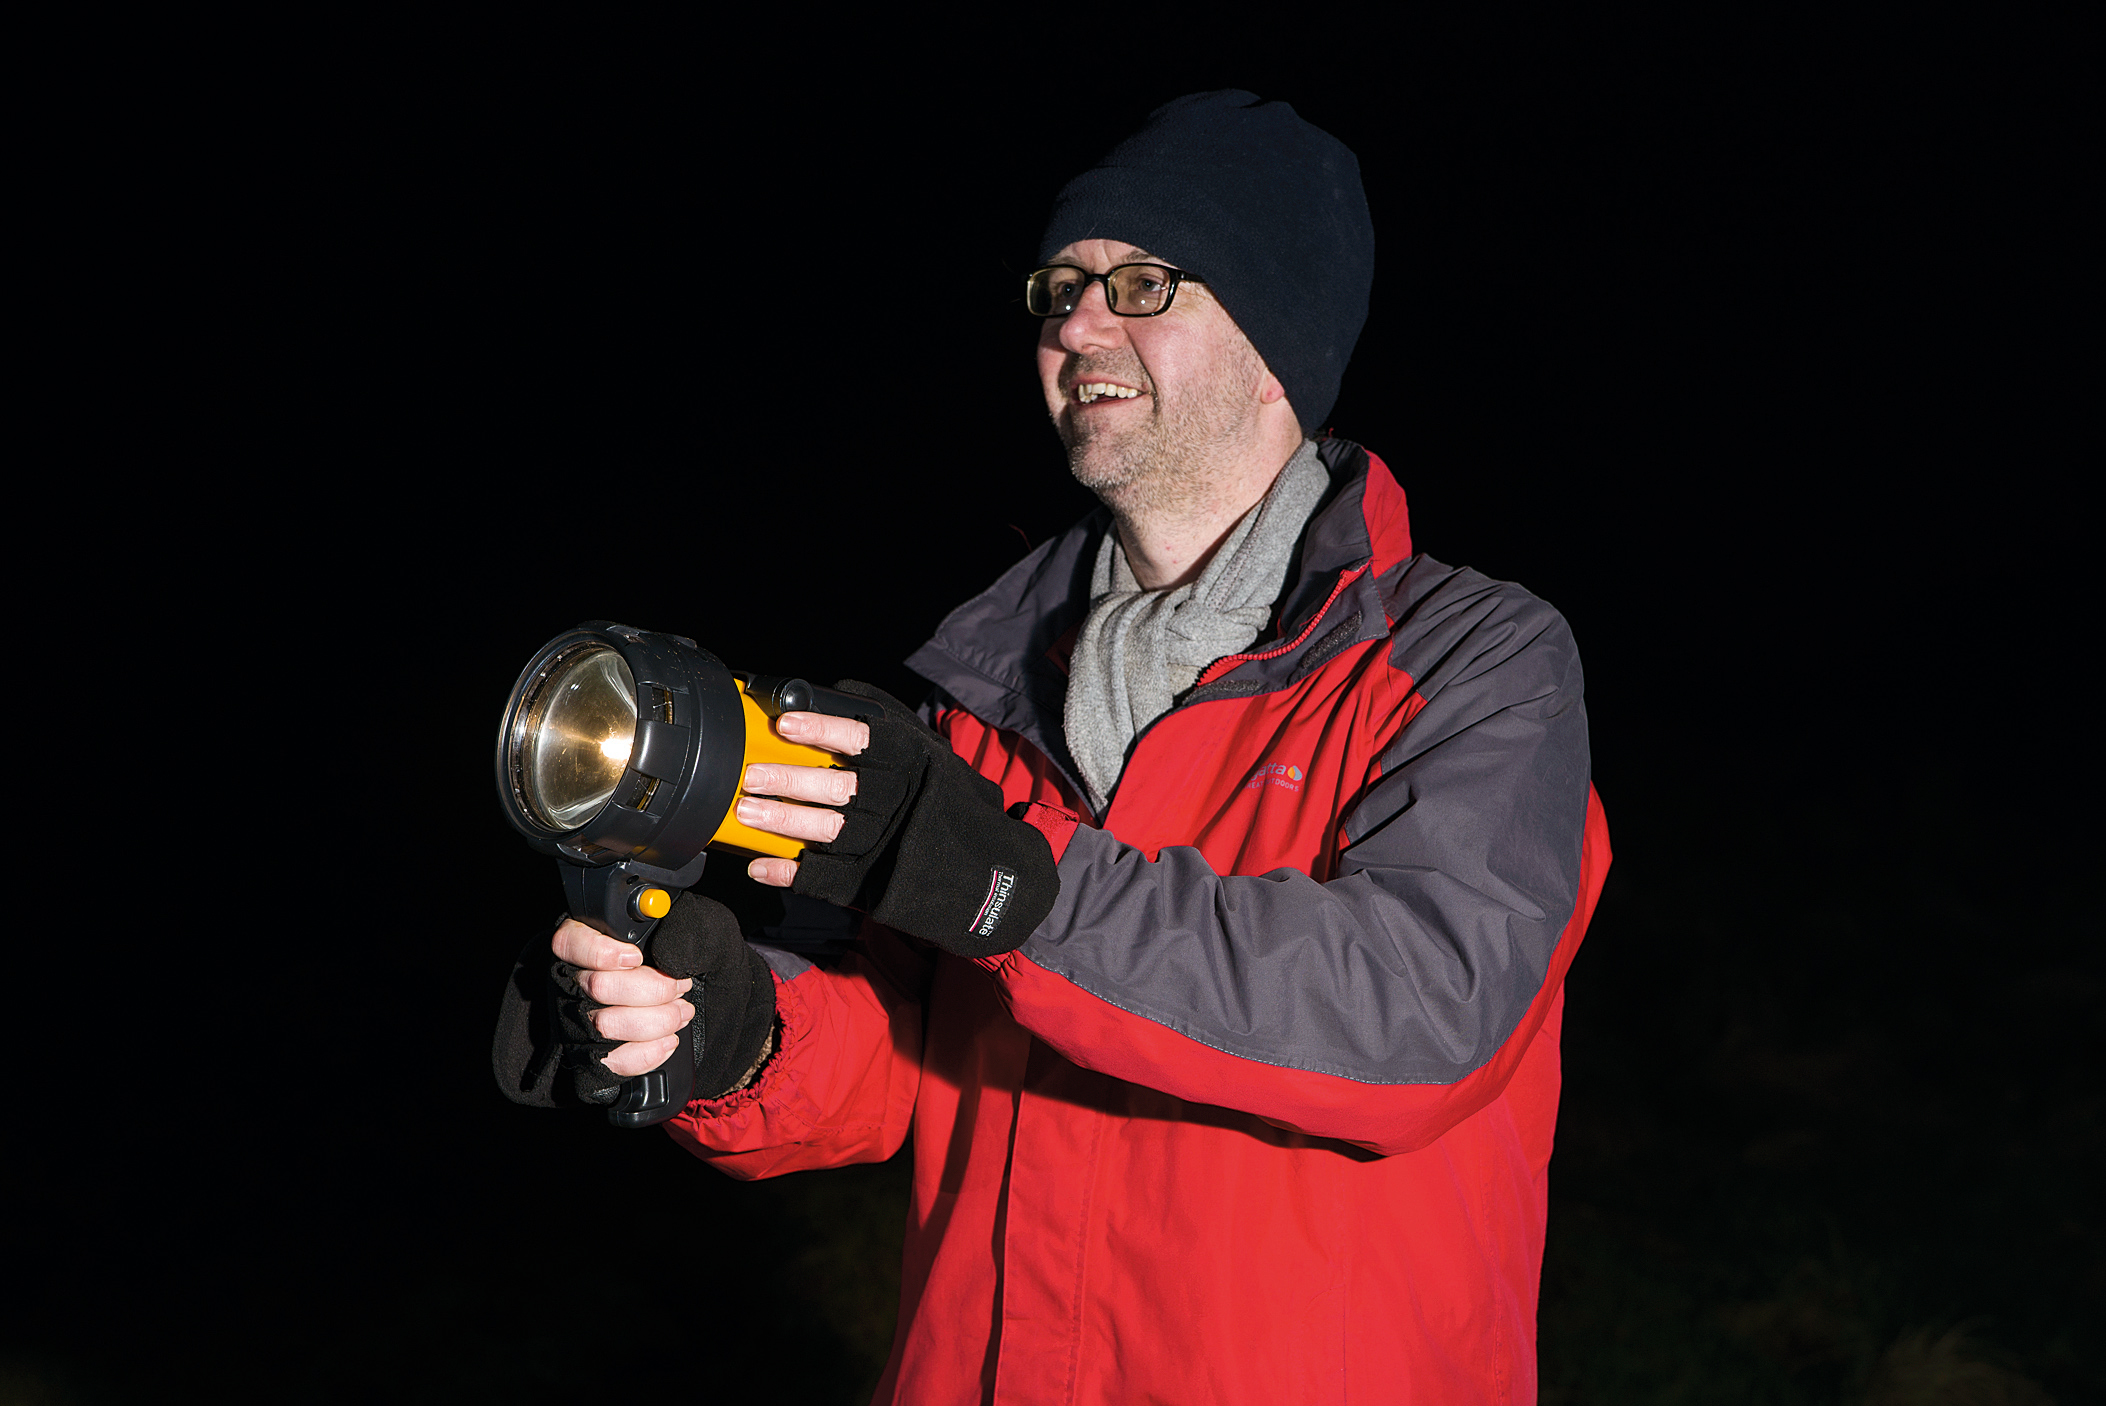
If you are setting up in the dark, switch to manual focus, set the camera to a high ISO (such as 6400) and switch on Live View. Use your torch to light up a subject in the middle distance, such as a tree, and focus using Live View.
03 Exposure settings
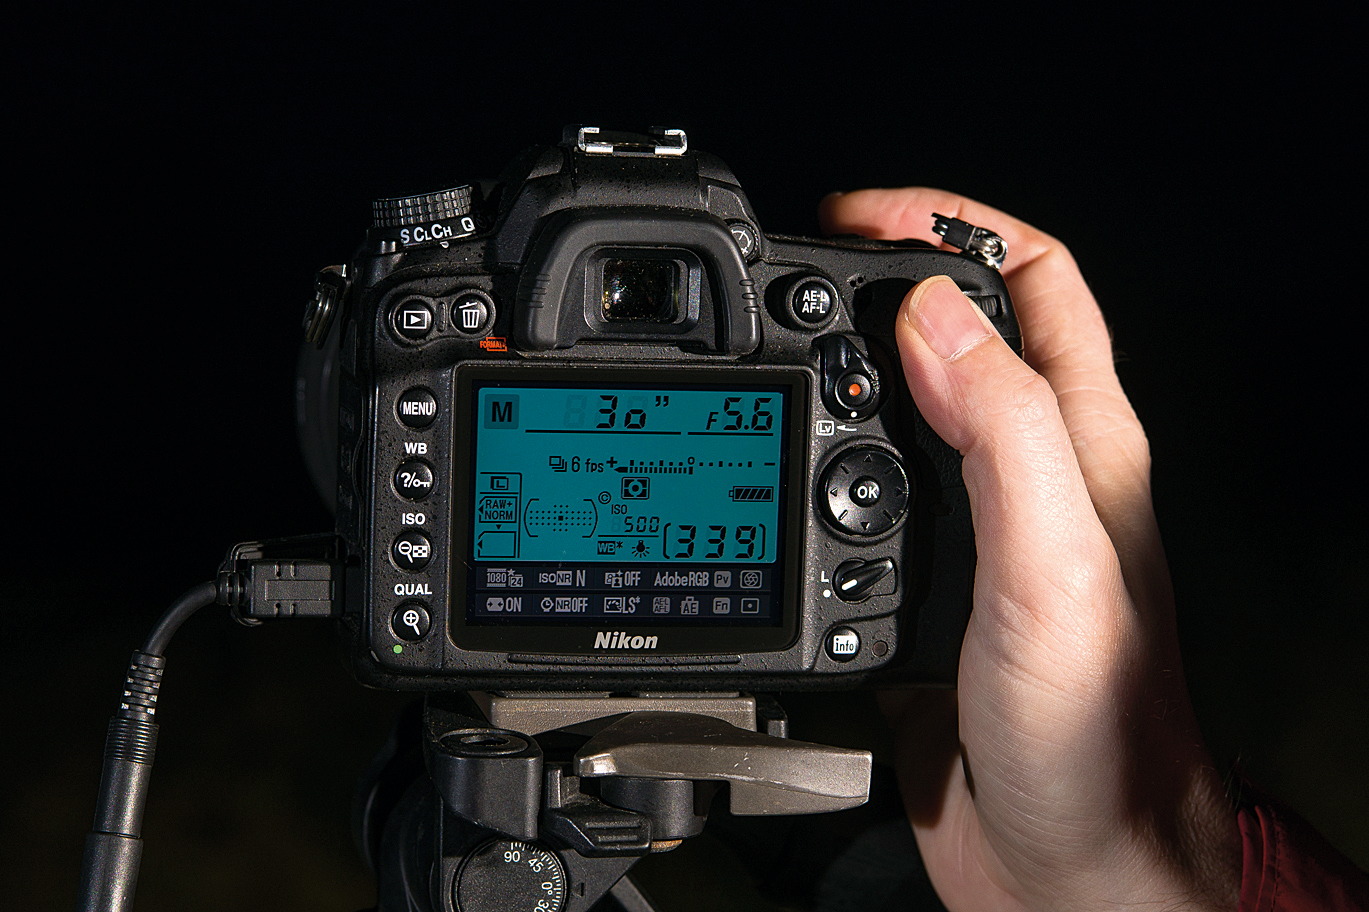
The exact exposure you need will vary but, with the camera on manual, set the shutter speed to 30 secs, the aperture to f/5.6 and the ISO to 400 and take a test shot. If this is too dark, increase the ISO until you can just see the stars.
04 Set up the camera
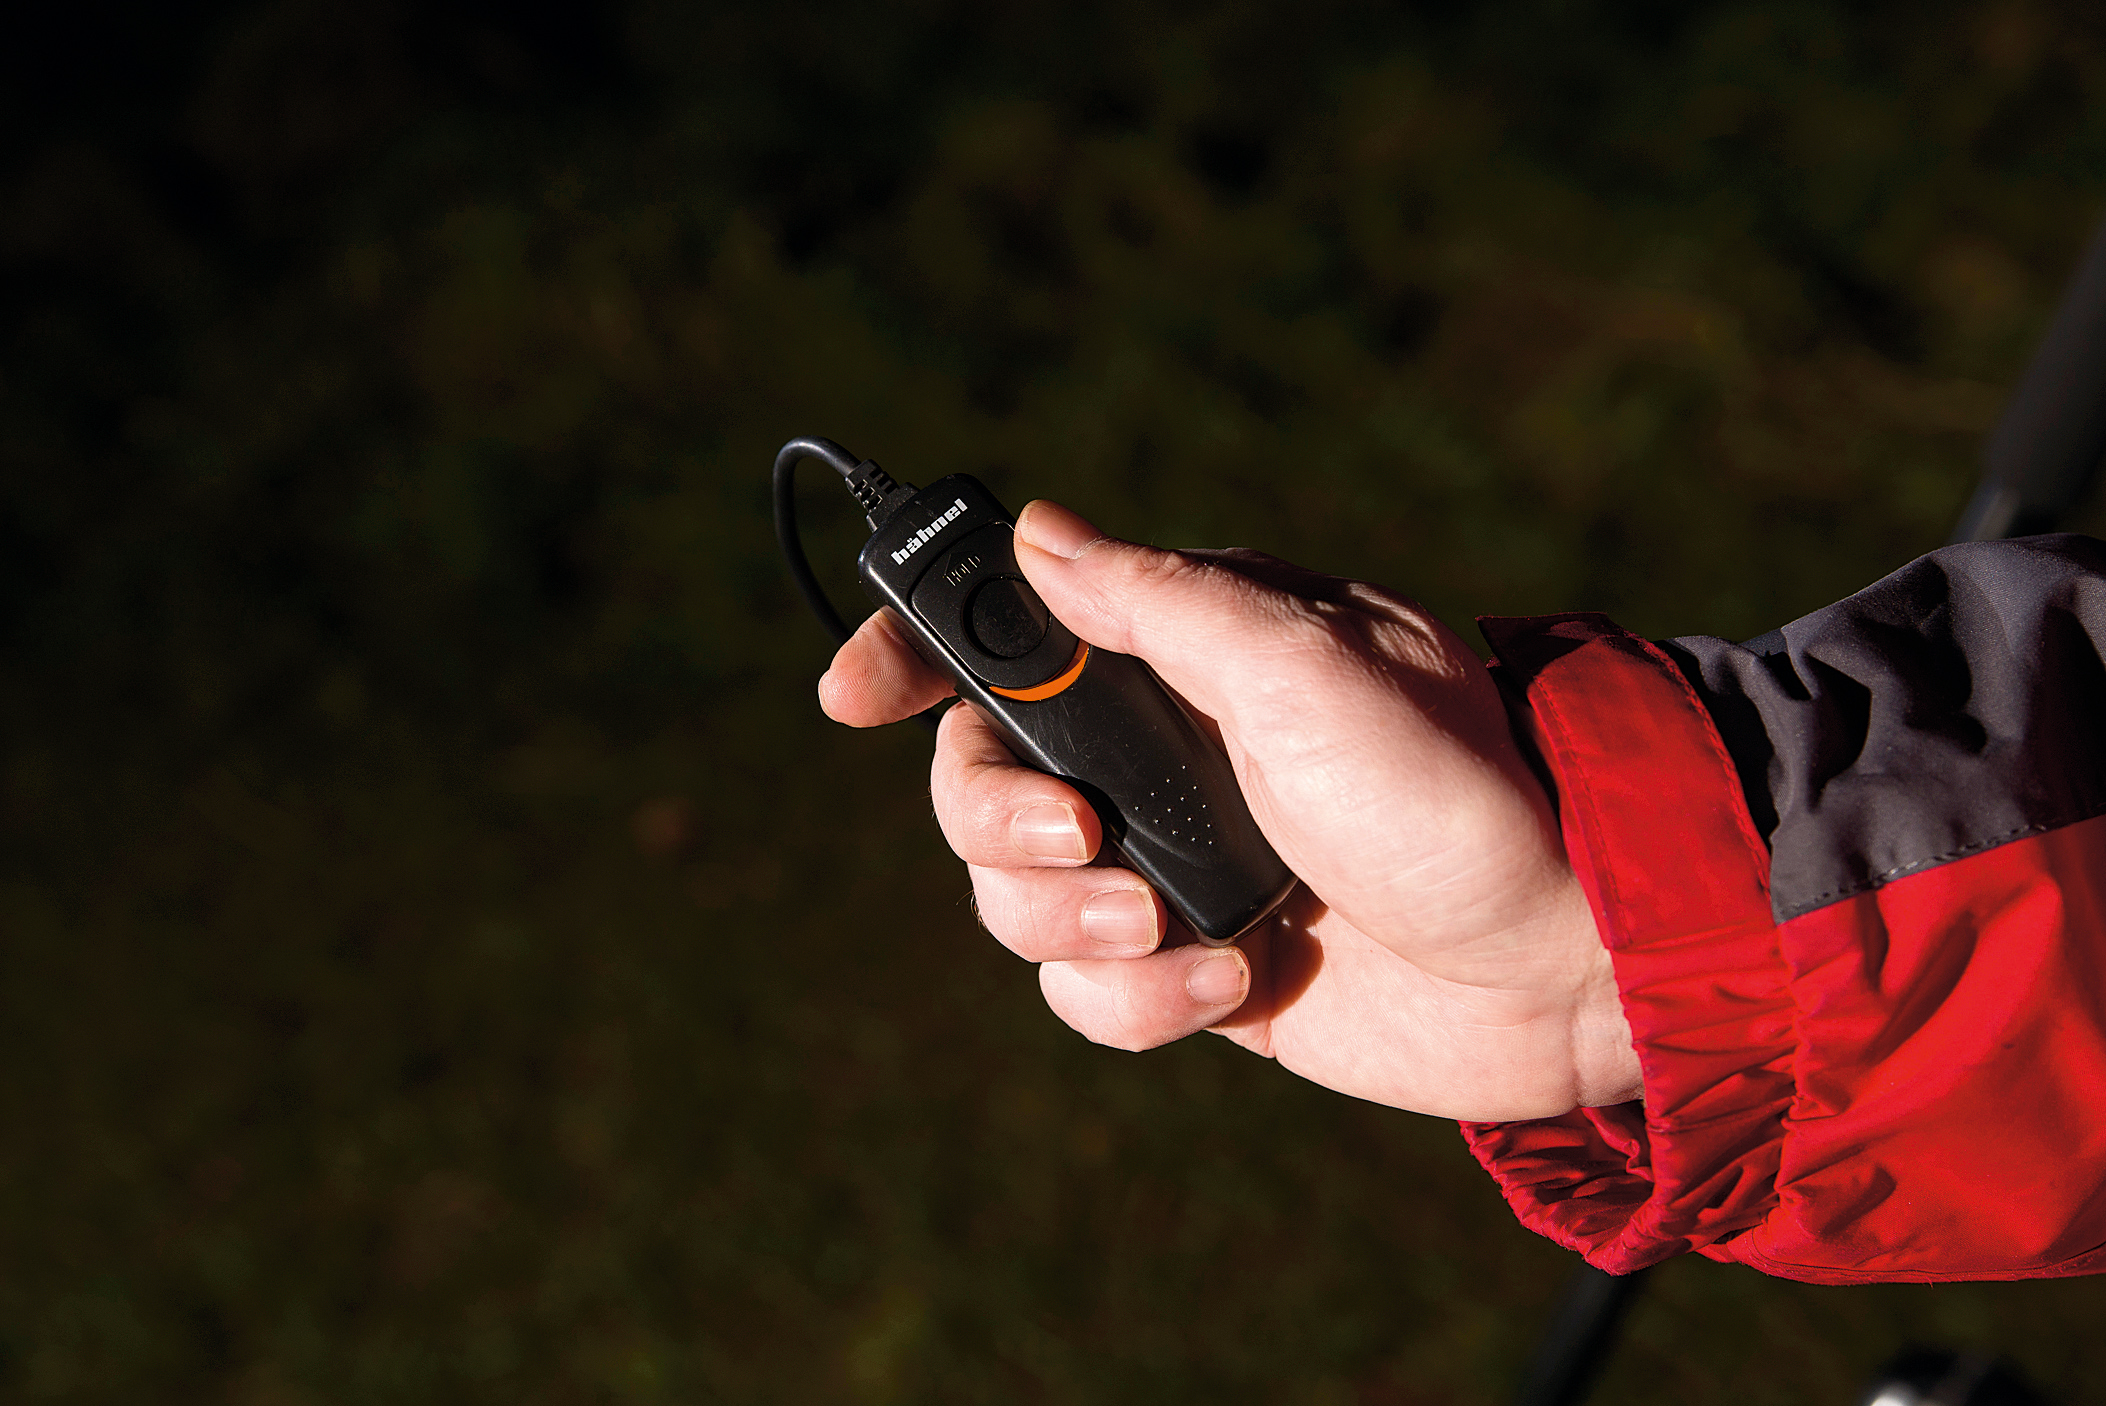
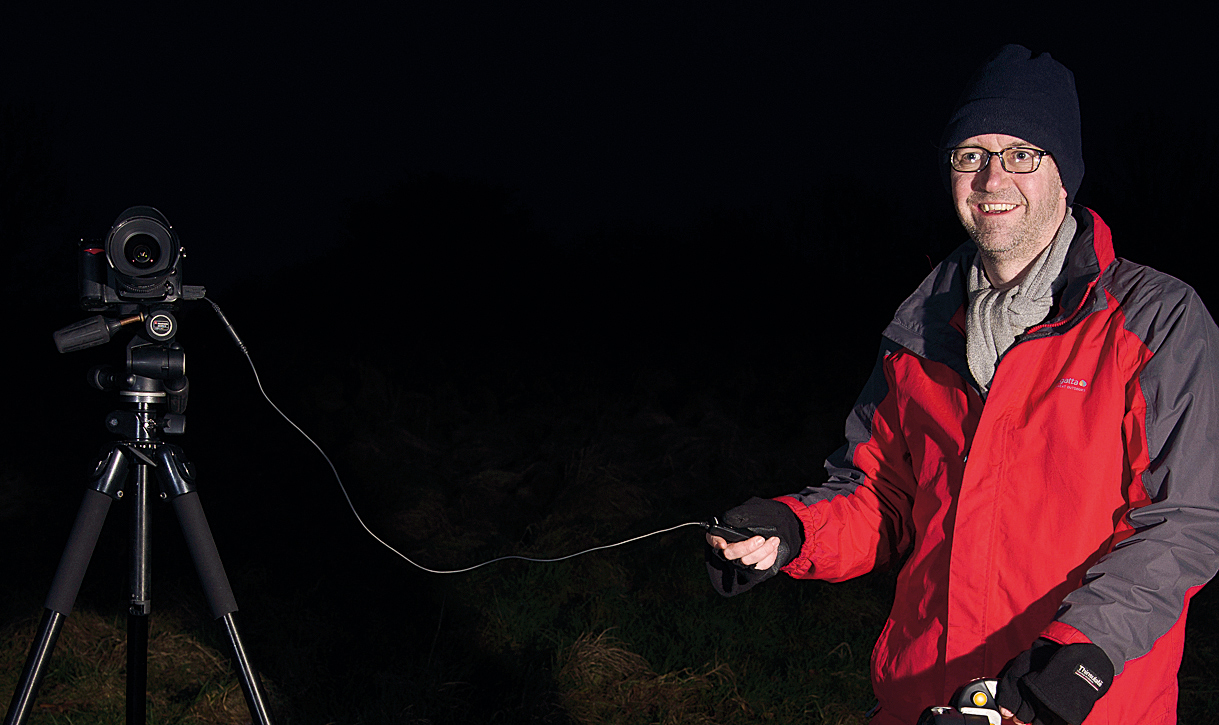
You can use an interval timer to shoot the sequence, but it’s easier to set the drive mode to continuous shooting and attach a cable remote control (with facility to lock the shutter release down) to the camera.
See: best camera remotes (wired and wireless)
05 Get shooting
Once you are happy with all of the camera settings and your composition you can shoot your sequence. To do this, press the shutter release on the remote control, and lock it down to take your shots. All you need to do is wait! It’s worth timing your sequence so that you know when you can finish.
06 Finishing shots
If your composition includes a subject then you can use a torch to light it, using the same exposure that you used for the other images. Finally, take a ‘dark frame’ to use to reduce noise in your final image – put the lens cap on the camera and take a shot using the same settings as your sequence.
07 Open in Bridge
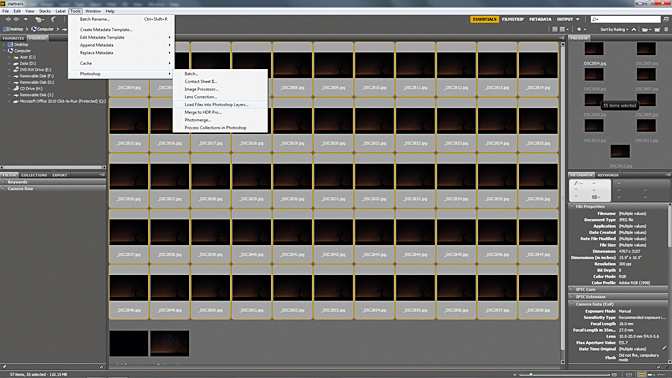
Once you’ve downloaded your images, open Adobe Bridge and select all except the dark frame, then go to Tools> Photoshop>Load files into Photoshop Layers. Wait while all the images open in the main Photoshop window, appearing as layers (it can take some time if you have lots of images!).
08 Change Blending mode
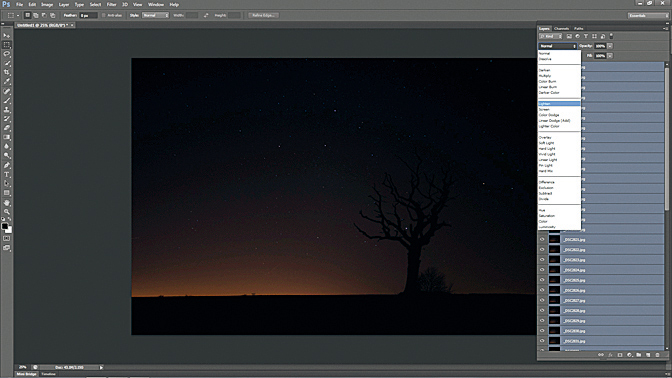
Once all the shots have opened as layers in a single image, you need to change the Blending mode of all layers apart from the bottom one. Select the top layer, scroll down, hold Shift and click on the first layer above the bottom one. Choose Lighten from the Blending Mode dropdown.
09 Reduce noise
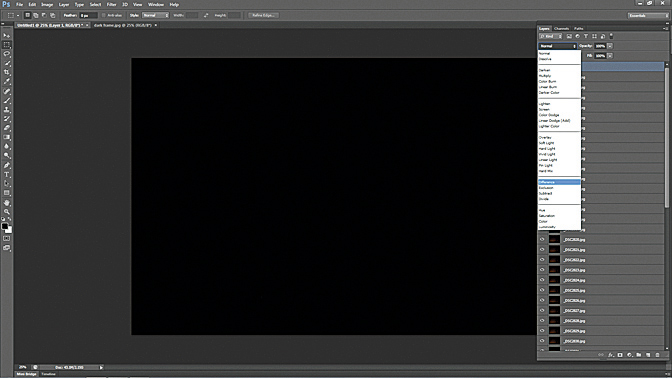
You will now need to open the dark frame (the one you shot when you’d finished your main sequence) and copy it onto the top of the layers stack of your star trail image. With only this top layer containing the dark frame selected, choose Difference from the Blending Mode dropdown menu. This will help reduce noise.
10 Finishing touches
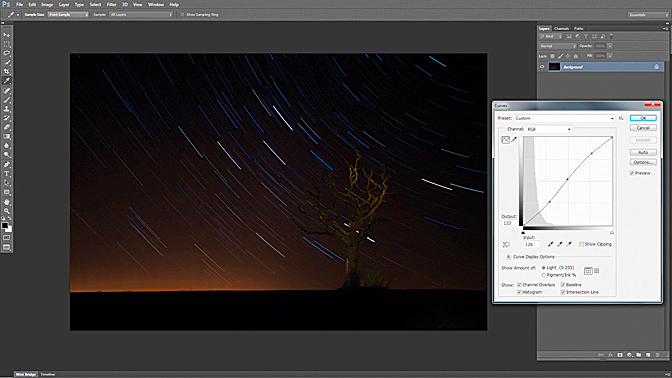
You will now have a complete star trail image, but you may need to use the Clone Stamp to remove any light trails left by passing planes. These are easily identified, as they don’t follow the path of the star trails. Finally you can use Curves to adjust the contrast of your image, if you need to darken or lighten the sky to make the star trails stand out.

More guides:
Photography tips and techniques videos
Best camera for astrophotography: gear, lenses & accessories
Northern Lights photography: tips and techniques for stunning images
Sunset photography: tips and settings for perfect pictures
Best light pollution filters for astrophotography and nightscapes
I’ve been interested in the art and craft of photography since I pestered my parents to buy me a ‘proper’ camera aged about 10. Armed with my new Zorki 4k camera, I set out on a photographic journey that continues to this day.
I learned the ‘nuts and bolts’ of the craft by doing a photographic degree at the University of Westminster, and have been involved in the photographic industry since then. For the last 12 years I have combined taking photos with writing articles and features for some of the UKs best-selling photographic magazines, including Practical Photography, Digital Camera and N-Photo. During this time I have also had two photography books published by Rotovision, on color and composition, and spent three years as a professional car photographer, working for evo magazine.
All of this means that I have experience of shooting almost every type of subject, but I always come back to my first love – landscapes (and particularly the British landscape. I know live in on the Isle of Skye in Scotland.
