Street photography essential: how to shoot dynamic candid scenes
Capture a different perspective on city life using elevation and lens focal lengths as a tool for street photography
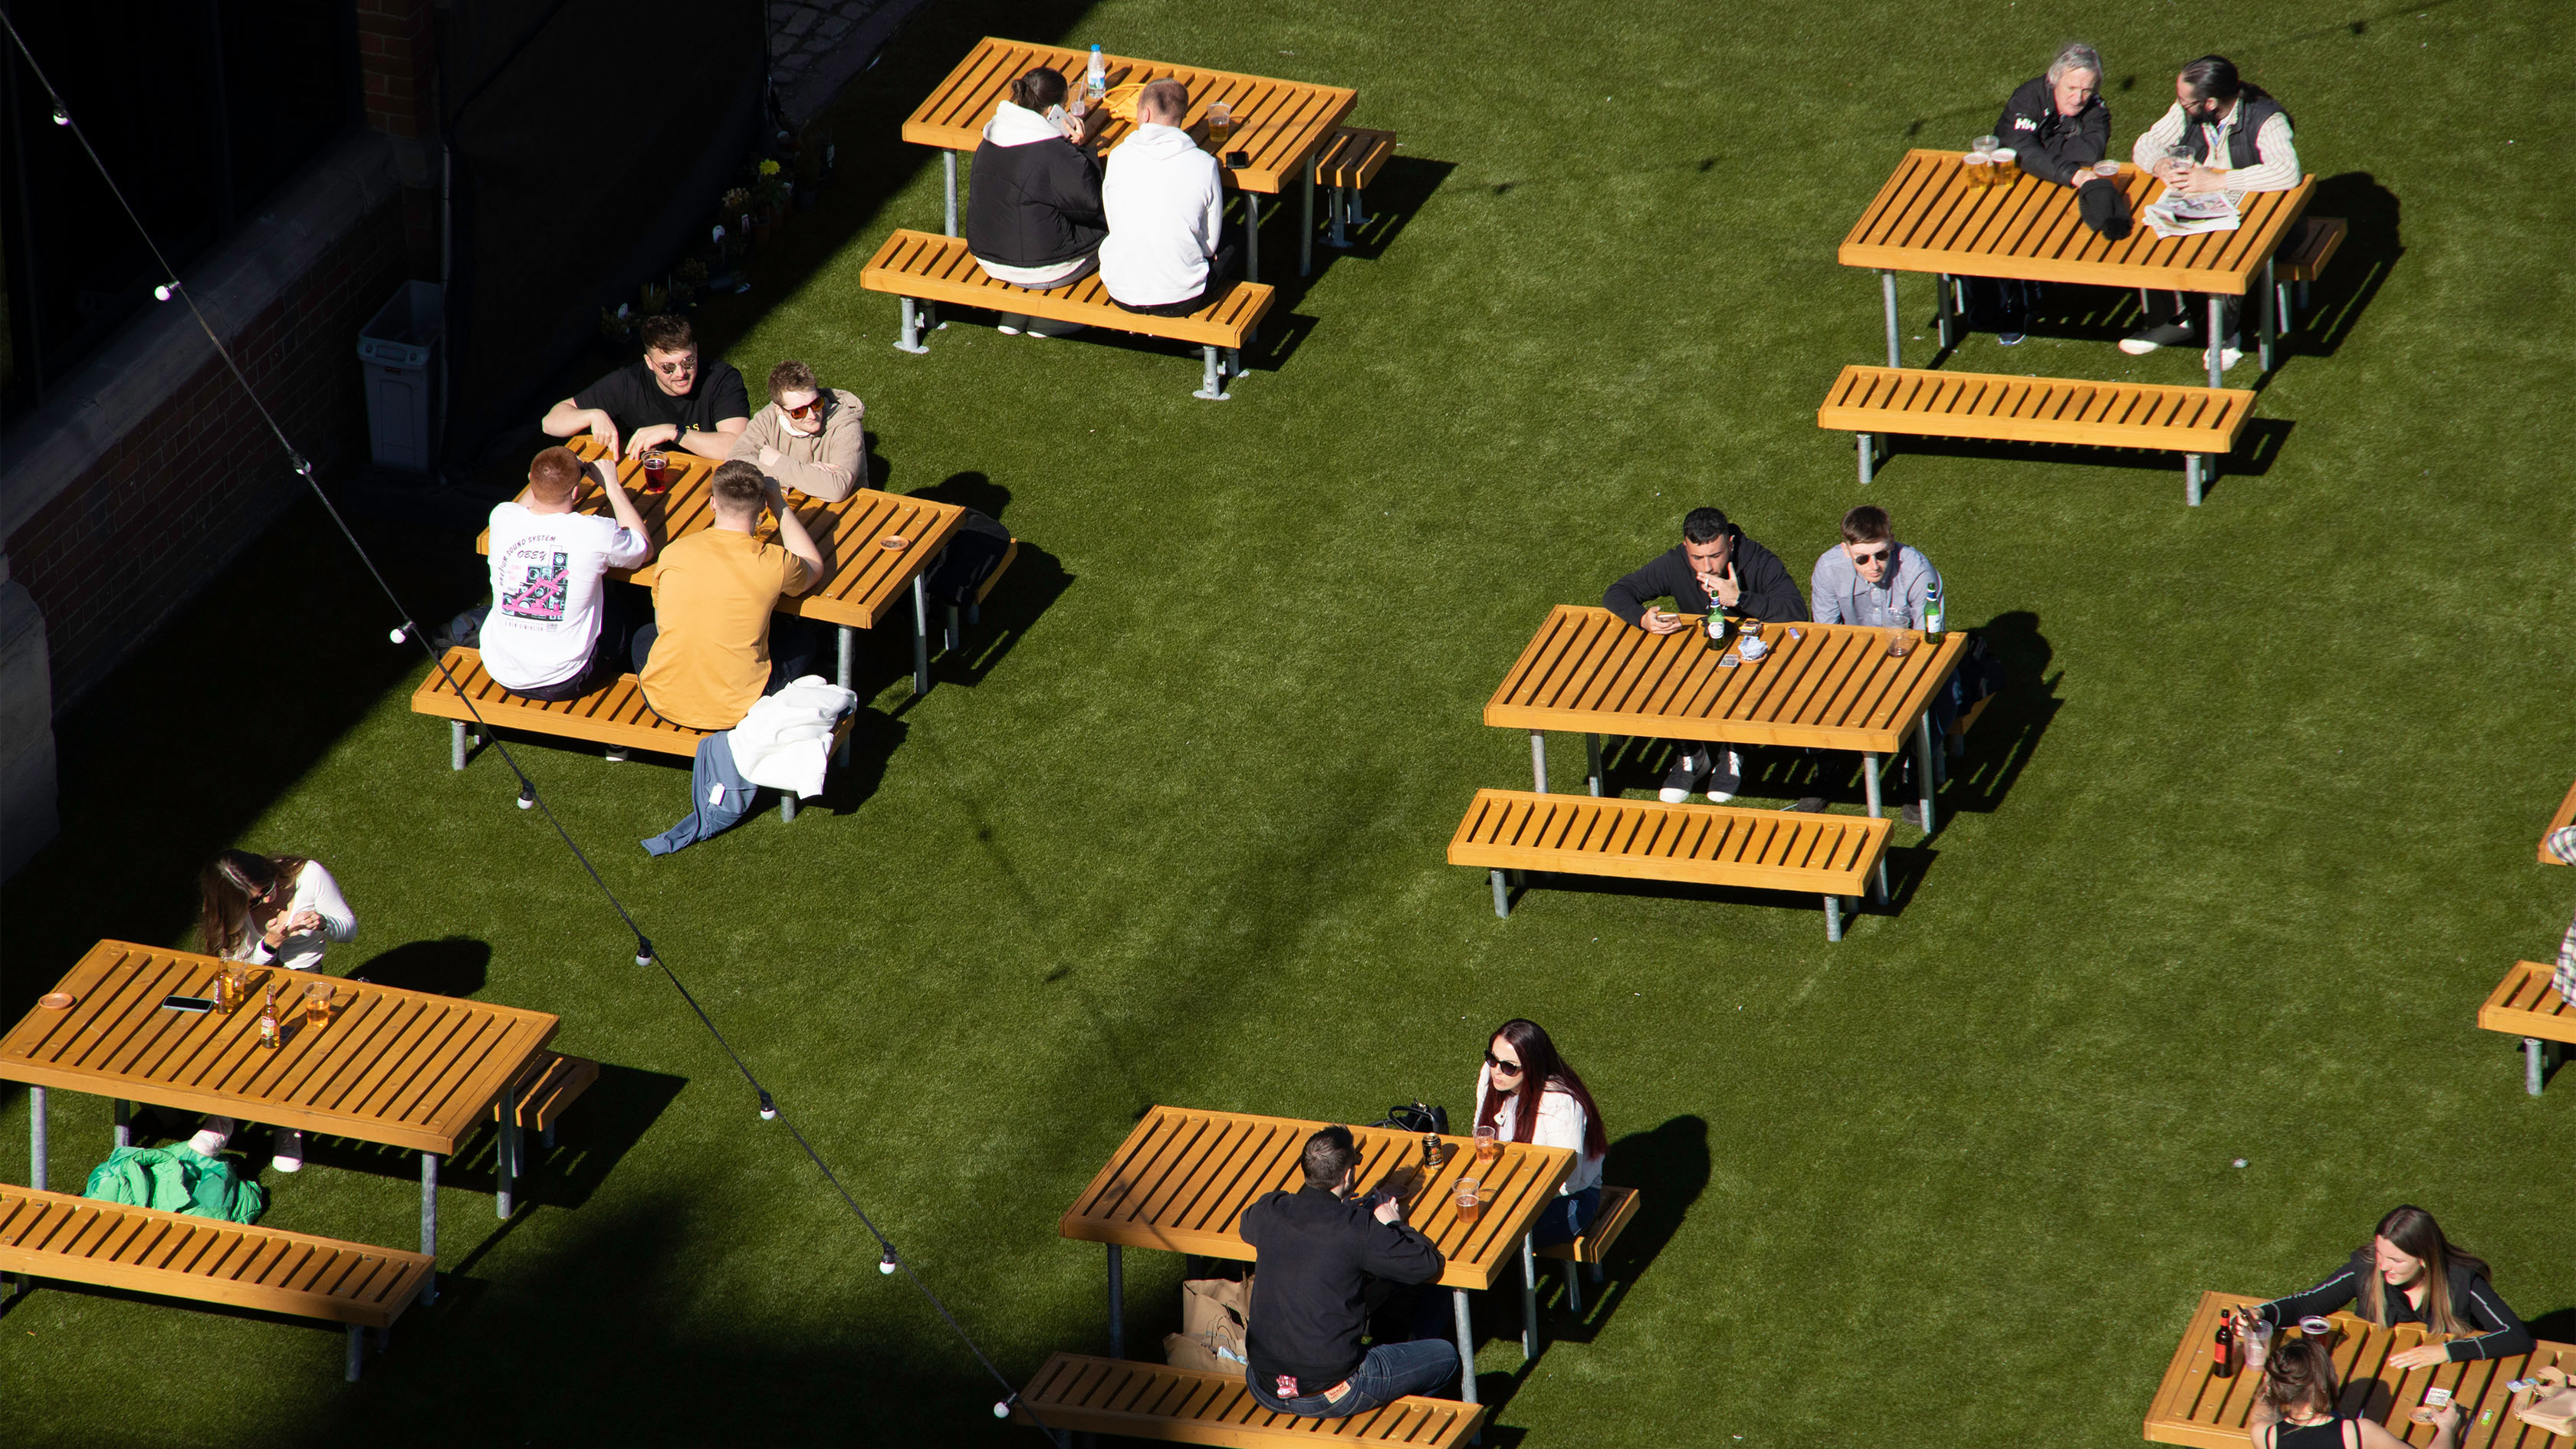
The allure of street photography is in the capture of candid moments that will never again occur in exactly the same way. The same could be said of all genres of photography, of course, but it is especially potent in street imagery. The people and the places with which they are interacting, within the shot, represent an identifiable proxy for our own lives and can stir emotions in a very specific way.
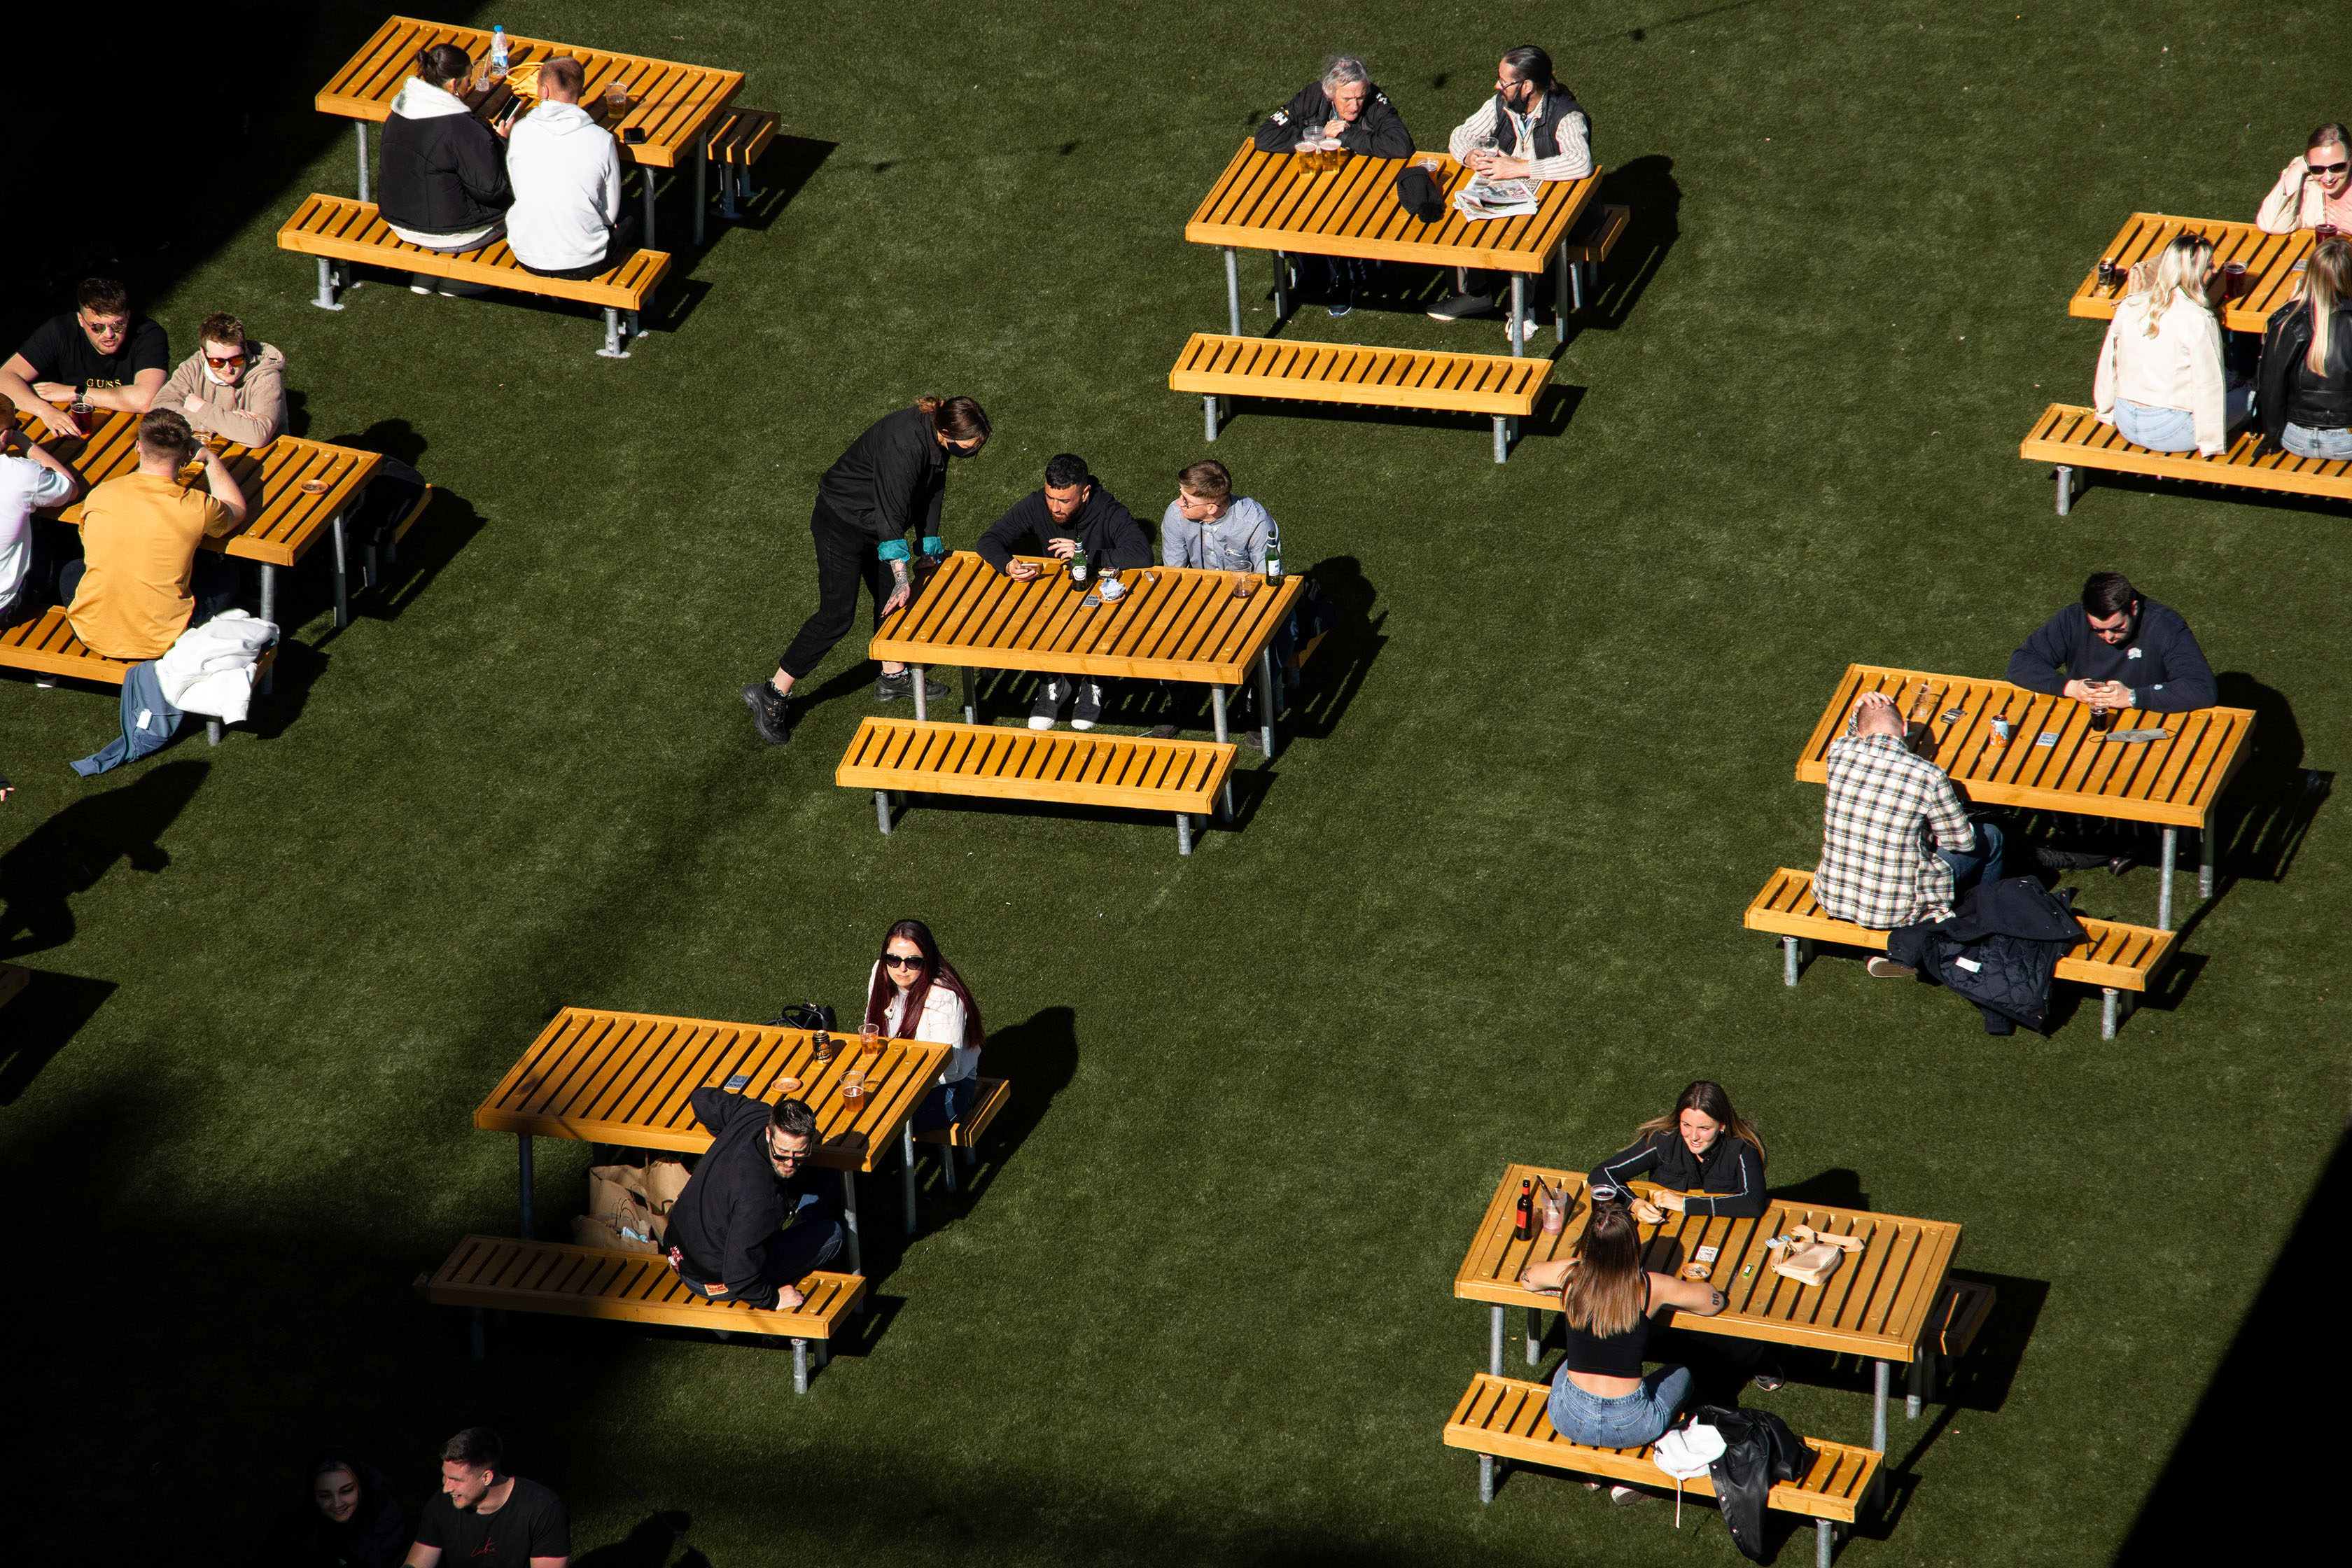
With that in mind, sometimes looking for unusual angles can be the best way to capture a story and inspire the imagination of the viewer. While being amid the action, capturing it with a wide-angle lens, creates the feeling of inclusion and stimulates the senses, shooting from afar, in a less ordinary position, can have the power to make us appreciate the details.
• Read more: Best camera for street photography
Shooting from an elevated perspective can enable the photographer to capture more of the scene, and in a way that we would be unable to see at ground level. It helps place all the elements in context.
There are challenges, obviously, and selecting the right focal length, camera orientation, exposure and composition are paramount. Let's take a look at the main steps necessary to turn a simple scene into a strong narrative, with visual appeal.
1. Find a vantage point
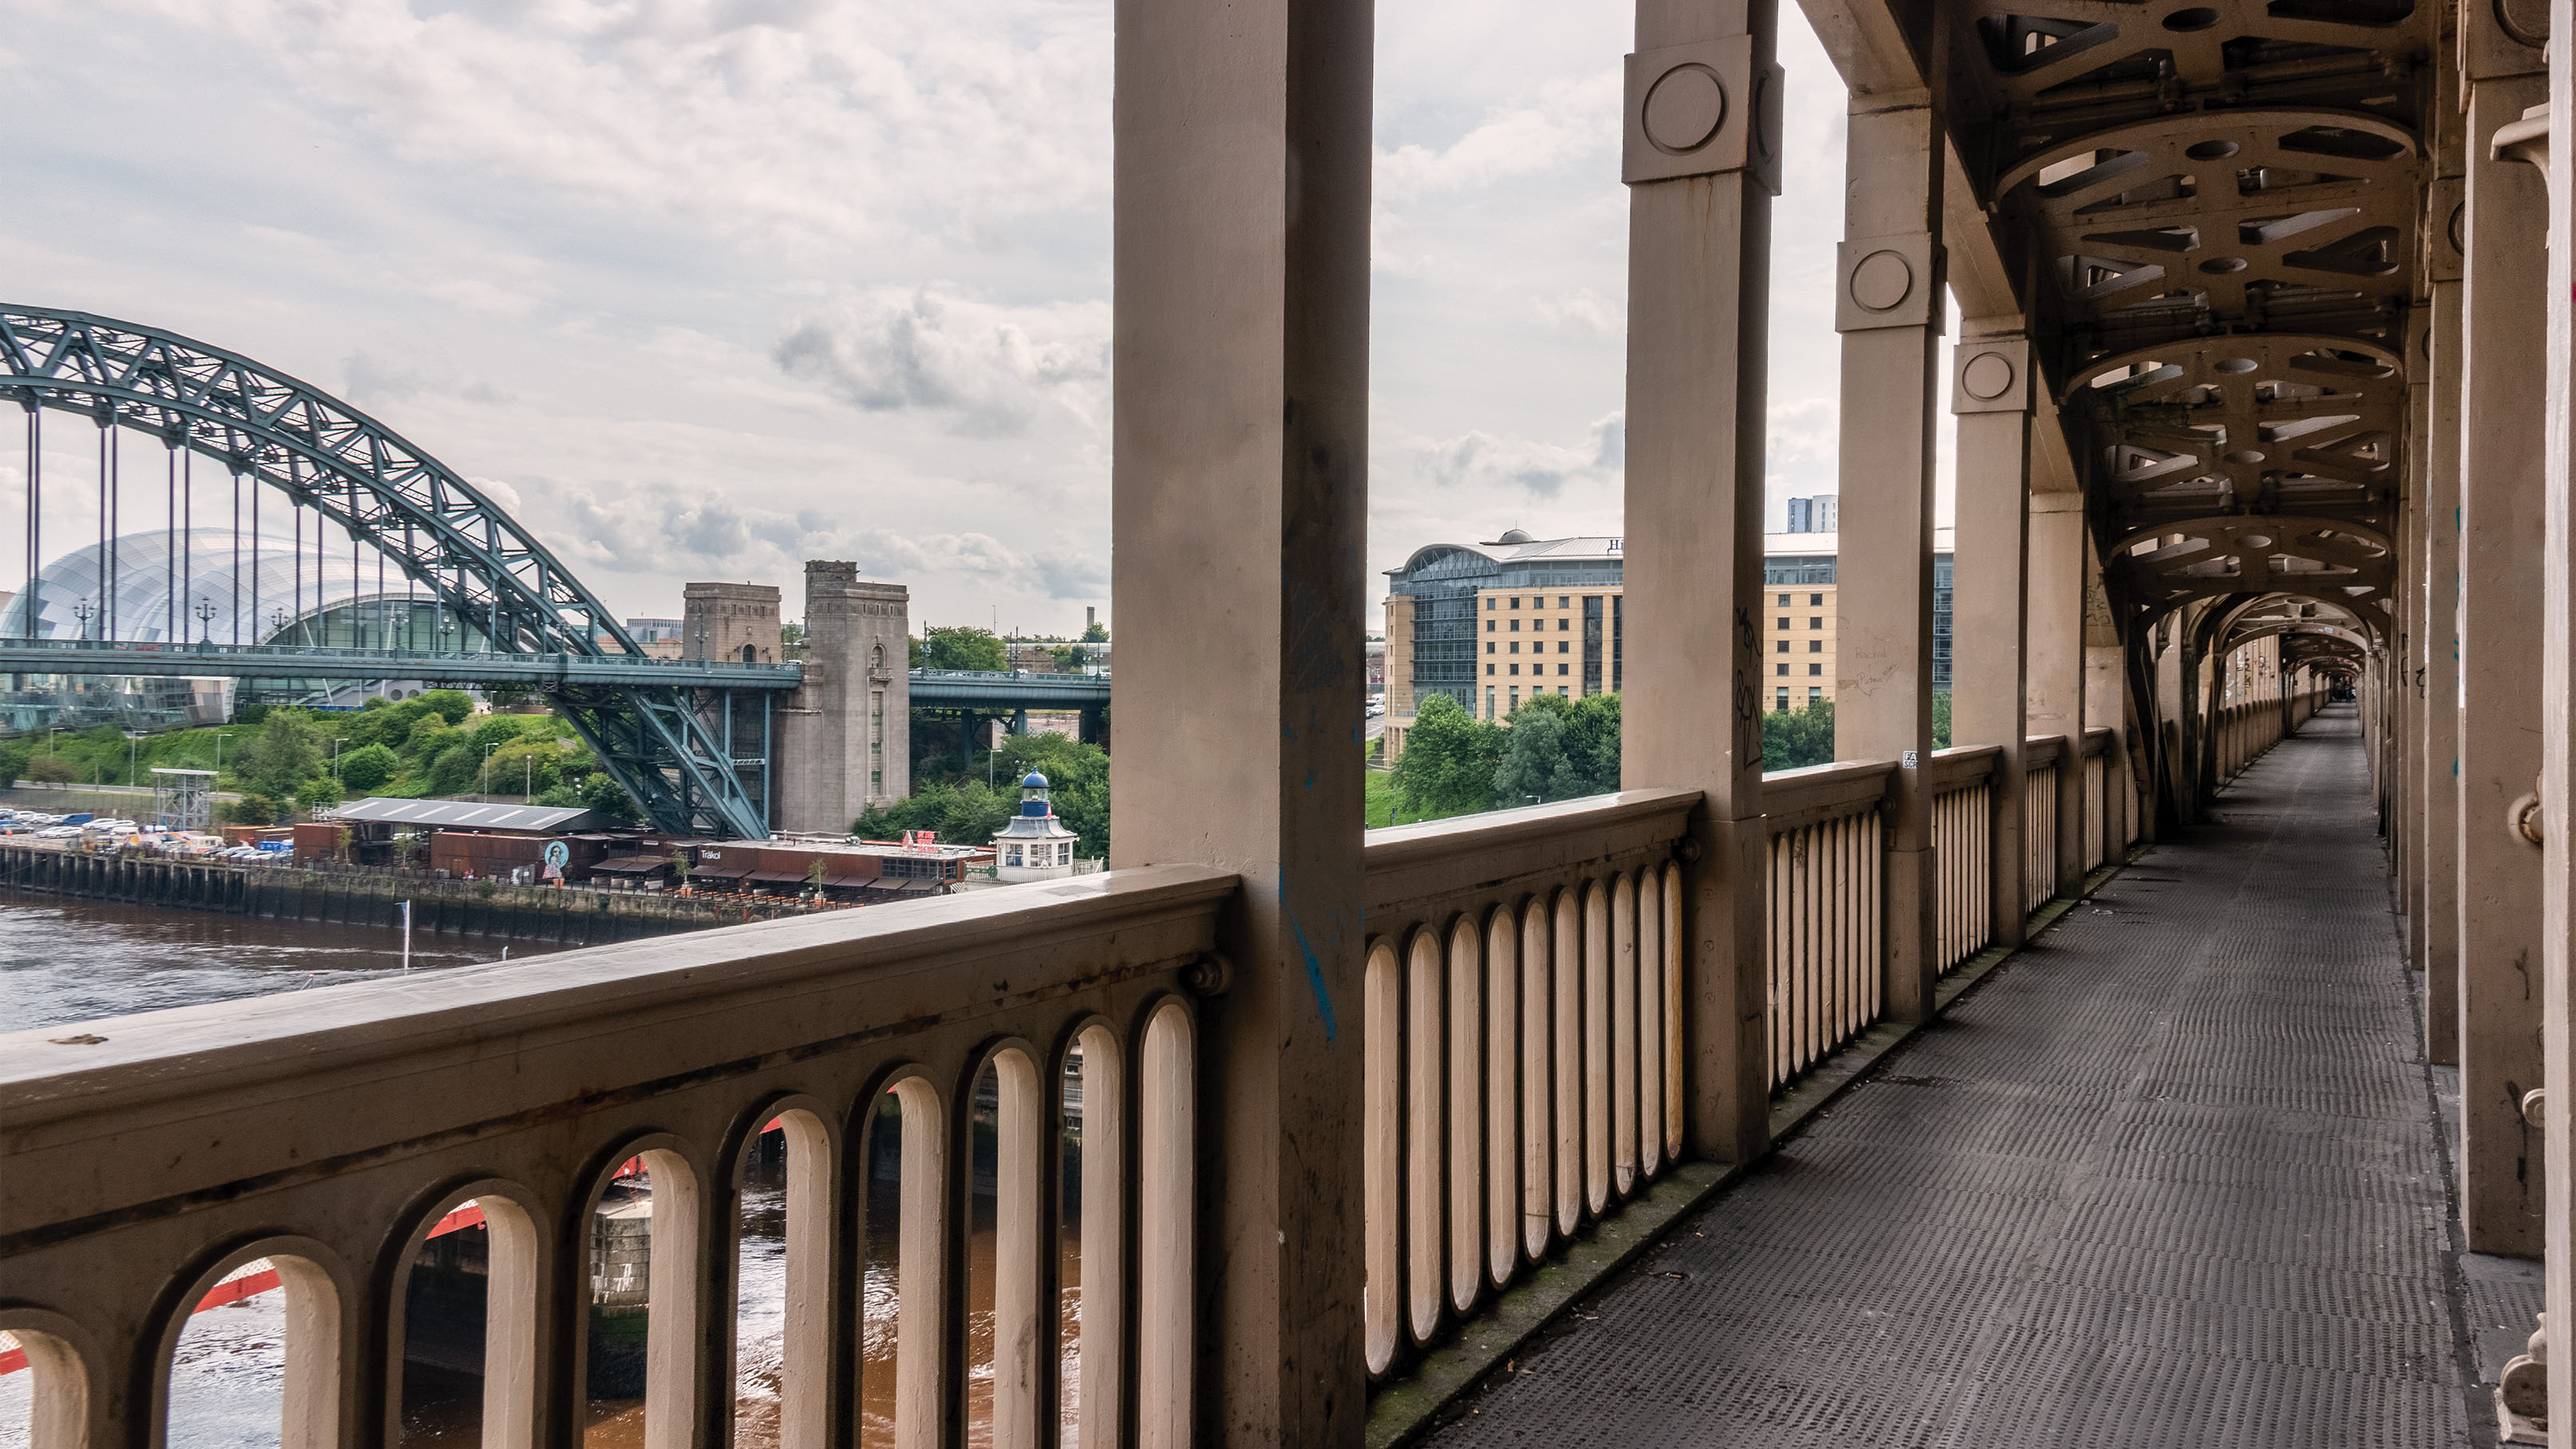
Start by finding an elevated perspective that offers a relatively uninterrupted view of an interesting scene. Scouting ahead of time will enable you to find a worthy subject – a stage for characters to walk onto.
2. Choose a lens
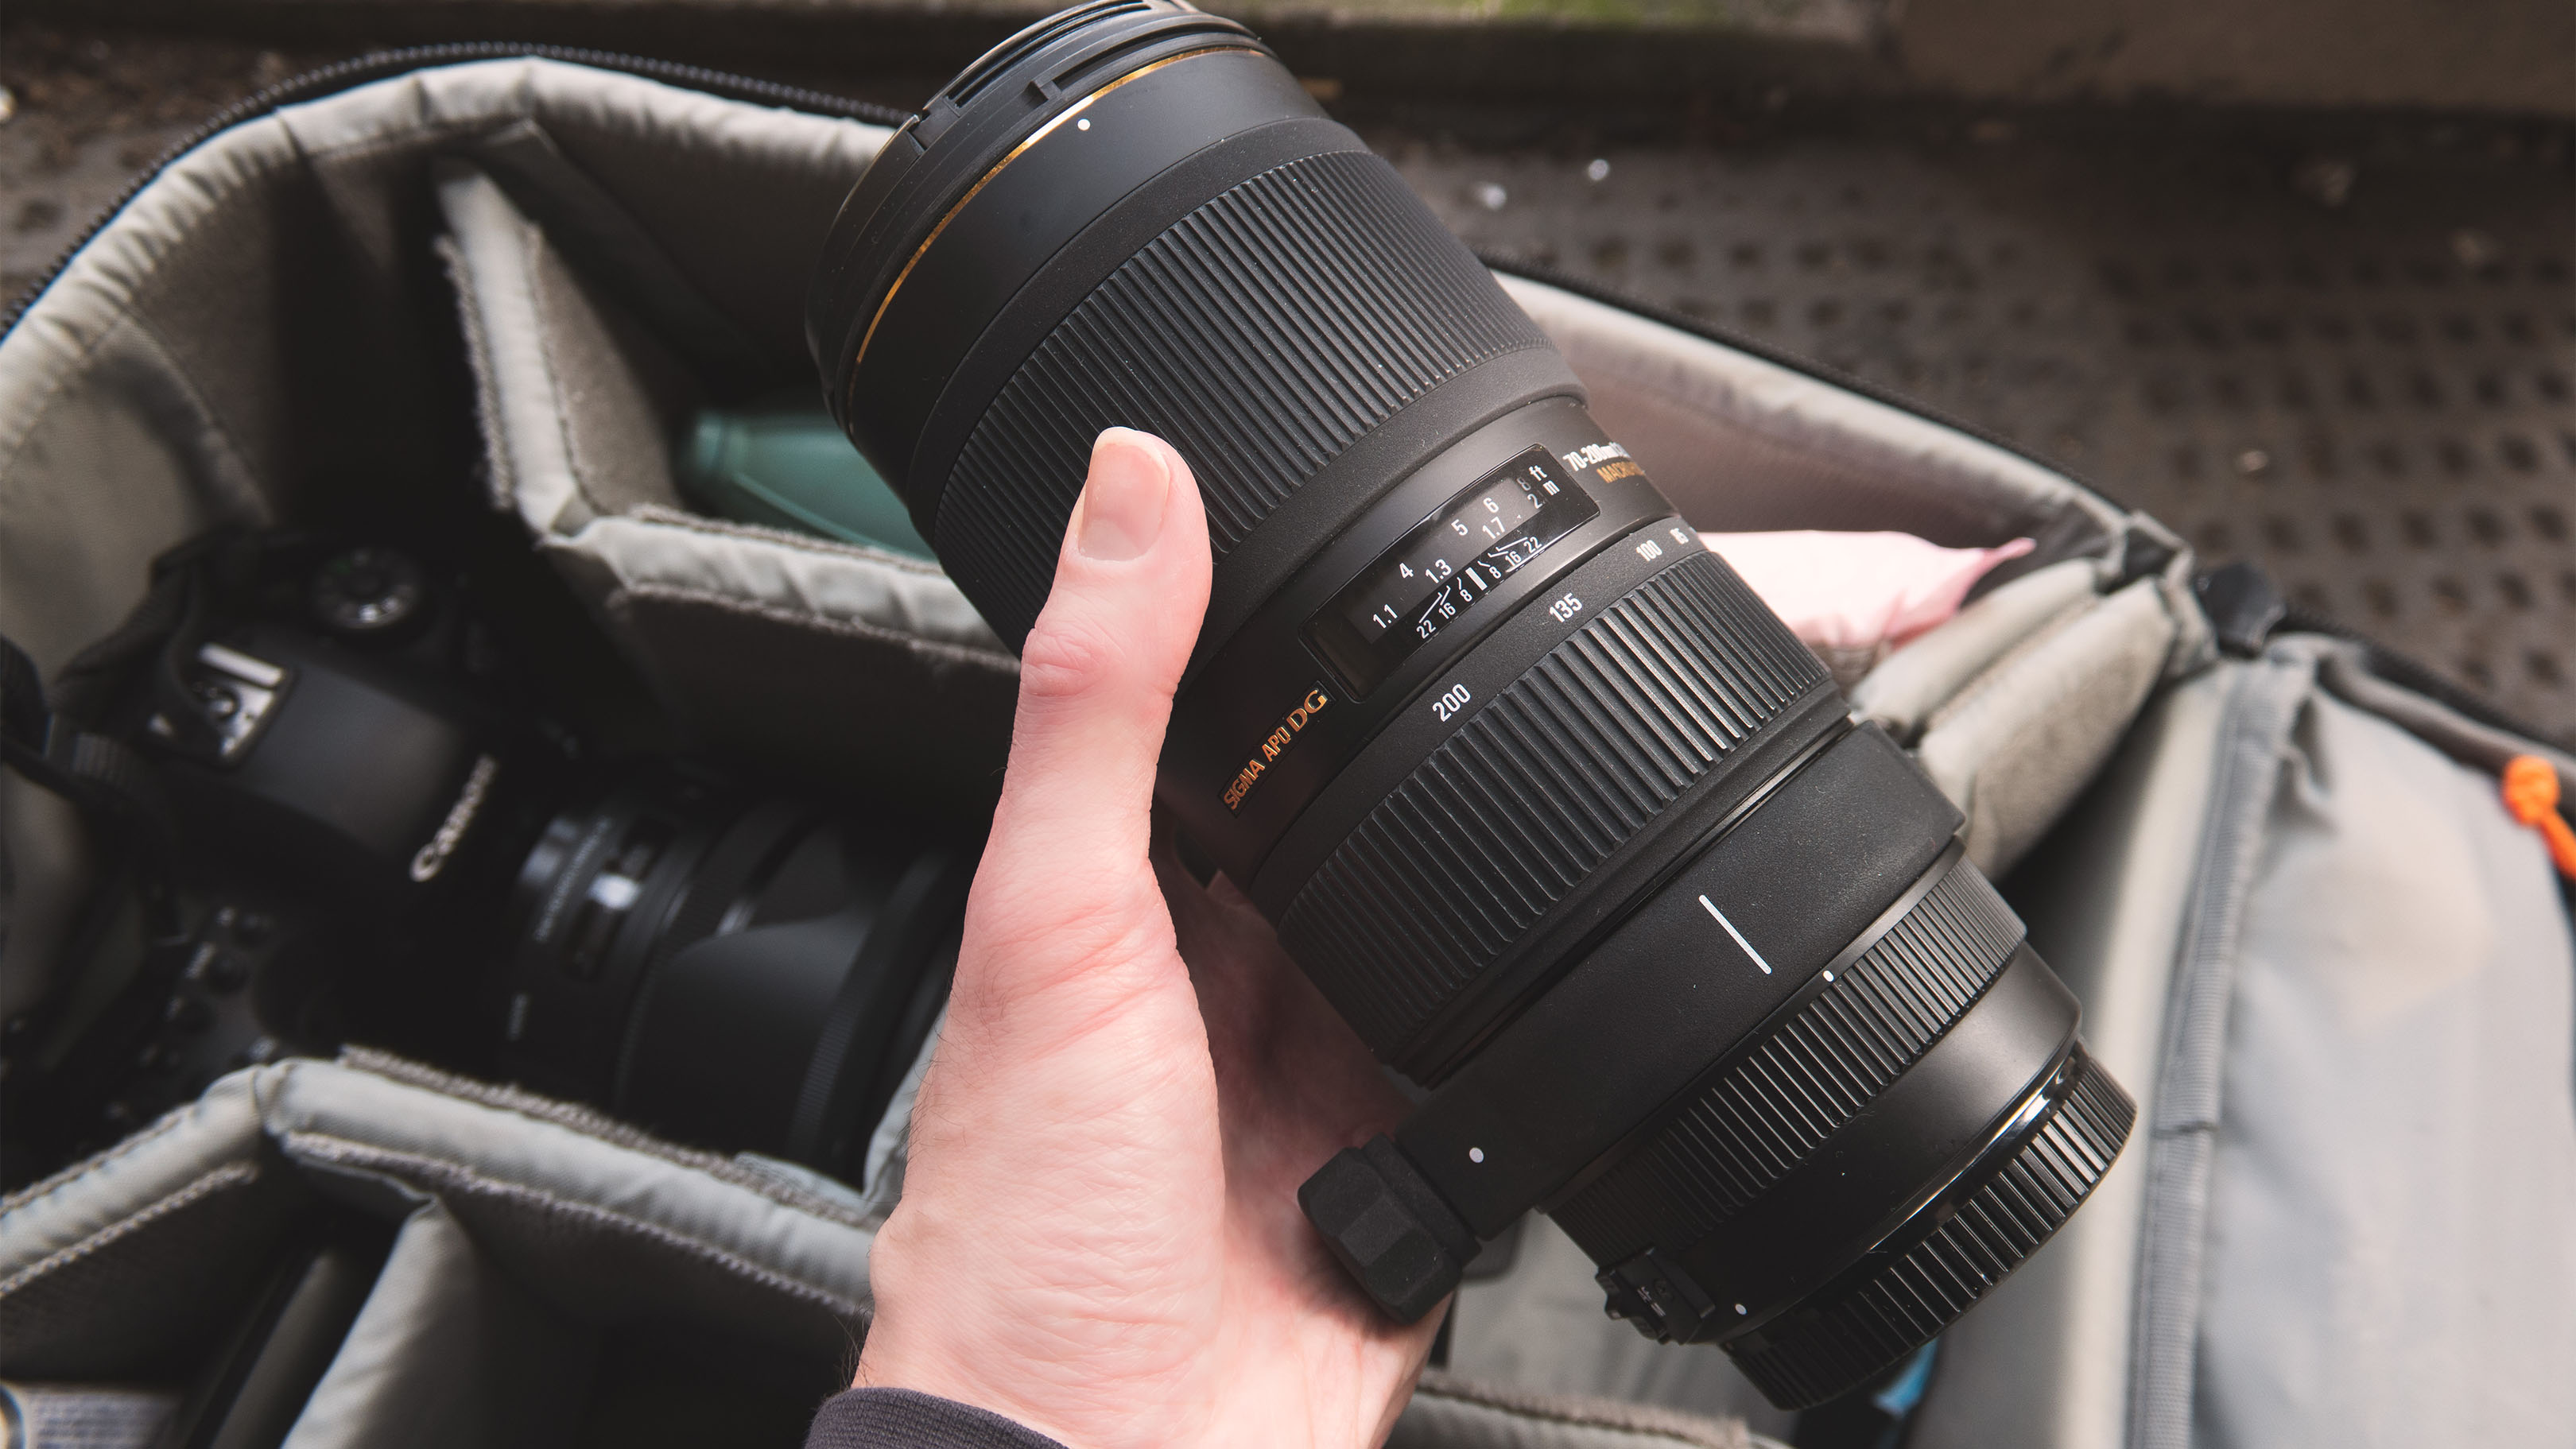
Select a focal length range based on your height and distance from your chosen area of study. Longer focal lengths are generally better, as these will enable you to isolate smaller details in the wider scene.
3. Maximum magnification
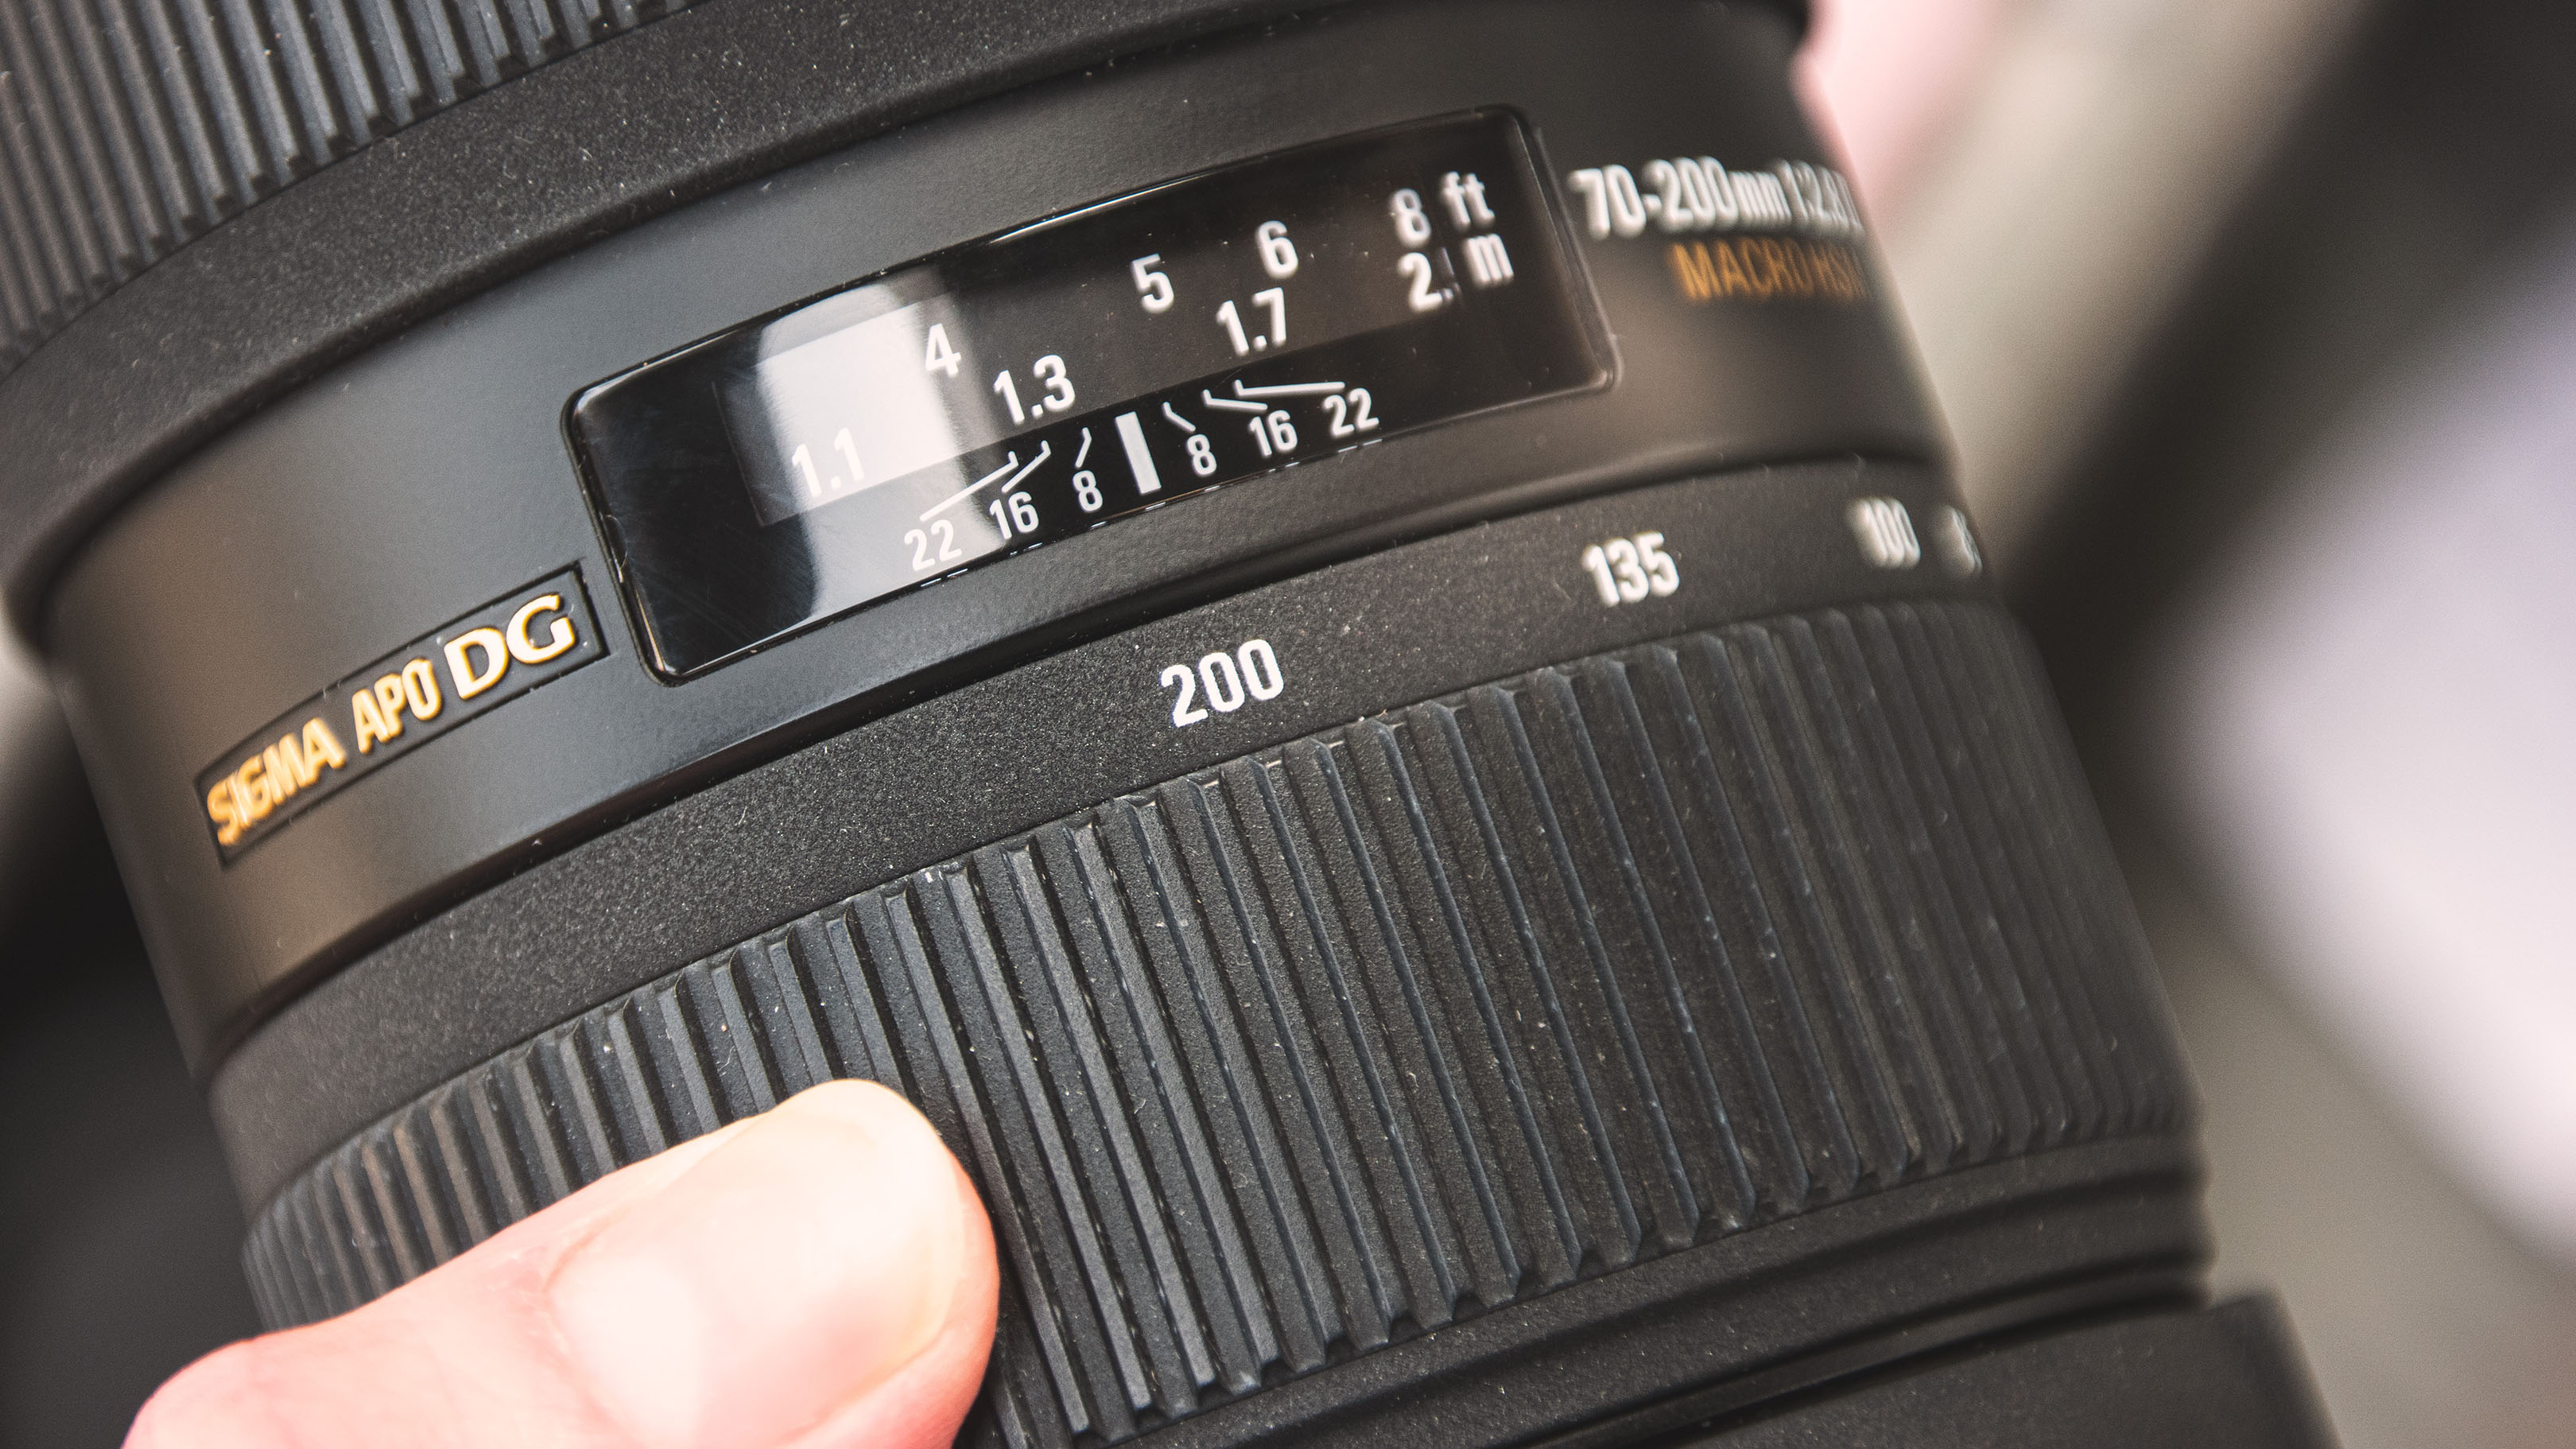
It's easy to include too much peripheral detail, so starting with the longest focal length gives you a clearer canvas. Only zoom out if essential detail is being excluded – mentally easier than cropping elements.
4. Spot metering
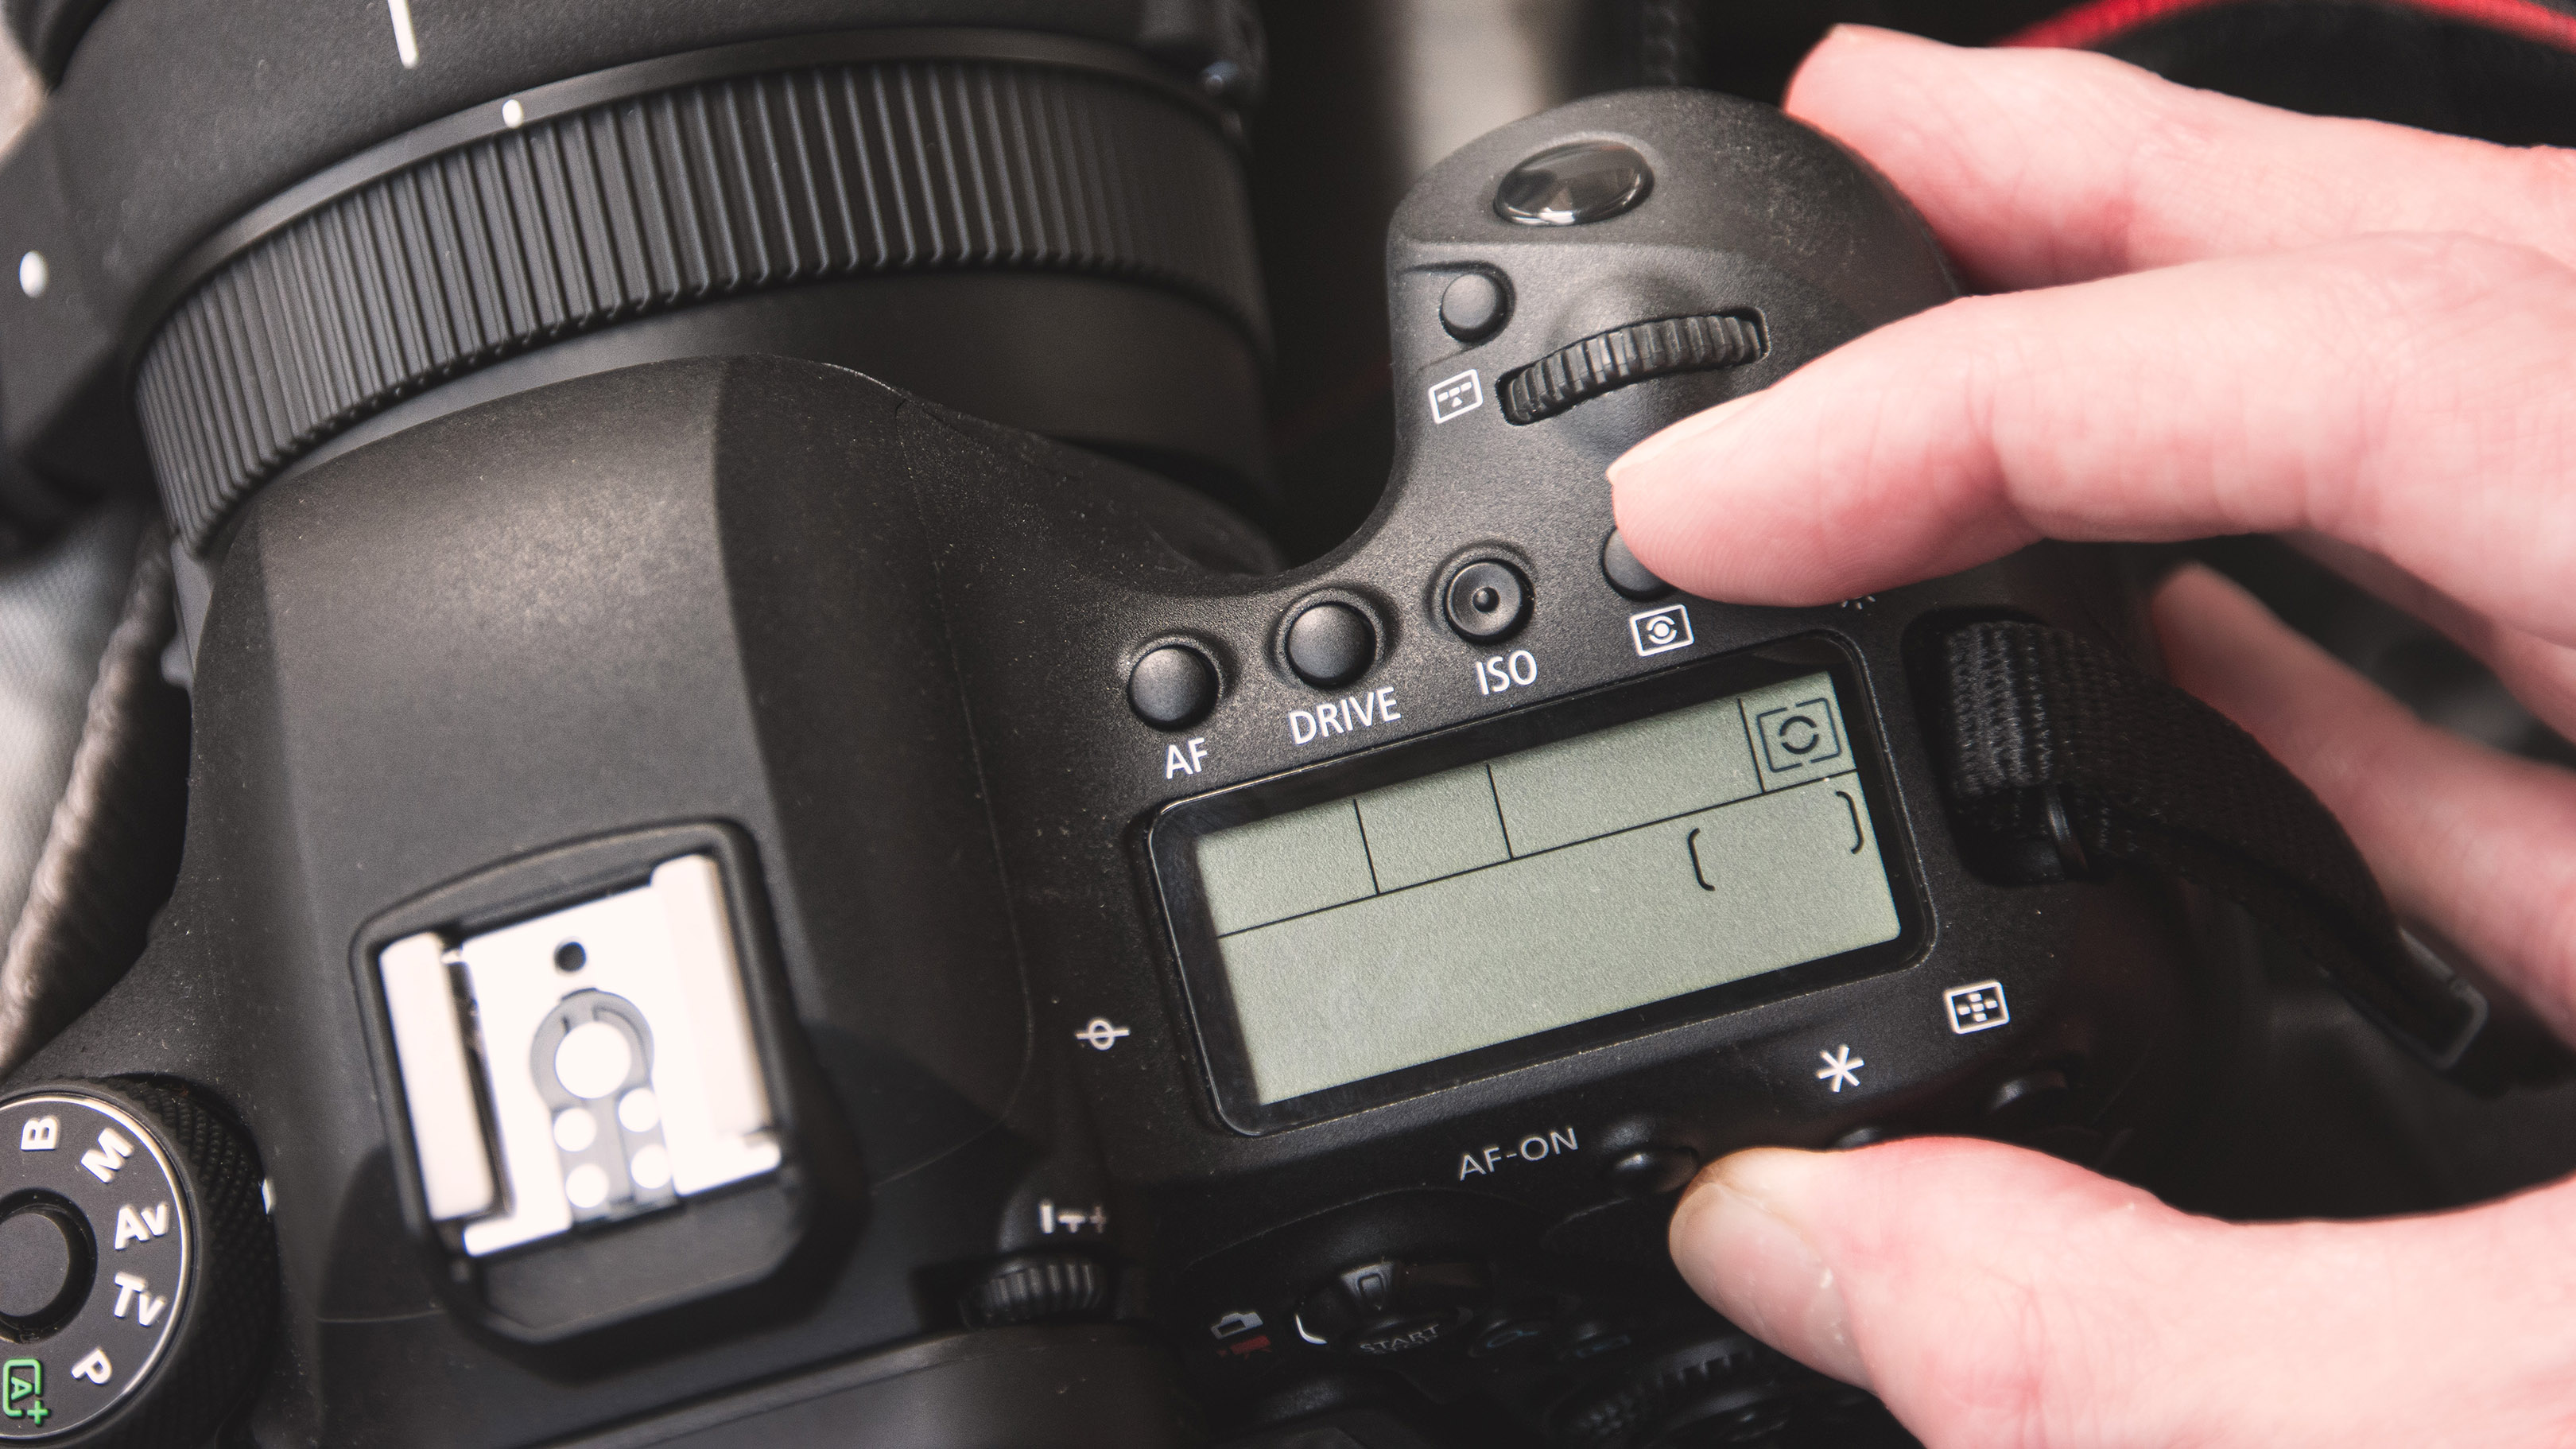
Switching to this metering mode is often advantageous, since the top-down perspective exaggerates exposure hotspots – they are harder to overlook, given the flatter view. Spot will help control distracting brightness.
5. Adjust rotation
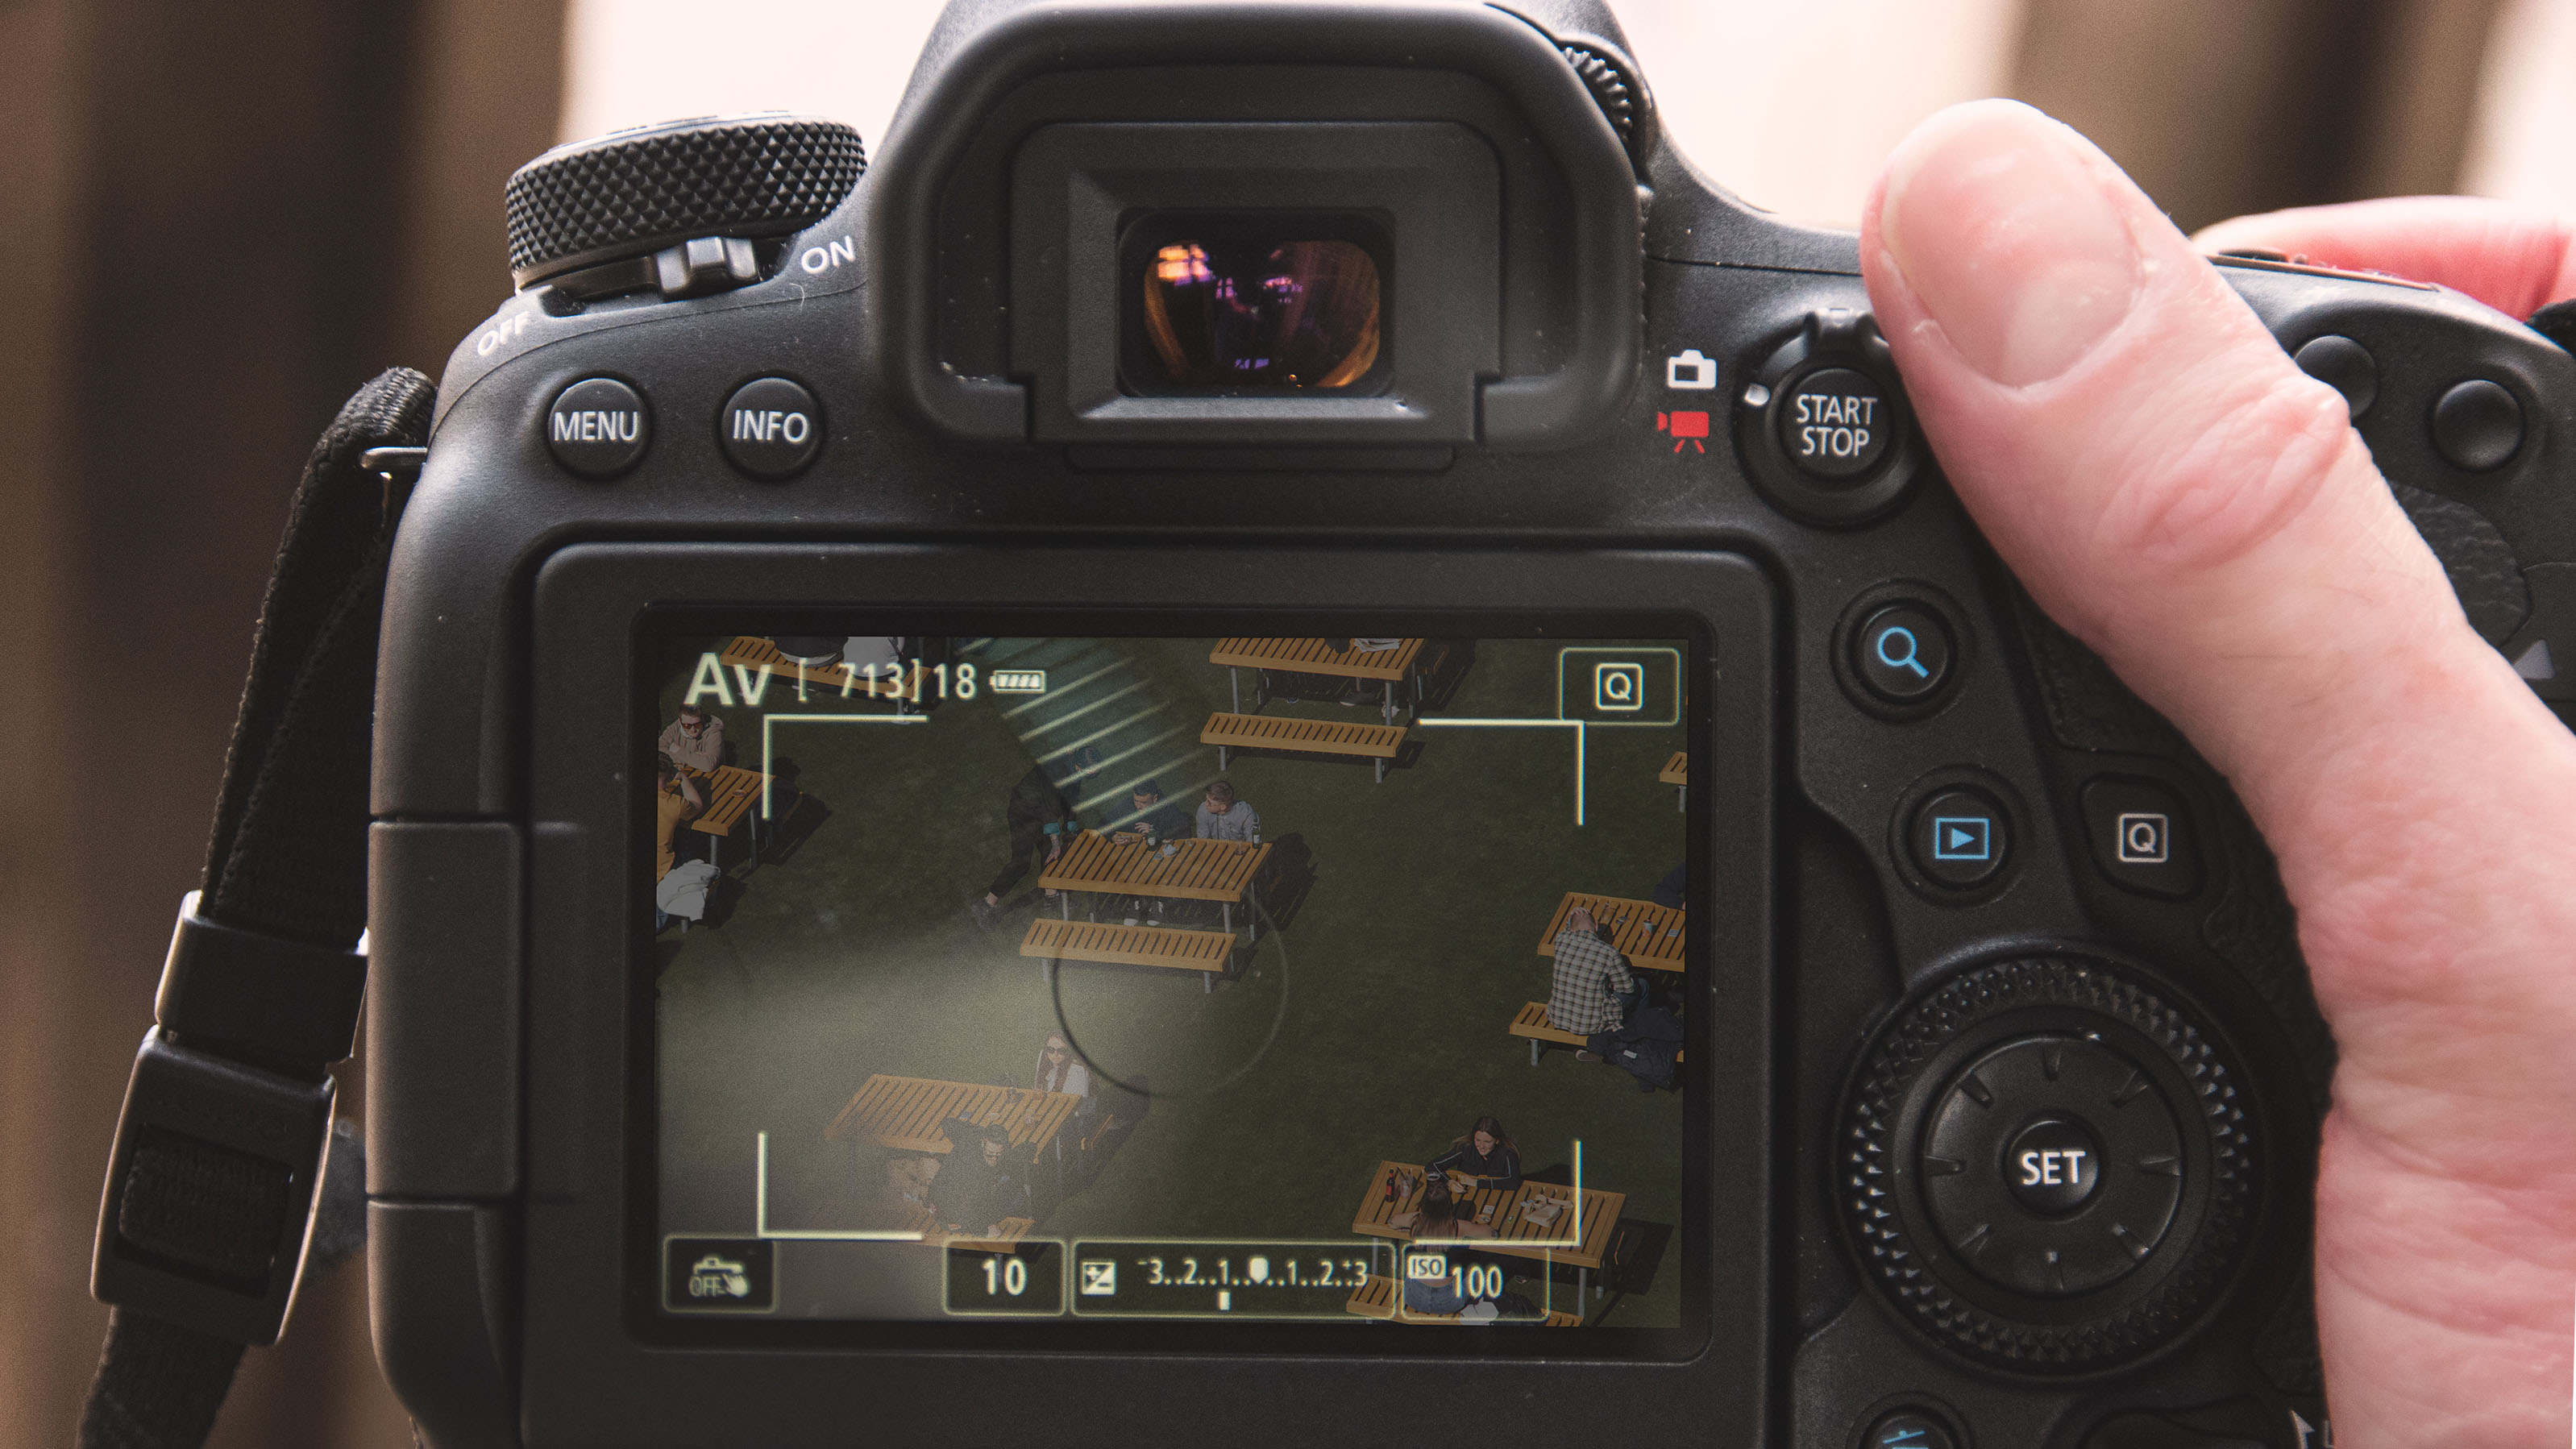
It's possible to be disoriented when looking down, through a viewfinder – essentially vertigo. This makes misjudging the horizon easy, so always ensure that you’re happy with the camera's roll position.
6. Burst mode
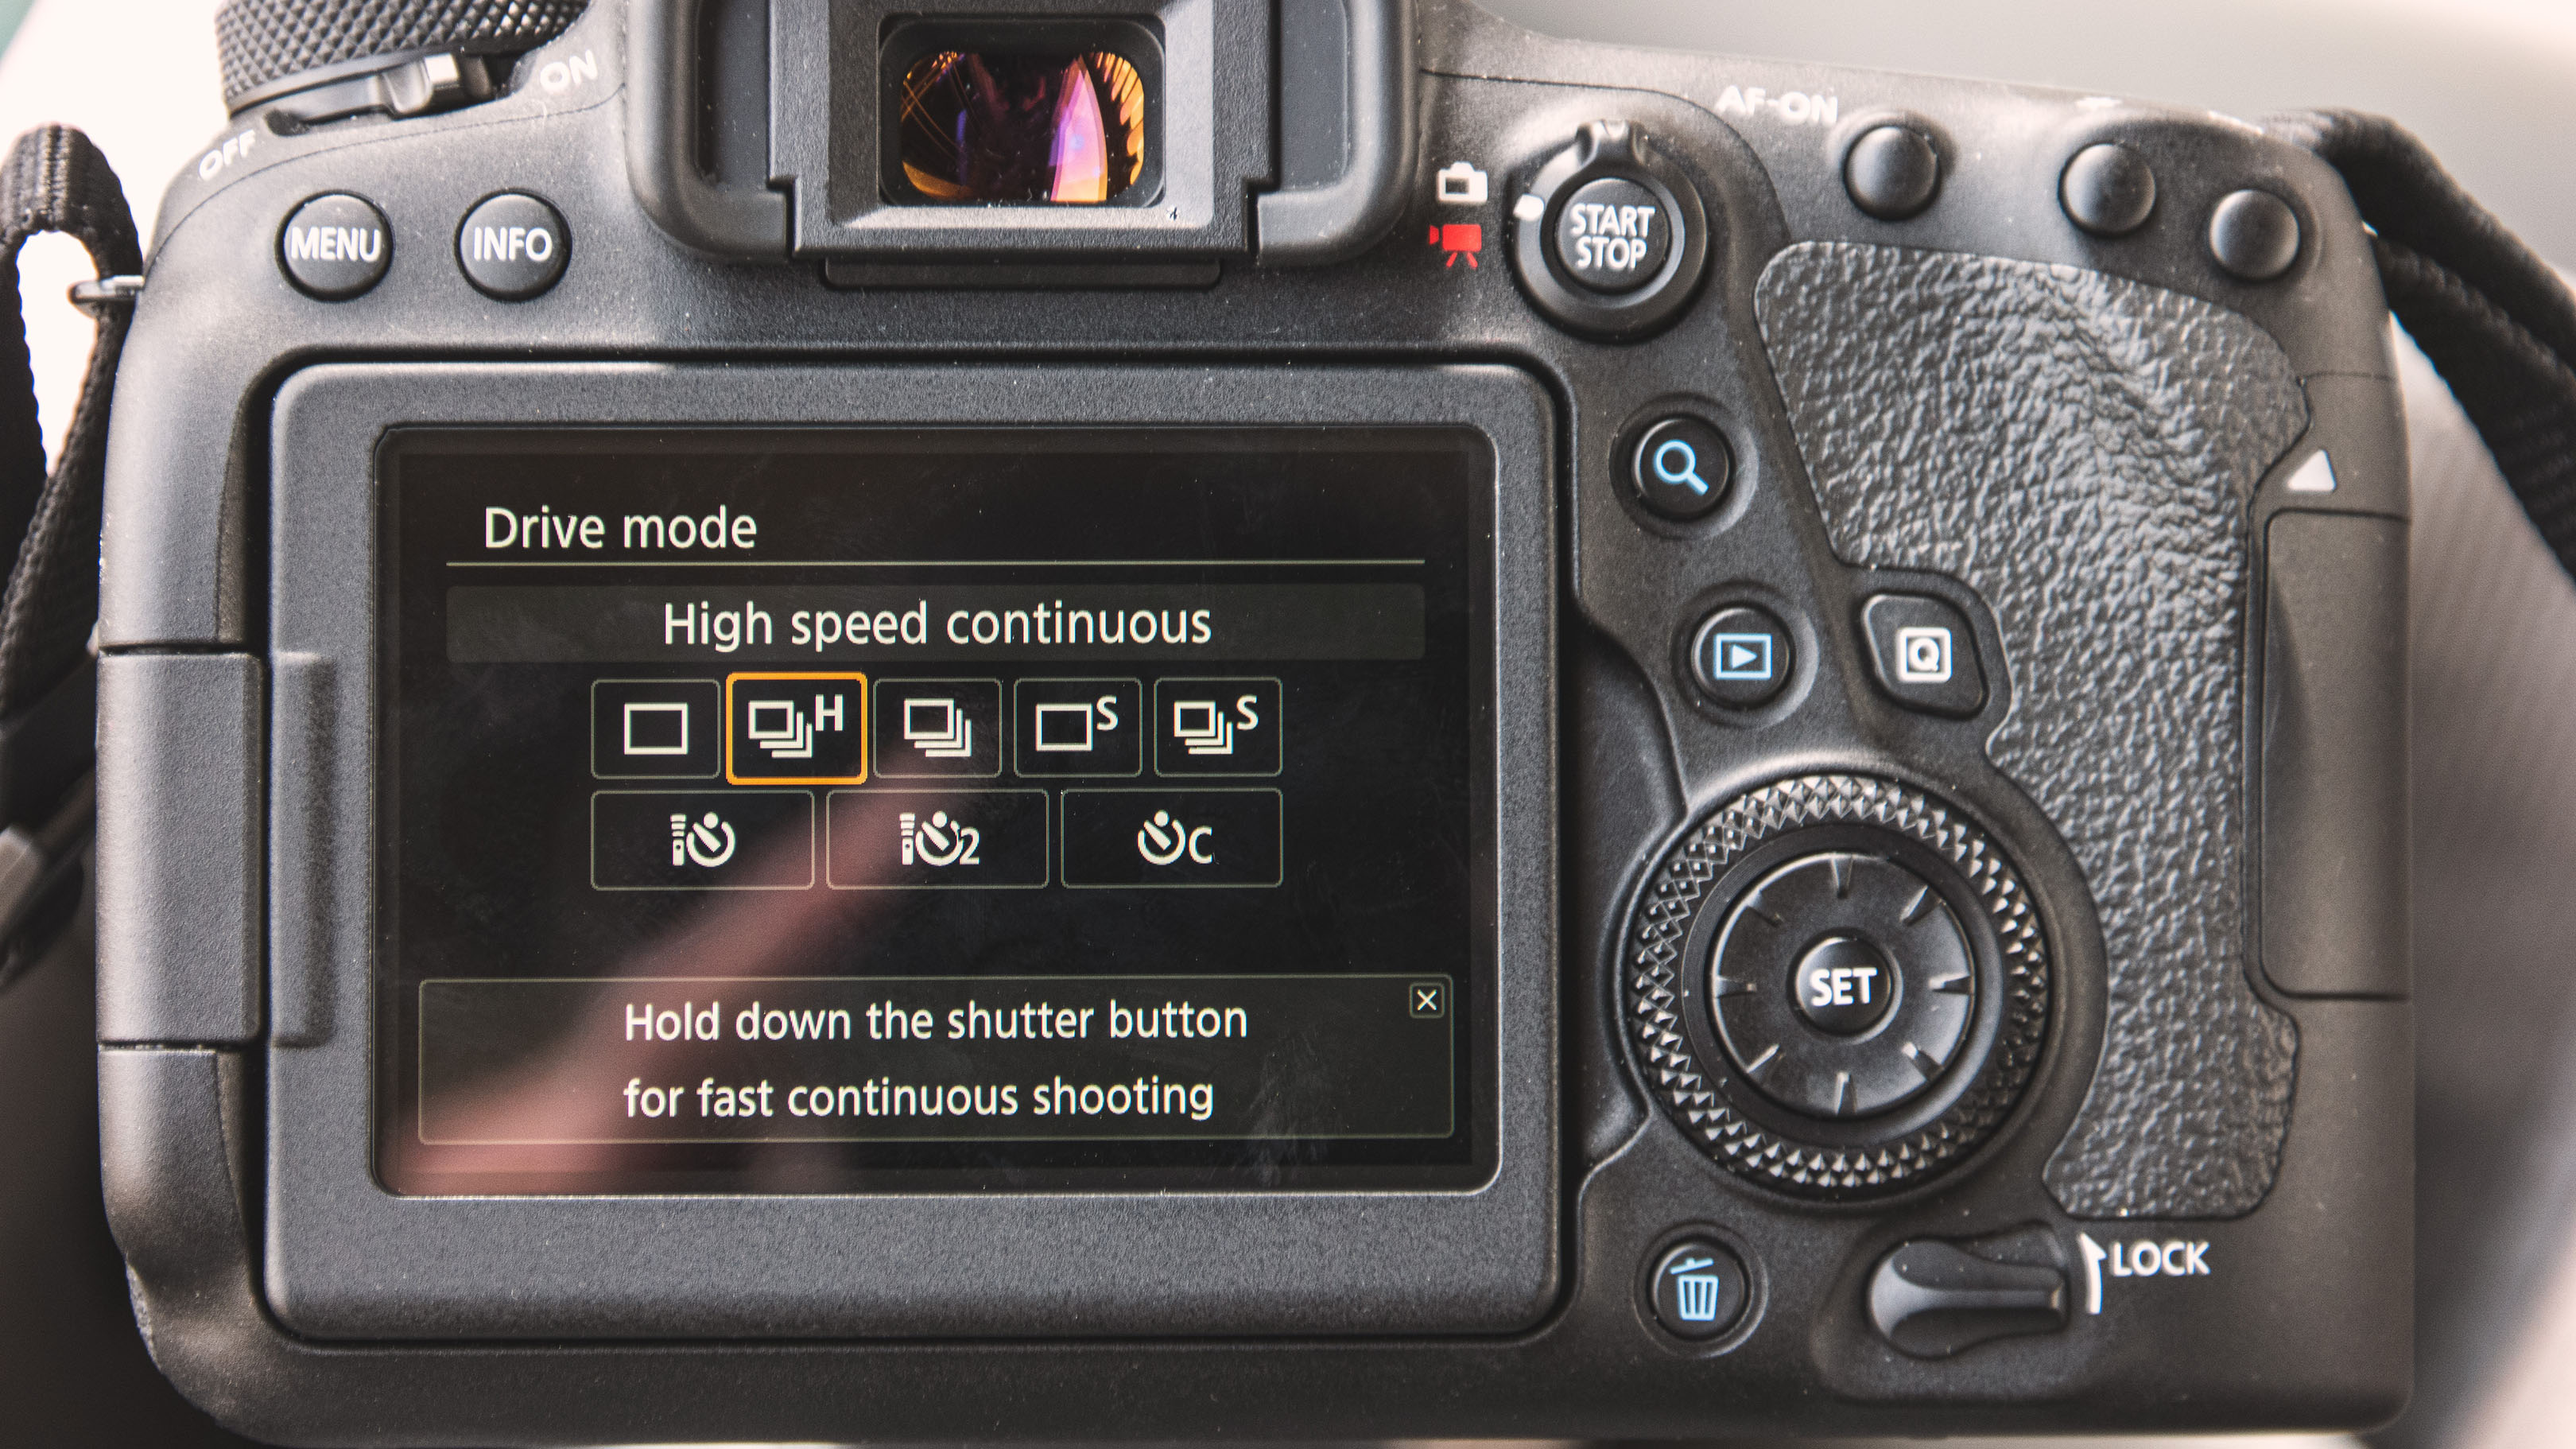
Shooting longer sequences of images increases your chances of capturing your subject(s) in the most interesting arrangements. Here burst shooting allowed for visually engaging character eye-lines to be captured.
Read more:
Best lenses for street photography
Best books on street photography
Street photography tips
Get the Digital Camera World Newsletter
The best camera deals, reviews, product advice, and unmissable photography news, direct to your inbox!
As the Editor for Digital Photographer magazine, Peter is a specialist in camera tutorials and creative projects to help you get the most out of your camera, lens, tripod, filters, gimbal, lighting and other imaging equipment.
After cutting his teeth working in retail for camera specialists like Jessops, he has spent 11 years as a photography journalist and freelance writer – and he is a Getty Images-registered photographer, to boot.
No matter what you want to shoot, Peter can help you sharpen your skills and elevate your ability, whether it’s taking portraits, capturing landscapes, shooting architecture, creating macro and still life, photographing action… he can help you learn and improve.
