Street photography: how to remove distracting elements with long exposures
Use simple photographic techniques to remove unwanted moving subjects from your images
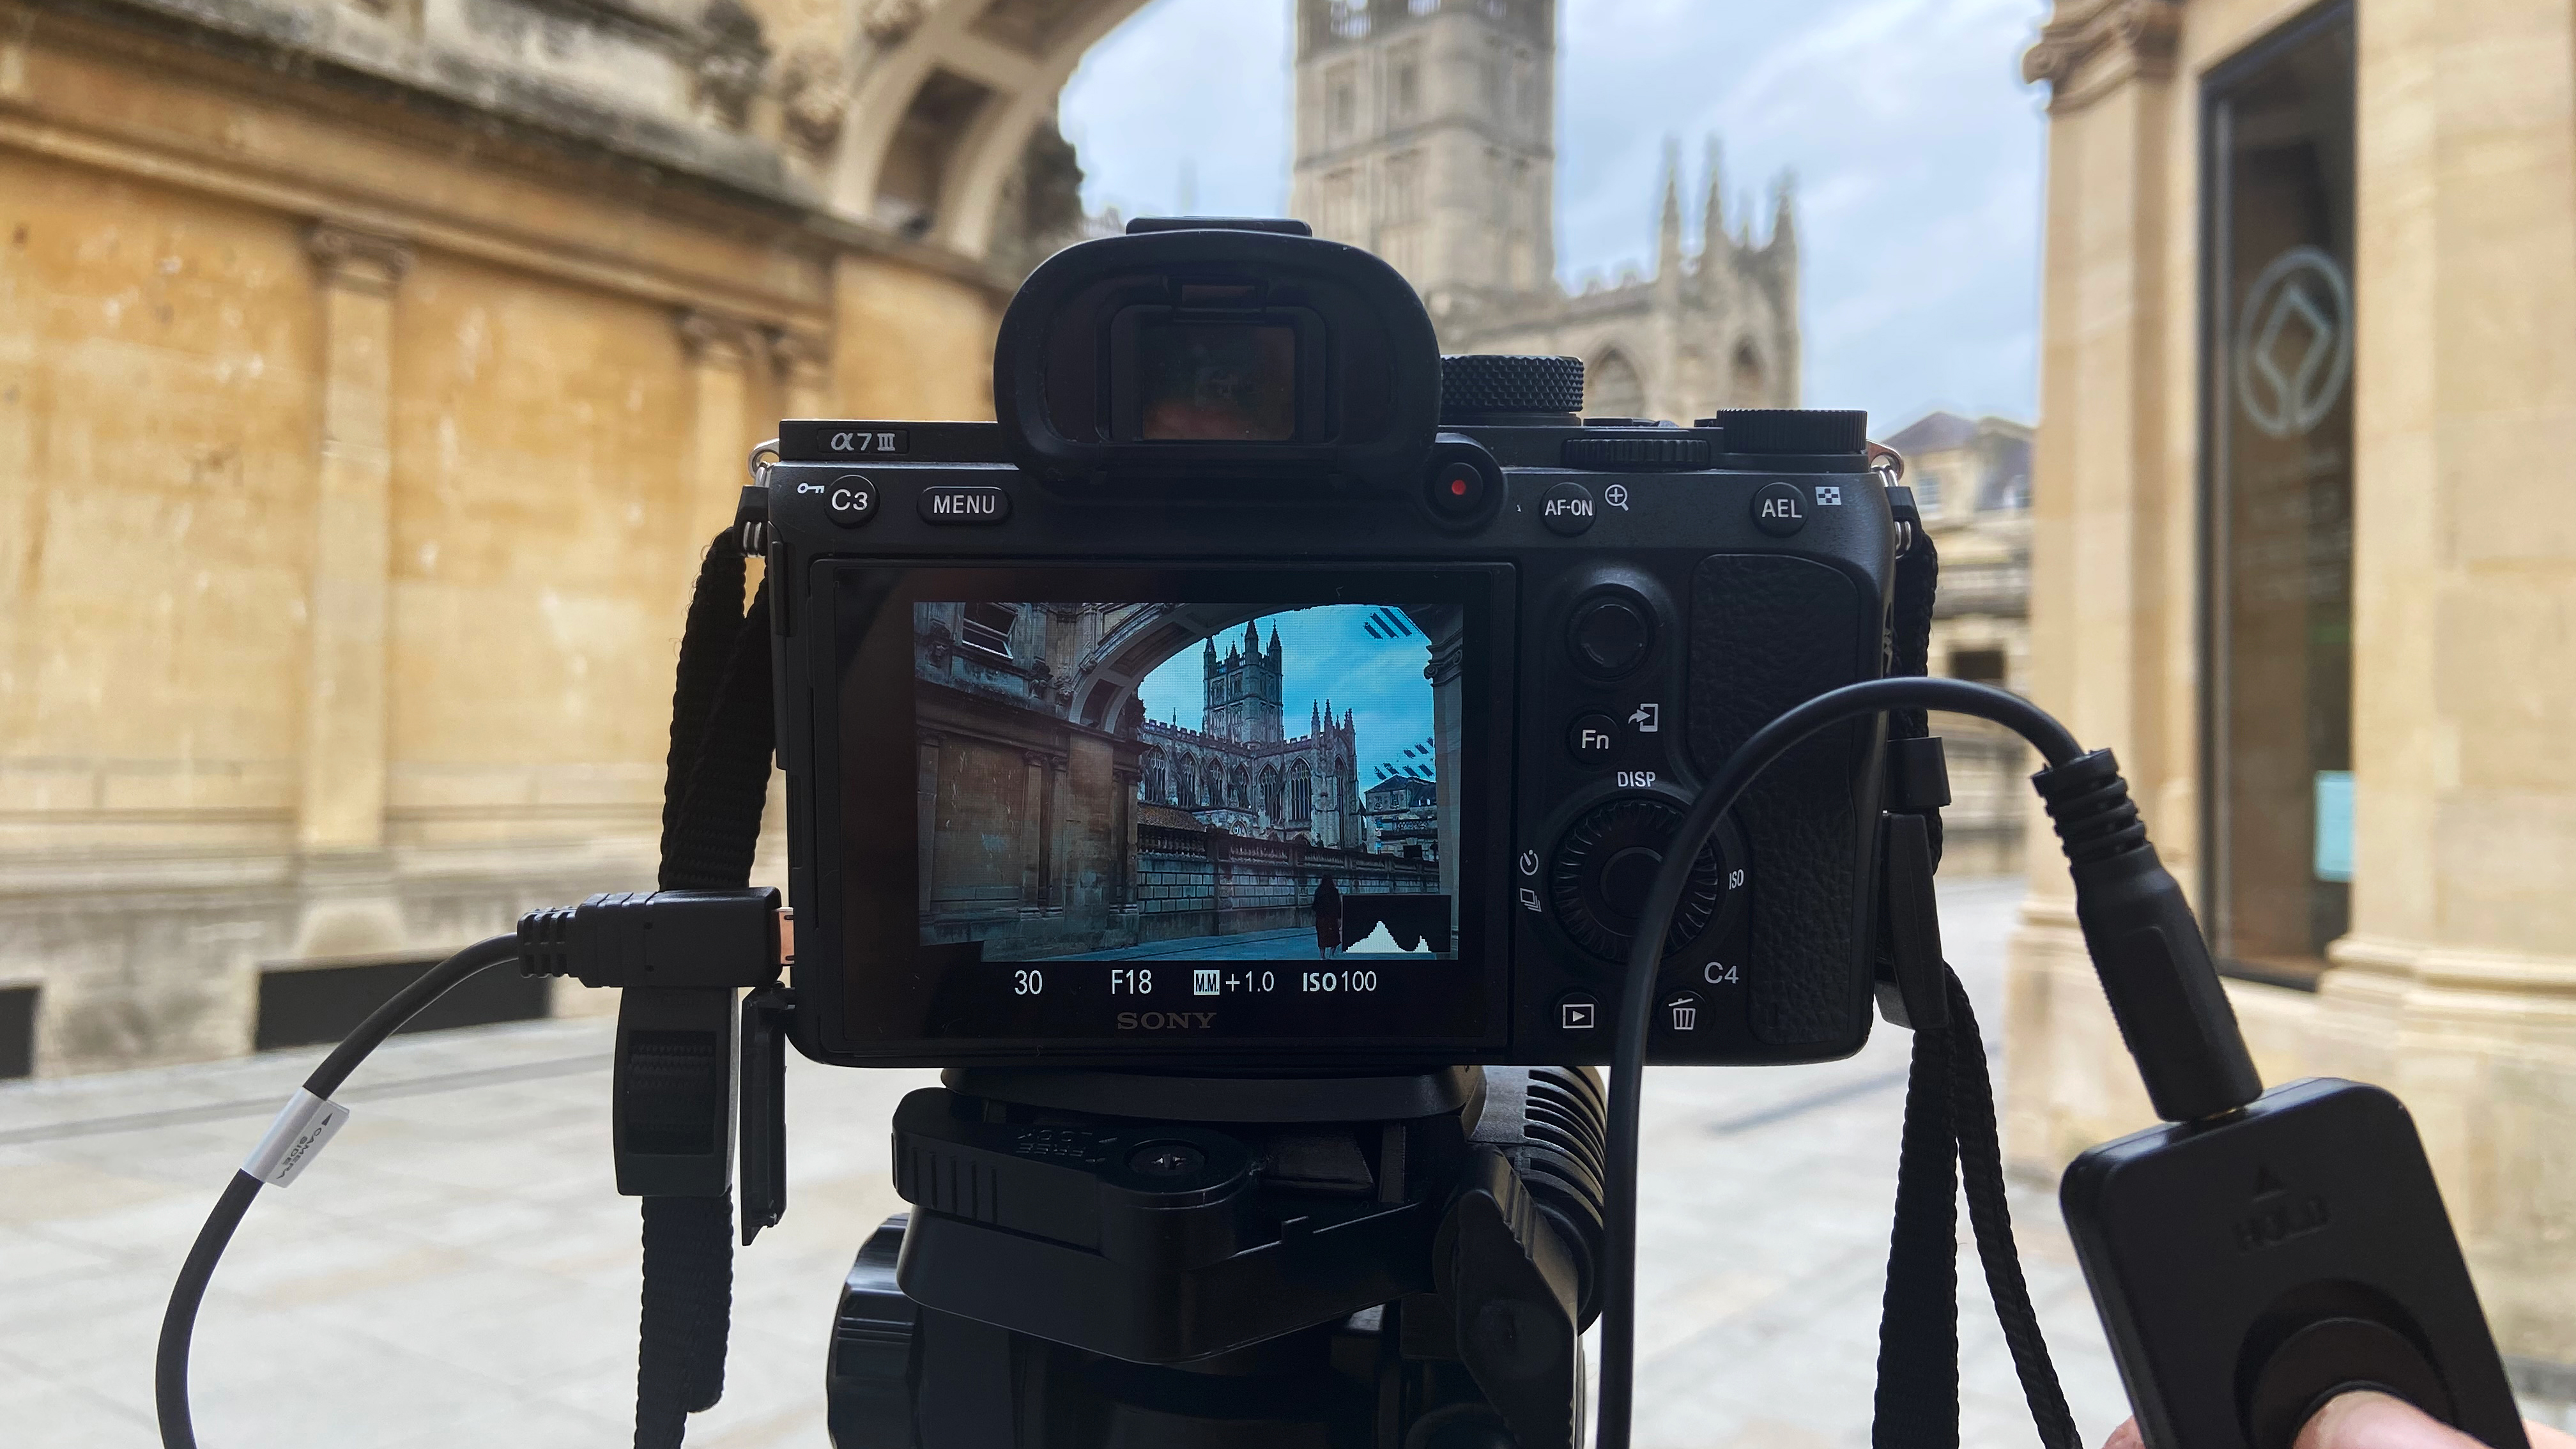
There are many elements you can control when taking photographs, including adjusting and optimizing the aperture, ISO and shutter speed. There are also plenty of factors you can't control, especially when shooting outdoors.
When you're shooting famous buildings or busy places, people, cars or even birds can become unwanted distractions, dominating the frame and drawing attention away from the architecture you are trying to focus upon.
• The best travel camera is ideal for shooting city scenes
To focus solely on your subject means you might either spend a long time waiting for the all-clear or lots of extra work using photo editing software, so what do you do when other elements in the frame make your photograph appear unbalanced?
Long exposure is a great approach for removing distracting subjects. Long exposure is one method that has been used in countless genres of photography as a creative tool – this is often how city lights or nature images are artfully staged.
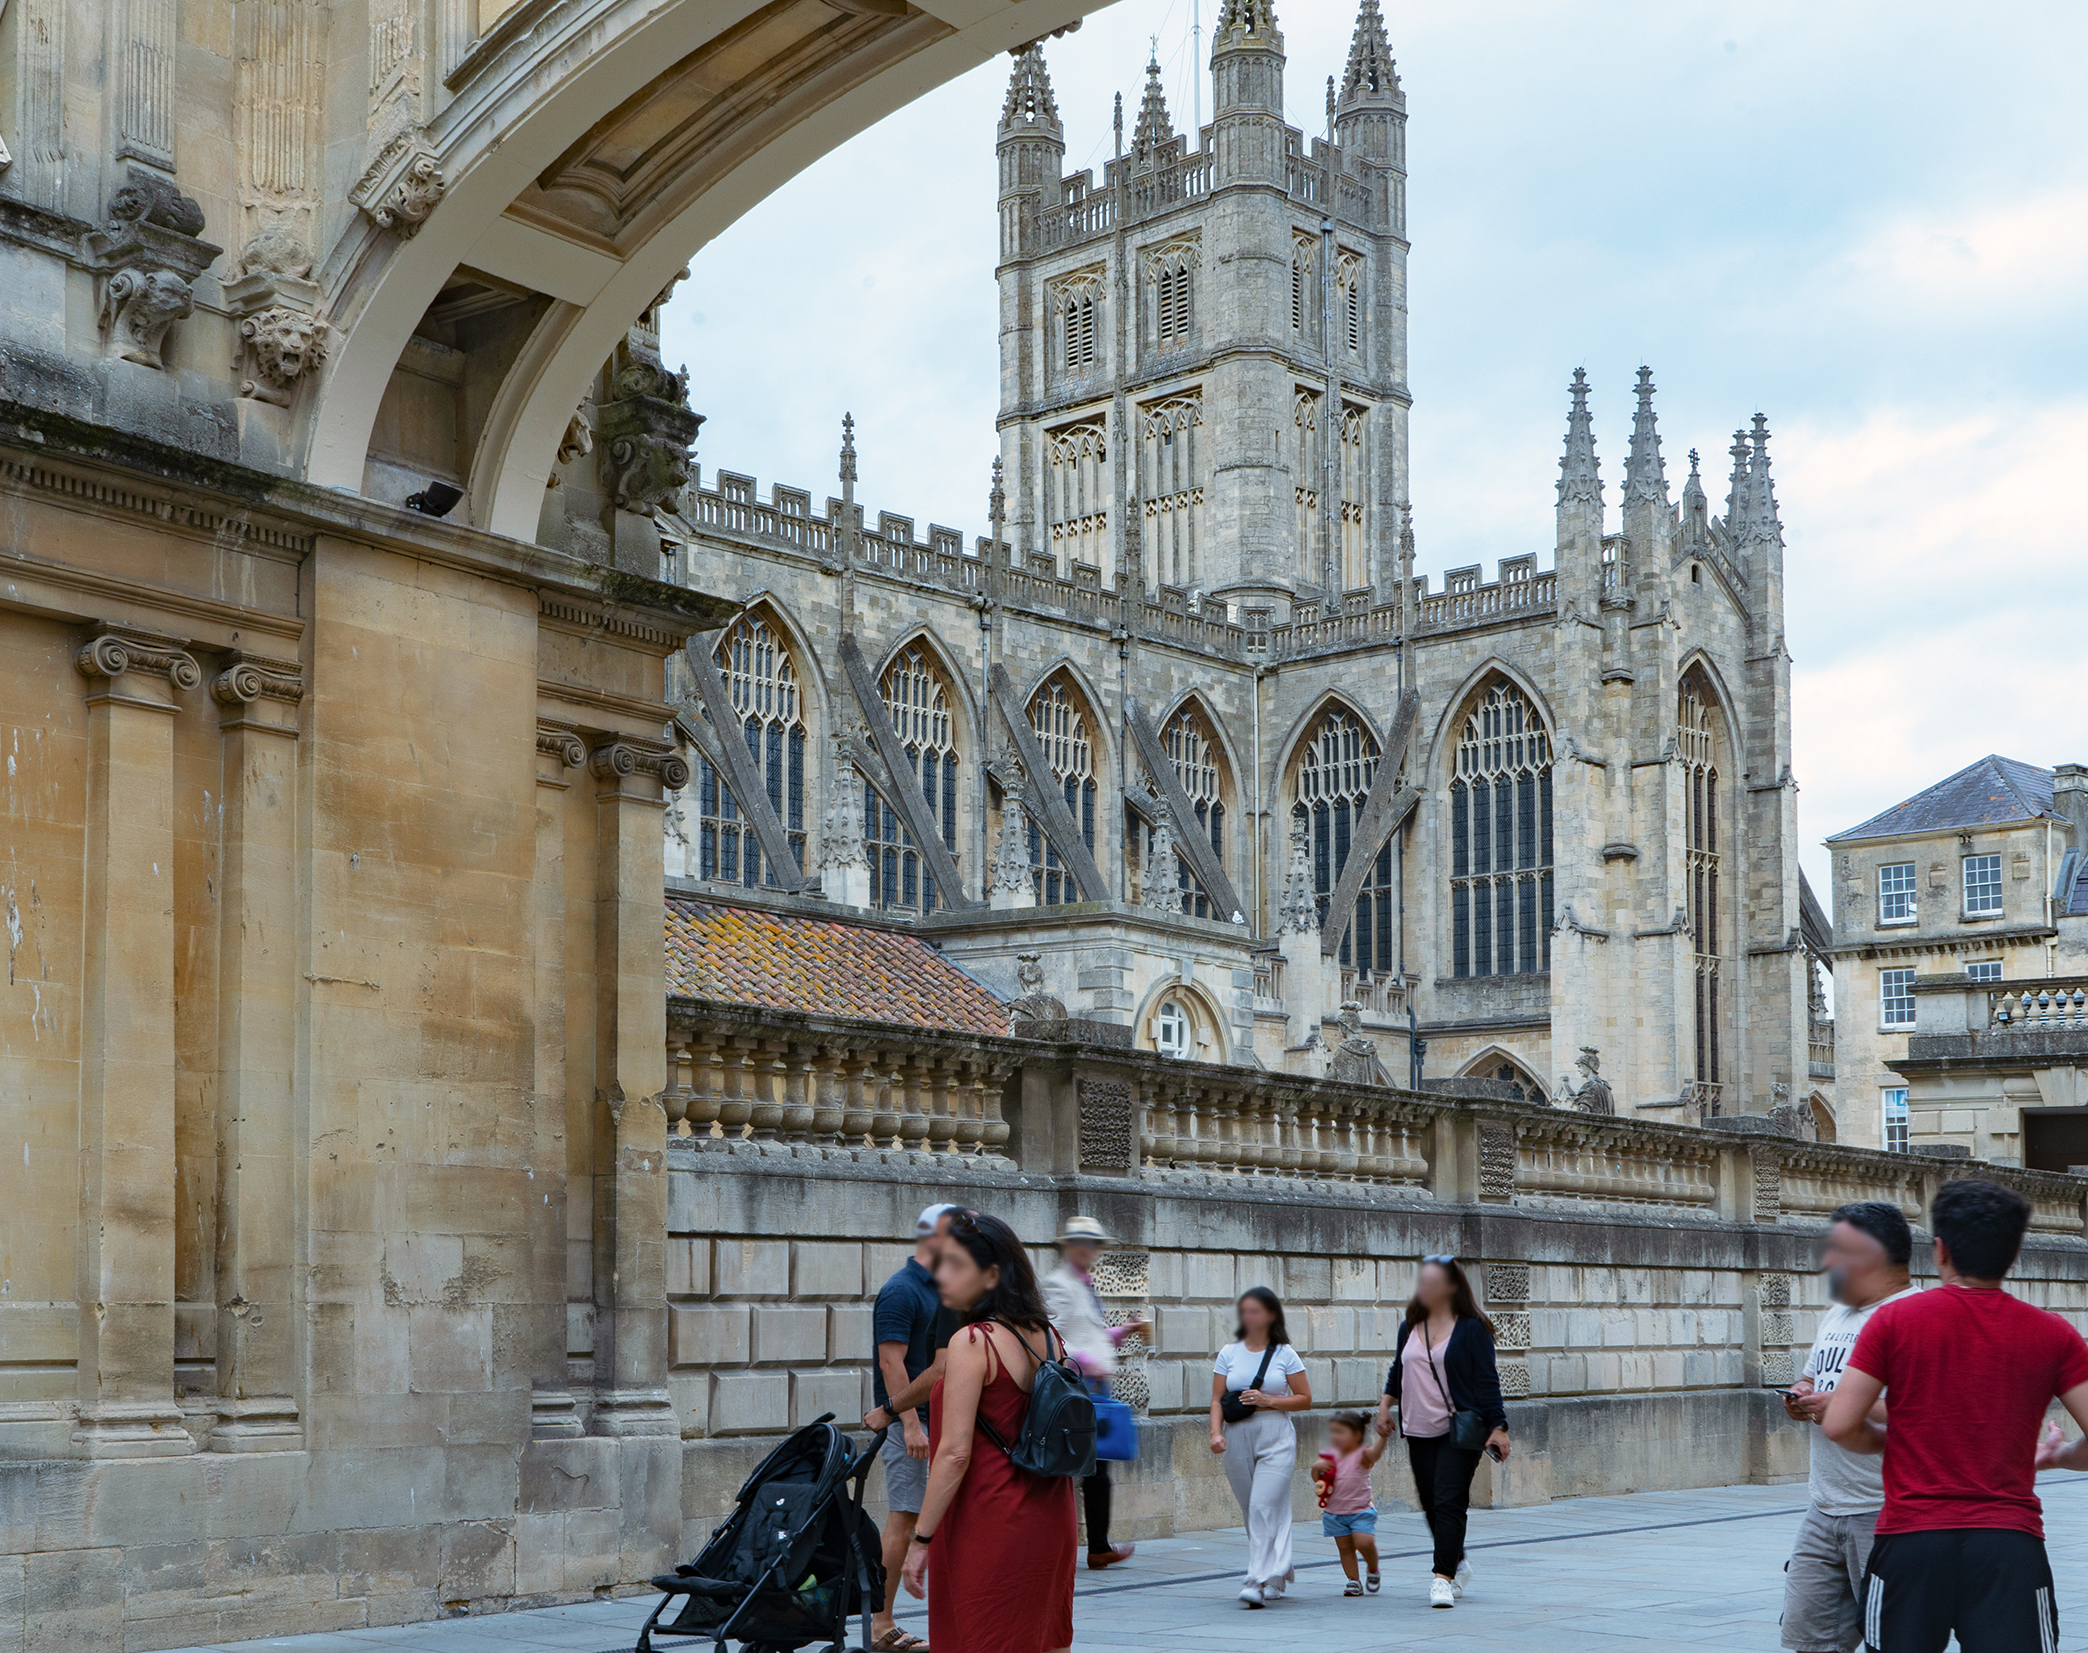
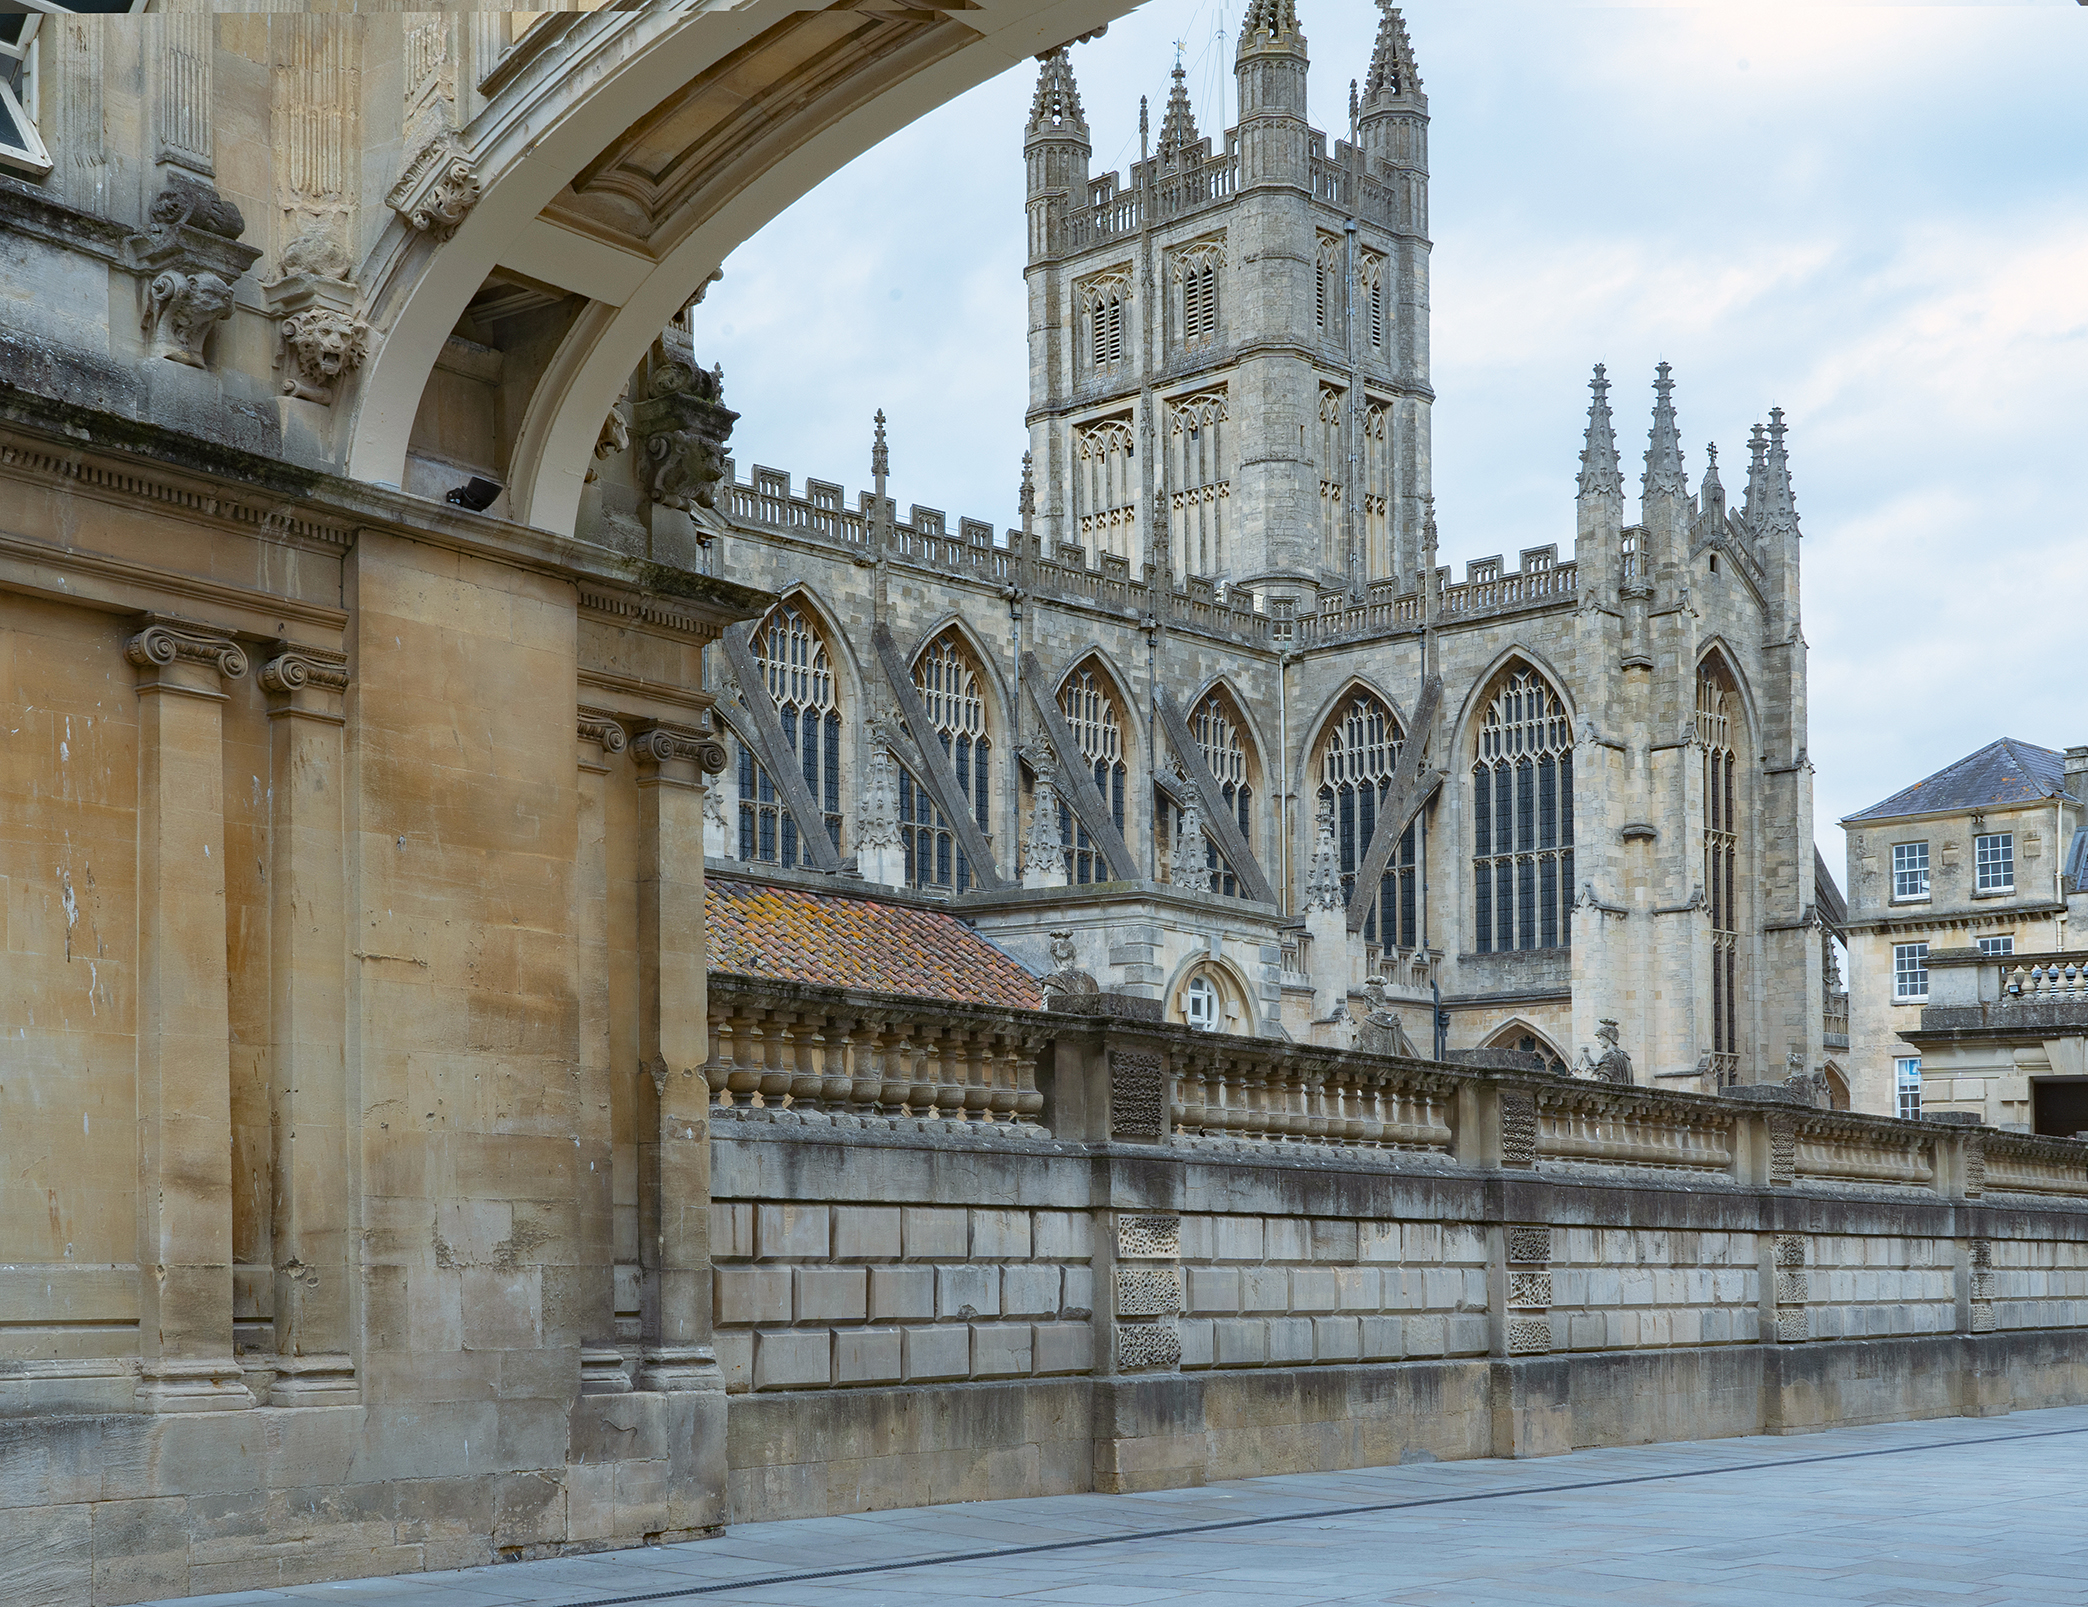
In this case, the intention is not to present basic picture elements in a specific aesthetic way or to change them creatively but to eliminate these distractions. The goal is to create a balanced photograph without crowds so that the focus is on the main elements. You can use ND filters for long exposure photography during the day, which is what we're going to look at in more detail here.
Before & after
Shooting steps
1. Get the right equipment
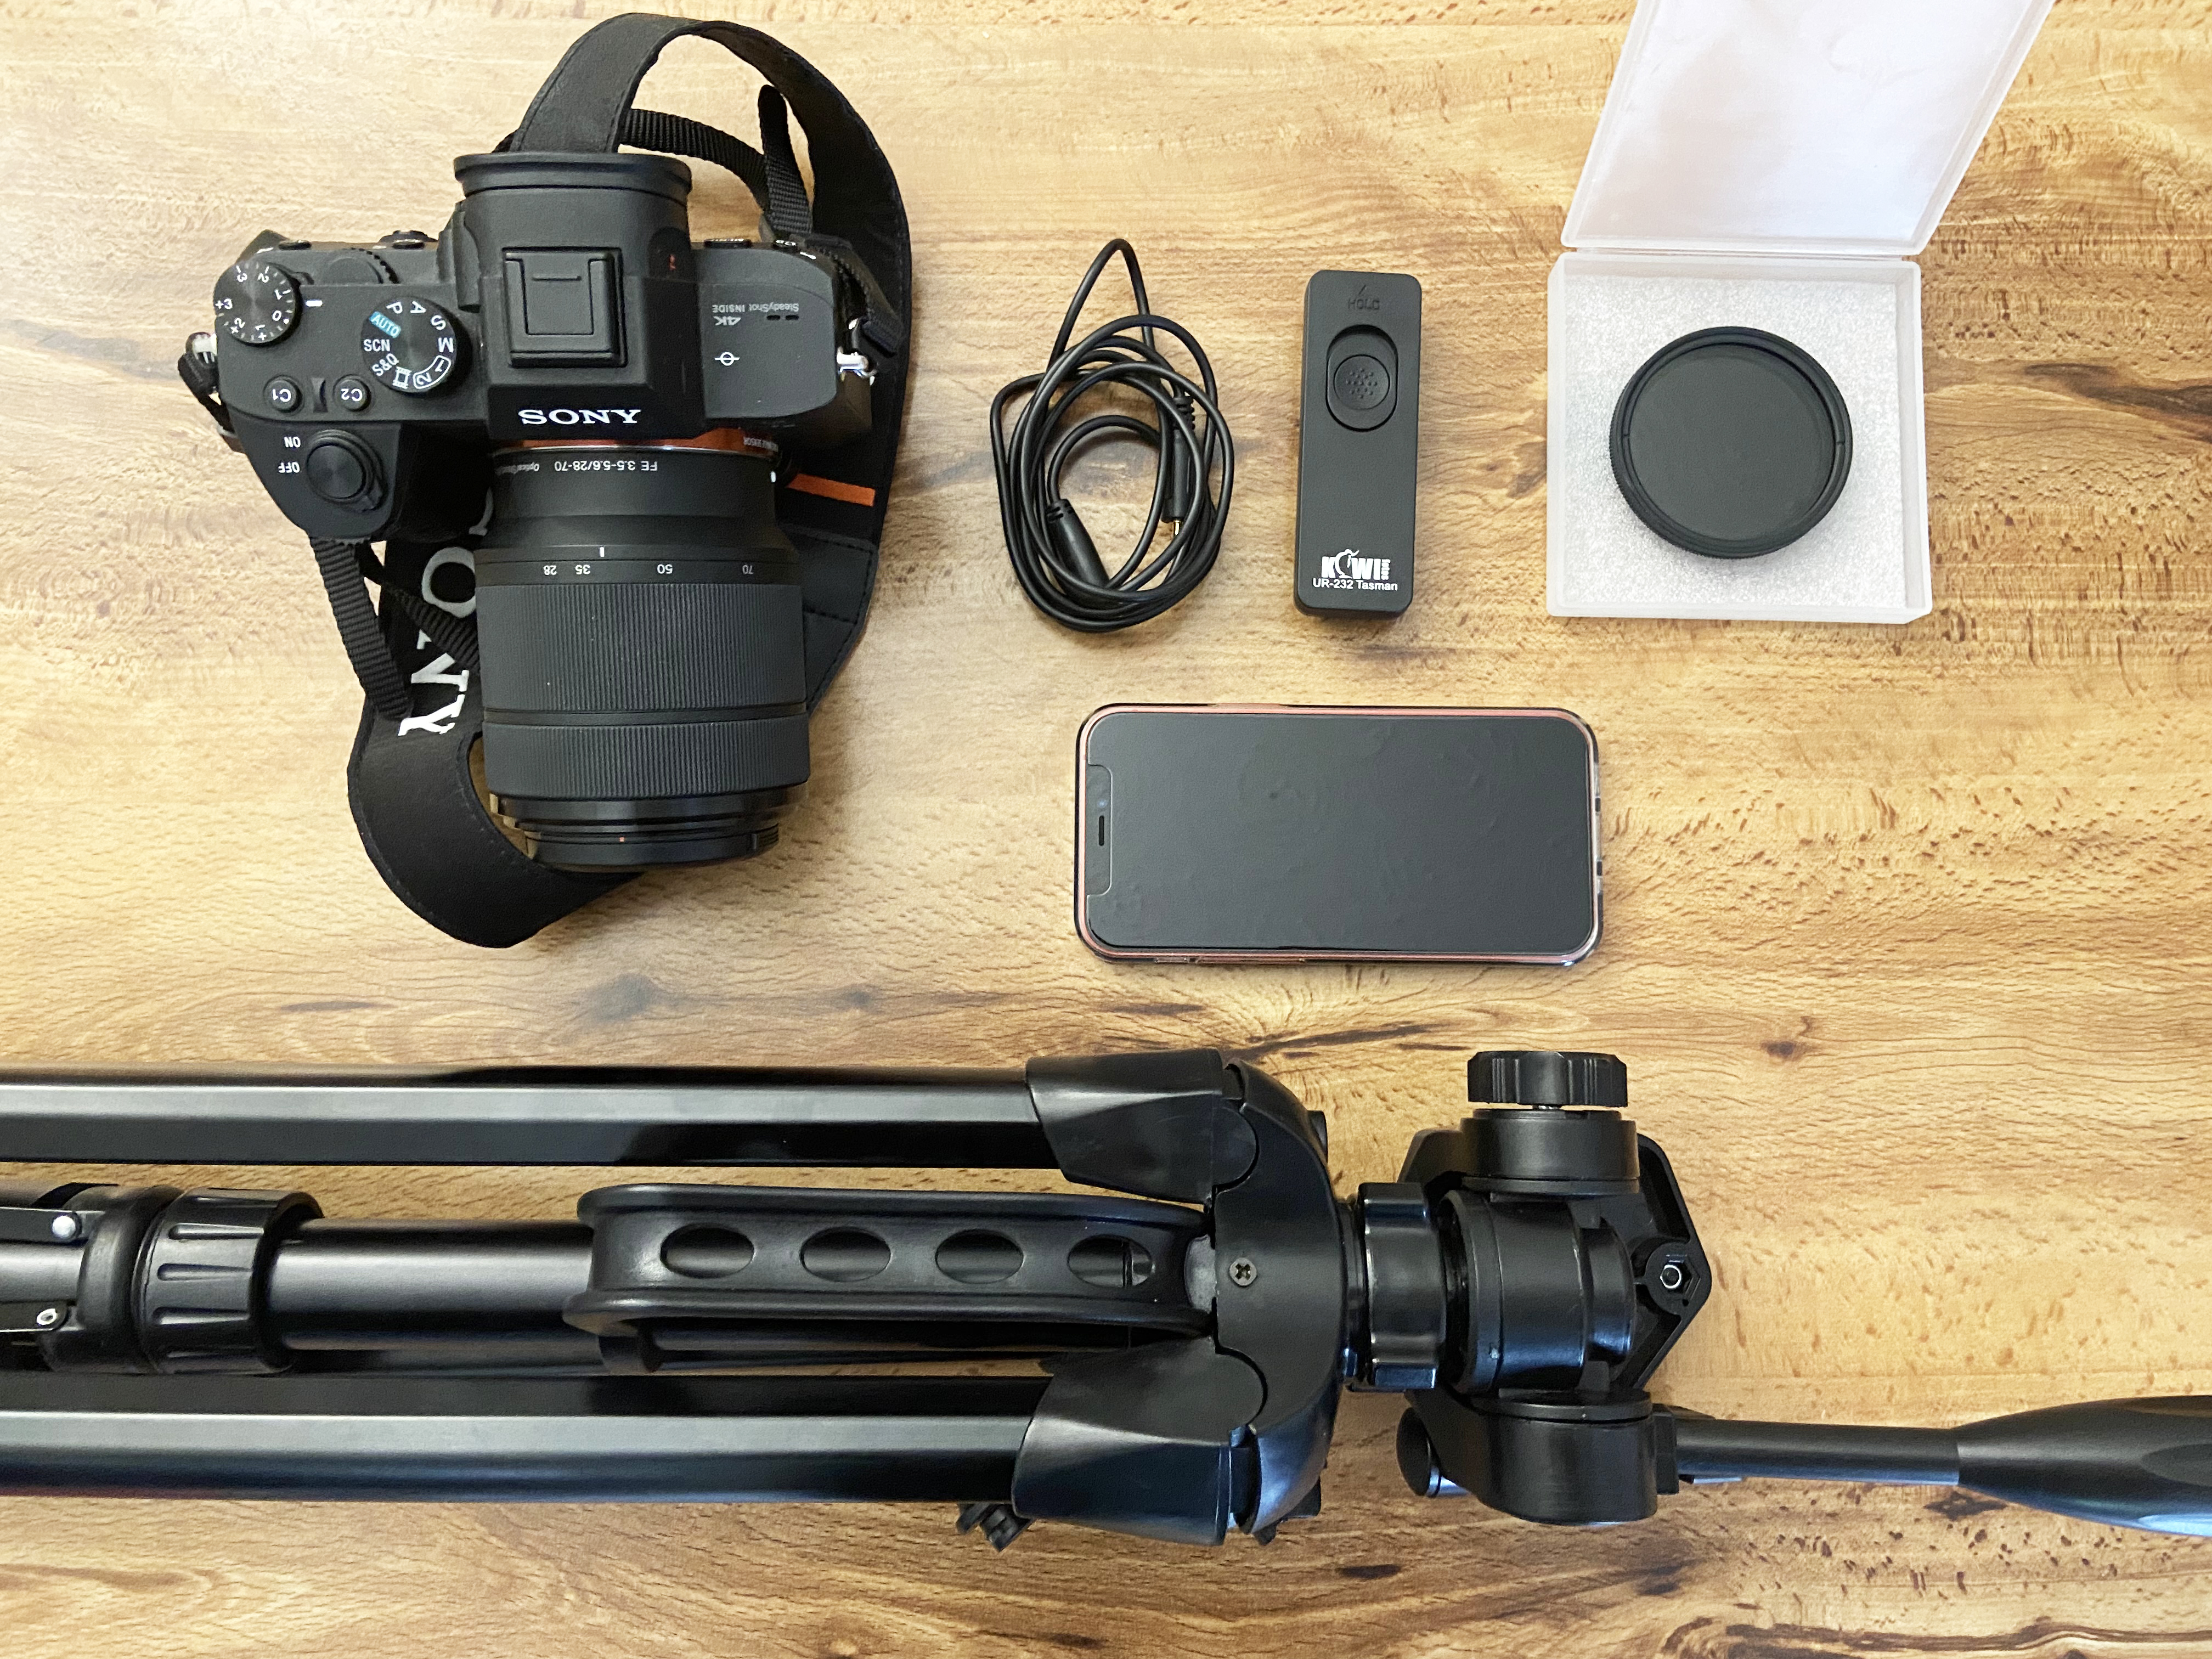
A tripod and camera remote minimizes the risk of blurry images. Do not forget to pack your neutral density filters and use a camera phone as a timer. Make sure your camera batteries are charged as long exposure times require a lot of energy.
2. Compose your shot
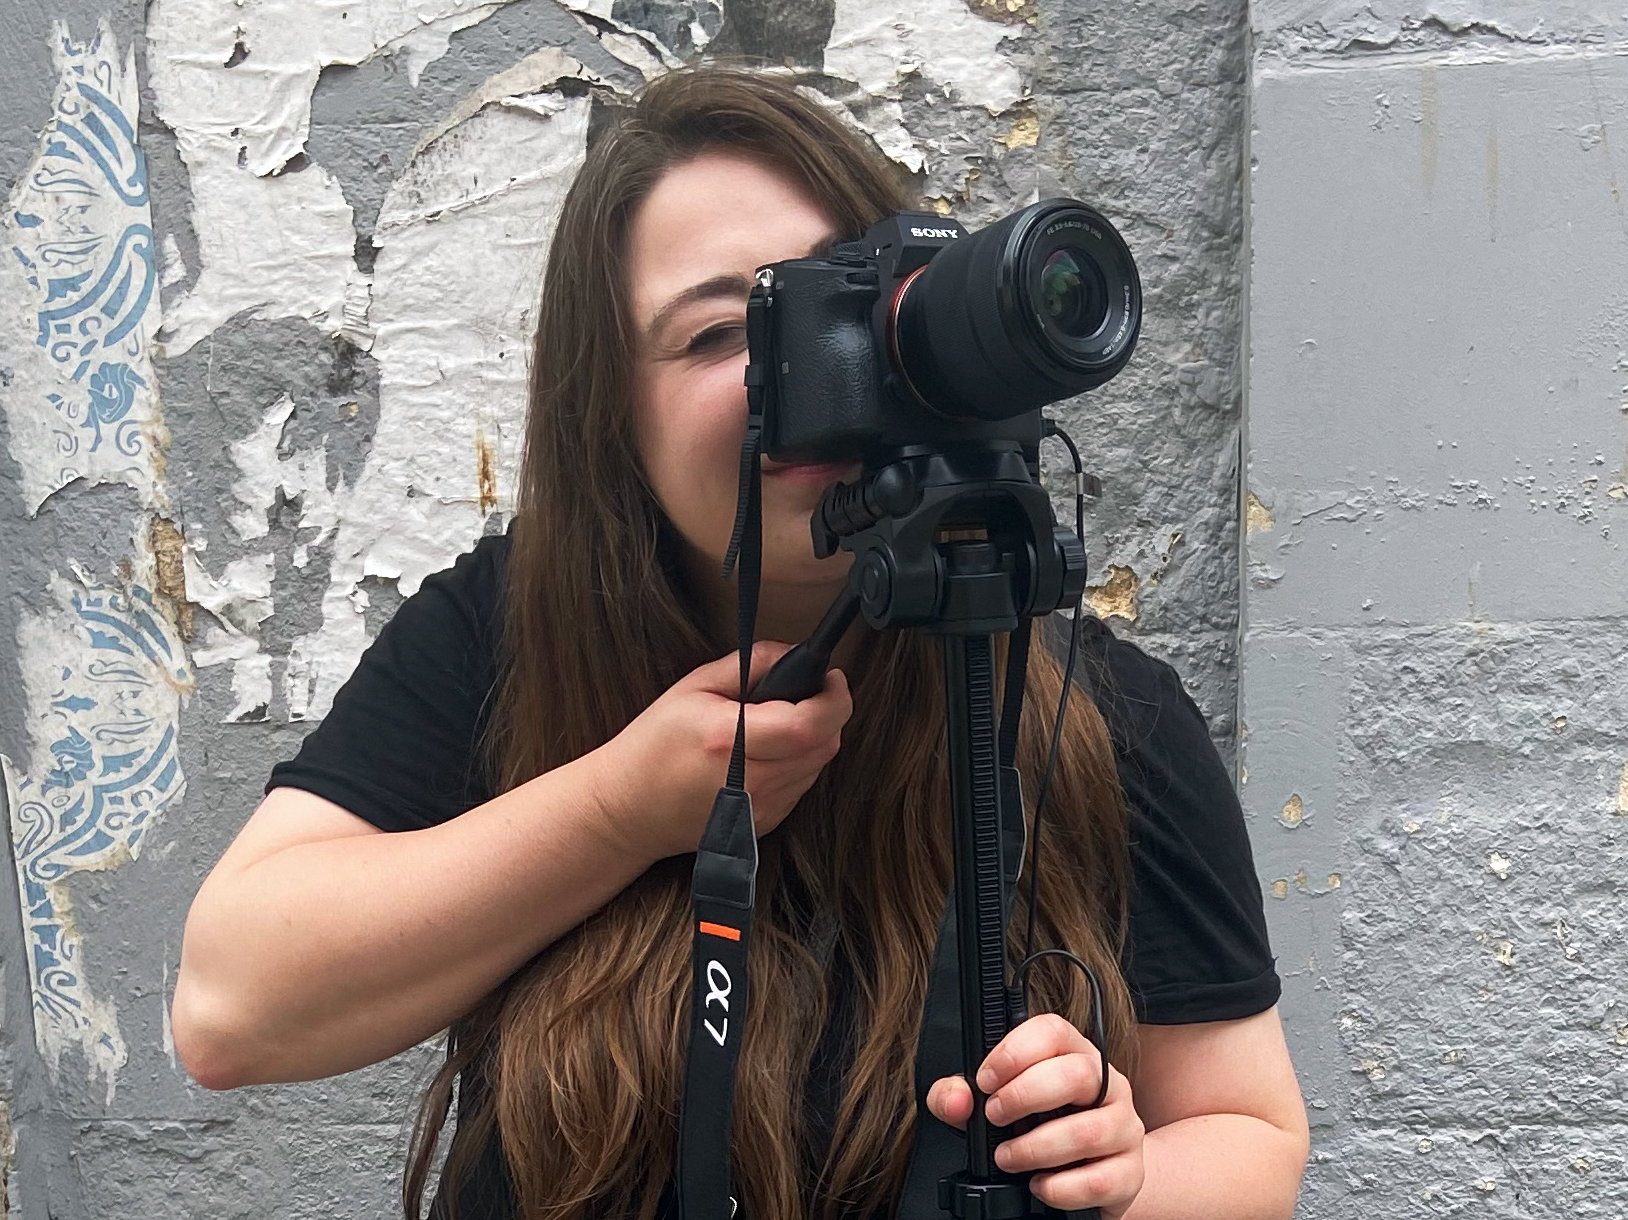
Walk around the subject to find a suitable angle of view. Avoid using sections where distracting elements such as parked cars may be placed as this method isn’t effective at removing subjects permanently within the scene.
3. Switch to manual
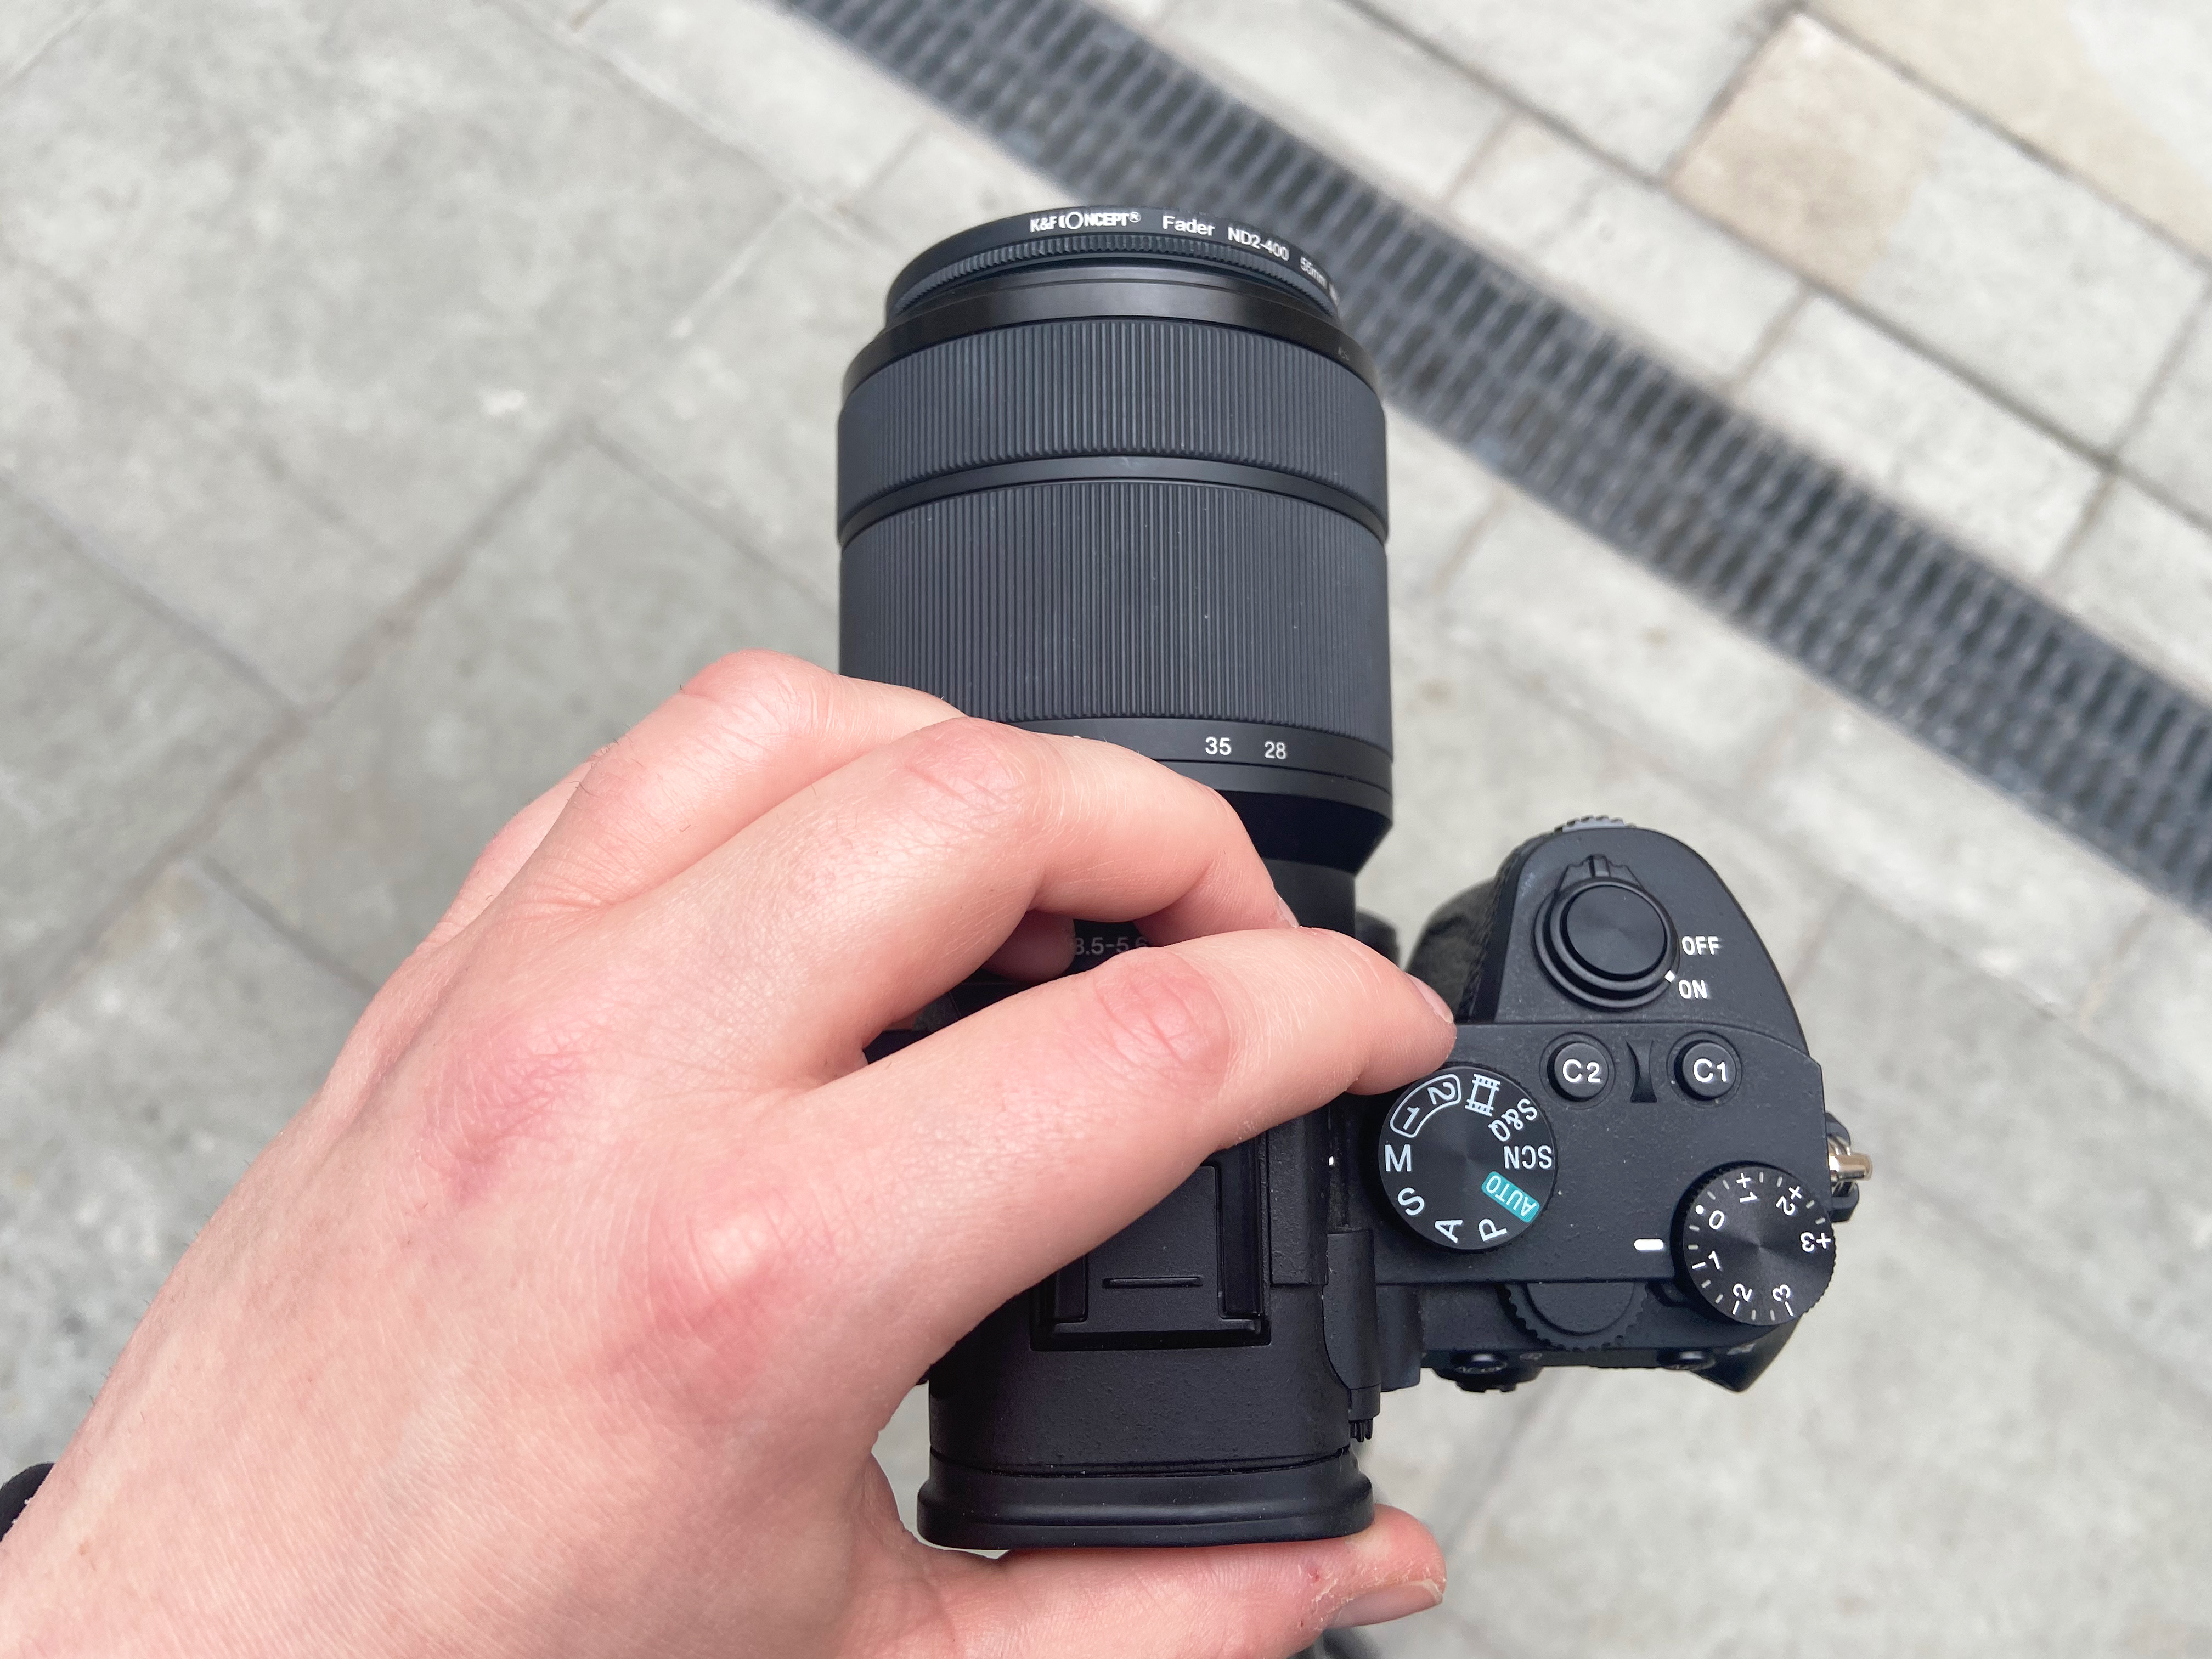
Set your camera to manual exposure mode. It is also advisable to deactivate the image stabilization function, as the system tries to compensate for shake that does not exist. If you keep it active, it may result in unwanted blur in your photograph.
4. Focus point
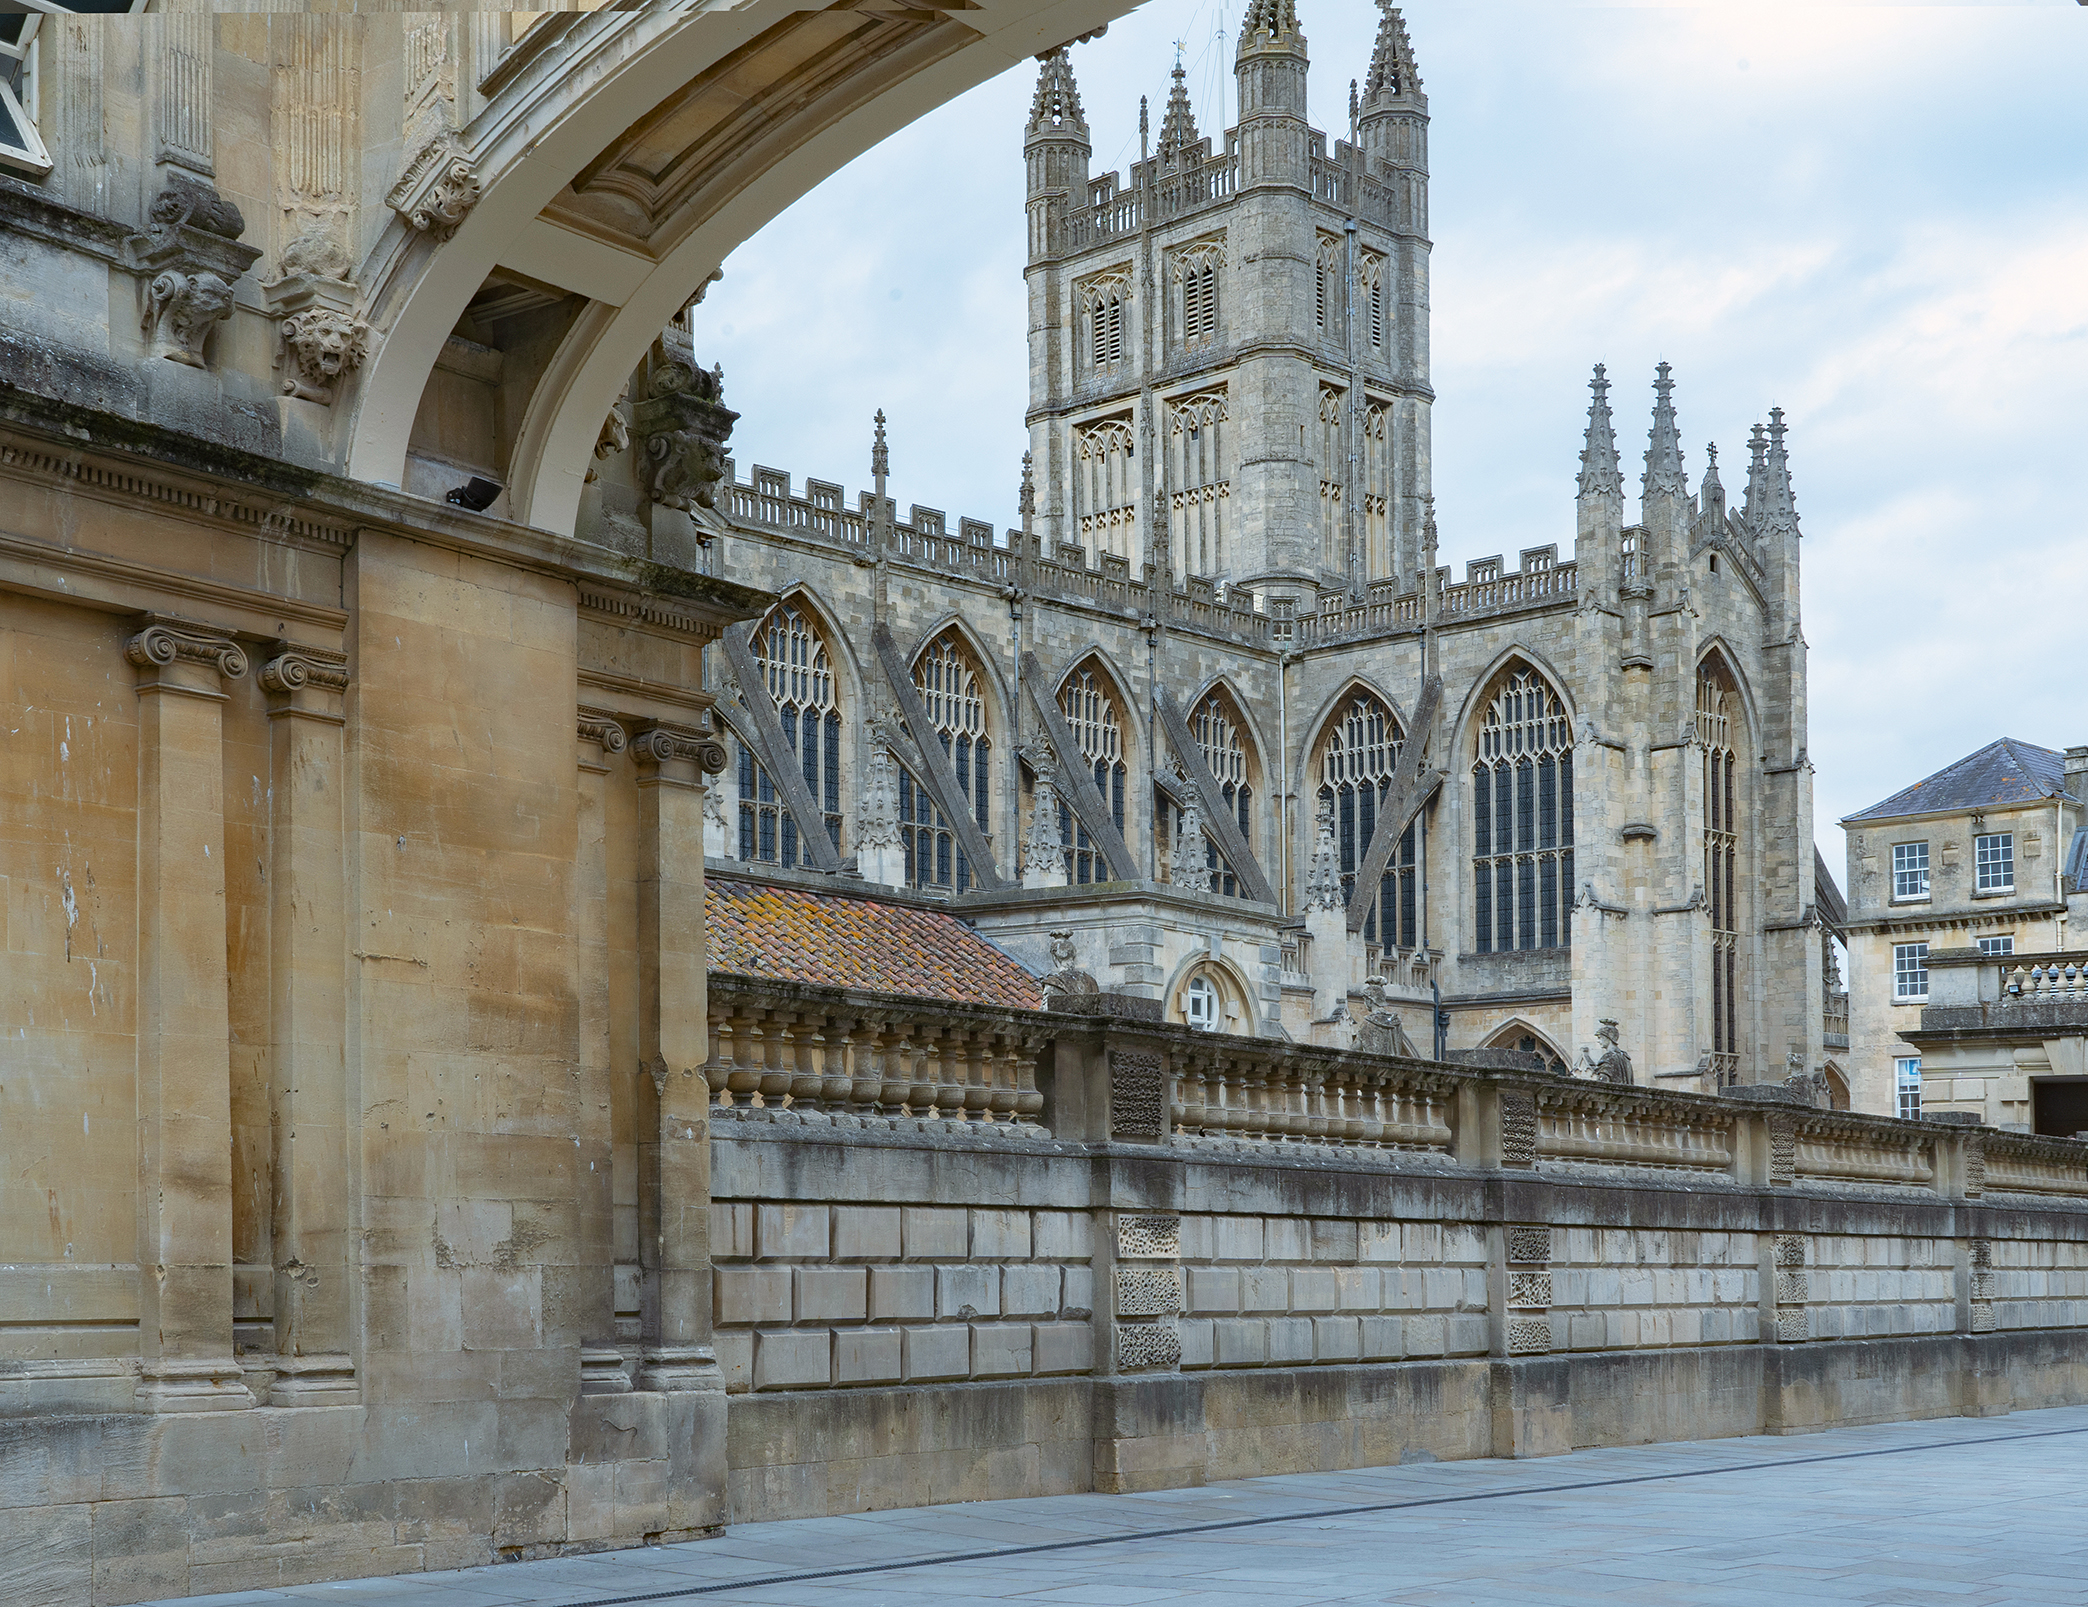
Set the focus manually on the subject and remember to check that you have deactivated the automatic focus. Find a focus point within your scene that is clearly visible and cannot be obscured or blocked by moving subjects.
5. Attach ND filter
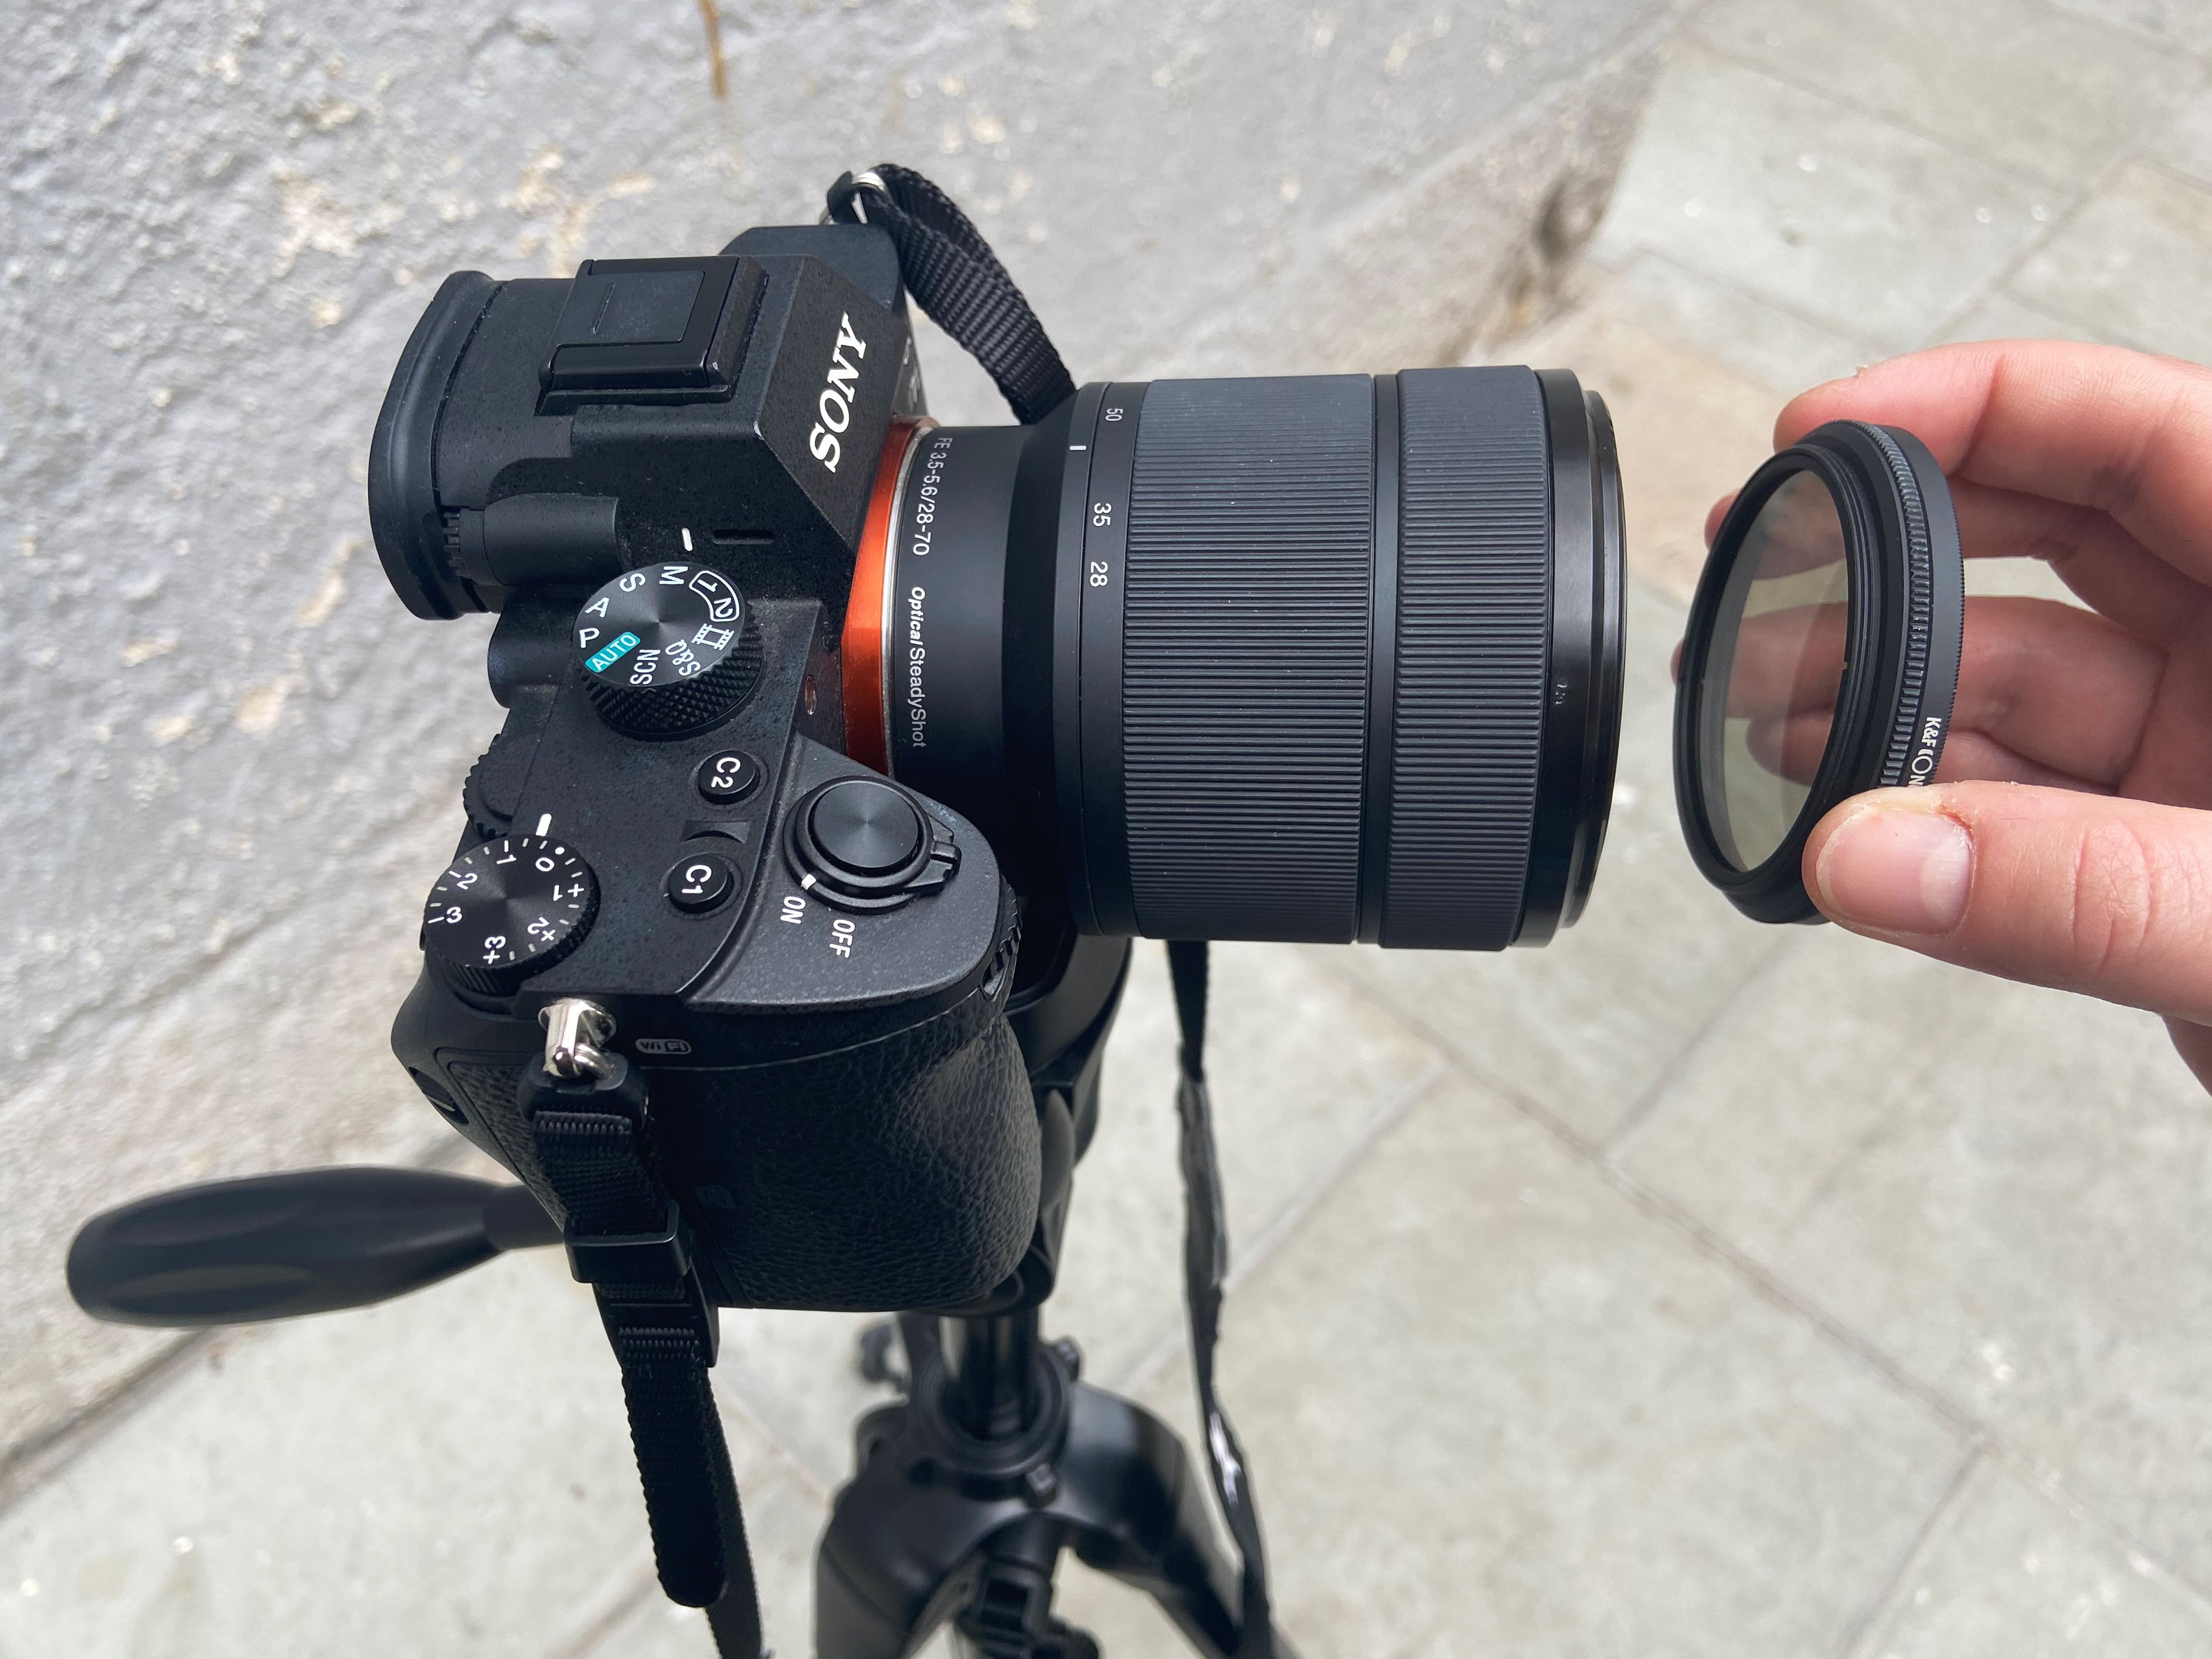
Mount the neutral density filter but take care not to accidentally adjust the focus point as you do so. Here, ND slide-in filters are easier to handle than circular filters, as they are attached in advance using a holder in front of the lens.
6. Calculate exposure time
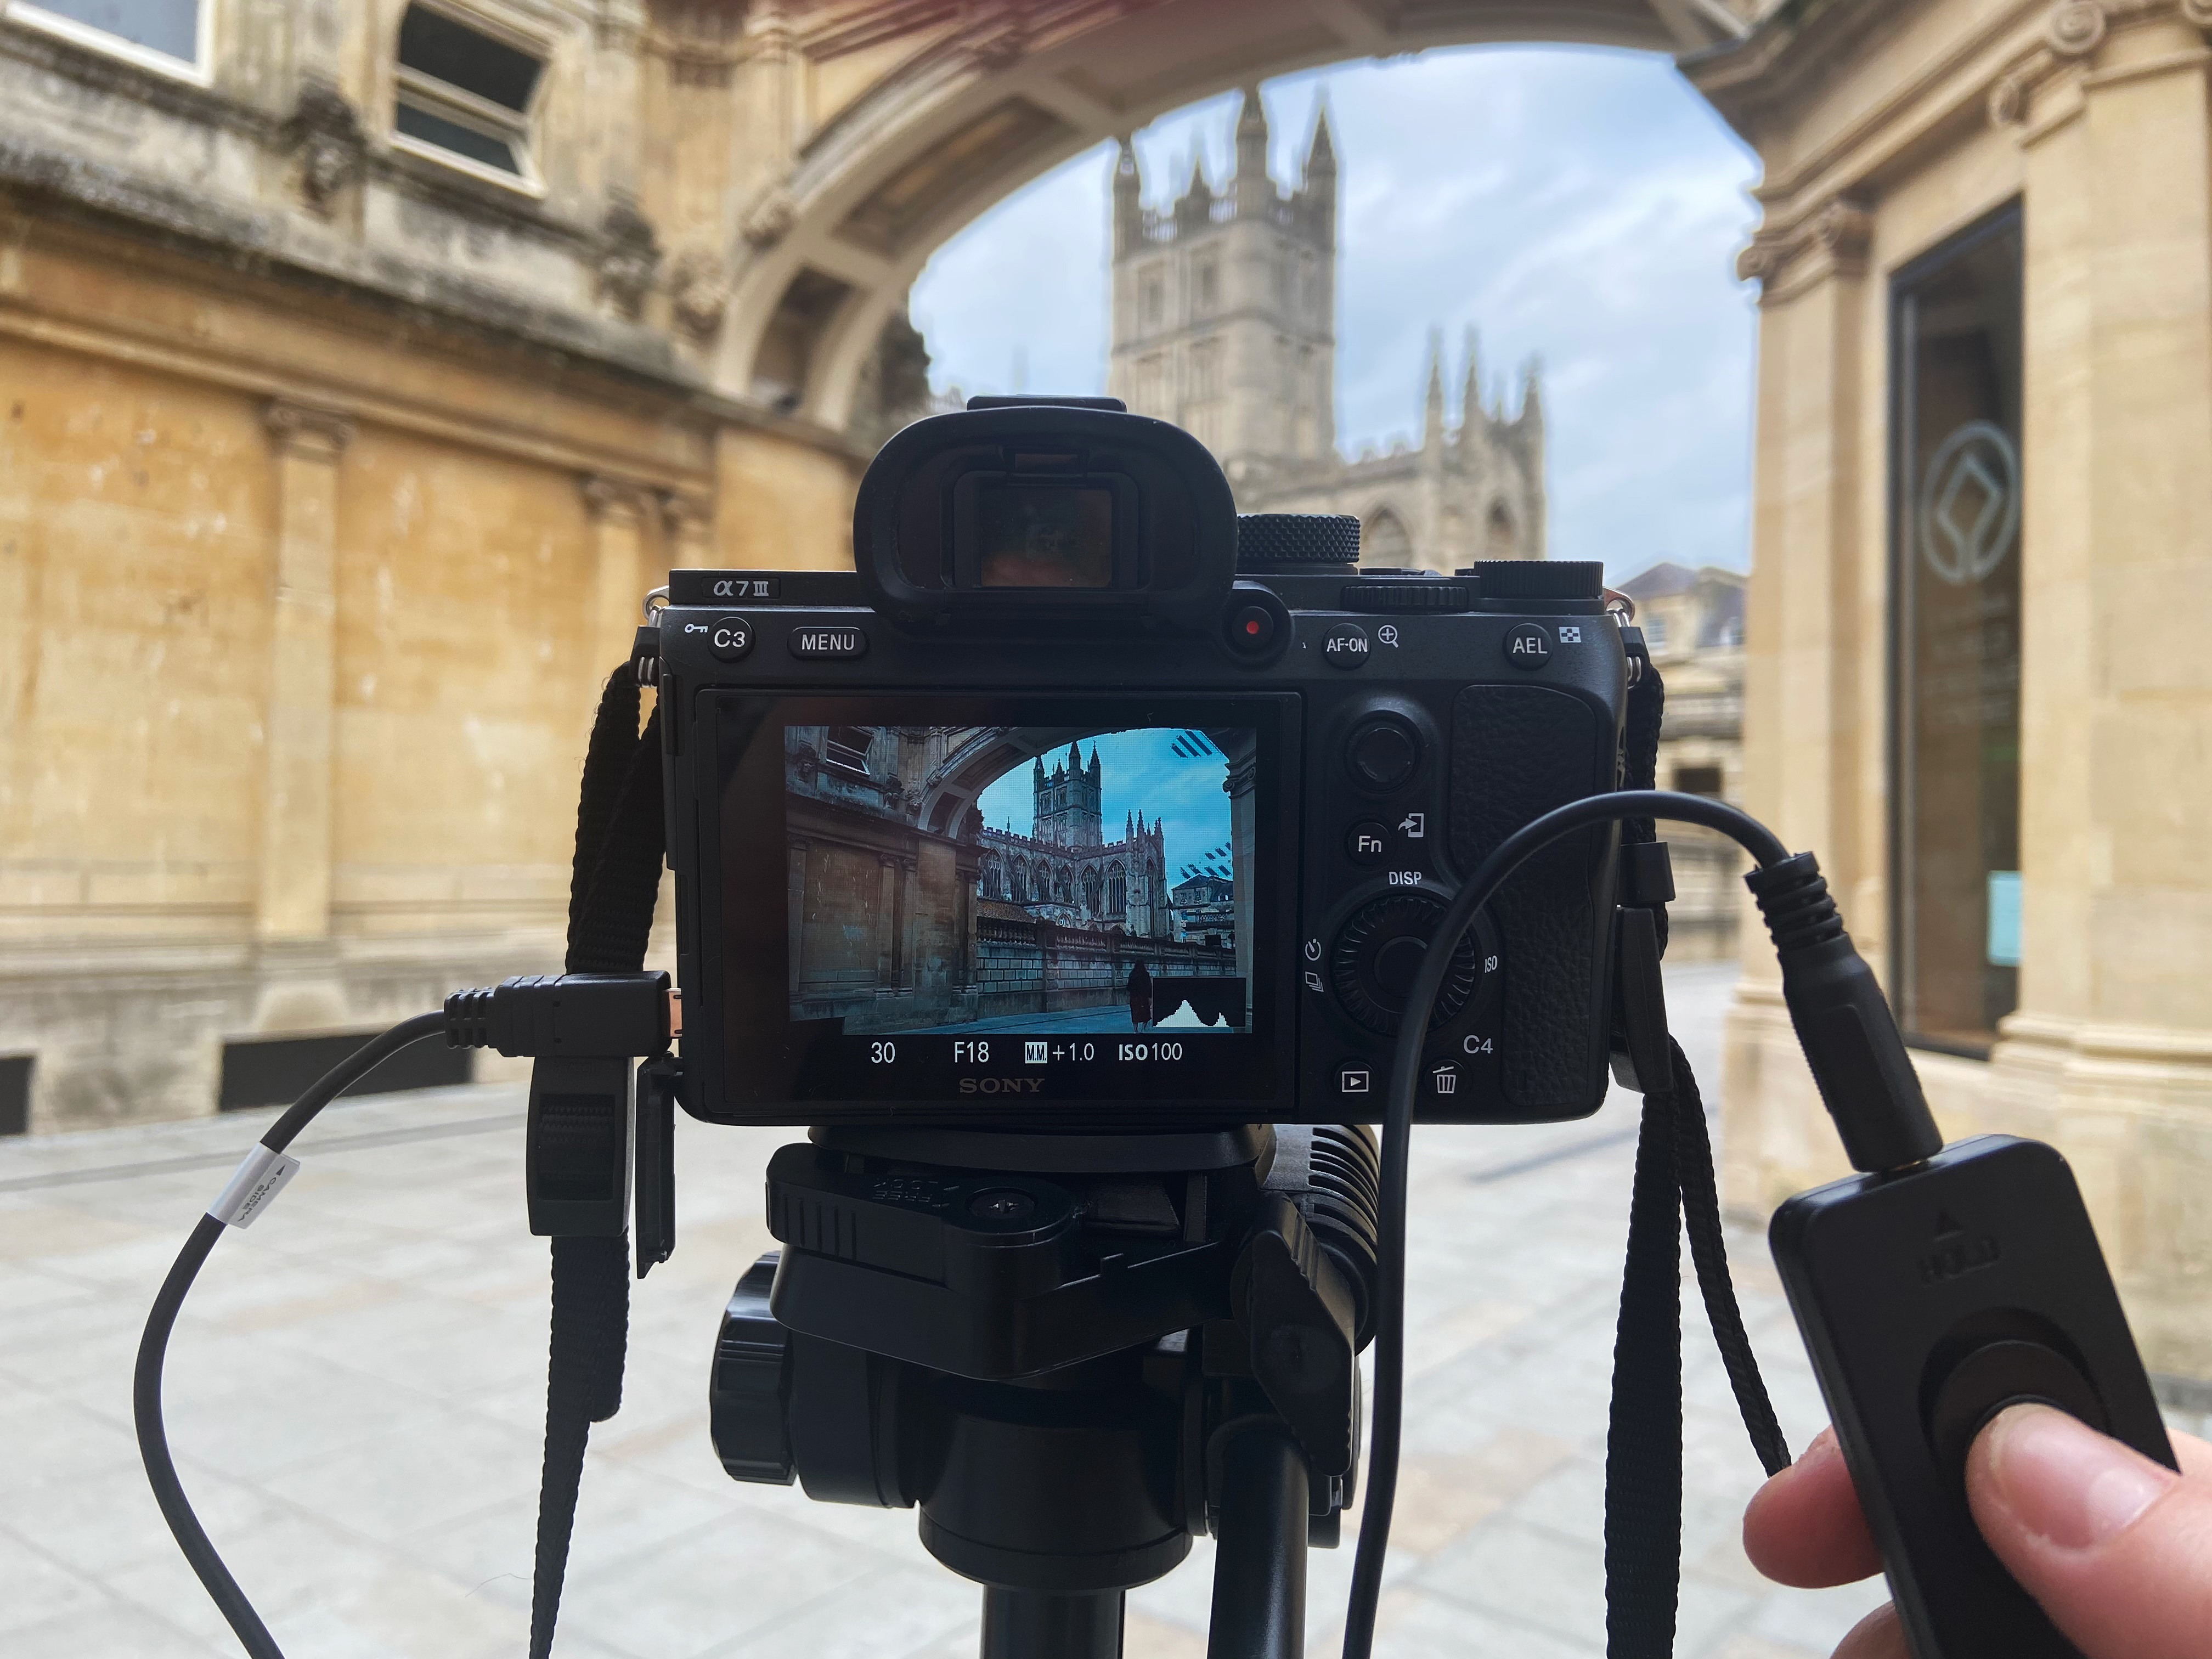
Set your exposure time in Bulb mode and use your phone as a timer. Most busy scenes require an exposure duration of at least three minutes to achieve clear results. Finally, press the remote shutter release button to shoot your image.
After reading this article, you might also like:
Photography cheat sheet: what is metering?
The best camera for street photography
Blur skies for easy long exposures in Photoshop
Get the Digital Camera World Newsletter
The best camera deals, reviews, product advice, and unmissable photography news, direct to your inbox!

Kim is the Staff Writer on Digital Camera World, and formerly Technique Editor at Digital Photographer, focusing on the art and science of photography. With a Master’s degree in Photography and Media, she is driven to educate through an analytical approach, visually and technically. With her guides and tutorials, Kim seeks to uncover new facets of this time-honoured medium and foster a deeper understanding of its profound role in culture. Kim highlights topics that resonate with modern society, including women in photography and critical issues such as environmental conservation. She also discusses and reviews camera gear, giving you an overview to find the best fit for your photography journey.
- Digital Photographer
- Lauren ScottFreelance contributor/former Managing Editor
