Watch video: How to stack filters for landscapes
If you have an interest in landscape photography you’ll probably know about or have used lens filters for photography before. But which ones are essential, and should you be stacking more than one together at a time?
• Make sure you're using the best lenses for landscape photography
In this project we’ll take a closer look at filters and which ones you should be using for your landscapes, as well as the correct method to stack them together to get the best results.
While many filter effects can now be replicated in software, the results from a circular polarizer, neutral density and graduated neutral density filters are still hard to replicate in post.
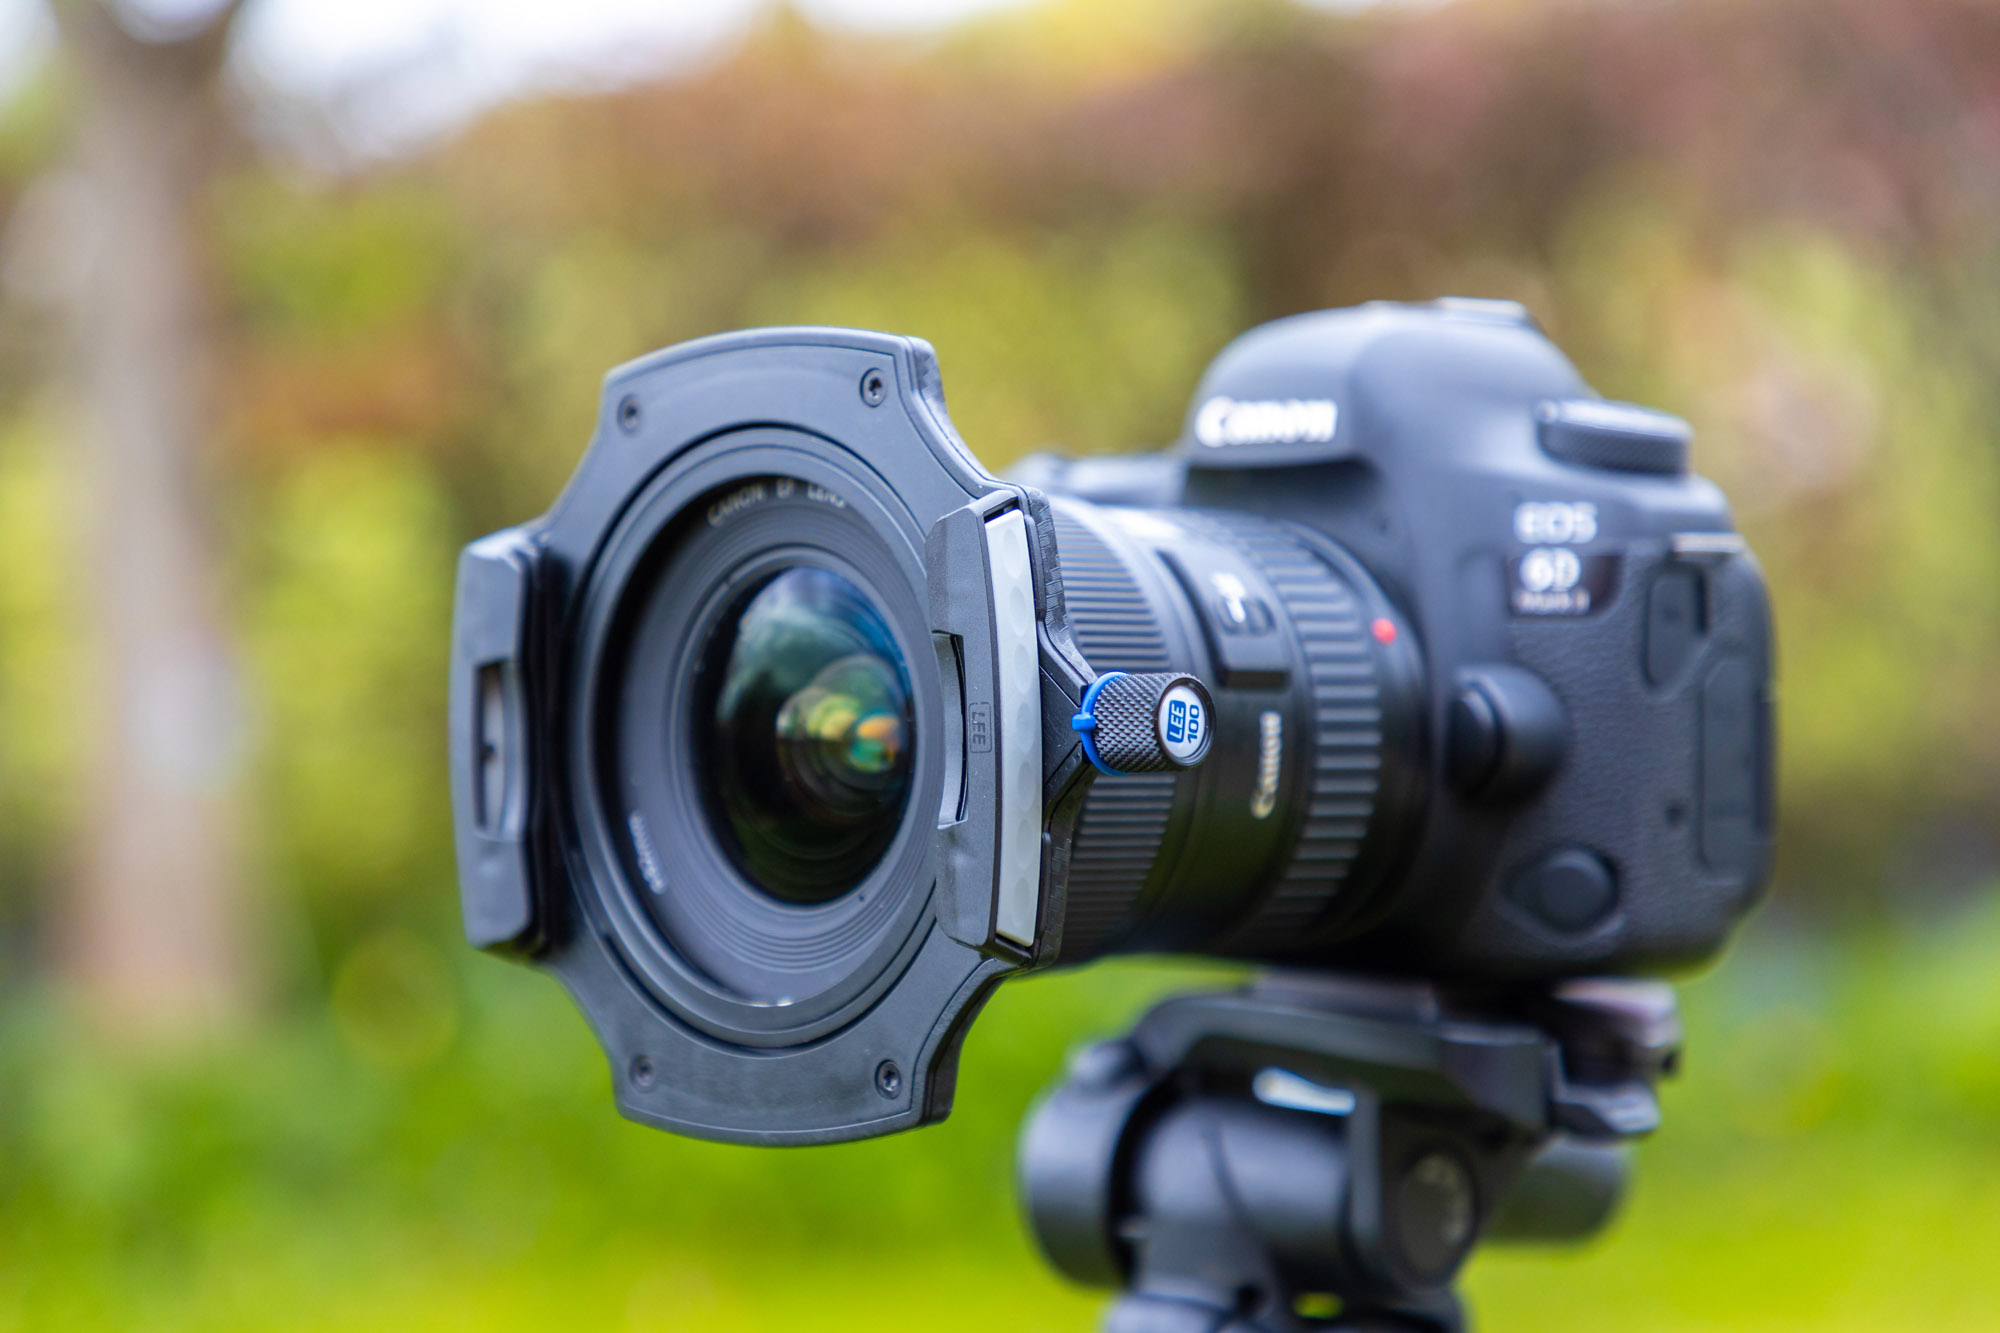
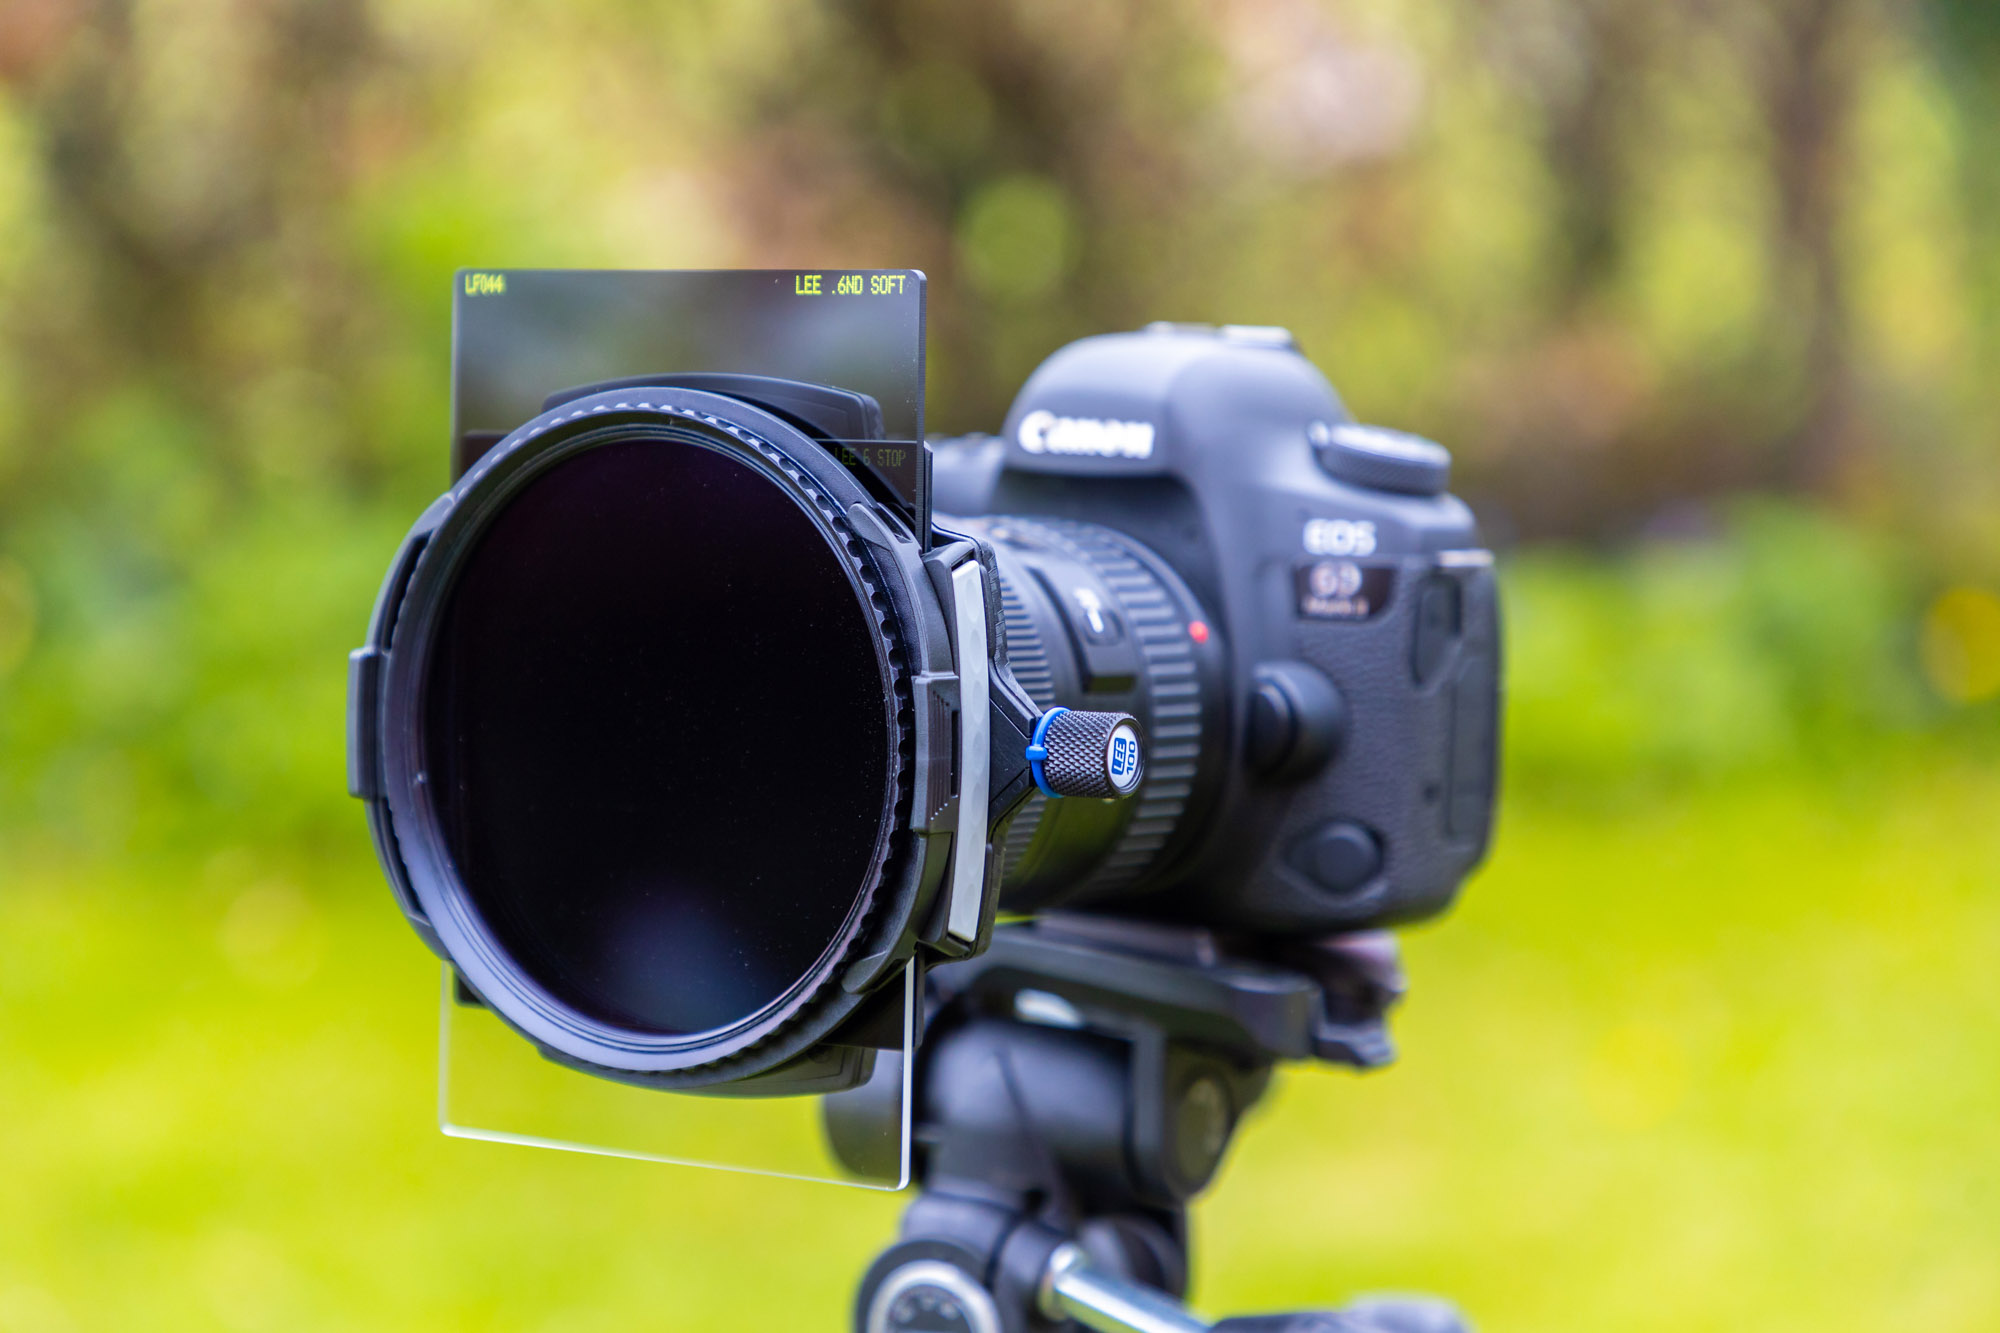
In this project we take a look at filter holders, which usually deliver better quality and a higher level of precision compared with the screw-in variety, although they do take up more space.
1. Adapter ring
Dedicated filter holders require an adapter ring that screws into the front filter thread of your lens (if it has one) and the filter holder is then mounted to this securing ring. Make sure you get the correct size adapter rings you’ll need to use with your lenses.
The best camera deals, reviews, product advice, and unmissable photography news, direct to your inbox!
2. Filter holder
There are two types of filters: the screw-in circular type, which mount directly to the front of your lens’ filter thread, and square filters that use a dedicated filter holder. The latter is more cumbersome to carry but offers the best precision and flexibility.
3. Customize your kit
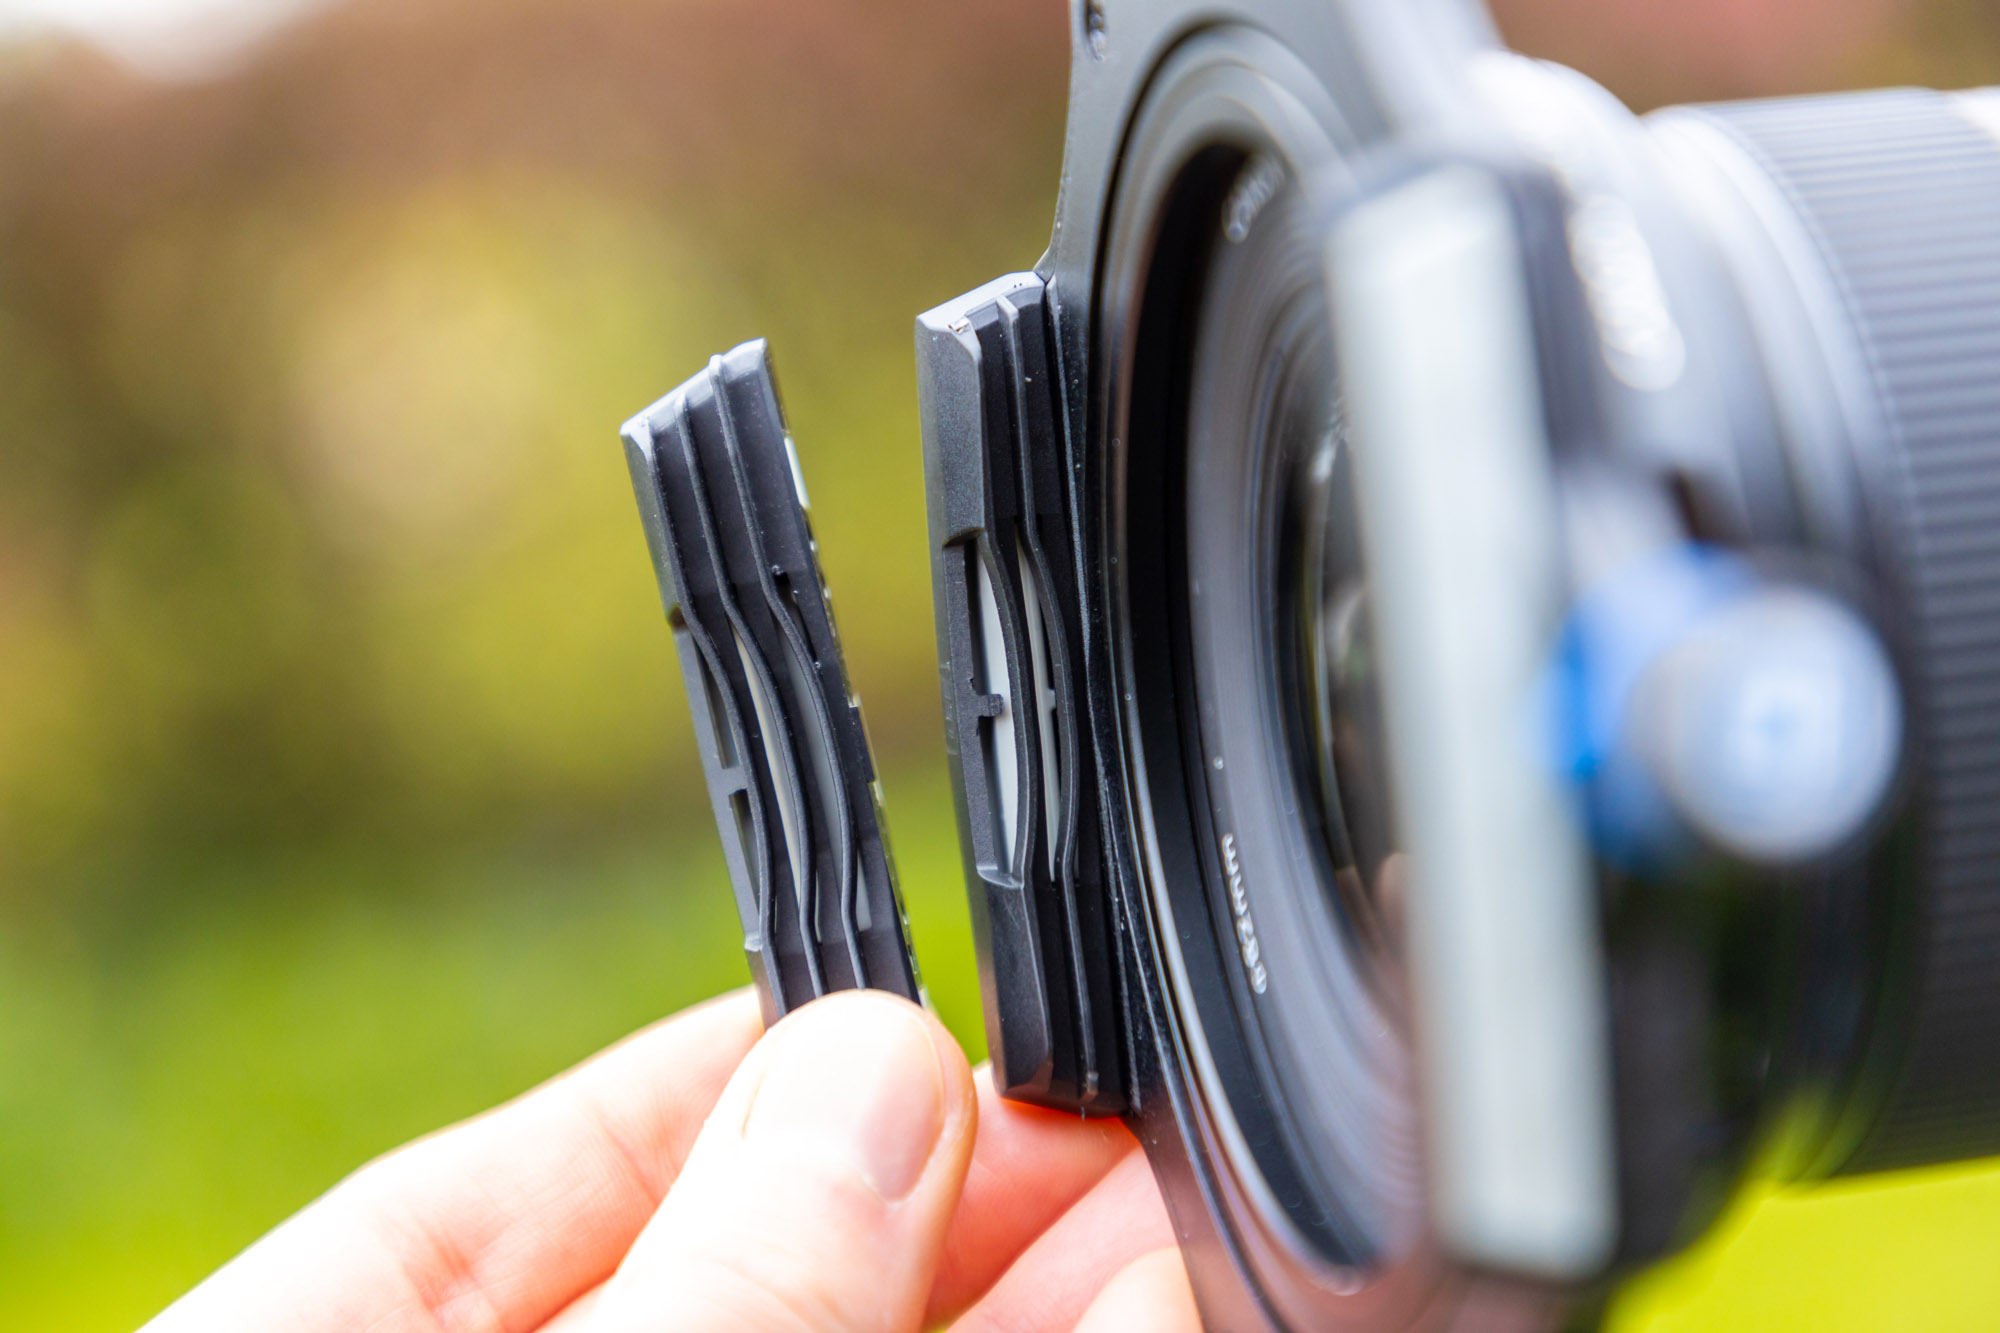
Our Lee 100 filter holder came with accessories and a tool to enable you to change how many filters you’d like to stack at once. By default it came with the ability to stack two filters, but could be swapped out for adapters that house either one or three filters.
4. Neutral Density (ND) filters
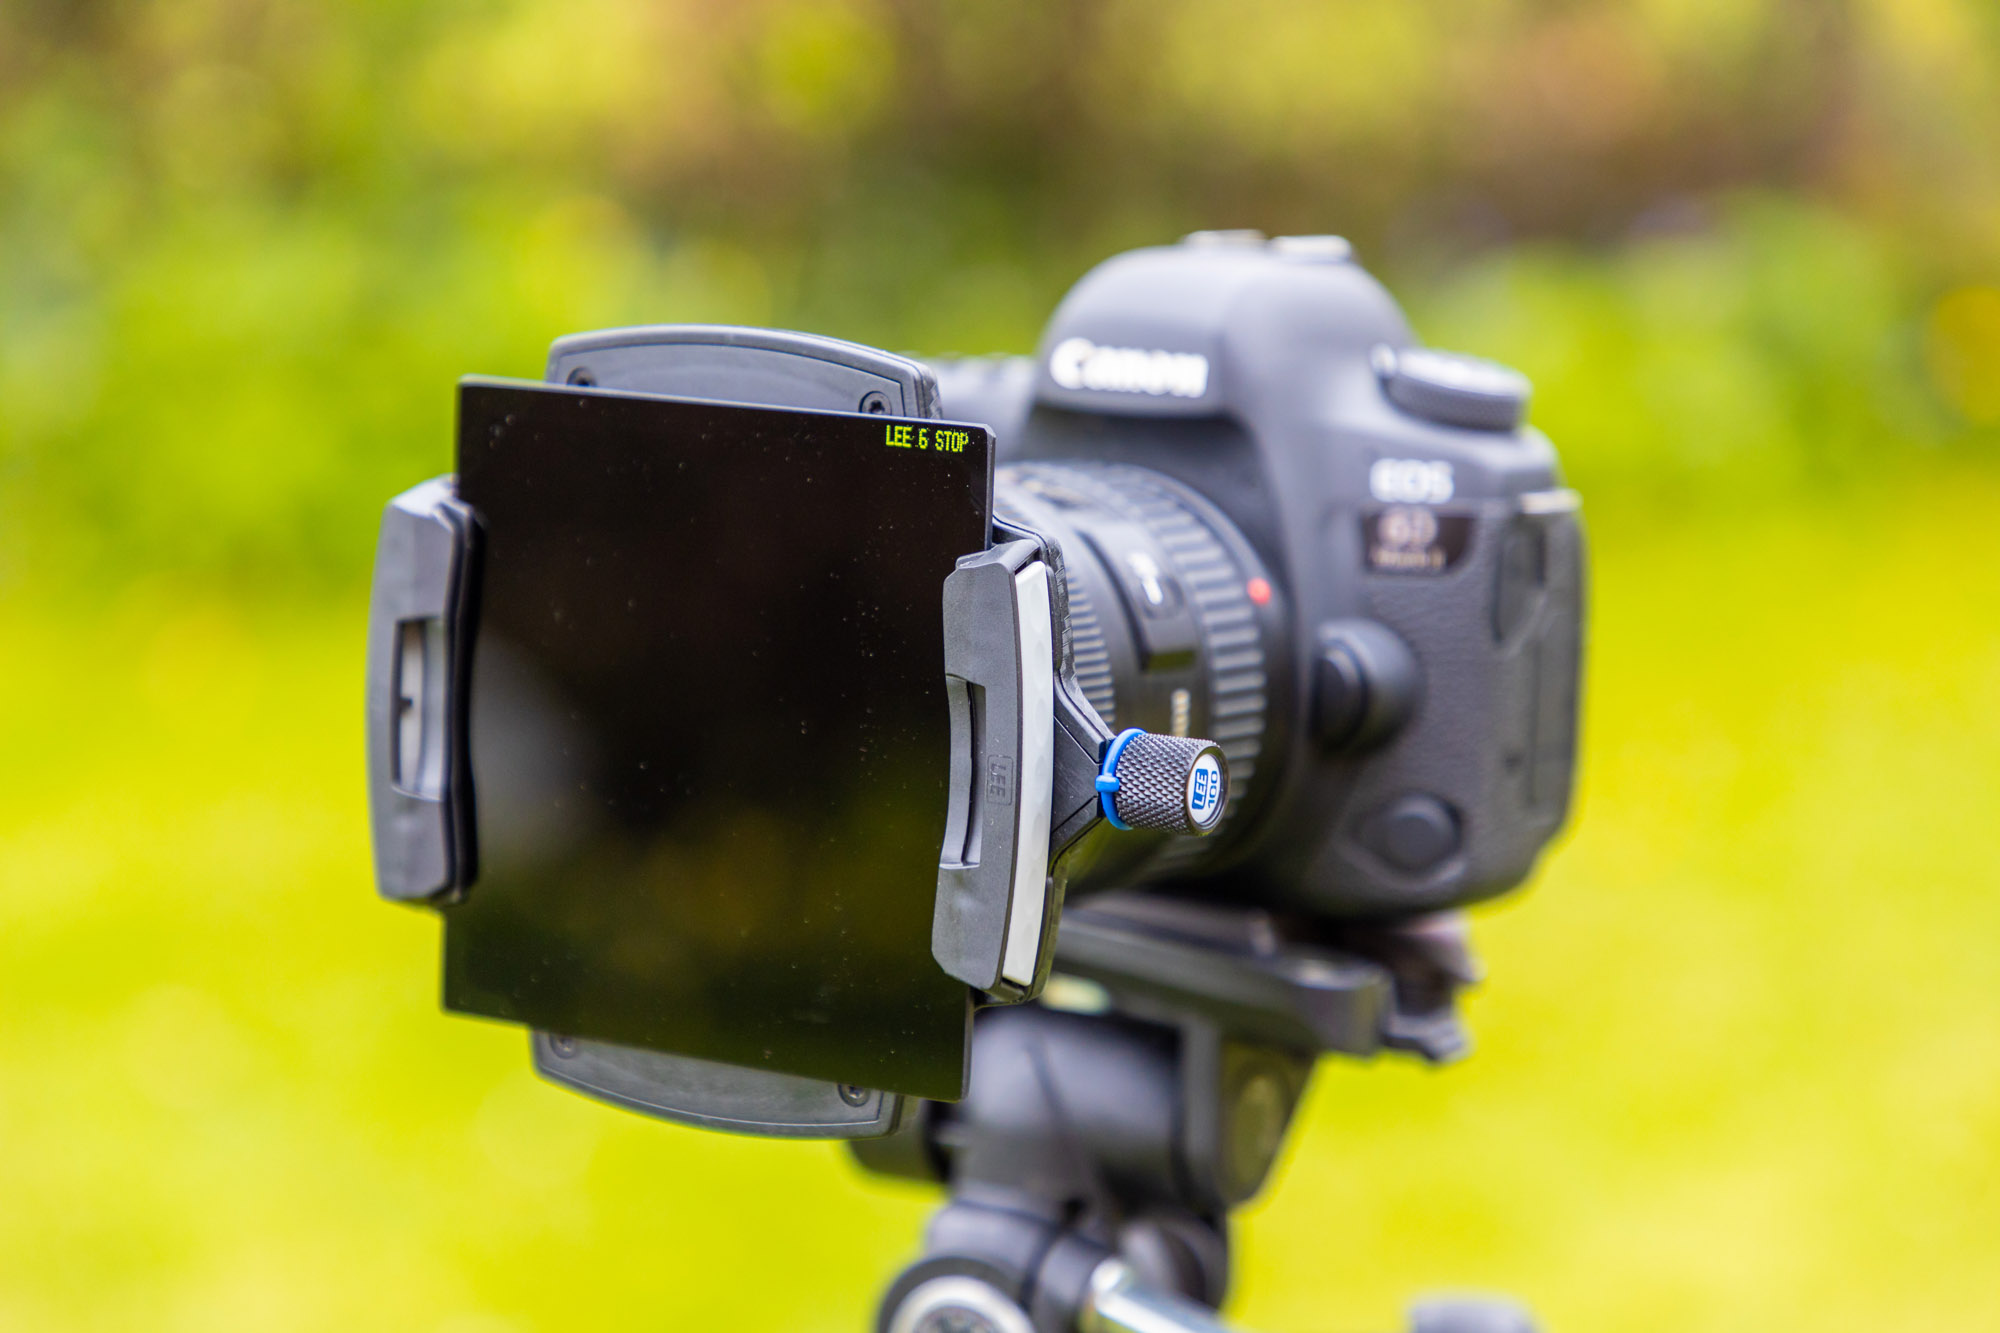
Neutral density (ND) filters act like sunglasses by blocking light so you can use slower shutter speeds, even in daylight. NDs come in different strengths, such as Lee’s Little, Big and Super Stoppers, which block out 6, 10 and 15 stops of light respectively.
05 Graduated neutral density filters
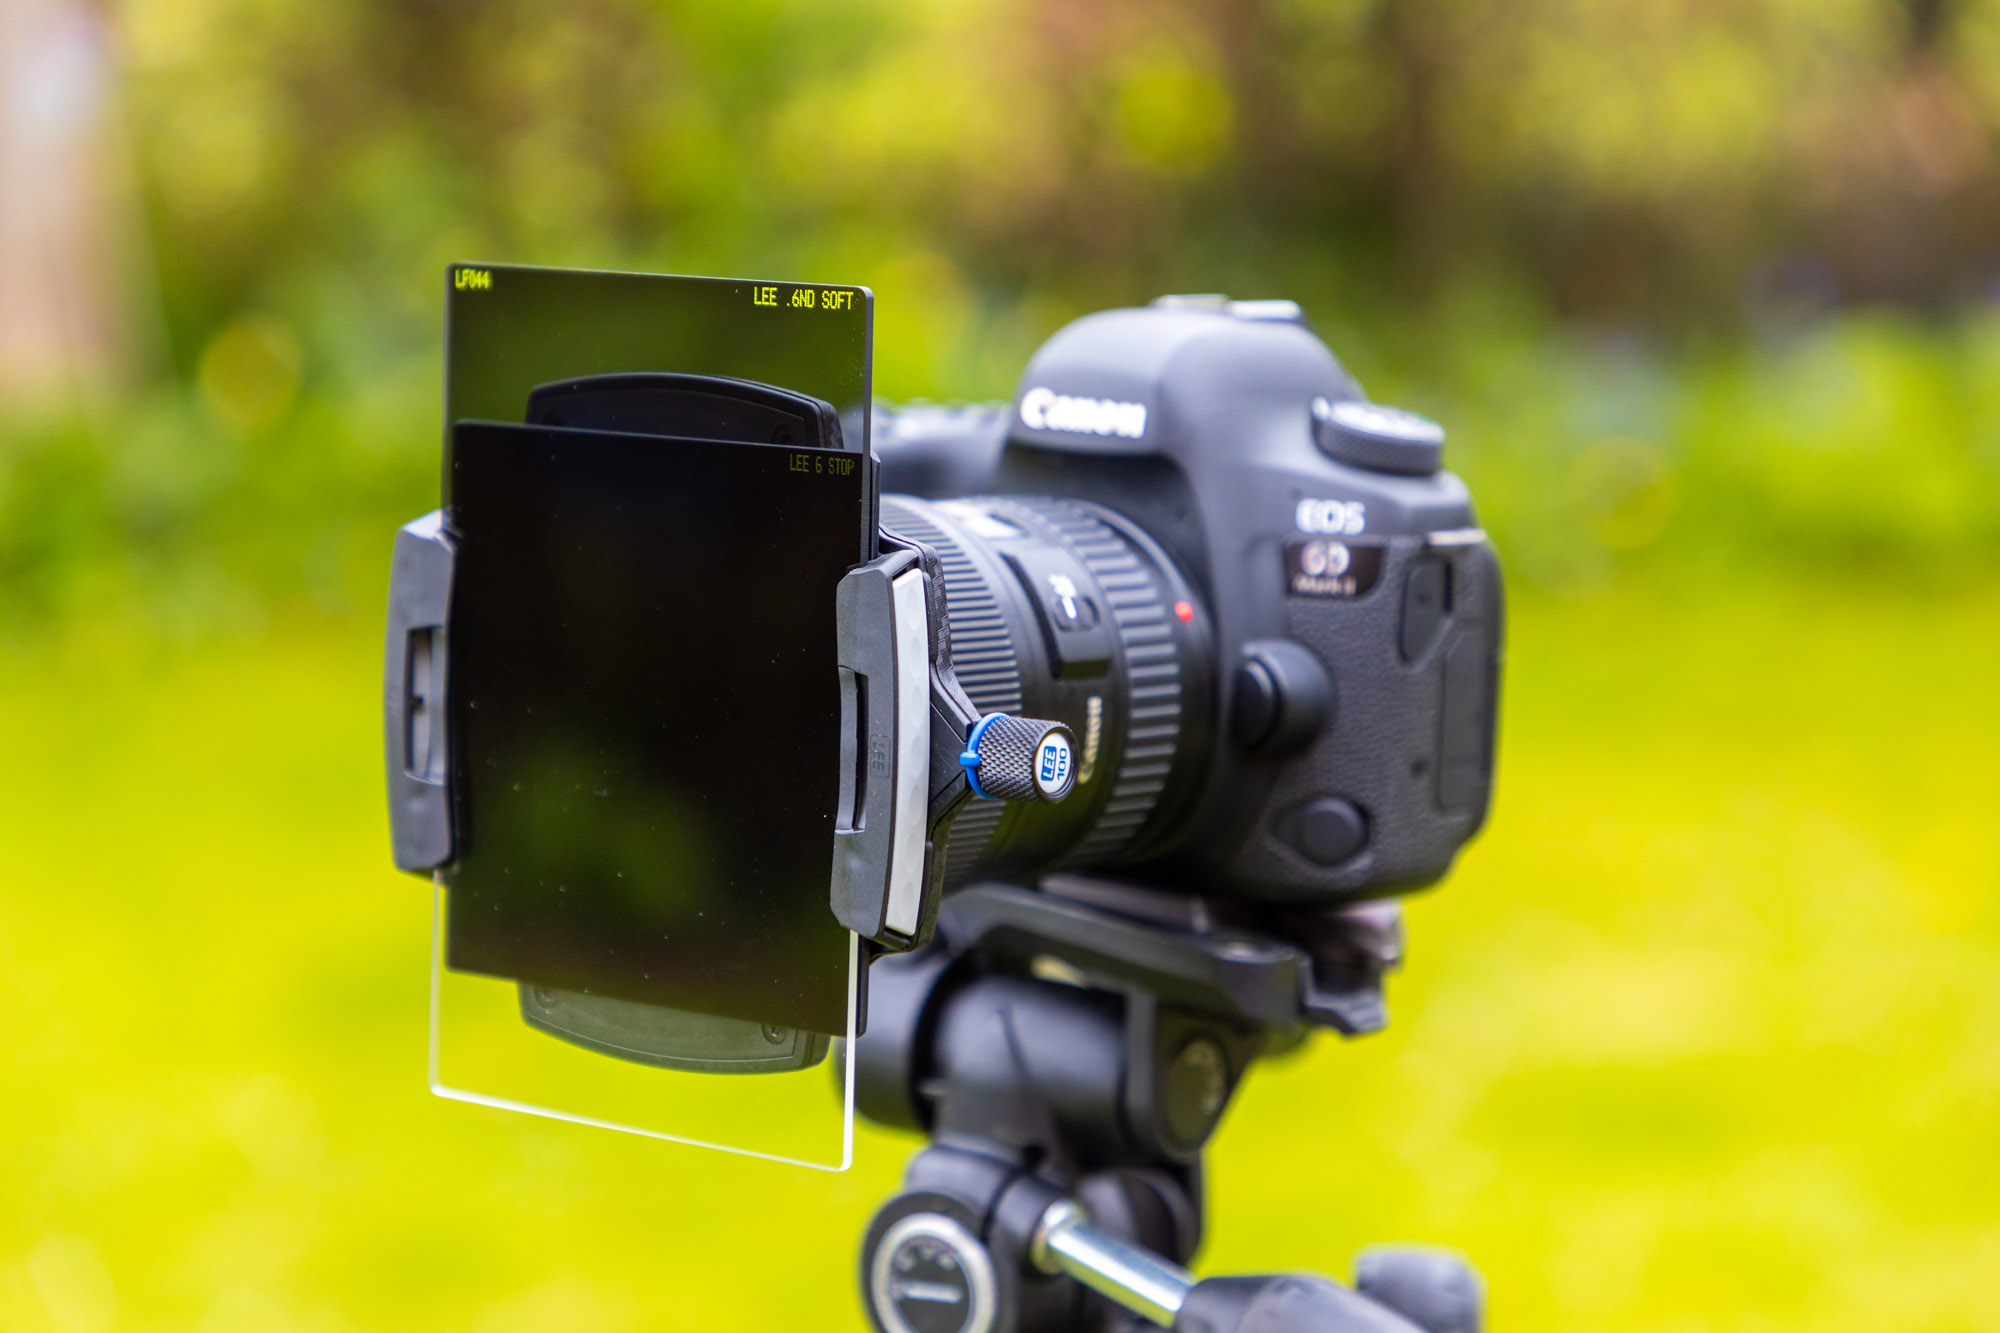
Graduated neutral density filters (or "ND grad filters") block out light like an ND, but they transition to clear glass at one end of the filter. This makes them useful for reducing the light in a bright part of the frame, such as the sky. They also come in varying hard or soft gradations and strengths.
06 Circular polarizer (CPL) filters
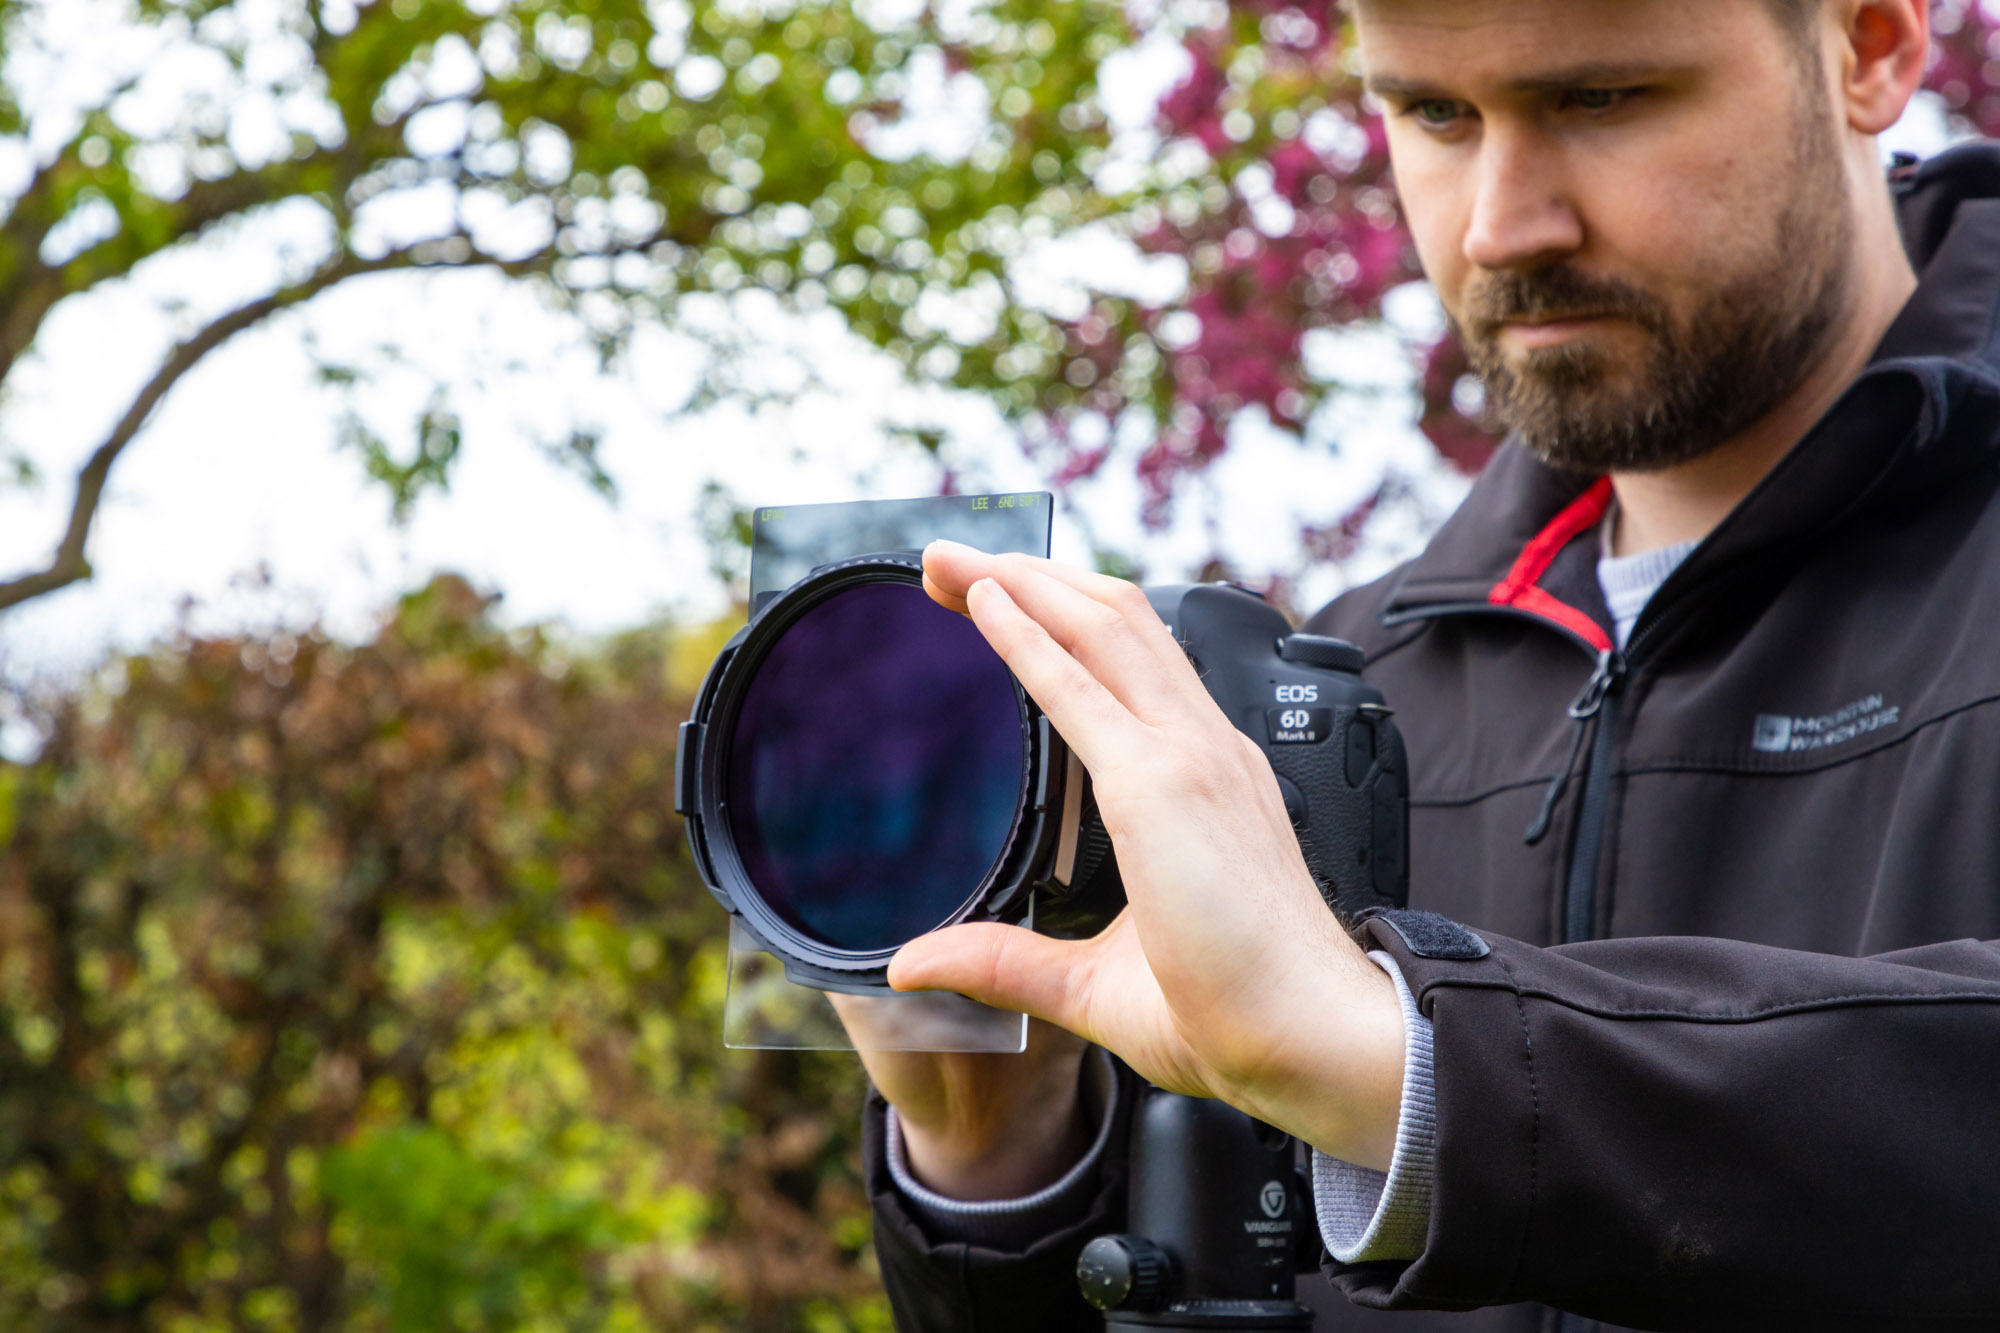
With the Lee 100 system the circular polarizing filter is the last piece to be attached, though on other systems it might be the first. The circular polarizer clips onto the front of the filter holder and can be rotated to cut out polarized light.
07 Eyepiece cover
If you’re using a DSLR it’s a good idea to attach the eyepiece cover during long exposures, to reduce the risk of light entering through the eyepiece and causing flare. Just pop off your camera’s eyepiece and attach the eyepiece cover that should be on your DSLR’s camera strap.
08 Dial in the polarizer
Turn your circular polarizer to adjust the amount of polarized light hitting the sensor. These filters help cut down glare on reflections such as water or glass windows and also help to boost blue skies. You’ll get the strongest effect when shooting at 90 degrees to the sun.
09 Adjust your ND Grad
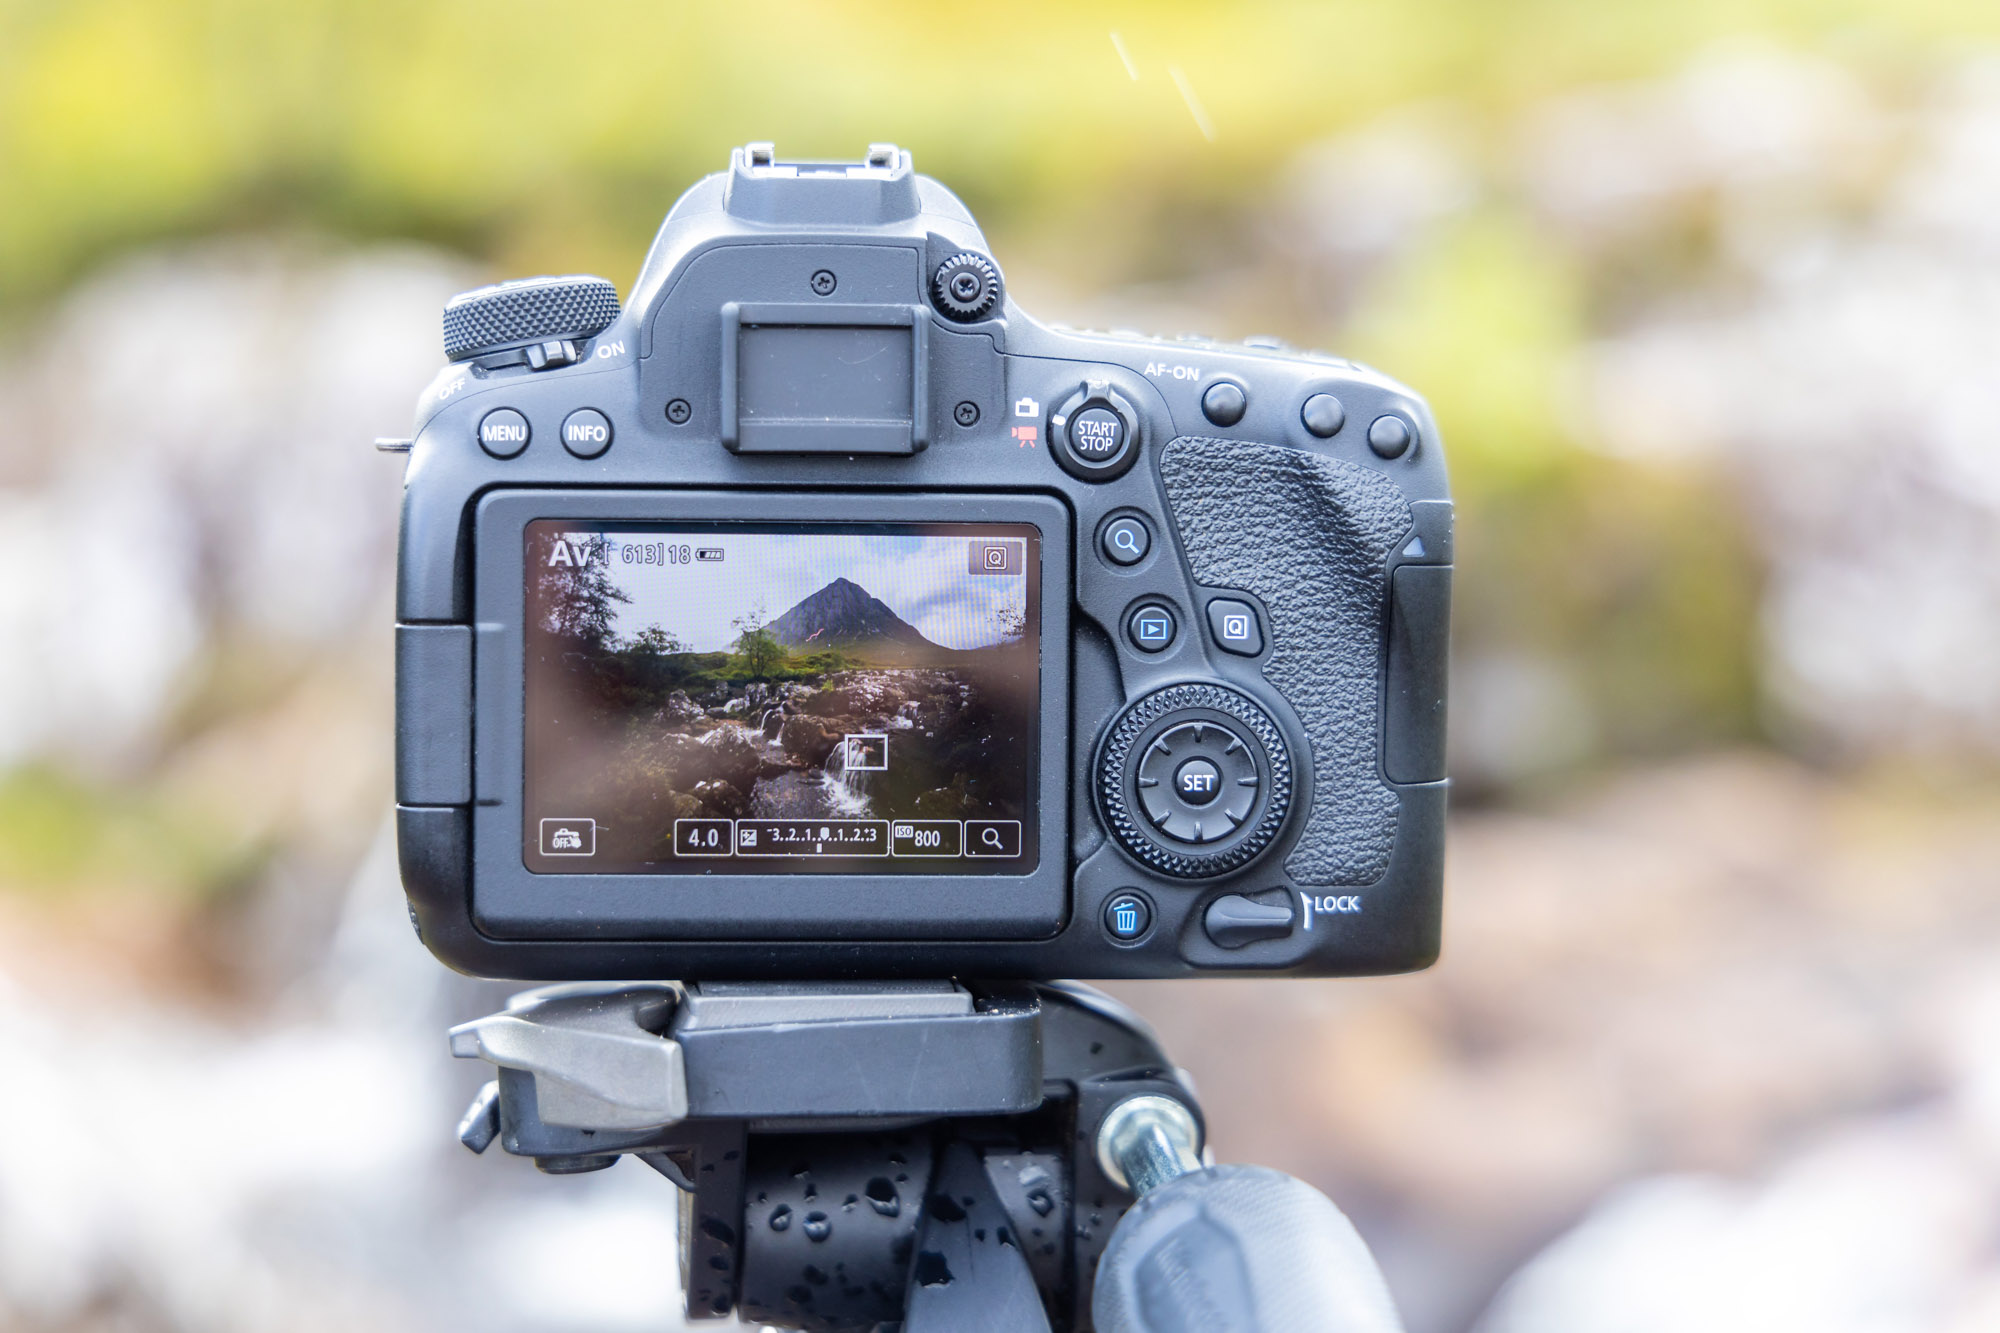
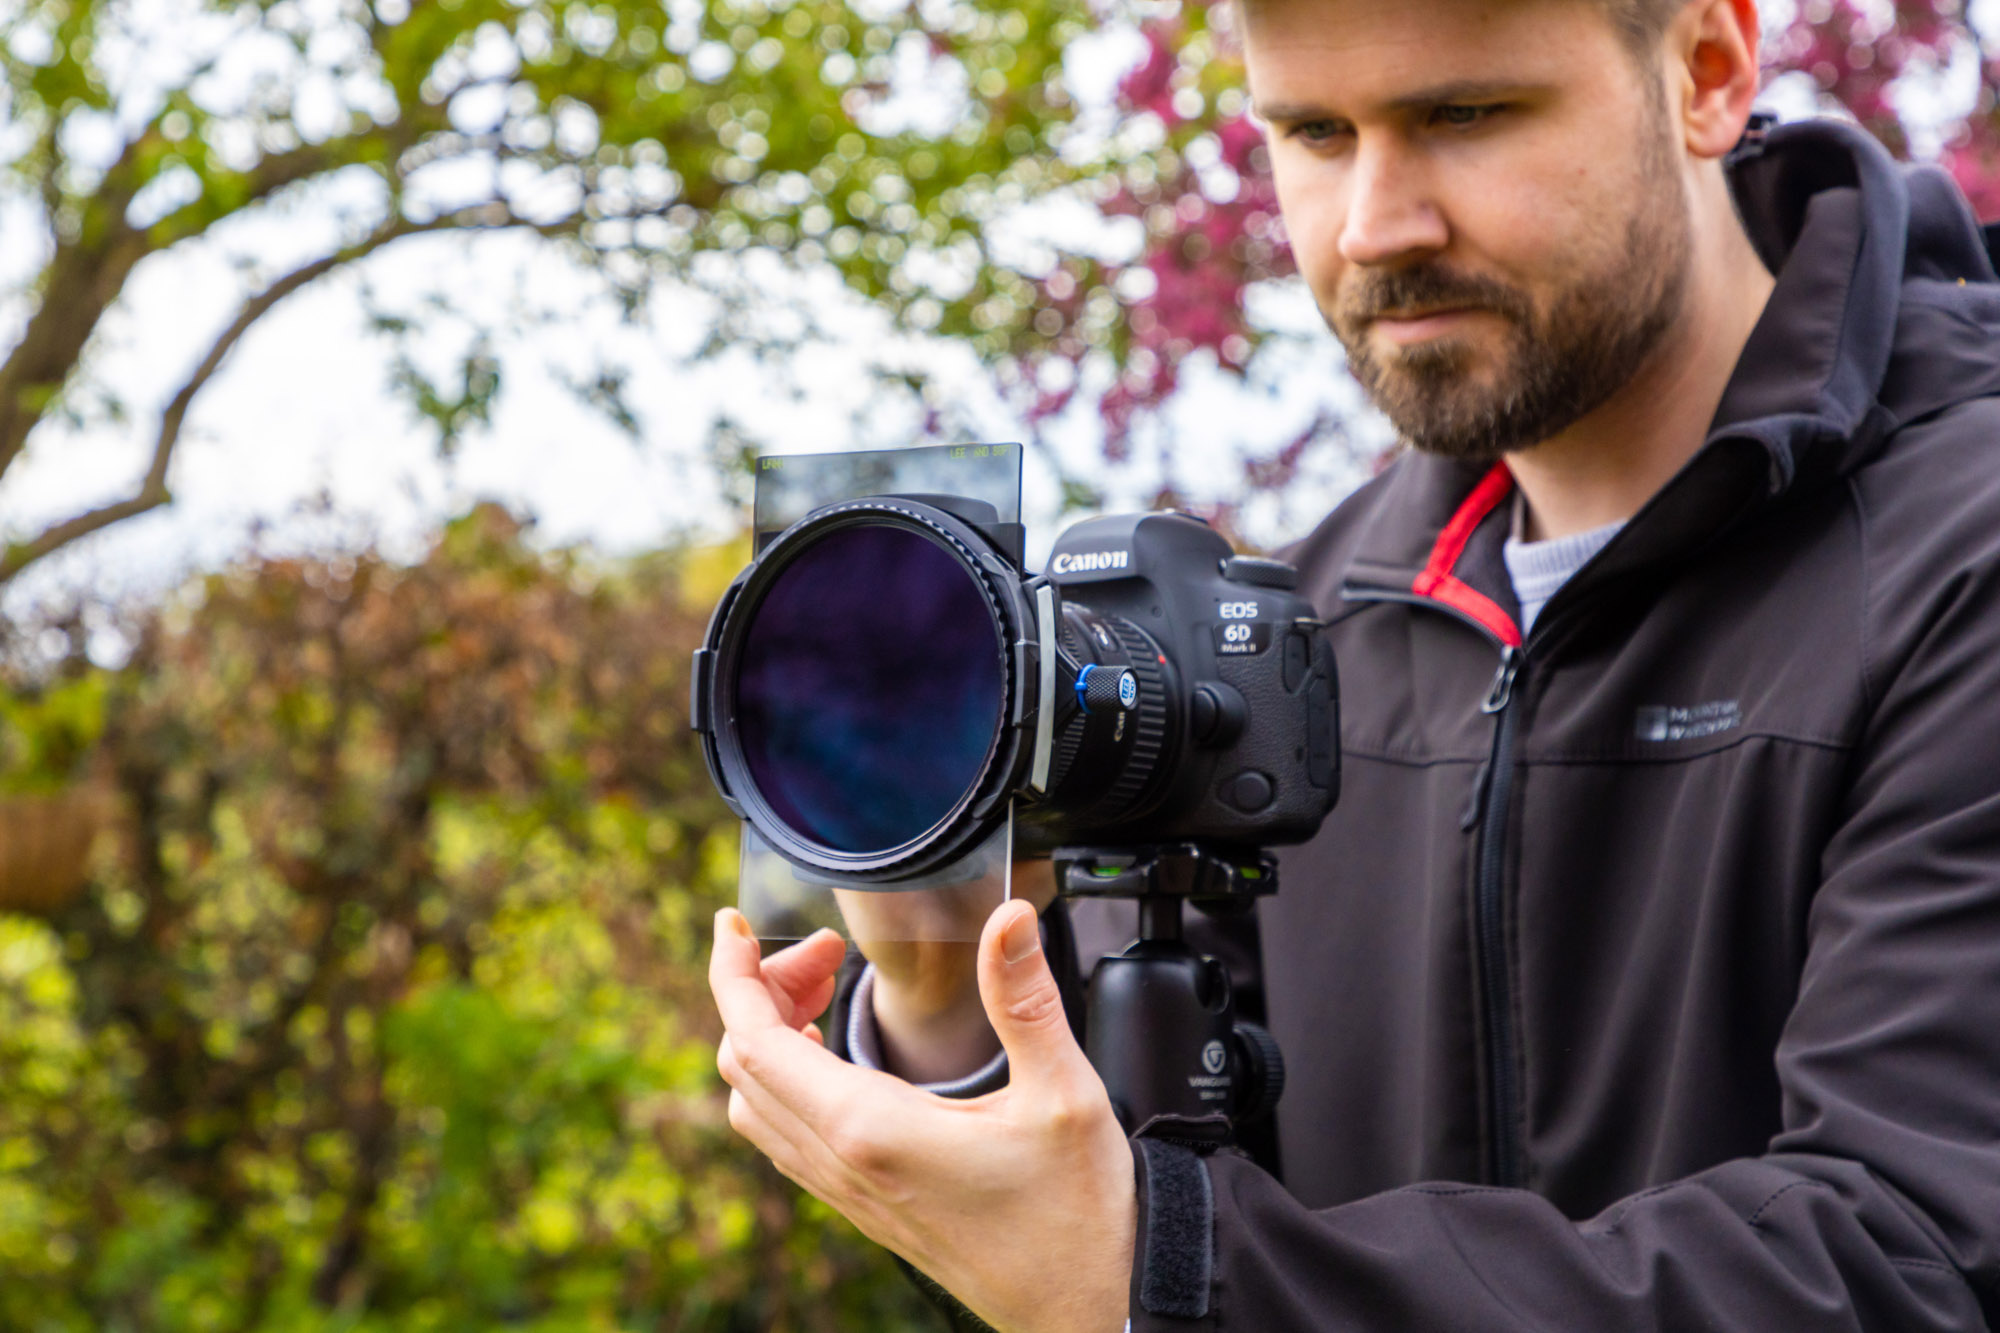
Once you’ve chosen an ND grad that is the correct strength and also hardness for your scene, slot it in. Then use Live View or the electronic viewfinder and move your ND grad up and down until the graduation sits perfectly over the horizon. If you horizon is ambiguous, it’s best to use a softer gradation.
PhotoPlus: The Canon Magazine is the world's only monthly newsstand title that's 100% devoted to Canon, so you can be sure the magazine is completely relevant to your system. Every issue comes with downloadable video tutorials too.
Check out the best cameras for landscape photography, as well as our landscape photography tips to get the most of your scenic shots.

In addition to being a freelance photographer and filmmaker, Dan is a bona fide expert on all things Canon and Adobe. Not only is he an Adobe-certified Photoshop guru, he's spent over 10 years writing for specialist magazines including stints as the Deputy Editor for PhotoPlus: The Canon Magazine, Technical Editor for Practical Photography and Photoshop Editor on Digital Photo.

