Take control of white balance on your Nikon camera
Coping with different light sources can be something of a balancing act…
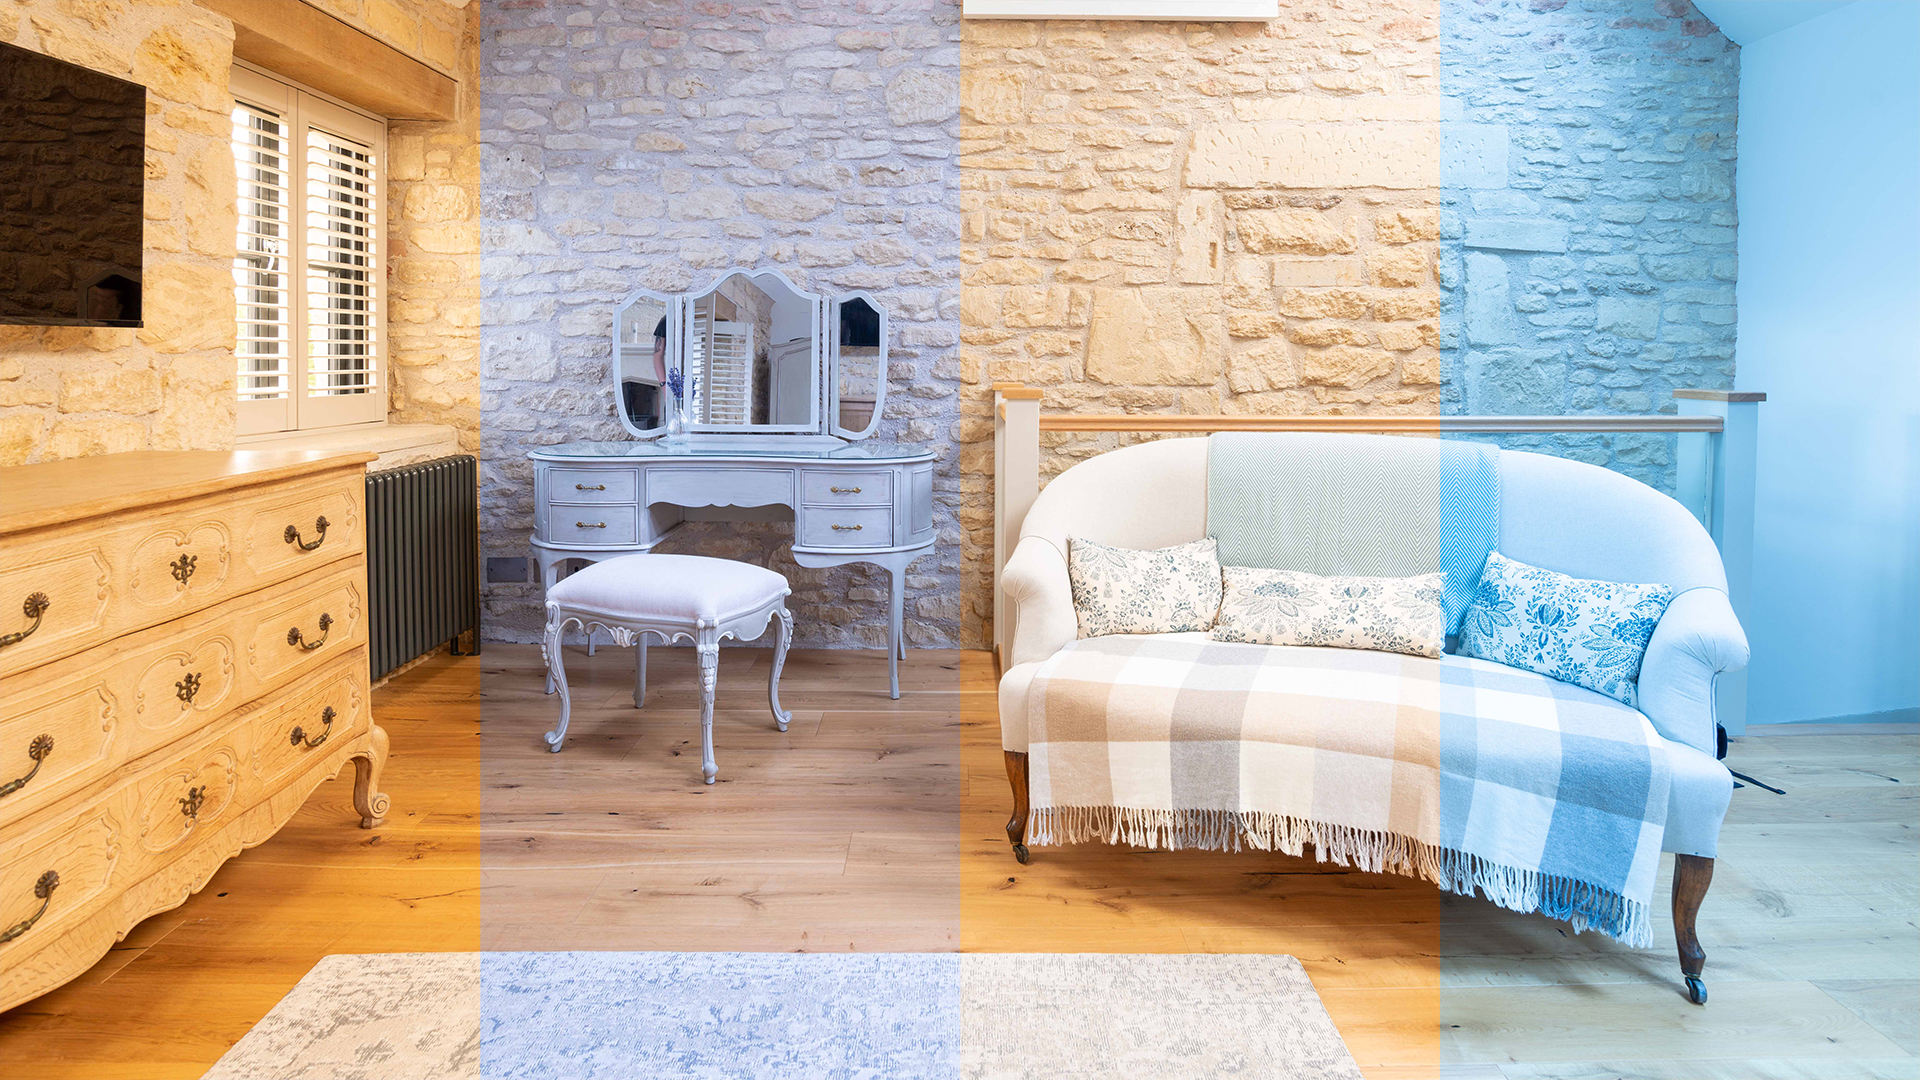
The human brain is a wonderful thing. Amongst all of its other clever tricks, it can automatically compensate for wide-ranging color temperatures of different light sources (within reason), so a sheet of white paper always looks white, whether it’s being illuminated by the noon-day sun or a light bulb in your living room. However, your Nikon camera isn’t quite as clever, and might need a little help along the way.
Scientifically, color temperature is measured on a Kelvin scale. It can feel a little counter-intuitive, as ‘warmer’ color temperatures actually have a lower Kelvin value. For example, candlelight is around 1000-2000K, the golden warmth of sunrise or sunset under a clear sky is around 3000-4000K, overhead sunlight is about 5000-6500K, a cloudy sky will give you about 8000K and a heavily overcast sky or shade will be as much as 10,000K. Things get even more difficult to predict with artificial lighting, which can have a range of hues and intensities, depending on whether they’re tungsten, fluorescent, LED or other types of lighting.
Pick and mix
It’s tempting to stick to the Auto white balance setting and let your camera choose the ideal value, depending on the prevailing conditions. It can work well most of the time, in most indoor and outdoor scenarios, but it can often go a bit astray. The automatic mode will select what it thinks is the best value, based on the brightest light source that’s illuminating the scene. Things can go awry with different light sources, for example mixing artificial lighting in an indoor scene with daylight from windows.
Even with a single light source, you might notice a shift in your camera’s auto white balance value, and therefore the color balance of resulting images, when you alter the position of the camera and different objects come into the scene. Here’s how to make the most of what’s on offer to ensure accurate and consistent white balance.
The hit list
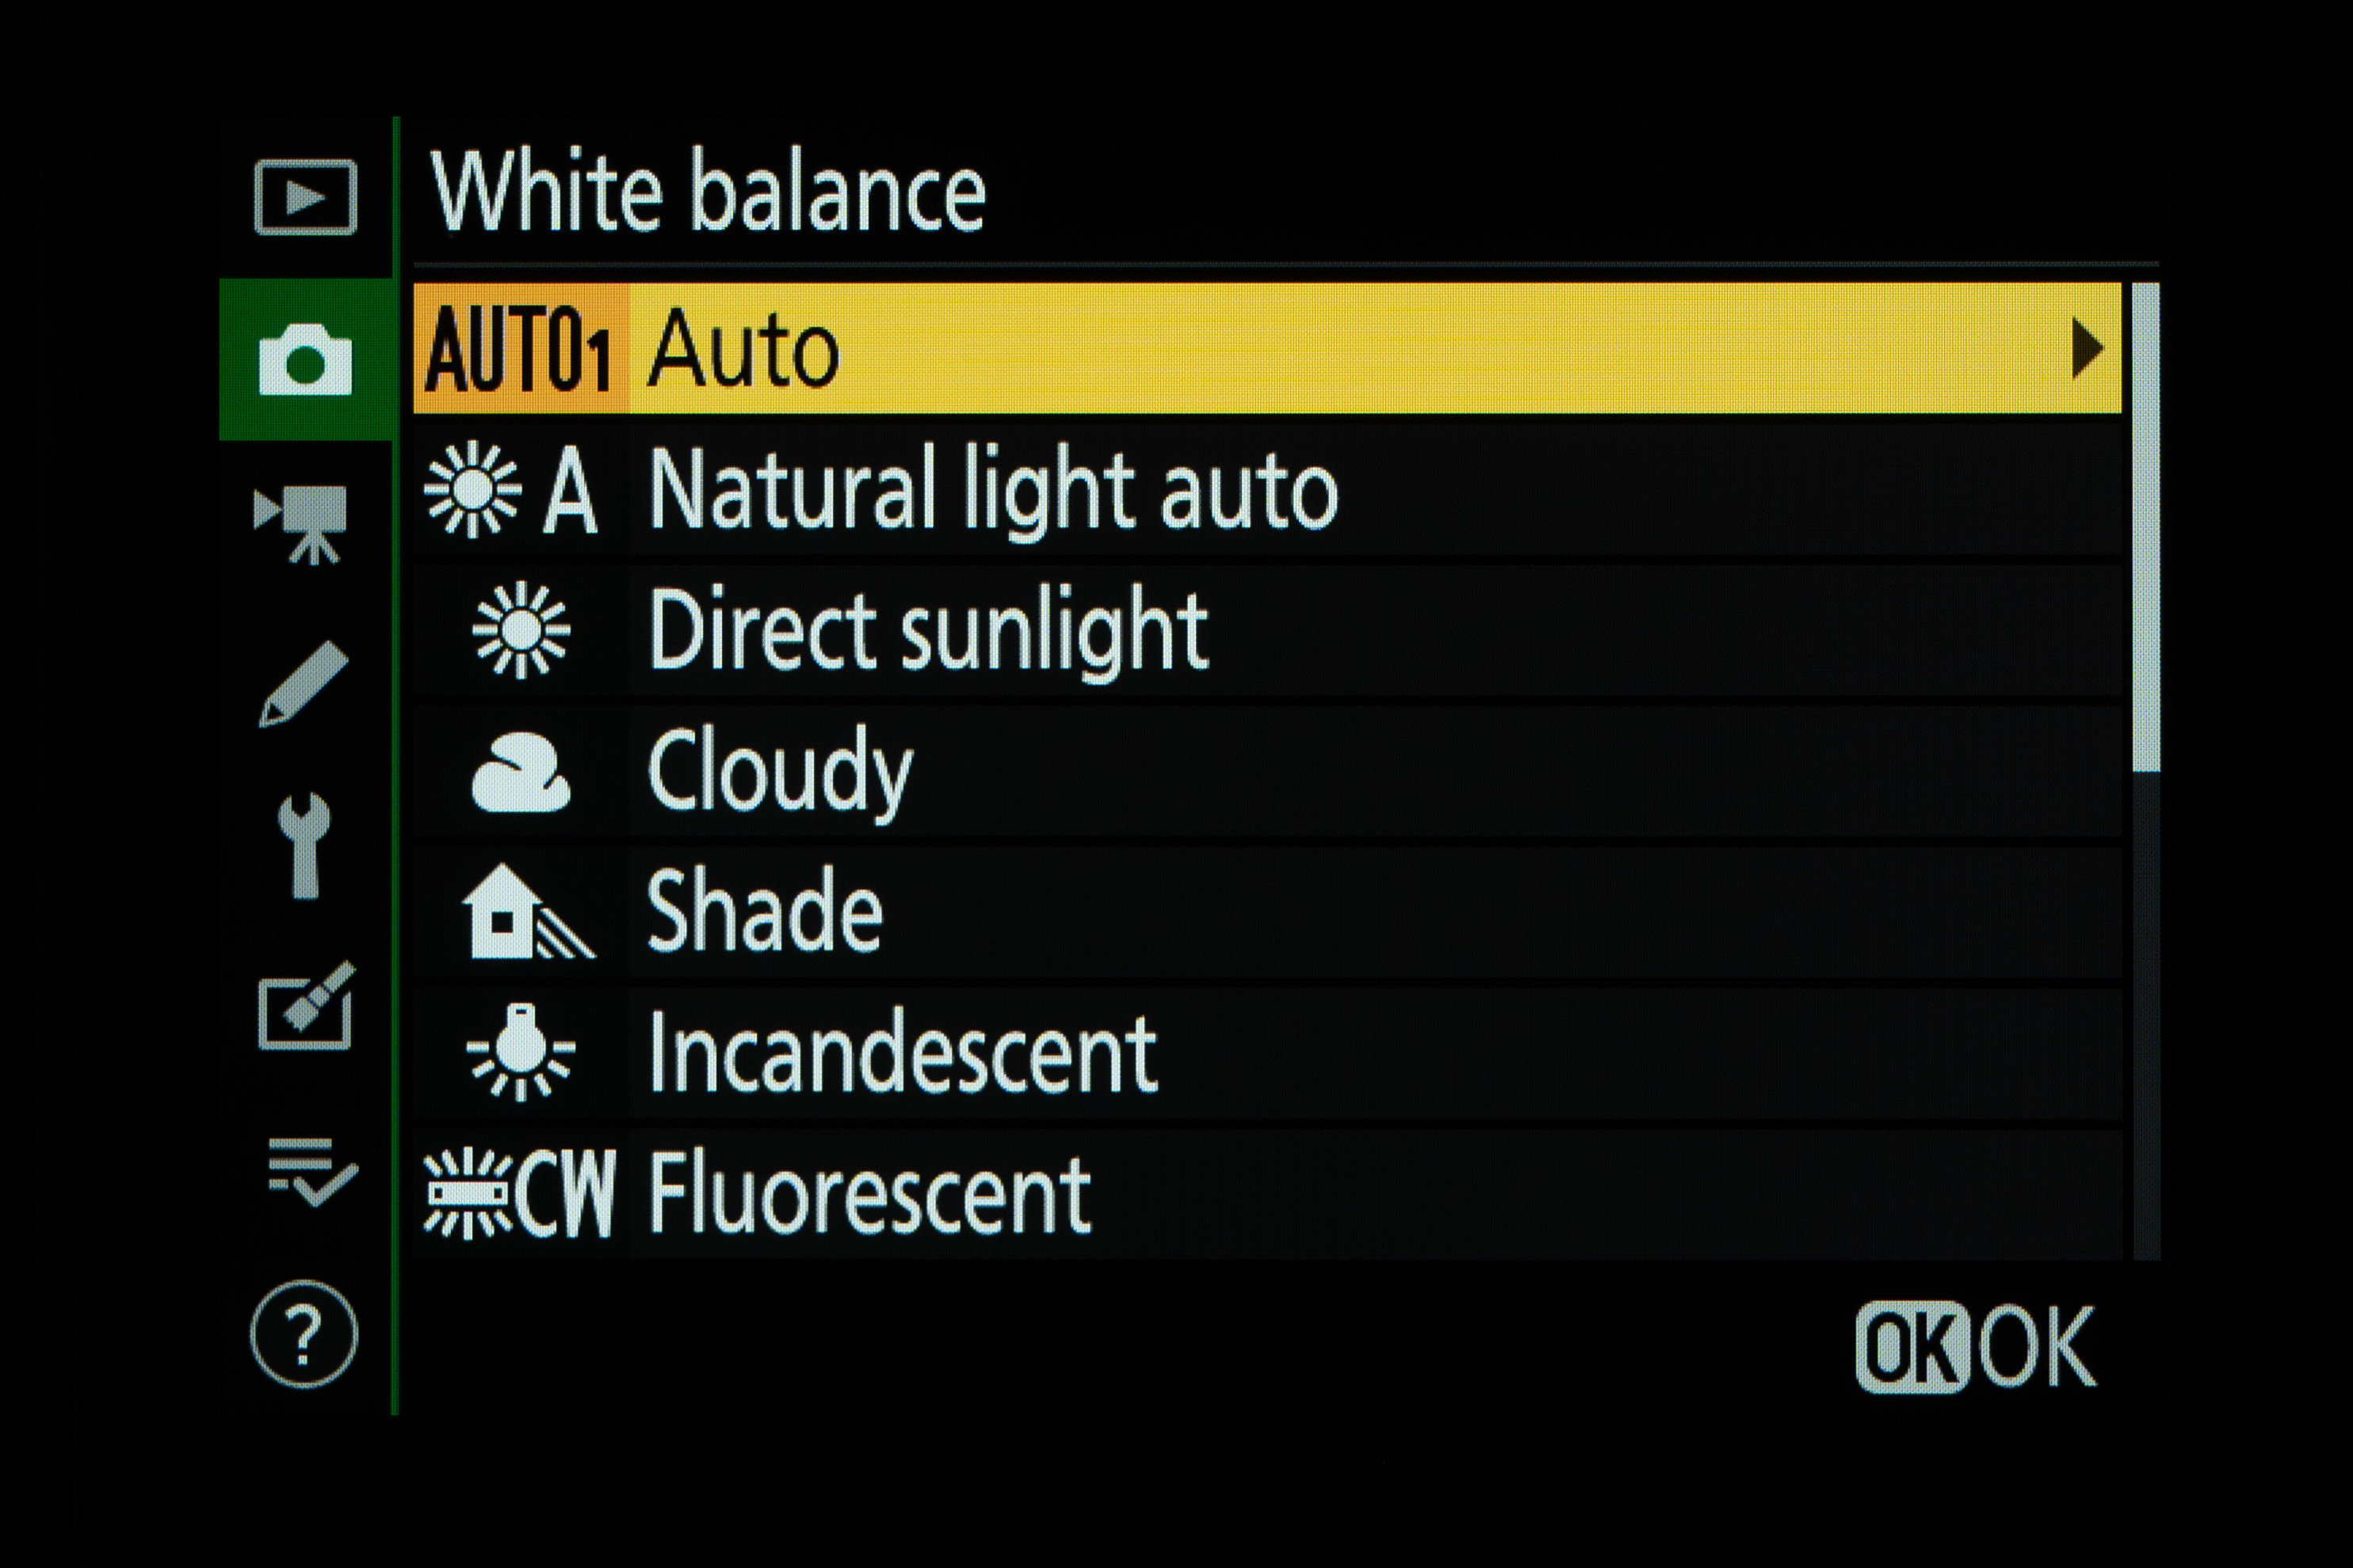
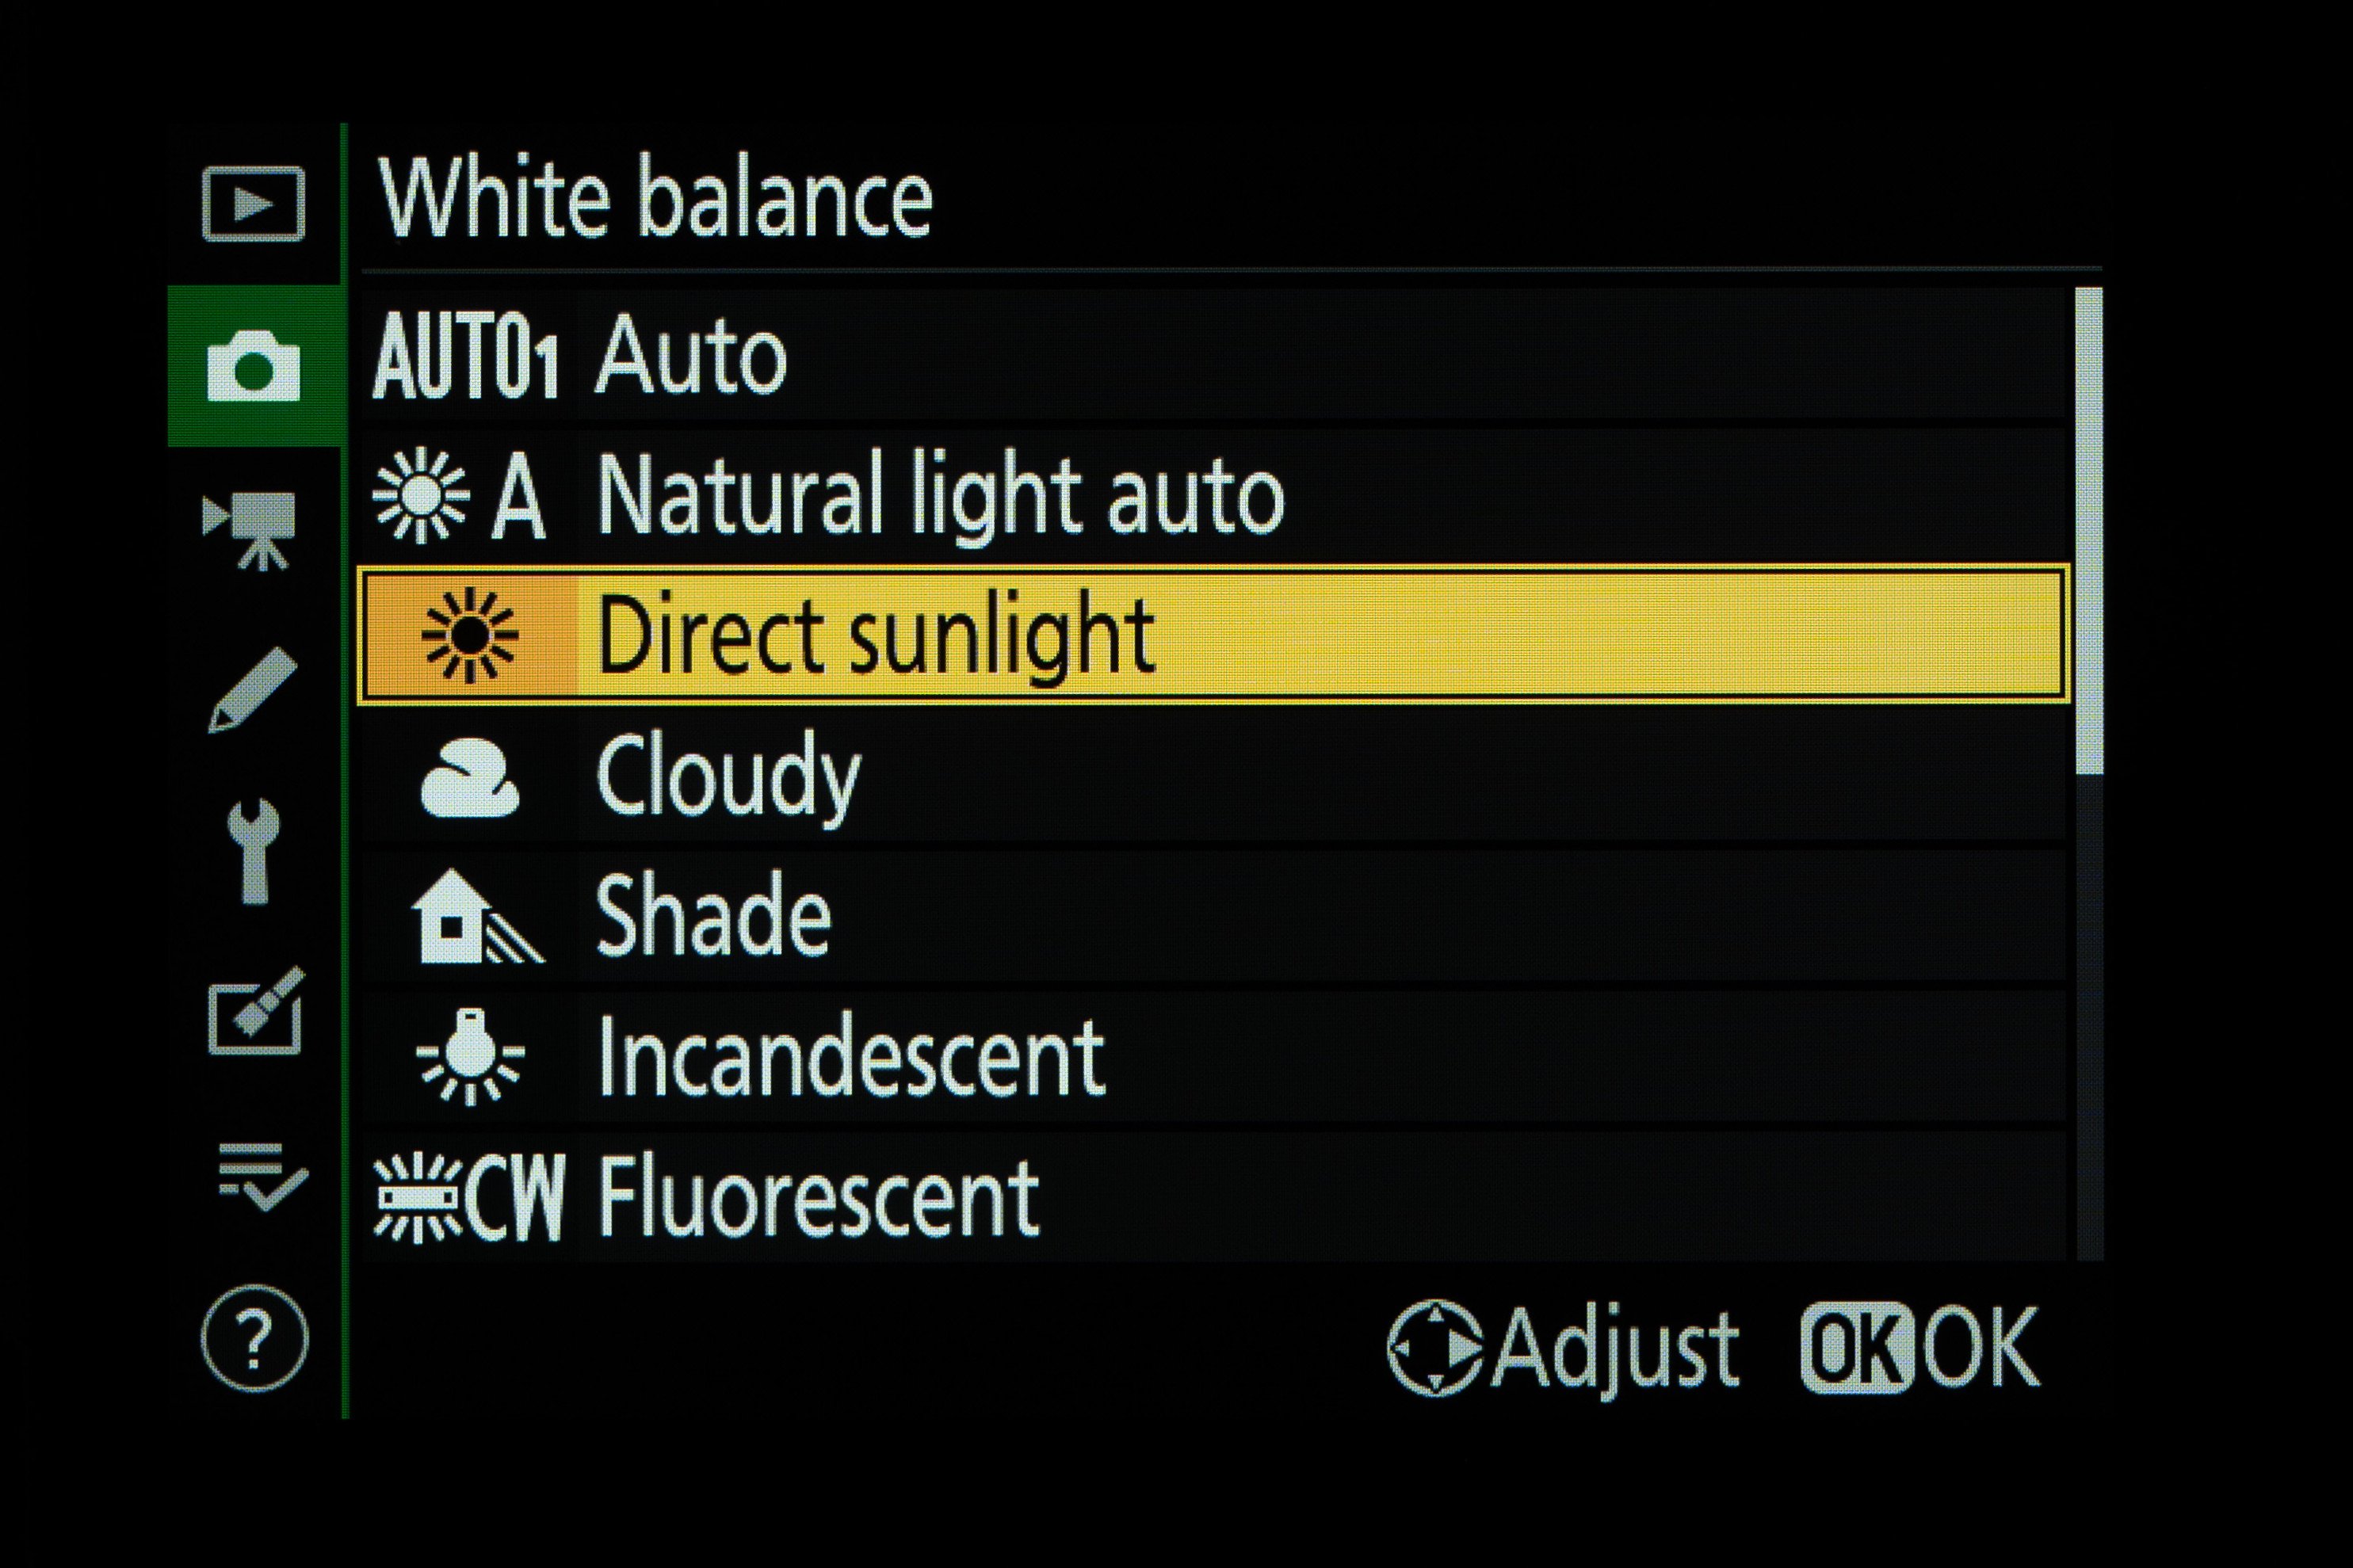
The White Balance setting in your Nikon’s Shooting menu or ‘i’ menu has a list of options, typically Auto, Natural Light Auto, Direct Sunlight, Cloudy, Shade, Incandescent, Fluorescent and Flash, as well as options for Choose Color Temperature and Preset Manual. In the same lighting conditions, shifting from Direct Sunlight through Cloudy to Shade will make images look warmer.
Auto options
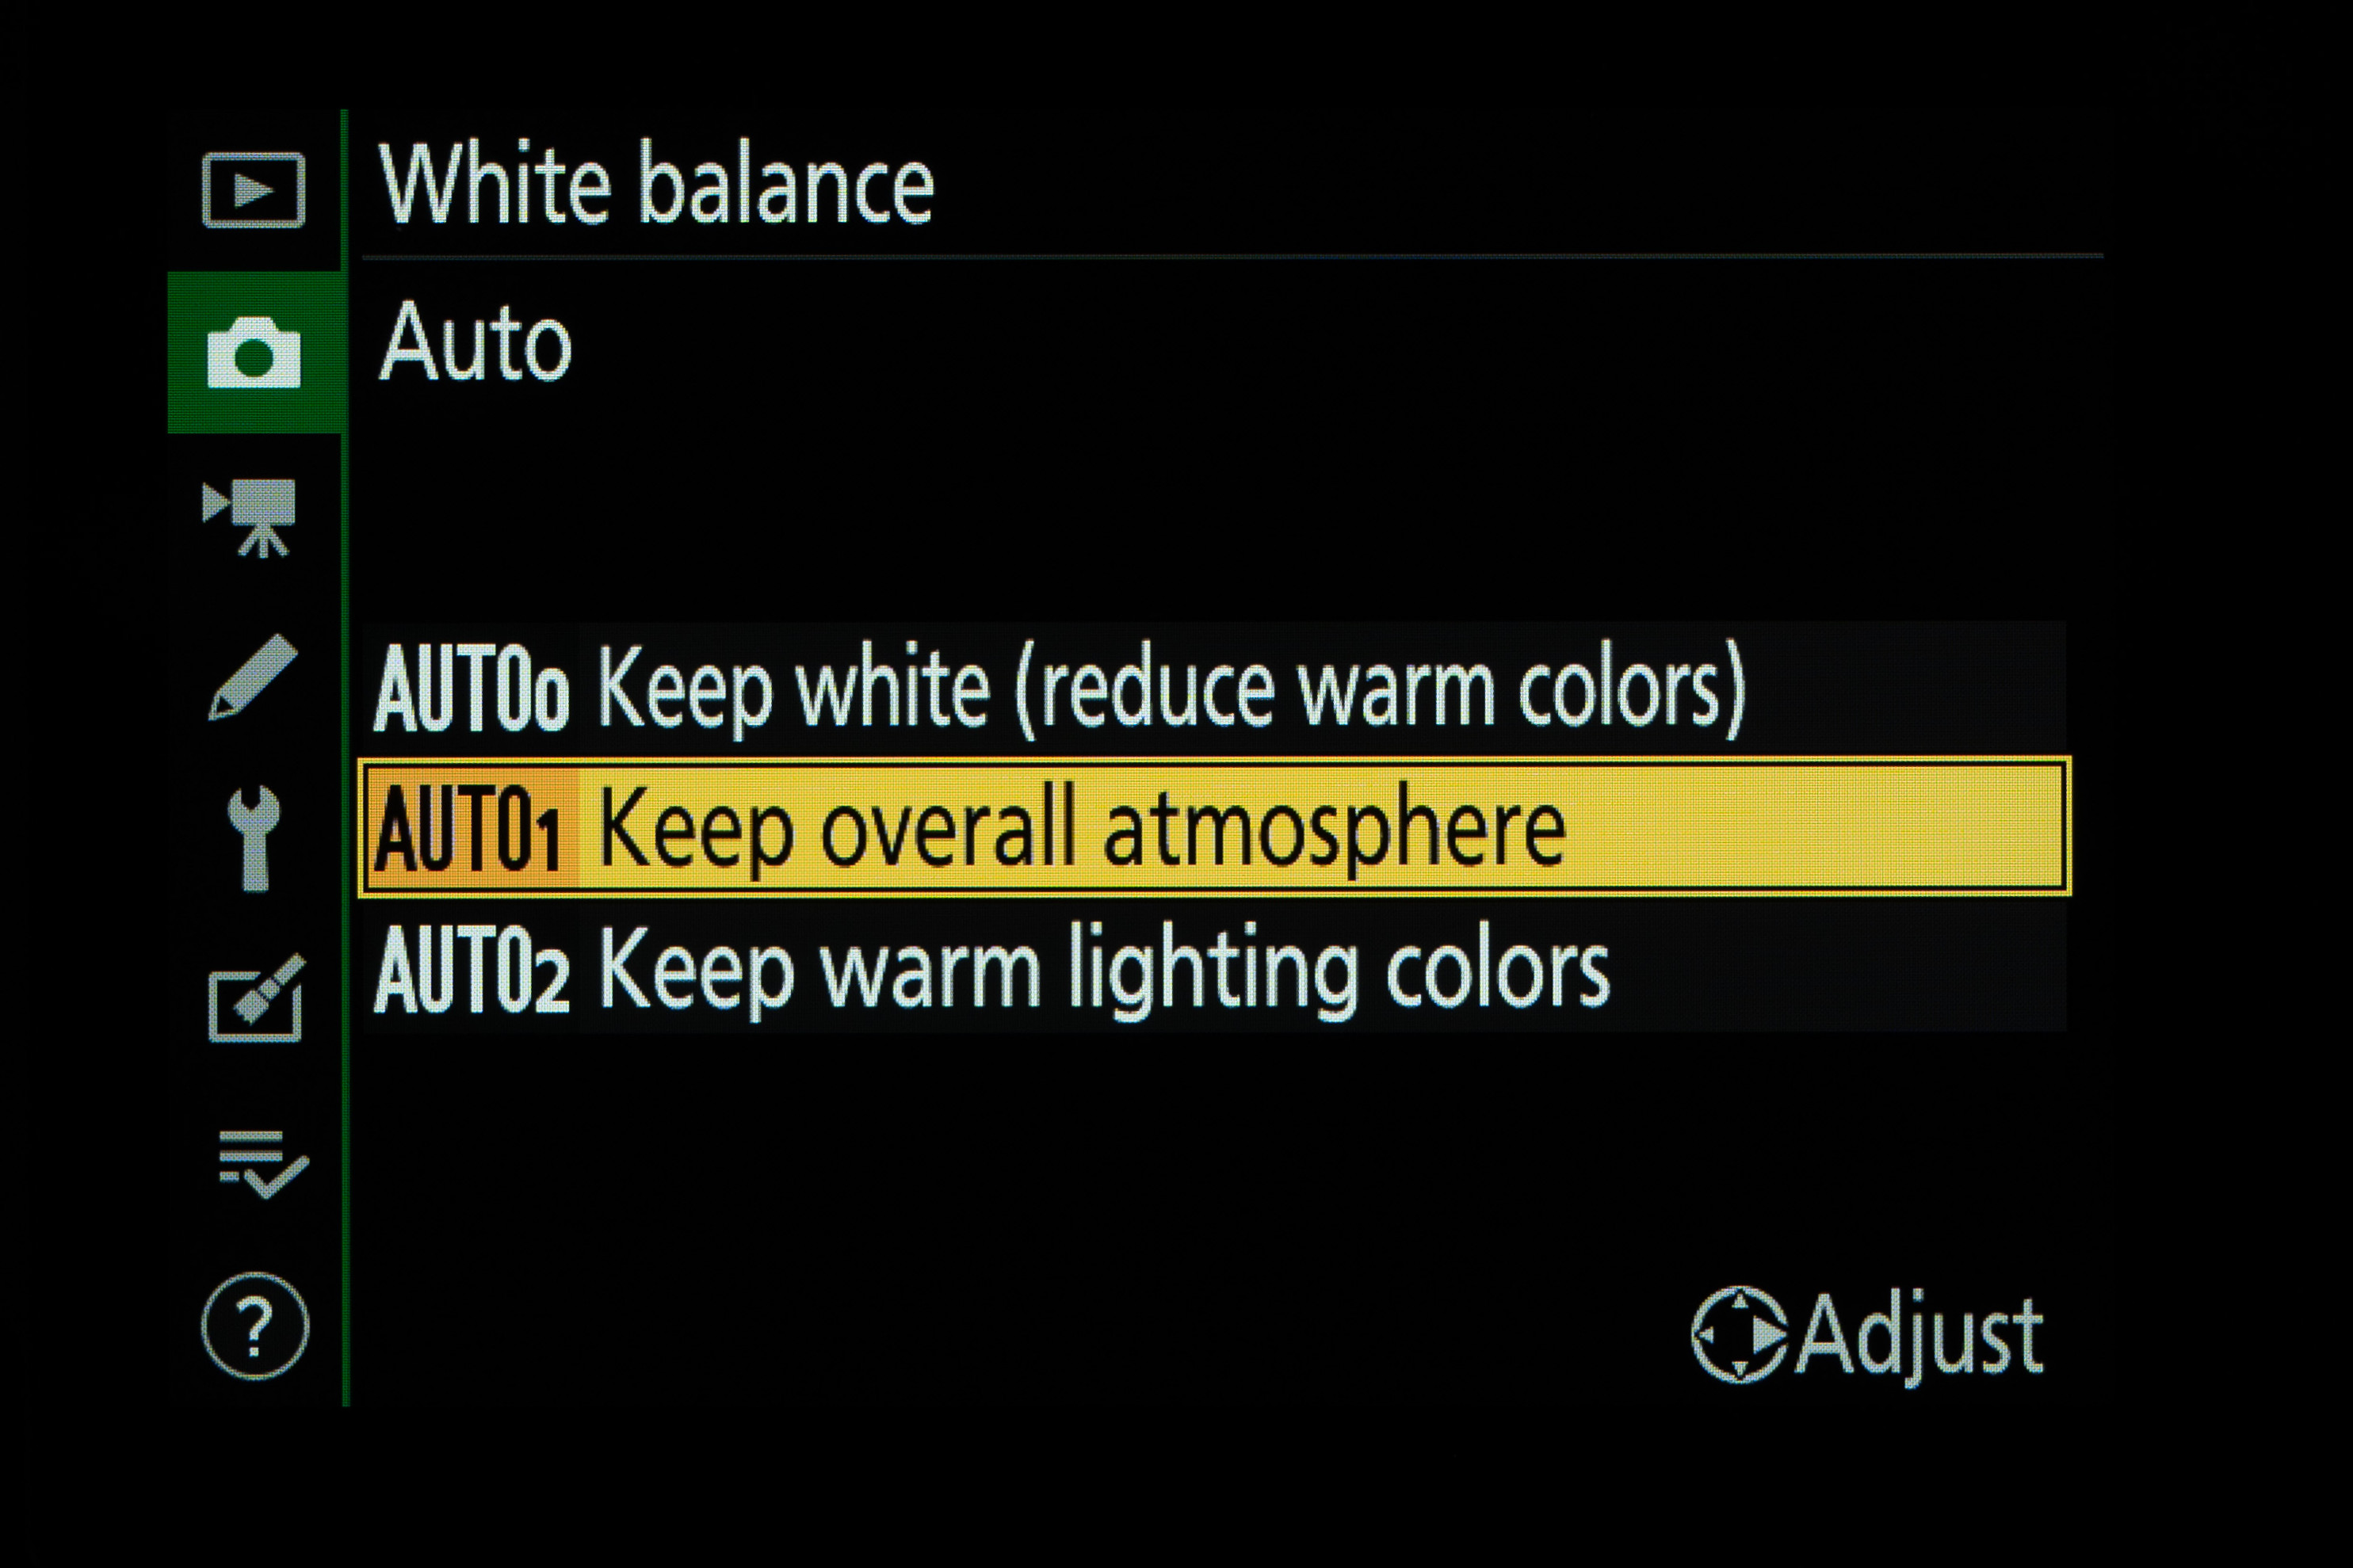
Auto white balance was notorious for applying an ‘accurate’ value and, for example, tuning out the warmth of scenes like sunsets. Recent Nikon cameras typically have three Auto settings, kicking off with Auto0, which aims to keep whites looking white. Auto1 generally works better, keeping the atmosphere of the scene. For the romance of, say, a candlelit scene, Auto2 can work best.
Go natural
The Direct Sunlight option here works well in bright sunshine. Above it is the Natural Light Auto setting. This can work under all sorts of natural daylight, in a range of 4500-8000K, for most weather conditions. It reproduces a color balance that’s as close as possible to how the human eye perceives a scene. The viewfinders of mirrorless cameras give you a preview or use Live View in a DSLR.
The best camera deals, reviews, product advice, and unmissable photography news, direct to your inbox!
Fine-tuning
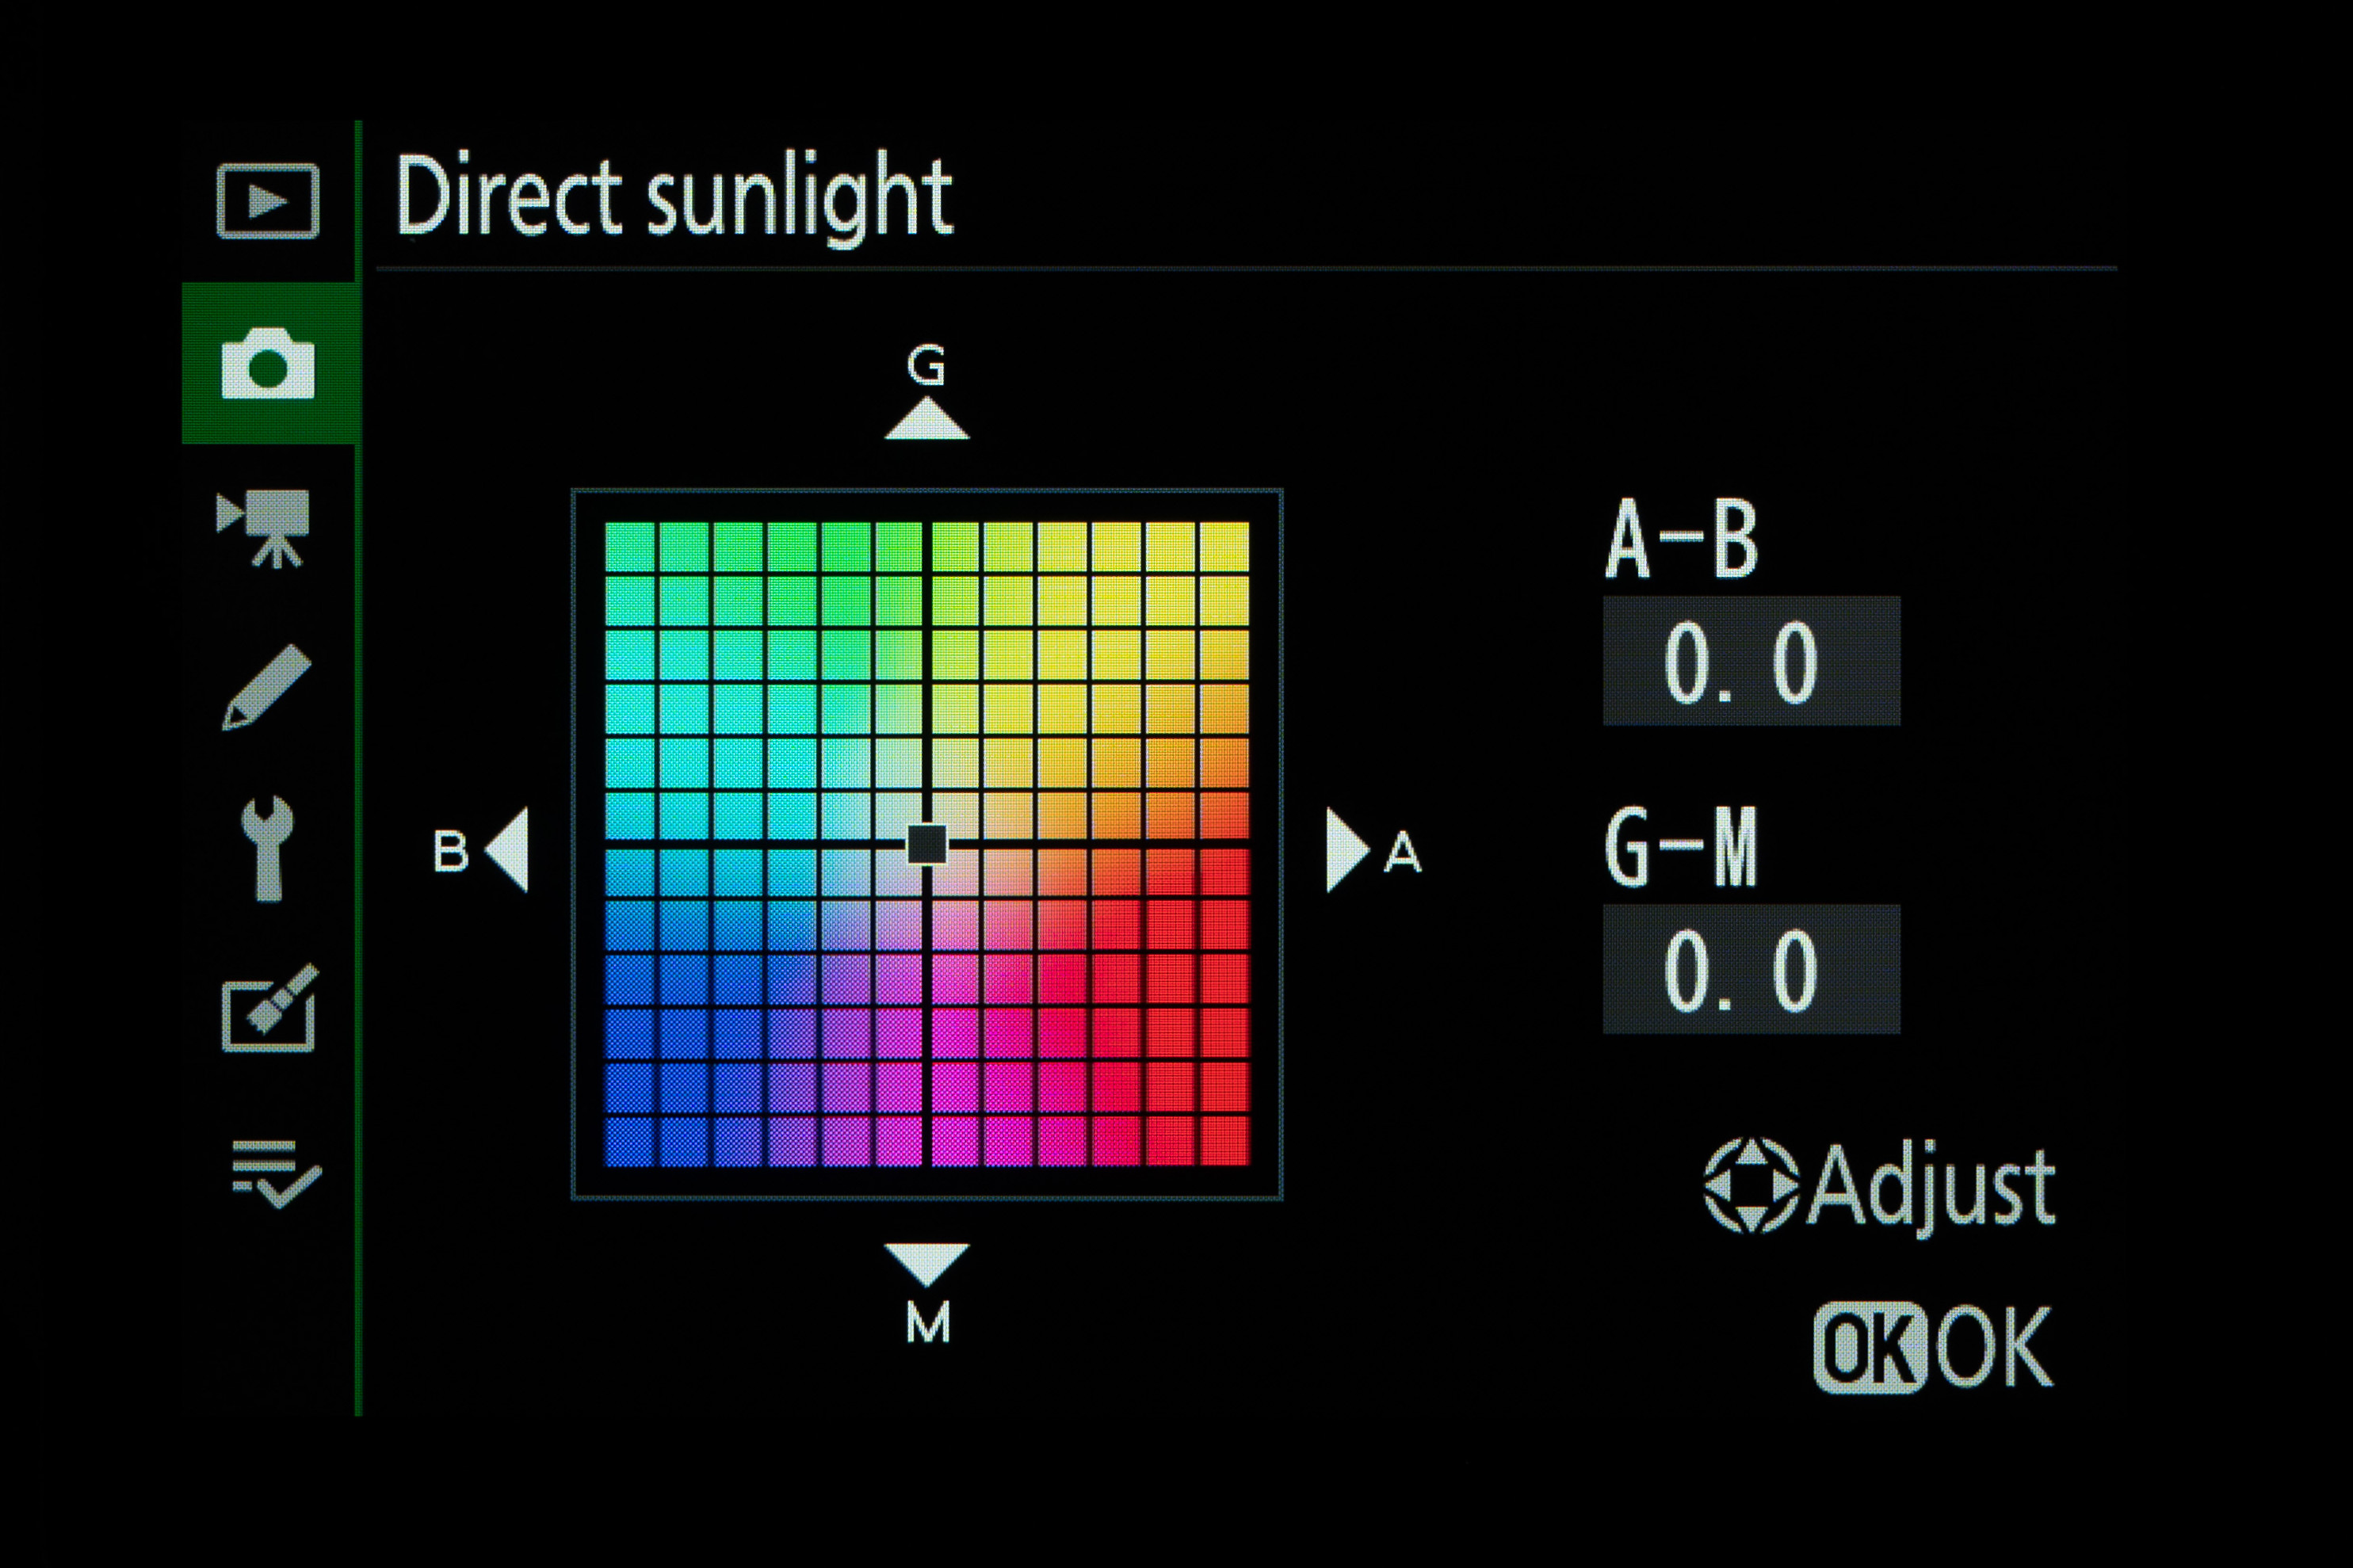
For the utmost accuracy or for creative effect, you can fine-tune the value of various white balance options. Pick the one you want and then press the right cursor key to reveal the fine-tuning menu. Press the left or right cursor keys on the multi-selector to shift the balance in up to six steps on the A-B (Amber-Blue) axis, and the up or down keys to apply a shift in the G-M (Green-Magenta) axis.
Pick a color
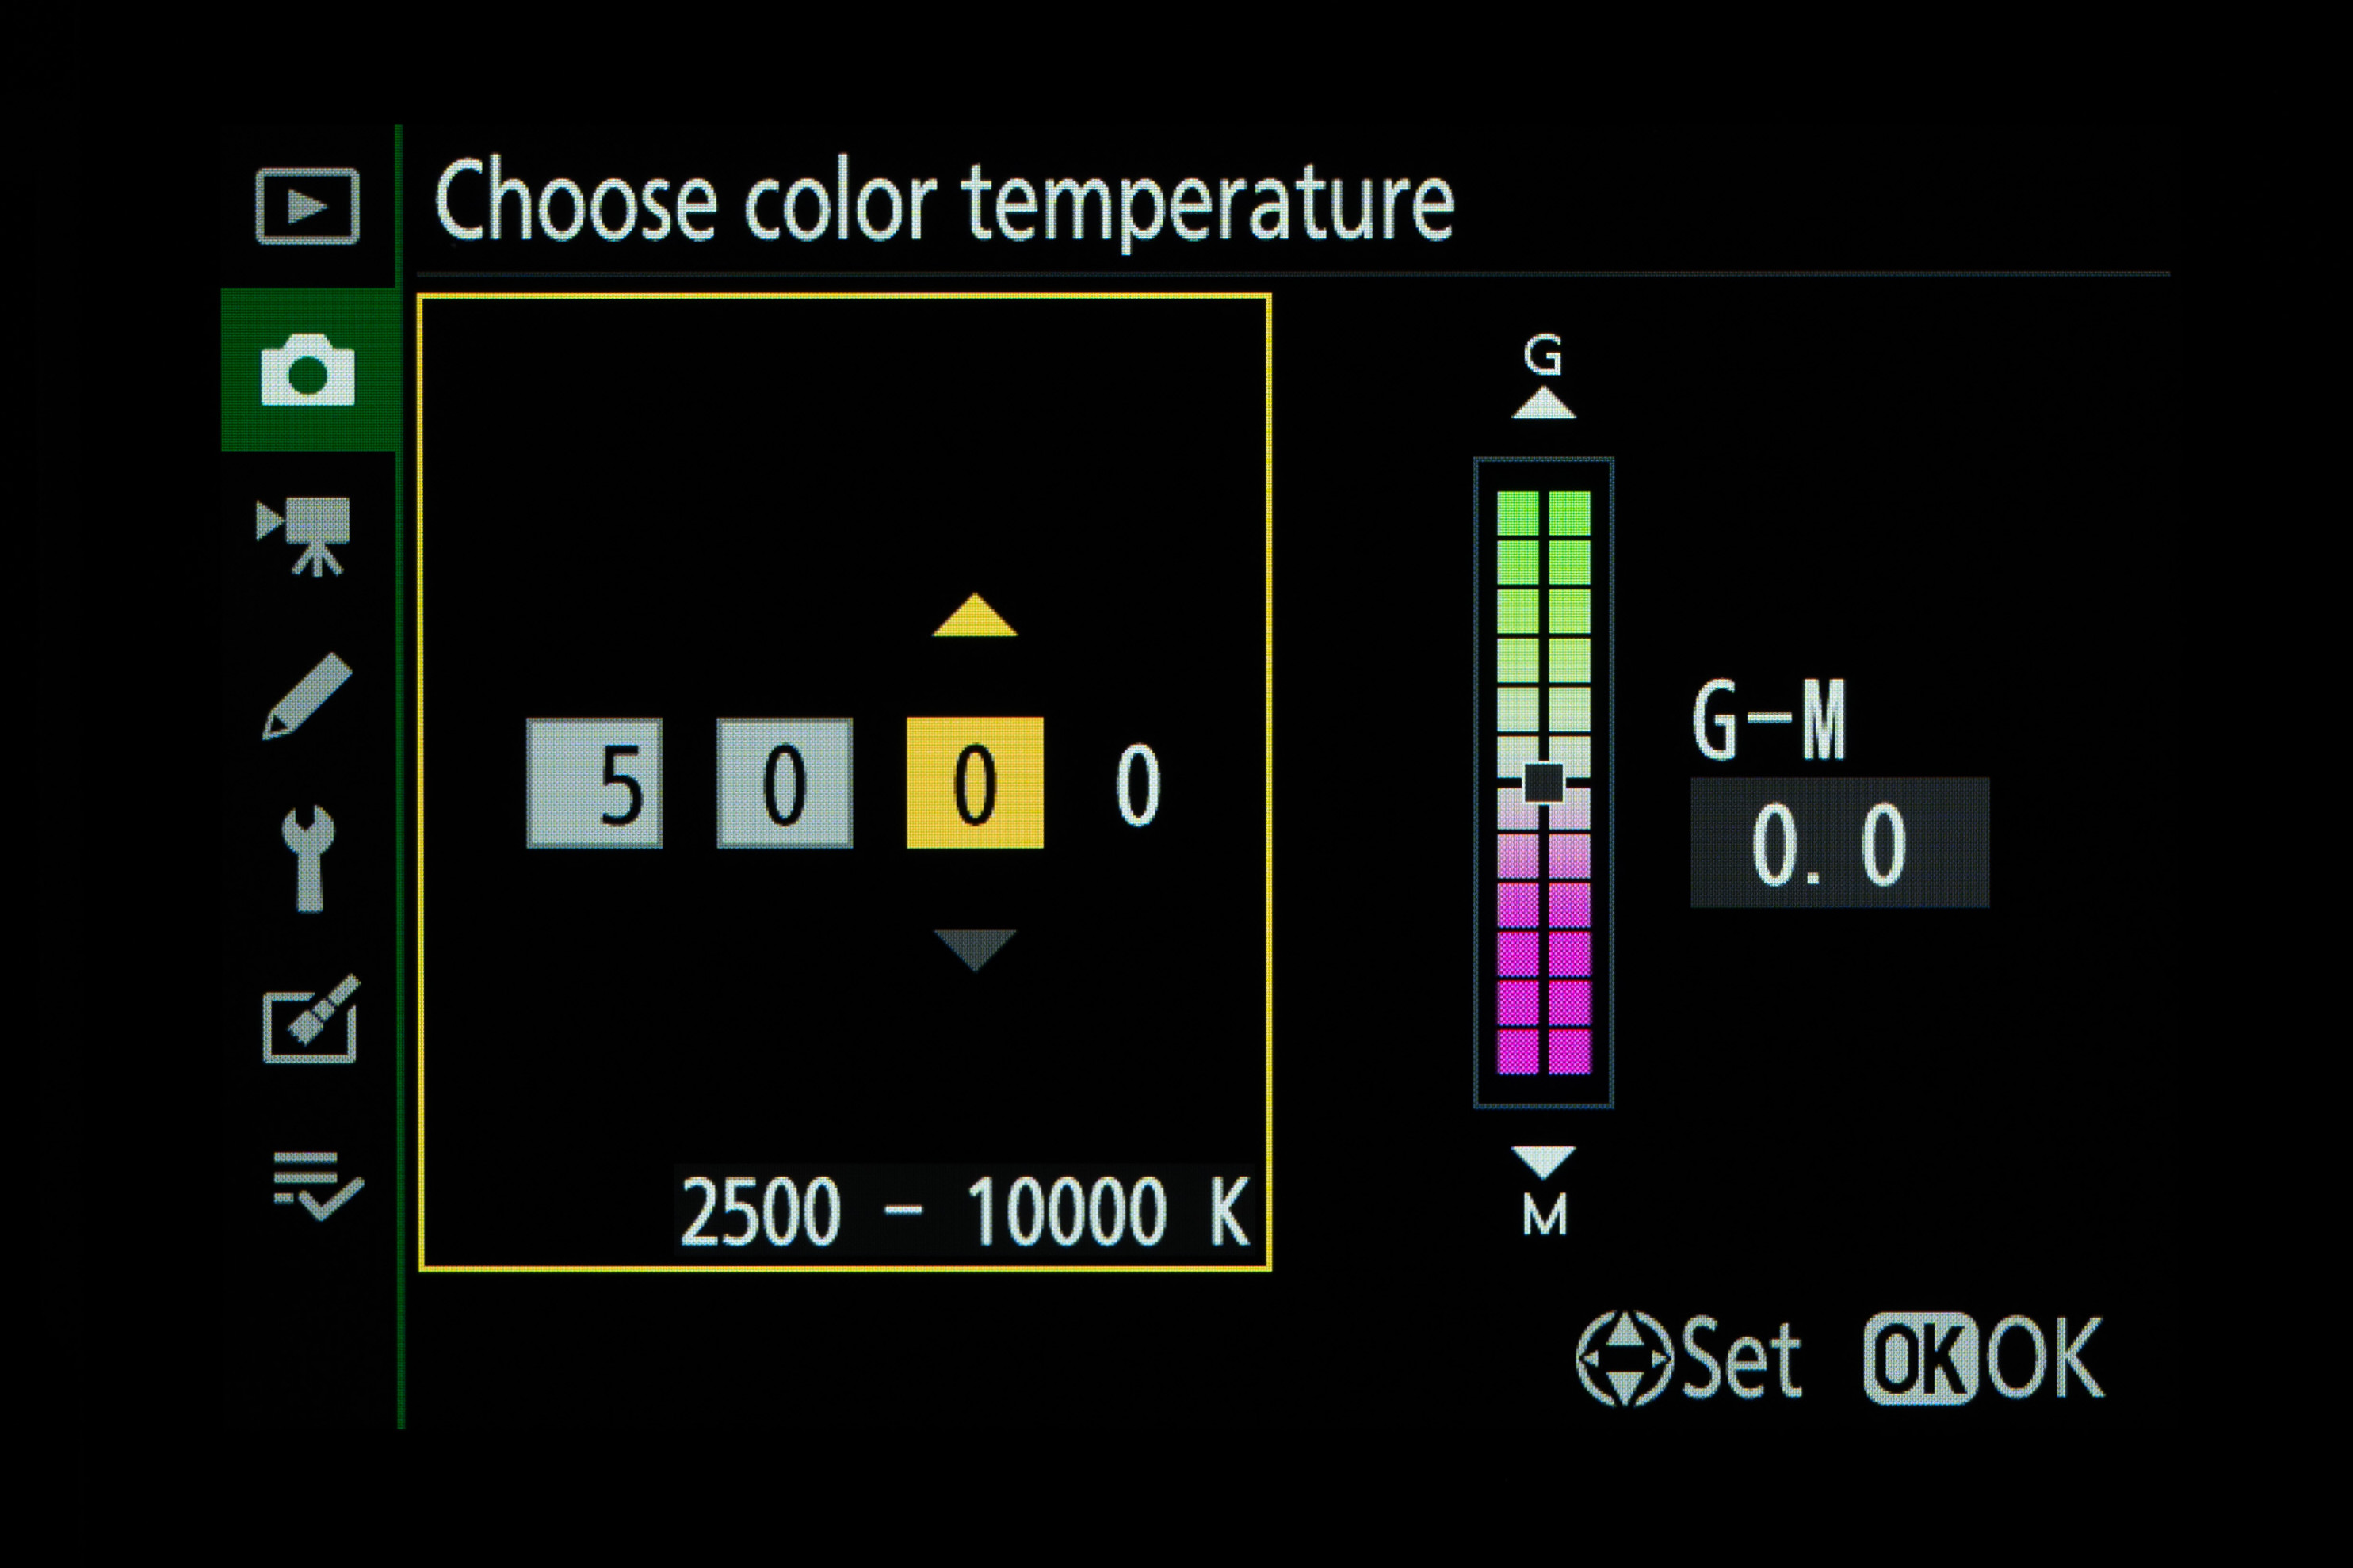
The Flash white balance setting has color temperature value of 5400K and is designed to give accurate results when you’re using a Speedlight. However, be wary if you’re using the flashgun as fill-flash and ambient lighting is the main source. If you know the color temperature of other artificial light sources, you can use the Choose Color Temperature setting and dial in the relevant value.
Set a preset
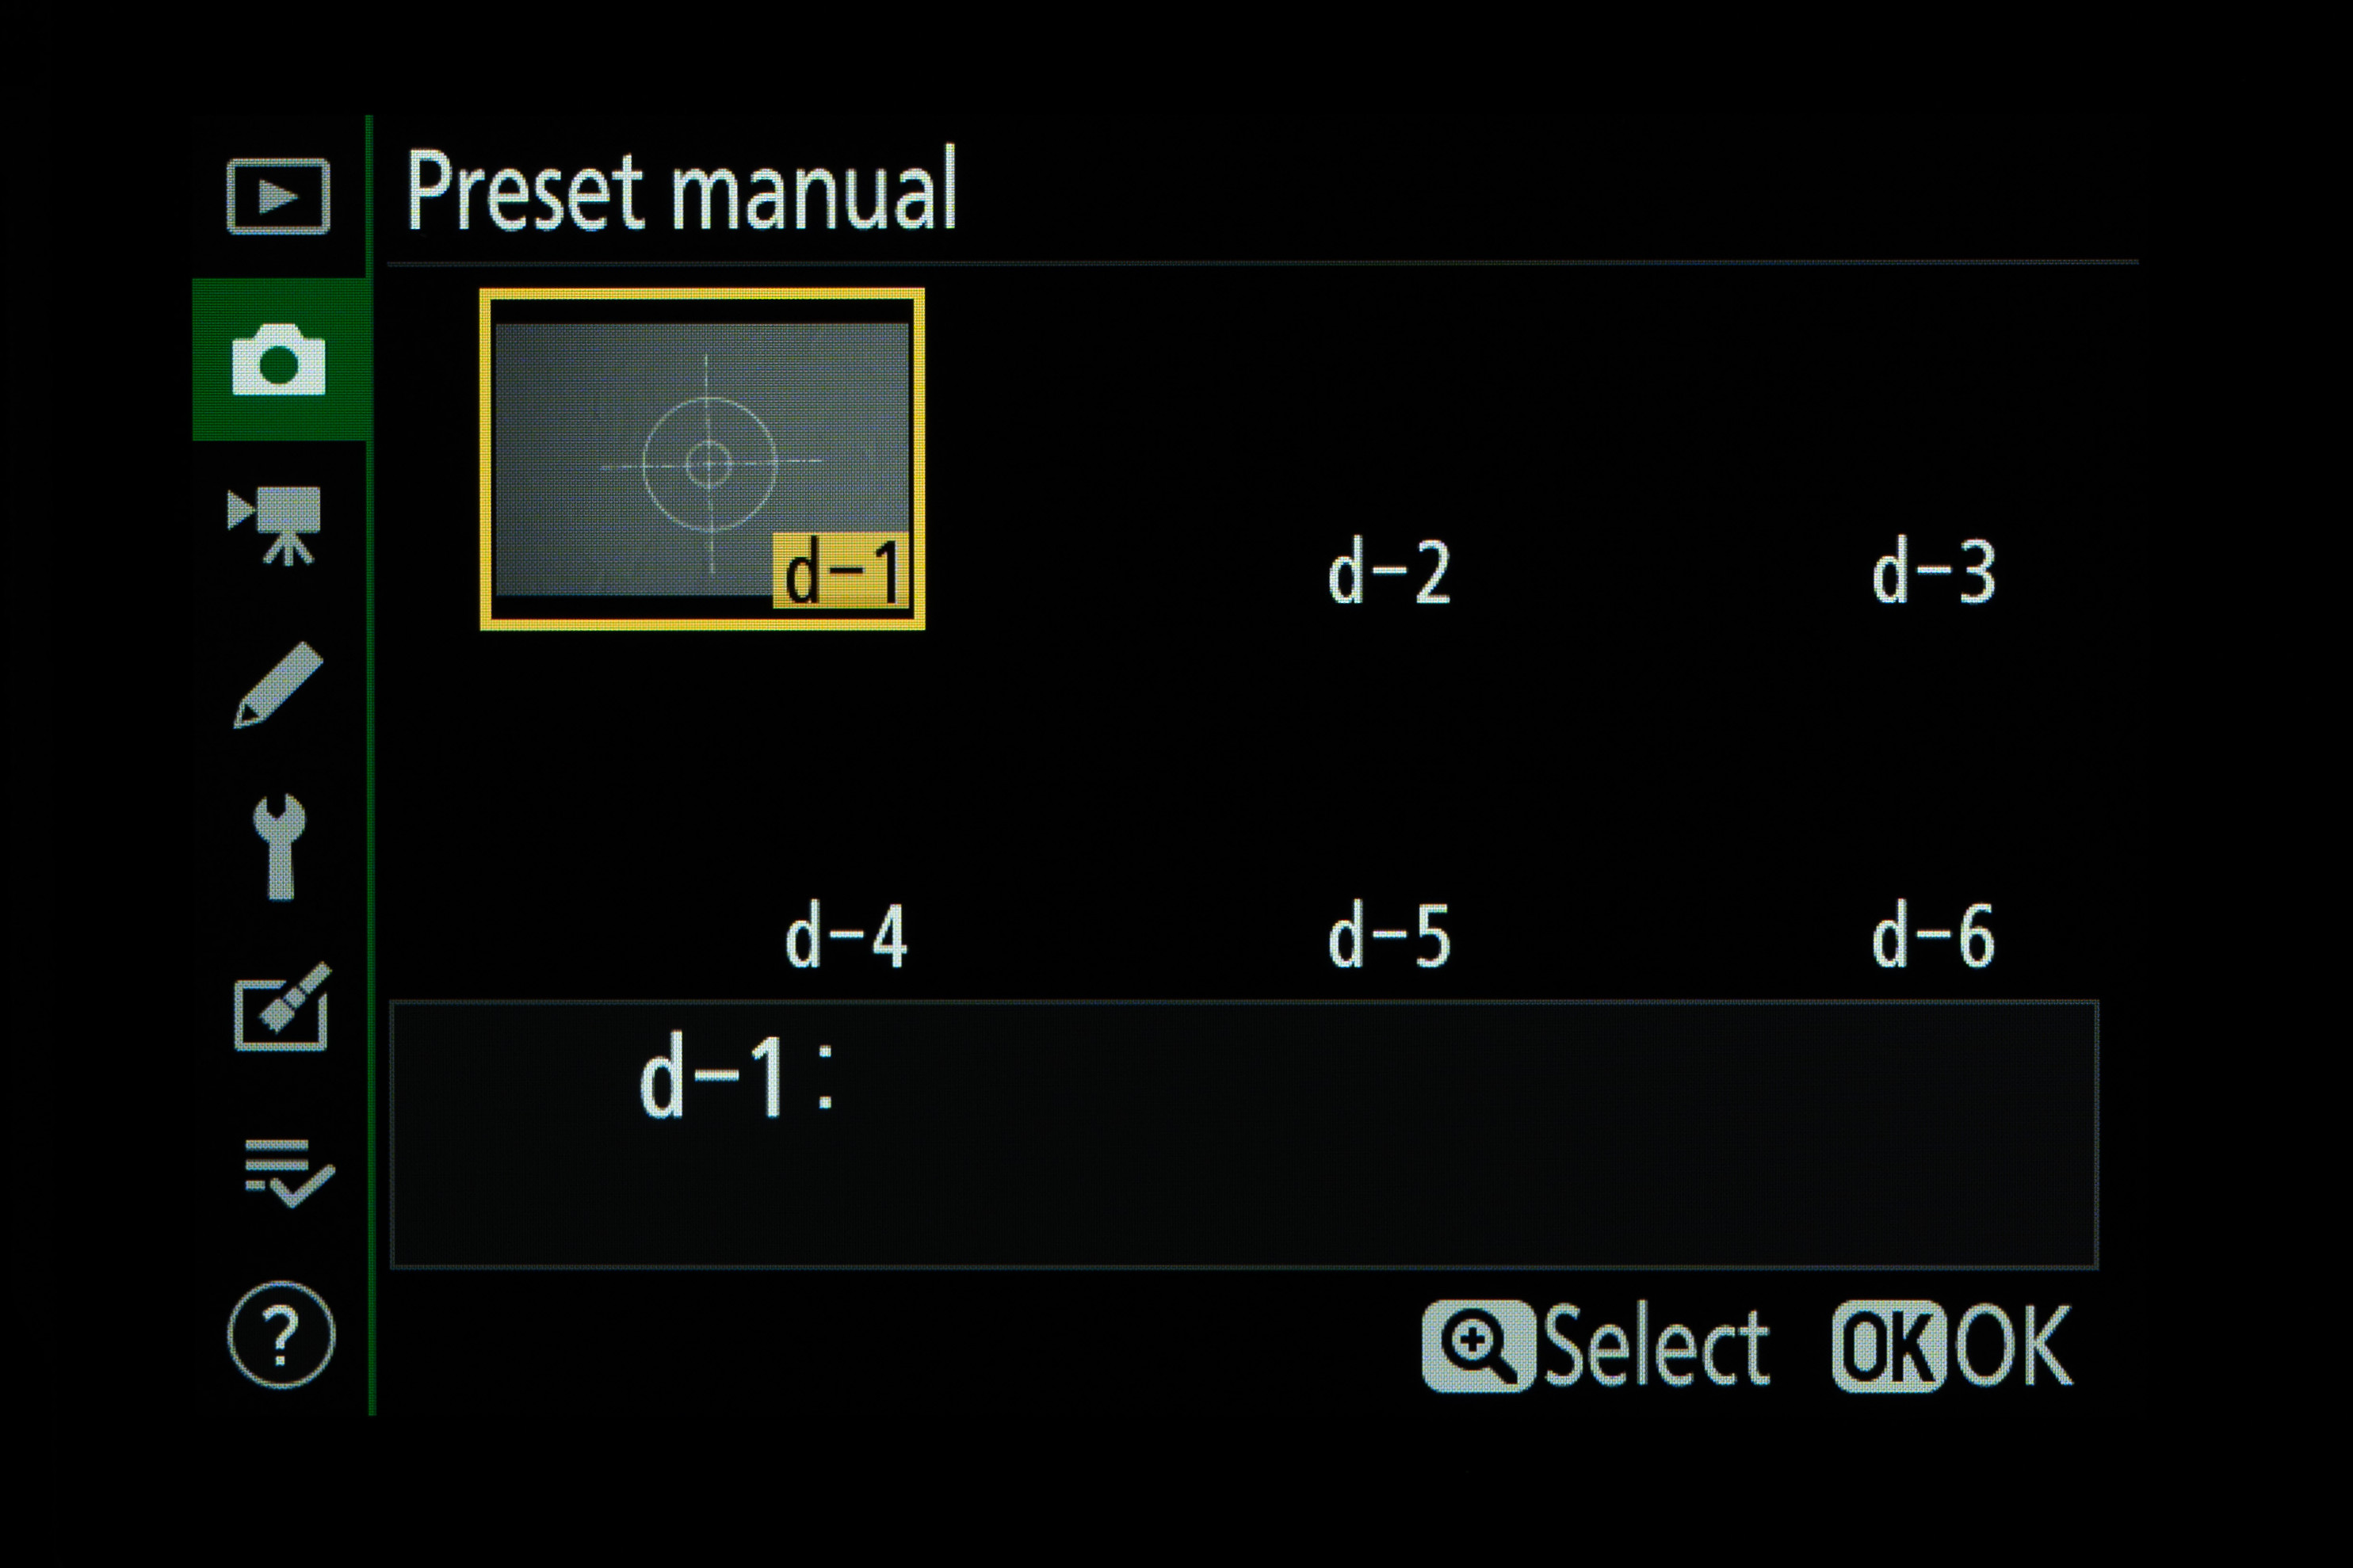
When you’re shooting under mixed lighting conditions, for example where different light sources are in play, it can pay to use the Preset Manual white balance option. Place a grey card, or a sheet of white paper, close to the main object in the scene and move in to take a test photo of just the card or paper. You can then select the image and use it to define a custom preset white balance.
For more on white balance, check out our white balance cheat sheet
Matthew Richards is a photographer and journalist who has spent years using and reviewing all manner of photo gear. He is Digital Camera World's principal lens reviewer – and has tested more primes and zooms than most people have had hot dinners!
His expertise with equipment doesn’t end there, though. He is also an encyclopedia when it comes to all manner of cameras, camera holsters and bags, flashguns, tripods and heads, printers, papers and inks, and just about anything imaging-related.
In an earlier life he was a broadcast engineer at the BBC, as well as a former editor of PC Guide.
