Taurid meteor shower 2022: how and when to photograph it this week
Everything you need to know for photographing the Taurid meteor shower in November 2022

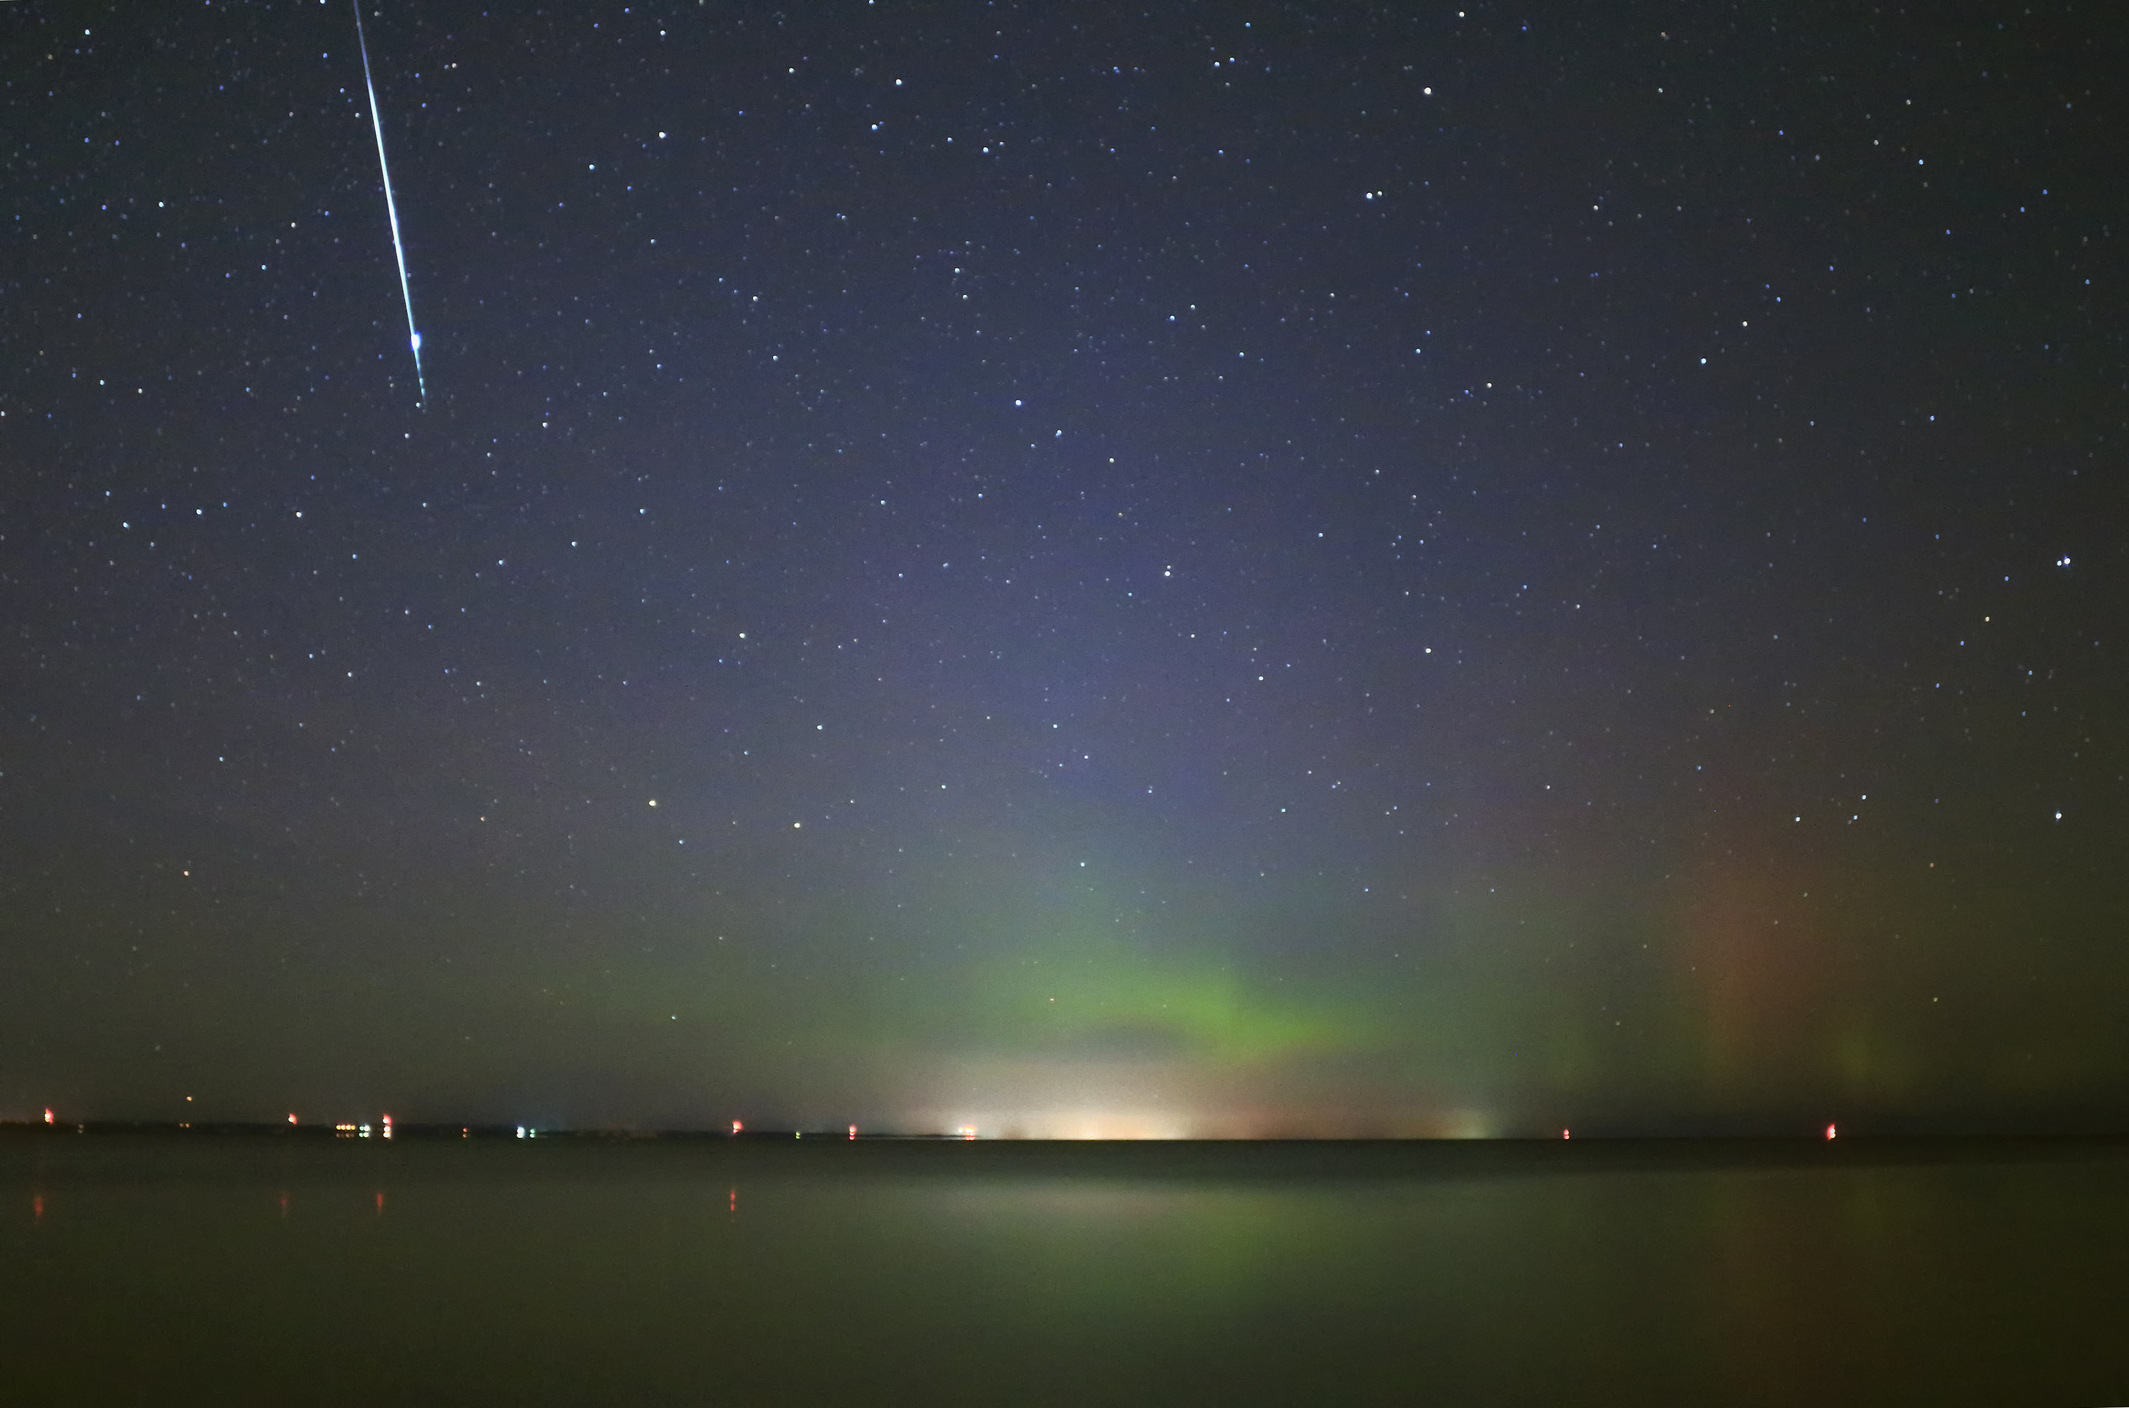
The Taurid meteor shower is due to start appearing in the night sky within the next week or so, so keep an eye out (and your camera ready) if you want to catch a glimpse of this stunning shooting star display.
With the right astrophotography tools it's possible to photograph shooting stars on any night of the year. But meteor showers like the Taurids bring lots of opportunities for stunning night sky photography. We've mentioned that the Taurid meteor shower will start in the next week, but what exactly is the shower, and when is the best time to photograph it?
What is the Taurid meteor shower?
A meteor or 'shooting star' is essentially just dust. Earth’s orbit of the Sun often takes it through stacks of debris left in the solar system by comets and asteroids. Mostly it's just dust particles – no bigger than grains of sand – that Earth's atmosphere slams into. As it does, these particles energize briefly and become disintegrating meteors.
The Taurid meteor shower spectacle is created by debris from a comet called Encke, which hits the Earth's atmosphere and then burns up.
Unfortunately, this year's Taurid meteors could be harder to see than usual, as they'll be competing against a full moon (or near full moon) for most of the nights – a spectacular Blood Moon this November , visible in some parts of the world on November 8, could provide a dramatic backdrop to the streaks in the sky.
When is the Taurid meteor shower?
The Taurid meteor shower happens every year in autumn. In 2022, the shower will peak (seeing the greatest number of meteors per hour) between 12-13 November in the Northern Hemisphere.
How to photograph the Taurid meteor shower
A meteor shower typically only lasts a split-second – though occasionally as long as a second – as it streaks across the night sky. That doesn't give you enough time to react to it, so your camera's shutter needs to be already open, ready, and waiting for the light from a shooting star to hit its image sensor. That means you'll need to use long exposures of up to 30 seconds or beyond.
If you've never done any after-dark shooting before, you might like to start by reading out beginner's guide to photographing the night sky.
The right location
In terms of location, picking a site with little light pollution is important because you’re going to be opening the shutter for at least 25 seconds, so a lot of light is going to get in. This interactive world light pollution map and the Dark Site Finder are both very useful for scouting a good location away from the bright lights of urban areas. However, if you can't travel outside a city, you can still try to photograph shooting stars. Find somewhere where no streetlights are going to interfere with your composition, and get your camera into the shadow of a building.
Although the darkest skies are between midnight and dawn, the radiant of the Perseids – the constellation of Perseus – is ‘up’ right after dark in the northern hemisphere, so you can start looking for shooting stars right away. Or, while you wait for the night skies to darken, you could try to capture a beautiful crescent moon just above the southwestern horizon before it leaves the sky.
The right gear

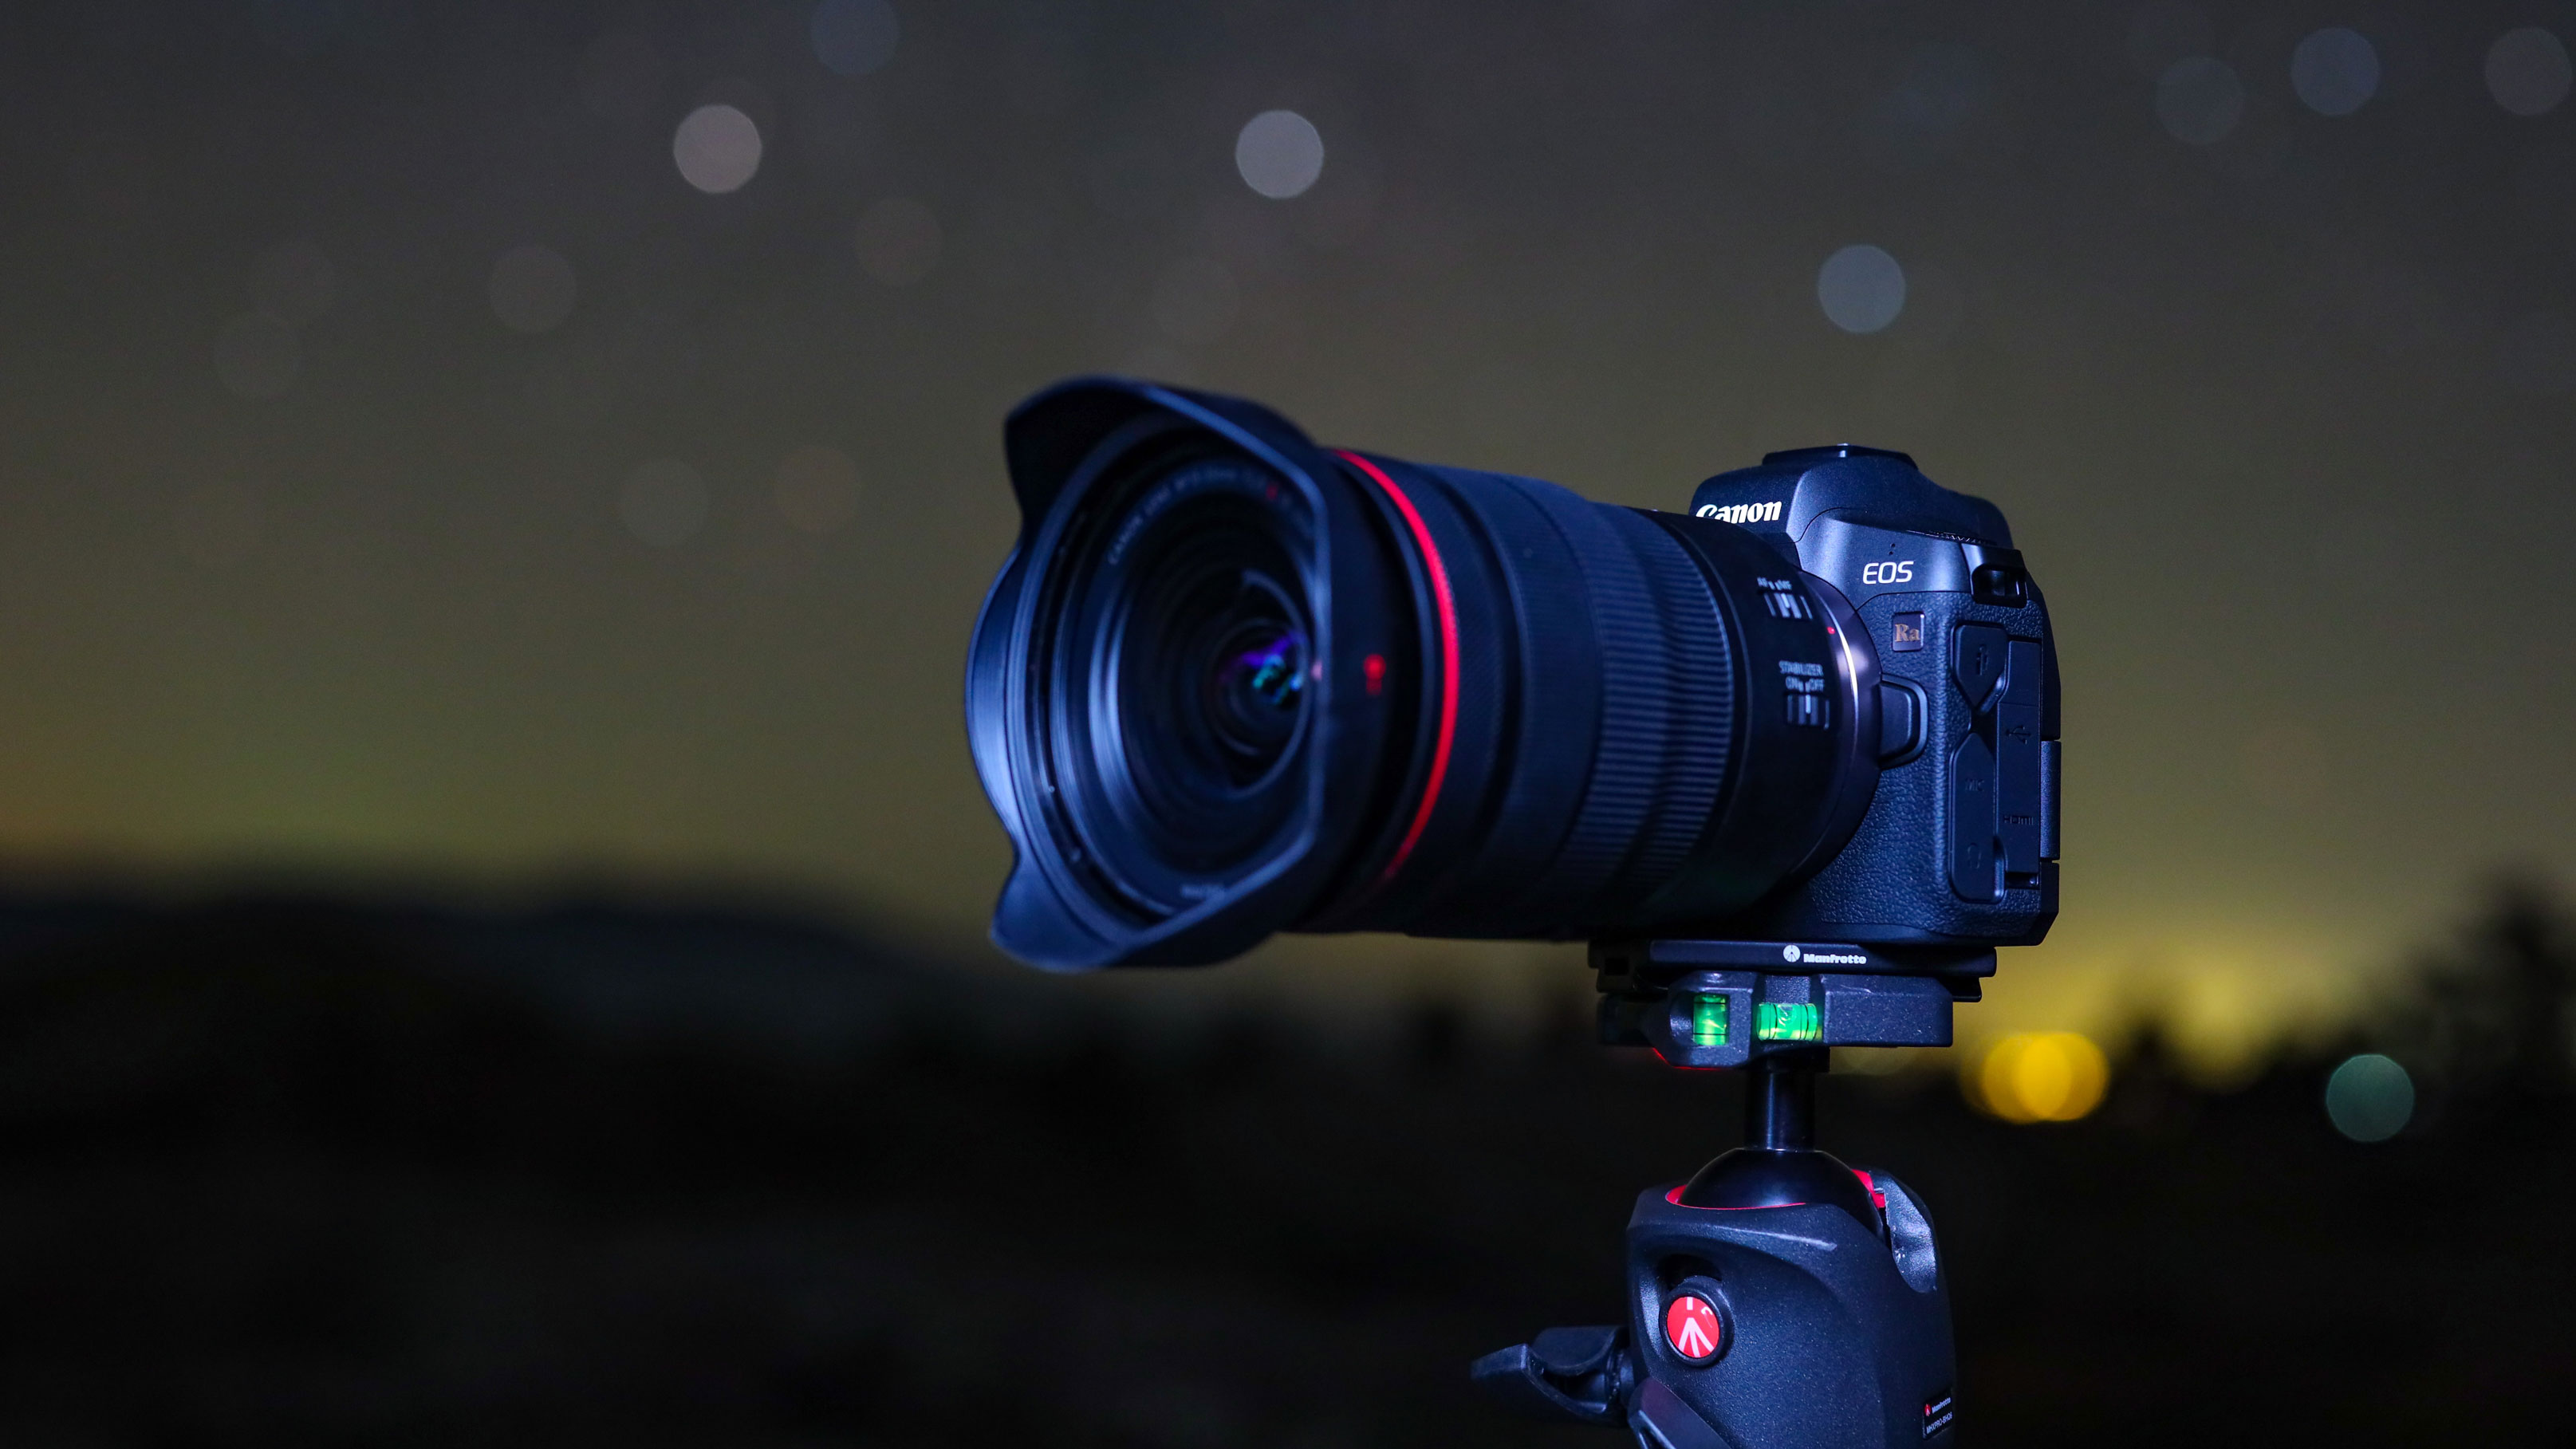
Our best astrophotography tools buying guide has you covered for all the gear you'll need to photograph the Taurid meteor shower this year. However, here's a quick overview for the key kit you'll need...
Full-frame camera
You can use any DSLR or mirrorless camera as long as it has a manual mode, and you can shoot long exposure images for at least 30 seconds. However, one of the best full-frame cameras is the best option because it will capture more light and feature less image noise when used at high ISOs.
Wide-angle lens
Since you want to capture as much of the night sky as possible to maximize your chance of capturing shooting stars, a wide-angle lens is best. The best lenses for astrophotography have an effective focal length of between 10mm and 28mm.
Tripod
Keeping your camera steady is an absolute must for long exposures, so you'll need the best tripod you can get. If it's windy, don't use the tripod's extension arm. Check that the horizon is level before taking a shot.
Other gear
A shutter release cable that can be locked, or an intervalometer or remote control, will be helpful for taking repeated long exposures without having to manually depress the shutter button every 25 seconds.
The right composition
Although it's tempting to point your camera at the radiant, meteors can just as easily appear anywhere in the sky.
By pointing at the radiant you'll likely miss as many meteors as you'll catch, so it's better to get something interesting in the foreground – perhaps an old barn, a tree, or a sculpture – in your composition to add interest. That way you'll have a beautiful landscape photo that will hopefully feature a shooting star or two.
Taking the shot
With your lens's focus set to infinity, and its aperture to around f/2.8 (or as open as possible), choose ISO 800 or ISO 1600 (or even higher if you're in a really dark sky site) and fix the shutter speed to 25sec. Take the shot, and if you're not happy with result as a stand-alone image, make adjustments and re-take.
Once you're happy, here comes the fun bit; take the same shot 50-200 times in Raw over the course of an hour, or a couple of hours. Just be careful not to switch-on any lights, or nudge your tripod during the shooting period; keep dark and stand well back.
Either way, you'll end up with hundreds of shots of the night sky, some of which will hopefully have shooting stars within them. If that's all you're after, you can extract the images that do feature a shooting star and ditch the rest. However, if you use the free software StarStaX, you can drag-and-drop all 200 photos into it to create a star-trail image … featuring shooting stars, of course. It's also possible to do this on Adobe Photoshop.
Read more: How to capture star trails
Enjoyed this article? You might also like these astrophotography tips, tricks and techniques, as well as the best star tracker camera mounts.
Get the Digital Camera World Newsletter
The best camera deals, reviews, product advice, and unmissable photography news, direct to your inbox!

Jamie has been writing about photography, astronomy, astro-tourism and astrophotography for over 15 years, producing content for Forbes, Space.com, Live Science, Techradar, T3, BBC Wildlife, Science Focus, Sky & Telescope, BBC Sky At Night, South China Morning Post, The Guardian, The Telegraph and Travel+Leisure.
As the editor for When Is The Next Eclipse, he has a wealth of experience, expertise and enthusiasm for astrophotography, from capturing the moon and meteor showers to solar and lunar eclipses.
He also brings a great deal of knowledge on action cameras, 360 cameras, AI cameras, camera backpacks, telescopes, gimbals, tripods and all manner of photography equipment.
