The ultimate guide to mountain photography
Whether you're on land or 30,000ft high, here are the tools and techniques you need for stunning mountain photography
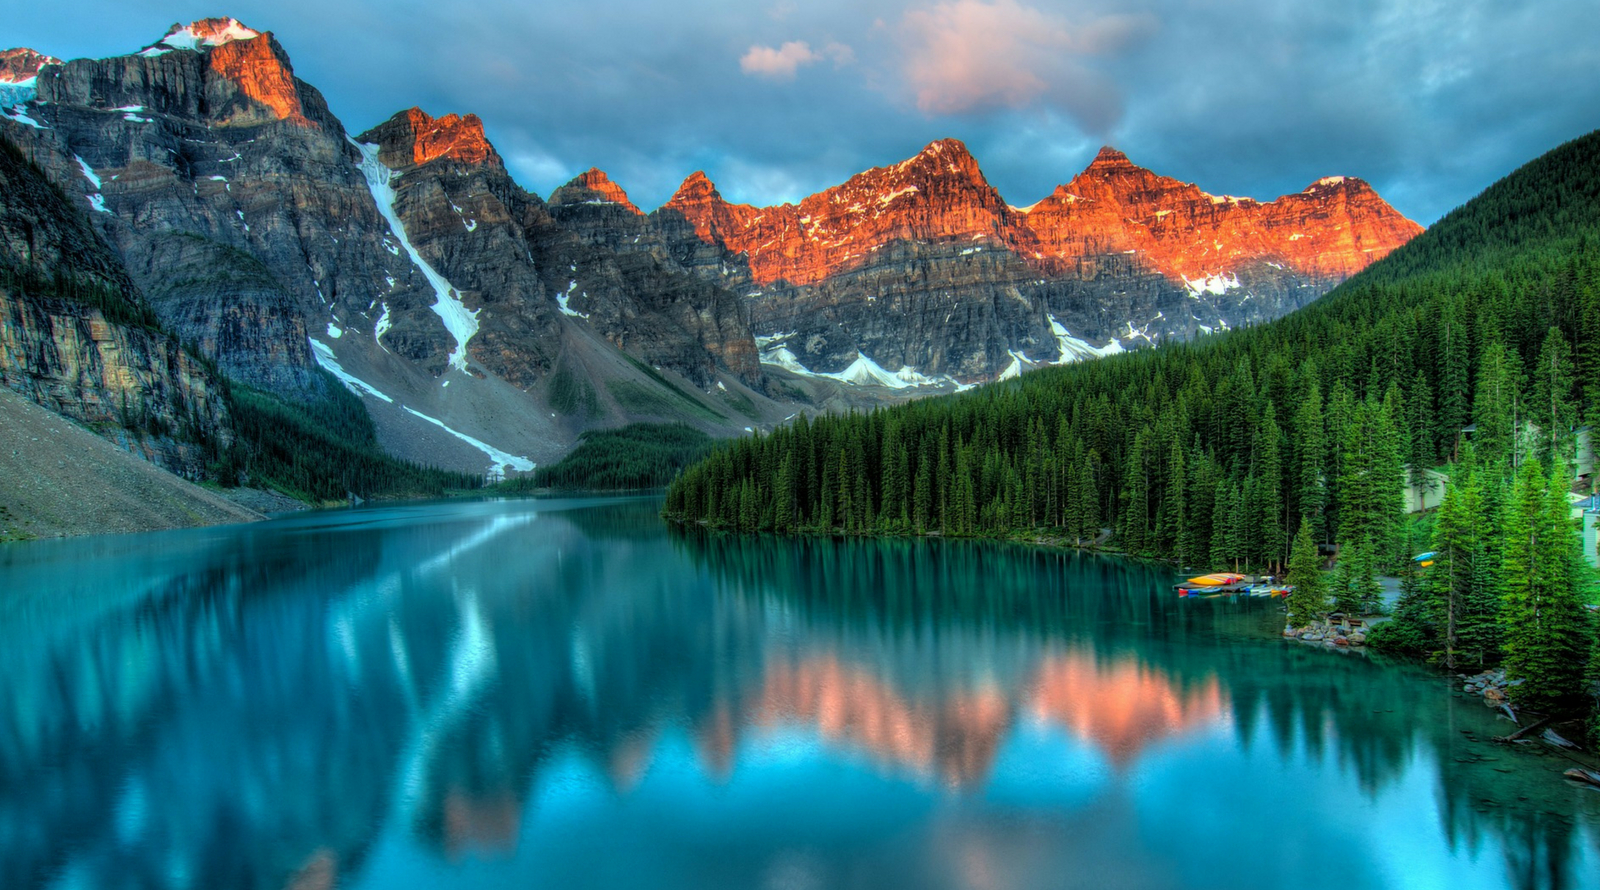
“The mountains are calling and I must go.” The Scottish-American naturalist, John Muir's words continue to chime with walkers, hikers, adventurers and landscape photographers who, given the chance, head for the hills.
Why? Stunning vistas, 360 panoramas, dramatic craggy peaks covered sometimes in snow, golden sunlight and moving shadows make for endless opportunities for incredible compositions. Above image: CC0 Creative Commons
Where to take photos of mountains
In the UK, head to the Lake District in England, Snowdonia in Wales, and to the Grampian Mountains and the Cairngorms in the Scottish Highlands.
In Europe, the Alps are one of the largest and highest mountain ranges in the world, and stretch across France, Italy, Switzerland, Liechtenstein, Germany, Austria and Slovenia, while the dramatic Pyrenees separate France and Spain.
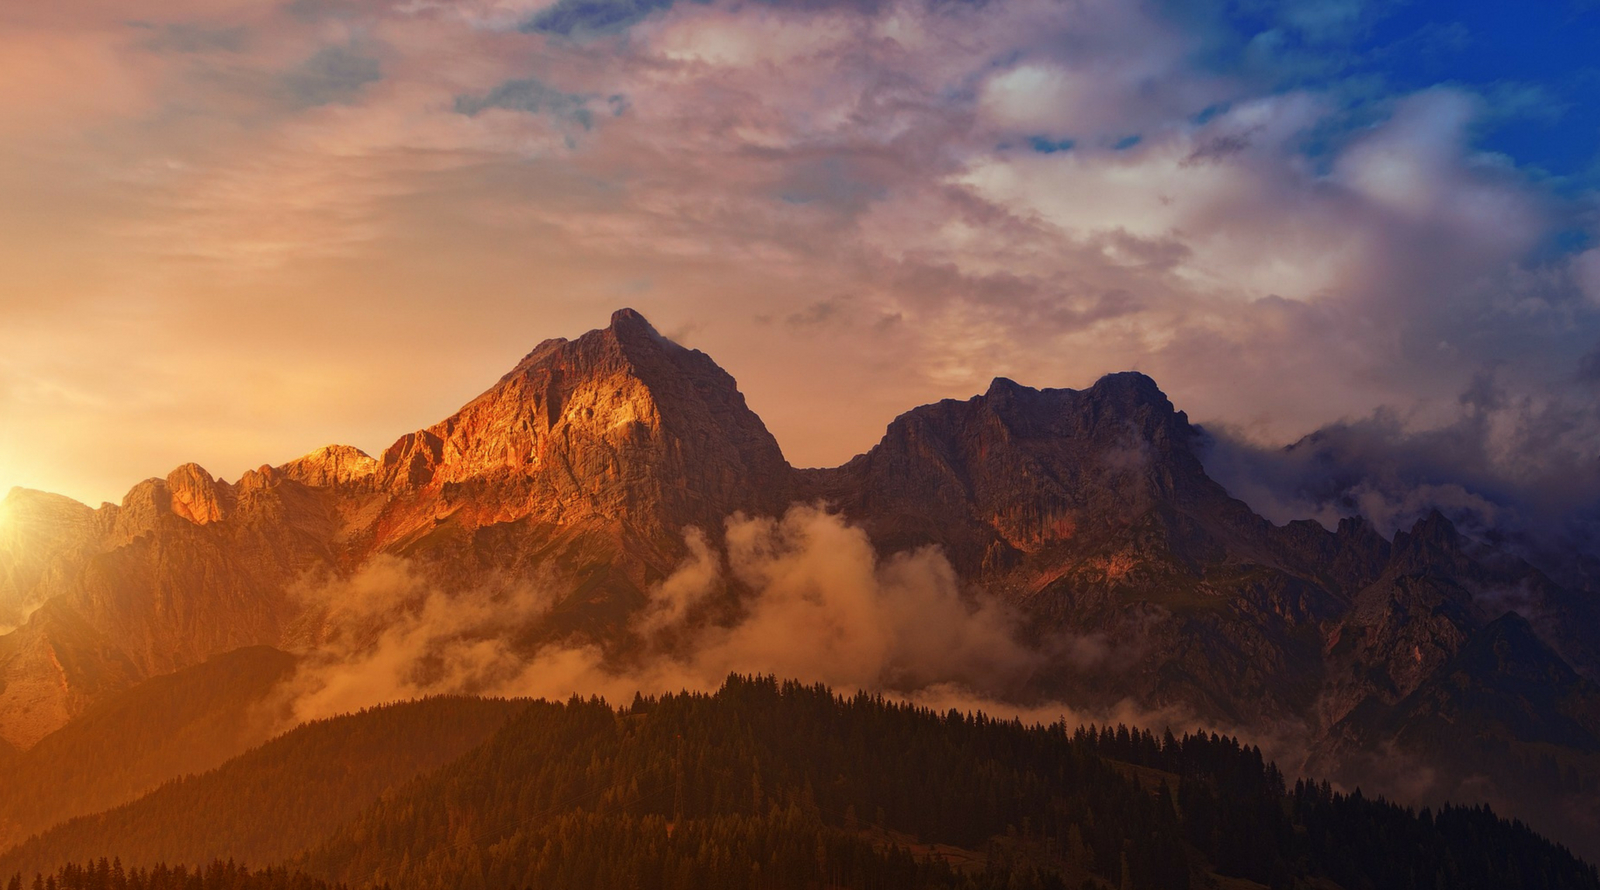
The world's highest mountain range is the Himalayas in India and Nepal, while the longest mountain range is the Andes in South America, which touch Venezuela, Colombia, Ecuador, Peru, Bolivia, Chile, and Argentina. There are a ton of others, from the mighty Rocky Mountains of North America to Australia's Great Dividing Range, and Morocco's Atlas Mountains.
However, just as important from a photography point of view are the world's most iconic peaks; Japan's Mount Fuji, Kilimanjaro in Tanzania, Switzerland's Matterhorn, Table Mountain in Cape Town, South Africa, and the Teton Range in Wyoming, USA's Grand Teton National Park. Closer to home, there are the three highest peaks of Scotland, Wales and England – Ben Nevis, Snowdonia and Scafell Pike.
Gear you need
A DSLR or mirrorless camera and a tripod are essential. A wide-angle lens is handy for capturing as much of the scene as possible, while a zoom lens will enable you to get more distant peaks, and to pick out interesting details, shadows and light. A versatile zoom lens, such as a 24-105mm option, works well if you're travelling reasonably light, but a telephoto that can reach 300mm will be more useful.
How to take photos of mountains: composition
Although 'mountaineer' photography is perfectly possible given some climbing equipment (or a well-placed ski lift), it's more likely you'll be below the mountains and using them as a backdrop – in which case, you need a subject in the foreground.
Try to avoid overdone spots; there's not a photographer on the planet that's passed though the Grand Tetons National Park in the US without photographing the T. A. Moulton barn against the Teton Range. It's a great image, but it's now a cliché, so either ignore it or find an unusual angle.
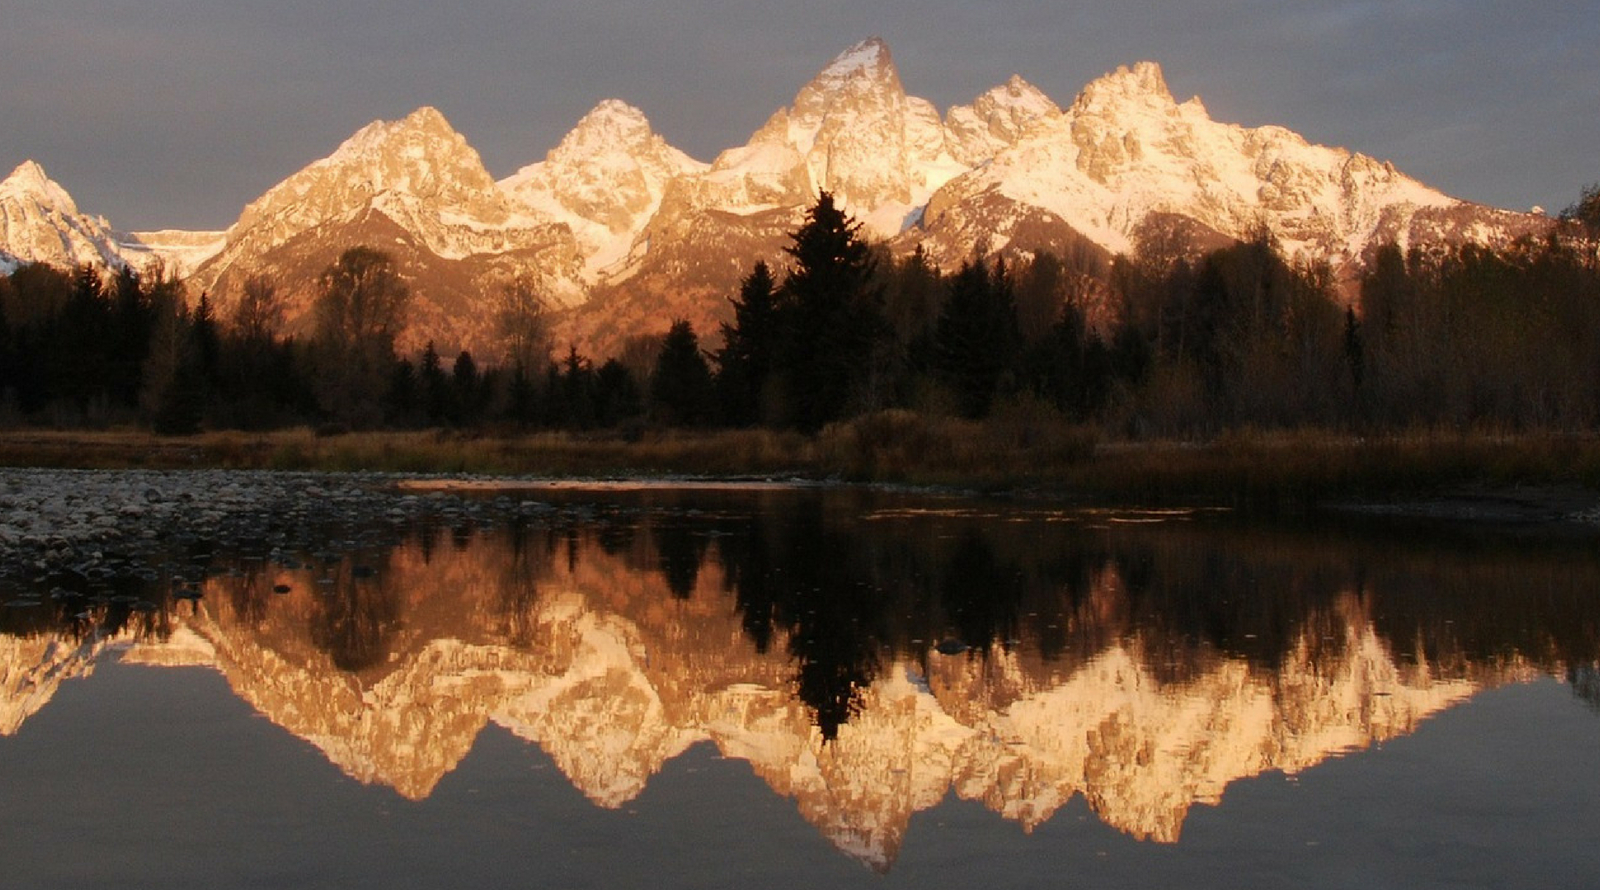
However, that shot is a good example of how important a foreground subject is. Others could include animals, trees, churches, a lake that reflects the mountains… something that adds interest and creates a sense of depth. For a sense of scale, include people in the shot; mountains may look vast to you, but in a photo, they often lose their majesty.
How to take photos of mountains: horizons and focus
Once you're set, make sure you're level; there's nothing worse than a wonky mountain. Use the virtual horizon in your camera or the spirit level on your tripod. That tripod is also useful because it's also important to keep everything in the scene in focus, which means using a small aperture. An aperture of f/16 is a good place to start, though it means longer exposures in falling or rising light.
How to take photos of mountains: coping with changing light
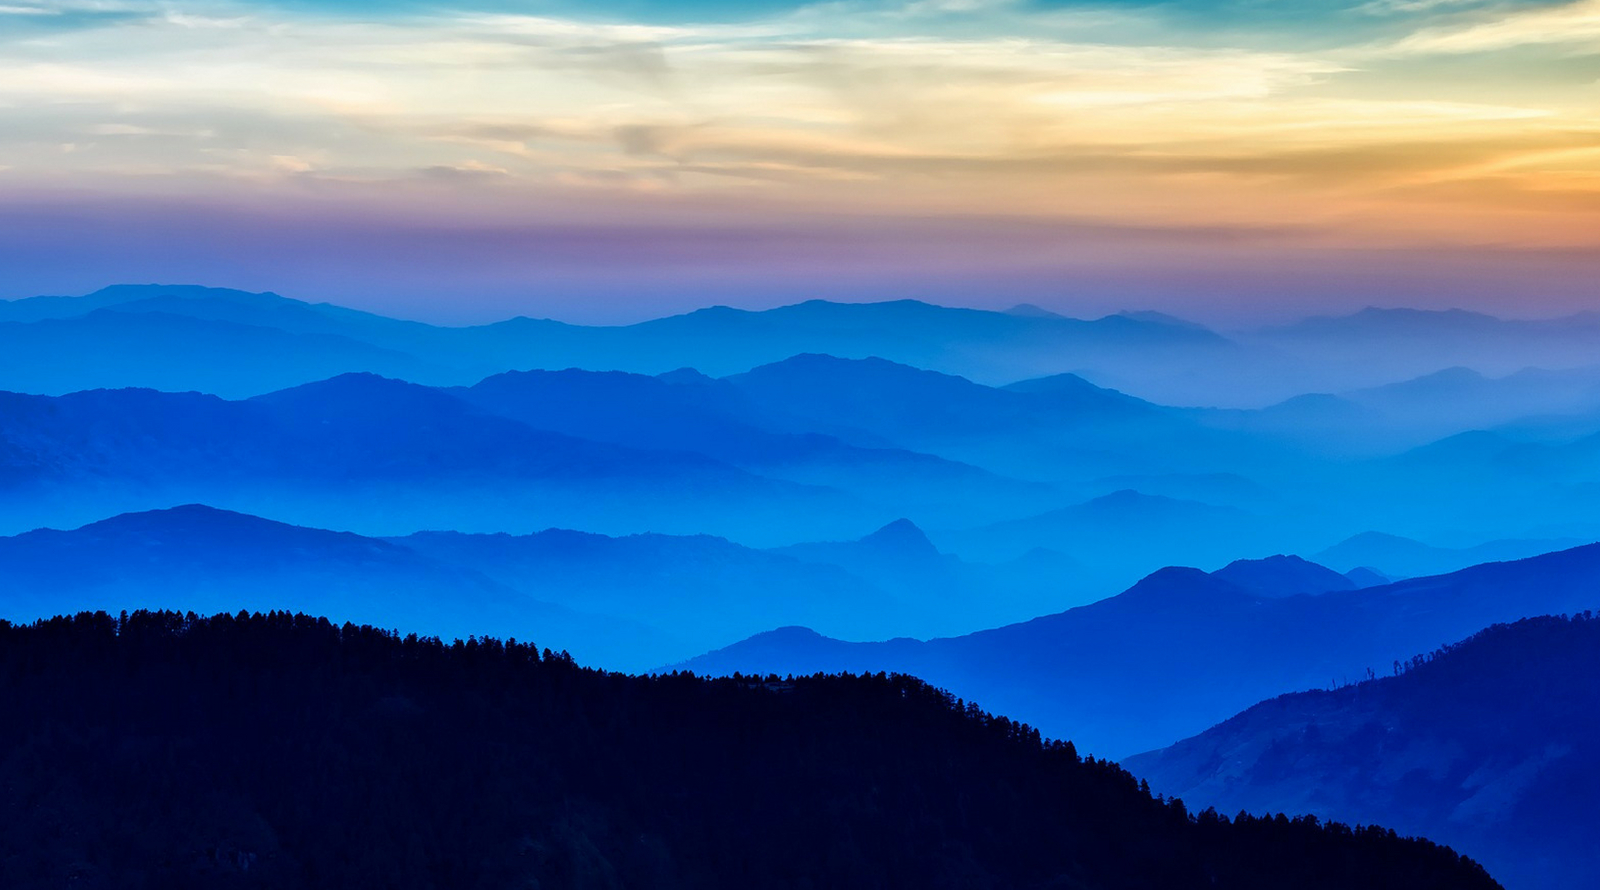
Perhaps the most important rule of all is to head out early and aim for the blue hour and the golden hour, though bear in mind that mountain peaks will block the sun at the crucial moment for many locations.
Photographing mountain landscapes at dawn can be exhilarating, and a very dynamic experience since a sun rising in a clear sky behind you creates a half-hour period where lit-up areas on the mountains in front of you grow in size and change colour. If you're amid red rock, expect a golden glow. The same applies in reverse at sunset, so check your compass before choosing a position.
Although it's tempting to hike somewhere, in reality that will mean getting up in the middle of the night, so scout out places the day before looking for car parks. There's a reason why national parks, with pull-offs and observation decks, are so popular with photographers.
Another common technique used by landscape photographers faced with mountains only partly in shadow is bracketing. You basically take a few (or many) shots of the same subject – each exposed for differently-lit areas of the scene (such as a mountain ridge lit by a setting sun, and the valley below it in deep shadow) – then combine them into a single image.
How to take get aerial shots of mountains
Don't forget aerial views of mountain ranges, which can look stunning from above. Drones are an option if they're permitted where you are, as long as you're up early and there's no-one else around (the three golden rules of travel-droning).
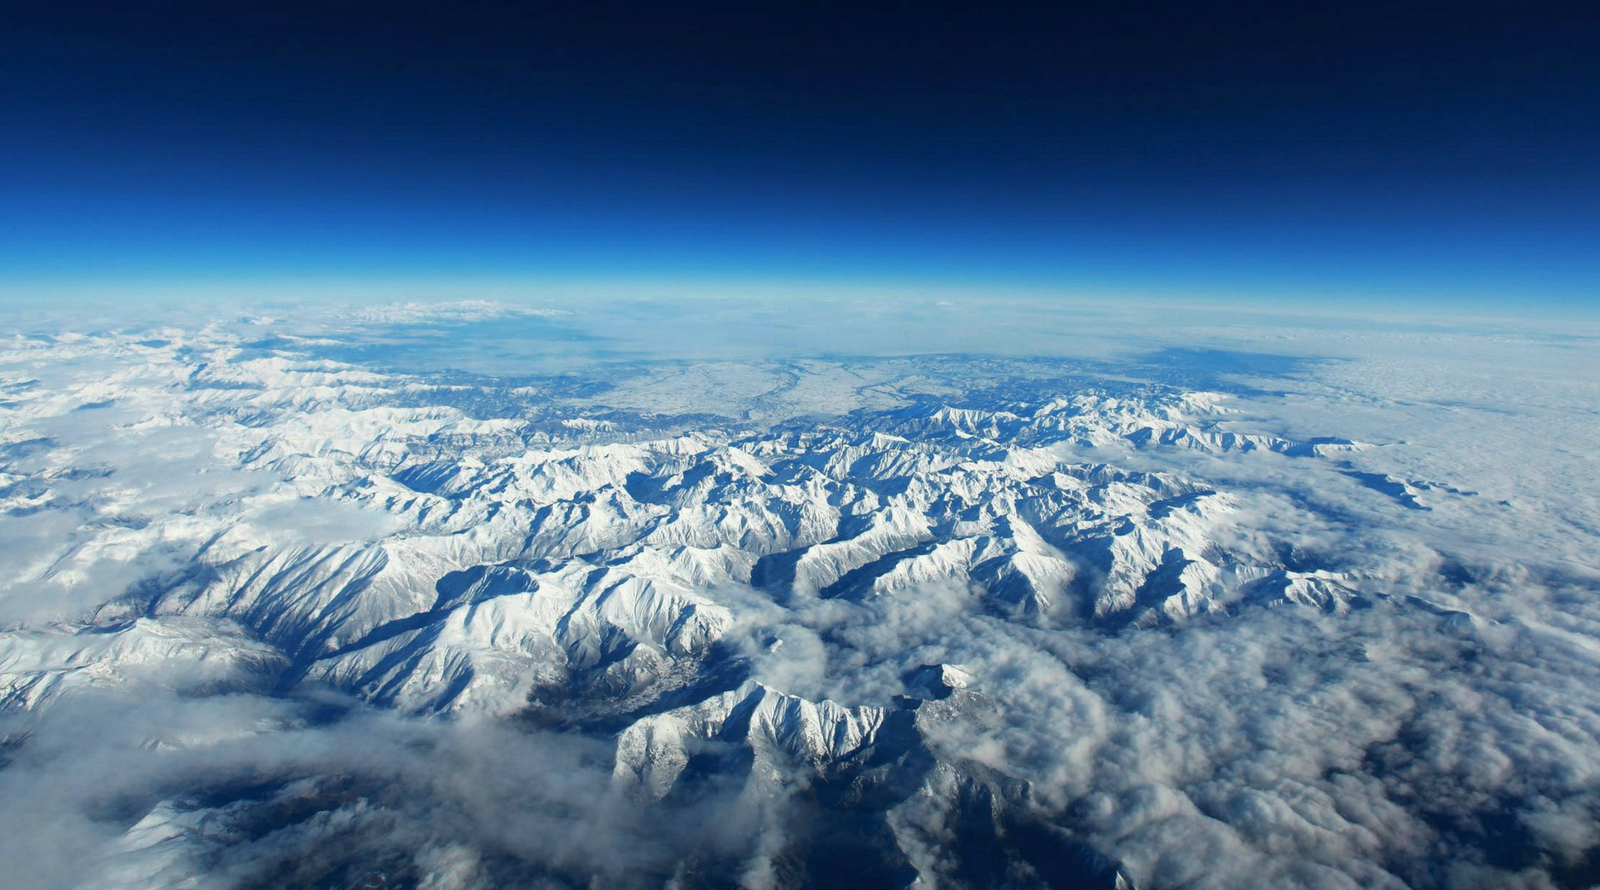
Don't underestimate the window seat on planes, though; you can get some fabulous photos in clear weather. Europeans will most likely be familiar with the Alps and the Pyrenees, but the Flyover Country app is handy for what's coming up on your flight path. Using your phone's GPS tracking, it plots your position on offline geologic maps and highlights points of interest and locations below you, complete with offline Wikipedia articles.
How to take photos from a window seat
First, look up your flight path on Flightradar24, and if you think you might be passing some mountains, book a window seat in front of the wing and on the side that seems logically most likely to have the best view. You may not get this right, but at least you'll know for the way back.
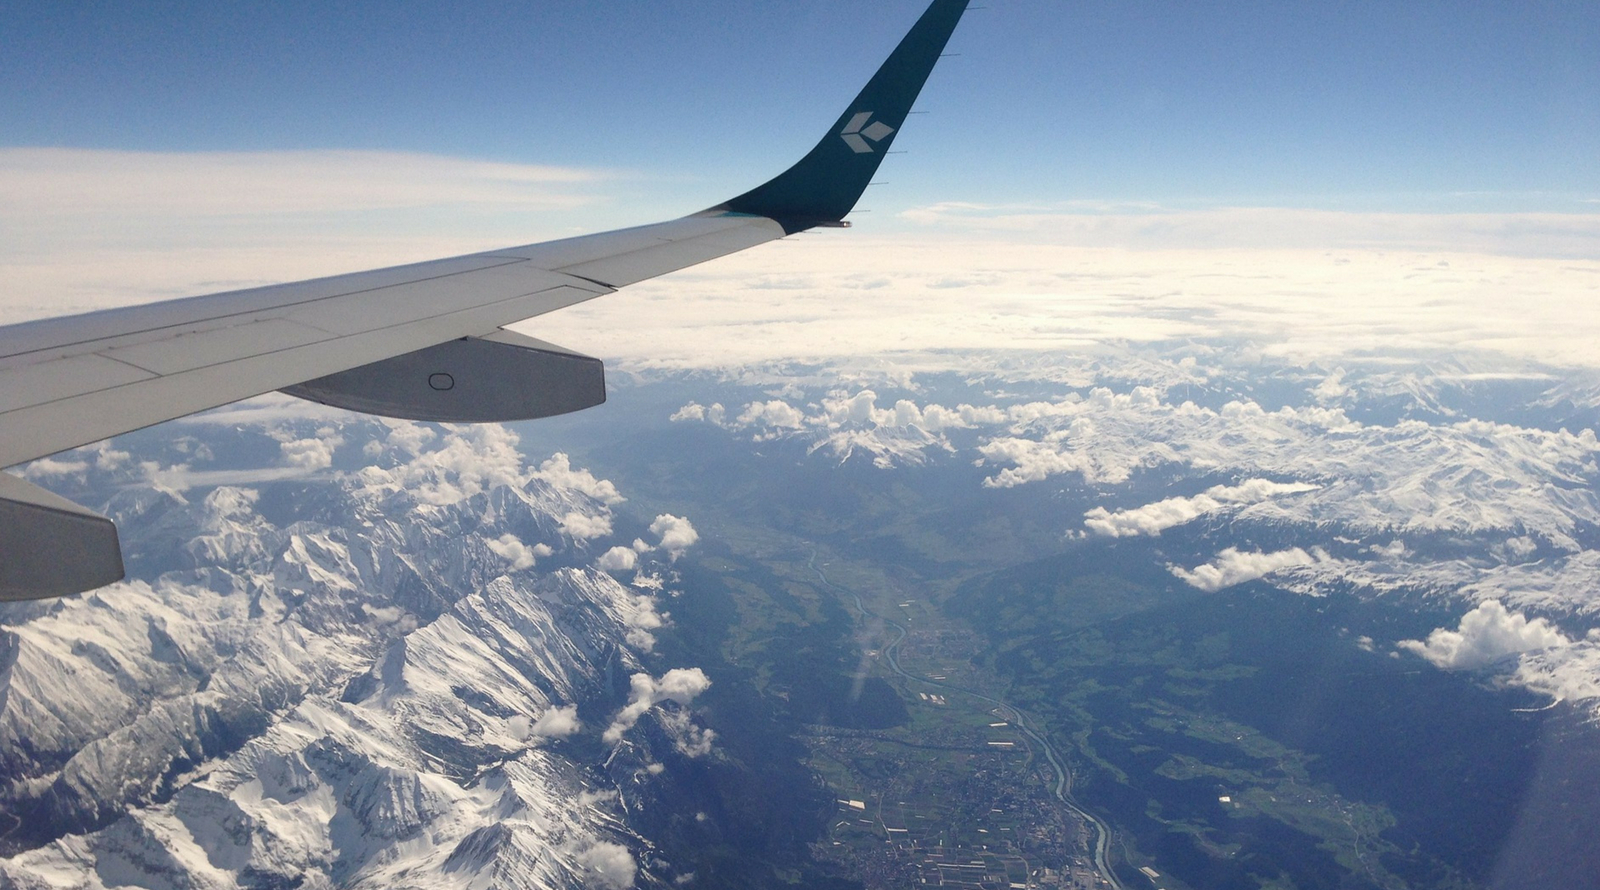
Make sure you have your camera with you in your seat, and when mountains come into view, take some images – with some zoom if possible – while holding the camera face-on to the window (not at an angle). Don't let the lens touch the vibrating glass, and be quick about it because the plane could turn at any moment.
Some photographers take a tripod or a monopod onto aircraft, but as well as being awkward it's becoming increasingly difficult to guarantee getting full-size tripods through airport security – they’re best checked-in.
Useful apps for mountain photography
There are now some useful apps that help you plan outdoor photography in natural light. One of the most impressive comes from The Photographer's Ephemeris for Android and TPE 3D for iOS, which offers a map-centric sun and moon calculator that allows you to see how the light will fall on the land for any location on the planet. It's also available as a free web app. Its latest app, Photo Transit, even tells you exactly what your field of view will be using a specific camera and lens in a specific location.
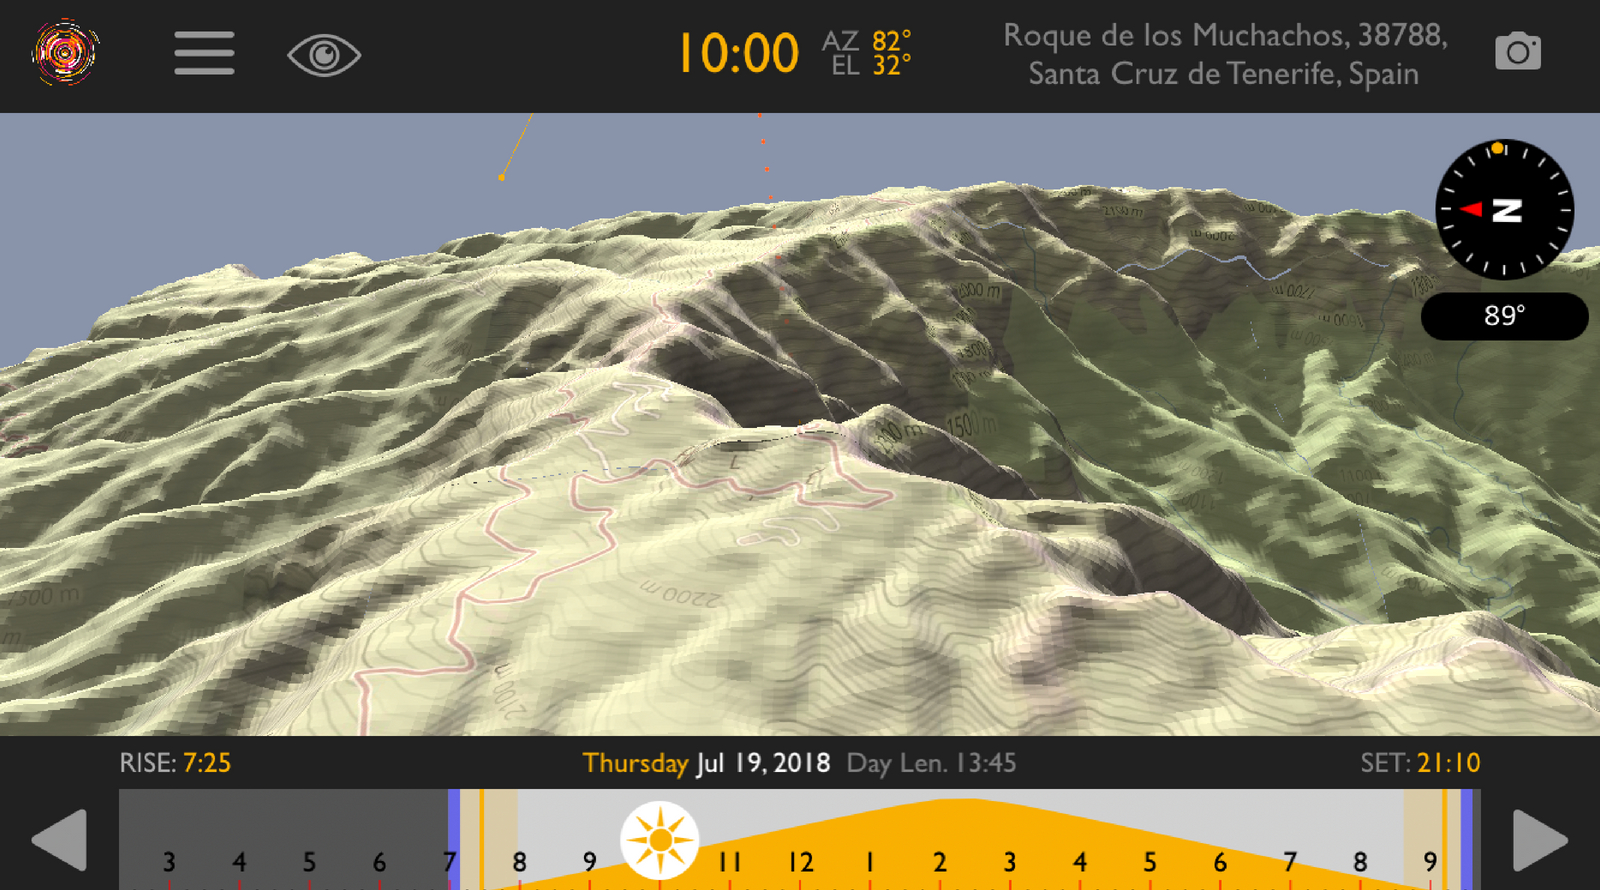
Another one worth considering specifically for the mountains is Helios Pro, which pinpoints the position of the sun, the moon and stars, and shows you exactly how light will illuminate and where shadows will fall. In the mountains, that’s absolutely crucial. It also includes a night-shoot planner that presents the best dates and times to shoot the Milky Way.
Weather apps for mountains
Mountain photography is not without problems, the biggest being weather. Mountains tend to make their own weather systems, and while that isn't necessarily a bad thing – an early morning mist can be beautiful, as can rainbows – you should know that peaks can be obscured by cloud for days on end. When it's hot, haze and the clarity of the air is an issue. Either way, it's best to go prepared, especially if you're in high-altitude areas where knowing what to expect is important for safety as well as for you photography.
The Dark Sky app is good for monitoring satellite images of cloud, while the Yr website (from the Norwegian Meteorological Institute and the Norwegian Broadcasting Corporation, but working globally) gives detailed cloud cover images (not so the app). The Windy website and app and the Windguru app are also useful for predicting cloud cover and wind, the latter of which is just as important in the mountains.
Read more: Why landscape photography should always start with a map, a watch and a compass
Get the Digital Camera World Newsletter
The best camera deals, reviews, product advice, and unmissable photography news, direct to your inbox!

Jamie has been writing about photography, astronomy, astro-tourism and astrophotography for over 15 years, producing content for Forbes, Space.com, Live Science, Techradar, T3, BBC Wildlife, Science Focus, Sky & Telescope, BBC Sky At Night, South China Morning Post, The Guardian, The Telegraph and Travel+Leisure.
As the editor for When Is The Next Eclipse, he has a wealth of experience, expertise and enthusiasm for astrophotography, from capturing the moon and meteor showers to solar and lunar eclipses.
He also brings a great deal of knowledge on action cameras, 360 cameras, AI cameras, camera backpacks, telescopes, gimbals, tripods and all manner of photography equipment.
