The wonders of WiFi: make in-camera wireless connectivity work for you
Take advantage of the WiFi technology in modern digital cameras for image handling ease
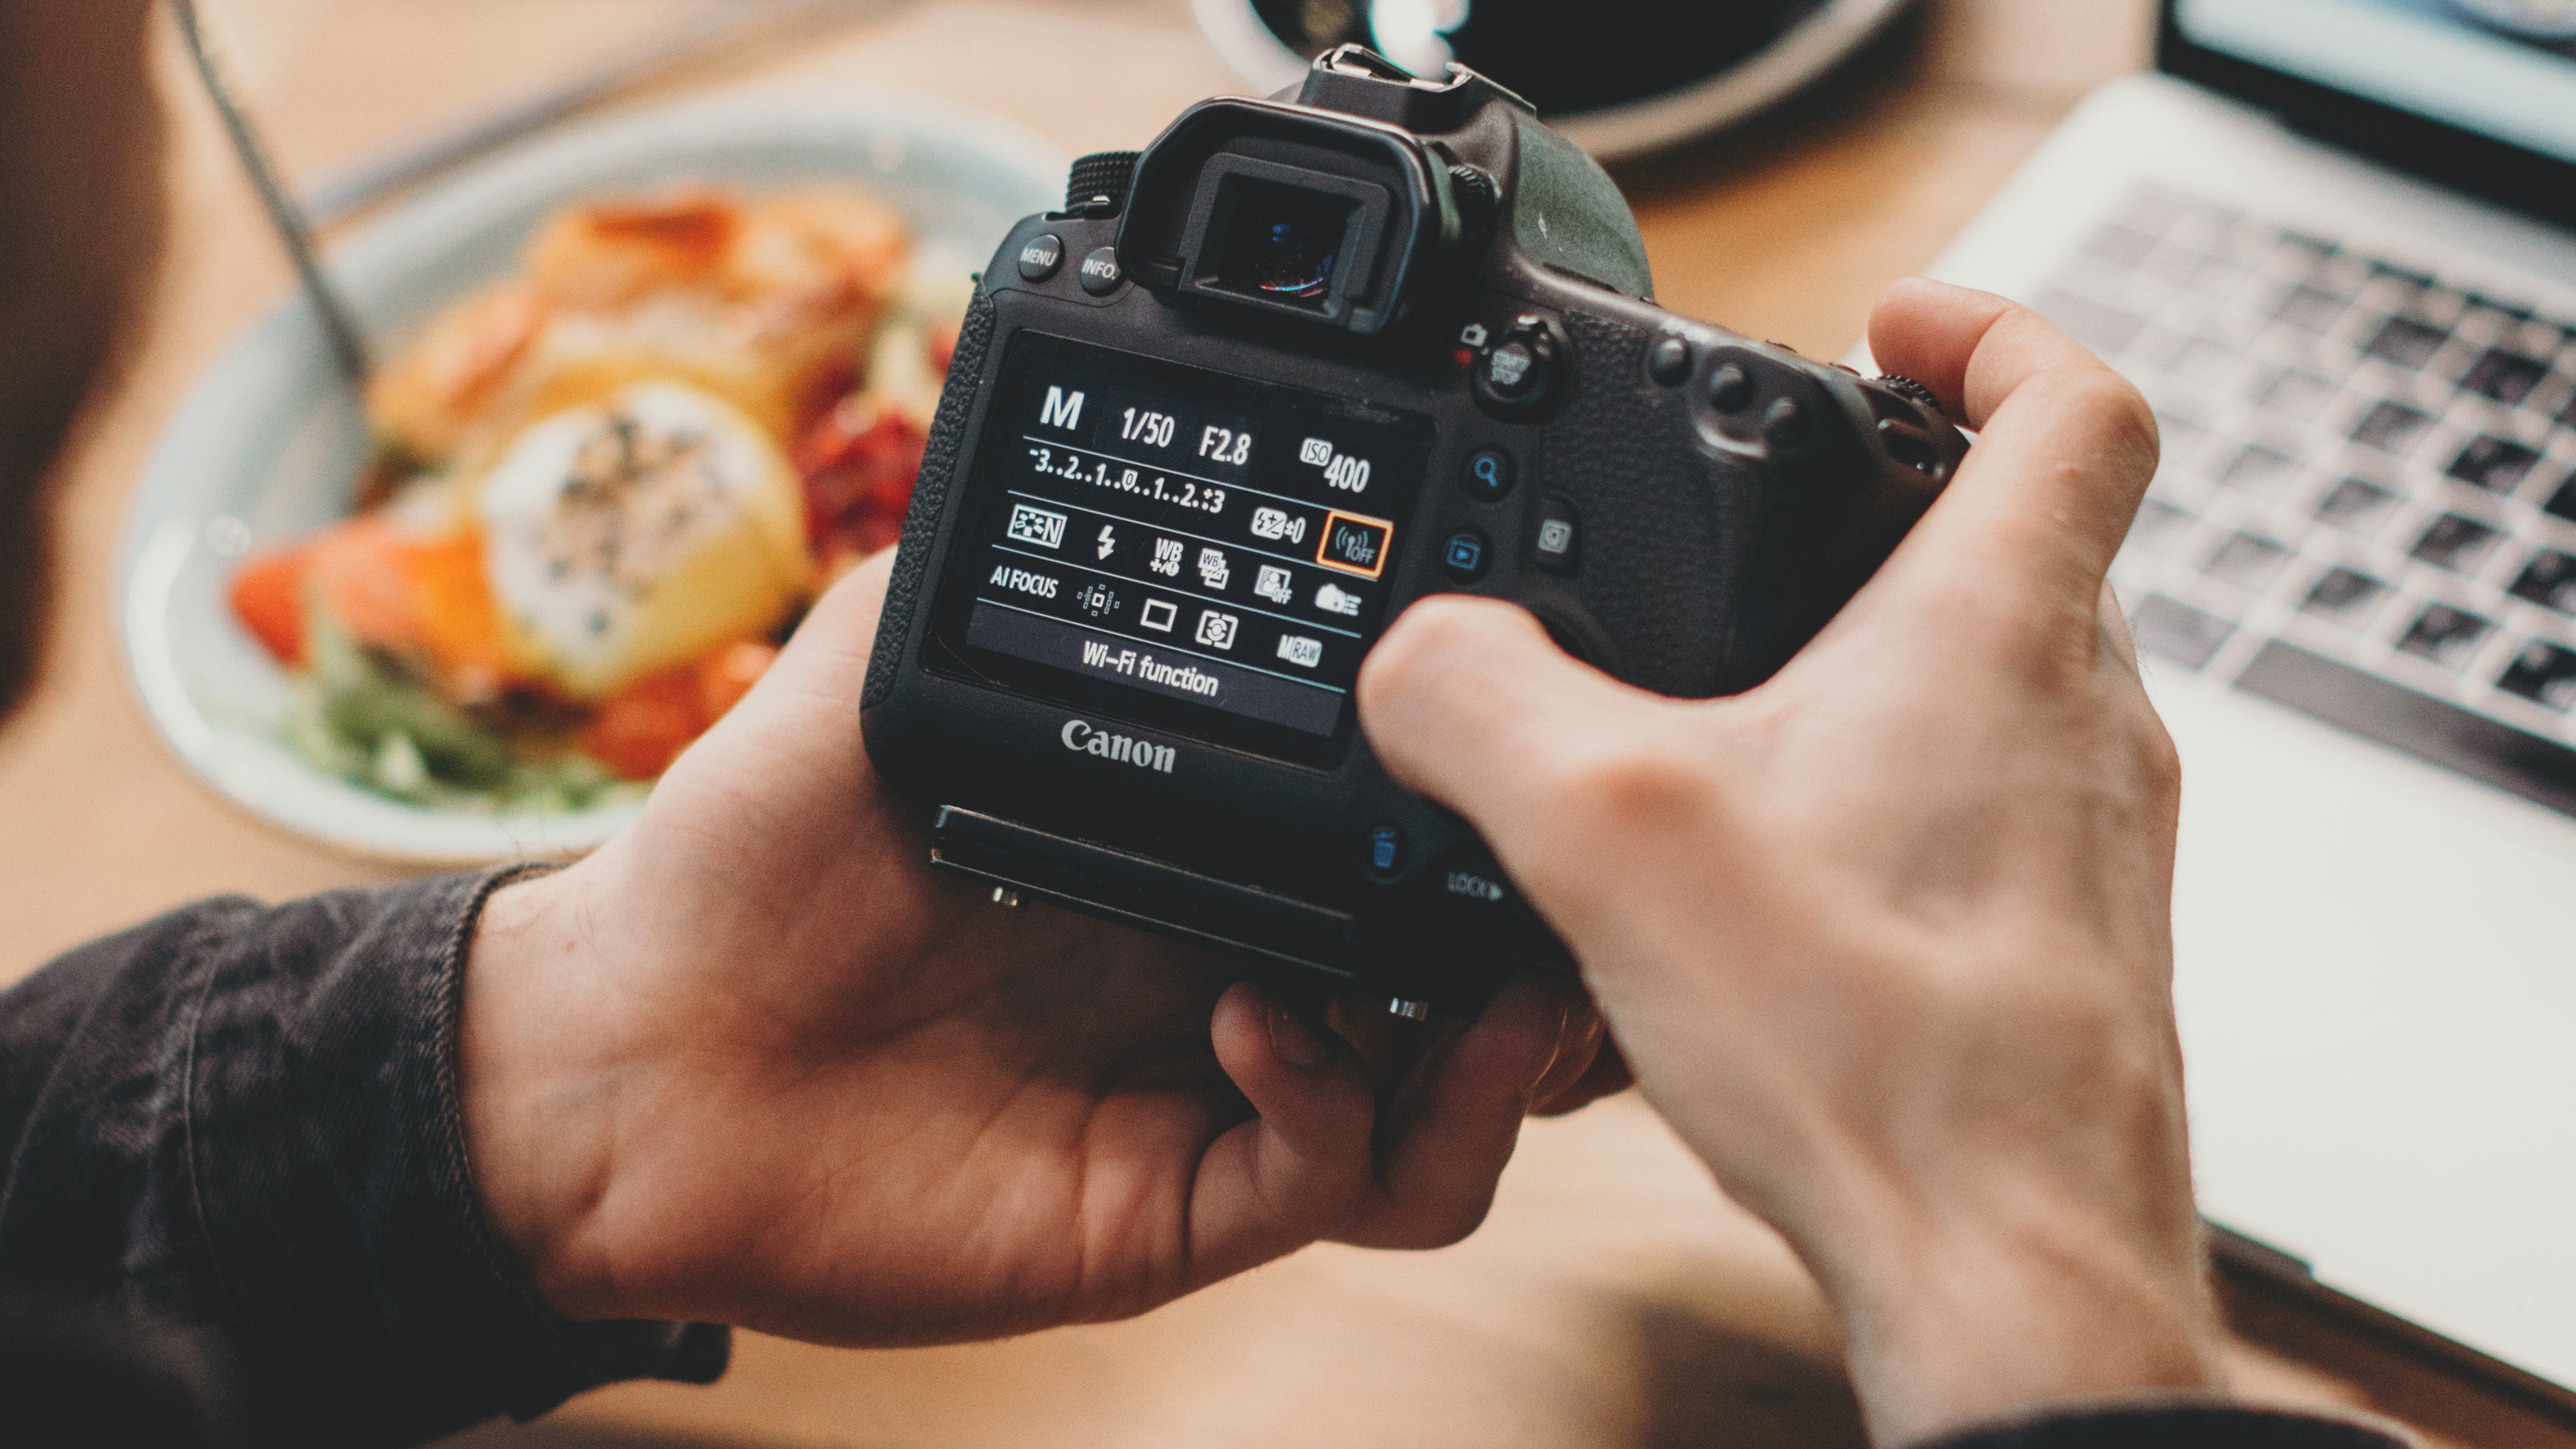
Only a few years ago, wireless functionality in digital cameras was seen as somewhat of a gimmick – albeit one which added cost to higher-end compacts and bridge models. The ability to directly access the files stored on a card or internal drive in a camera does make practical sense, however, especially for photographers on the move.
Today the technology has found its way into professional DSLR and mirrorless cameras and can be used for control in both directions. The mobile apps available for download onto smartphones and tablets can be employed to move images between the camera and the mobile device, instead of using a USB cable to transfer files, or to control camera functions remotely from the device, in place of a physical shutter release cable or wireless remote trigger.
This offers advantages for speed of image backup when away from a laptop or hard drive, and adds to the interconnectivity of the camera to the photographer’s personal device network. On some cameras access cannot be password protected, so other nearby app users may be able to access your images, so it is advisable that you deactivate WiFi when it is not in use to protect your data (which will also aid battery life).
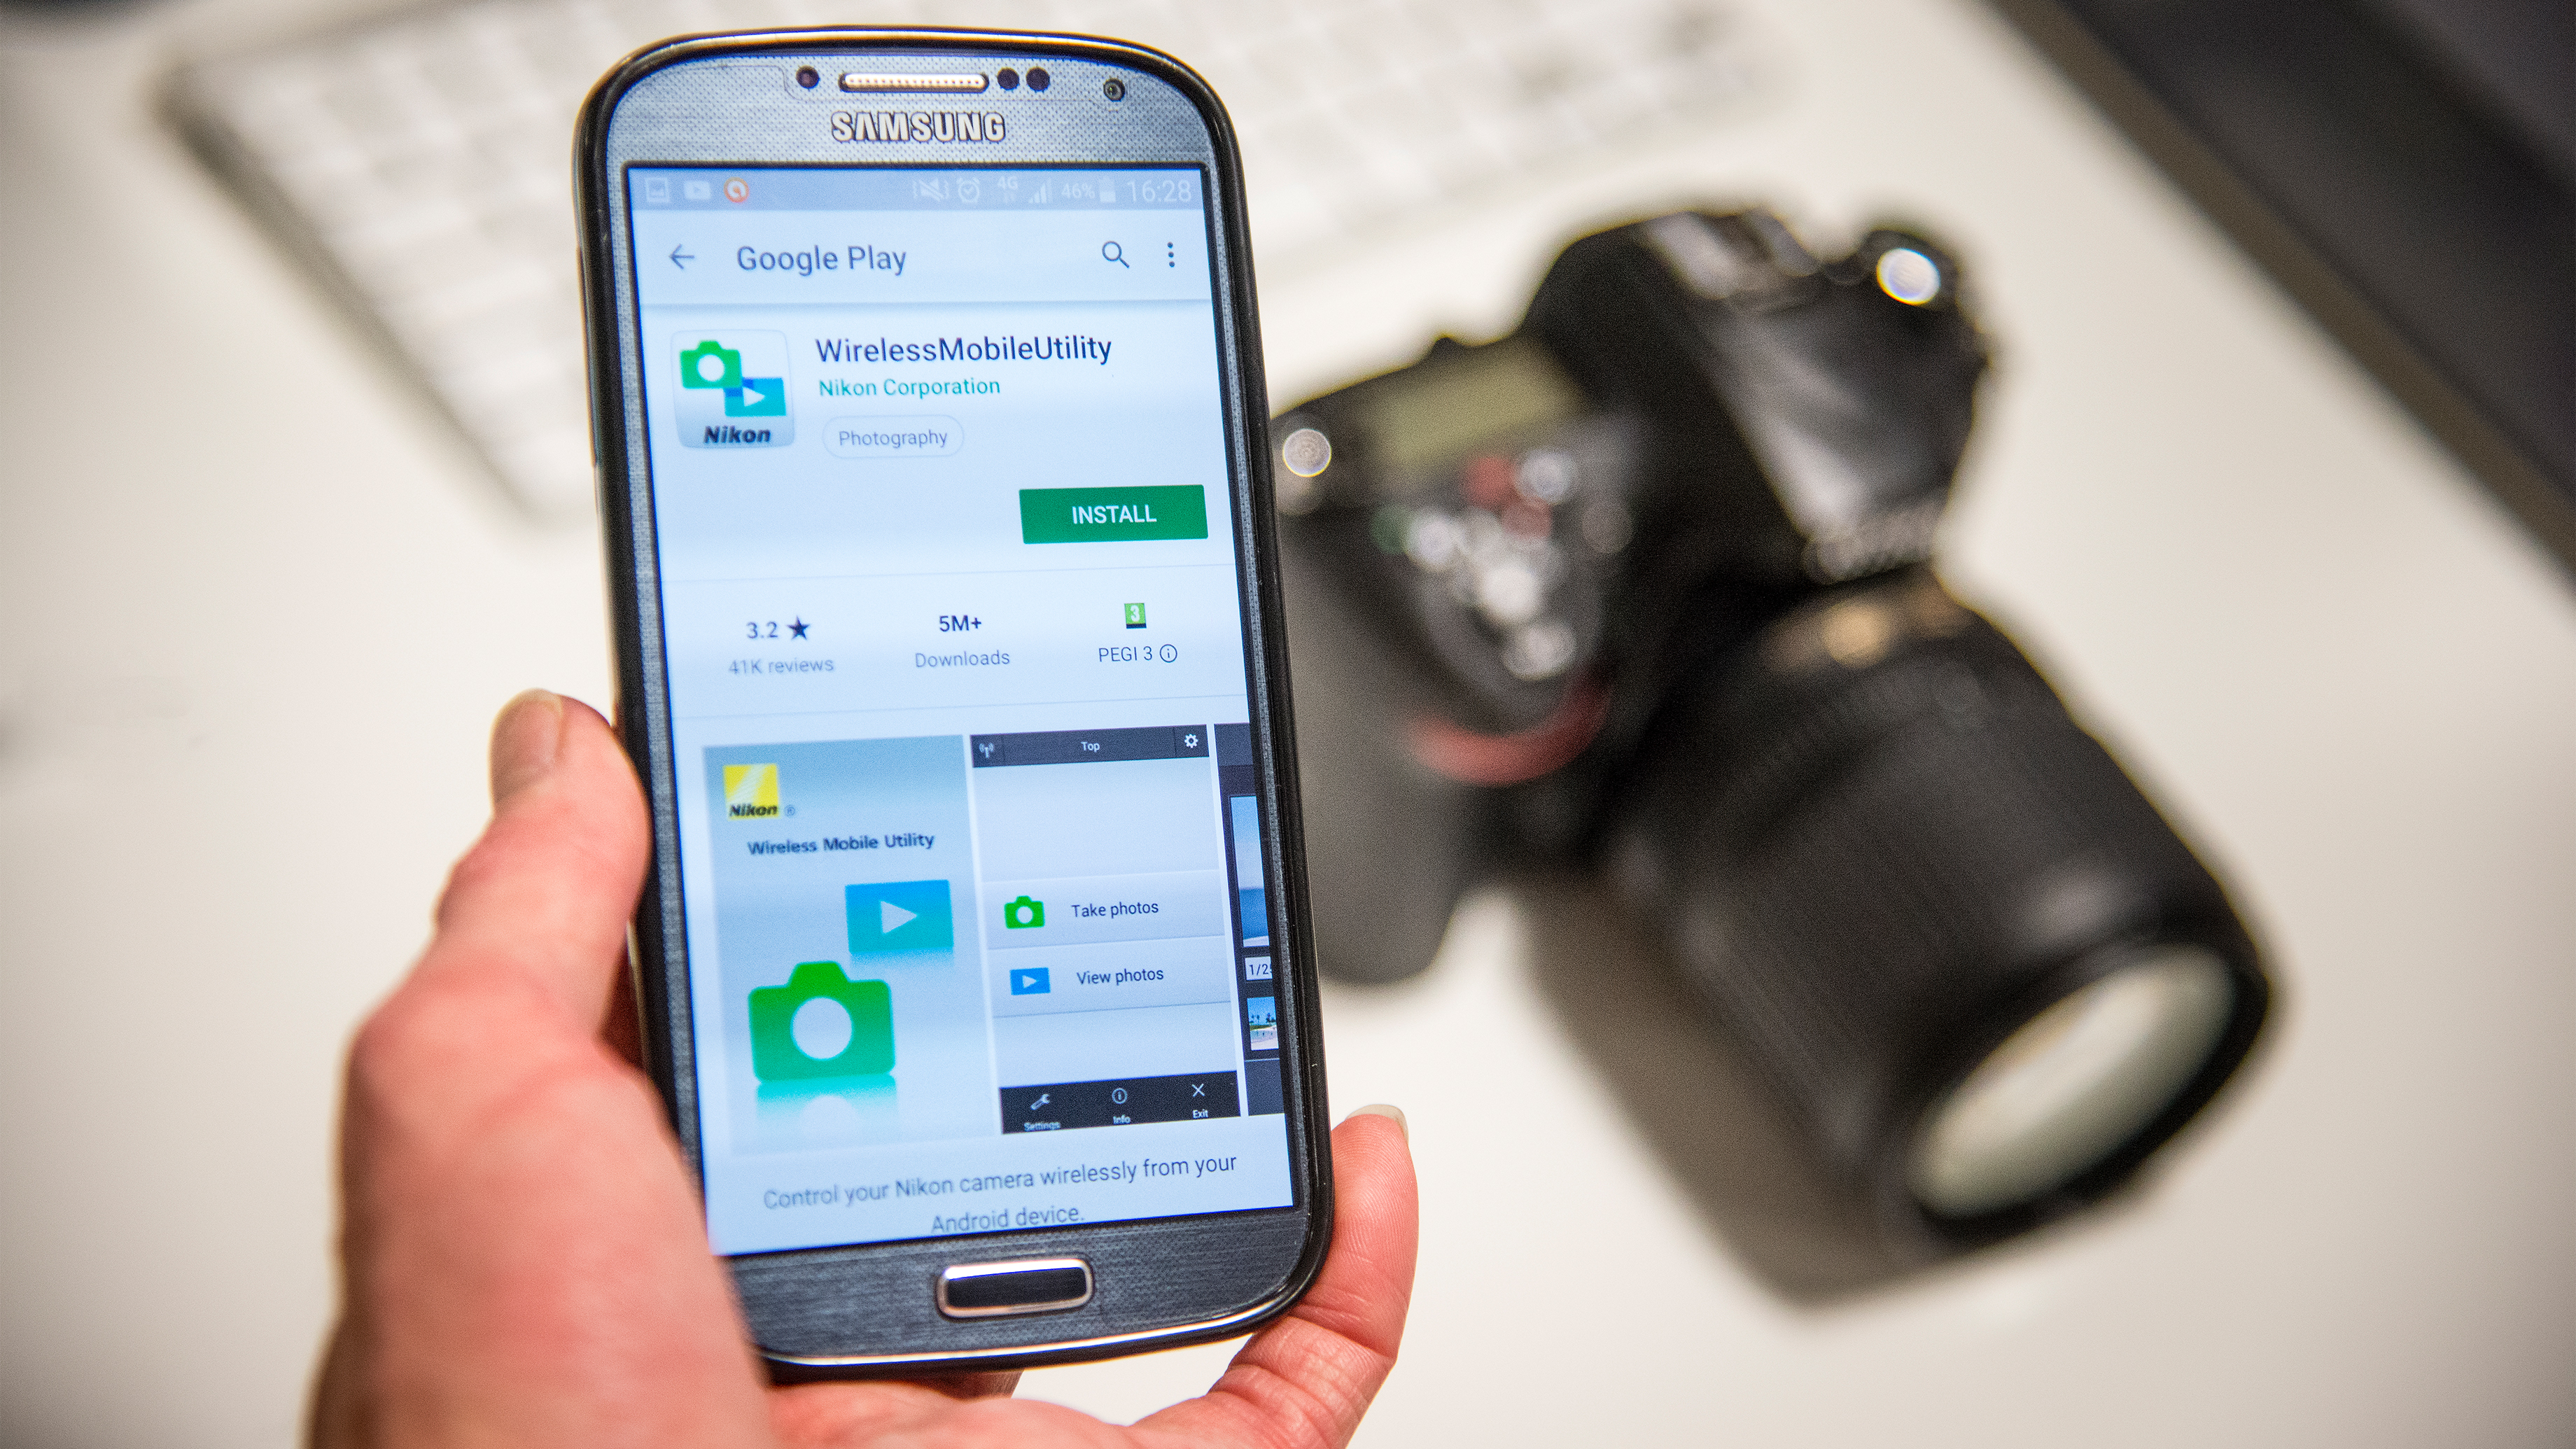
1. Download smartphone app
While your camera brand may not supply their mobile app for every operating system, look in the app store and download the correct app for your camera. Be aware that older versions may not support newer camera bodies.
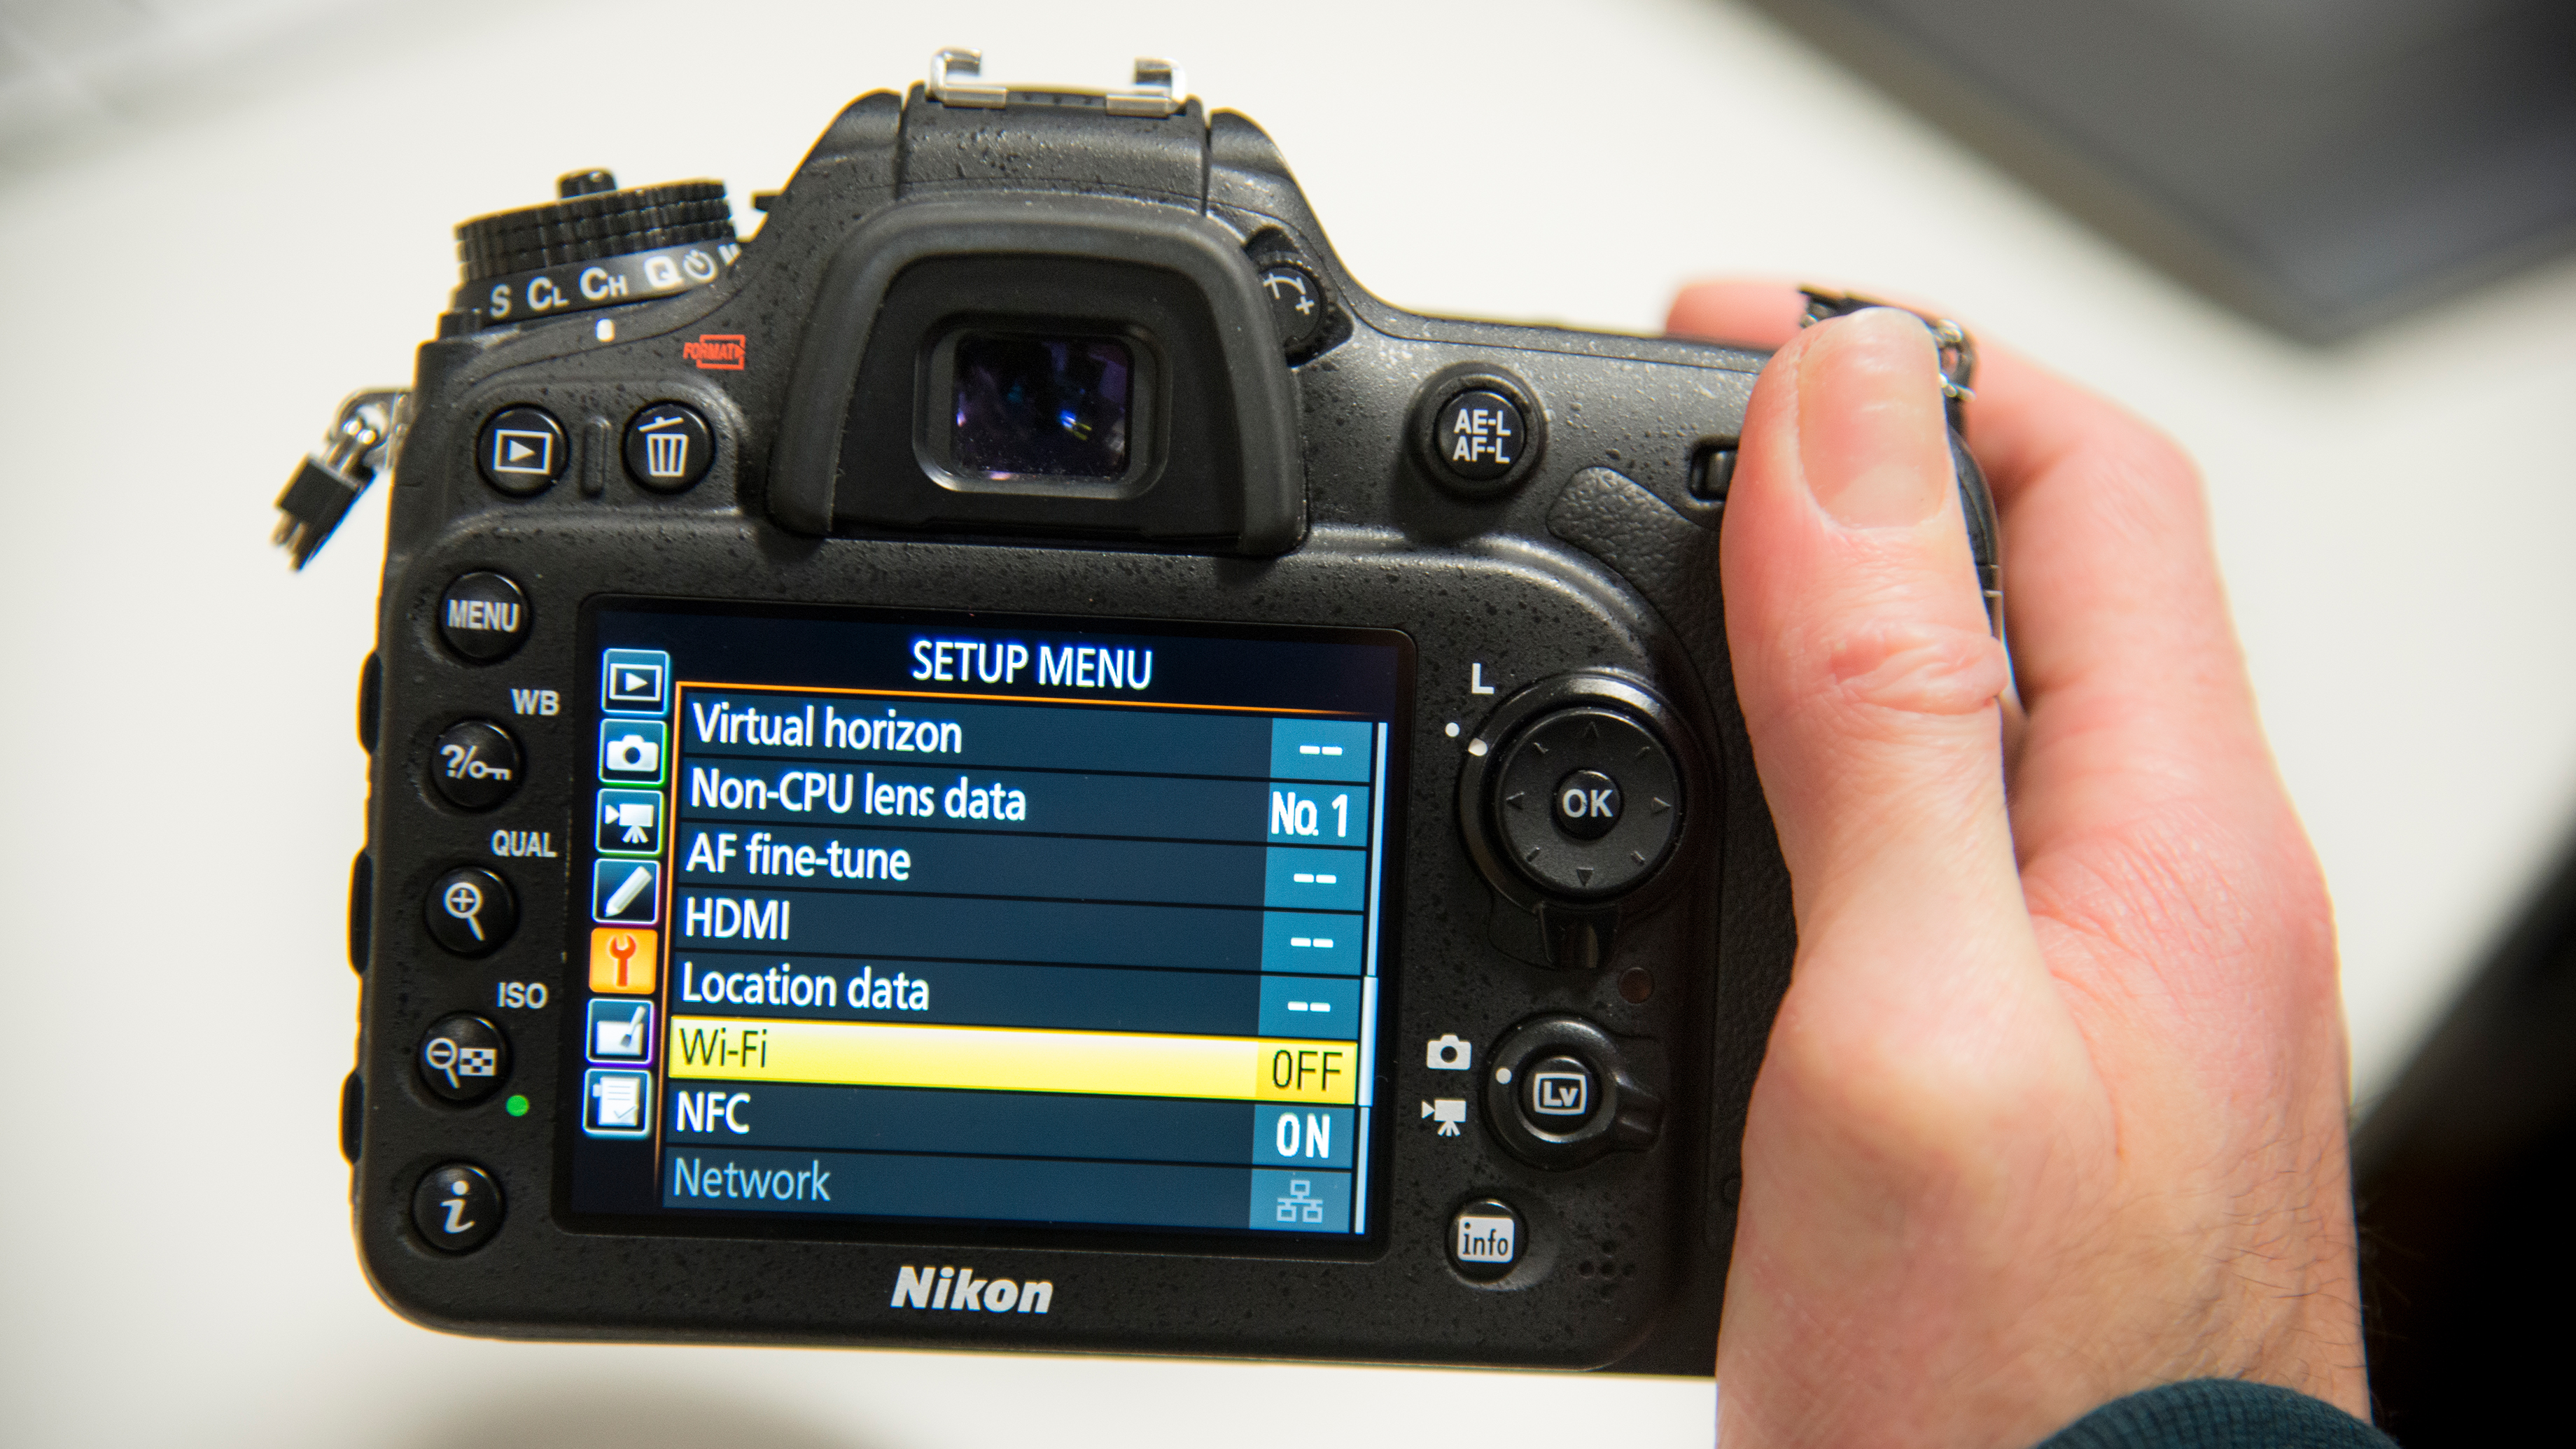
2. Enable NFC and Wi-Fi
In the rear menu, navigate to the system setup and activate Wi-Fi and NFC, making the camera visible to neighboring devices. Ensure wireless functionality is also active on the mobile device and the app is running.
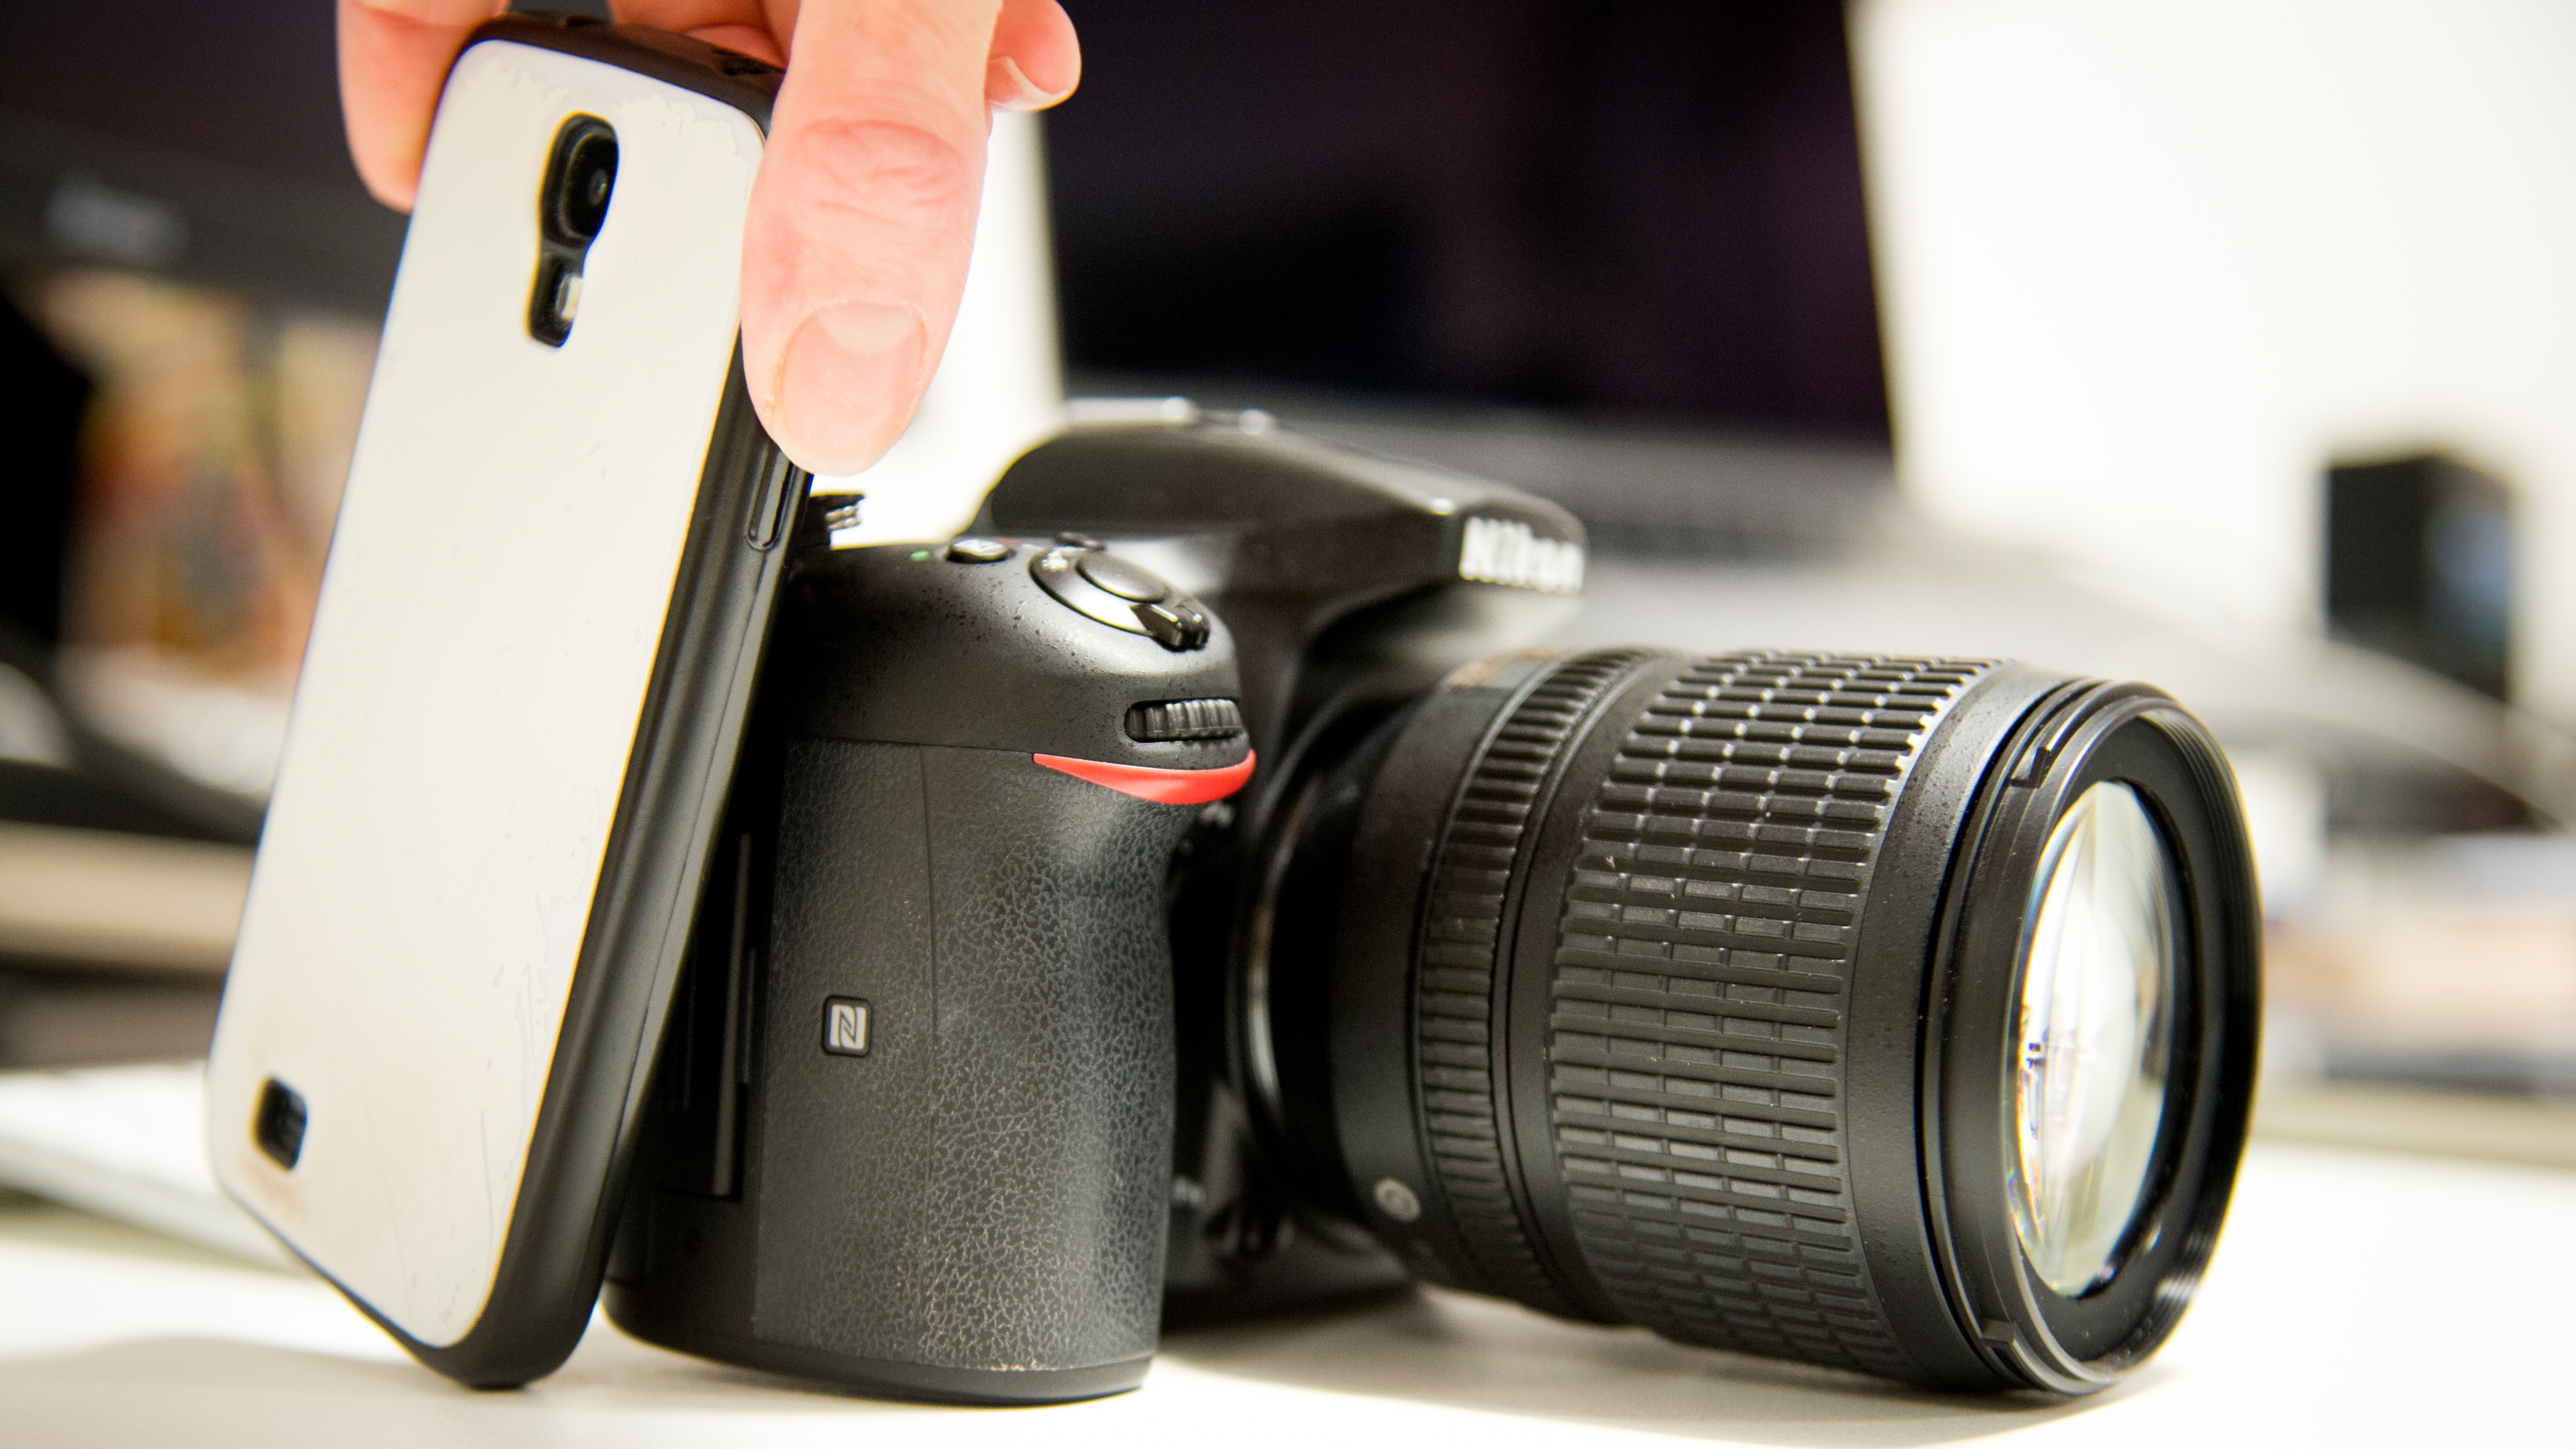
3. Touch to connect
Touch your phone or mobile device to the NFC connection point on the camera body, indicated by the logo. This should automatically set up a wireless connection so that the app and camera software can communicate.
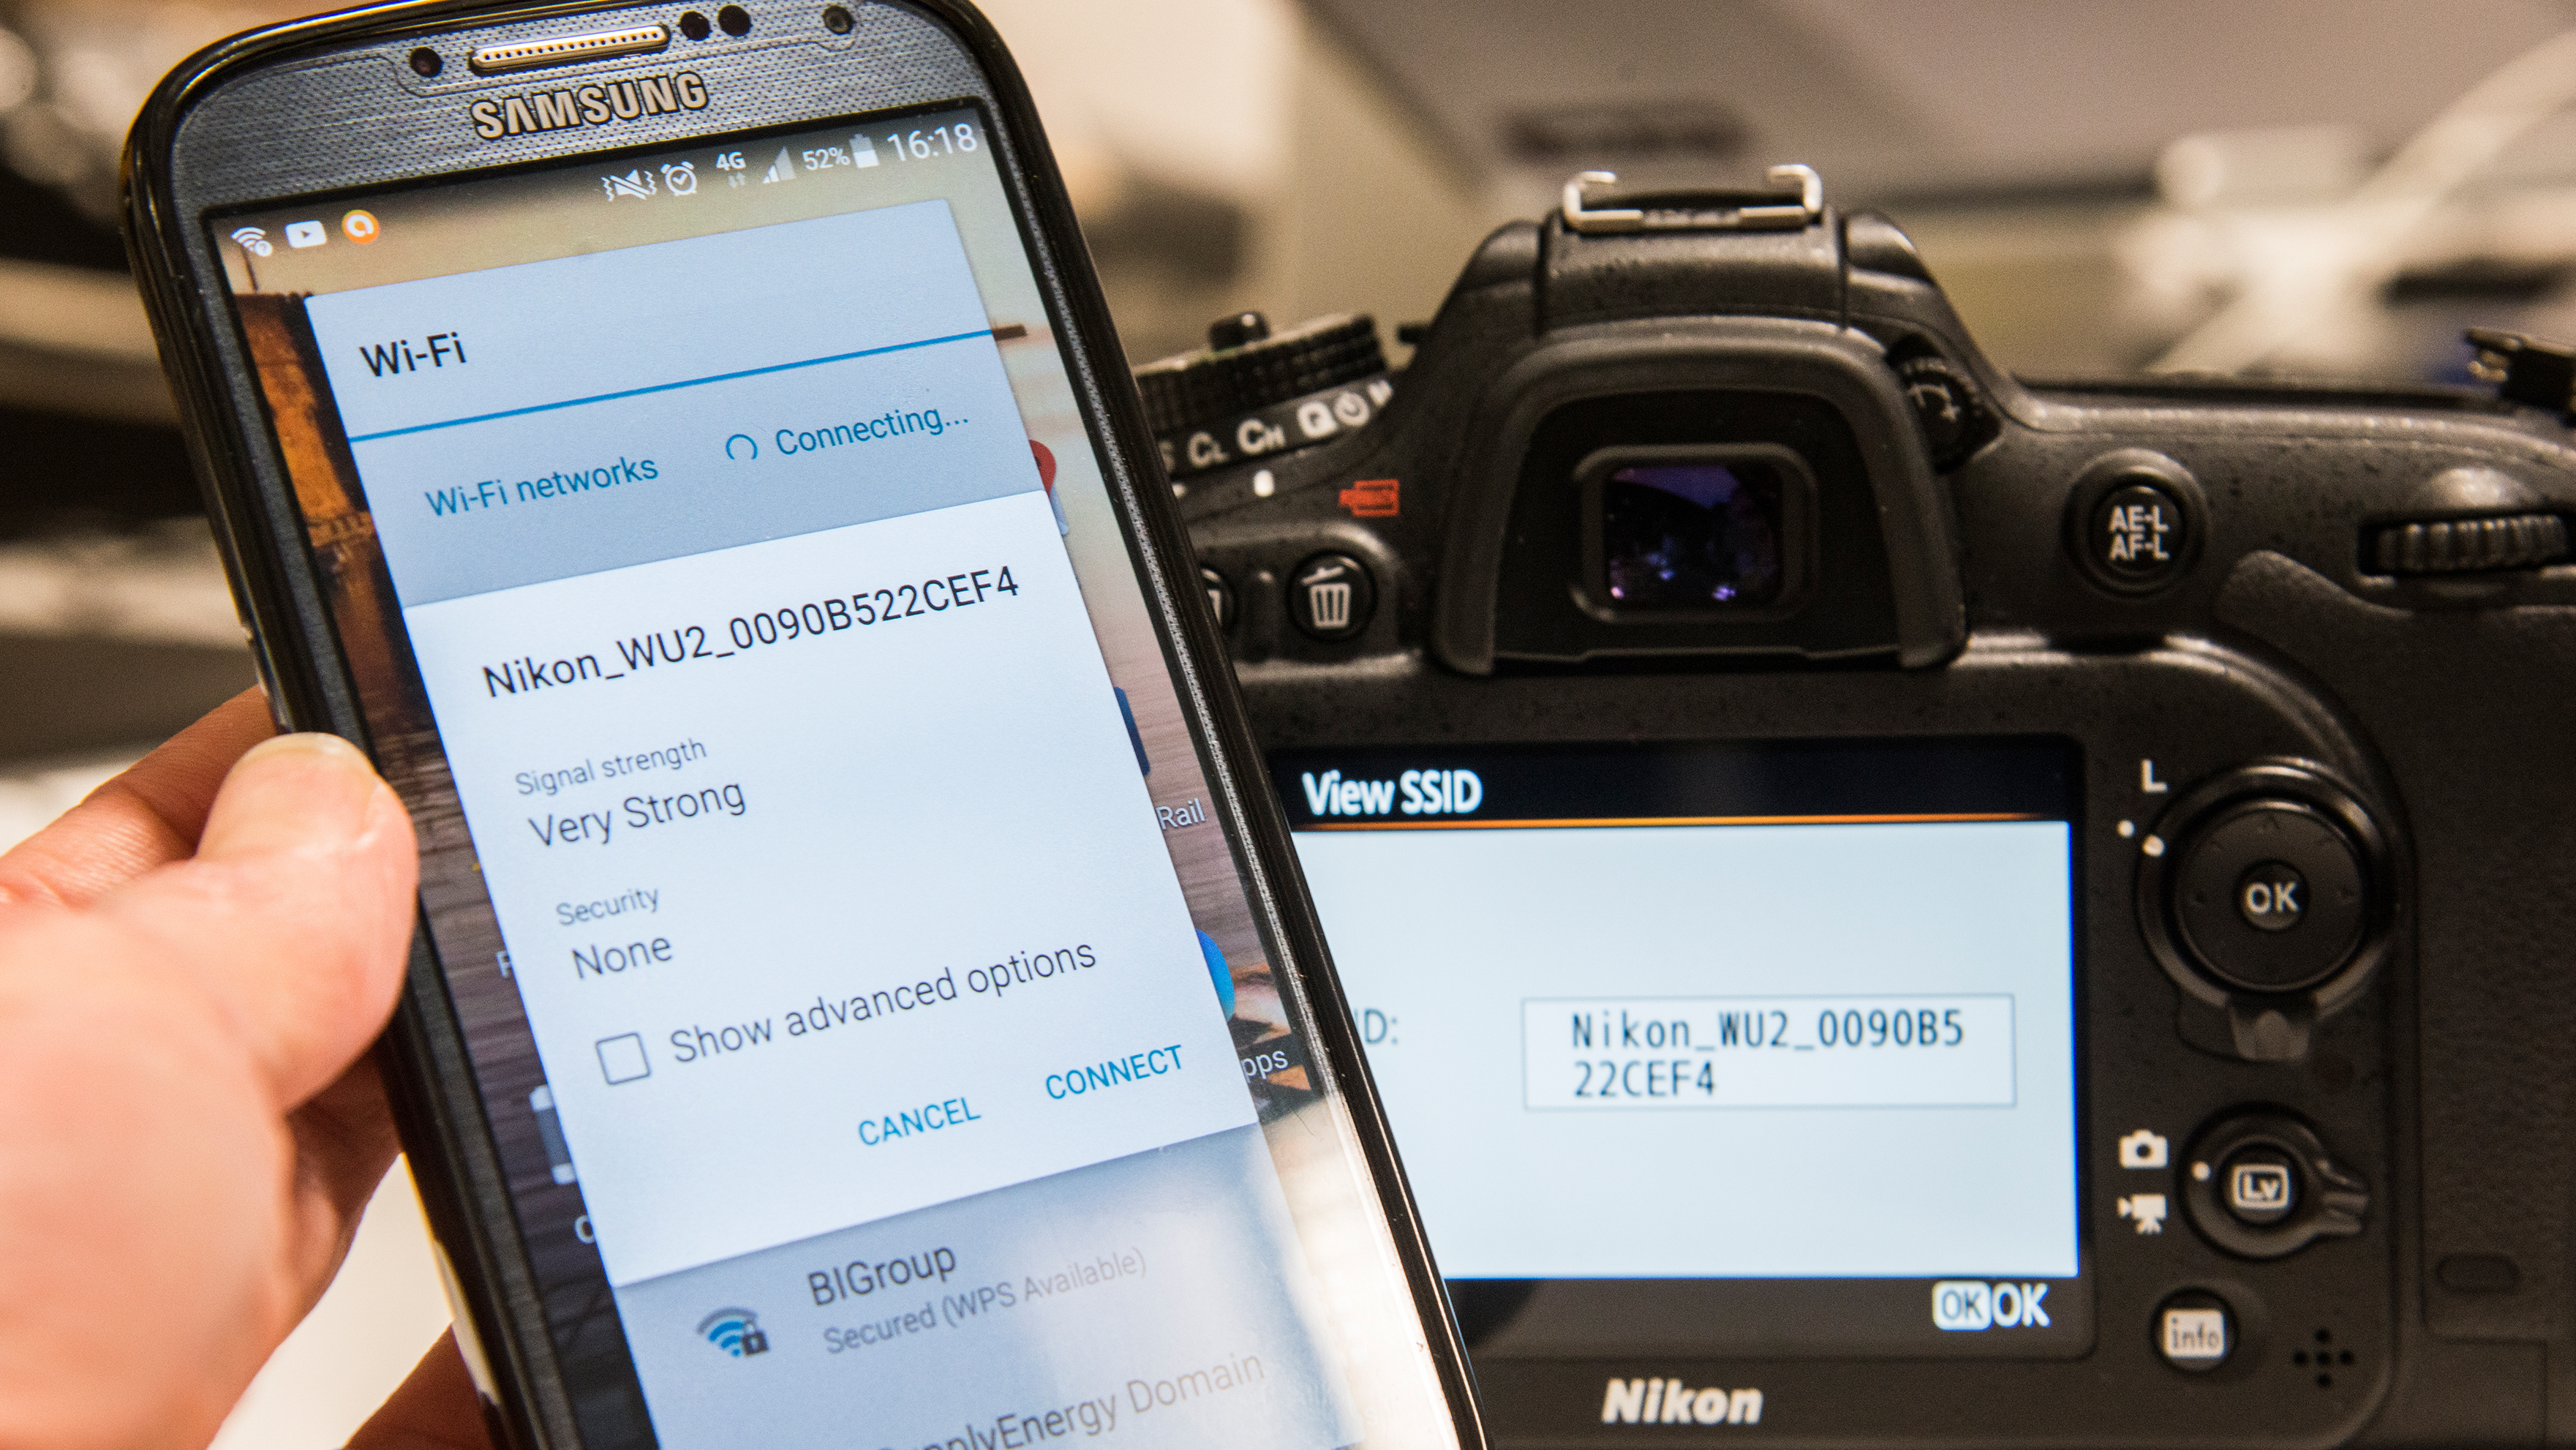
4. Connect manually
If your phone does not support NFC, connect directly using Wi-Fi. Find the SSID (the name of your camera’s wireless module) in the menu, then select this in the list of connections on your mobile device.
The best camera deals, reviews, product advice, and unmissable photography news, direct to your inbox!
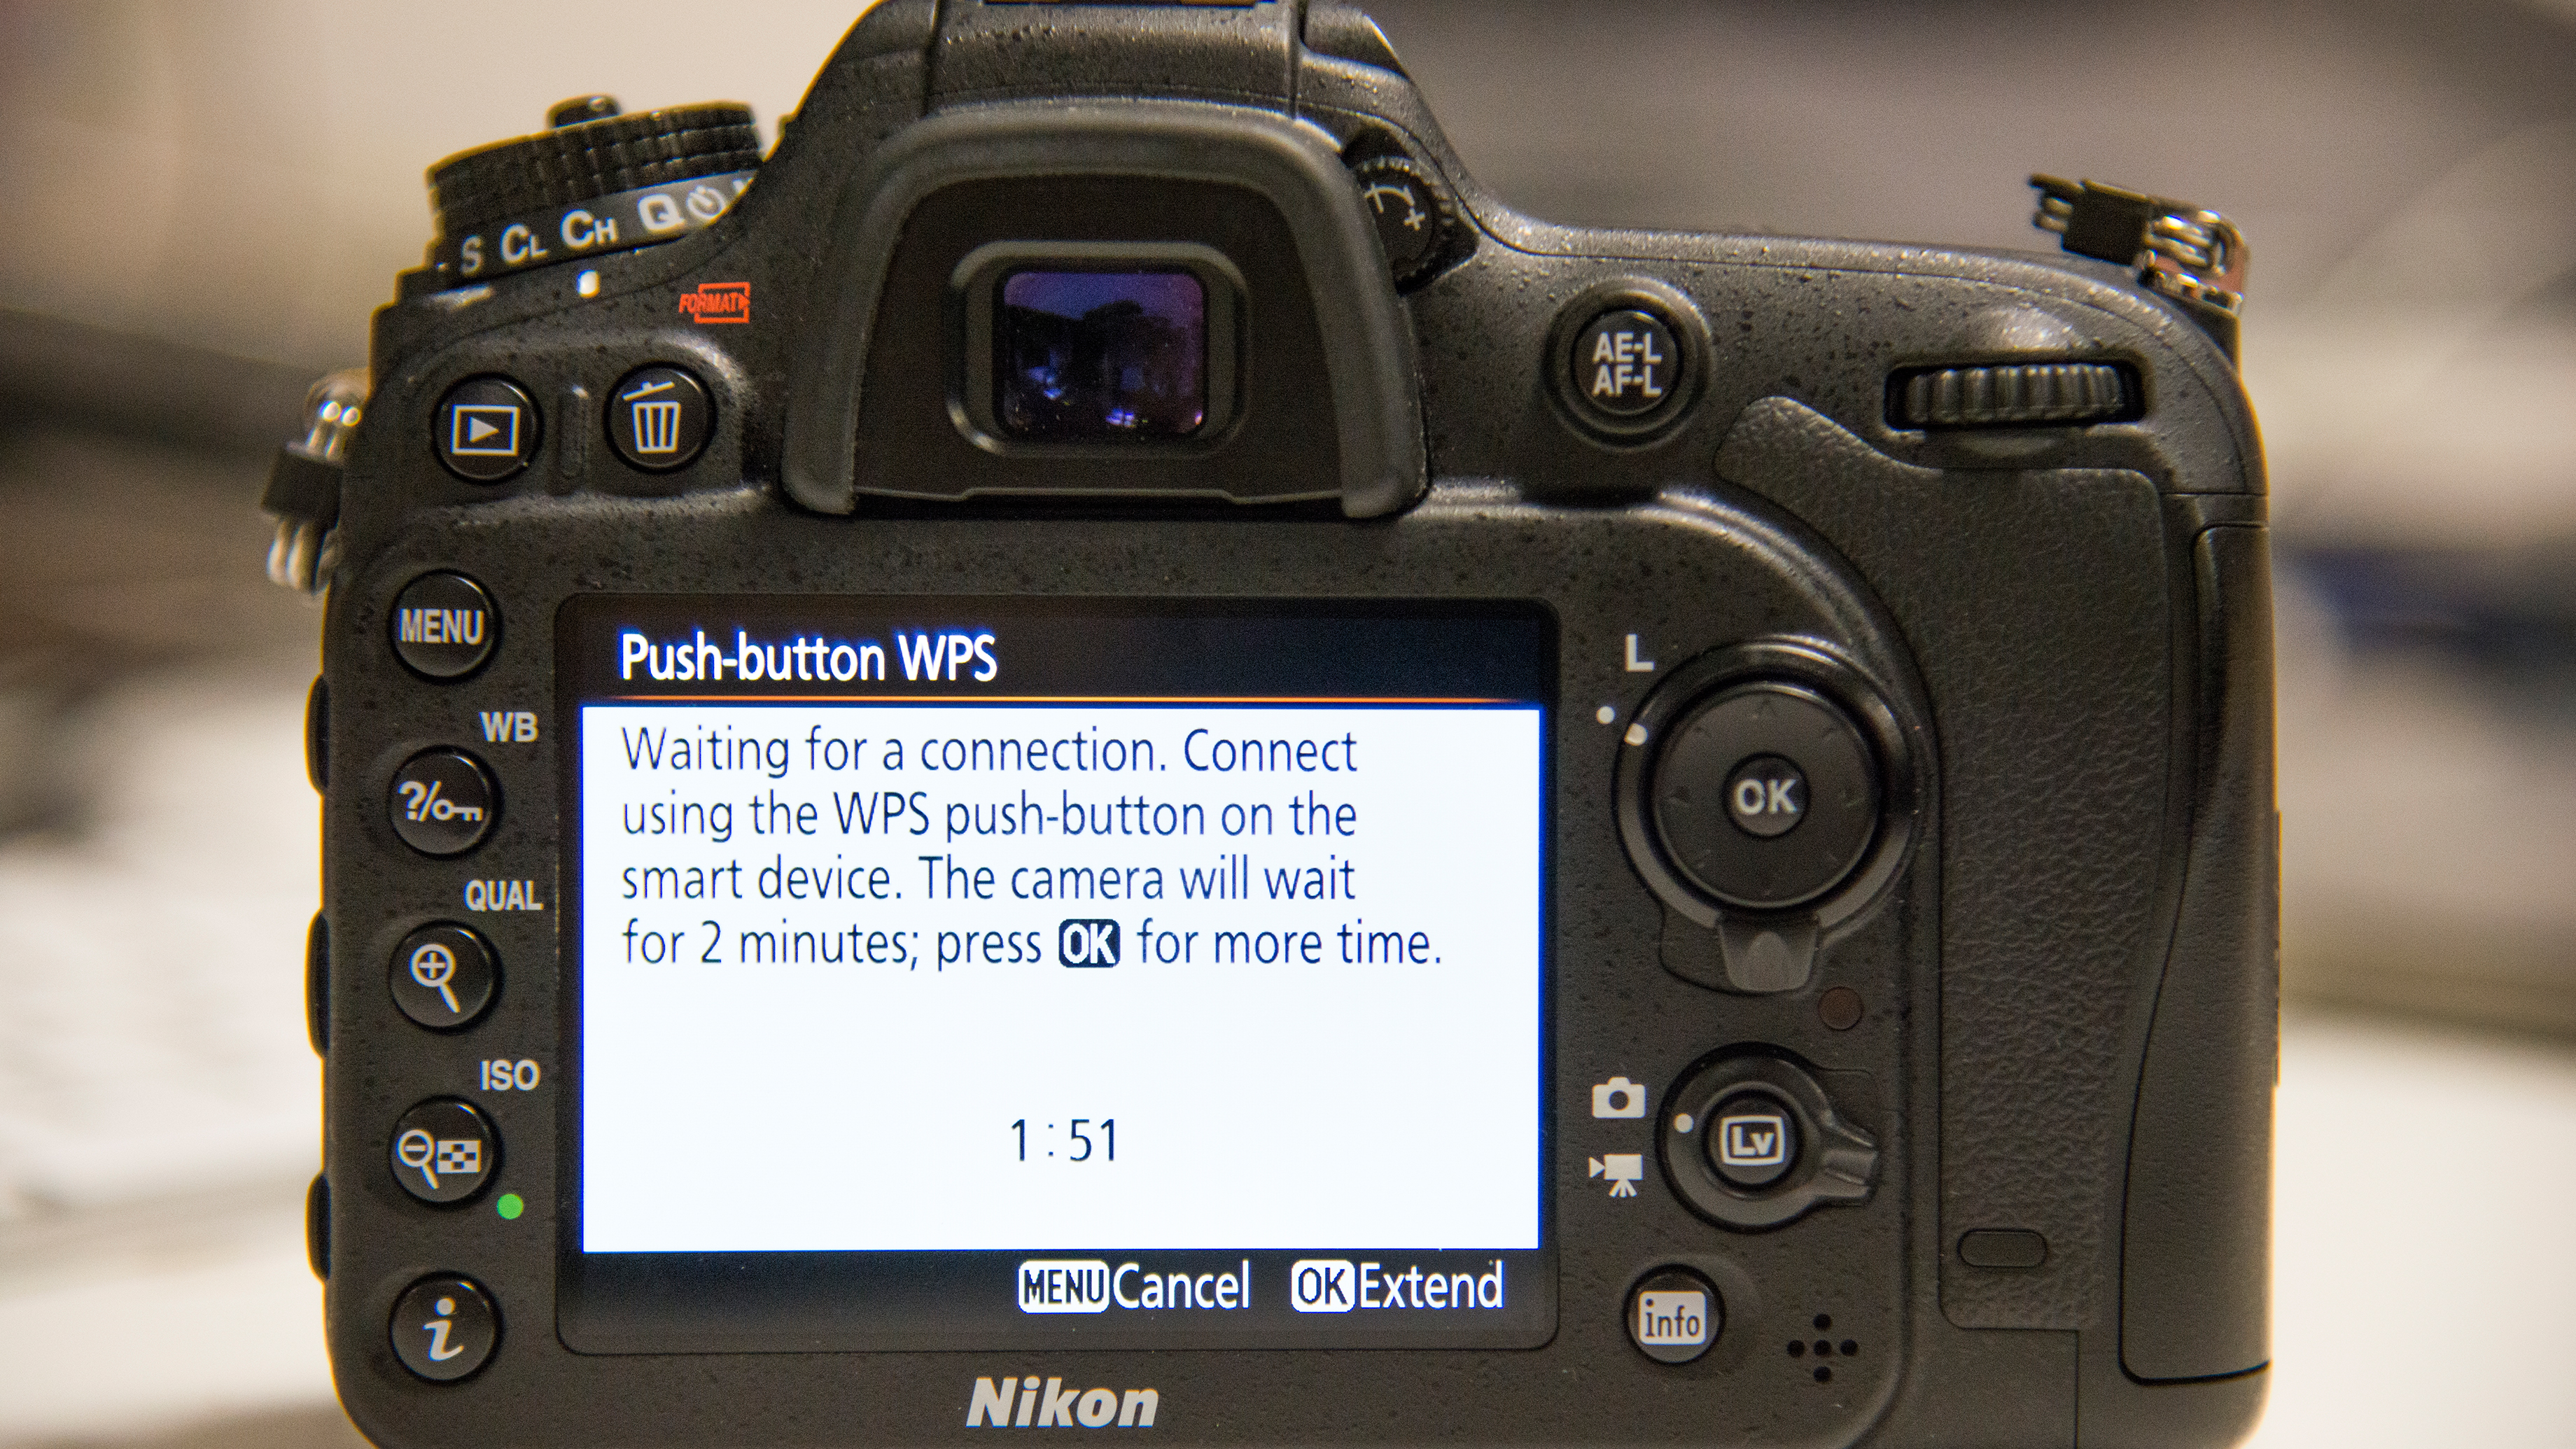
5. Push-button WPS
For a secure connection, when at home or in the office, you can use WiFi Protected Setup (WPS). Toggle this mode then push the WPS button on your router, when prompted, to add the camera to the secure network.
6. Transfer images or control shutter
Select images to send to a mobile device, either on the camera LCD or from your remote app. Alternatively, activate Live View and use the app’s remote shooting mode to trigger your shutter, while viewing a live image.
Read more:
• Nikon D780 vs D850: which Nikon DSLR is best?
• The best portable printer: get prints straight from your smartphone!
• Stock photography essentials: work in two dimensions with a lay-flat photo
As the Editor for Digital Photographer magazine, Peter is a specialist in camera tutorials and creative projects to help you get the most out of your camera, lens, tripod, filters, gimbal, lighting and other imaging equipment.
After cutting his teeth working in retail for camera specialists like Jessops, he has spent 11 years as a photography journalist and freelance writer – and he is a Getty Images-registered photographer, to boot.
No matter what you want to shoot, Peter can help you sharpen your skills and elevate your ability, whether it’s taking portraits, capturing landscapes, shooting architecture, creating macro and still life, photographing action… he can help you learn and improve.
