This is how I shoot mind-blowing steel wool photography
A long-exposure photographer shares his pro tips

Steel wool photography is a creative technique that makes you think: "how did they do THAT?". We'll explain – with the help of expert photographer Gimagery – how to shoot your own steel wool photos.
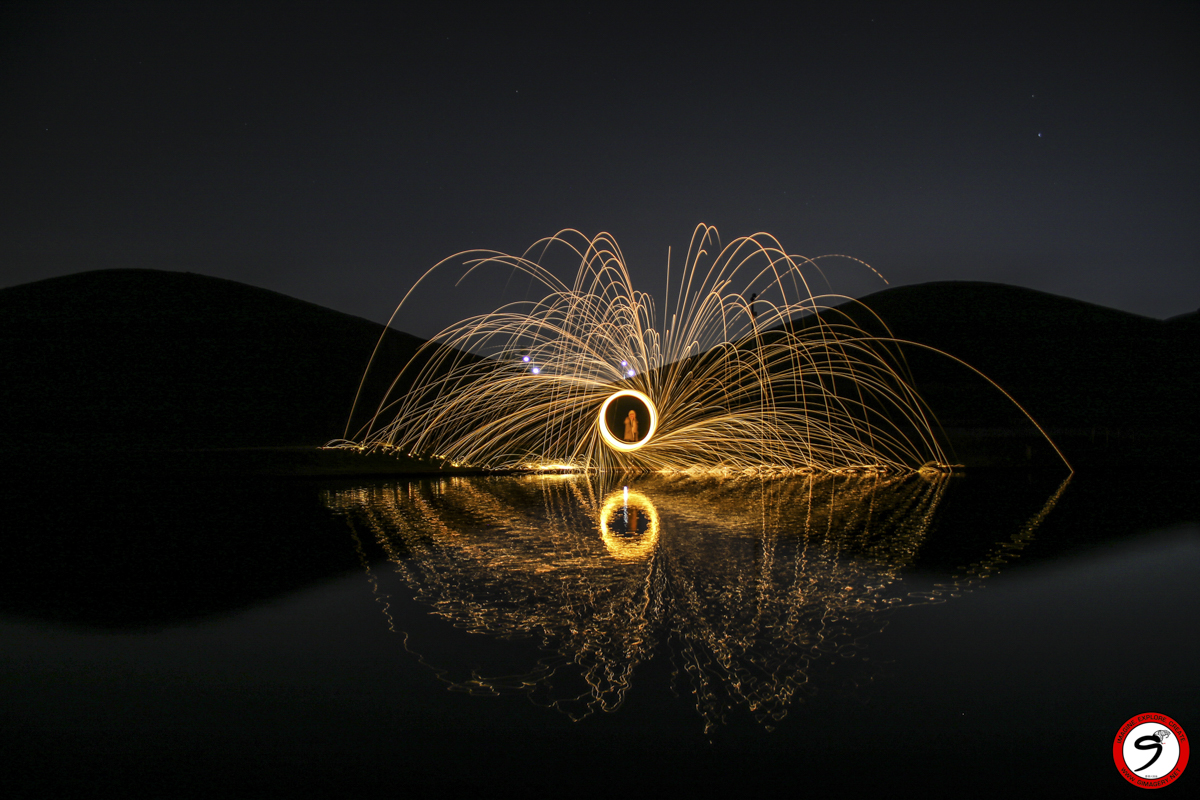
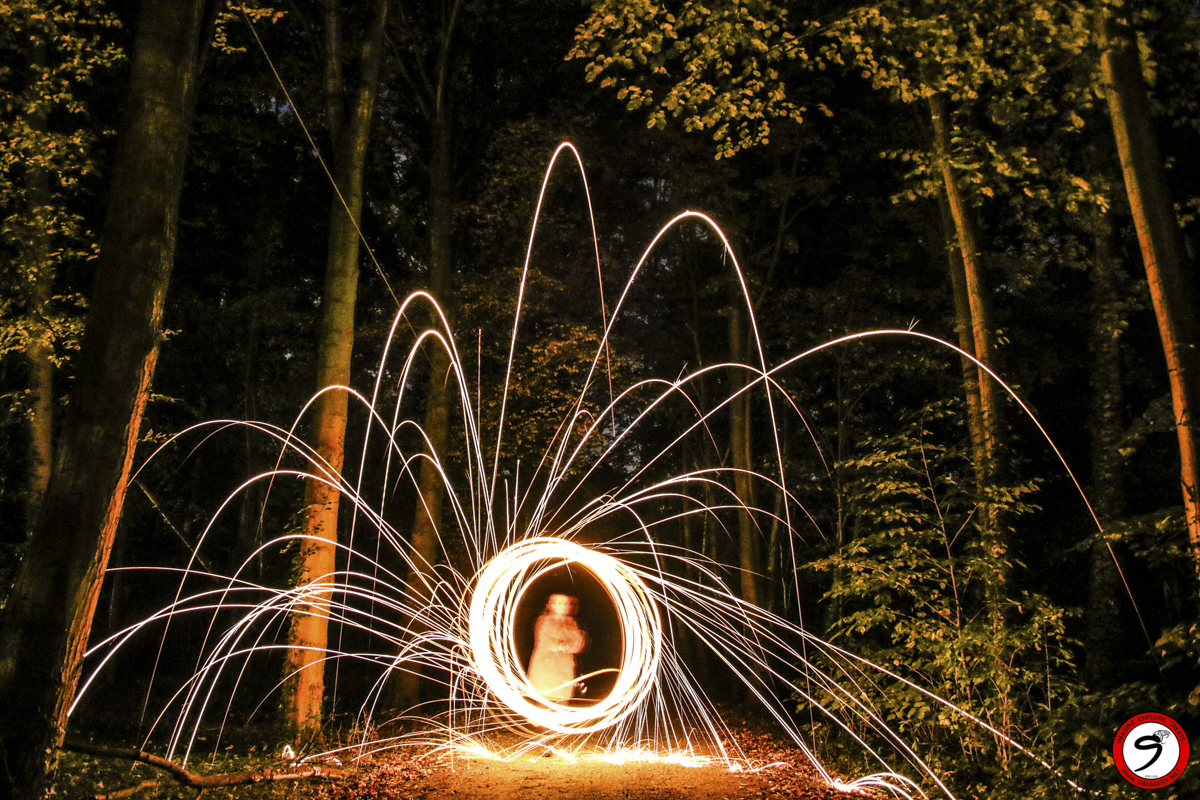
Steel wool photography involves using long exposures to capture the motion of hot embers flying through the air. It is achieved by setting fire to a material called steel wool that is sitting inside a metal whisk which is attached to a chain and then spinning it. Once alighted and spun around in the air, the glowing hot embers of steel wool fly out and create orange/gold streaks of light which are captured by the camera. The effect that is produced is somewhat similar to the effect created by a Catherine Wheel firework.
This technique produces eye-catching images and is also an interesting experience. The beauty of steel wool photography is that no photo looks the same and it is open to be experimented with to create unique photos.
You'll need one of the best low-light cameras and a sturdy tripod for the best results, and then to use long exposures it's best to use manual exposure mode. Let's discover how to shoot steel wool photos.
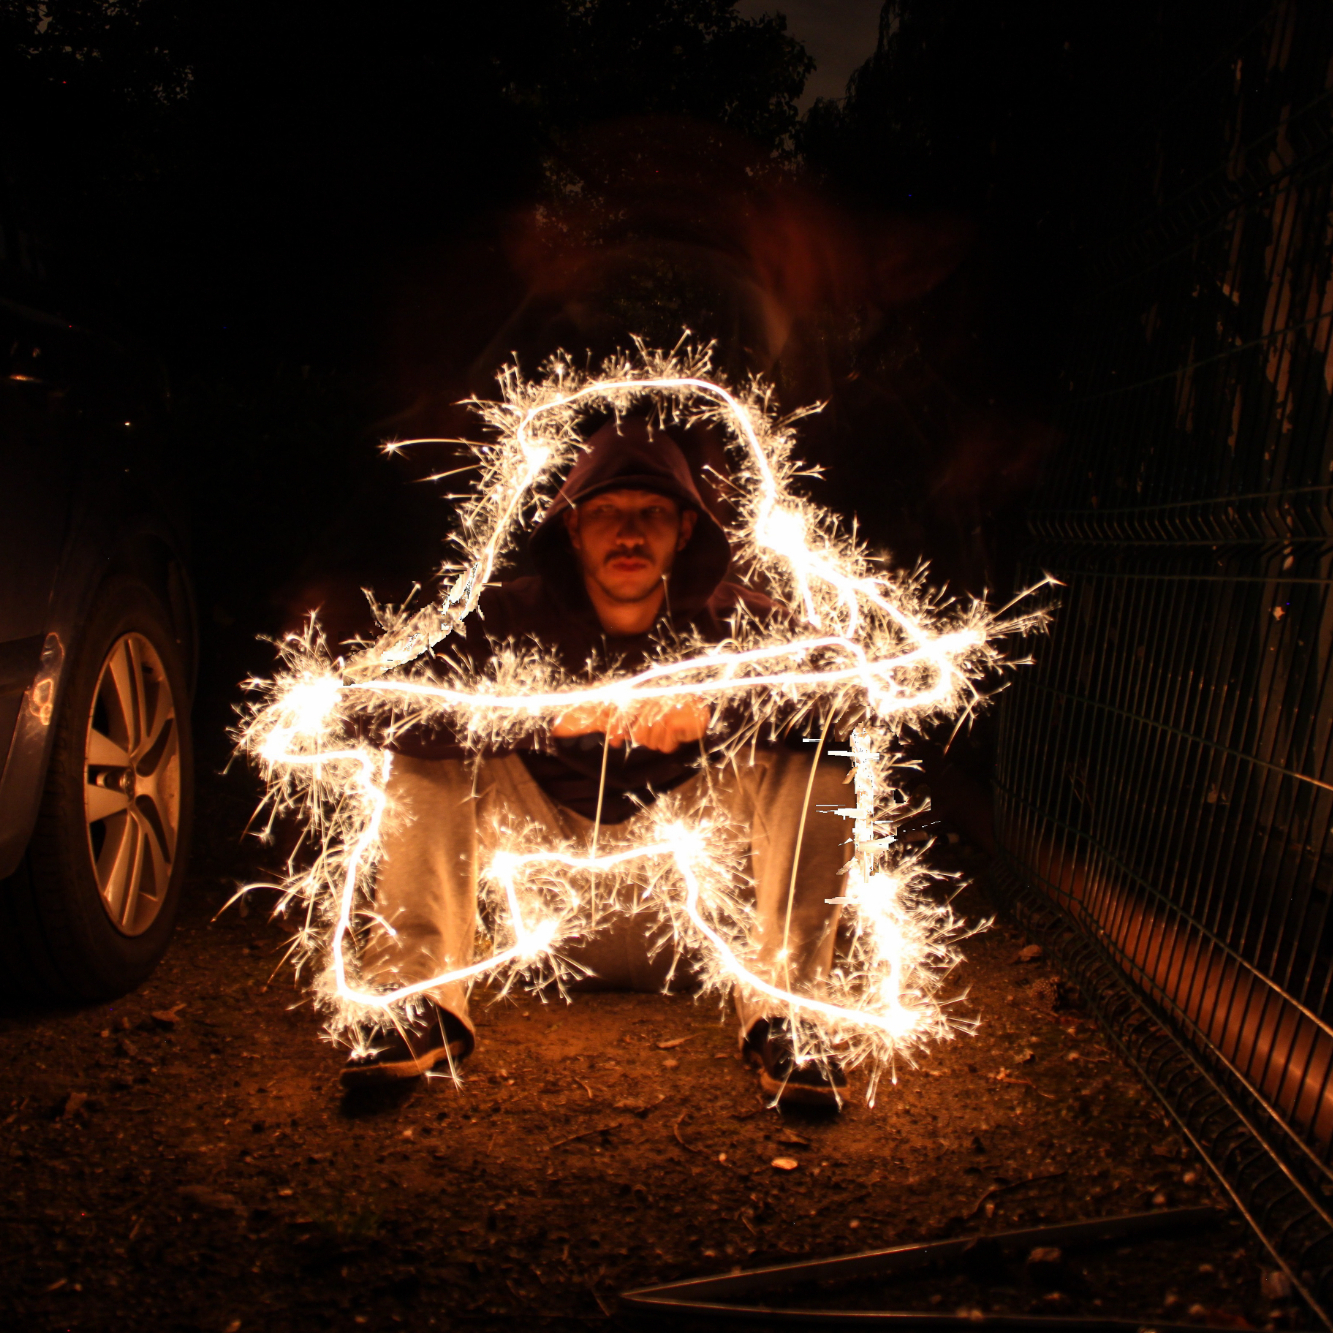
Gimagery is a UK-based professional photographer who specializes in long exposures specialist. On Instagram, and in his new book A Beginner's Guide to After Dark Photography with Gimagery, he's best known for his artistic creativity by using techniques to produce unique images that intrigue and captivate. Gimagery is known for his trademark use of light sources to create the illusion/impression of movement and bring static objects to life.
Kit needed for steel wool device
For long-exposure photography, I shoot with a Canon 7D Mark II paired up with my Hama tripod and a Canon wireless remote.
Kit needed to make the steel wool device
The steel wool device needs to be built and is comprised of steel wool, toilet paper, a metal kitchen whisk, and dog lead:
Steel wool
The main ingredient of the steel wool device is the steel wool itself. Steel wool is also known as wire wool or wire sponge. It is a bundle of thin steel wire used as a metal sponge for cleaning or polishing. The steel wool is what creates the sparks which are captured in the photo. Steel wool can be purchased in your local hardware store, supermarket, or discount store or it can be found on the internet.
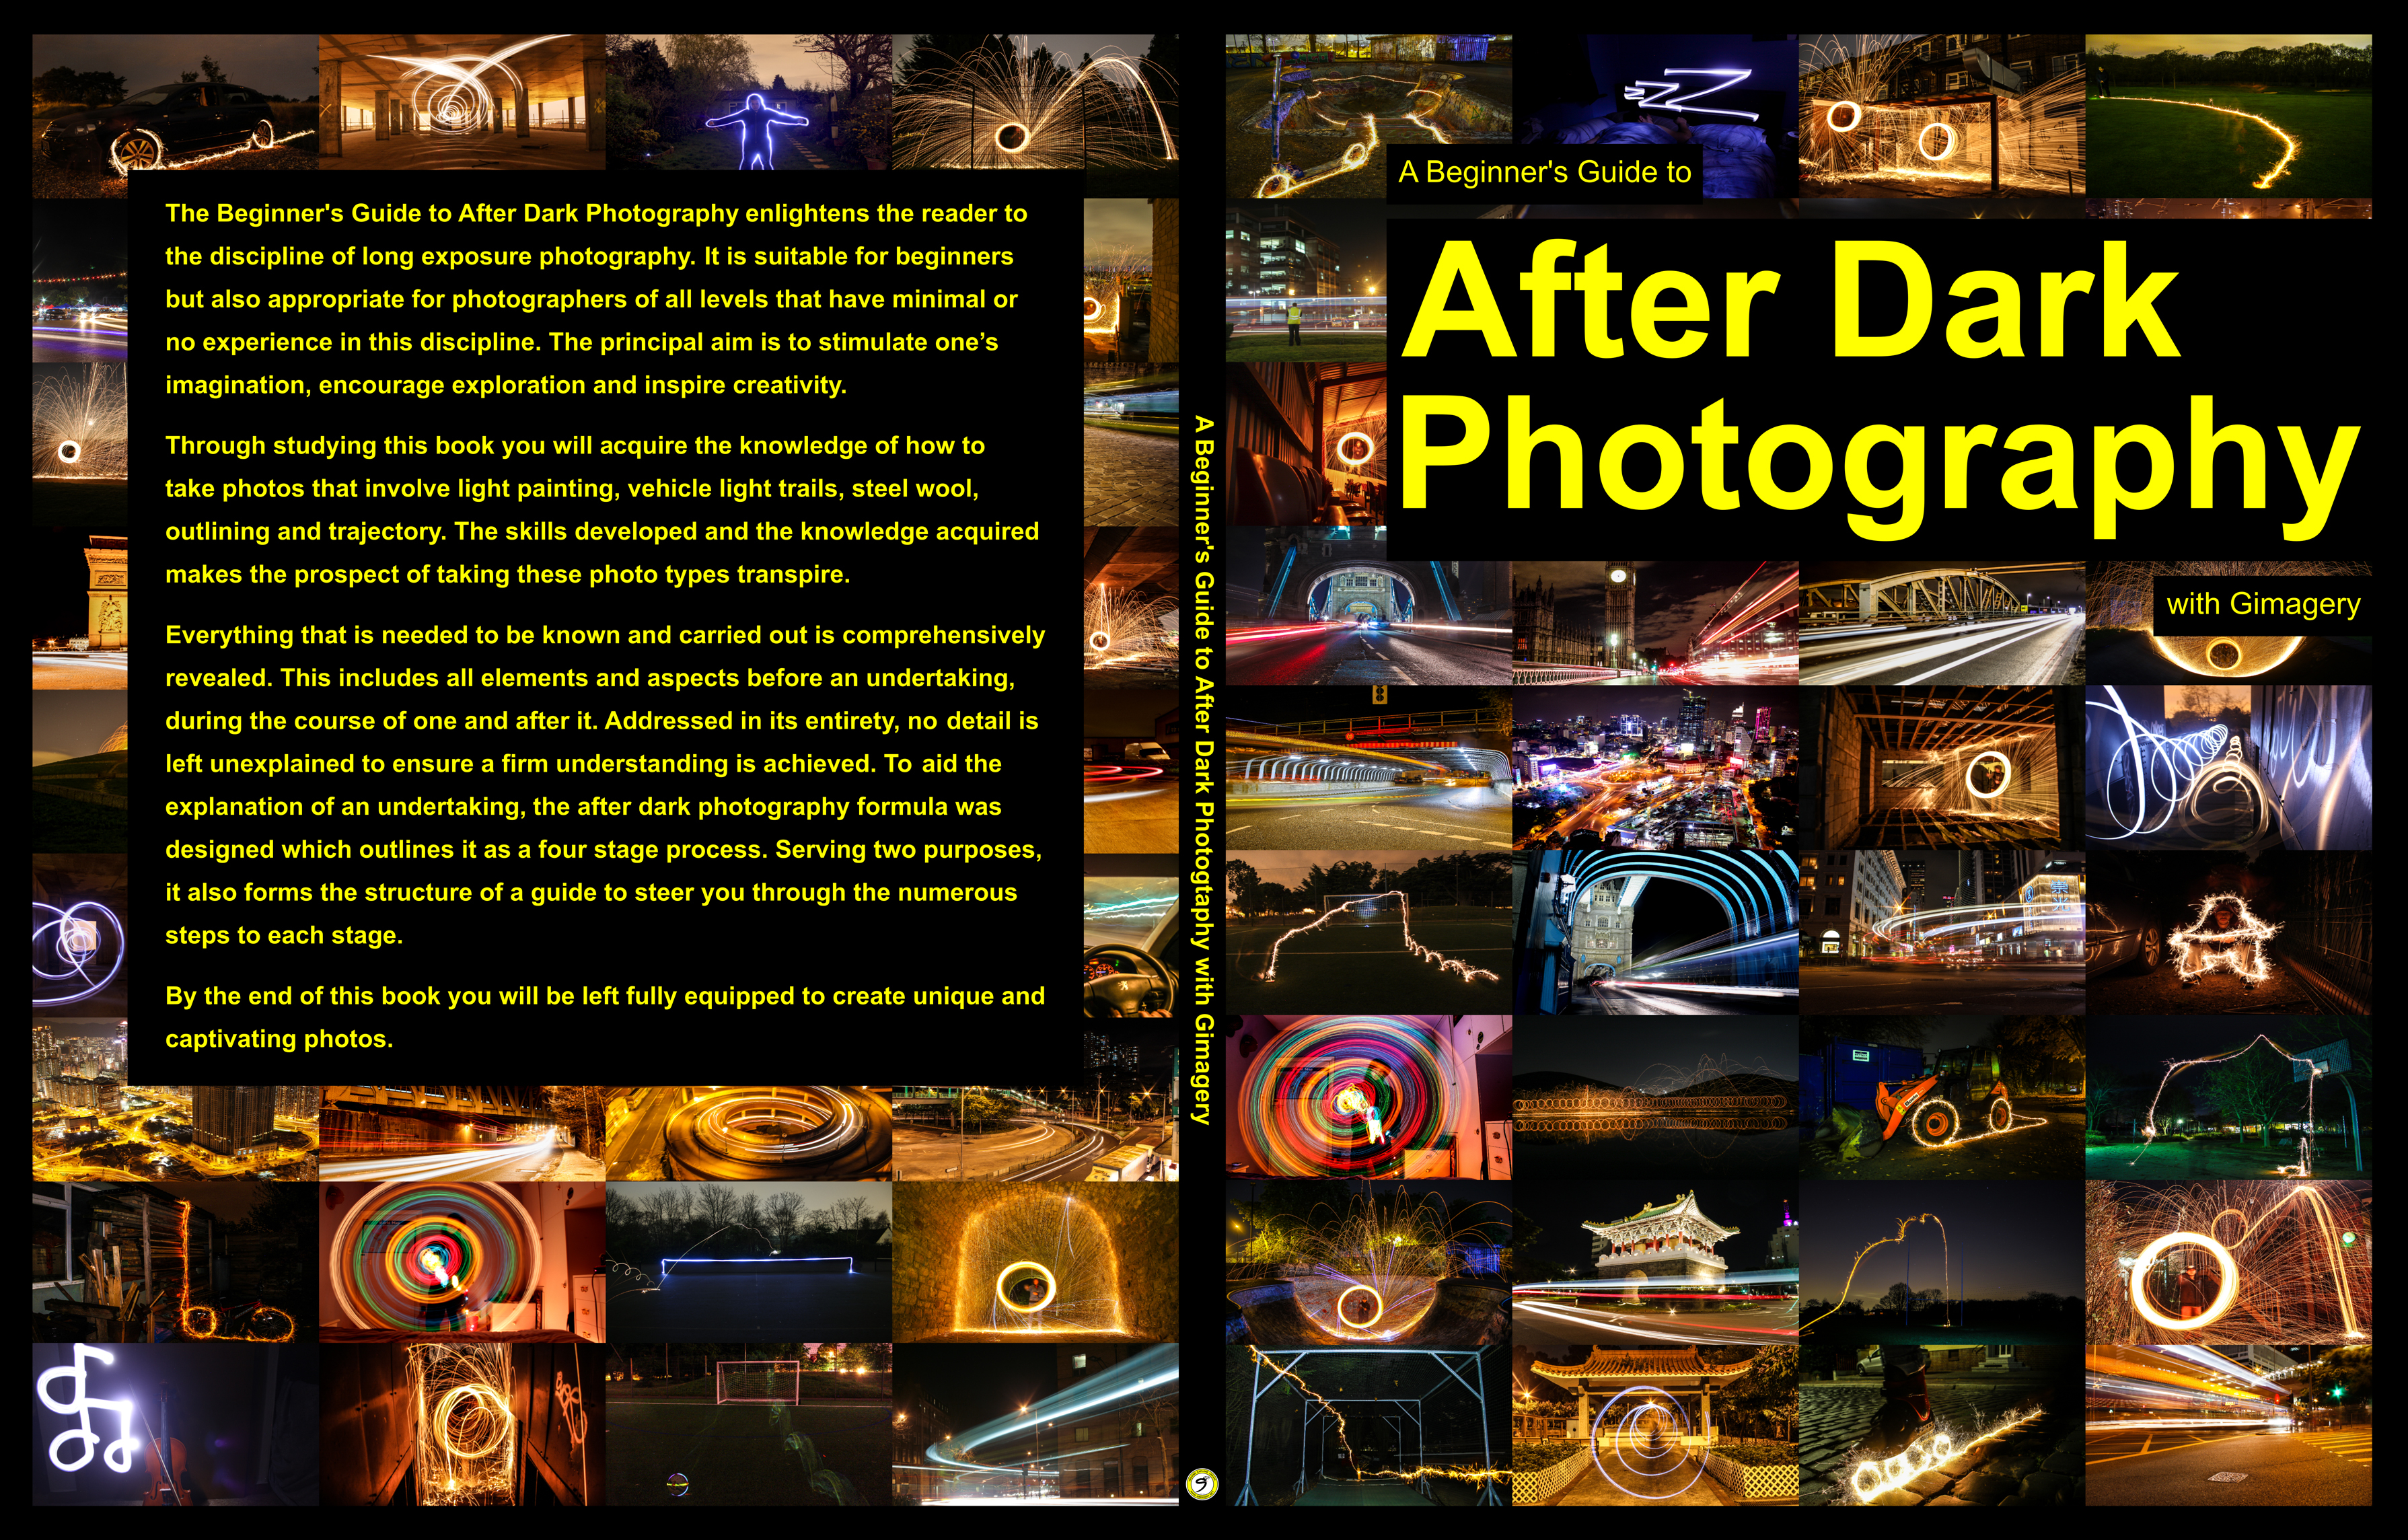
A Beginner’s Guide to After Dark Photography by author and photographer Gimagery provides in-depth step-by-step guides with interactive running examples on how to take five different types of long exposure photos; light painting words, vehicle light trails, steel wool, outlining, and trajectory. It is suitable for beginners but also appropriate for photographers of all levels regardless of experience.
Find it now on Amazon
Steel wool is available in various grades but the finer grades work better. The grade of the steel wool is labeled in either words or numbers. Purchase the finest quality available to you. The finest grade of steel wool is labeled in words as ‘finest’ or in numbers as ‘0000’. The second finest grade of steel wool is labeled in words as ‘extra fine’ or in numbers as ‘000’. The third finest grade of steel wool is labeled in words as ‘fine’ or in numbers as ‘00’. Avoid any other grades that have not been stated because the steel wool will be too thick and may not work.
Toilet paper
The next key component to the steel wool device you will need is ordinary toilet paper. This is needed to wrap around the steel wool in order to facilitate its burning. A strip of toilet paper five or six sheets in length is sufficient.
Metal kitchen whisk
A metal kitchen whisk is a very important part of the steel wool device. This is because it is used to hold the steel wool and its gaps allow the steel wool to fly out. There are two imperative characteristics that the whisk for your steel wool device should have. The first is that it needs to be metal because a plastic one will melt. The second is that it must have a loop at the end of the handle because a dog lead must be attached to it.
Dog lead
The last component required for the steel wool device is a dog lead. It needs to be attached to the bottom of the whisk which enables you to swing the steel wool device around. Alternatively, you could use something else such as a lanyard, rope, cord, cable, or chain to attach to the whisk. However, I highly recommend that you use a dog lead because on one end it has a clasp which makes it easy to attach to the whisk and on the other end it has a handle that is convenient to hold.
How to make steel wool device
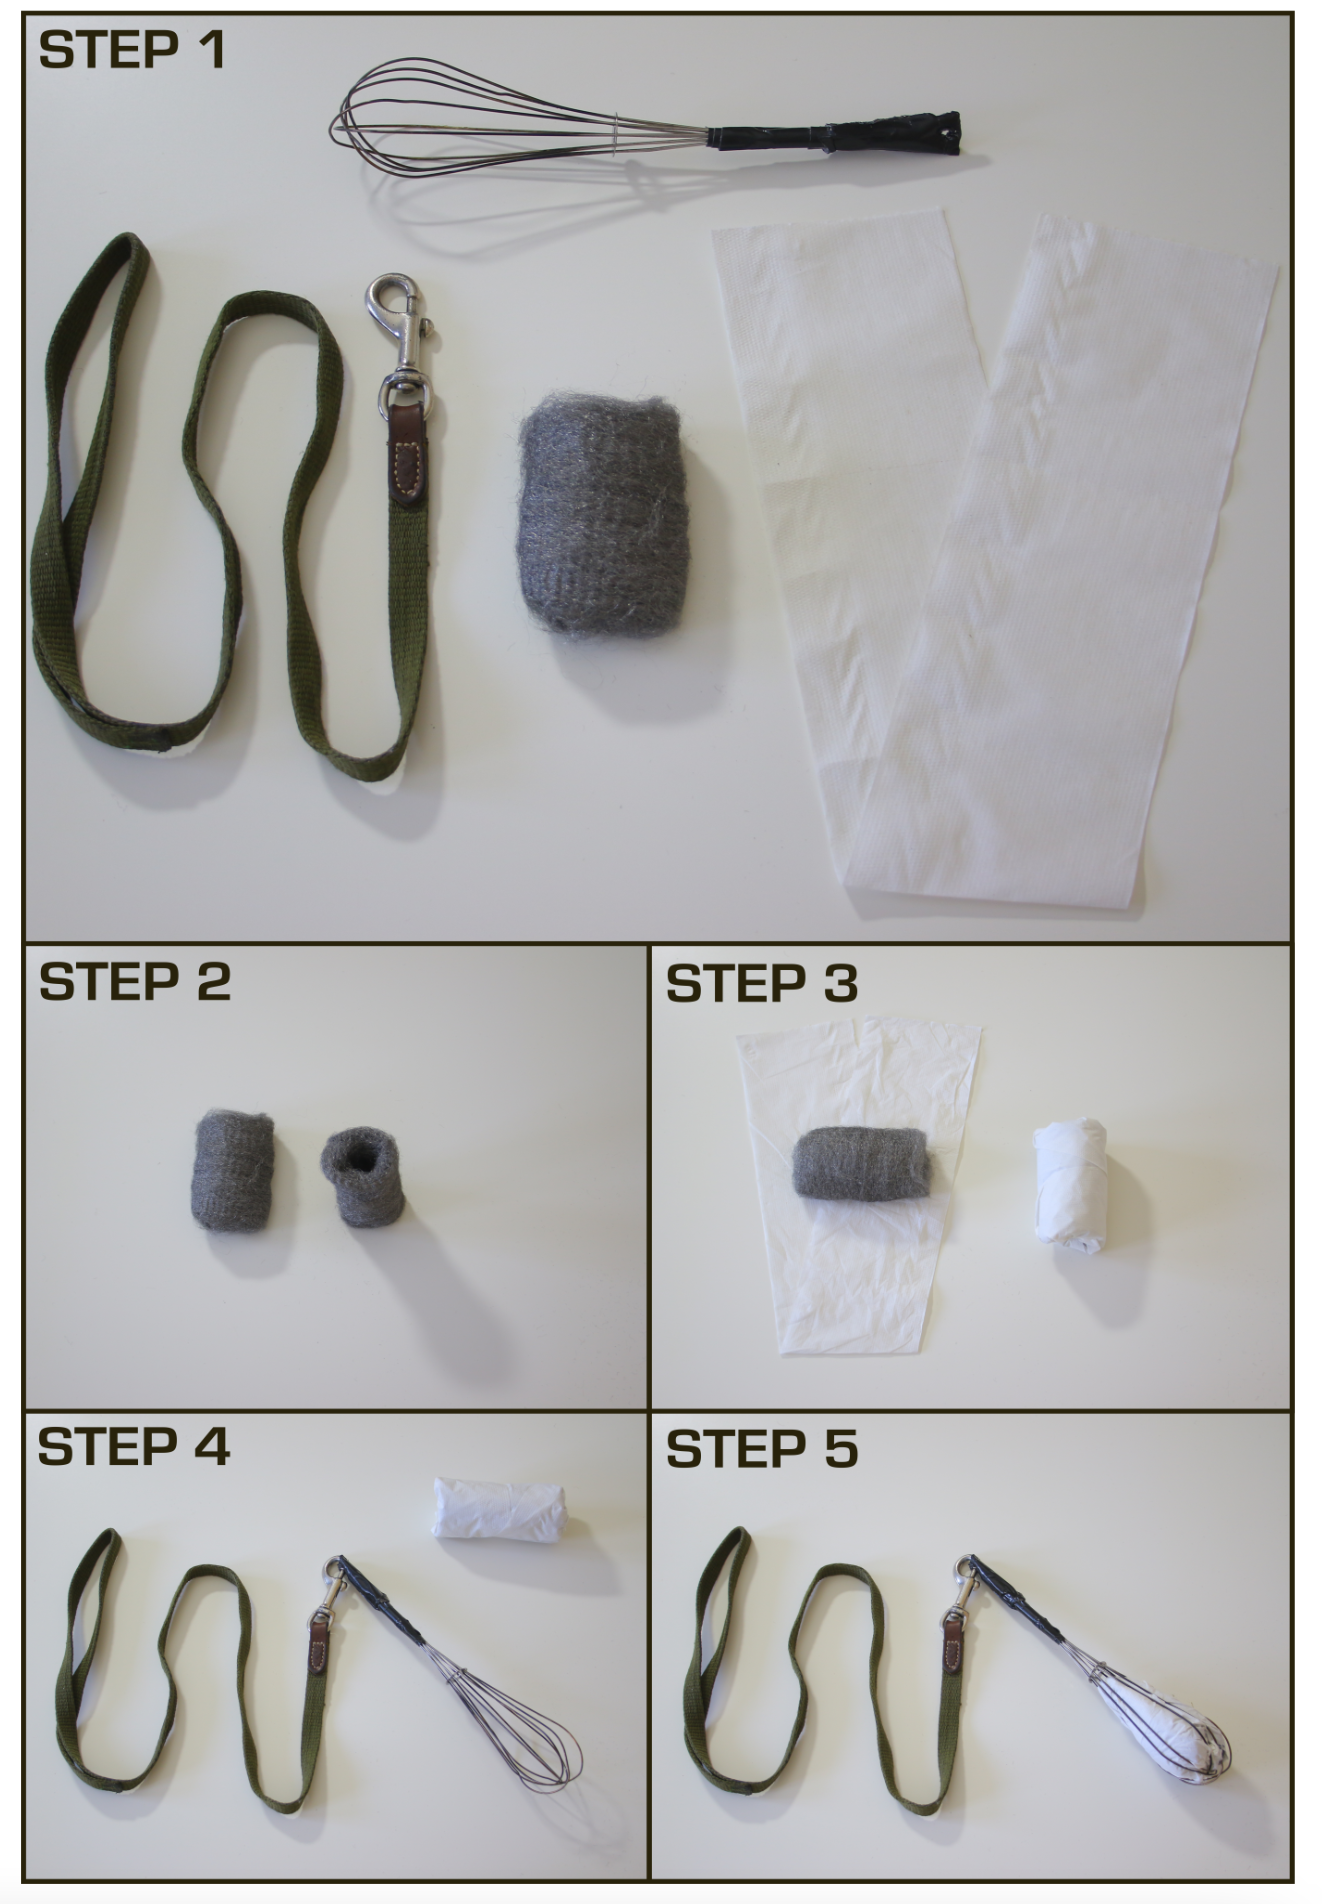
- Gather your steel wool, toilet paper, metal kitchen whisk, and dog lead.
- Take your steel wool and gently loosen and fluff it up. Do not rip any off, gently pull it apart slightly. Use your hands to hollow it out. This maximizes the airflow and helps it burn better.
- Wrap the steel wool in toilet paper so it is completely covered. Tuck the excess toilet paper in the holes at both ends to hold it in place.
- Attach the clasp on your dog lead to the loop at the end of your whisk.
- Put your steel wool wrapped in toilet paper inside the whisk.
Choosing the best location
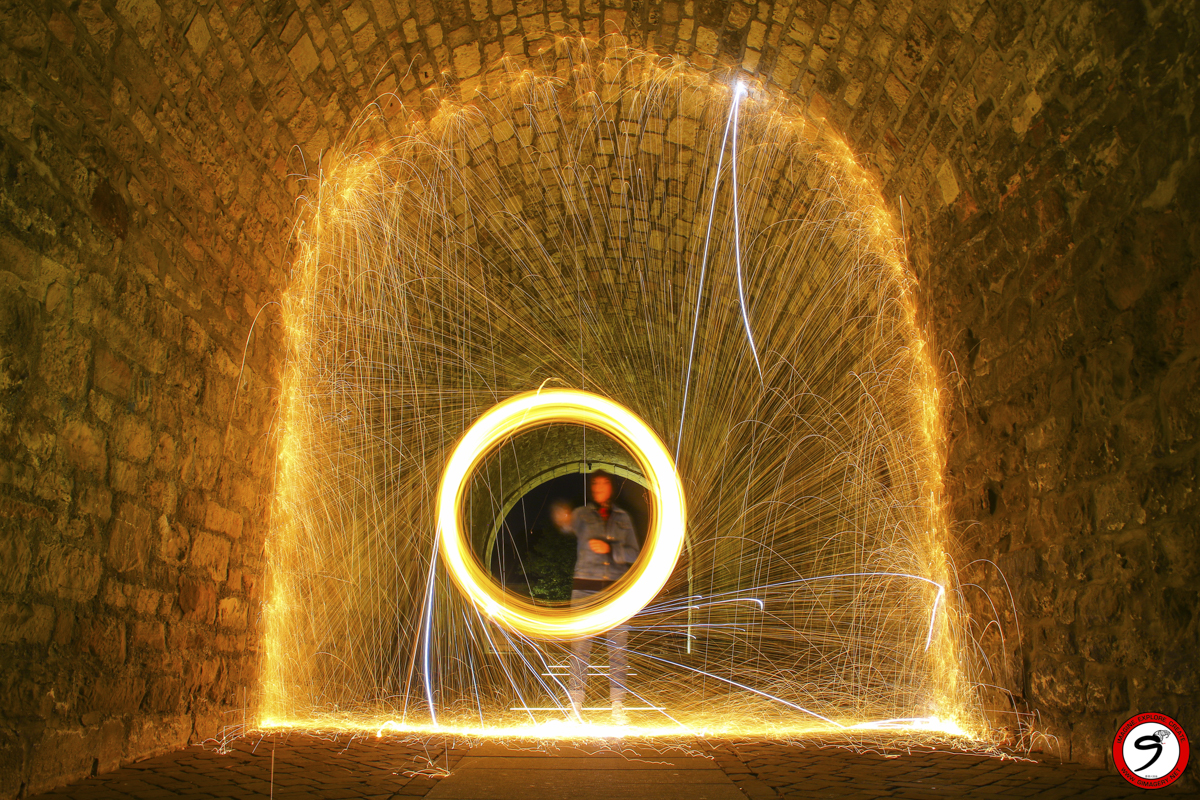
The end result of your steel wool photo is greatly determined by where you take it. In order to create an interesting steel wool photo, the background is as important as capturing the steel wool being spun.
The main consideration for choosing your location should be that the spot is in total darkness or has very low levels of artificial light. You want to choose a location where the backdrop will enhance the attractiveness of your photo and make it more interesting.
Positioning
If you are going to be in the shot, decide where you will stand OR decide where your camera must be placed so it can capture what is intended. After that, place the tripod down so the camera can sit on top and be aimed at the chosen frame. Next, put the camera on top of the tripod, turn it on and line up the frame as necessary.
Firstly, you must decide where to position yourself to spin up the steel wool. This should be at a minimum distance of six meters away from the camera. Once your position is chosen, remember this place or put something on the floor to mark it.
Shooting steps for steel wool photos
Place your tripod down (about six meters away from the point of the steel wool) so your camera can be put on top and aimed at this position. Put your camera on top of your tripod, turn it on and, if needed, zoom out so you can see the entire area where you will spin up the steel wool. It is important to consider that when spinning the steel wool it will fly outwards and upwards so leave enough space in the frame to see this.
Then, look through the viewfinder on your camera to check the following three things: (1) Nothing is in the shot that you don’t want such as anything that is obstructing or getting in the way of the frame (2) The frame is reasonably straight (3) The camera is positioned exactly in the center taking into consideration where you will stand.
Camera settings
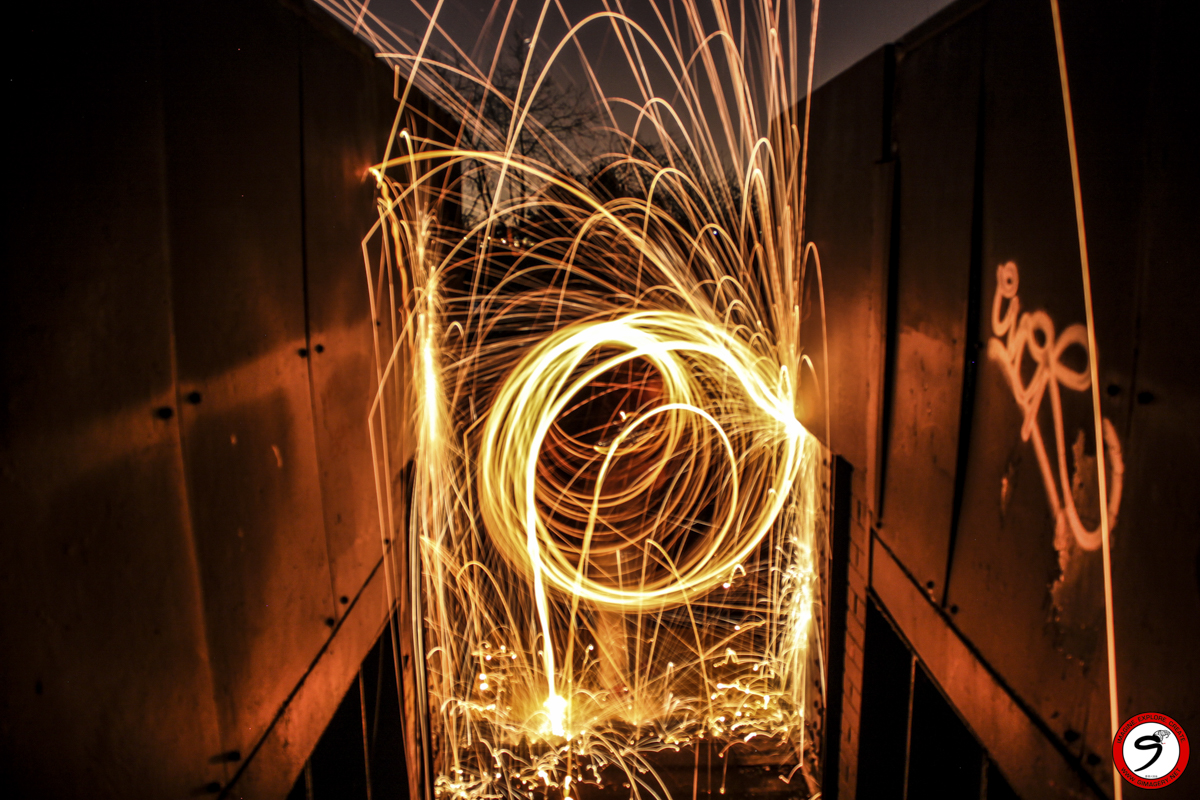
Most of my wire wool photos were shot with a low ISO (e.g. ISO100), a mid-range aperture of around f/5.6-f/9 and a long exposure – anything between about 6-30 seconds depending on the speed of the wire wool, the distance from the camera and the ambient light.
First, put your camera into manual mode. This allows you to set the ISO, aperture and shutter speed as you want them. Second, set the ISO to 100 (standard ISO used for most long exposures). If your location does have some light, try your aperture at 8. Be aware that for this shot you will need to play around with the aperture to find which aperture number works best for the lighting at your location. Fourth, set the shutter speed to 10 seconds. Fifth, set your camera to self-timer/remote mode.
All of these settings can be adjusted accordingly when taking test shots. The settings given here should be used as a starting point. Your camera screen should look something like this.
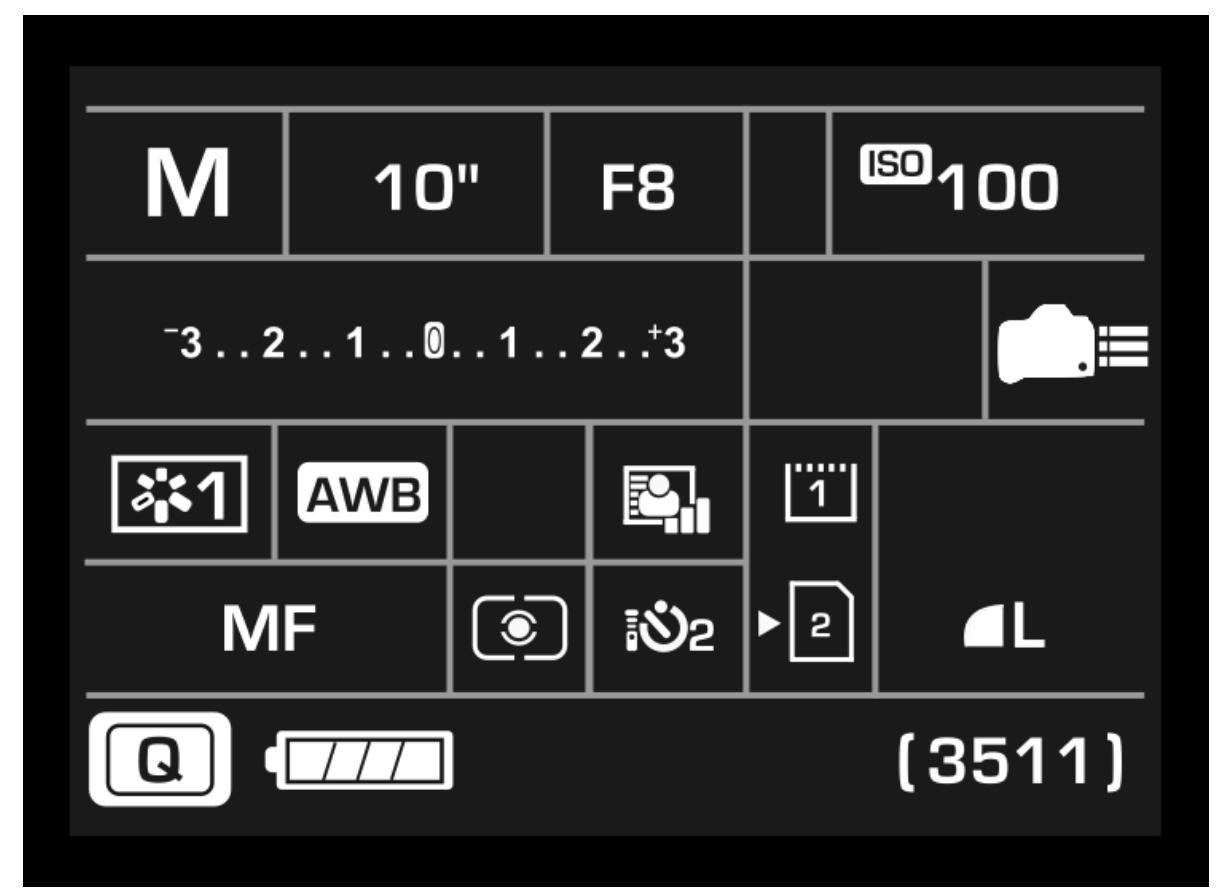
I always focus the camera lens automatically, but if your lens is hunting in the dark, switch to manual focus mode and focus the camera lens at the point where you're going to stand. Then, fire the camera shutter using a self-timer or camera remote. If you're shooting with a friend, you could ask them to press the shutter for you.
Quick tips
- Be careful and always consider safety measures.
- Prepare several pieces of steel wool as it will enable you to take numerous steel wools shots continuously without any delay.
- Before setting off the shutter release to take the photo, always be spinning the steel wool device already. This ensures that the photo is captured at the correct time and that the steel wool is working.
- Consider adding magnesium ribbon to your steel wool device. Combining it with the steel wool adds white streaks of light in addition to the orange/gold streaks produced by the steel wool.
- Taking a steel wool photo with water or a reflective surface beneath and in front of you will create fascinating reflections.
- Remember that the background adds extra interest to the photo. Choose somewhere that has a bit of detail in the background.
- Spinning two steel wools at once always produces an extra spectacular photo. Once you have become familiar with doing one yourself, bring a friend along to do one with you at the same time. When doing this, make sure you are not in the line of fire of each other so nobody gets hurt.
- Bring several lighters along with you. Beware that they can get very hot and at that point, it is good to swap over to a fresh lighter.
There are so many different creative projects you can try when the sun goes down. You might also want to paint with light to create fantastic light orb images or capture light trails.
Get the Digital Camera World Newsletter
The best camera deals, reviews, product advice, and unmissable photography news, direct to your inbox!

Lauren is a writer, reviewer, and photographer with ten years of experience in the camera industry. She's the former Managing Editor of Digital Camera World, and previously served as Editor of Digital Photographer magazine, Technique editor for PhotoPlus: The Canon Magazine, and Deputy Editor of our sister publication, Digital Camera Magazine. An experienced journalist and freelance photographer, Lauren also has bylines at Tech Radar, Space.com, Canon Europe, PCGamesN, T3, Stuff, and British Airways' in-flight magazine. When she's not testing gear for DCW, she's probably in the kitchen testing yet another new curry recipe or walking in the Cotswolds with her Flat-coated Retriever.
