Try lens flare photography and shoot portraits with flair
Lens flare photography enables you to turn harsh light into a blessing for your portraits
Watch video: Lens flare photography
Useful portrait photography kit
• The best camera for portraits
• The best lens for portraits
• The best photography lighting kits
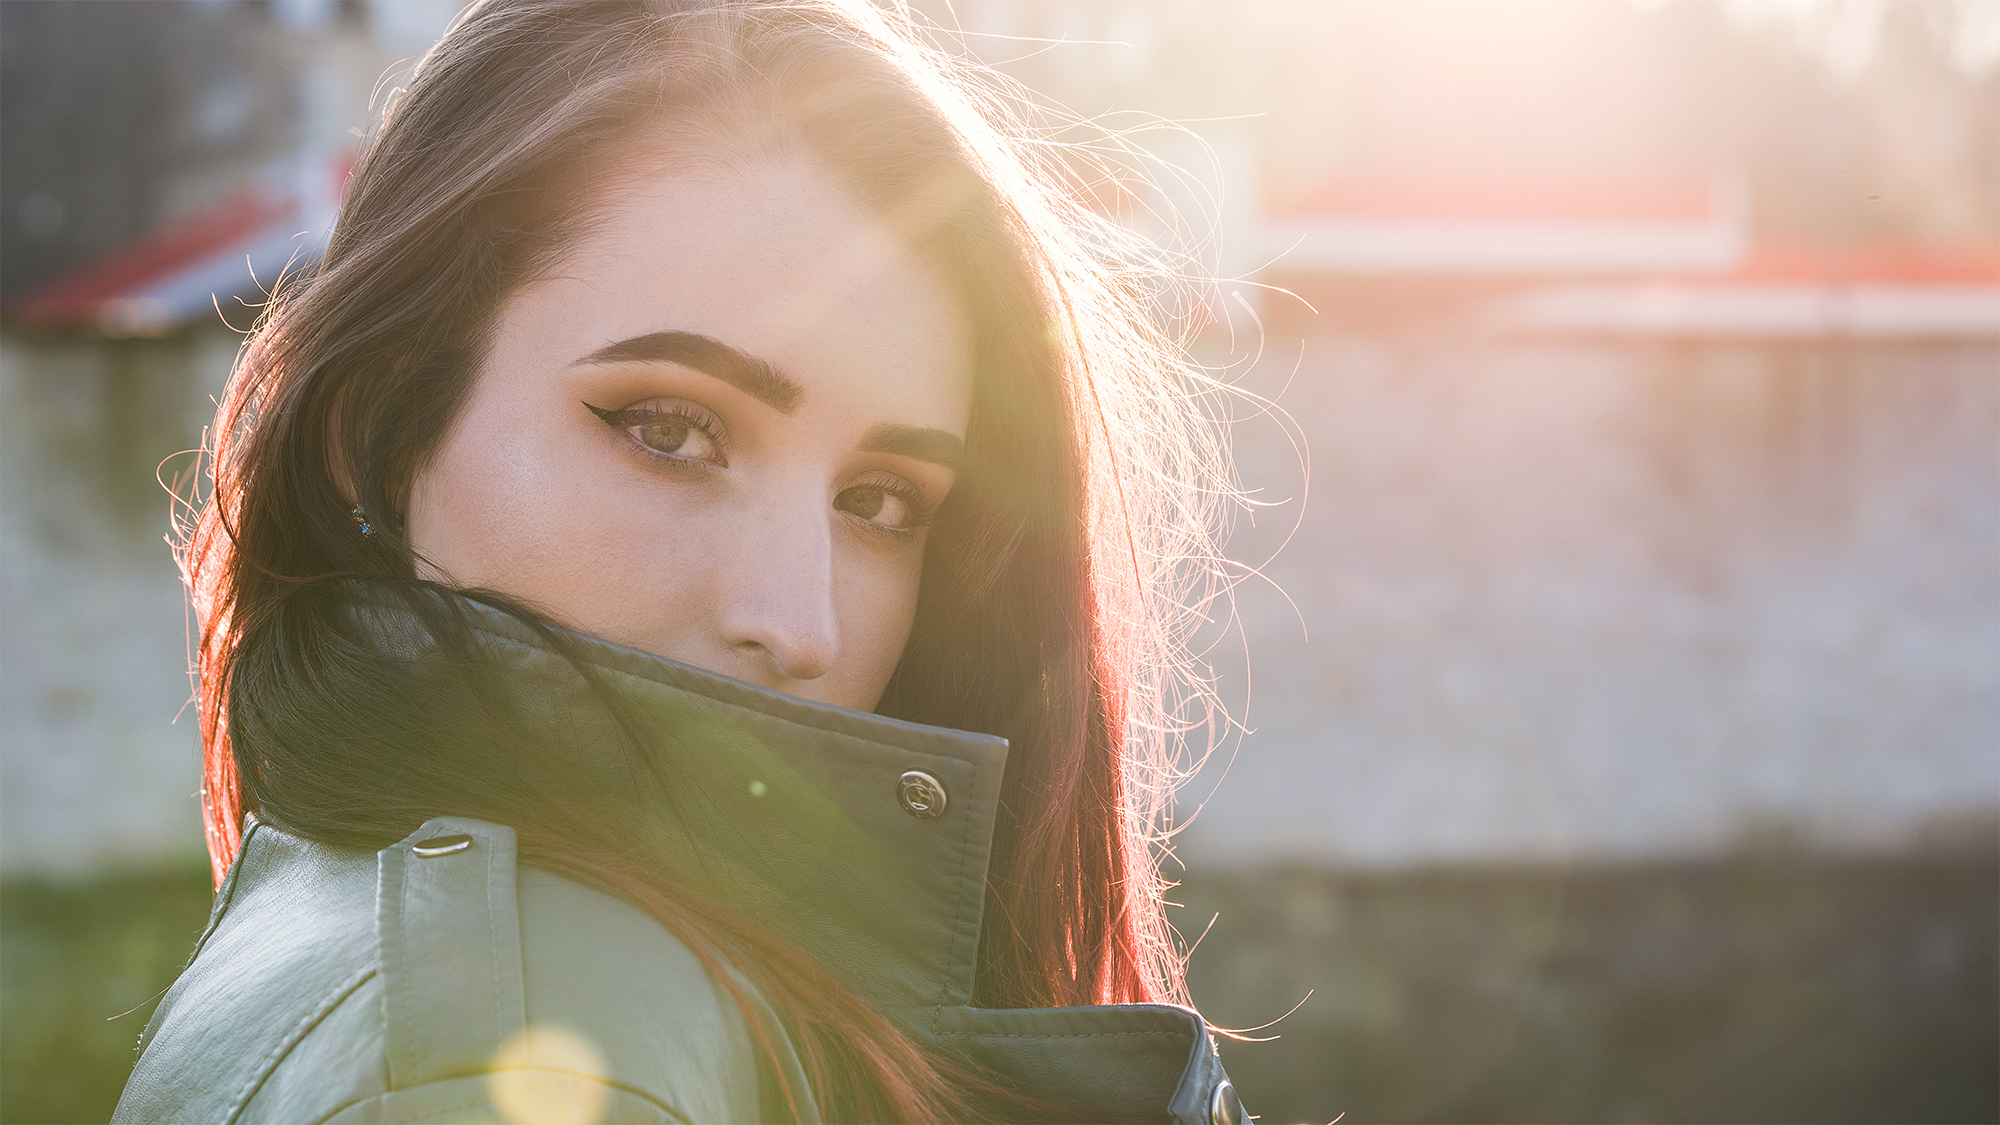
There are many ways to avoid lens flare. You can attach a lens hood, alter the angle of your shot, block incoming light or choose to shoot at certain times of day. However, when used intentionally, lens flare can be an effective way to spice up your outdoor portraits.
The stylized aesthetic is particularly useful if you want to obscure a boring or overly busy background, or make use of otherwise harsh, unflattering sunlight. And you don't need fancy lenses – in fact, it's often quite the opposite. Zooms are known to cause more flare than primes, and lenses without top-notch anti-reflective coatings will be more susceptible to it – but how intense you want the effect is a matter of taste. We’d recommend experimenting with the lenses you own.
The angle of the sun is a big consideration, since you’ll be shooting towards it. We shot our image at golden hour and, while the warm light looked great, the sun was also lower in the sky so it was easier to frame. If you choose to shoot around midday, when the sun is higher in the sky, you’ll be forced to shoot up towards your subject, which isn’t the most flattering angle for a portrait.
Finally, the intense light can play havoc with your camera’s autofocus – but you can mitigate this by using manual focus or blocking the light and locking your focus before unblocking the light and firing the shutter.
PLEASE NOTE: Ensure you operate safely and sensibly. Never look directly into the sun (even through a viewfinder).
Lens flare photography for portraits
1. Light and kit
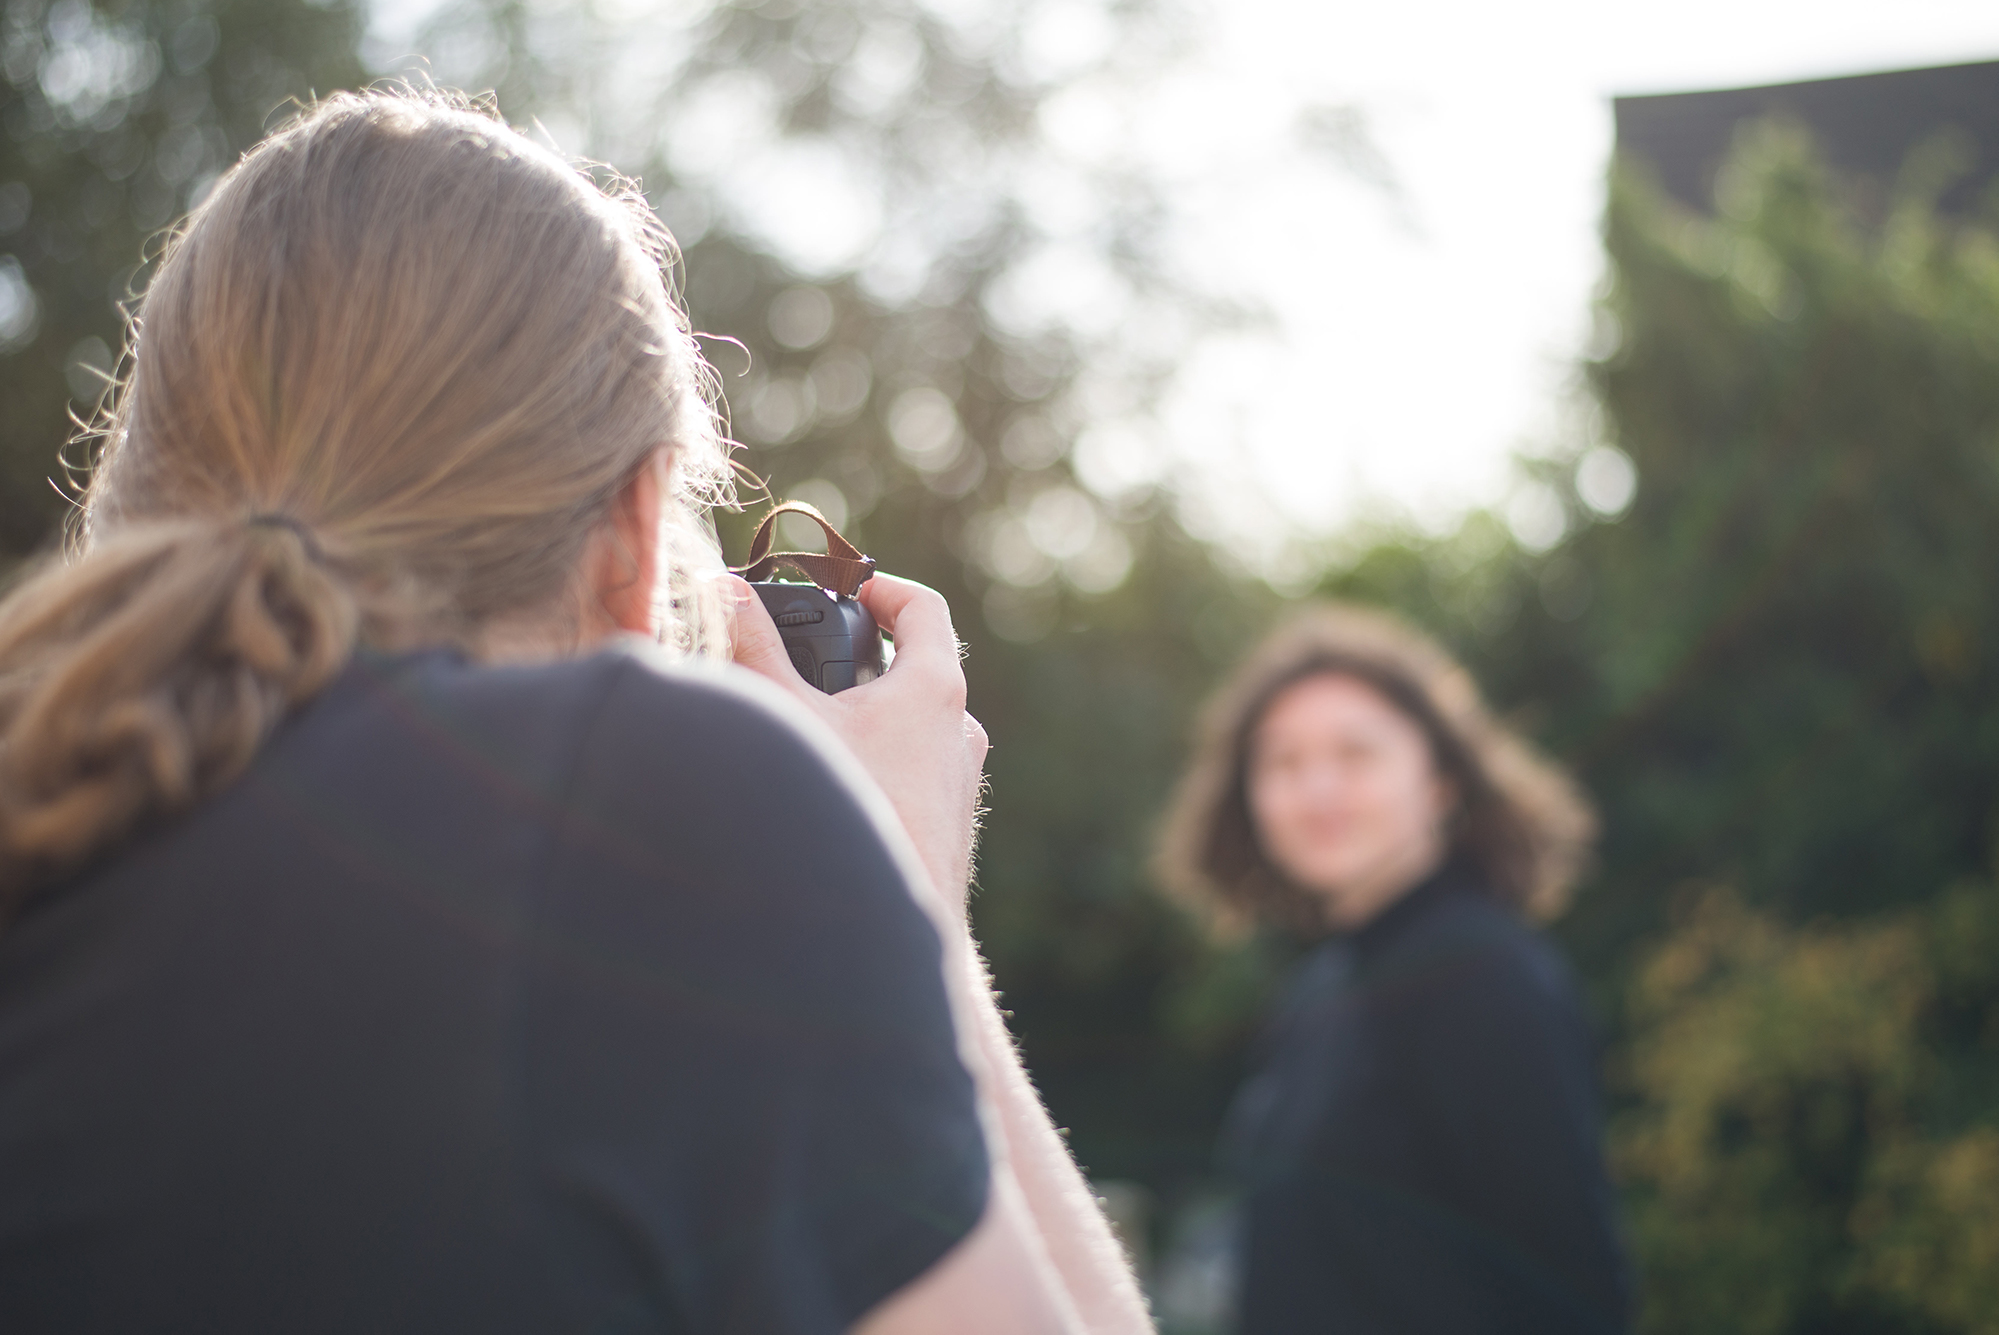
Cloud diffuses sunlight, so you’ll need to shoot on a day that’s clear or with frequent breaks in the cloud. We used our Nikon AF-S 70-200mm f/2.8E FL ED VR and shot at a flattering focal length of around 85mm. Lens hoods are designed to help prevent lens flare so, if you have one, make sure it’s removed.
2. Find your angle
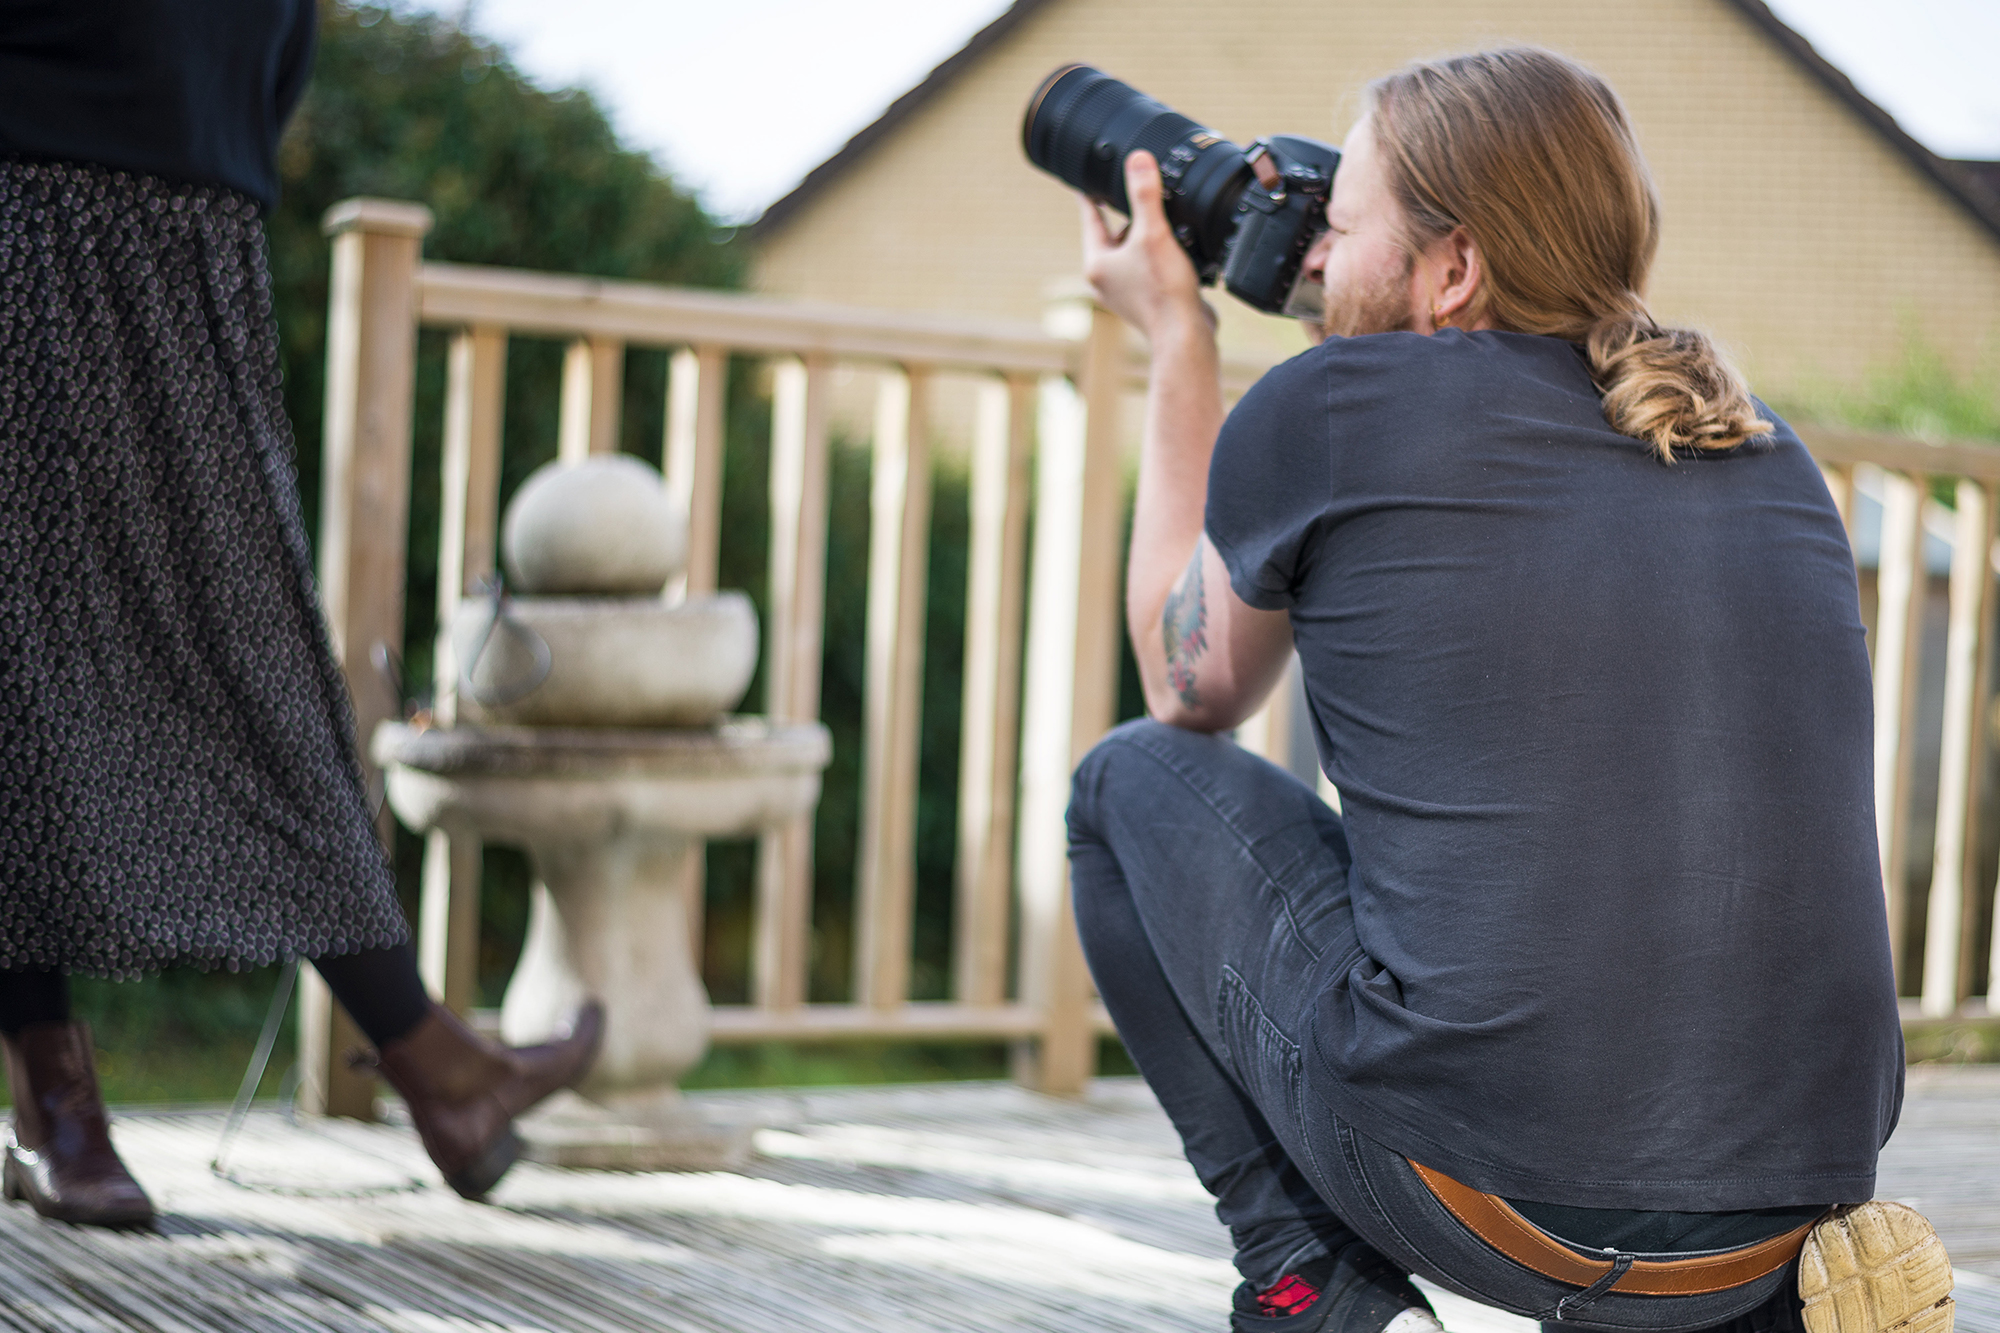
The position of the sun will determine the angle at which you can shoot. It will be low in the sky earlier in the morning or later in the evening, which means you can shoot at a more conventional angle. At midday, when the sun is high in the sky, you’ll be forced to shoot up at your subject, which is generally considered less flattering.
3. Manual mode
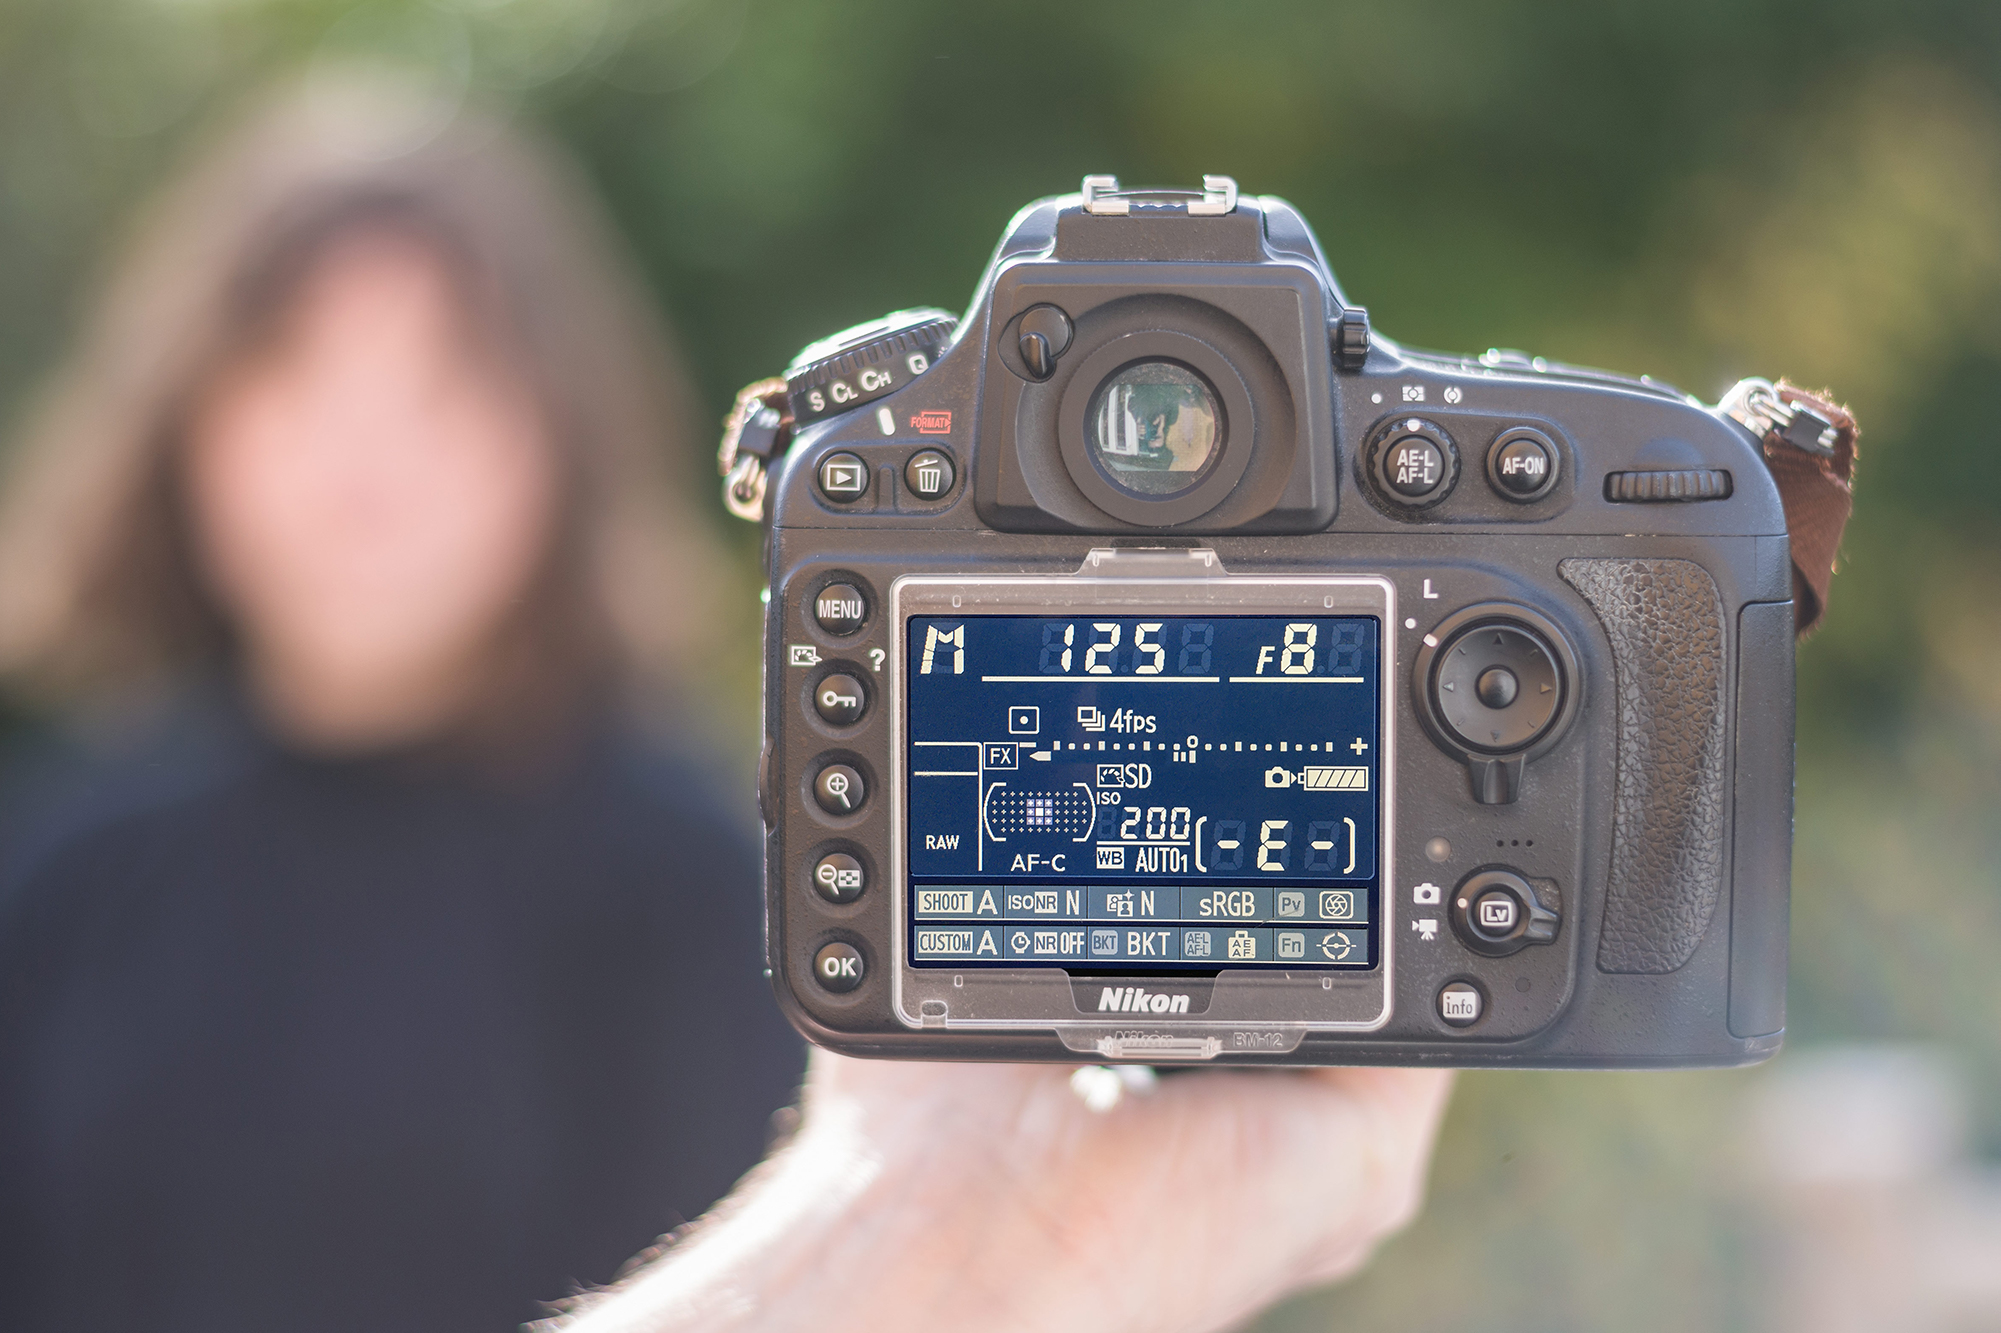
Your camera will attempt to expose for the onslaught of bright light and end up underexposing the whole image, so we’d recommend using manual mode. Don’t expect your camera’s light meter to be particularly accurate, so it may take a little trial and error to achieve the correct exposure.
4. Fiddly focus
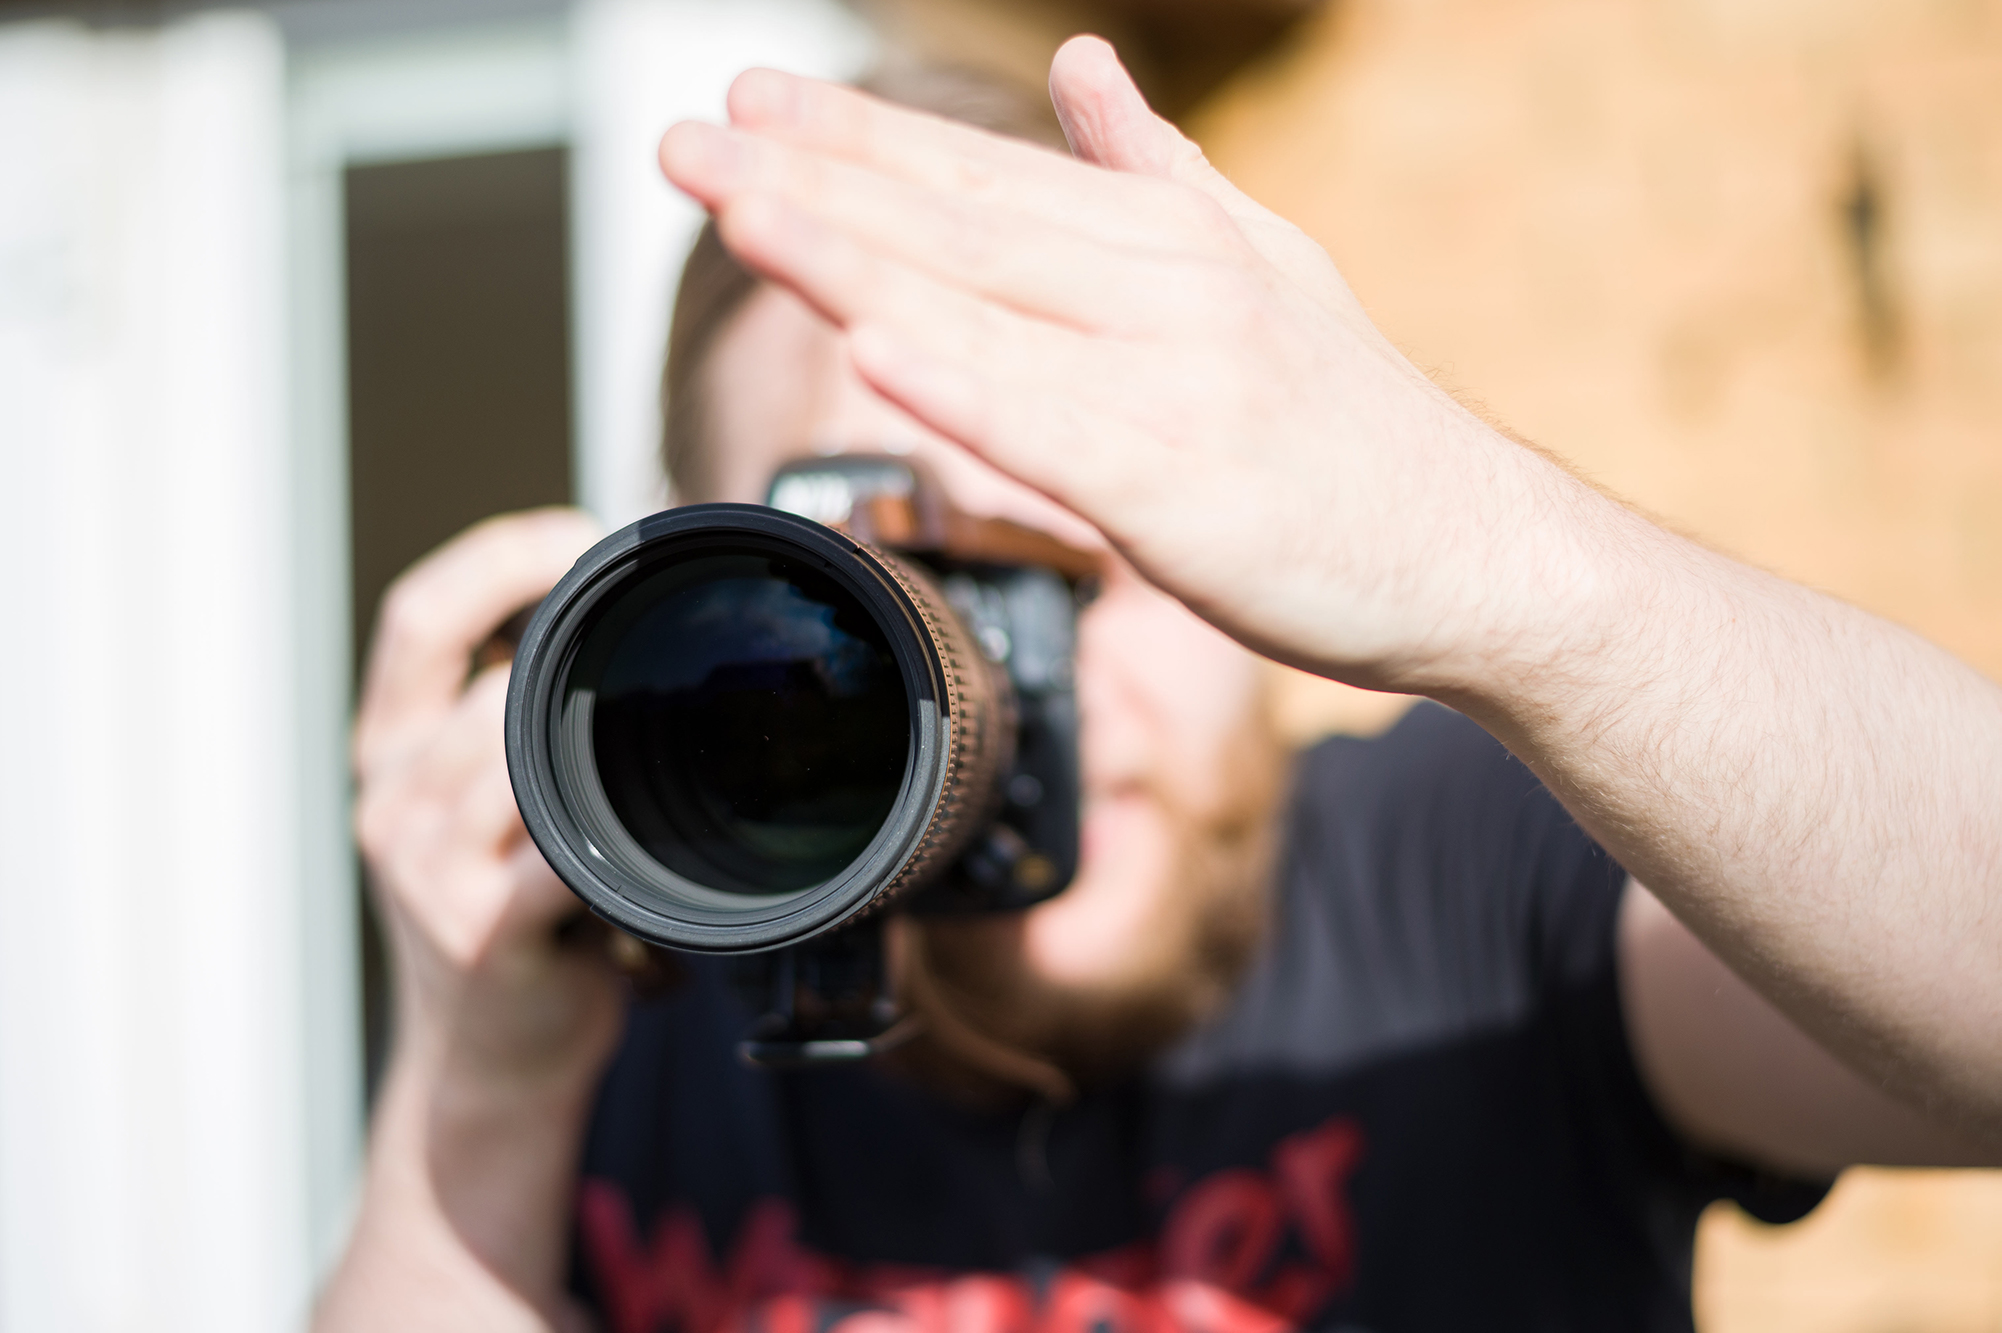
The flaring sunlight can confuse your AF system, so we’d recommend either switching to manual focus or shielding the front element with your hand to reduce the glare and make it easier for the autofocus to lock onto your subject. To do this you will need to use AF-S, back-button focusing or AF lock to prevent your camera from refocusing when you take the shot.
5. Basic edit
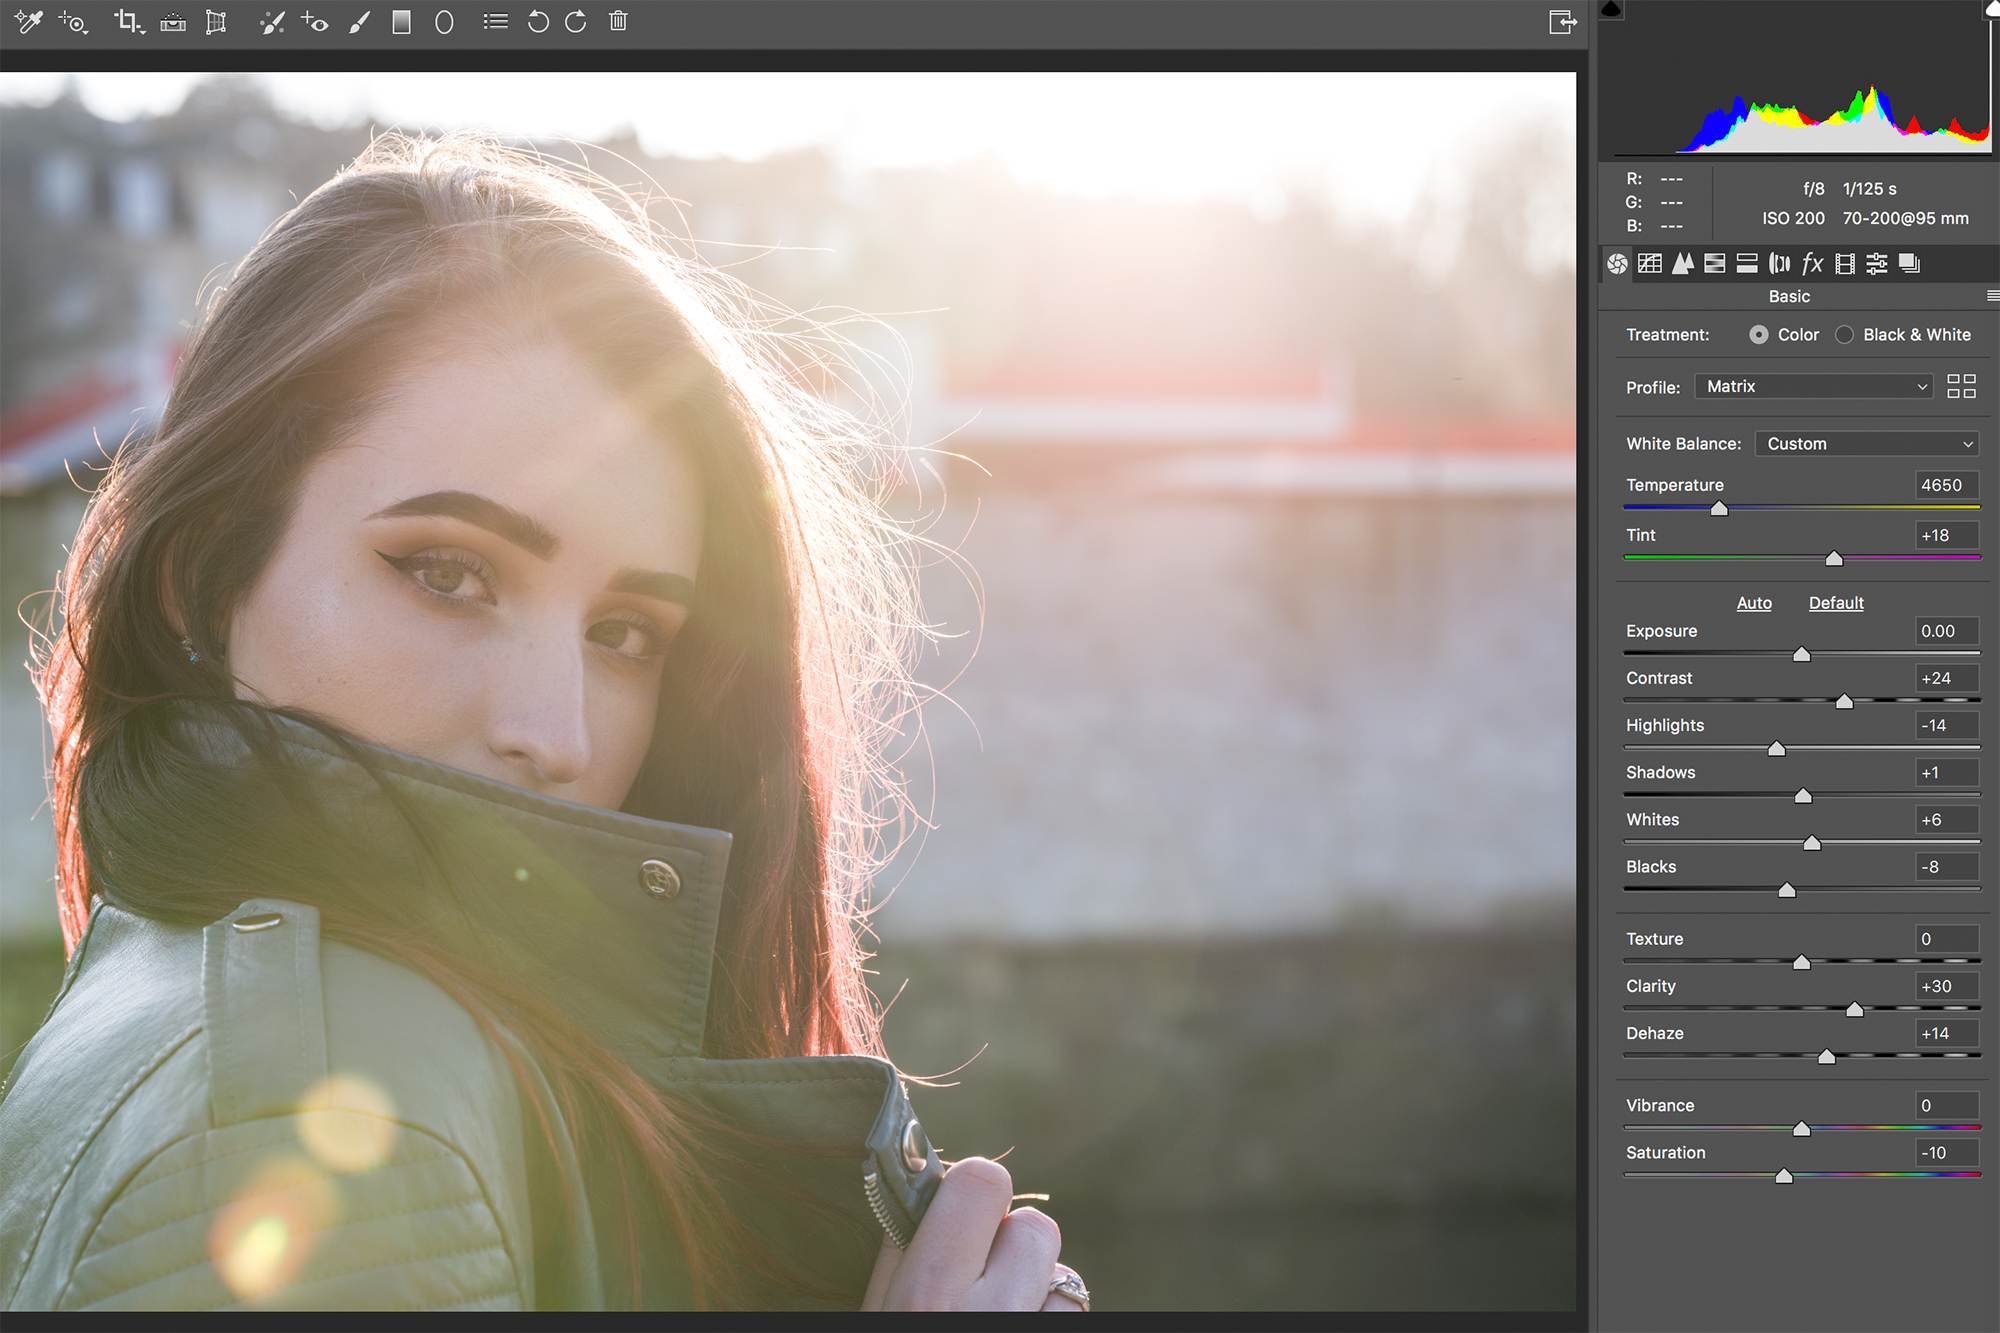
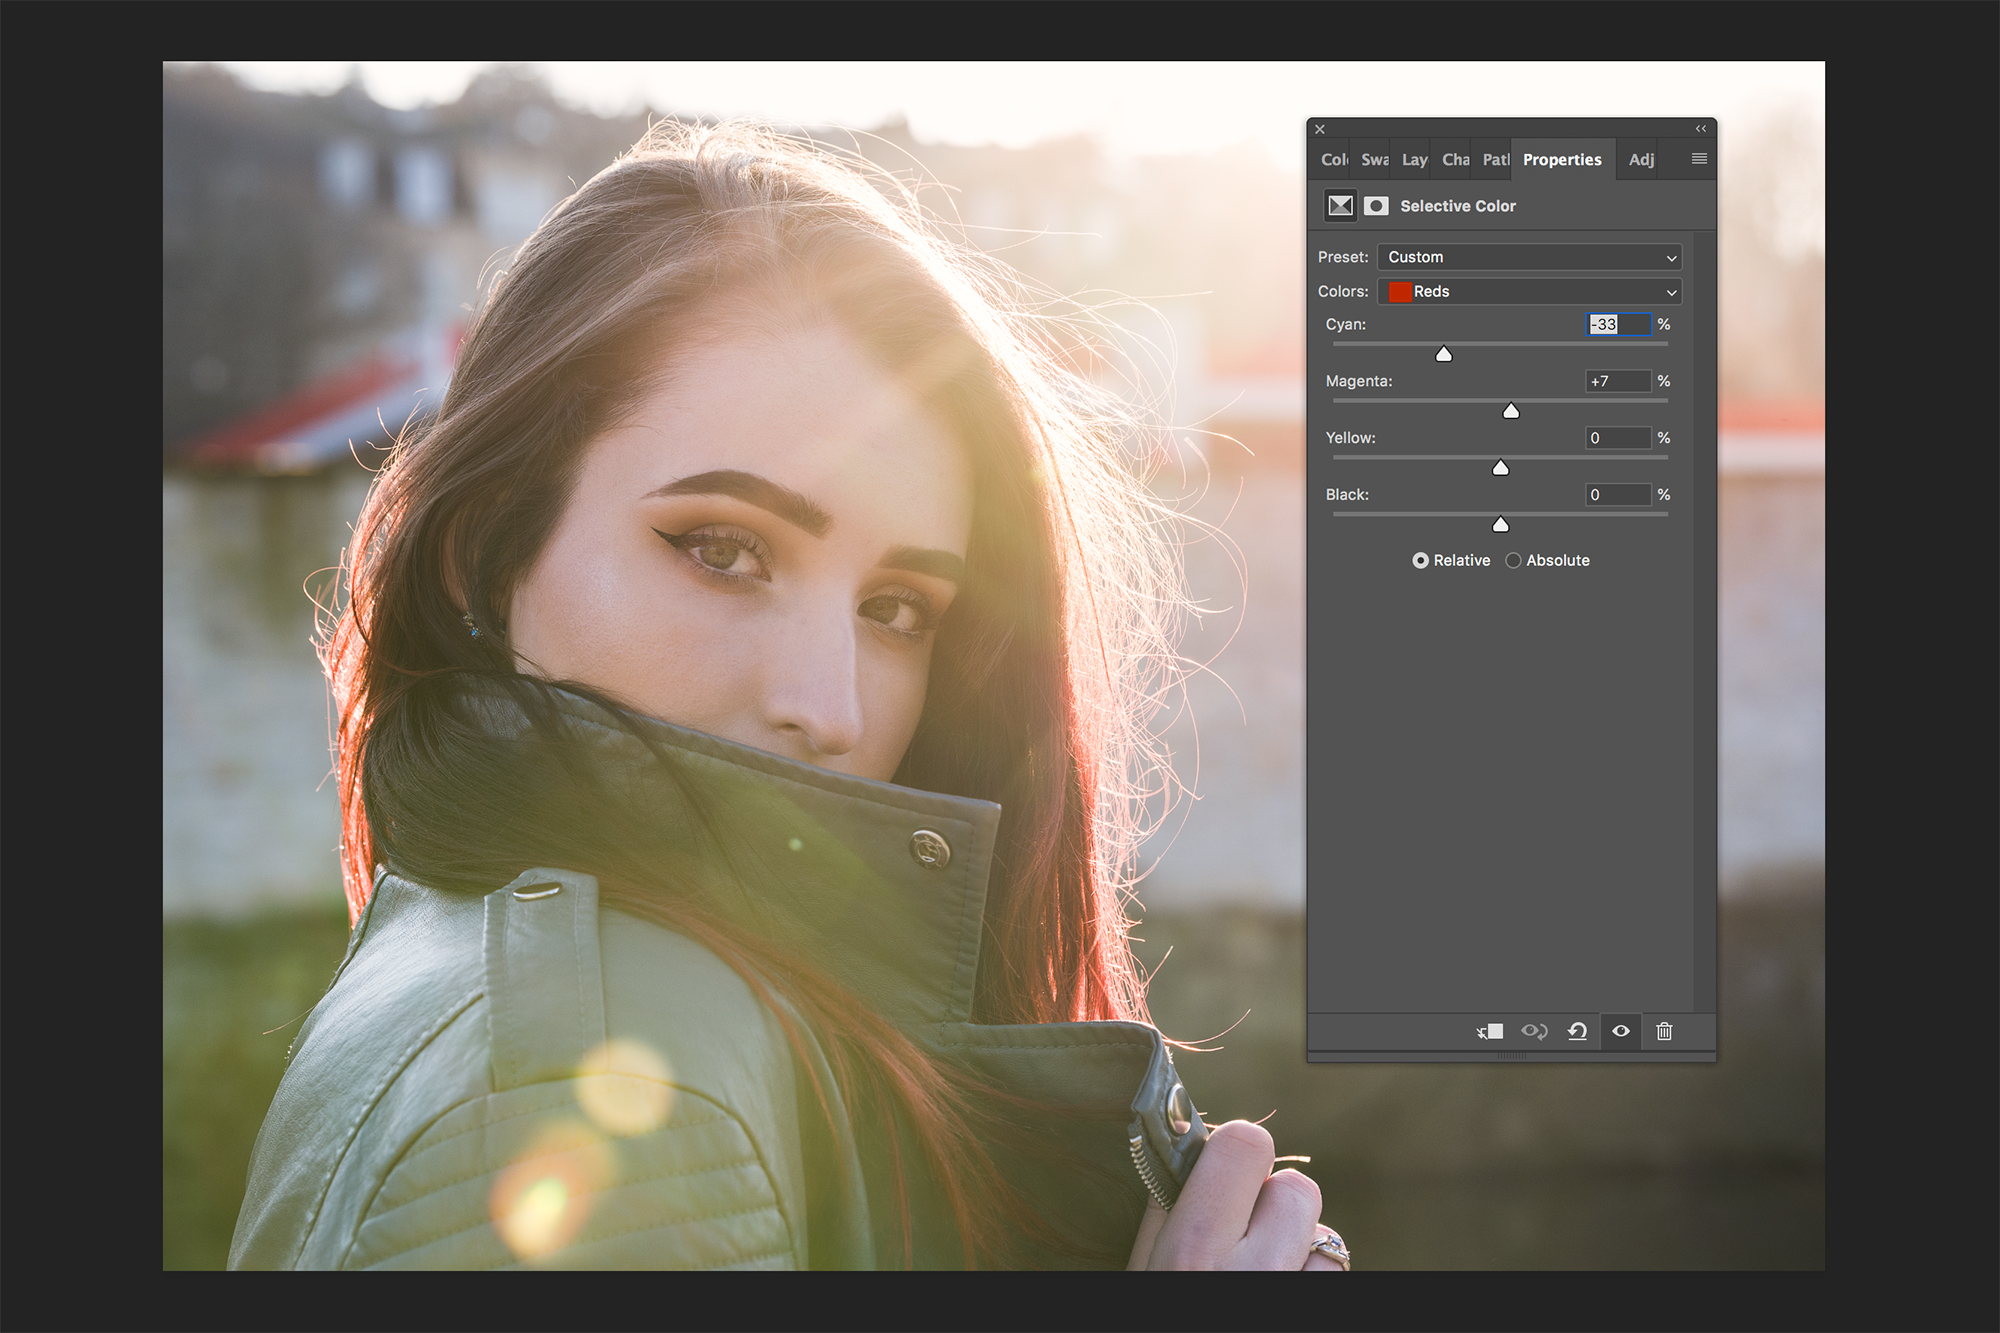
We edited our image in Adobe Camera Raw and slightly cooled the warm temperature, increased the Tint slider to balance the green colour cast, while increasing the whites and darkening the blacks to add a touch of contrast. We then added a generous amount of clarity and dehaze to help make the subject pop.
6. Add a little punch
We then added a subtle S-shaped tone curve to add extra punch, and finished by importing the image into Photoshop. Here we added a few colour tweaks, such as using a Selective Colour mask to increase the red hues in the model’s hair.
N-Photo: The Nikon Magazine is a monthly publication that's entirely dedicated to Nikon users. For the best news, reviews, projects and more, subscribe to N-Photo today!
Read more
The best portrait lenses for Nikon users
The best camera for portraits
The best photography lighting kits
Get the Digital Camera World Newsletter
The best camera deals, reviews, product advice, and unmissable photography news, direct to your inbox!

Mike is Digital Camera World's How To Editor. He has over a decade of experience, writing for some of the biggest specialist publications including Digital Camera, Digital Photographer and PhotoPlus: The Canon Magazine. Prior to DCW, Mike was Deputy Editor of N-Photo: The Nikon Magazine and Production Editor at Wex Photo Video, where he sharpened his skills in both the stills and videography spheres. While he's an avid motorsport photographer, his skills extend to every genre of photography – making him one of Digital Camera World's top tutors for techniques on cameras, lenses, tripods, filters and other imaging equipment – as well as sharing his expertise on shooting everything from portraits and landscapes to abstracts and architecture to wildlife and, yes, fast things going around race tracks...
