Use a polarizing filter to boost blue skies and reduce reflections
A polarizer is an essential accessory for landscape photography as it enables you to boost blue skies and reduce reflections, as Peter Travers shows you in this video
The best circular polarizers are brilliant lens filters to have in your kitbag, as their unique effects are near-impossible to replicate in Photoshop. But what are they and when would you use one? With a polarizer screwed onto the front of your lens, you can make contrast and colors in your landscape shots look much more intense, and cut out unwanted reflections.
These filters are very useful for landscape photography with scenes that include blue sky with white clouds and water. The filter removes or reduces the amount of polarized light that’s reflected from the sky, water or other surface.
You simply twist the front rotating element of the filter until you can see the maximum effect through the viewfinder or on screen. It’s best to rotate the outer ring anti-clockwise (when you’re behind the camera) to avoid unscrewing the filter from your lens by accident. Follow the steps below to get great results!
1. Camera and lens
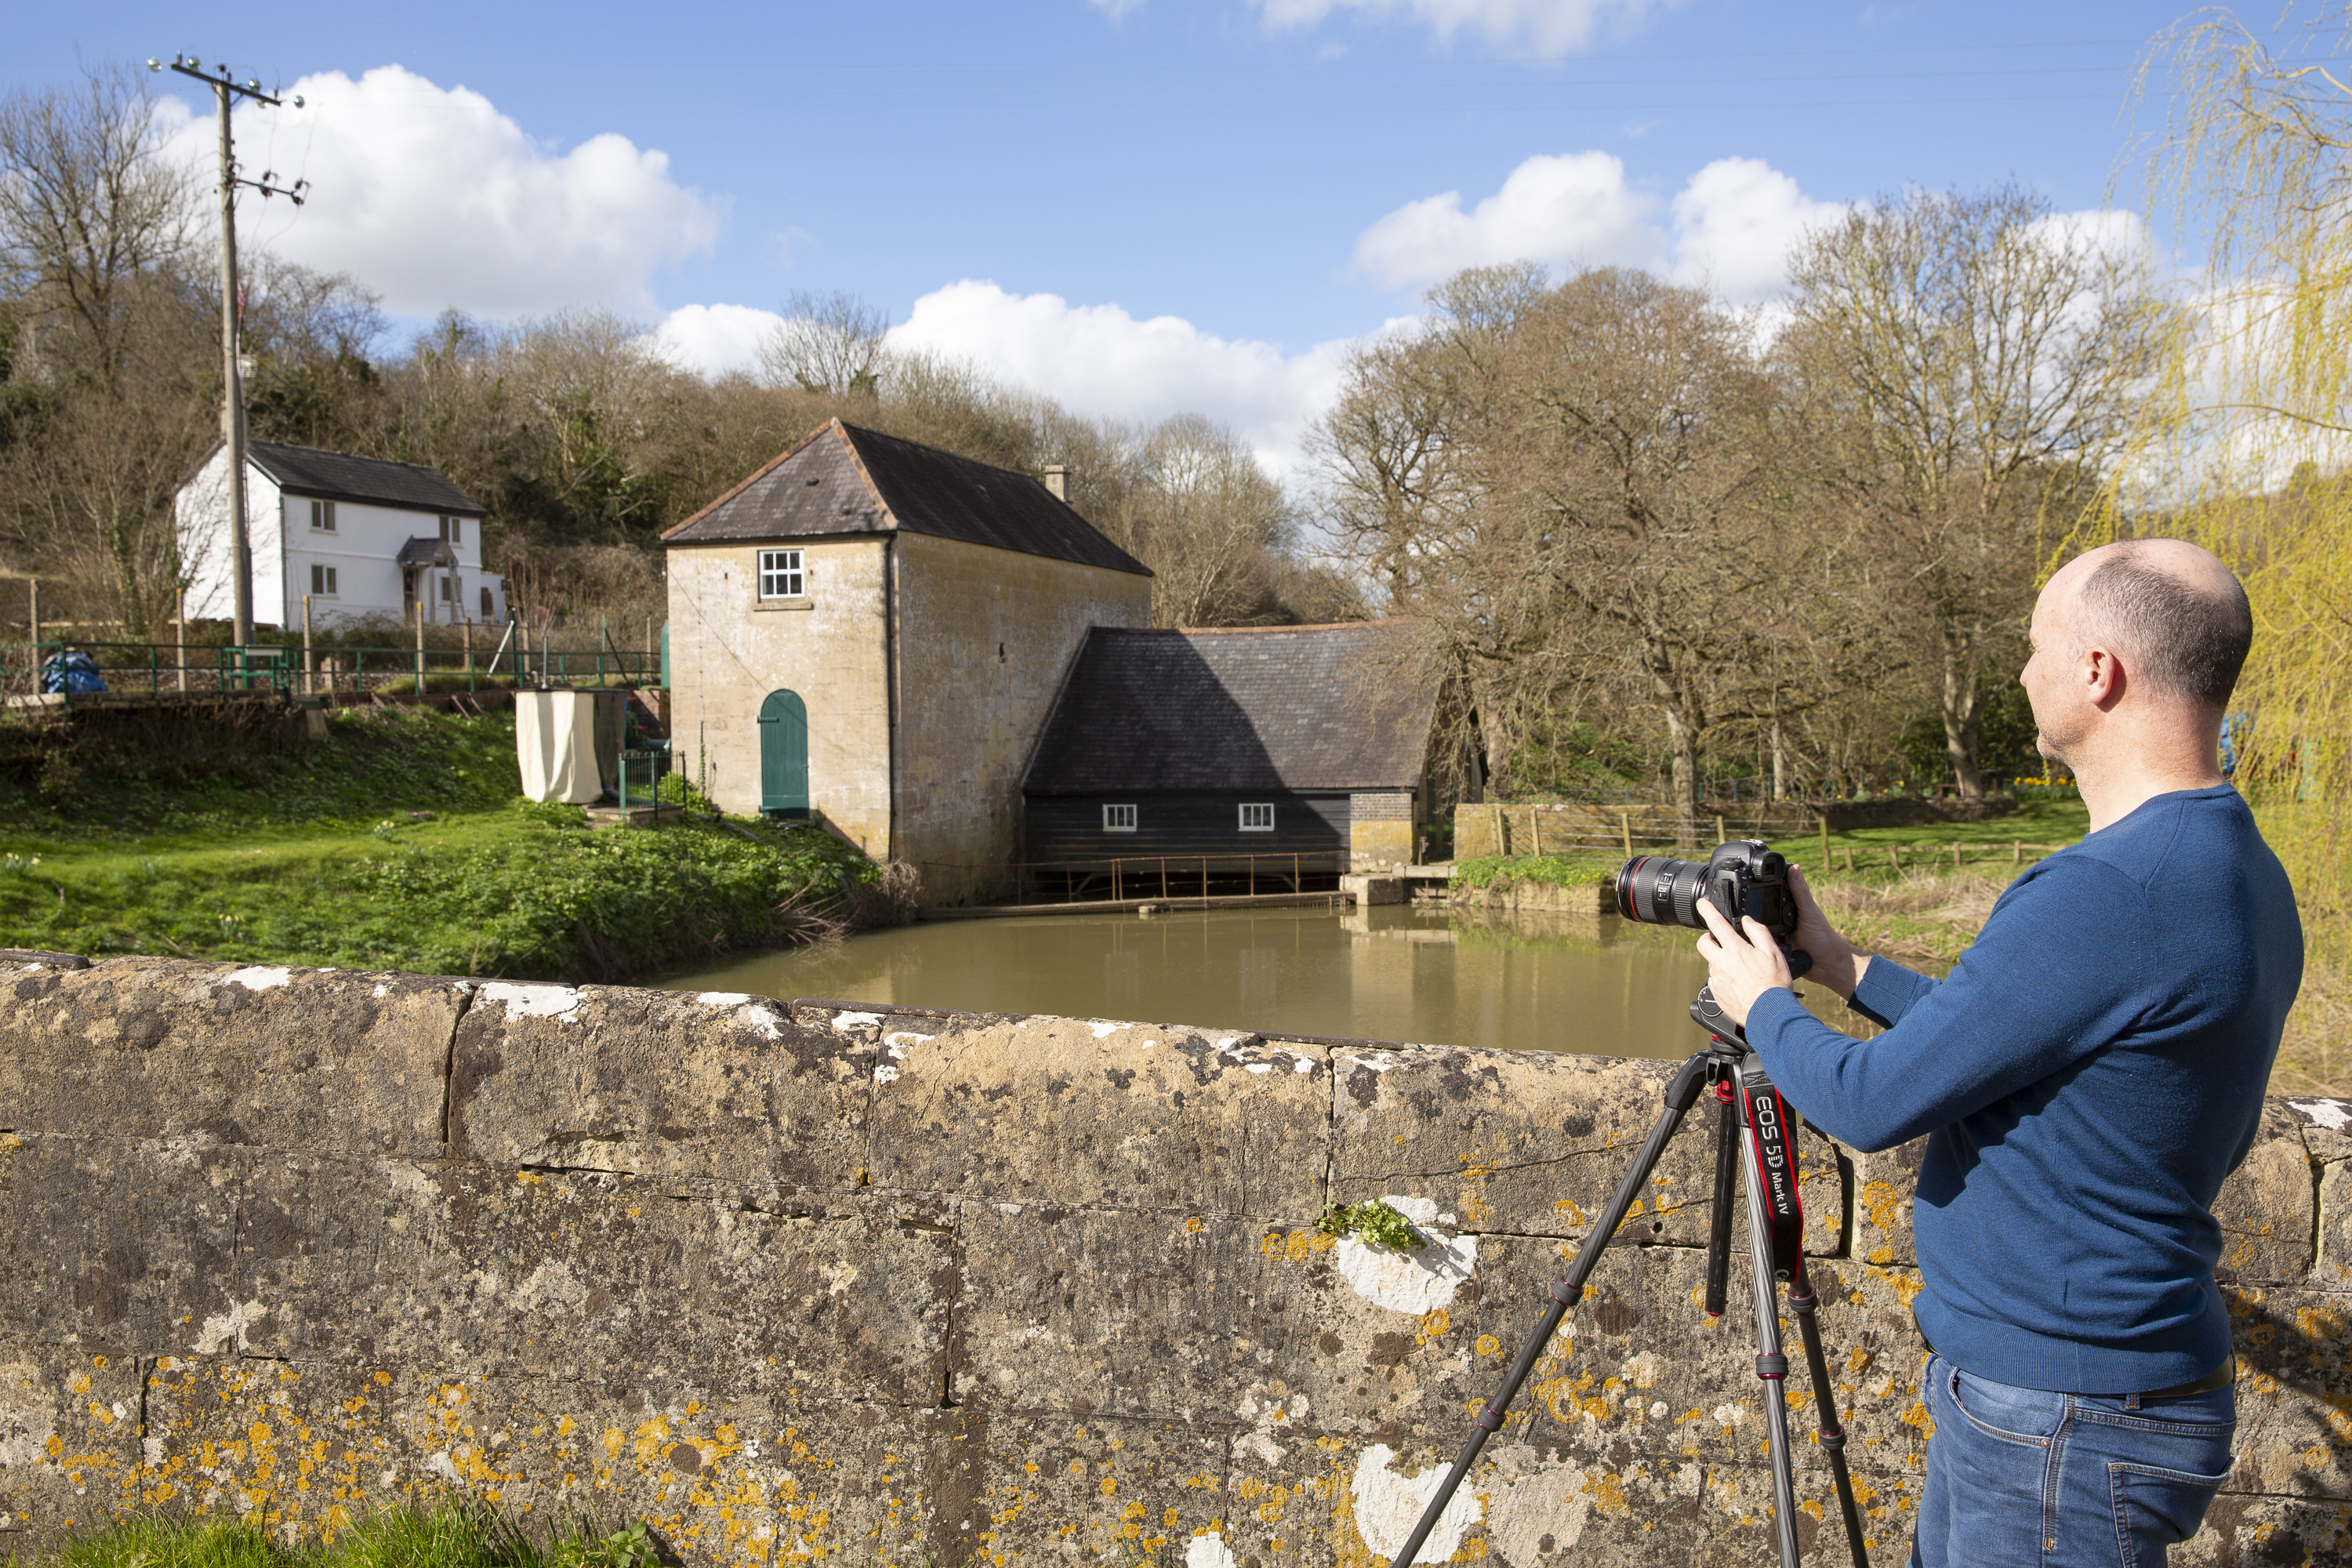
Any Canon EOS camera is fine for polarizer scenic shots. We used a Canon 5D Mk IV. It’s the lens that’s key, you want a focal length of 24mm (or 18mm on APS-C cameras) or longer as polarizer filter effects have trouble with wider angle focal lengths.
2. Filter size
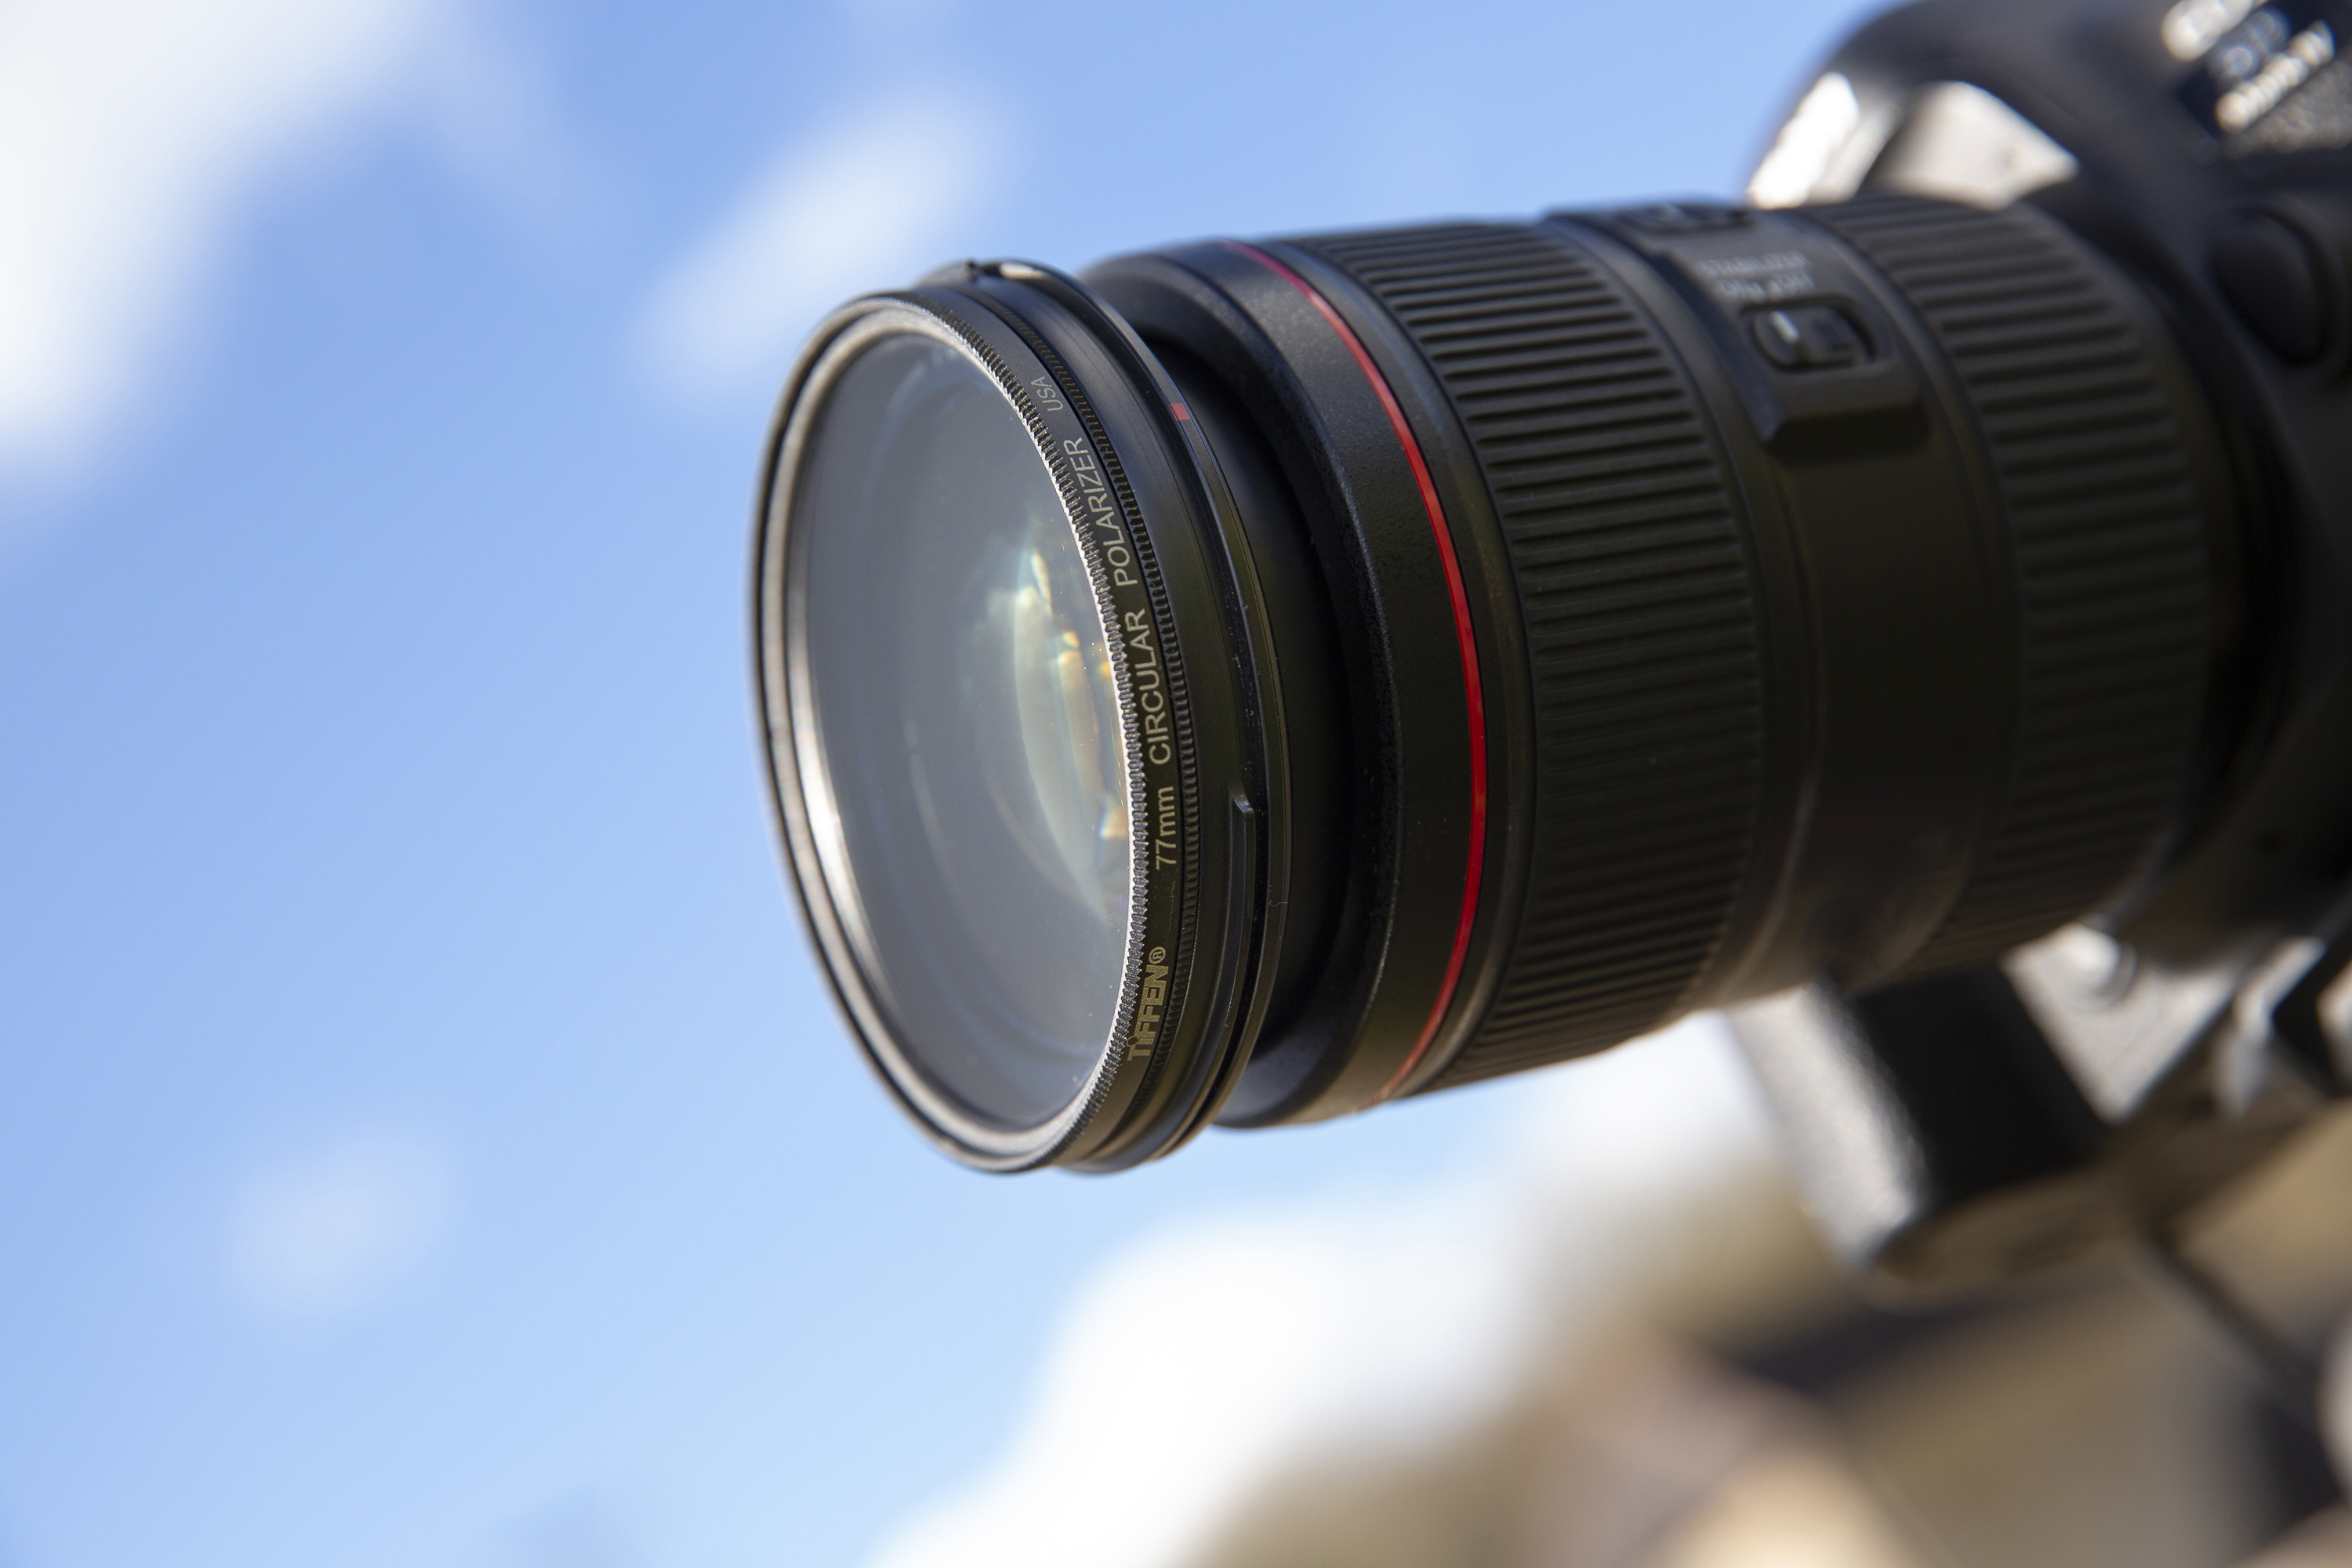
You’ll need a polarizing filter that’s the same size diameter as your lens; our Canon EF 24-105mm f/4L IS II USM lens requires a 77mm filter. The diameter is marked on the lens in millimetres and is usually prefixed with a Ø symbol.
3. Shoot at right angles

The polarizing effect is most pronounced when the sun light is at 90 degrees to the scene – it has little impact when shooting with the sun behind you. Top trick: Point your thumb at the sun and your fore finger will point in the direction you should shoot!
4. Twist & shoot!
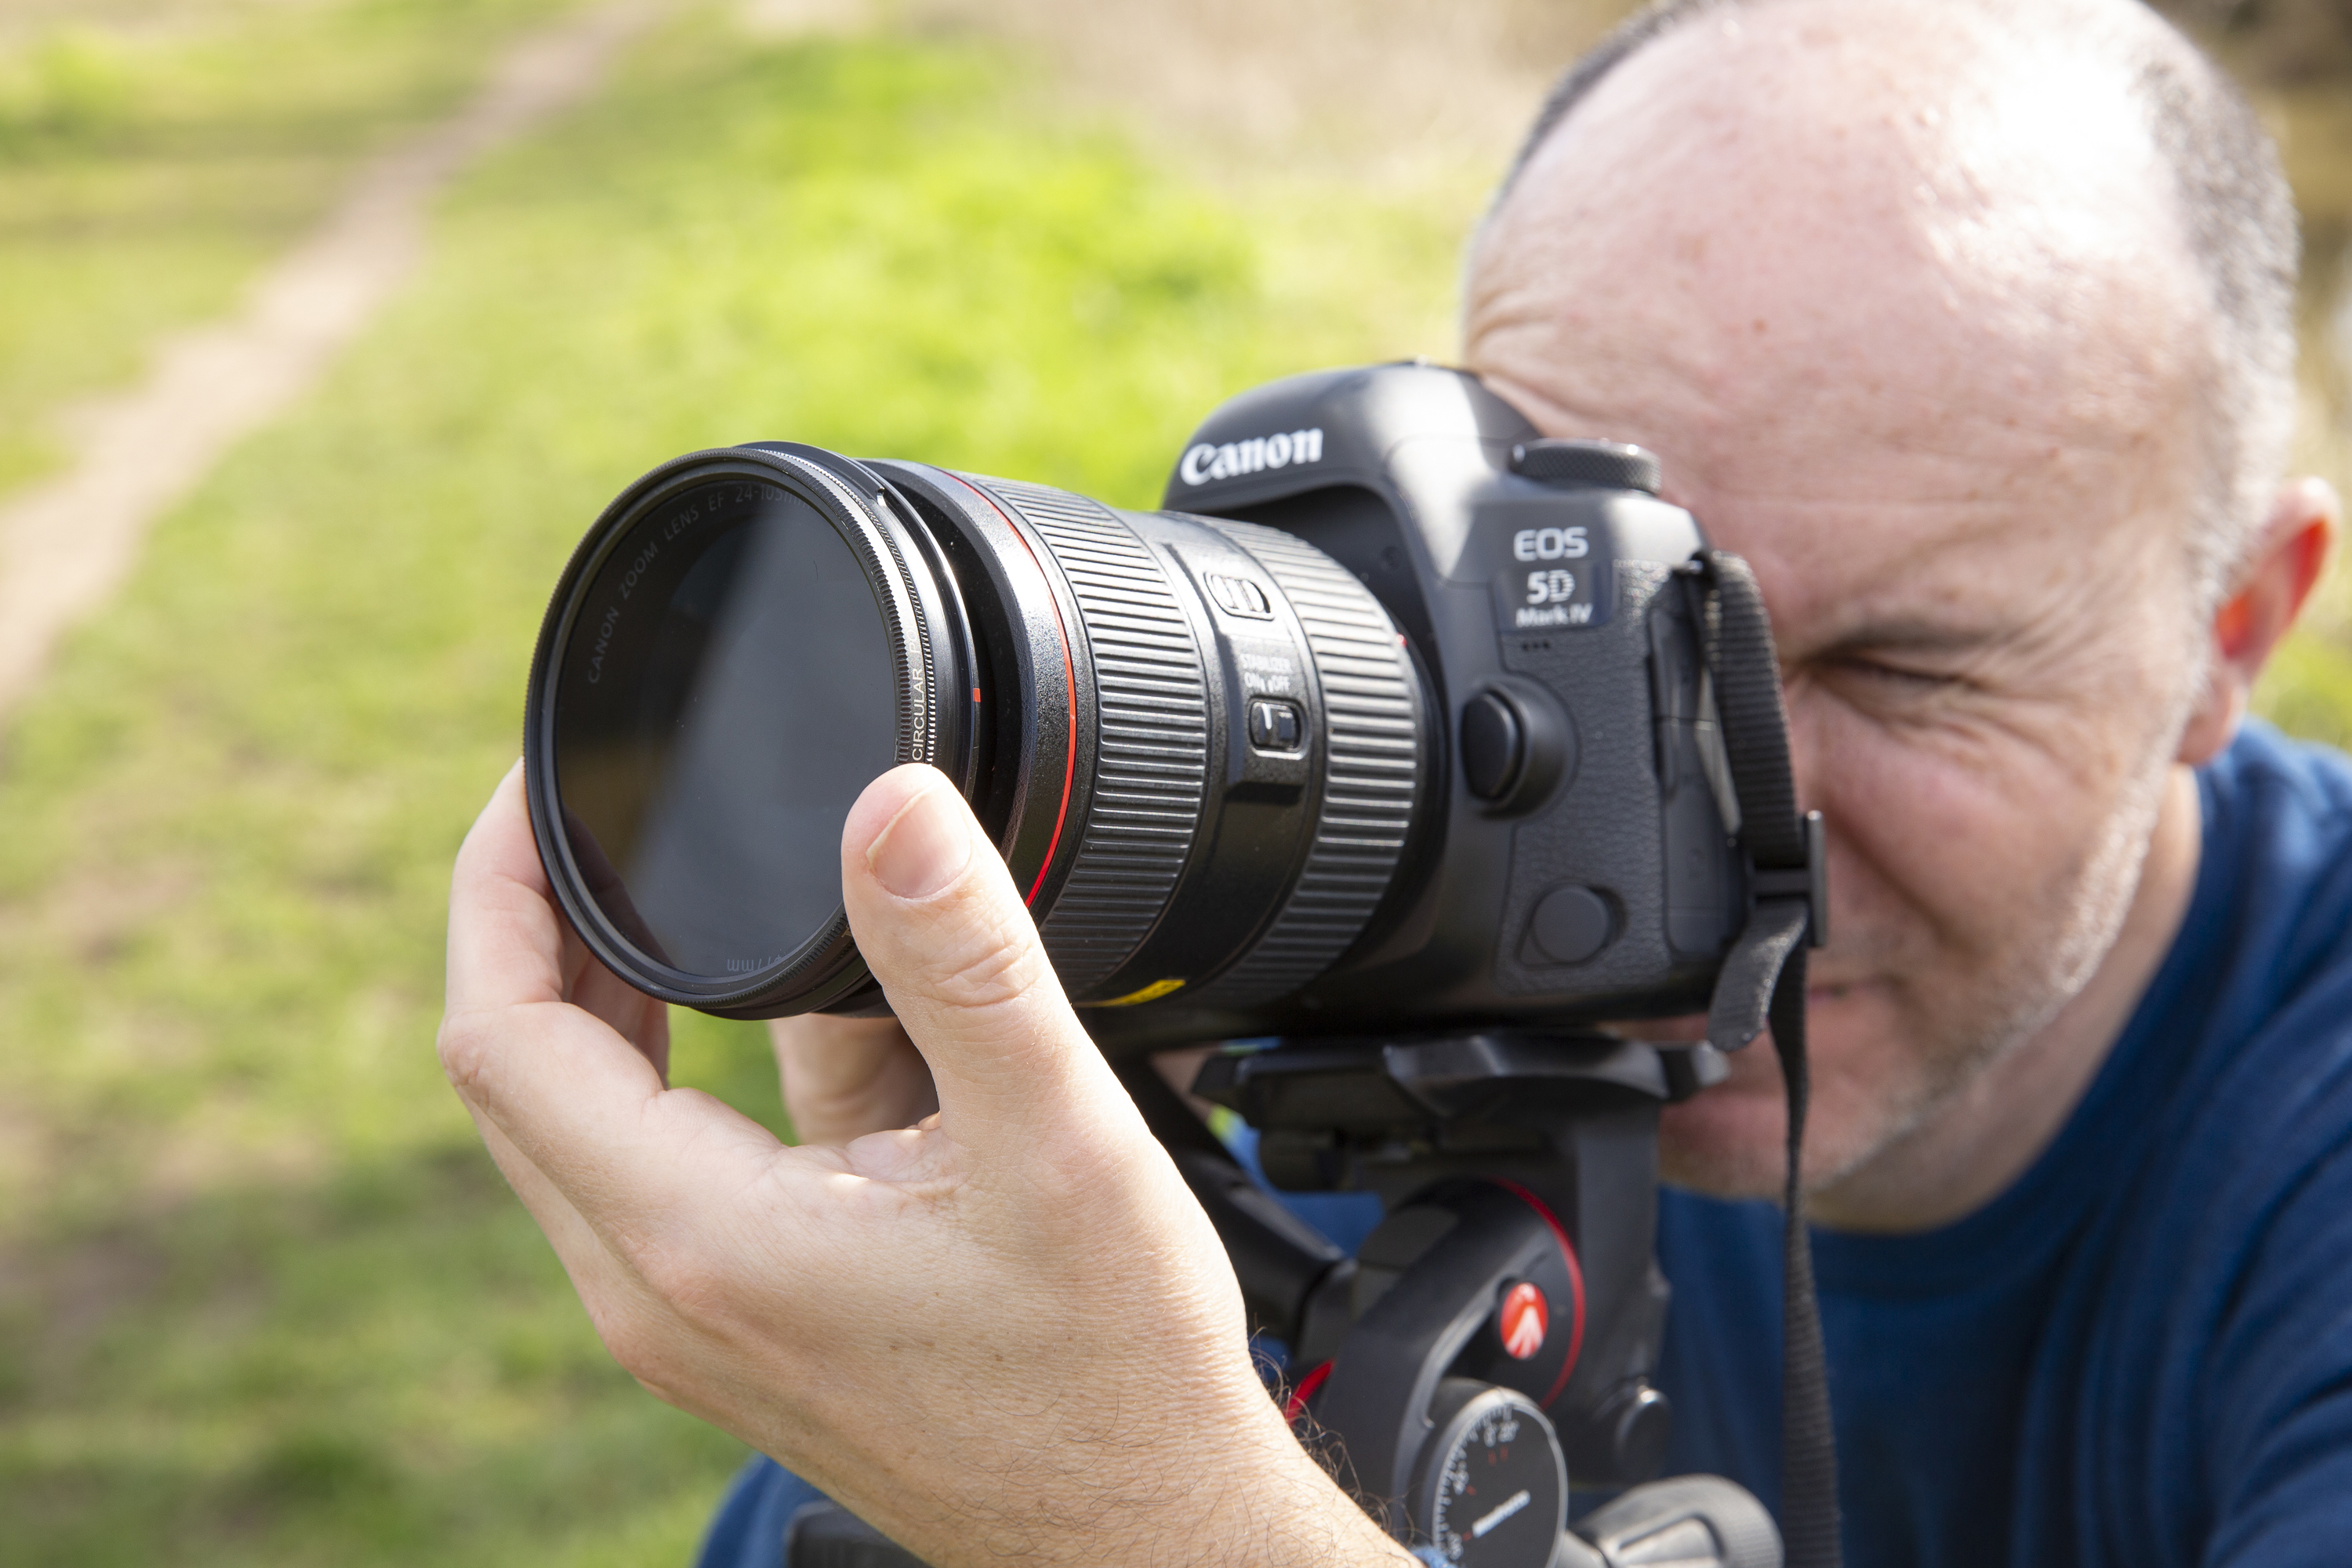
Once you’re set up at right-angles to the sun and your scene, and have framed up the best composition, all you need to do is twist the end of your polarizer filter until the blues and clouds in the sky get darker and become punchy when looking through the viewfinder.
5. Exposure settings
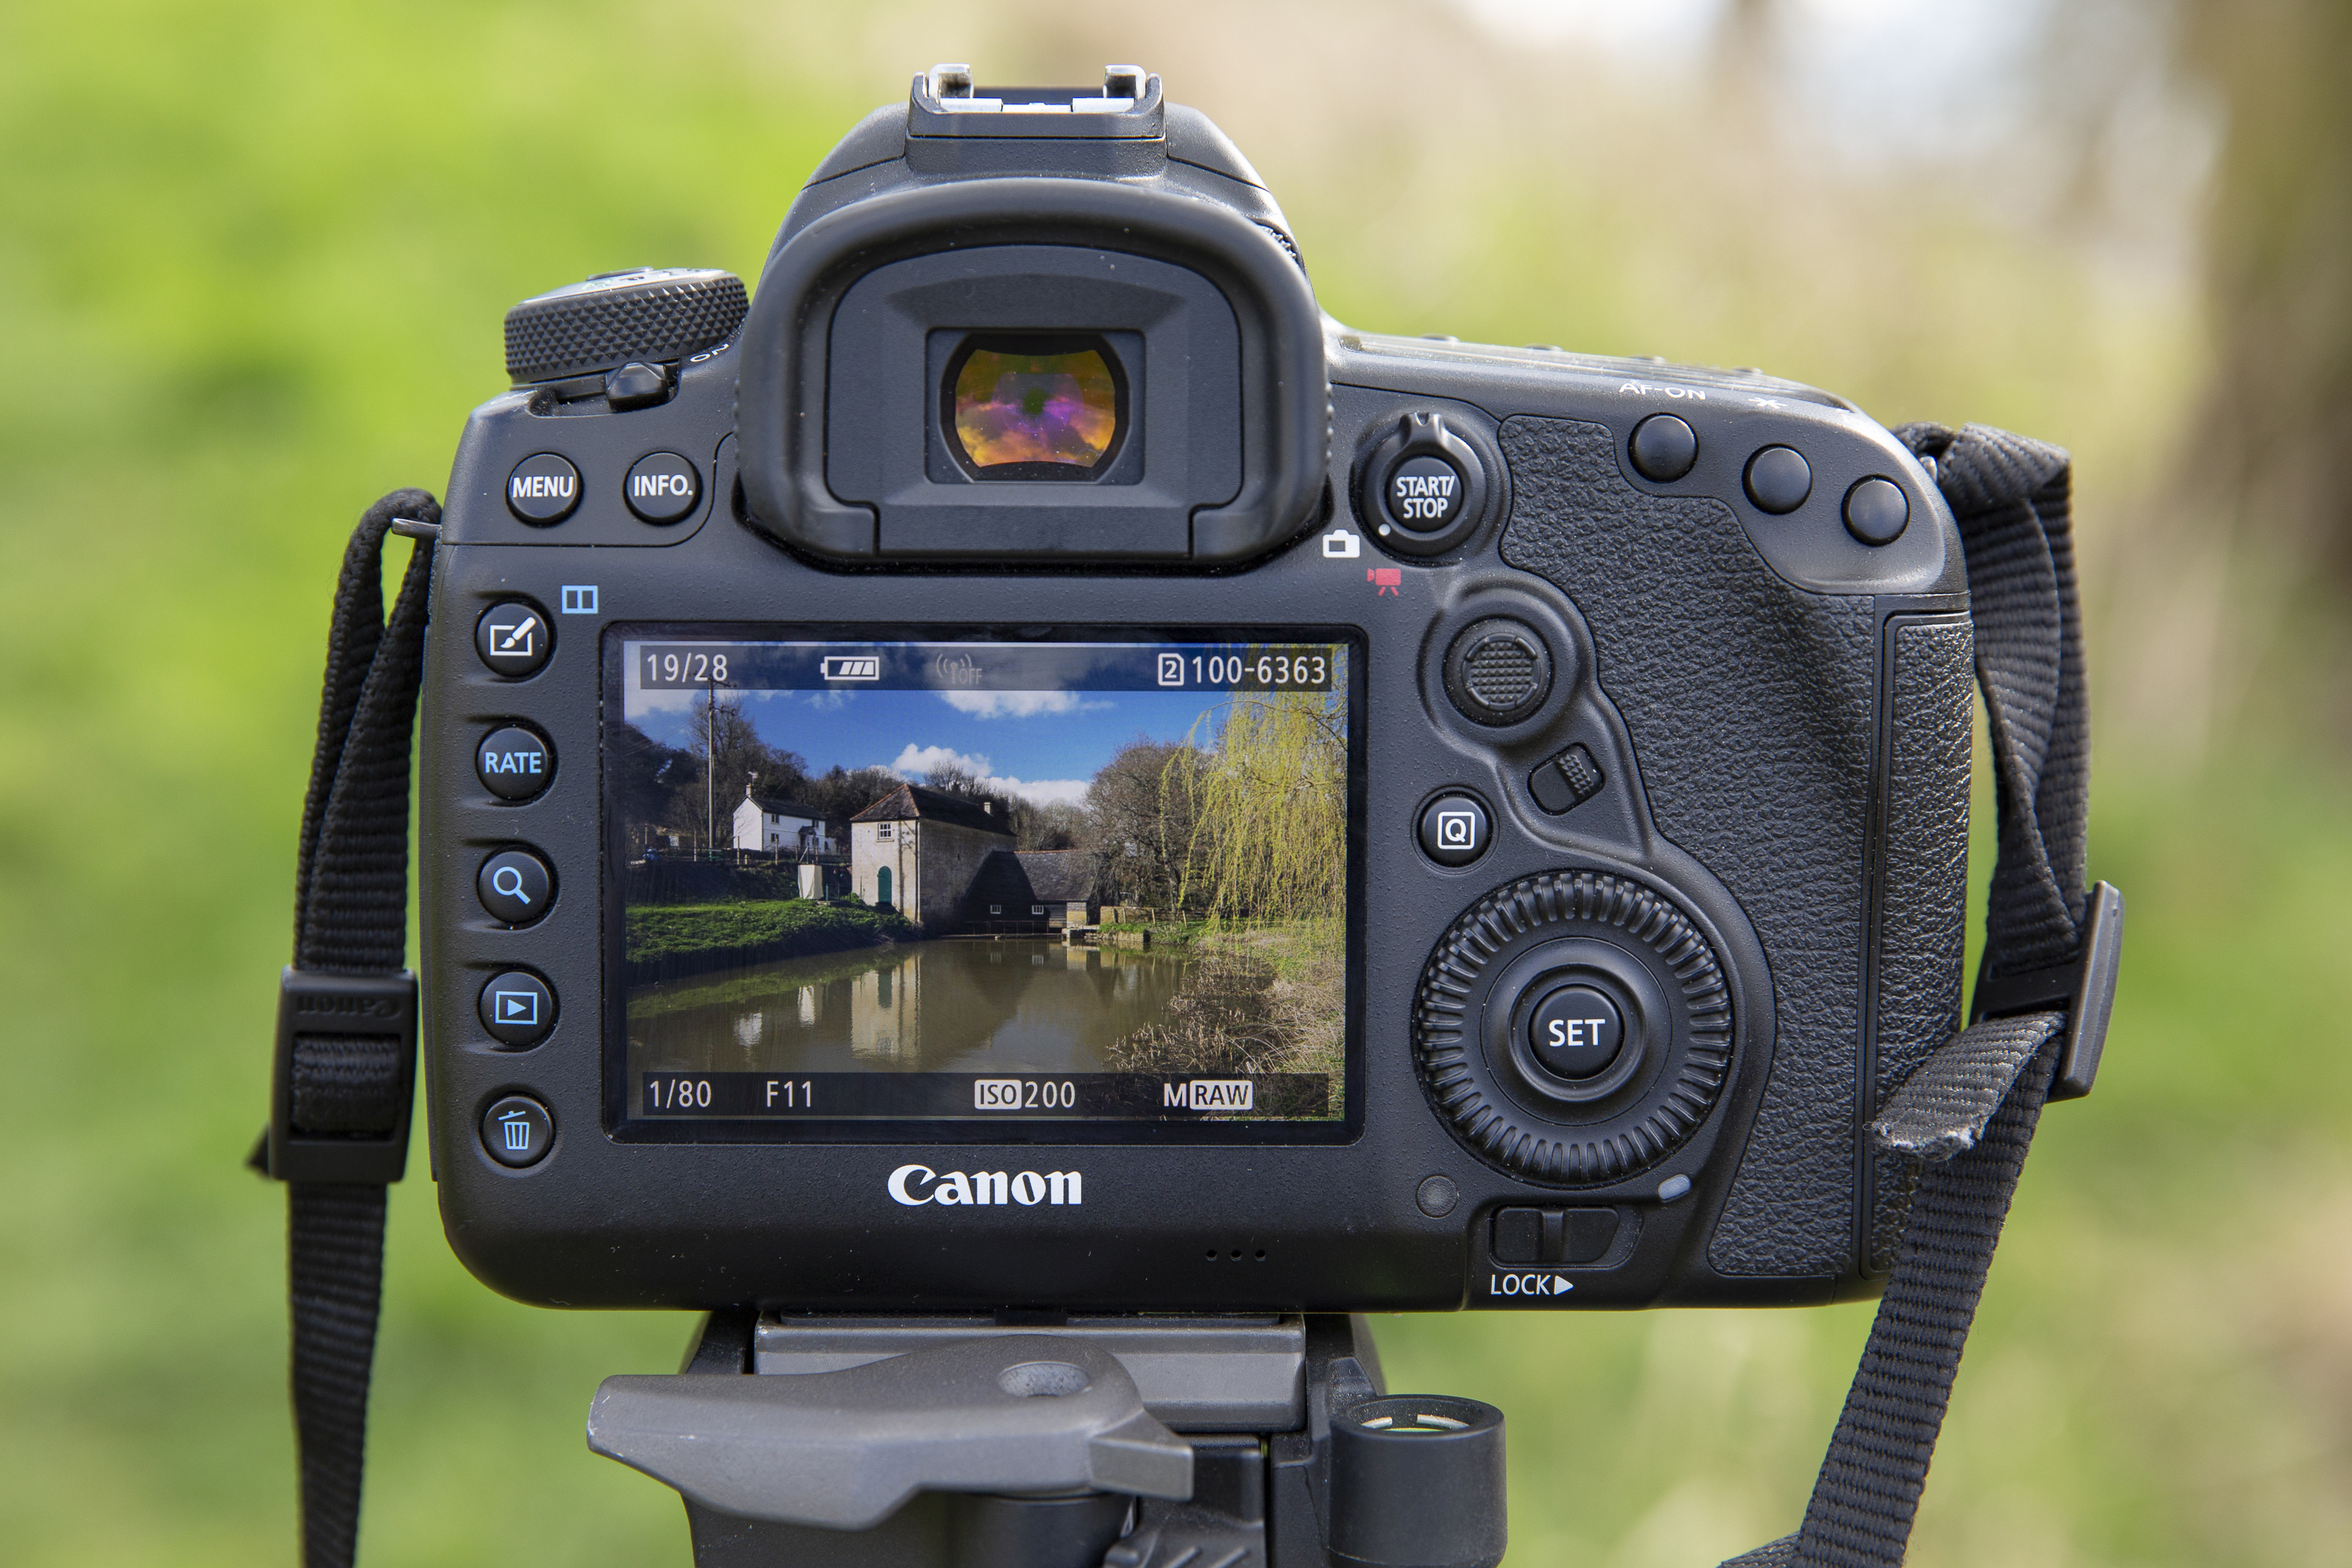
We shot in Manual mode for full control with an aperture fixed at f/11. As the polarizer reduces light to your sensor by roughly 1-2 stops, we had to adjust our shutter speed from 1/100 to 1/60 sec. We also used a tripod for sharp shots regardless.
6. Reduce reflected light
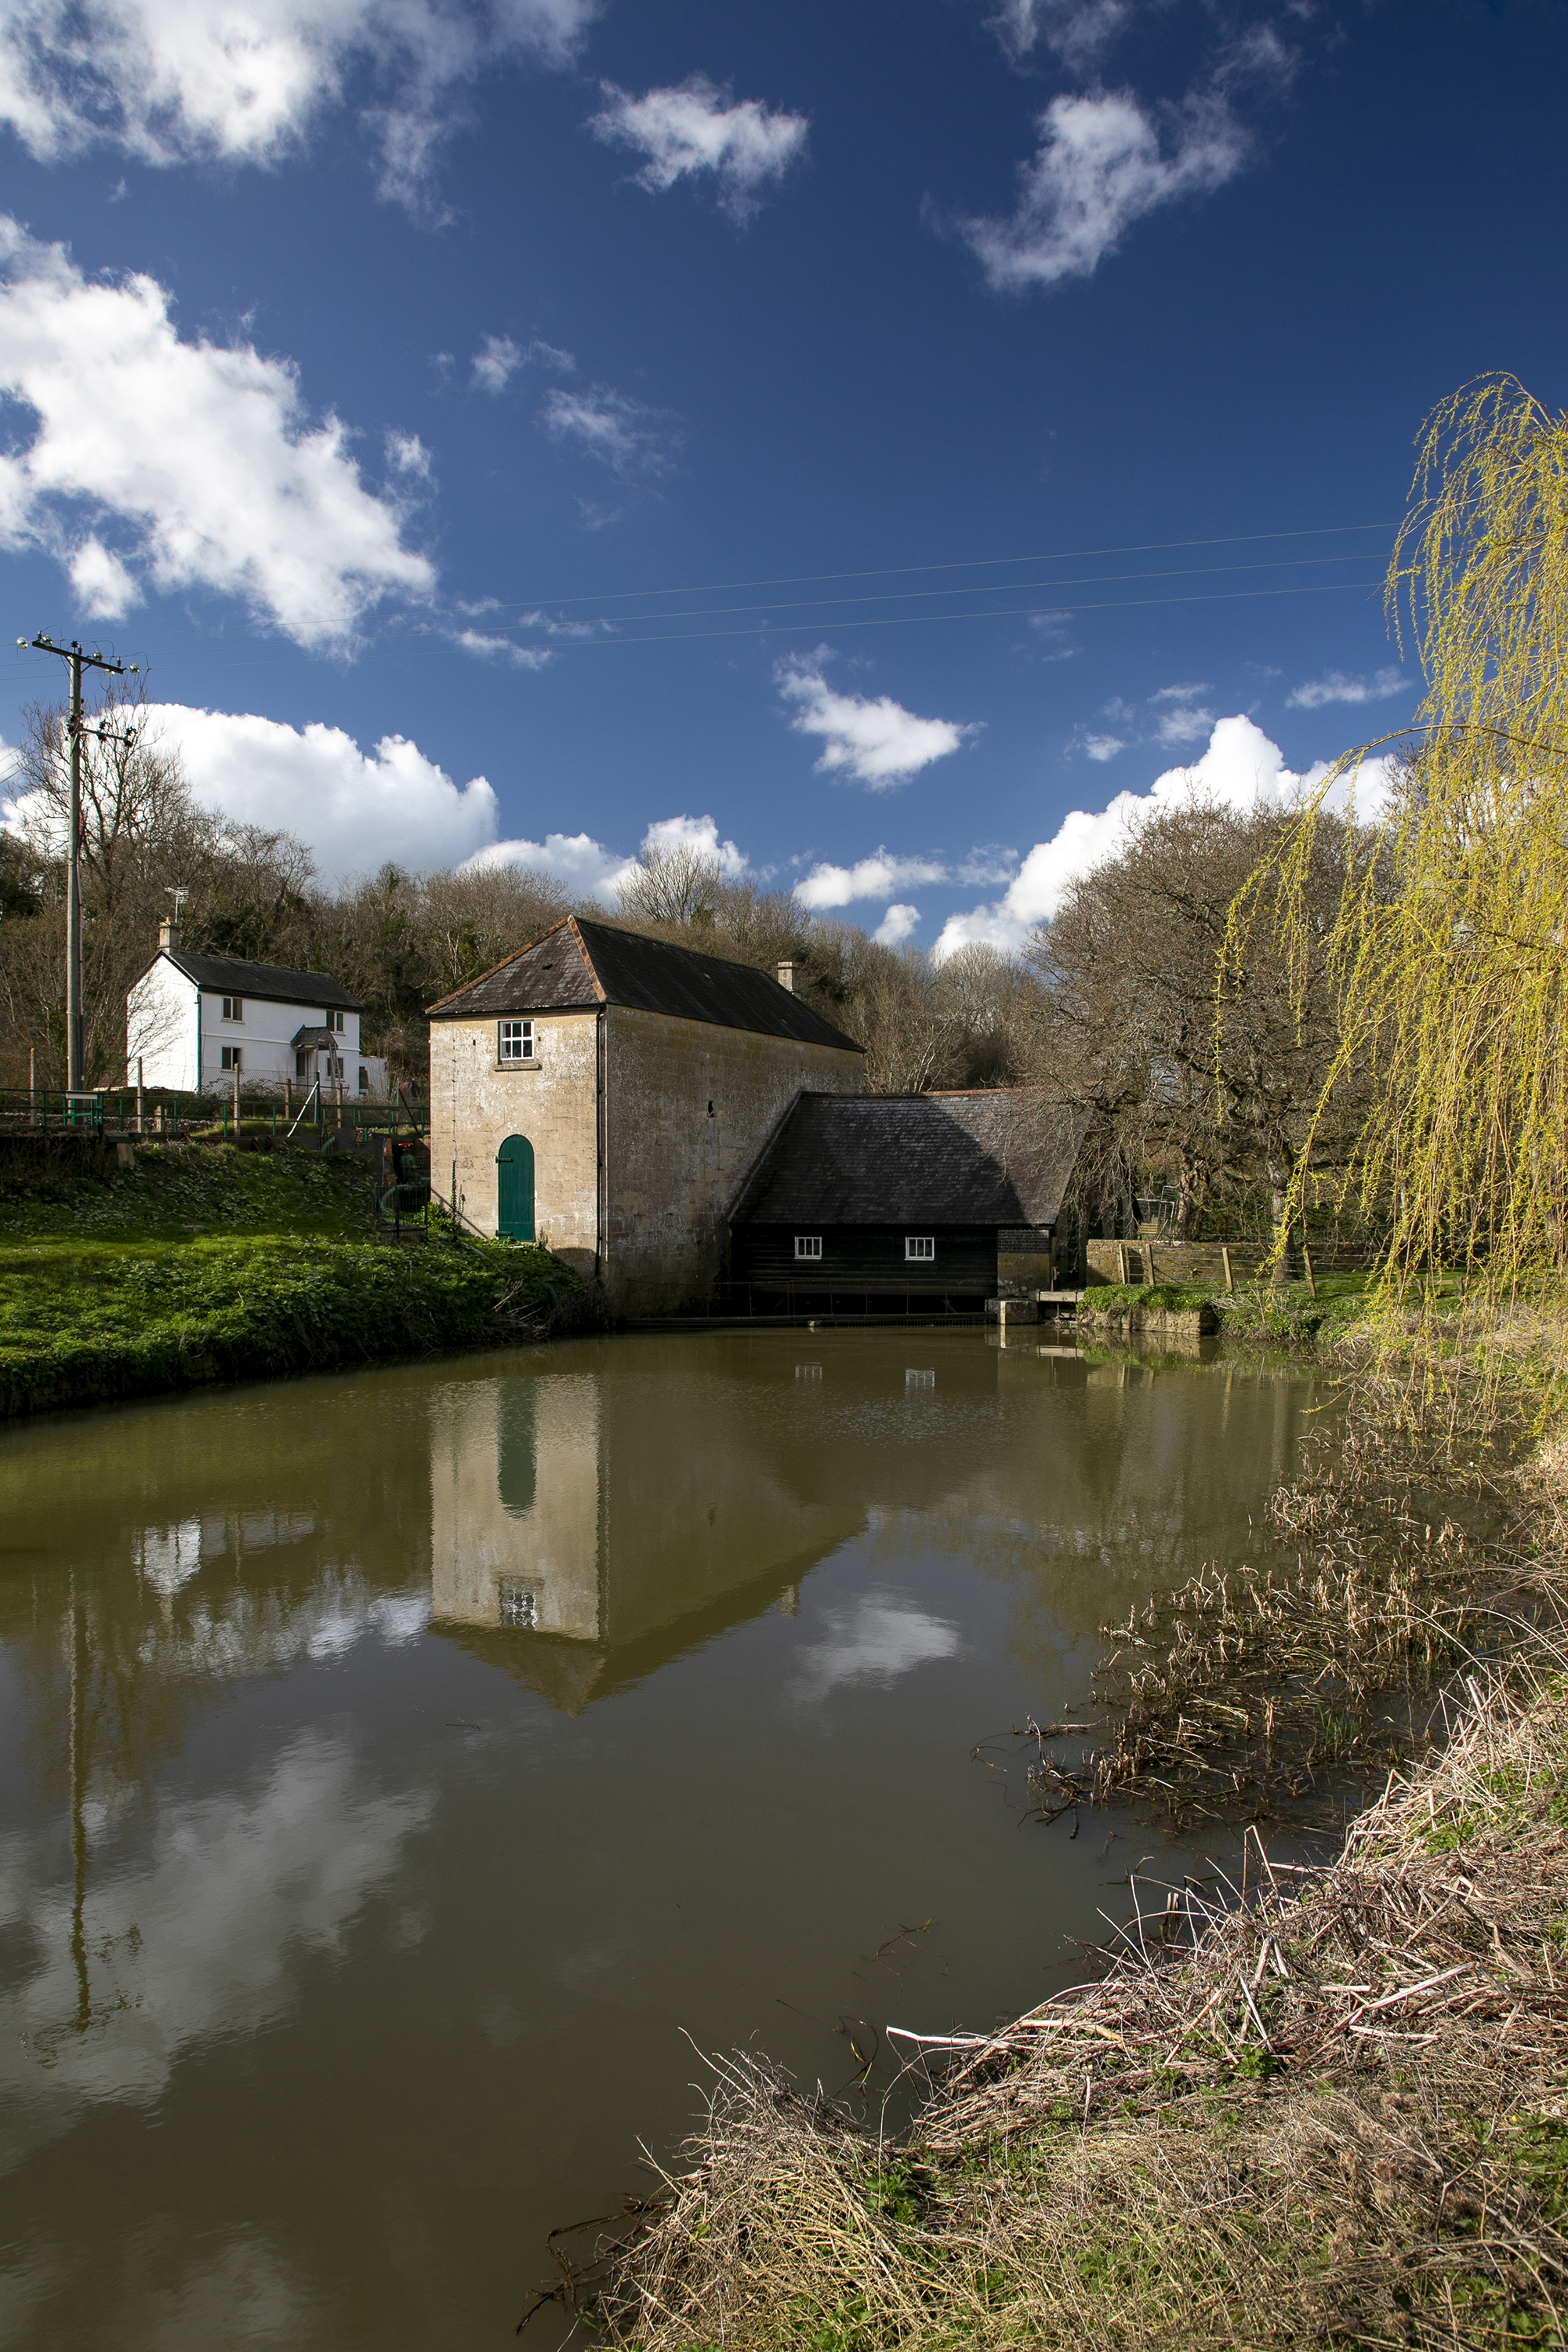
In our shot the polarizing effect has also reduced the brighter distracting reflections on the roof of the buildings, and helped to boost the contrast and blues in the muddy water for more pleasing reflections of the buildings and sky in the lake.
PhotoPlus: The Canon Magazine is the world's only monthly newsstand title that's 100% devoted to Canon, so you can be sure the magazine is completely relevant to your system.
Read more:
Landscape photography tips
Best cameras for landscape photography
Best lenses for landscape photography
Get the Digital Camera World Newsletter
The best camera deals, reviews, product advice, and unmissable photography news, direct to your inbox!
The editor of PhotoPlus: The Canon Magazine, Peter 14 years of experience as both a journalist and professional photographer. He is a hands-on photographer with a passion and expertise for sharing his practical shooting skills. Equally adept at turning his hand to portraits, landscape, sports and wildlife, he has a fantastic knowledge of camera technique and principles. As you'd expect of the editor of a Canon publication, Peter is a devout Canon user and can often be found reeling off shots with his EOS 5D Mark IV DSLR.


