Use neon lights to add drama to your photography projects
Photographer Abstract Reality uses long exposure and neon lighting to create modern-day psychedelia
Photography projects to try at home
• 14 tips for flower photography at home
• Indoor photo projects to try during COVID
• Macro photography without a macro lens
Useful home photography kit
• Best tripods
• Best lighting kits
• Best reflectors
• Best macro lenses
Art has been a passion my whole life, especially bright colors and abstract art. After modeling for a decade, I started getting into photography; a few years later I ended up with my own studio, Neon Dreams.
I decided to kit out the studio (which you can find on Instagram, along with my work) with neon lights, and I use prisms a lot in my photography as well as long-exposure techniques. I love seeing the refraction of light and am always in awe of the random patterns I end up with.
My style of photography is more experimental; I find a hit-and-miss style more interesting to work with. Working with prisms and long exposure, you may get twenty throwaway photos to one that works – but that one is magnificent. Of course, the main objective is to have fun and create beautiful art in the process!
My studio is flourishing, which is surprising given the crazy and uncertain year we’ve had. I have built a few interesting sets, and have many more plans! Here's how I create the magic in my images…
Top tips for shooting using neon lights
Complementary colors
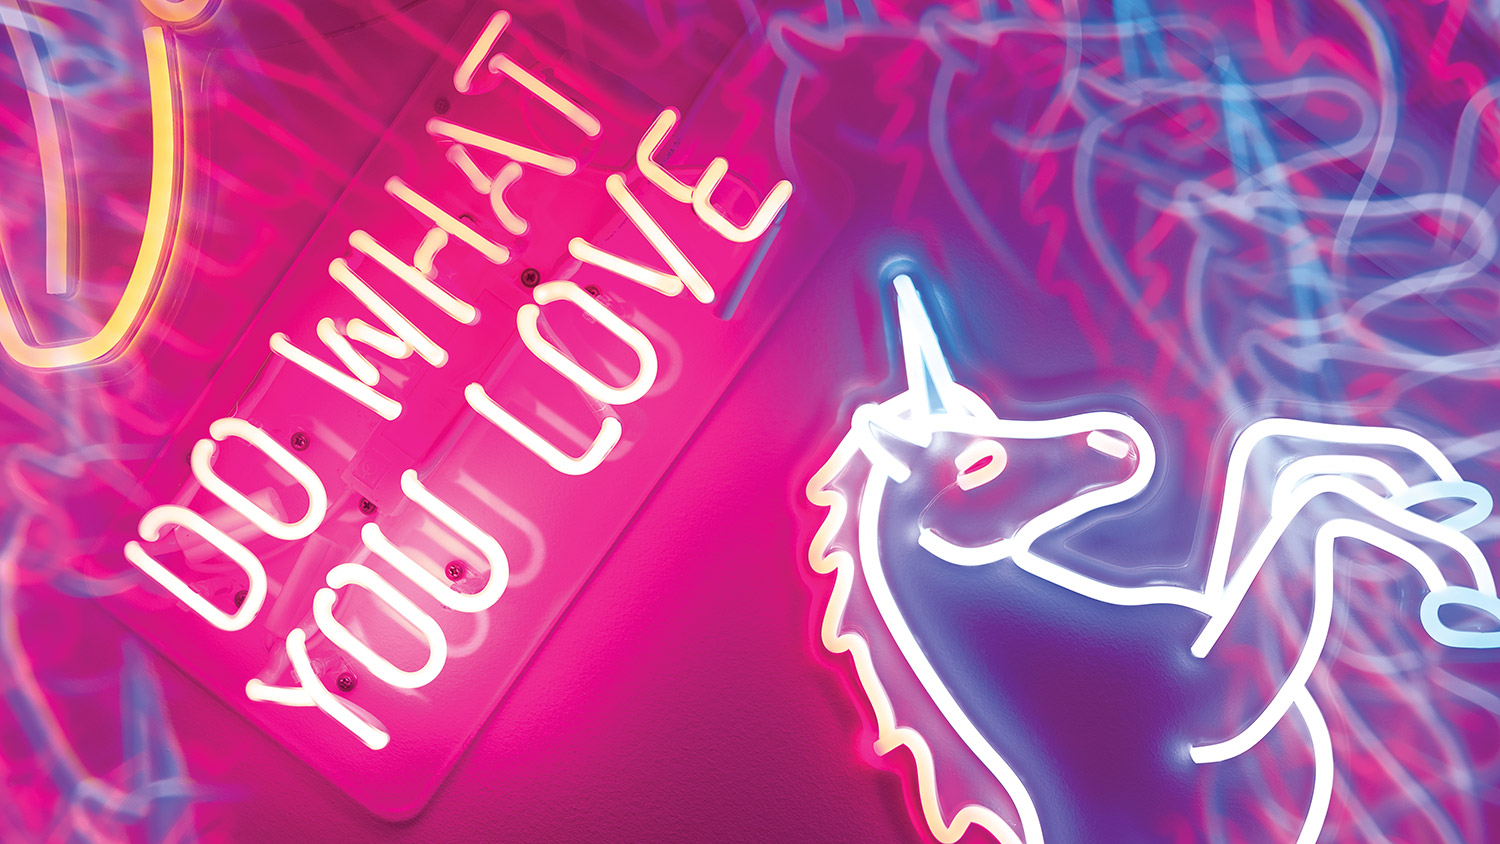
I have a variety of neon lights at the studio – some traditional glass and some more modern LEDs. The ‘Do what you love’ sign resonates with me greatly, and the unicorn is another favorite. I tend to use pink and blue a lot, as they work so well together. They’re the signature colors of my photography.
Dragging the light
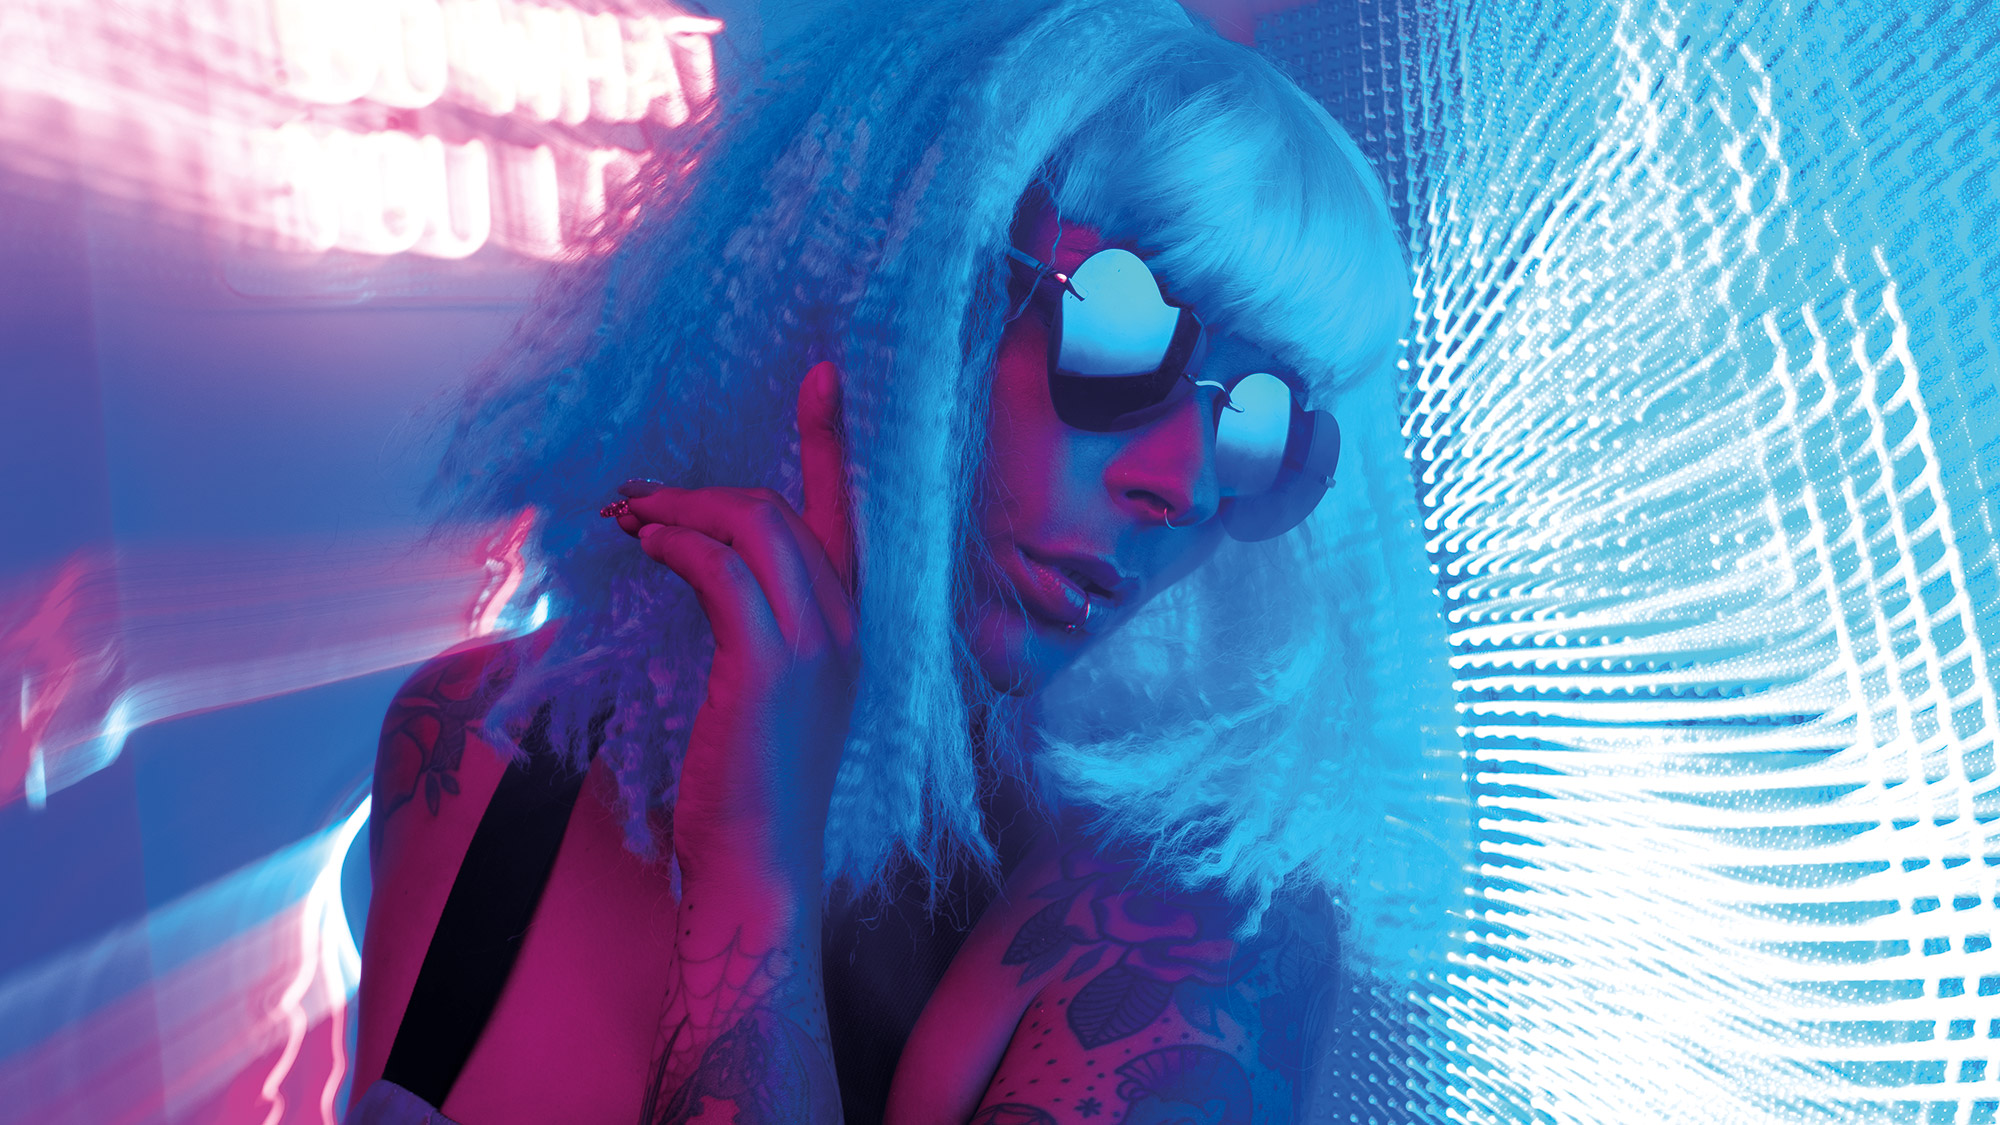
To achieve my long-exposure technique, also known as ‘shutter drag’, I tend to set my shutter speed to about a third of a second, then set my aperture to around f/10 to compensate. As soon as the flash goes off, I will make a random movement with the camera to drag the ambient light; in this example, that’s the neon lights.
The flash will freeze the subject; any movement after that is just me dragging the ambient light around, hence the term ‘shutter drag’. I find zooming while twisting the camera has the best effect: it pulls the light out and around the subject, which creates a nice framing effect.
Step by step: How to use neon lights to add drama
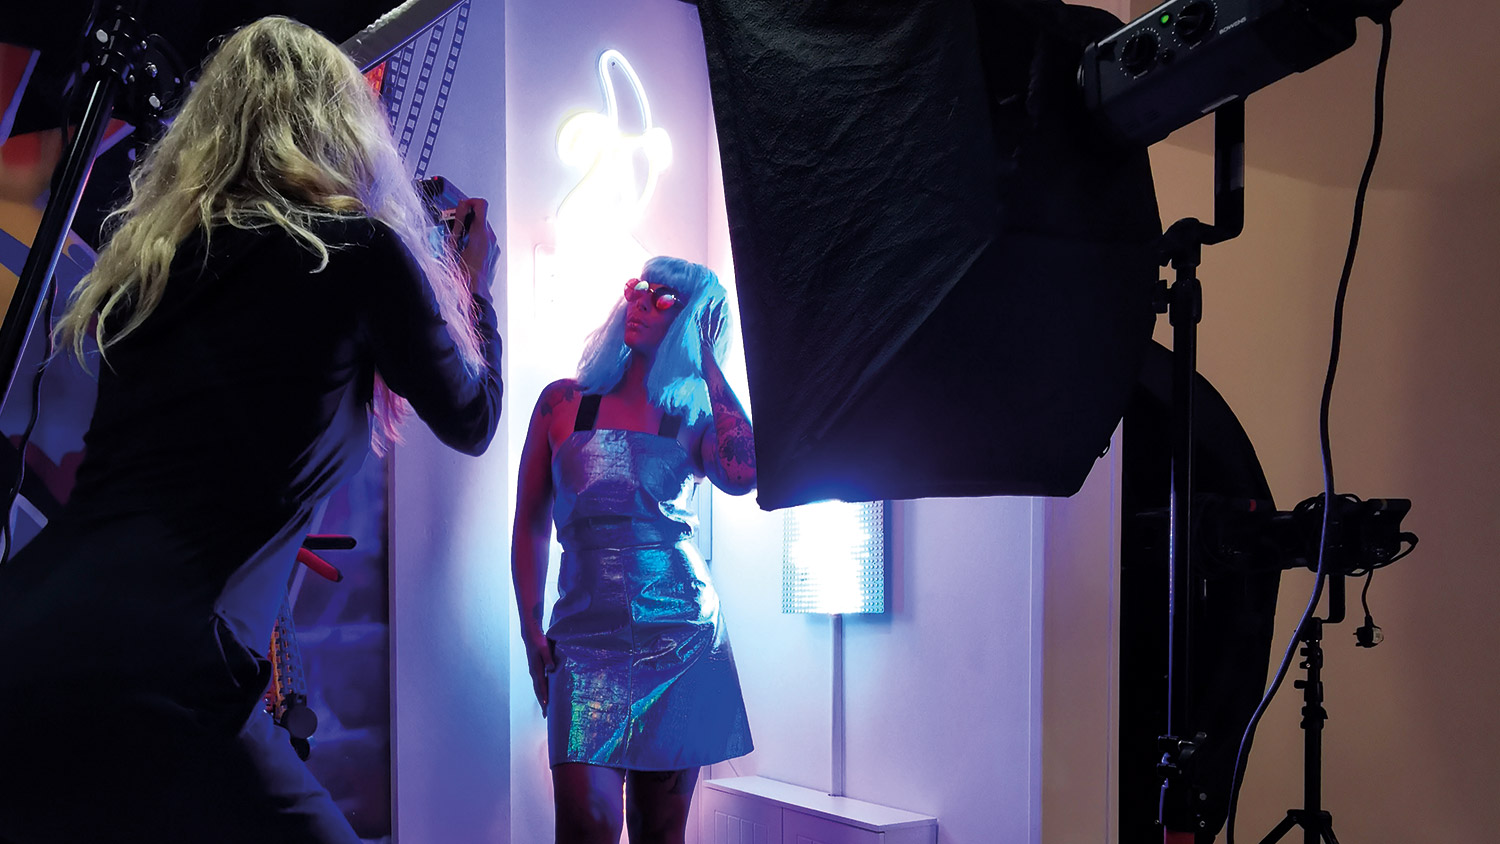
01 Sparkling style
Styling is a large part of my photoshoots. I have two rails of clothing for models to use – mostly of the sparkly variety! Sequins and glitter tend to reflect neon lights really well. Styling can take twice as long as the actual photography, but it's always worth spending time getting this right, as it really makes the image when you have perfected the look.
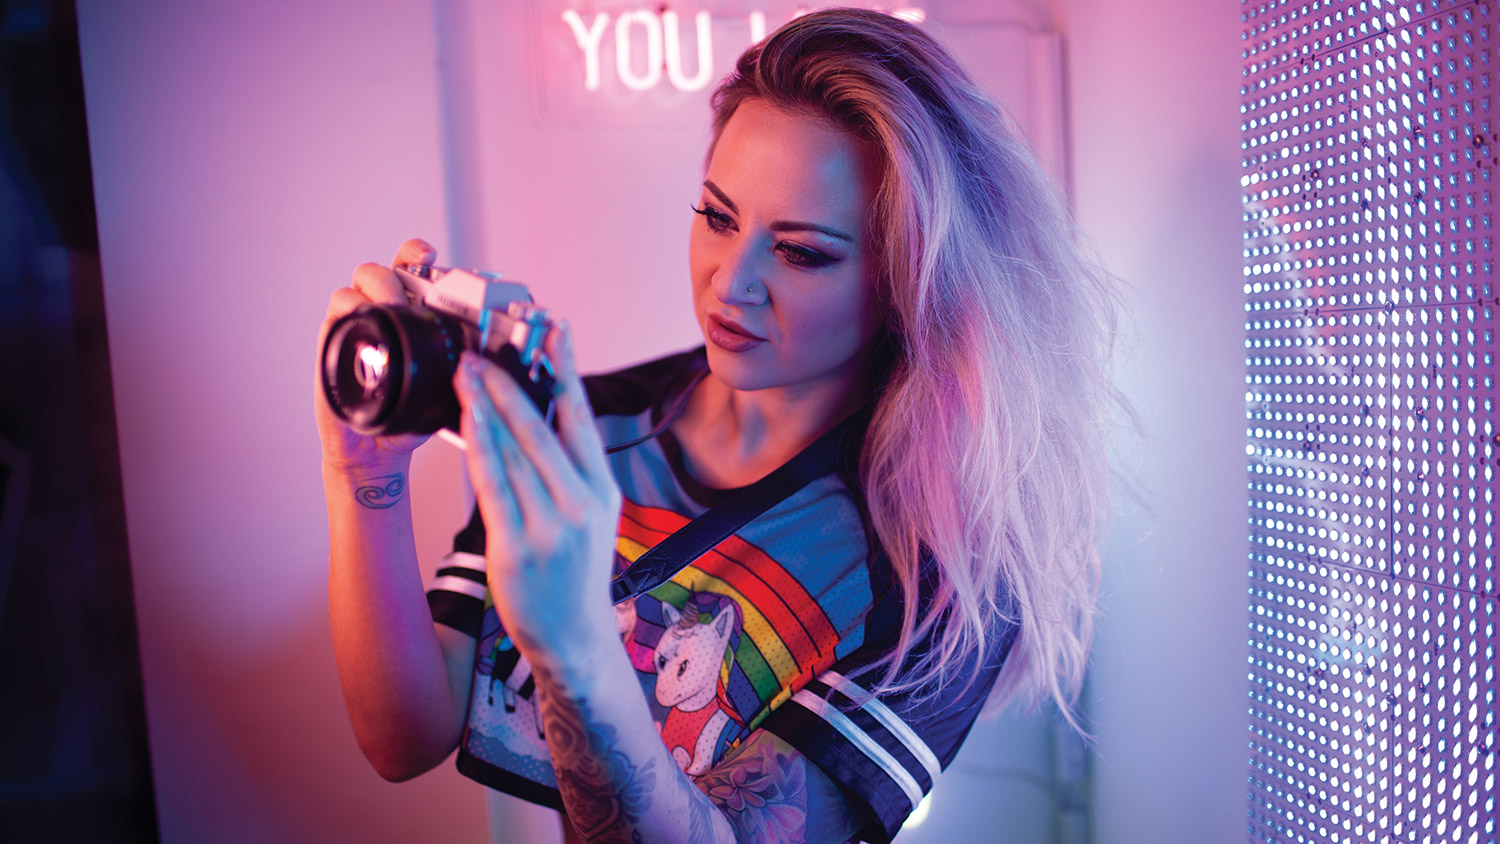
02 Seeing the light
I started off using mainly continuous light – a ring light and LED panels
– with colored gels to funk them up. I like constant illumination, as I can see where the light falls. I also use my prisms, as I’ll mainly be setting an f/1.2 or f/1.4 aperture. Since getting the studio I have acquired some Bowens studio lighting, so I have been trying out new lighting setups with flash.
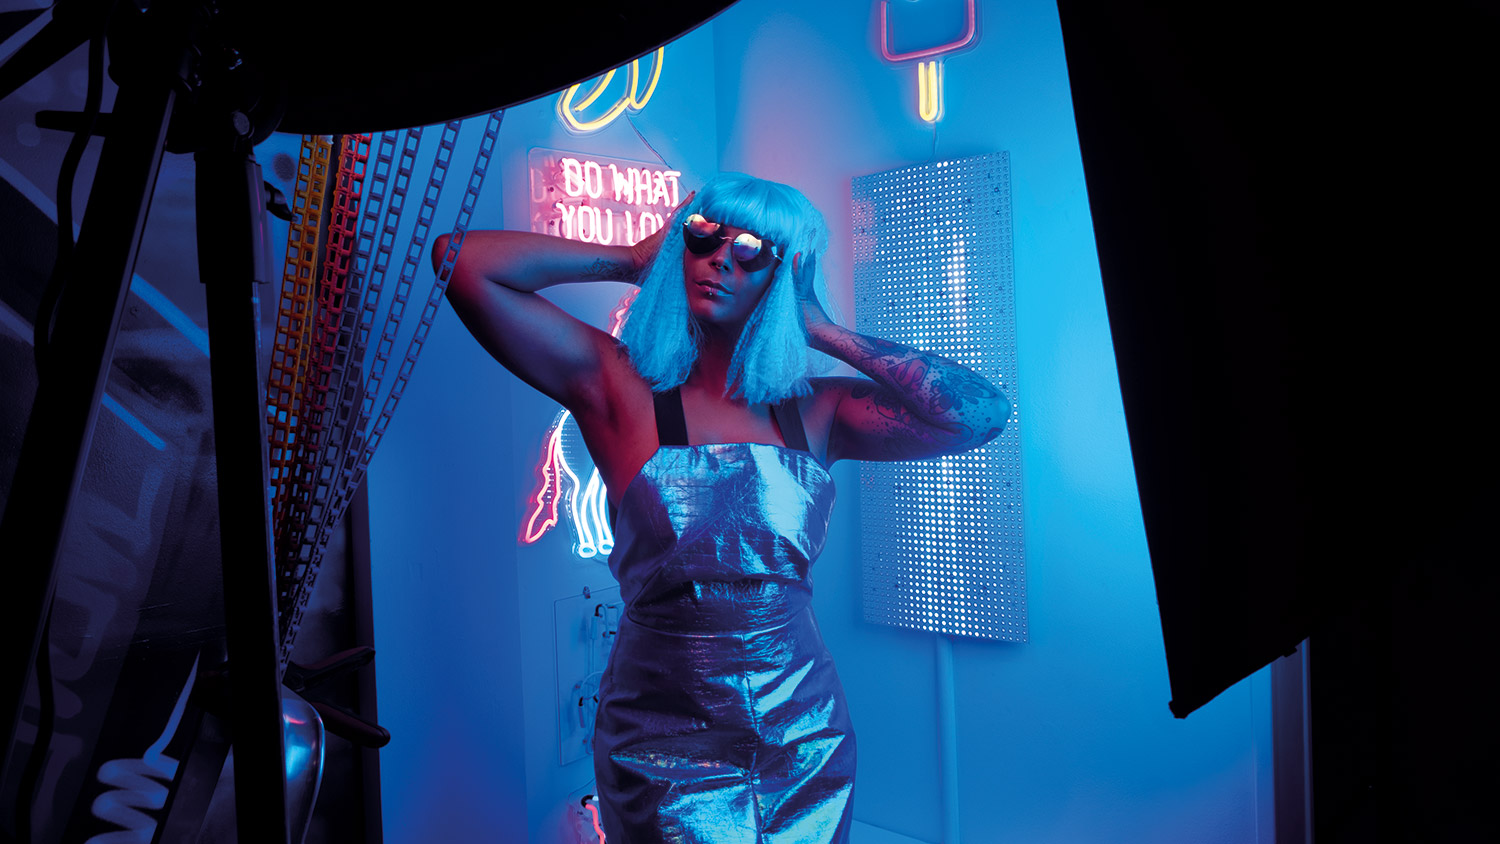
03 Loose the bulk
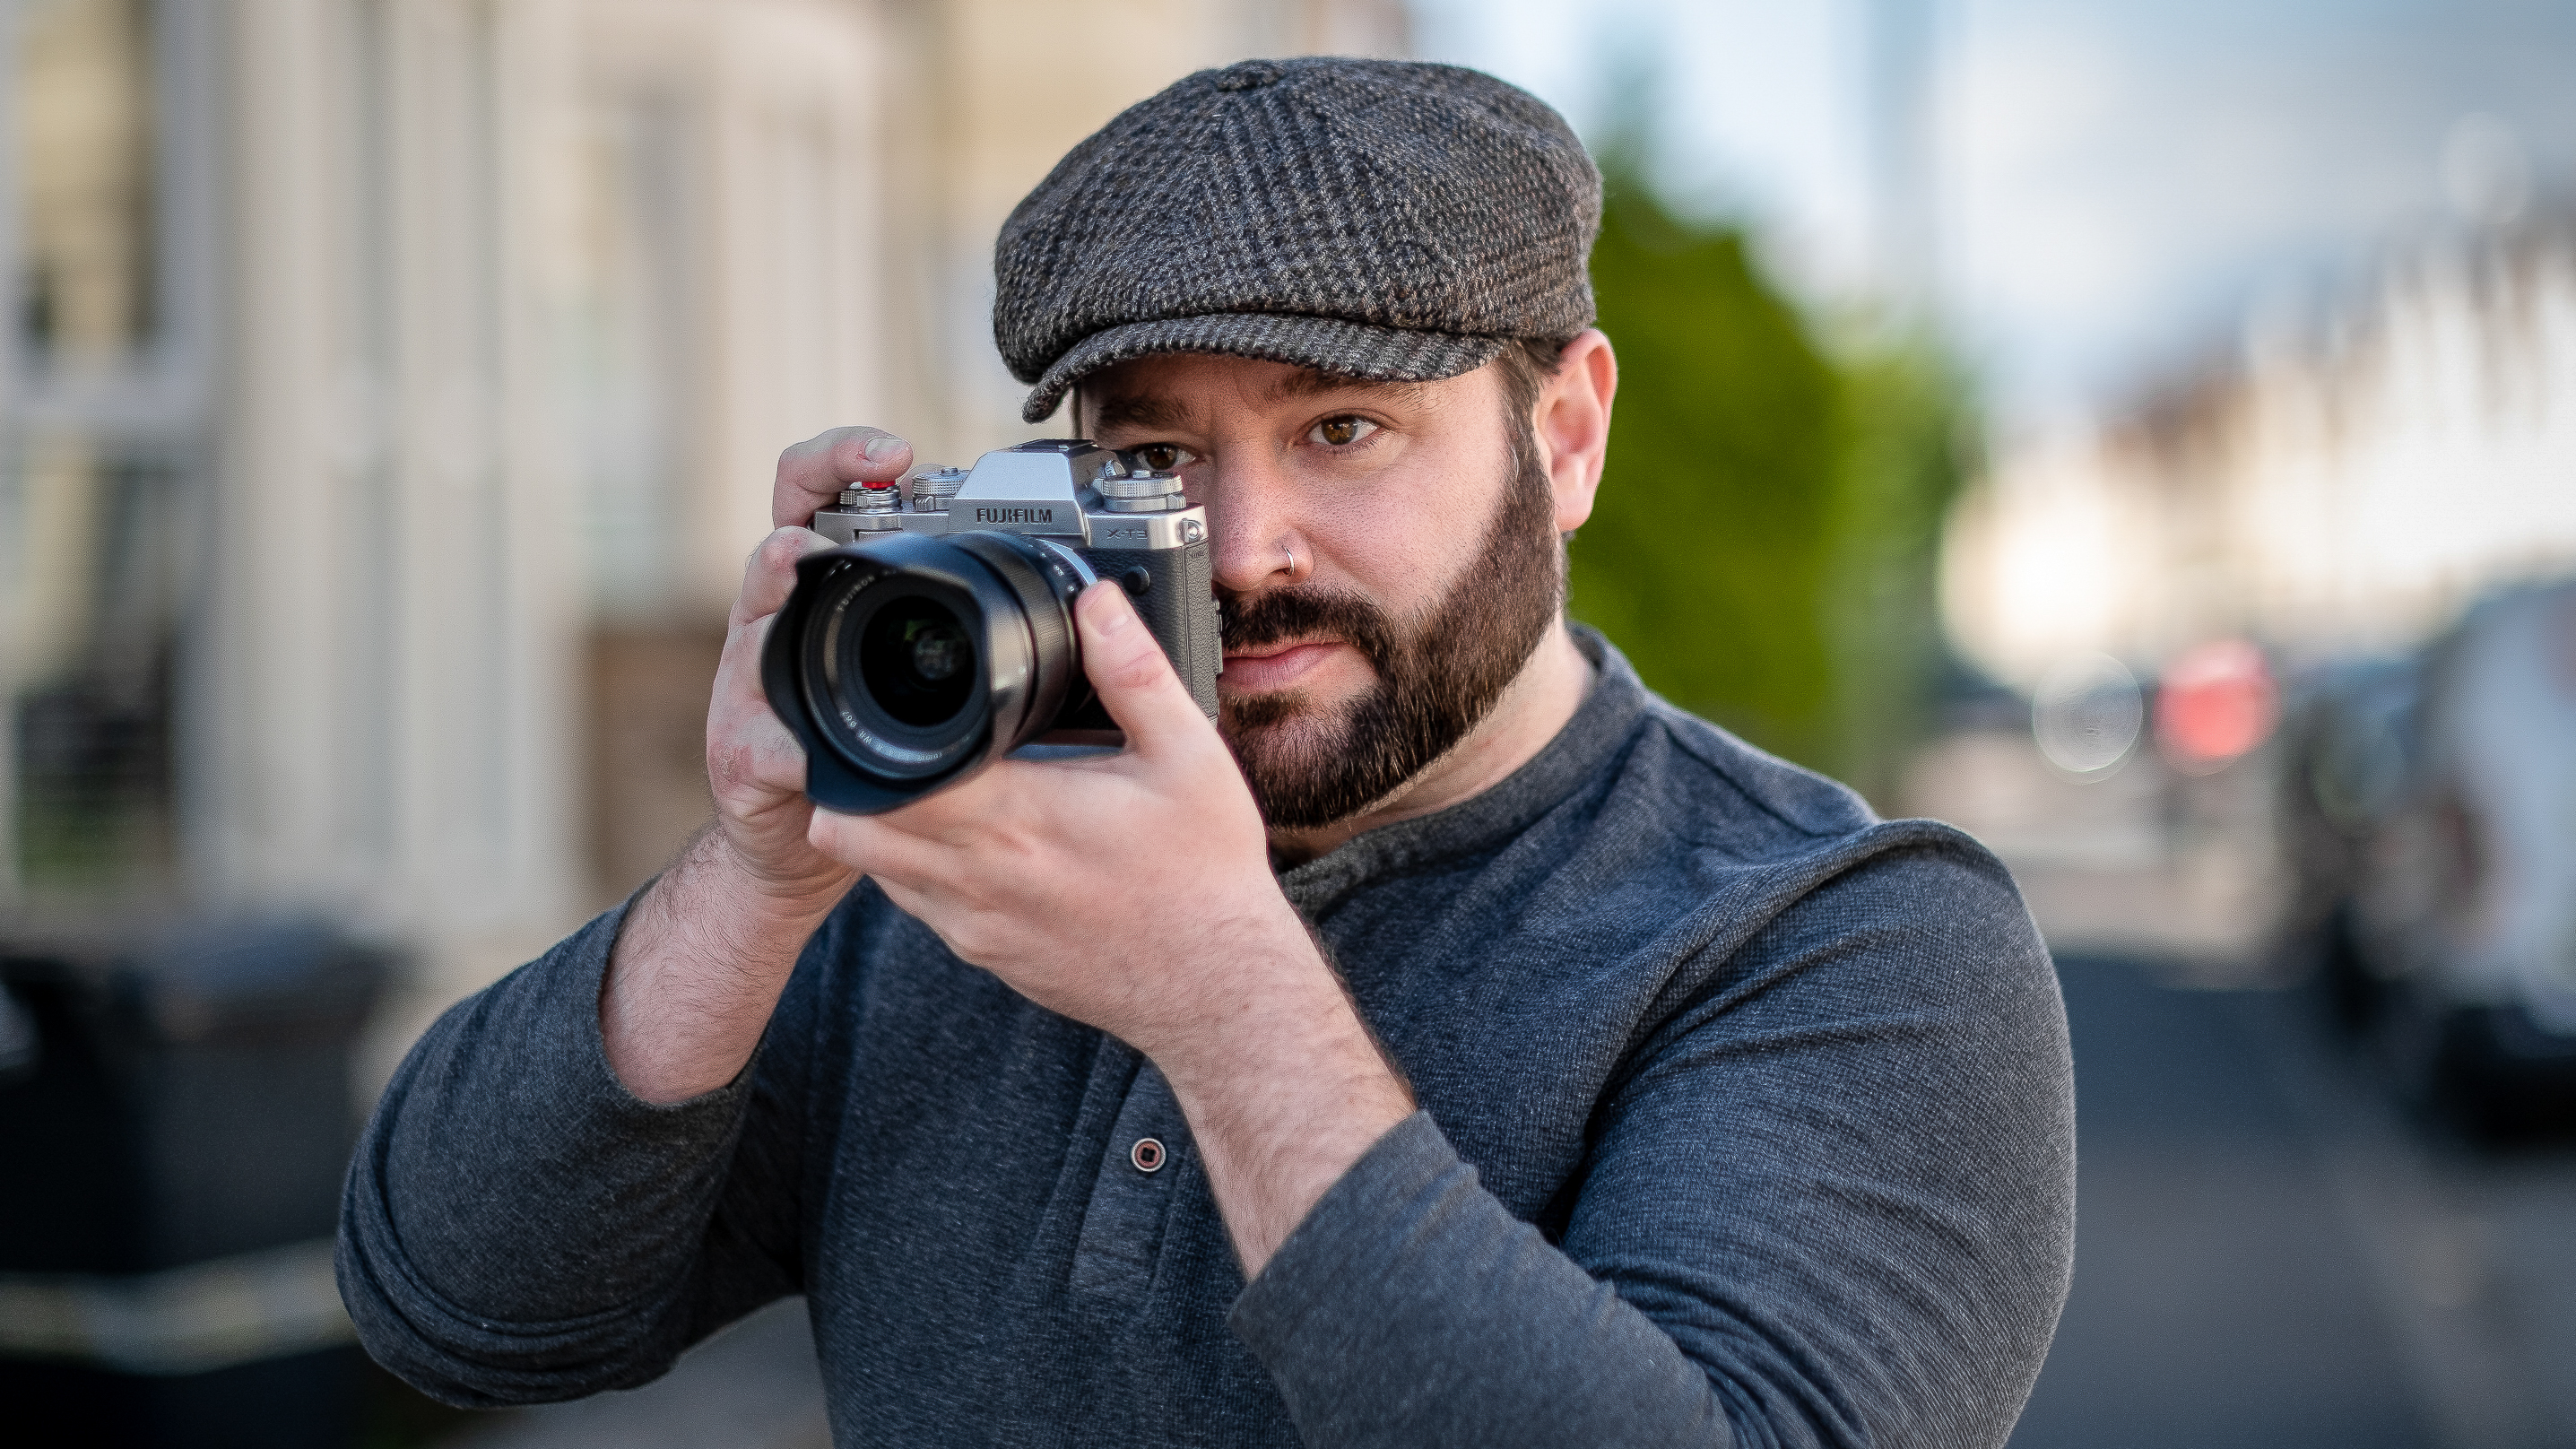
I have been both a Canon and Nikon user, but ended up buying a Fujifilm X-T20. I like mirrorless cameras as they are more lightweight and compact; I don’t think there’s much need for a camera to be too bulky or overly heavy these days. I’m more creative than technical as a photographer; it’s definitely less about the equipment and more about what you do with it.
Read more:
The best mirrorless cameras
Best Fujifilm cameras
Best Fujifilm lenses
Get the Digital Camera World Newsletter
The best camera deals, reviews, product advice, and unmissable photography news, direct to your inbox!
Alistair is the Features Editor of Digital Camera magazine, and has worked as a professional photographer and video producer.
