UV photography on a budget: get started with ultraviolet photography!
Experiment with UV photography without breaking the bank! Try out ultraviolet photography on the cheap
Lockdown photography projects
• Home photography projects
• Photo projects to try indoors
• Photography tips, tutorials and videos
Useful home photography kit
• Best tripods
• Best lighting kits
• Best reflectors
• Best macro lenses
UV photography was a completely new genre for me, but I’m a great believer in pushing yourself out of your comfort zone to acquire new skills when you get the chance – and ultraviolet photography was just that chance!
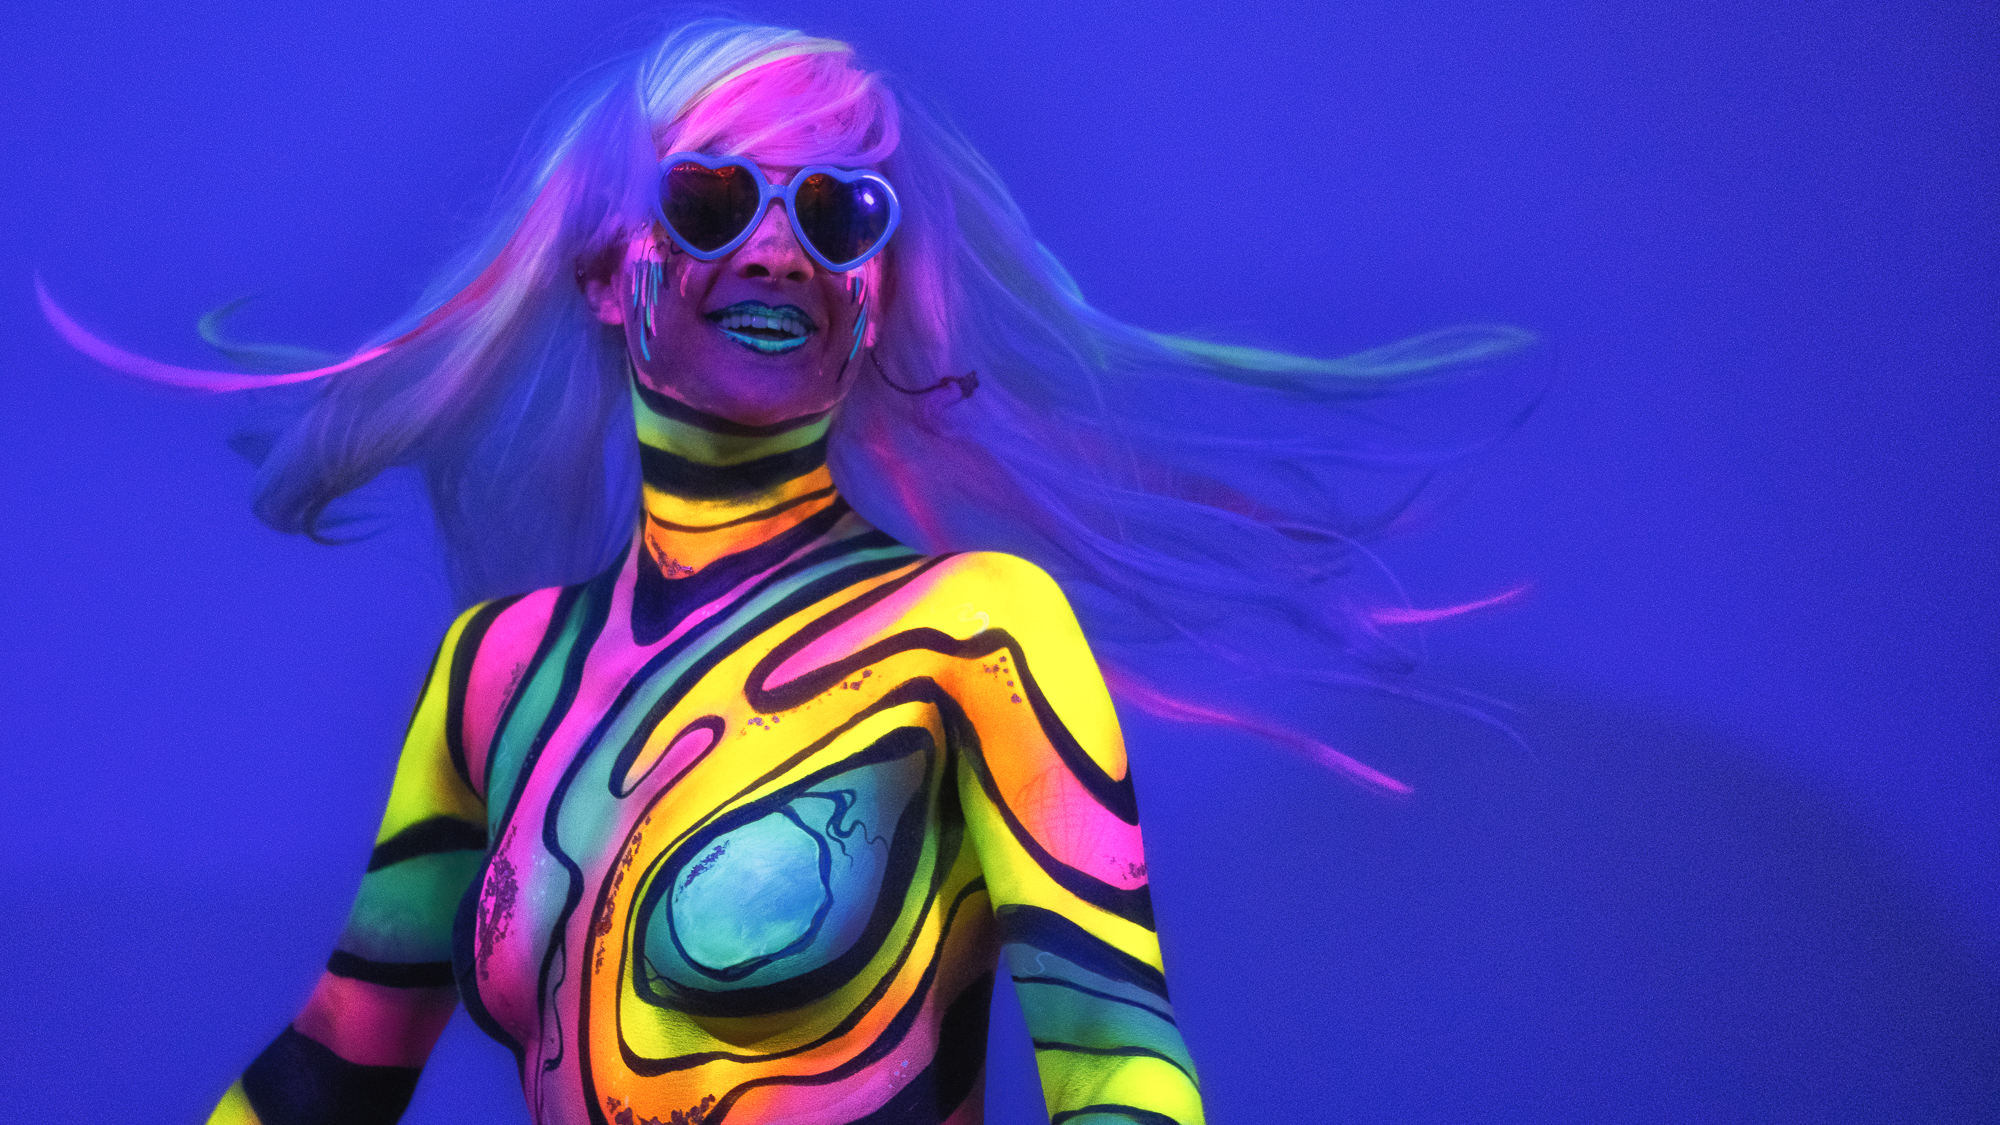
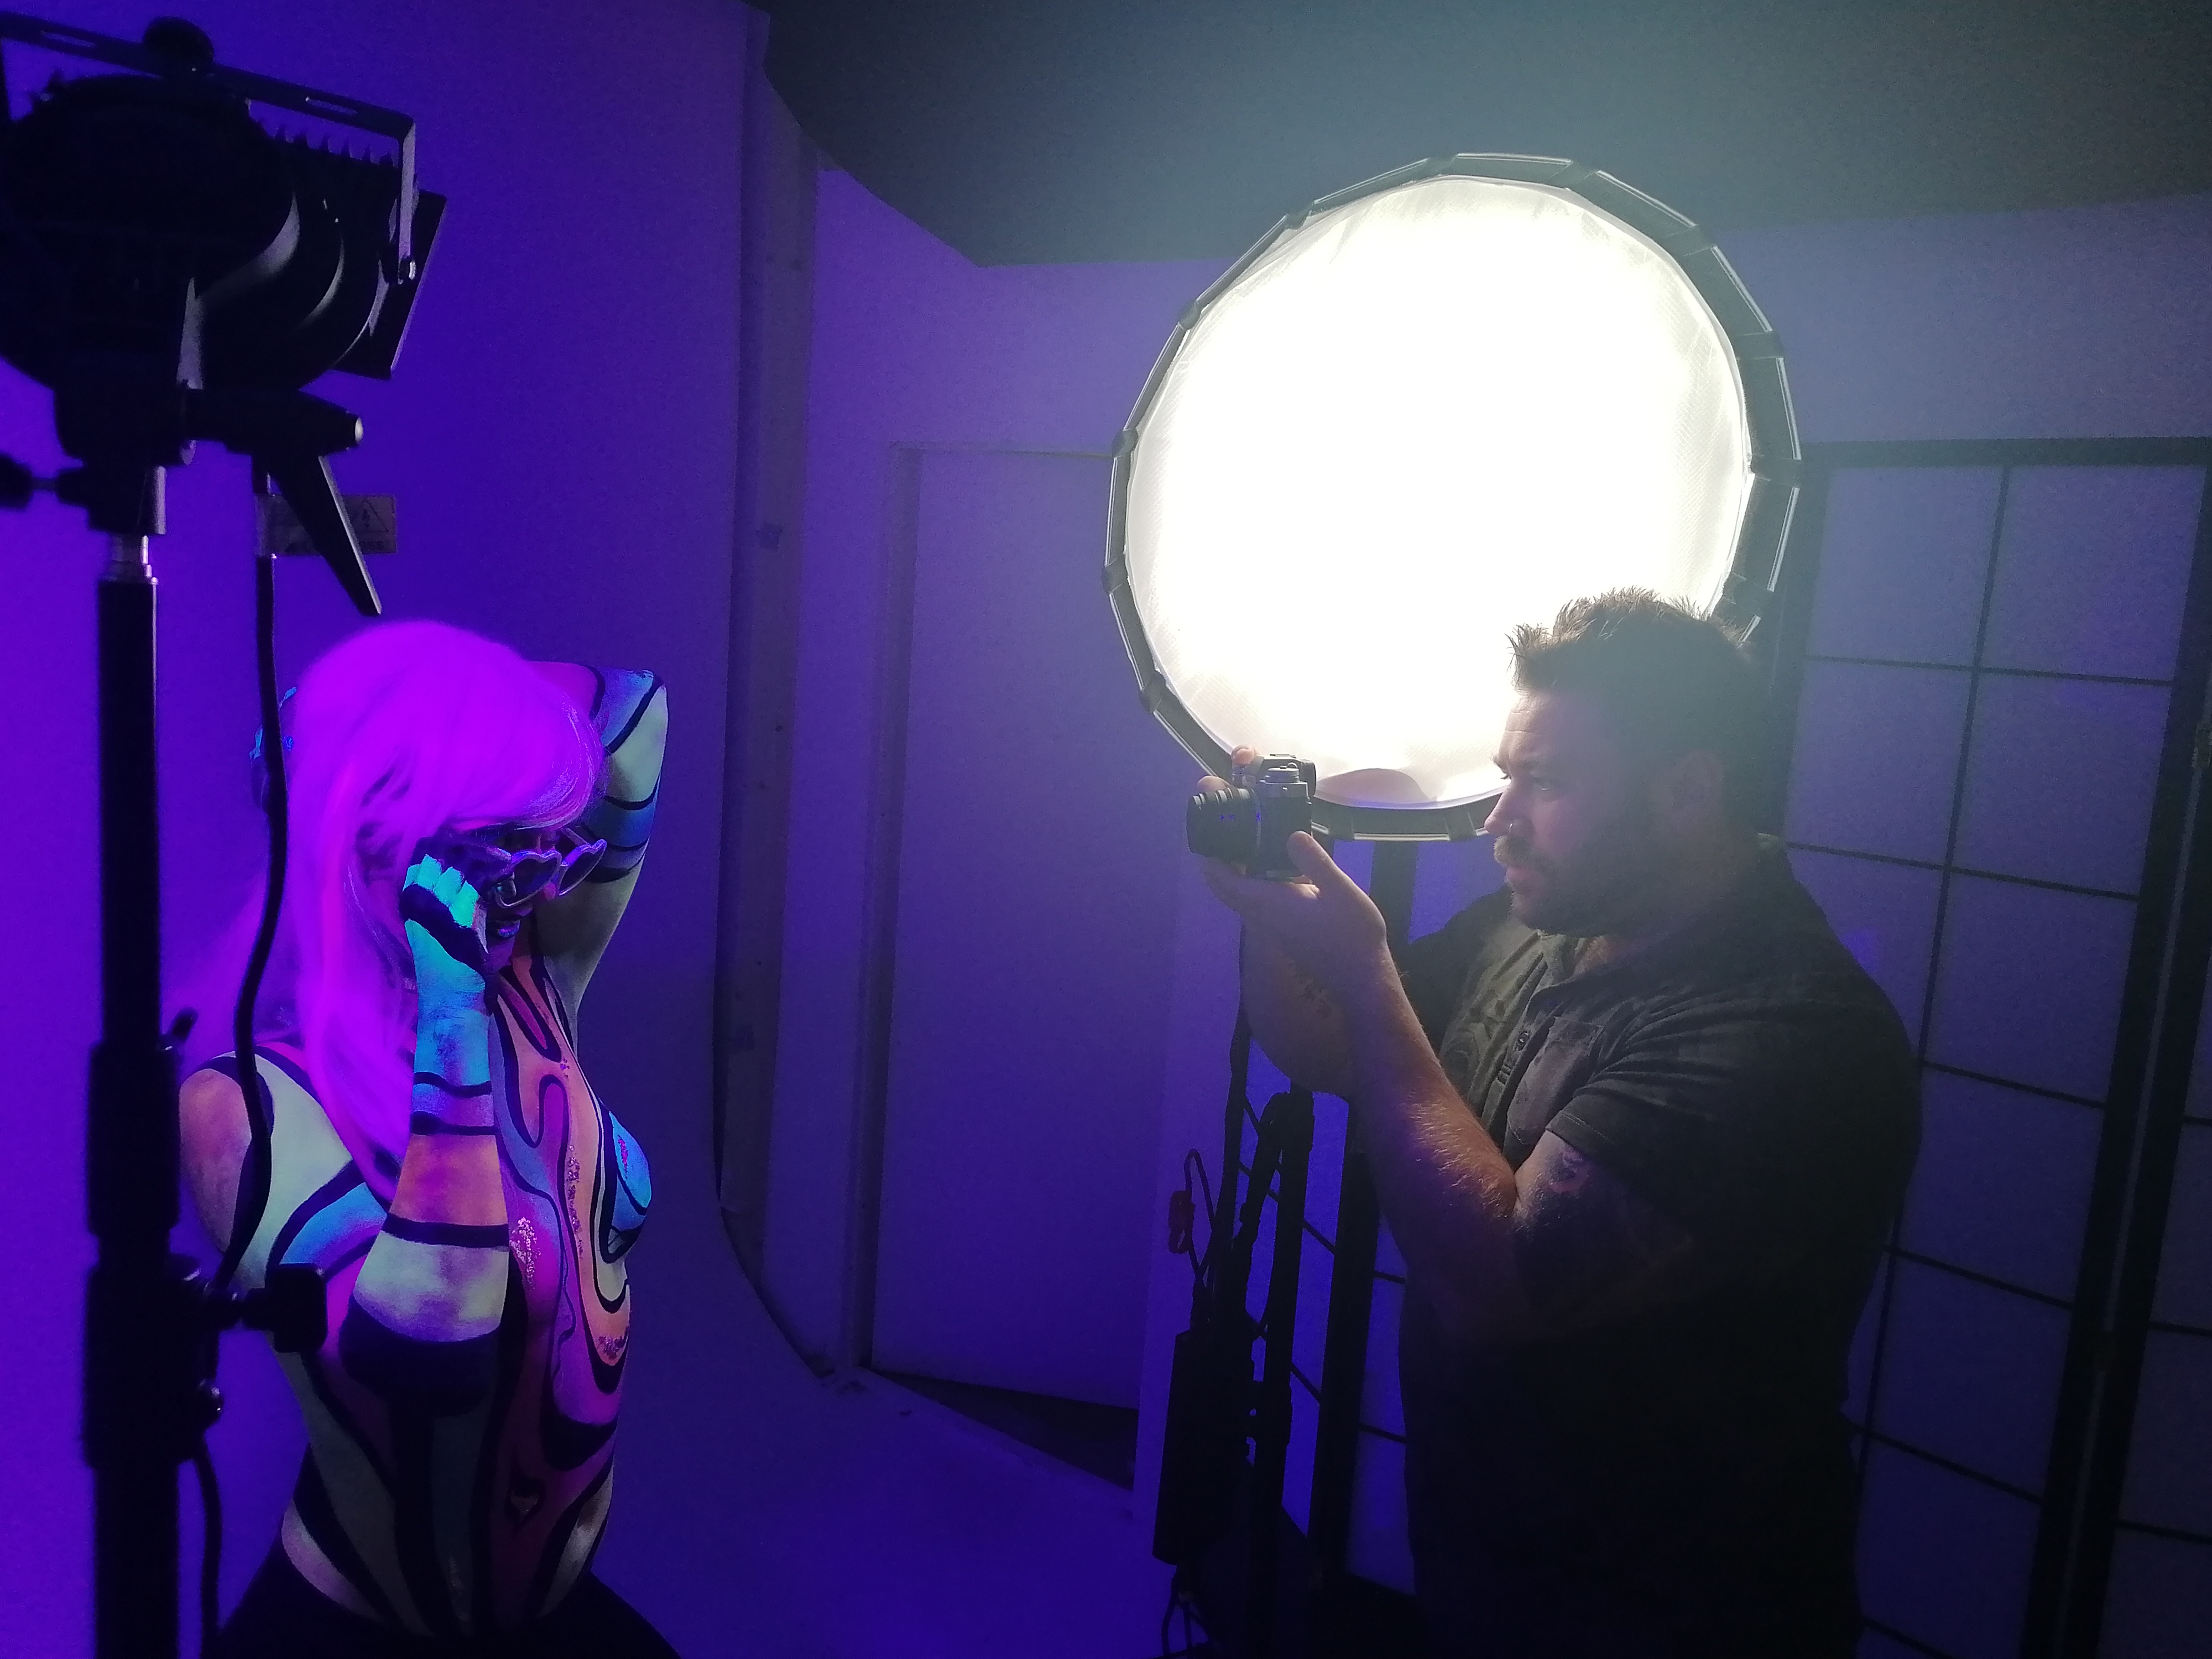
When you try anything new it’s often a case of trial and error, and that's especially true with UV photography. The set of three ultraviolet lights I was using weren’t particularly powerful, but they did the trick (just!) with the Fujifilm X-T3.
I started out by shooting some simple portraits to get the ball rolling. Later I began to introduce some movement into the shot, upping my shutter speed to 1/500 sec to get a reasonable capture of the movement. However, I had to increase my ISO to 5000 – which is slightly higher than I’d normally like. It's always a slight worry, but the modern cameras can handle higher sensitivities like never before.
Compromise is forever a huge part of photography; you always need to balance settings or situations. I did have one slightly faster lens available, the Fujifilm XF 56mm f/1.2, but the small shooting space meant that we would have had to crop most of the body paint – not ideal.
I’d seen a few examples of ultraviolet photography in the past, and 99% of them were on a very dark or usually completely black backdrop. For obvious reasons this would make your subject stand out, and the colors appear more vibrant.
I decided to go with a white backdrop instead, but not to light it or or let too much spill onto it. Typically this would mean a grey result but, with ultraviolet light, it became a nice shade of mauve / purple. It’s obviously good to have a plan to begin with, but even better to deviate when you need to!
Top tips for shooting with UV lights
01 Go dark
Turn off all of the lights in the room so that the UV light is the only light being emitted.
02 Find your glow
The closer the UV black light is to the object, the better the glow will photograph.
03 A helping hand
Needing to get the lights in close might be even easier if you have an assistant on hand who can move the light in and out as your subject moves.
04 Experiment
Try a mixture of shutter speeds, iso and aperture. Different subjects will have very different results.
05 Make sure your lights are fastened
Some basic lights might not come with universal light stand fittings, just make sure everything is securely in place before shooting.
Step-by-step guide to shooting with UV lights
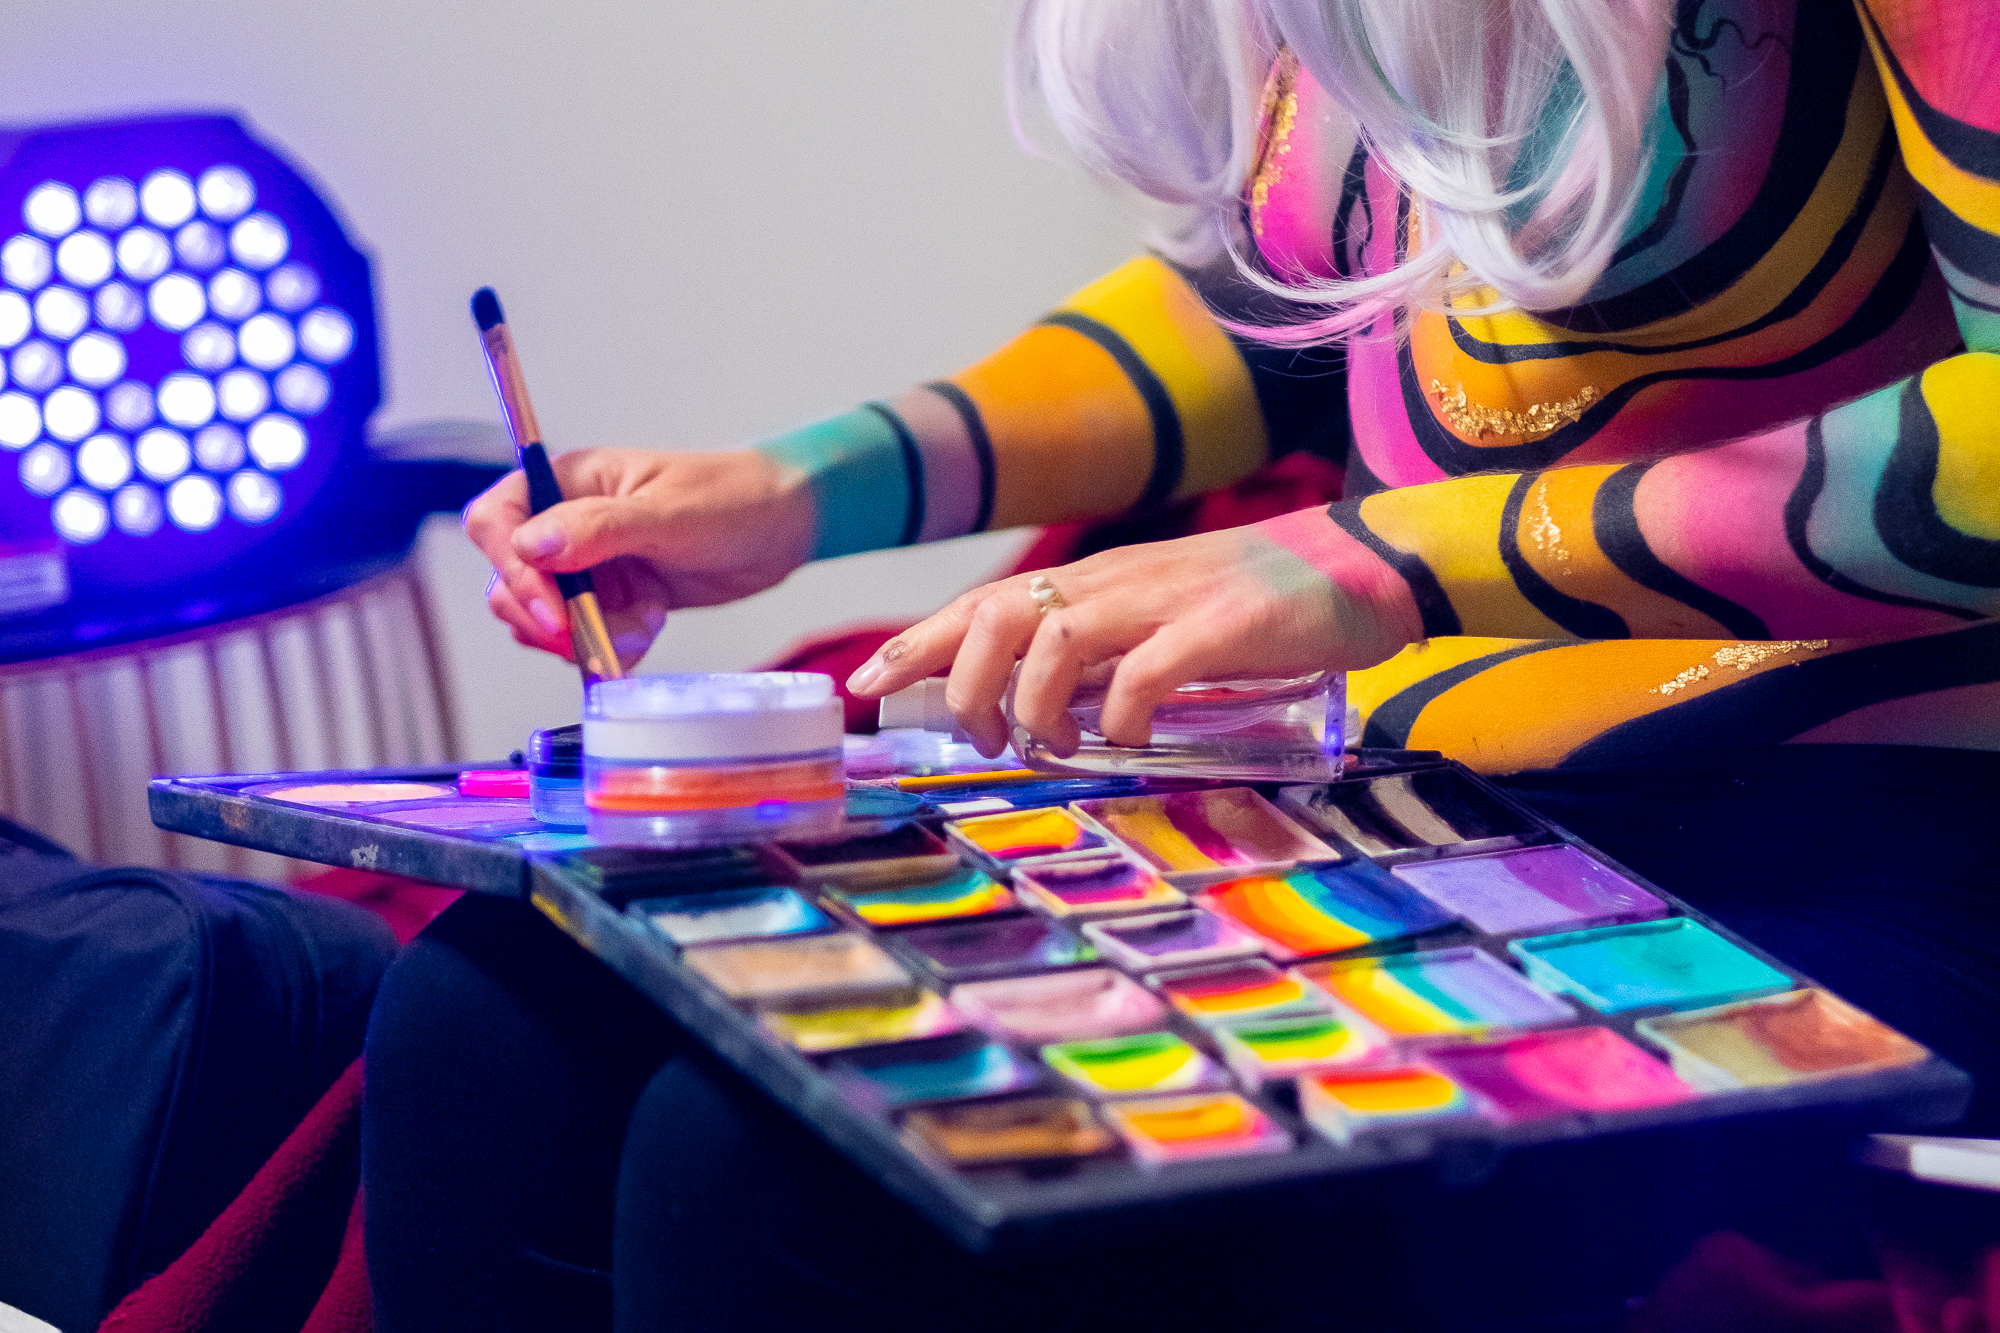
01 Selecting UV paints
This might not be a job for you as a photographer, but communicate with your makeup artist (MUA) as they will likely have a lot of knowledge on products. If you’re learning to body paint, or have been at it for a while, then you probably already know that choosing the right paint is half the battle. Our model Panda recommends Cameleon or Diamond FX for their unrivaled vibrancy.
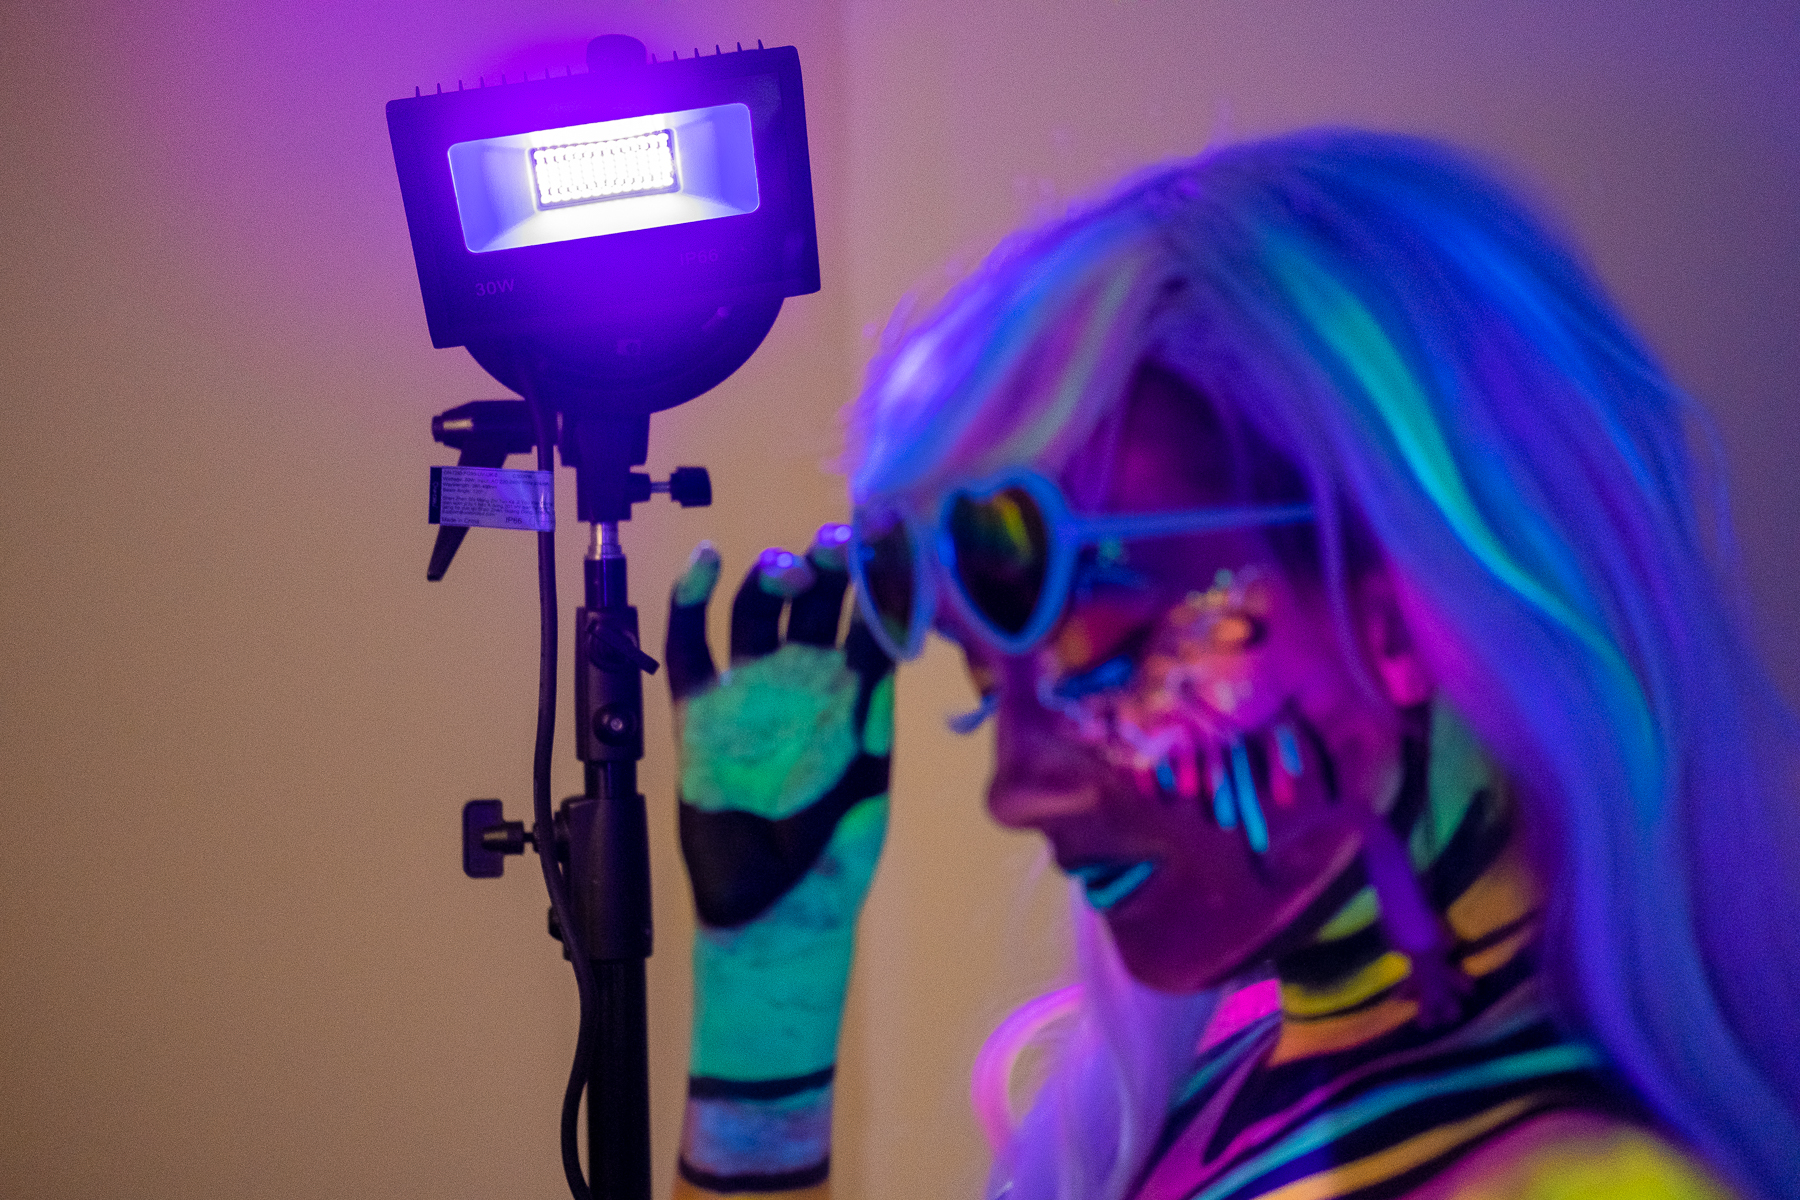
02 Ultraviolet lights
For this shoot I picked up three of these Onforu IP66 black lights. They were really cheap, but at only 30 watts they weren’t quite powerful enough without compensating elsewhere (ideally you need a light around 100 watts for better results). They offer various options, some dimmable, strobes and different color temperatures (which would be great if you are shooting video).
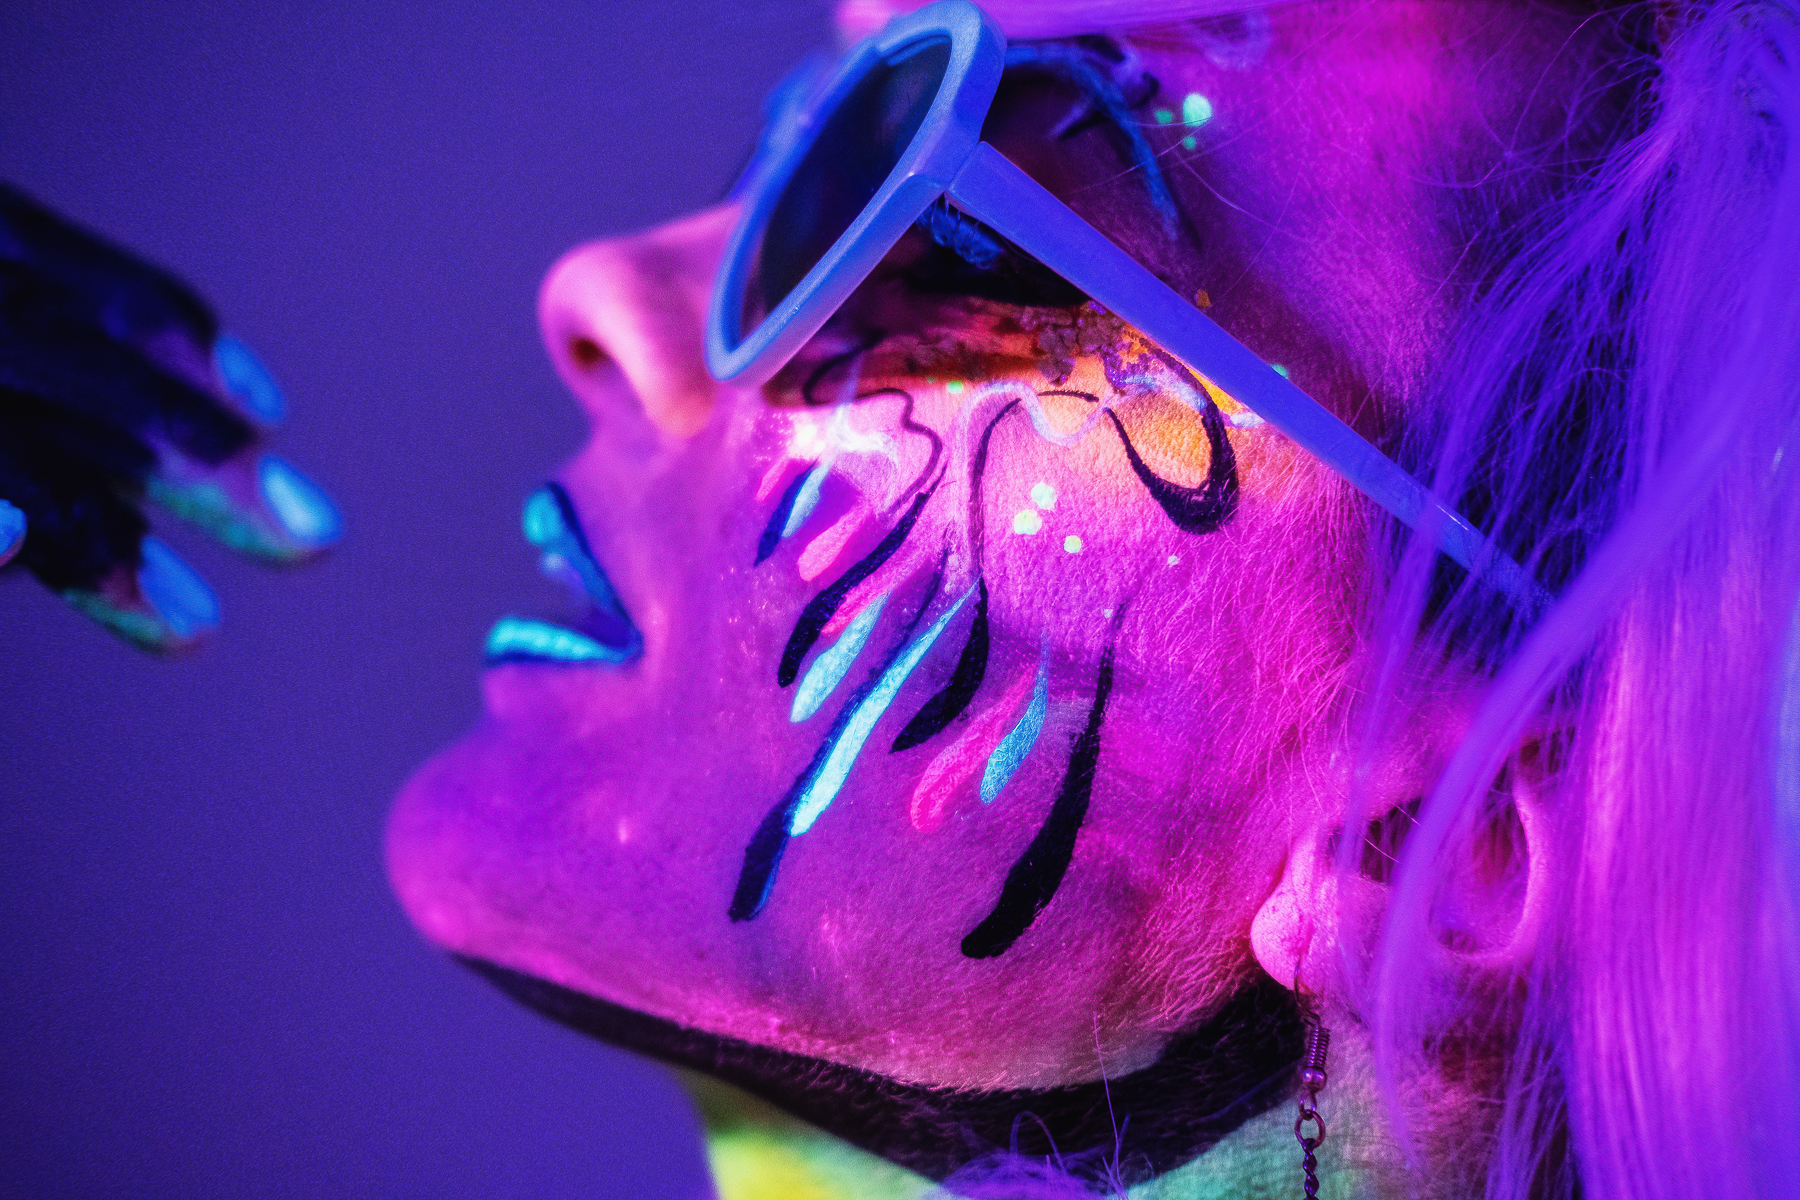
03 Get some detail shots first
As always when photographing any sort of makeup, it’s best to shoot some close-up details first. This is especially true if you're working in a studio environment, where lights, heating or just general movement can cause makeup to deteriorate as time goes on. It won’t be as noticeable in wider shots, so prioritize these – the MUA will always be appreciative, too!
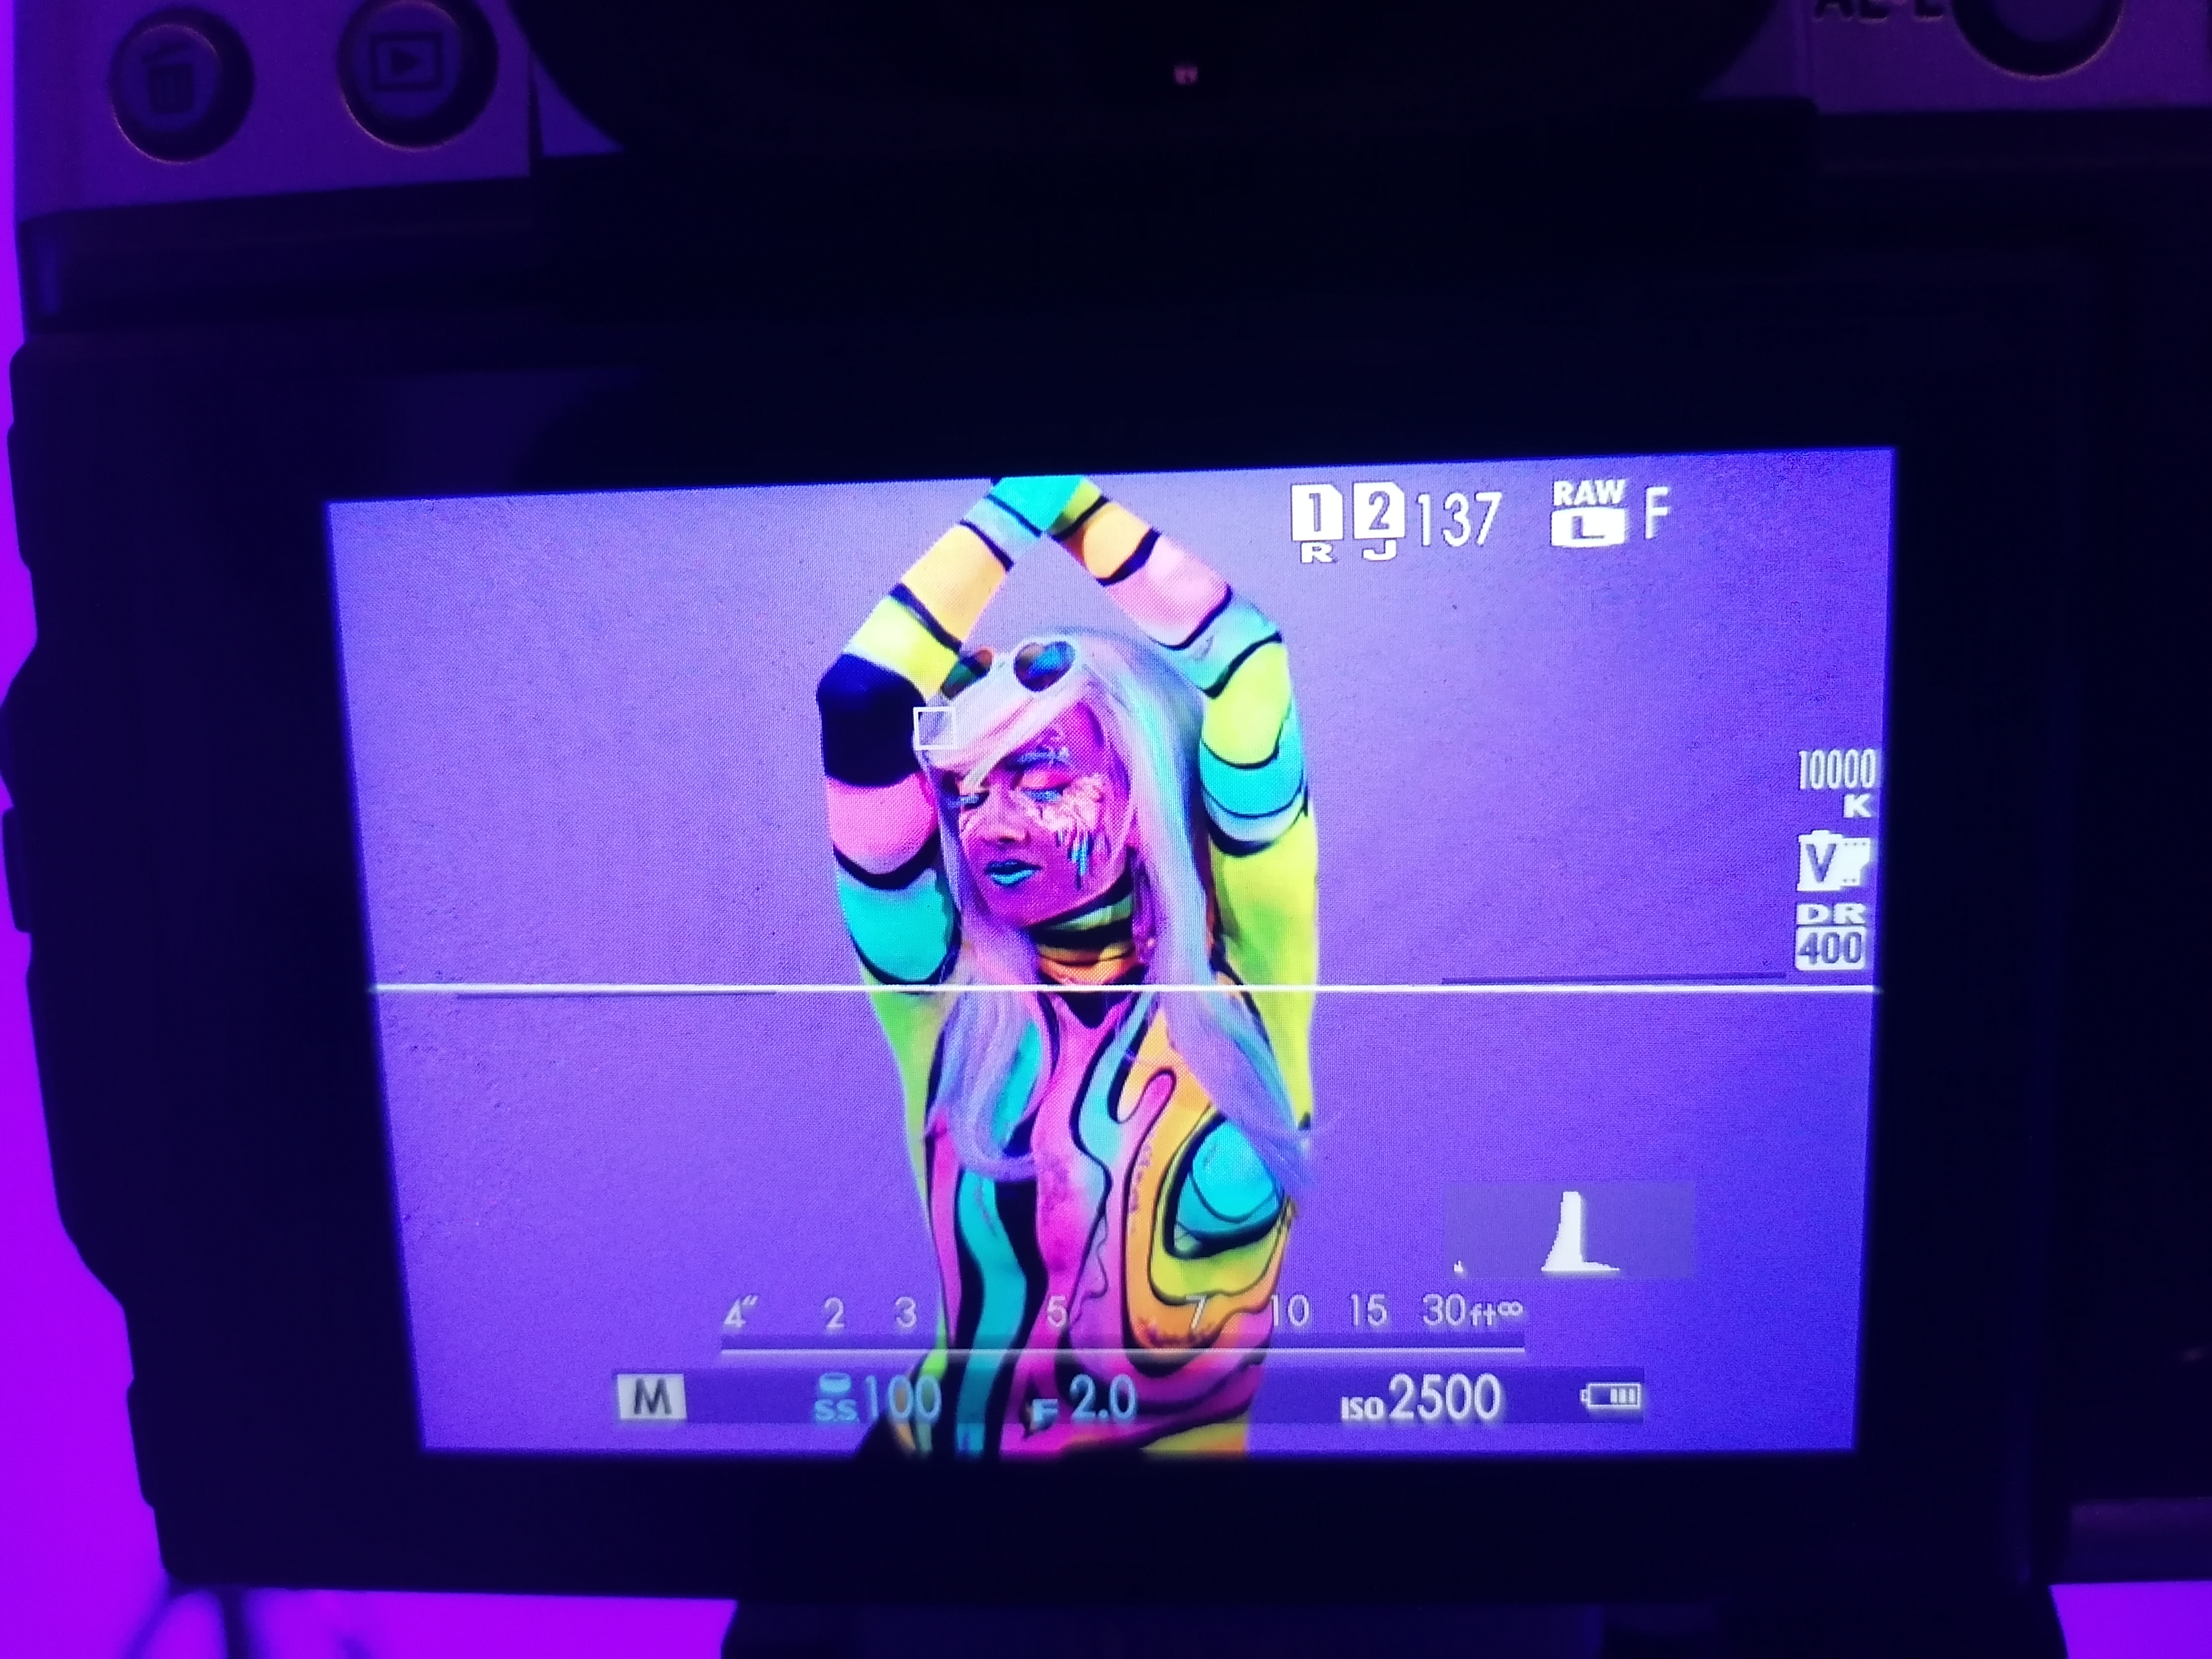
04 Get moving
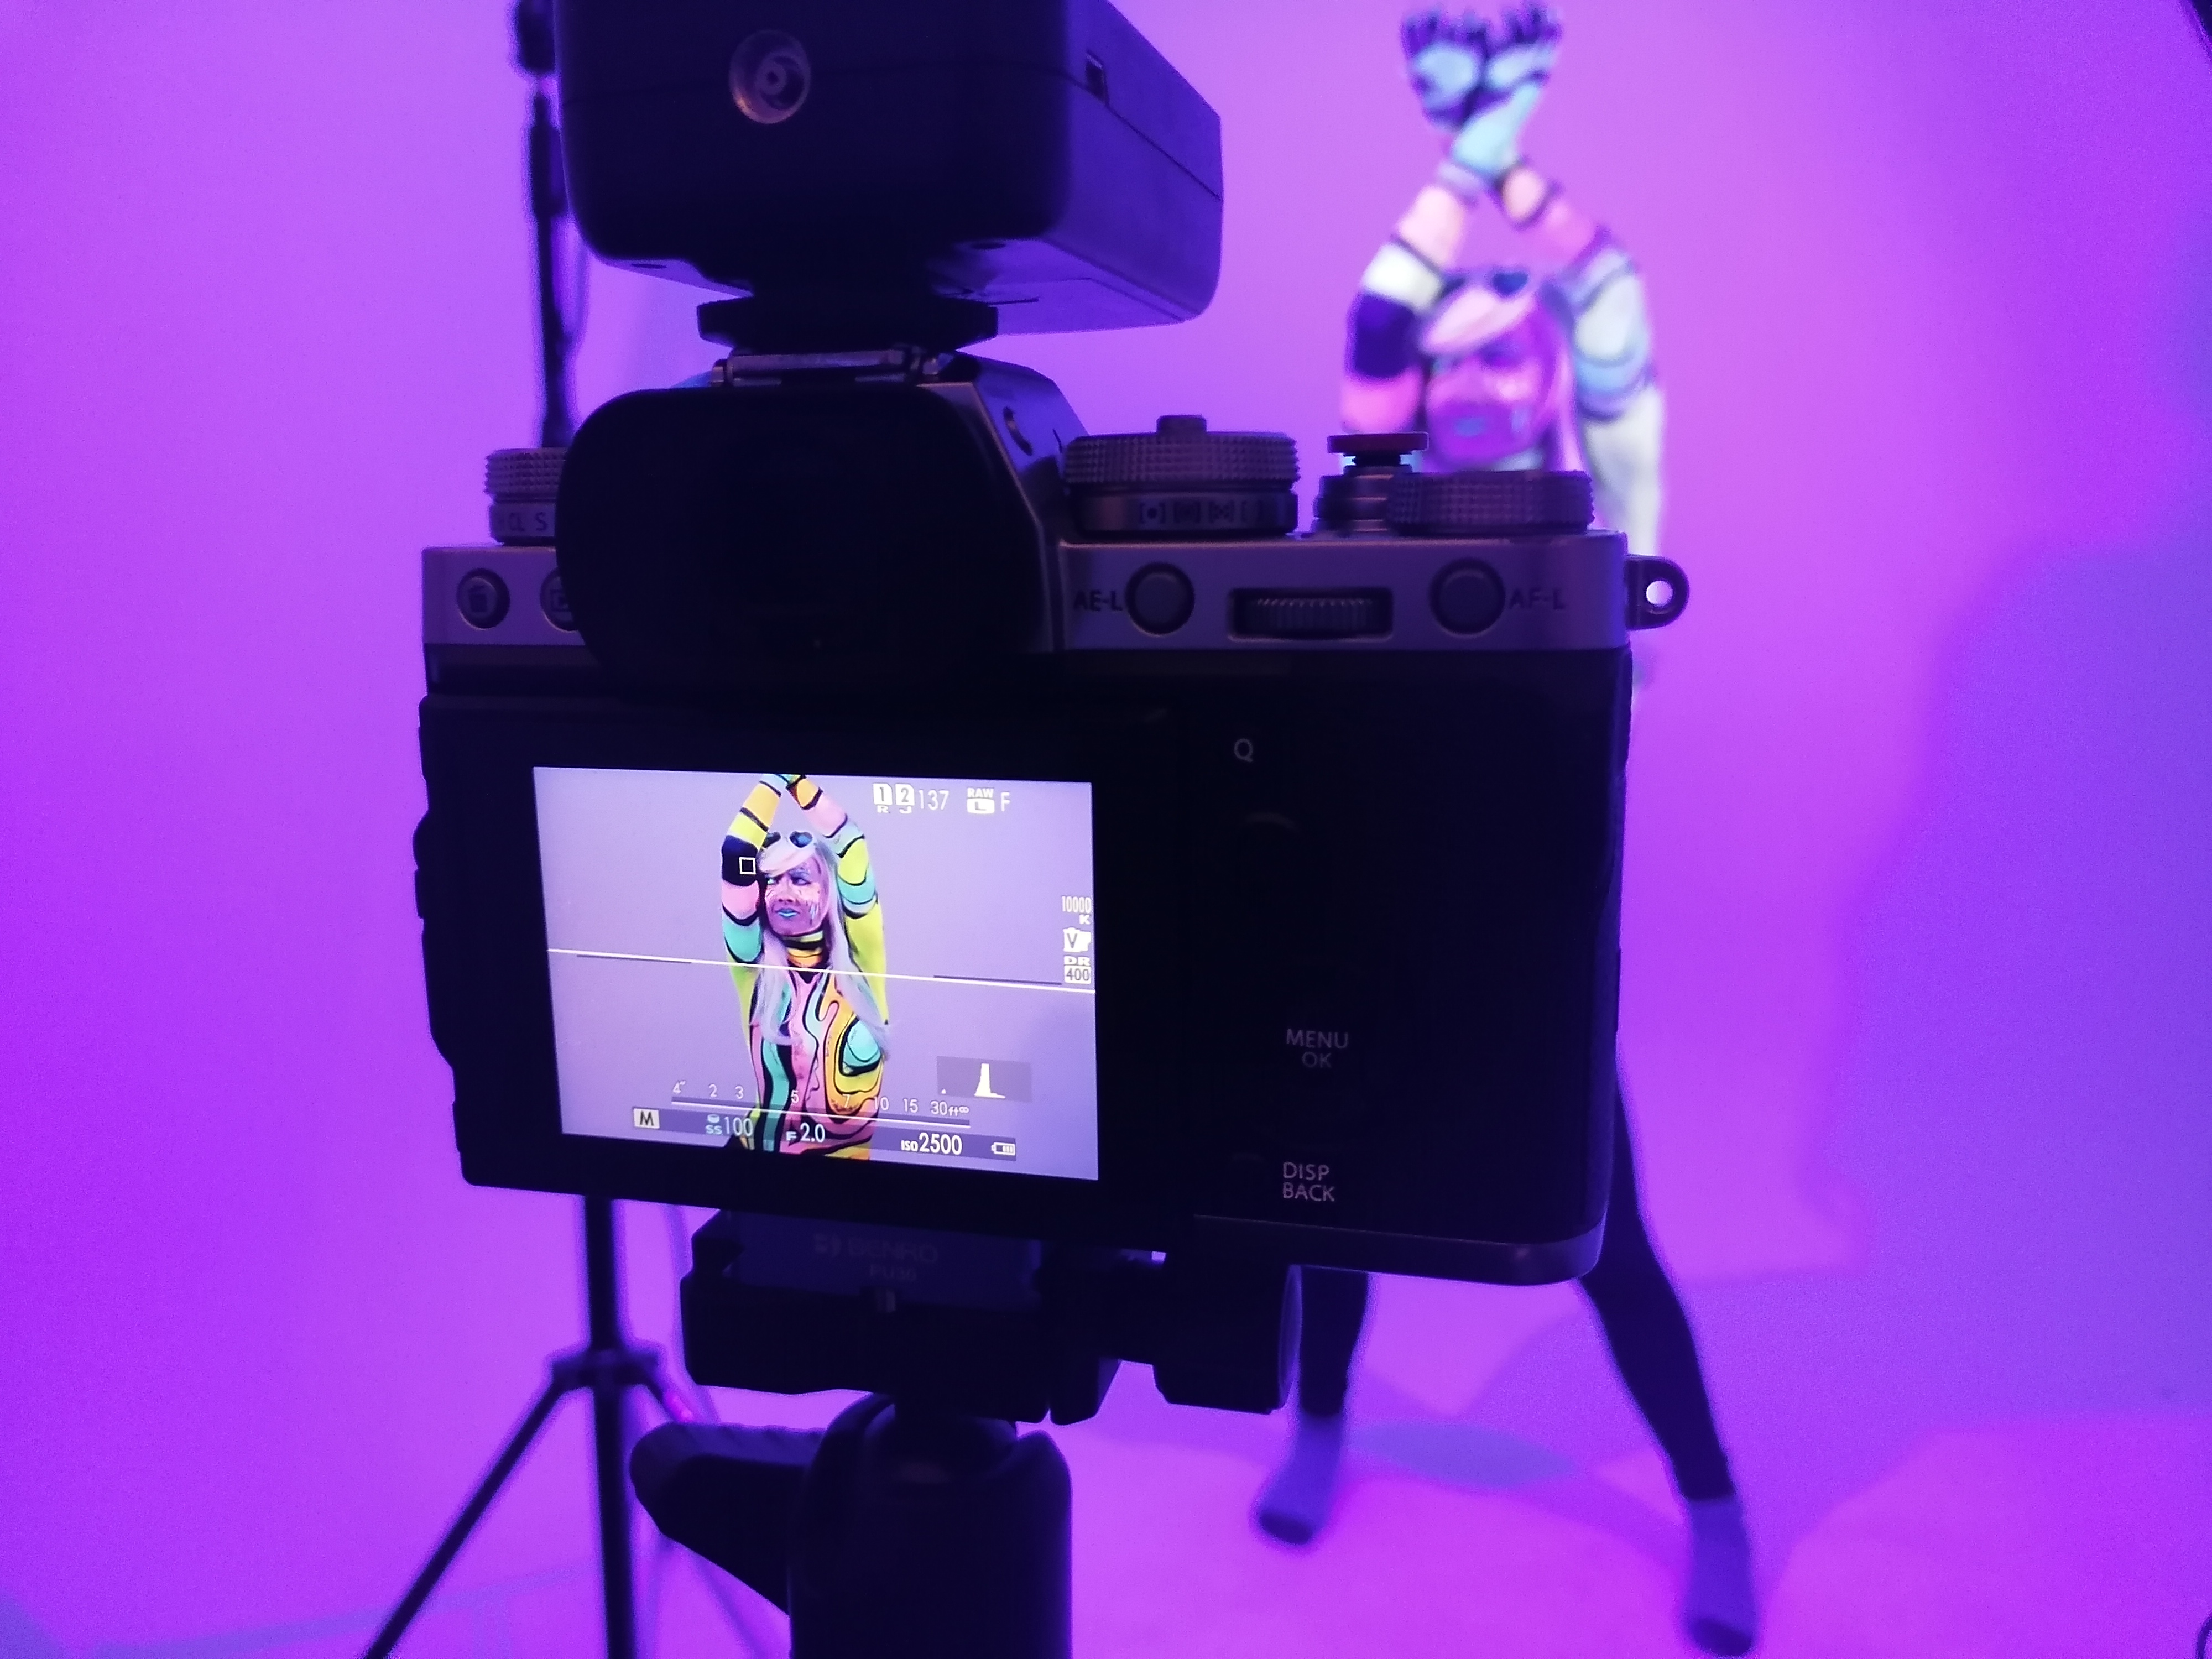
For movement you ideally need a shutter speed of 1/125 sec or more – but given the little light we had, I was shooting at 1/100. However, getting Panda to briefly pause at the top of each movement meant that the shots wouldn’t look out of focus with motion blur.
05 Getting in the flow
By the end of a shoot you will often find that you're really in sync with your model. This is usually a point where good ideas come so, once you’ve bagged some keepers, feel free to experiment! We wanted to try some spinning shots, to get the body and hair moving. At 1/100 sec I was already at ISO2500, and in the end we were up at ISO5000 to capture the movement well.
Read more:
The best photography lighting kits
Home photography ideas
Portrait photography how: practical tips to get you started
Get the Digital Camera World Newsletter
The best camera deals, reviews, product advice, and unmissable photography news, direct to your inbox!
Alistair is the Features Editor of Digital Camera magazine, and has worked as a professional photographer and video producer.
