UV photography: tips for going dark with blacklight photography
Master UV photography as we reveal the secret dark art of shooting portraits with blacklight photography
Watch the video: UV photography tips
Blacklight, or UV lighting, is most commonly seen in nightclubs. The ultraviolet lighting makes white shirts radiate with a bluey glow.
The peculiar visible effect that this form of invisible lighting has on different materials means that some subjects take on a completely different look when shot under these specialist lamps – making the surreal effects ideal for photography.
UV lighting can be used to photograph most things, but it’s best suited to studio subjects because the light source is quite weak, and it needs to be used in a dark room with a black background to give the strongest effect.
It’s particularly suited to portrait photography where props, clothes and make-up that react strongly to the UV lighting can be combined for psychedelic effects. You do need to invest in (or borrow) some UV lights, but they aren’t particularly expensive, and can be bought from specialist lighting or party suppliers.

01 Choose your lights
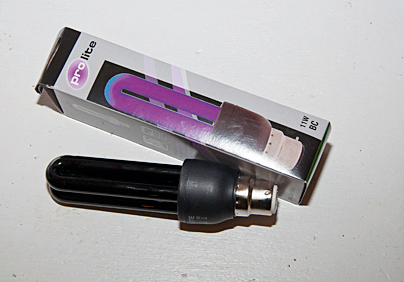
You can get bayonet- or screw-fit UV bulbs for around £5 / $5 each, which can be used in normal desk or ceiling lamps, but bigger strip lights or LED lamps work best. A 20W mains unit with a tube costs around $25 / £25 – ideally, you need two for a balanced effect.
02 Strap the lights to stands
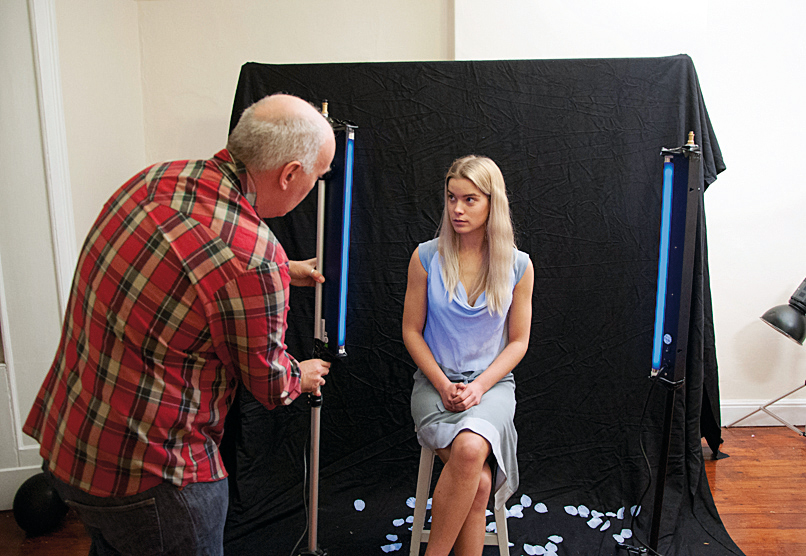
The strip lights are designed for wall lighting, so we attached ours to studio flash stands using gaffer tape for ease of positioning. One was placed on each side of our blonde model. A theatrical black backdrop was placed behind, on a standard backdrop support stand.
03 Get set to go slow
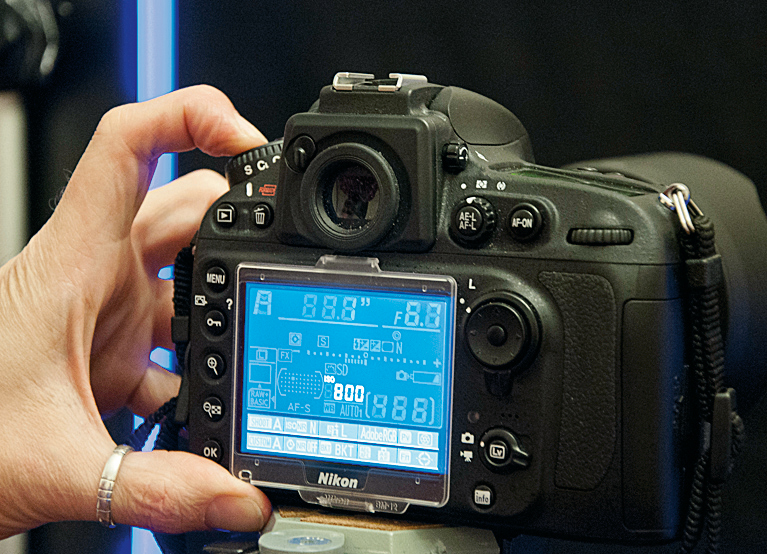
In a blacked out room the lights are weak, so you need to increase the ISO to at least 800 and open the aperture to f/4 or wider. Even so, exposures will typically be 1/2 sec to 1 sec long. Get the model to sit down on a stool, and hold as still as possible during the exposure.
04 Check for sharpness
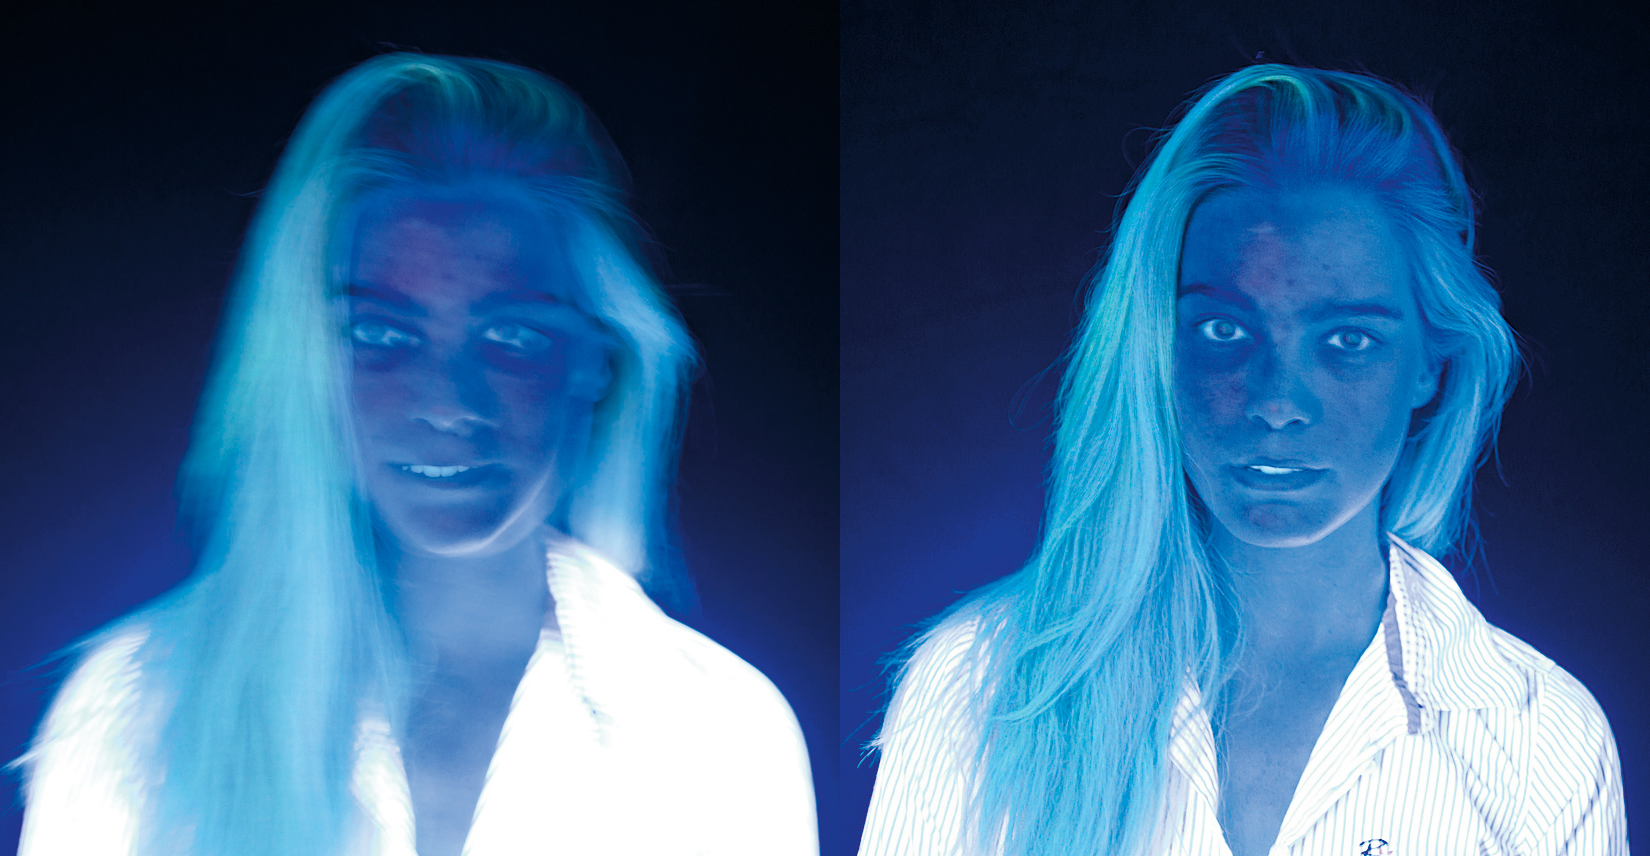
With such long exposures, subject movement is common – and you can expect to have to delete at least 75 per cent of the pictures you take. Make sure you take lots of frames, to make sure you have some that are sharp. Zoom in to check when reviewing on the LCD.
05 Use a reflector
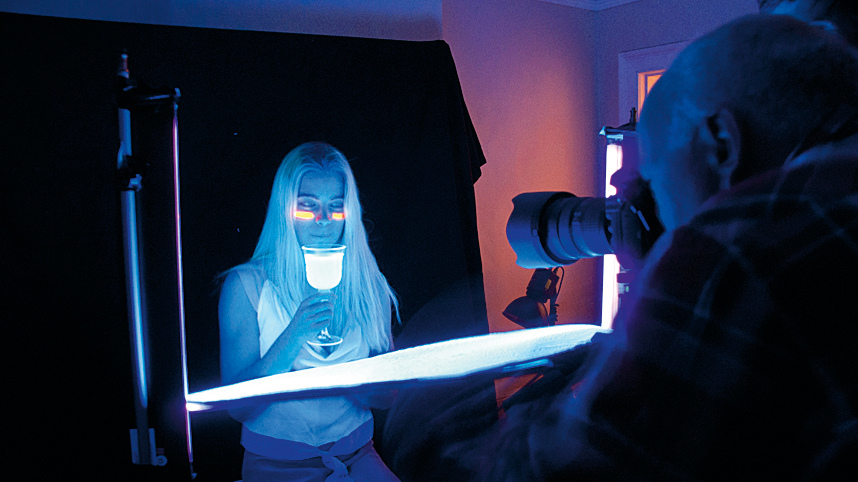
The strip lights need to be placed close to the model’s face to be effective – and in order to ensure that the features are lit adequately, it’s worth using a white or silver reflector to bounce some light back. We used a silver surface on a Lastolite TriGrip to do this.
• See Best reflectors for photography
06 A rainbow of color
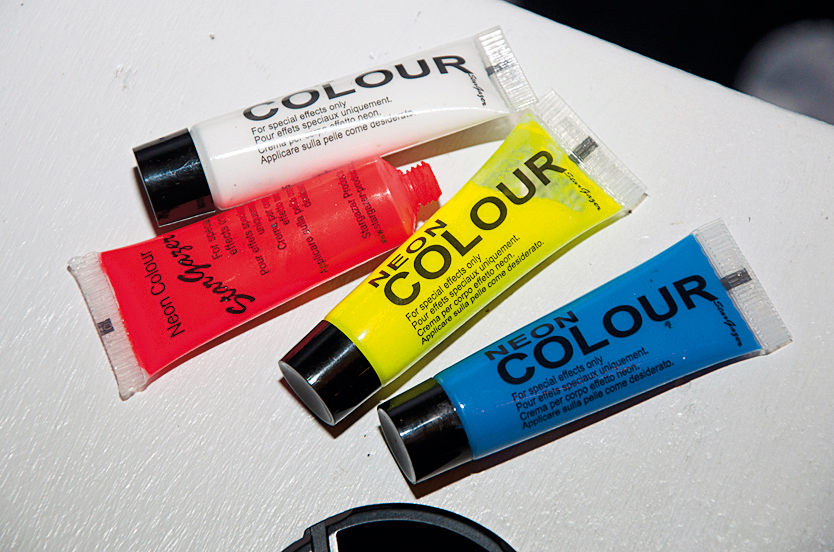
UV makeup and face paint is readily available at fancy dress shops, and is available in a huge range of colors. The bright glow that this produces under the lights means that you need to be quite subtle with the application to avoid these areas burning out in the photograph.
07 Experiment with materials
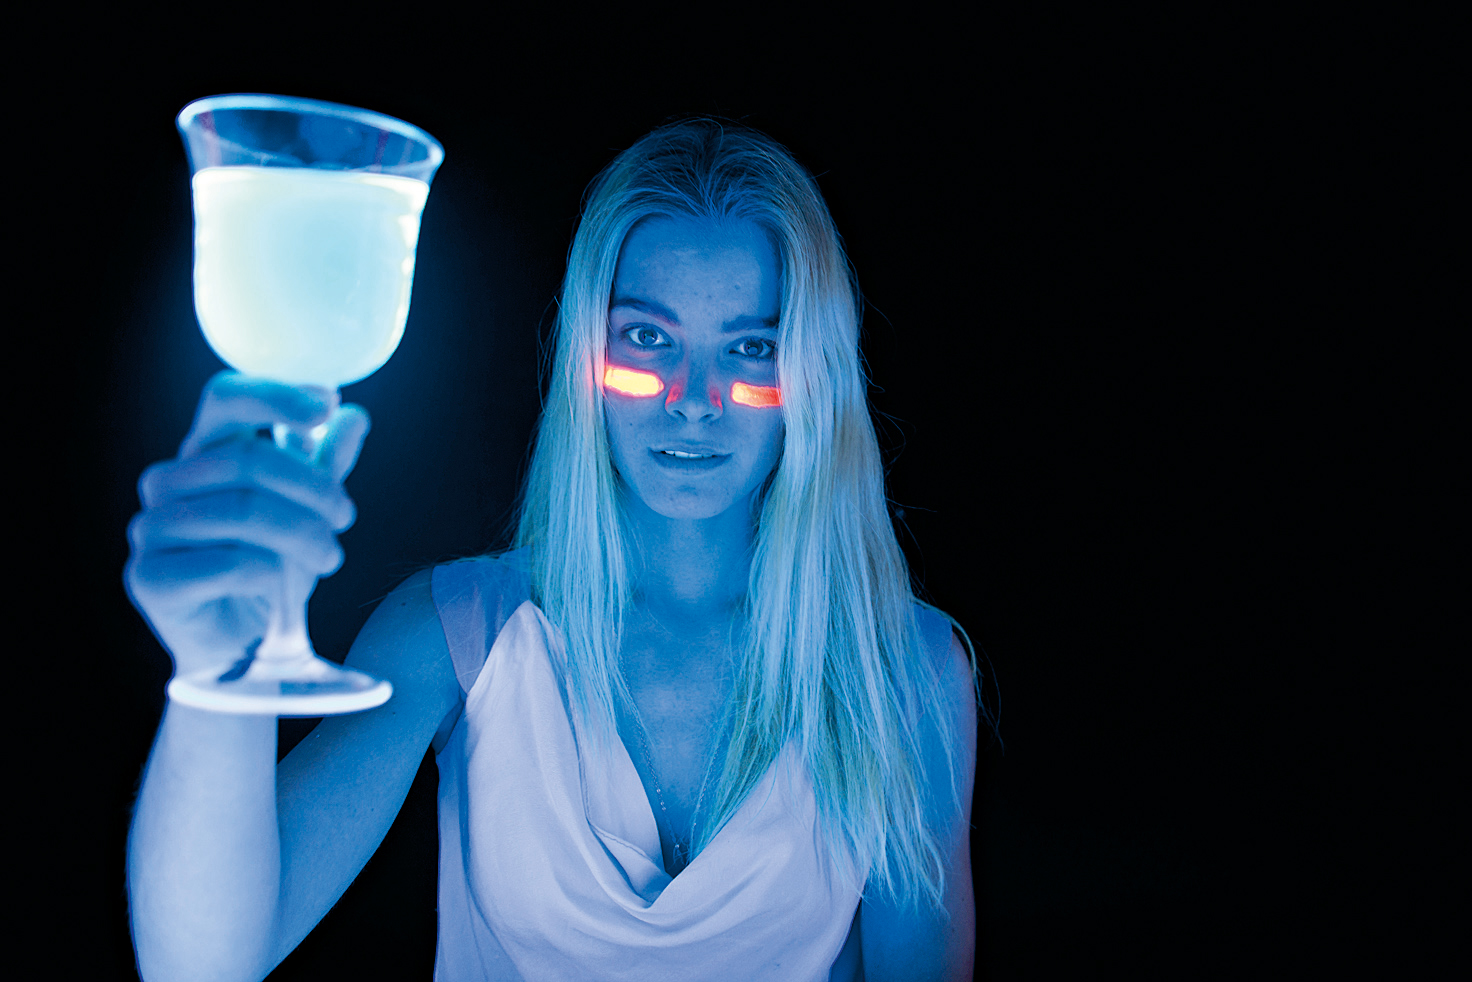
It isn’t easy to predict which materials will react best under the UV light, so it’s worth trying different items from your wardrobe to see which works well. Light-colored manmade fibers and fluoroplastics work well – but there are totally unexpected successes, too, such as the tonic water in the glass in the shot above!

More videos:
Photography tips and techniques videos
How to use polarizing filters for colorful cross-polarization effects
Studio portrait lighting: essential tips and setups explained
11 home photography ideas
Get the Digital Camera World Newsletter
The best camera deals, reviews, product advice, and unmissable photography news, direct to your inbox!
Chris George has worked on Digital Camera World since its launch in 2017. He has been writing about photography, mobile phones, video making and technology for over 30 years – and has edited numerous magazines including PhotoPlus, N-Photo, Digital Camera, Video Camera, and Professional Photography.
His first serious camera was the iconic Olympus OM10, with which he won the title of Young Photographer of the Year - long before the advent of autofocus and memory cards. Today he uses a Nikon D800, a Fujifilm X-T1, a Sony A7, and his iPhone 15 Pro Max.
He has written about technology for countless publications and websites including The Sunday Times Magazine, The Daily Telegraph, Dorling Kindersley, What Cellphone, T3 and Techradar.
