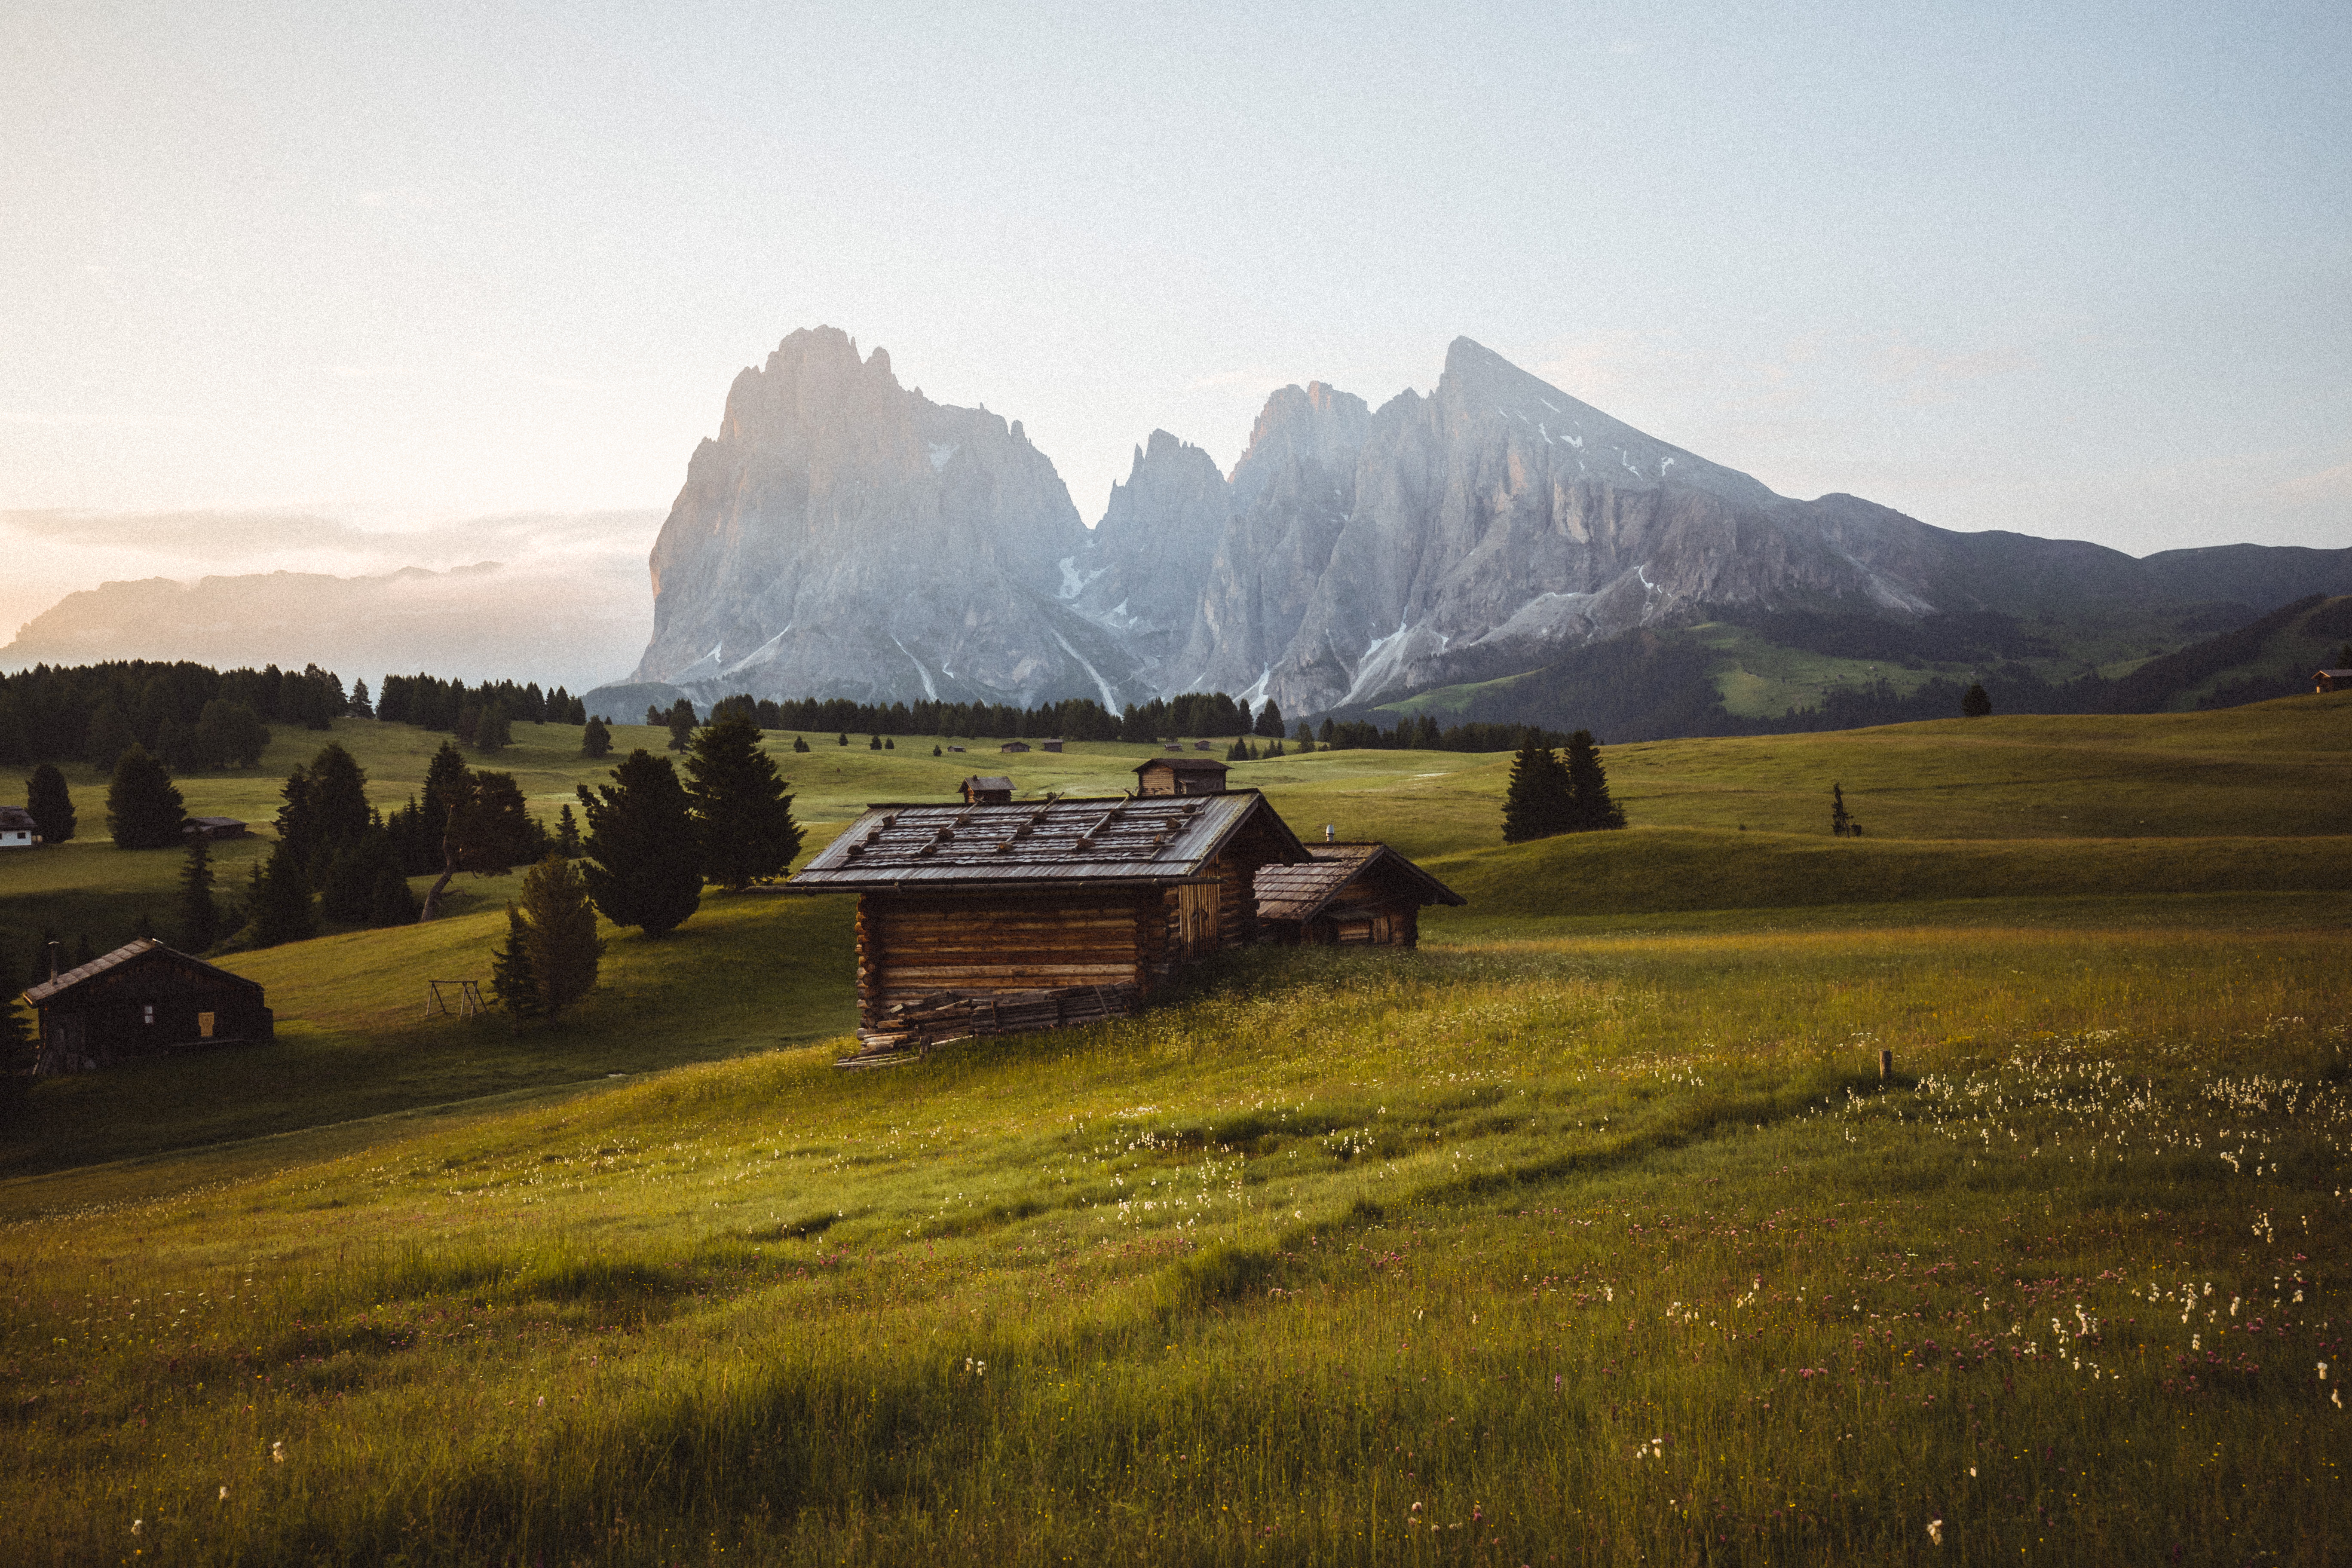
I grew up in the mountains, but never understood the sense of why people go up mountains only to go down again afterwards. Photography gave me a reason to go outside and explore the world.
Landscape photography is often about getting up very early, going out in the dark, and being where you want to be at sunrise. I'm not a morning person but all that pays off as soon as you see the first rays of sun. When it is still completely quiet and you only hear birds chirping.
• Read more: Landscape photography tips
Through landscape photography I've had many adventures, met great people and been able to collaborate with different brands.

Over the last nine years I have always tried to improve myself and I think this process never ends – it just gets slower and slower. I've tried different editing styles over time and finally wanted to distance myself a bit from the standard landscape edits on Instagram. I have increased the contrast ratio and work with different color techniques to adjust my images more accurately.
I learned a lot from my studies, and some from books and YouTube videos. Half a year ago I wrote down all my knowledge and now I publish what I've learned bit by bit in my online course.
If you are interested in editing techniques and want more tips and instructions for landscape photography, learning everything from preparation to post-processing, you can sign up for free at www.capturecademy.com.
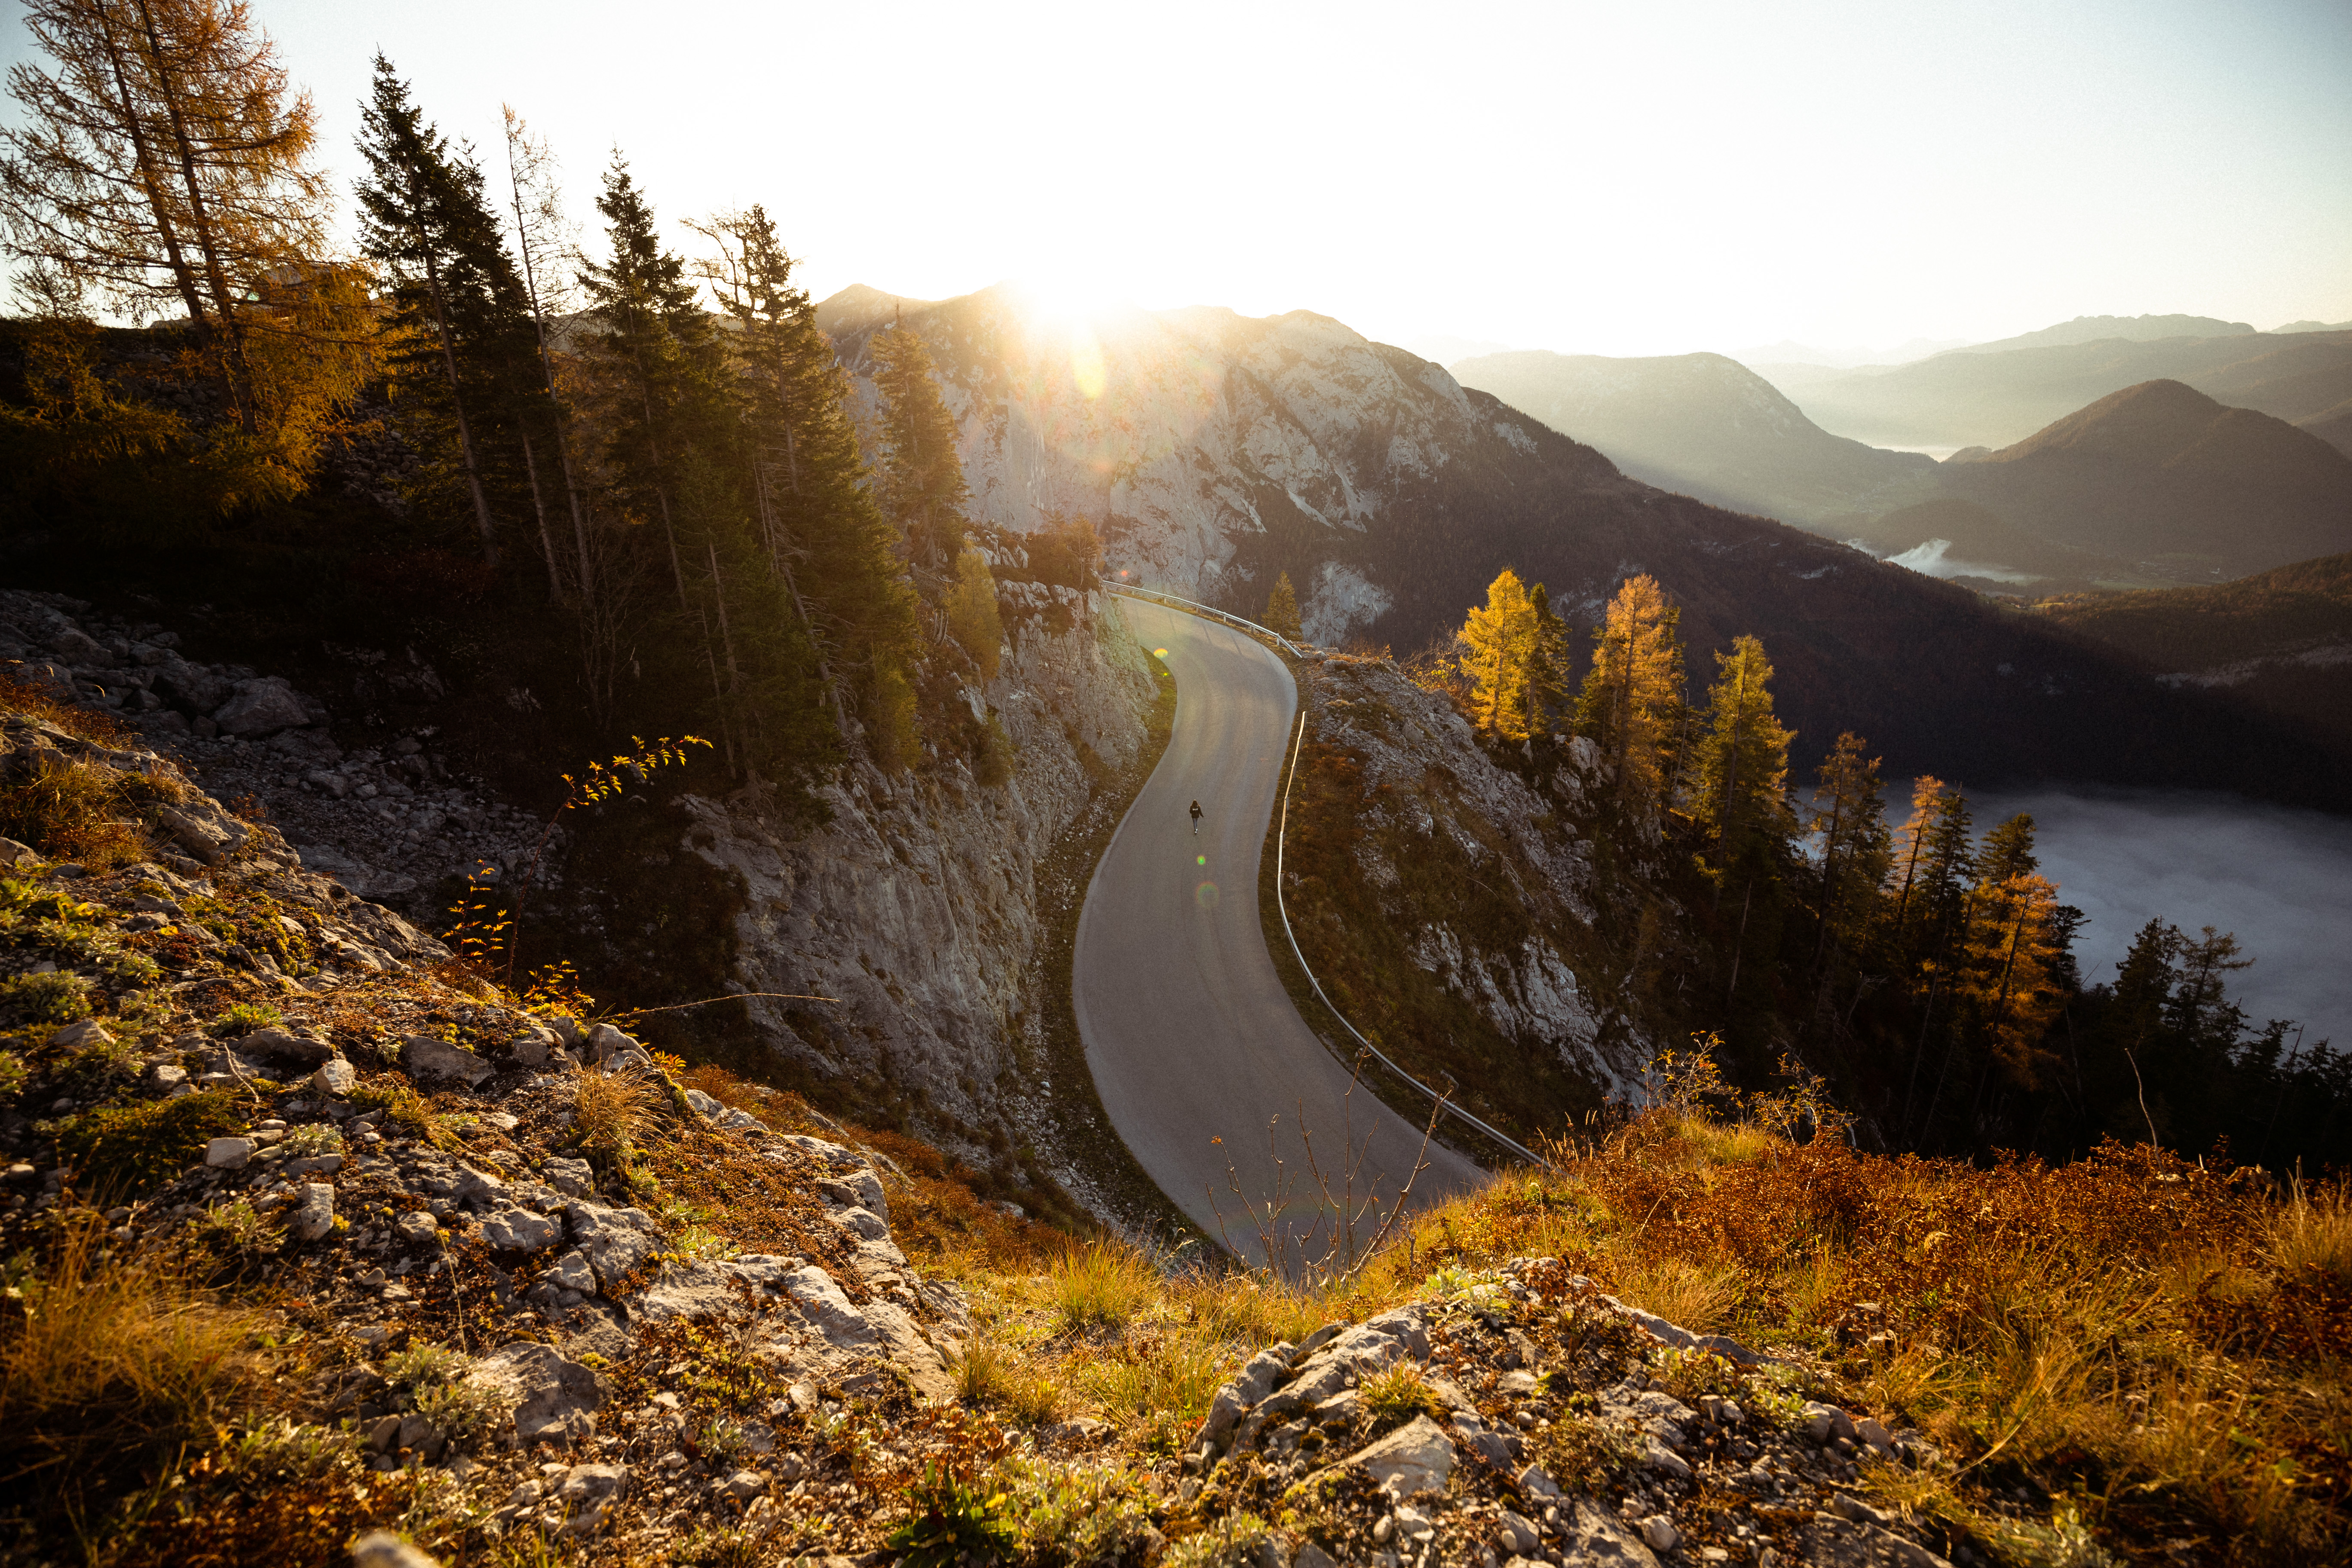
01. Use people for scale
In this picture you can see a person standing in the middle of the street, which helps to show the size of the landscape. You can also use a person to give a sense of presence – but for that, the person needs to be much closer and larger in the frame.
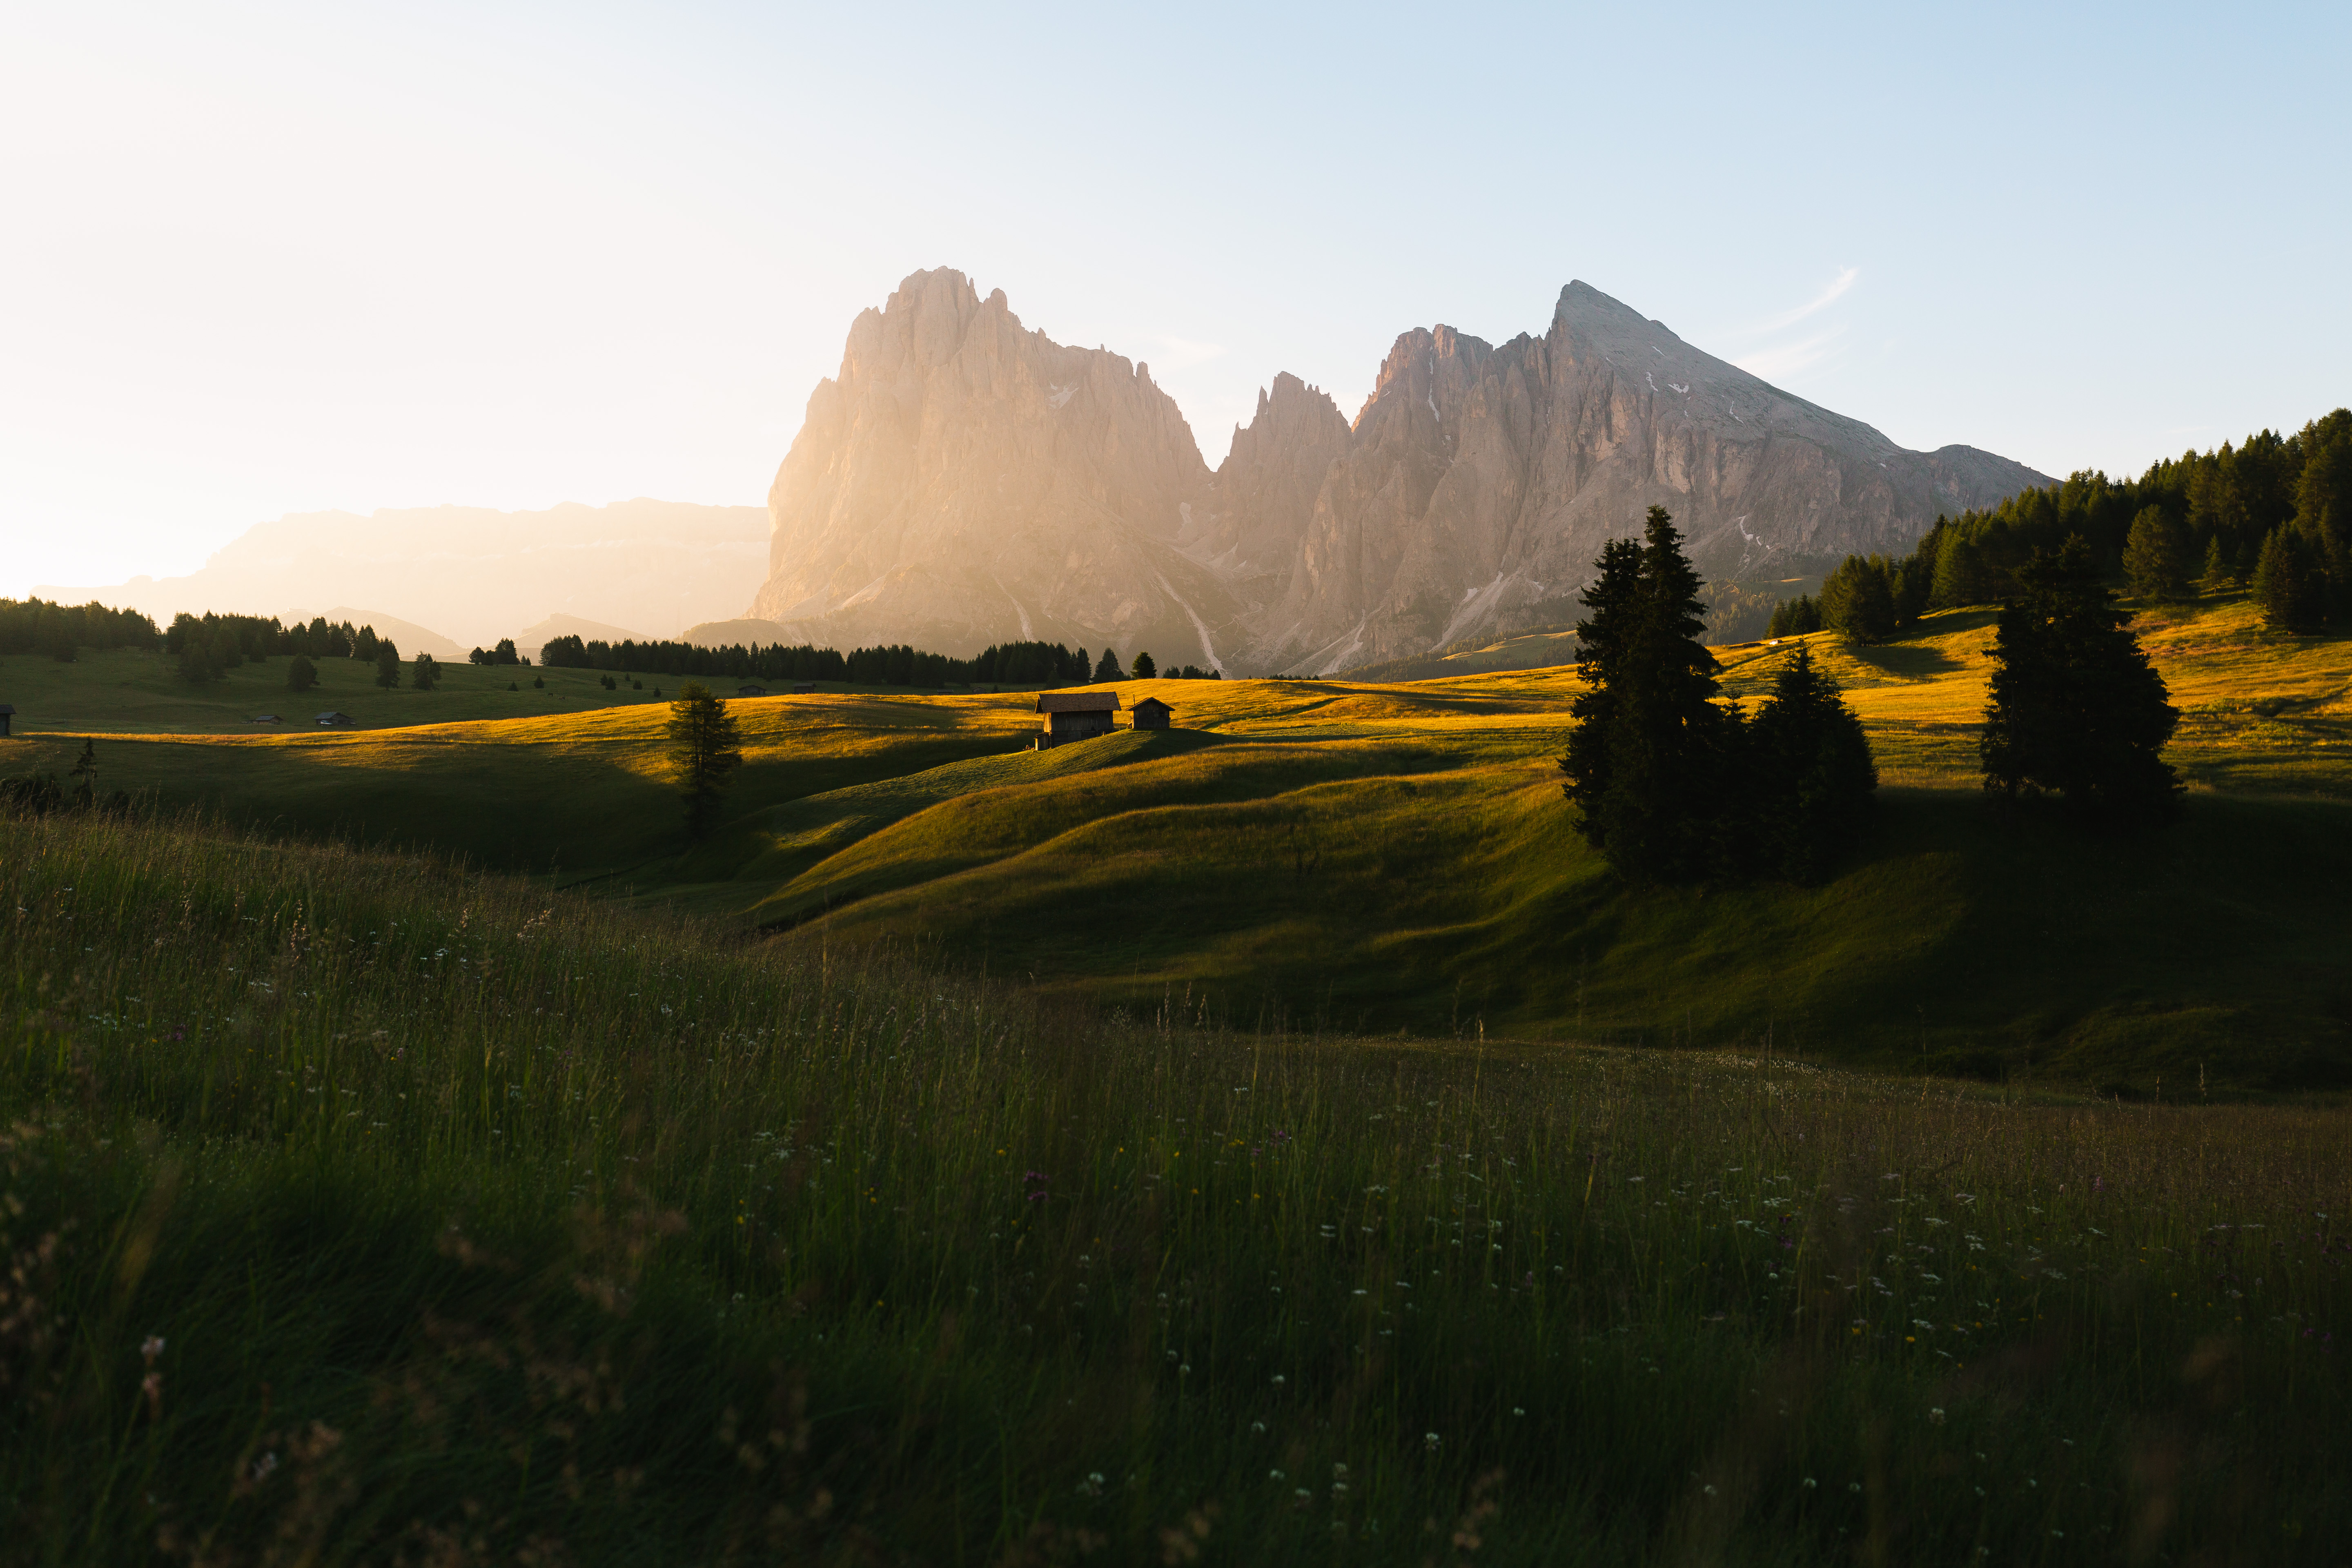
02. The three layers
Employ three different layers if possible; this picture consists of foreground (the grassland), middle ground (the hut and the plain) and background (the mountains). This method creates depth in the image and enables the viewer's eye to explore. If possible, make sure that the relationship between the three layers is balanced.
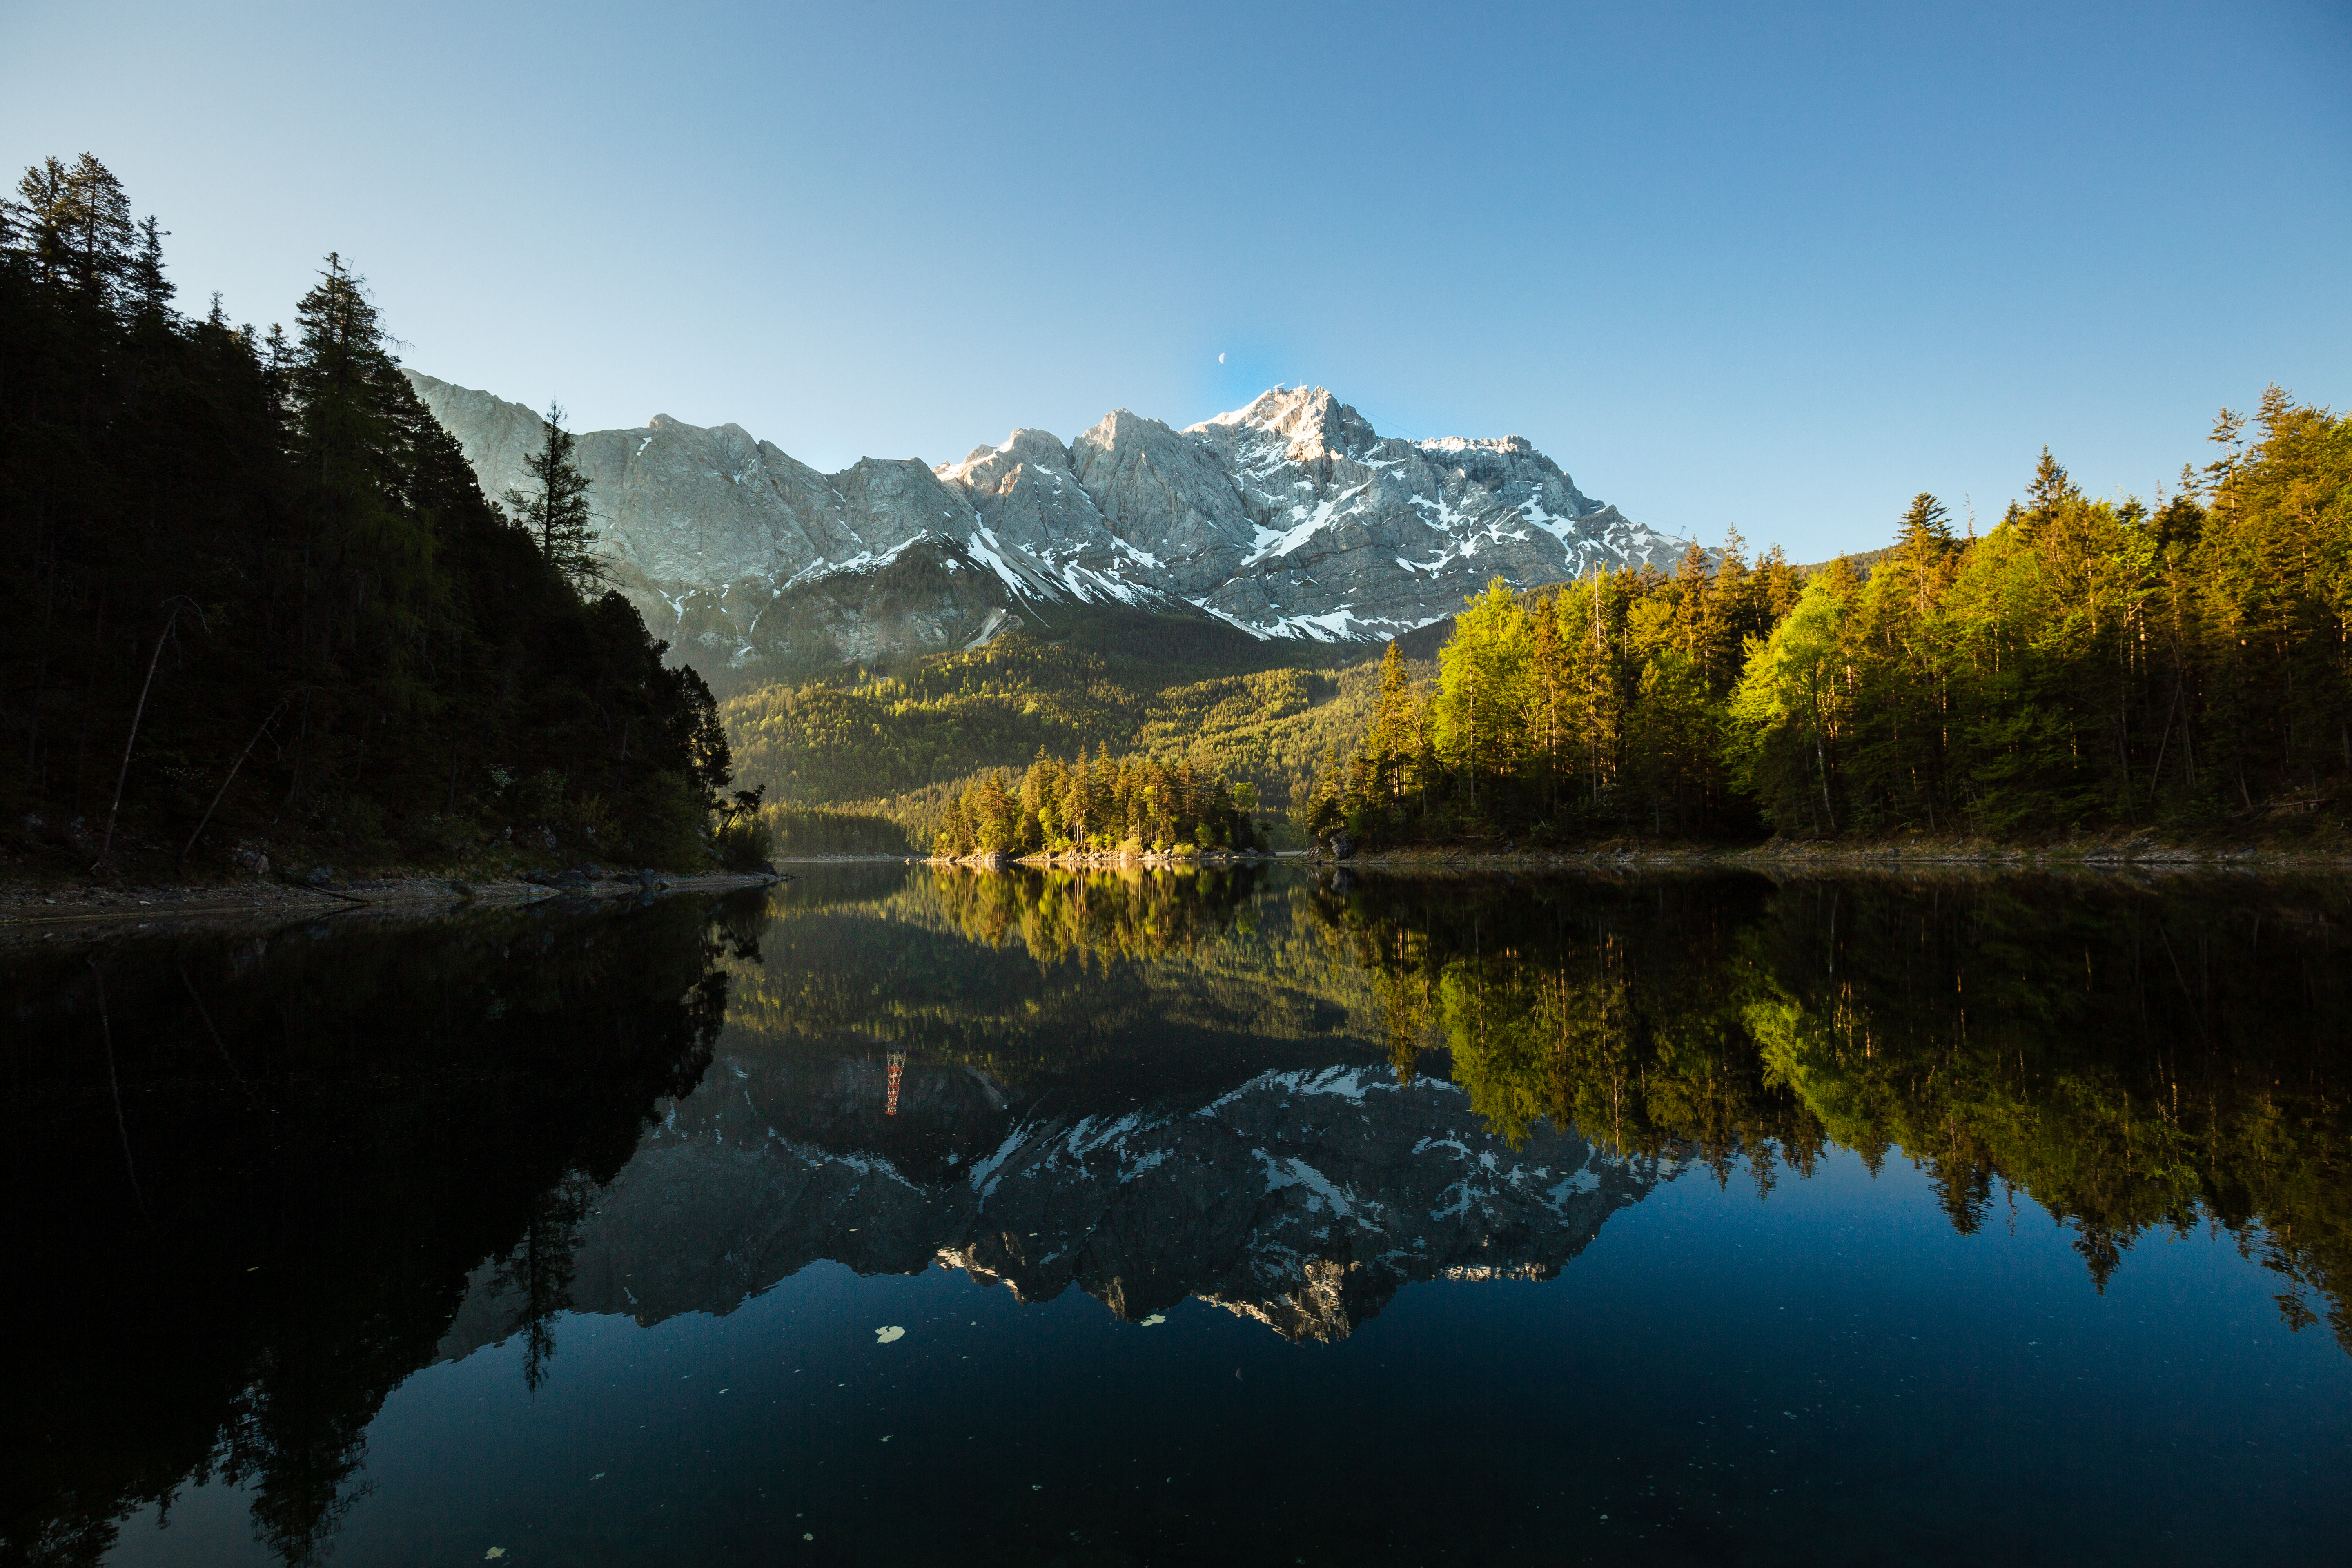
03. Central framing
In this image, it is important that the horizon is in the center. This gives space to the reflection and enables you to turn the image upside-down, which creates an interesting effect. I highly recommend trying this.
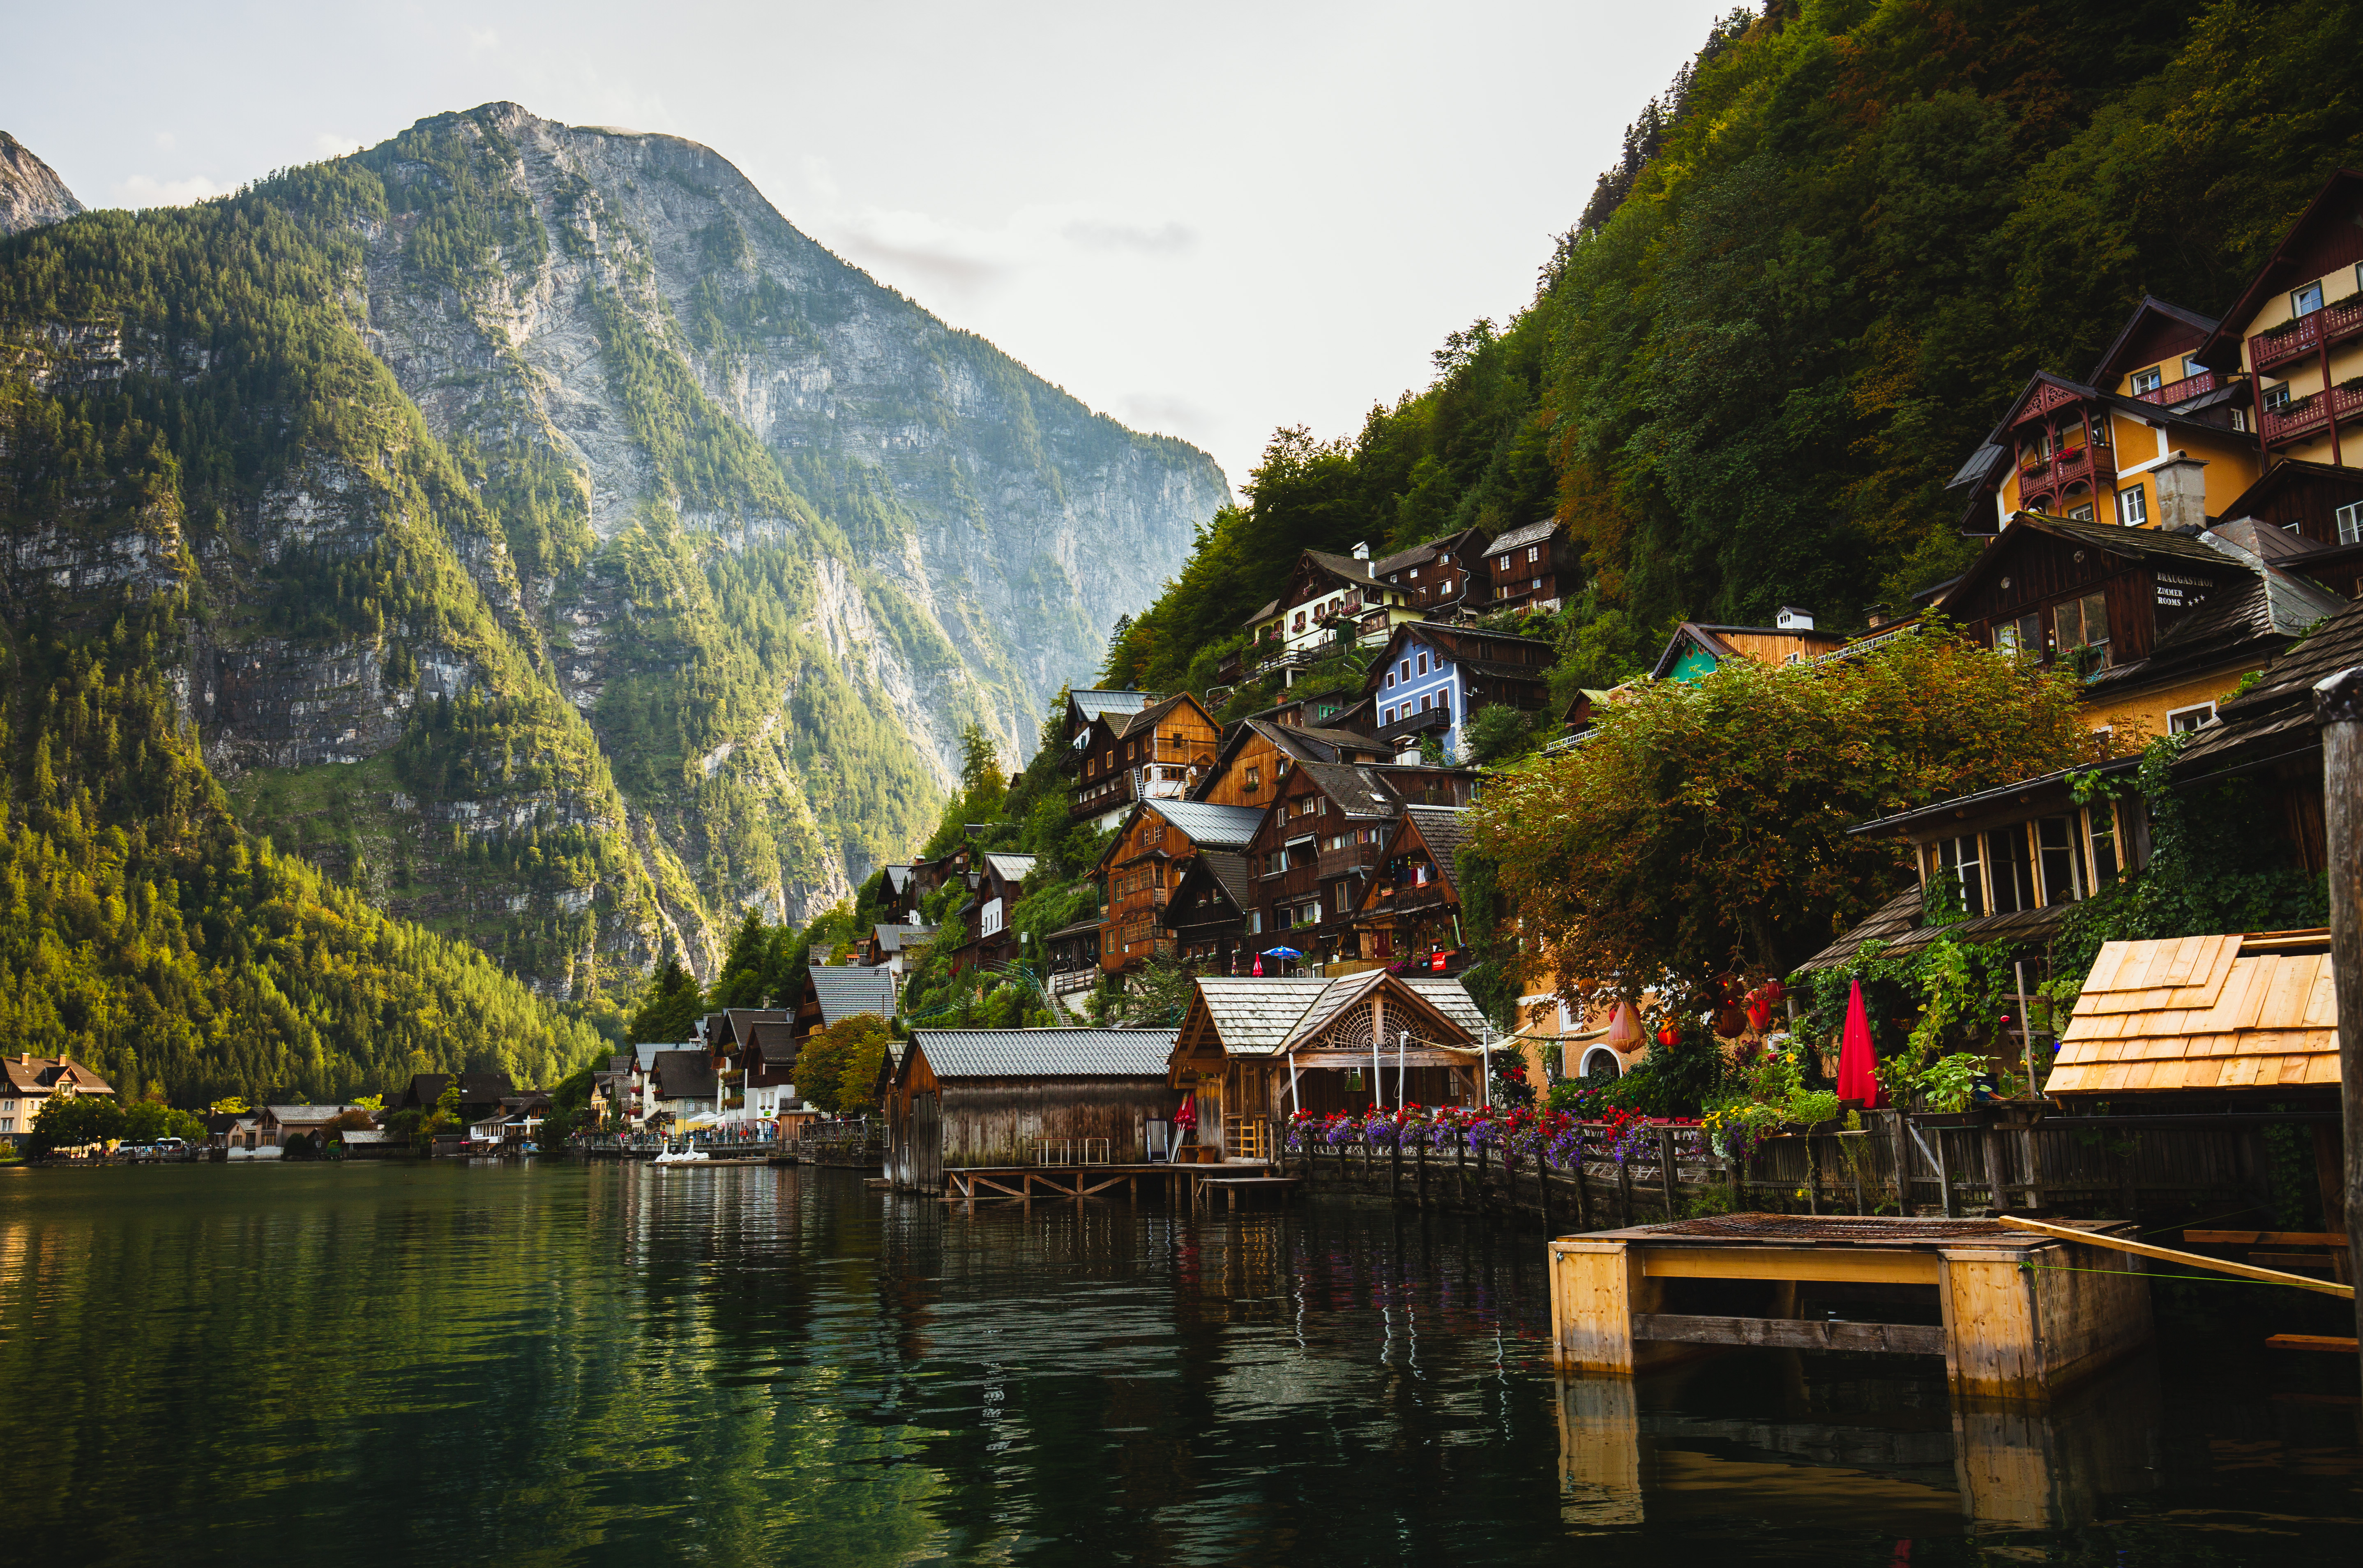
04. Use leading lines
In this picture the view is led by leading lines to the mountain behind, but very slowly, because there is a lot to discover in the foreground. The first guiding line is the mountain leading down into the picture from the upper right. The second leading line goes from the right along the lake to the mountain in the back, where both lines almost meet.
Read more:
Best cameras for landscape photography
Best lenses for landscapes
What is hyperfocal distance?
Get the Digital Camera World Newsletter
The best camera deals, reviews, product advice, and unmissable photography news, direct to your inbox!
Digital Camera World is one of the leading authorities on camera and photography news, reviews, techniques, tutorials, comparisons, deals and industry analysis. The site doesn't just specialize in cameras, but all aspects of photography, videography and imaging – including camera phones, gimbals, lenses, lighting, editing software, filters, tripods, laptops, printers, photo books, desks, binoculars and more.
Whether you're using, looking to buy or trying to get the most out of a compact camera, action camera, camera drone, cinema camera, beginner camera or professional camera, Digital Camera World has a roster of experts with combined experience of over 100 years when it comes to cameras, photography and imaging.

