Discover the hidden depths of your Canon camera menu
We explain all you need to know about the different menus on a Canon EOS camera, including shoot and playback

Today’s Canon cameras are oozing with tech. From 30fps Raw bursts, to 8-stop image stabilization, to Deep Learning AF that can tell the difference between a racing car and a racing pigeon and know where to focus on each of them (we're looking at you Canon EOS R3) – the EOS system offers a wealth of impressive specs designed to make our lives easier.
Beyond the headline figures and CIPA standard statistics though, the most important thing is how a camera handles. With the best Canon camera, how easy is it to make adjustments? Do you have to spend a split-second too long to think about changing settings, or does it all happen intuitively?
We’re not talking only buttons and dials here. Just as it is with computers and smartphones and tablets, the user interface and operating system are such an important aspect of a camera’s design. And Canon’s EOS menu system, with its color-coded tabs and logical groupings, has generally been designed well.
The menu structure has remained relatively consistent through the years, so it doesn’t take long to orient yourself when you move between cameras. The number of features crammed into modern EOS cameras means that there are many more pages to get through compared with cameras a couple of generations old, though.
Here's what you need to know about using the menus on a Canon EOS camera.
Canon EOS Shooting modes
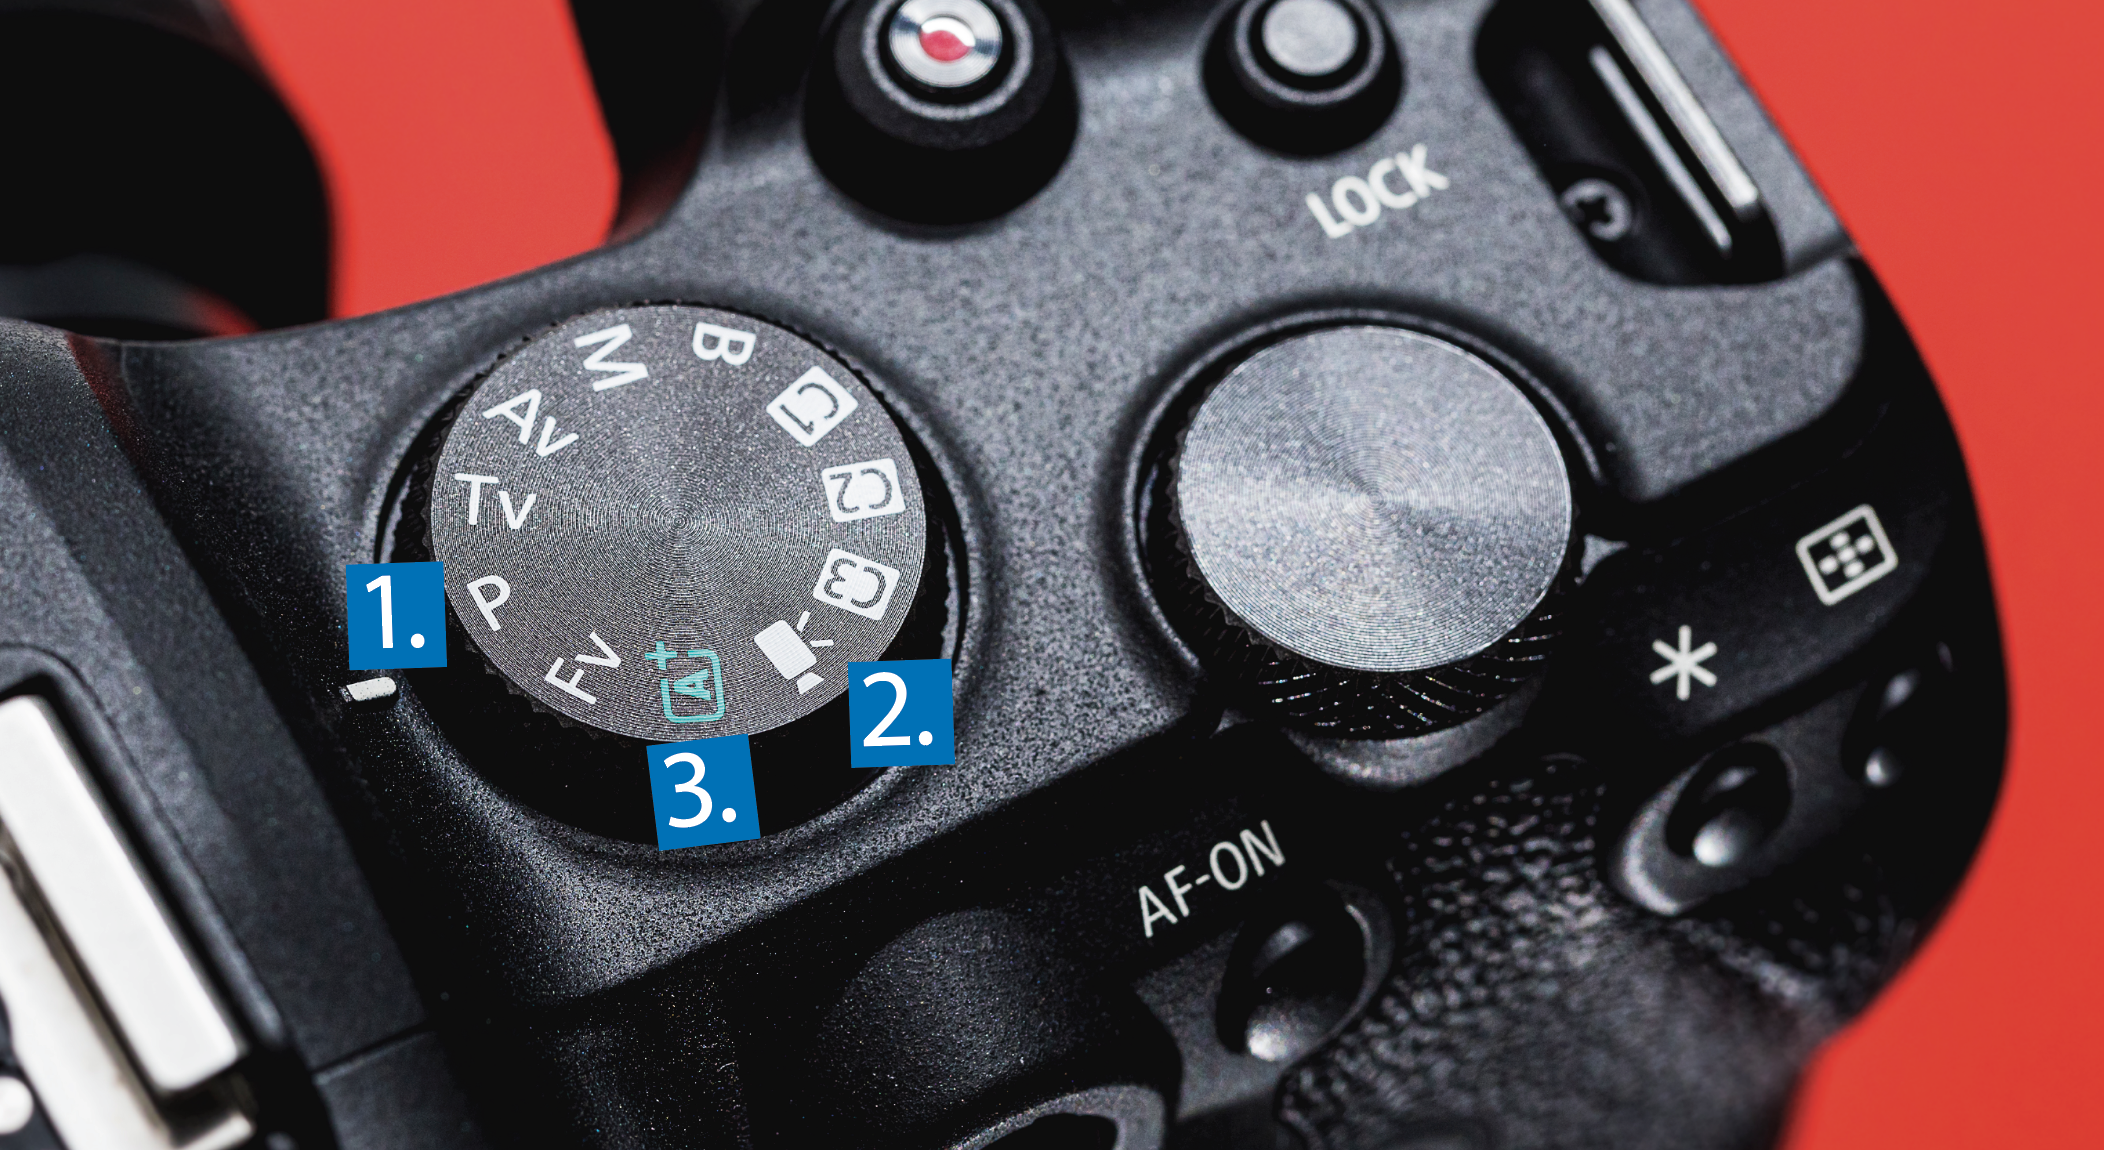
The overall number of options available is determined by the shooting mode the camera’s in. For example, In Scene Intelligent Auto you may have five screens of shooting options, whereas in Manual you might have seven.

1. Creative Zone
Shooting modes such as Program (P) unlock the full suite of options for photography, as well as general video-recording settings.
2. Movie Mode
To access all of the movie resolutions, frame rates and advanced recording options, the camera needs to be in Movie mode.
3. Basic Zone
Keeping things simple, there are fewer menu pages to navigate when the camera is set to Scene Intelligent Auto.
Canon EOS shooting menu

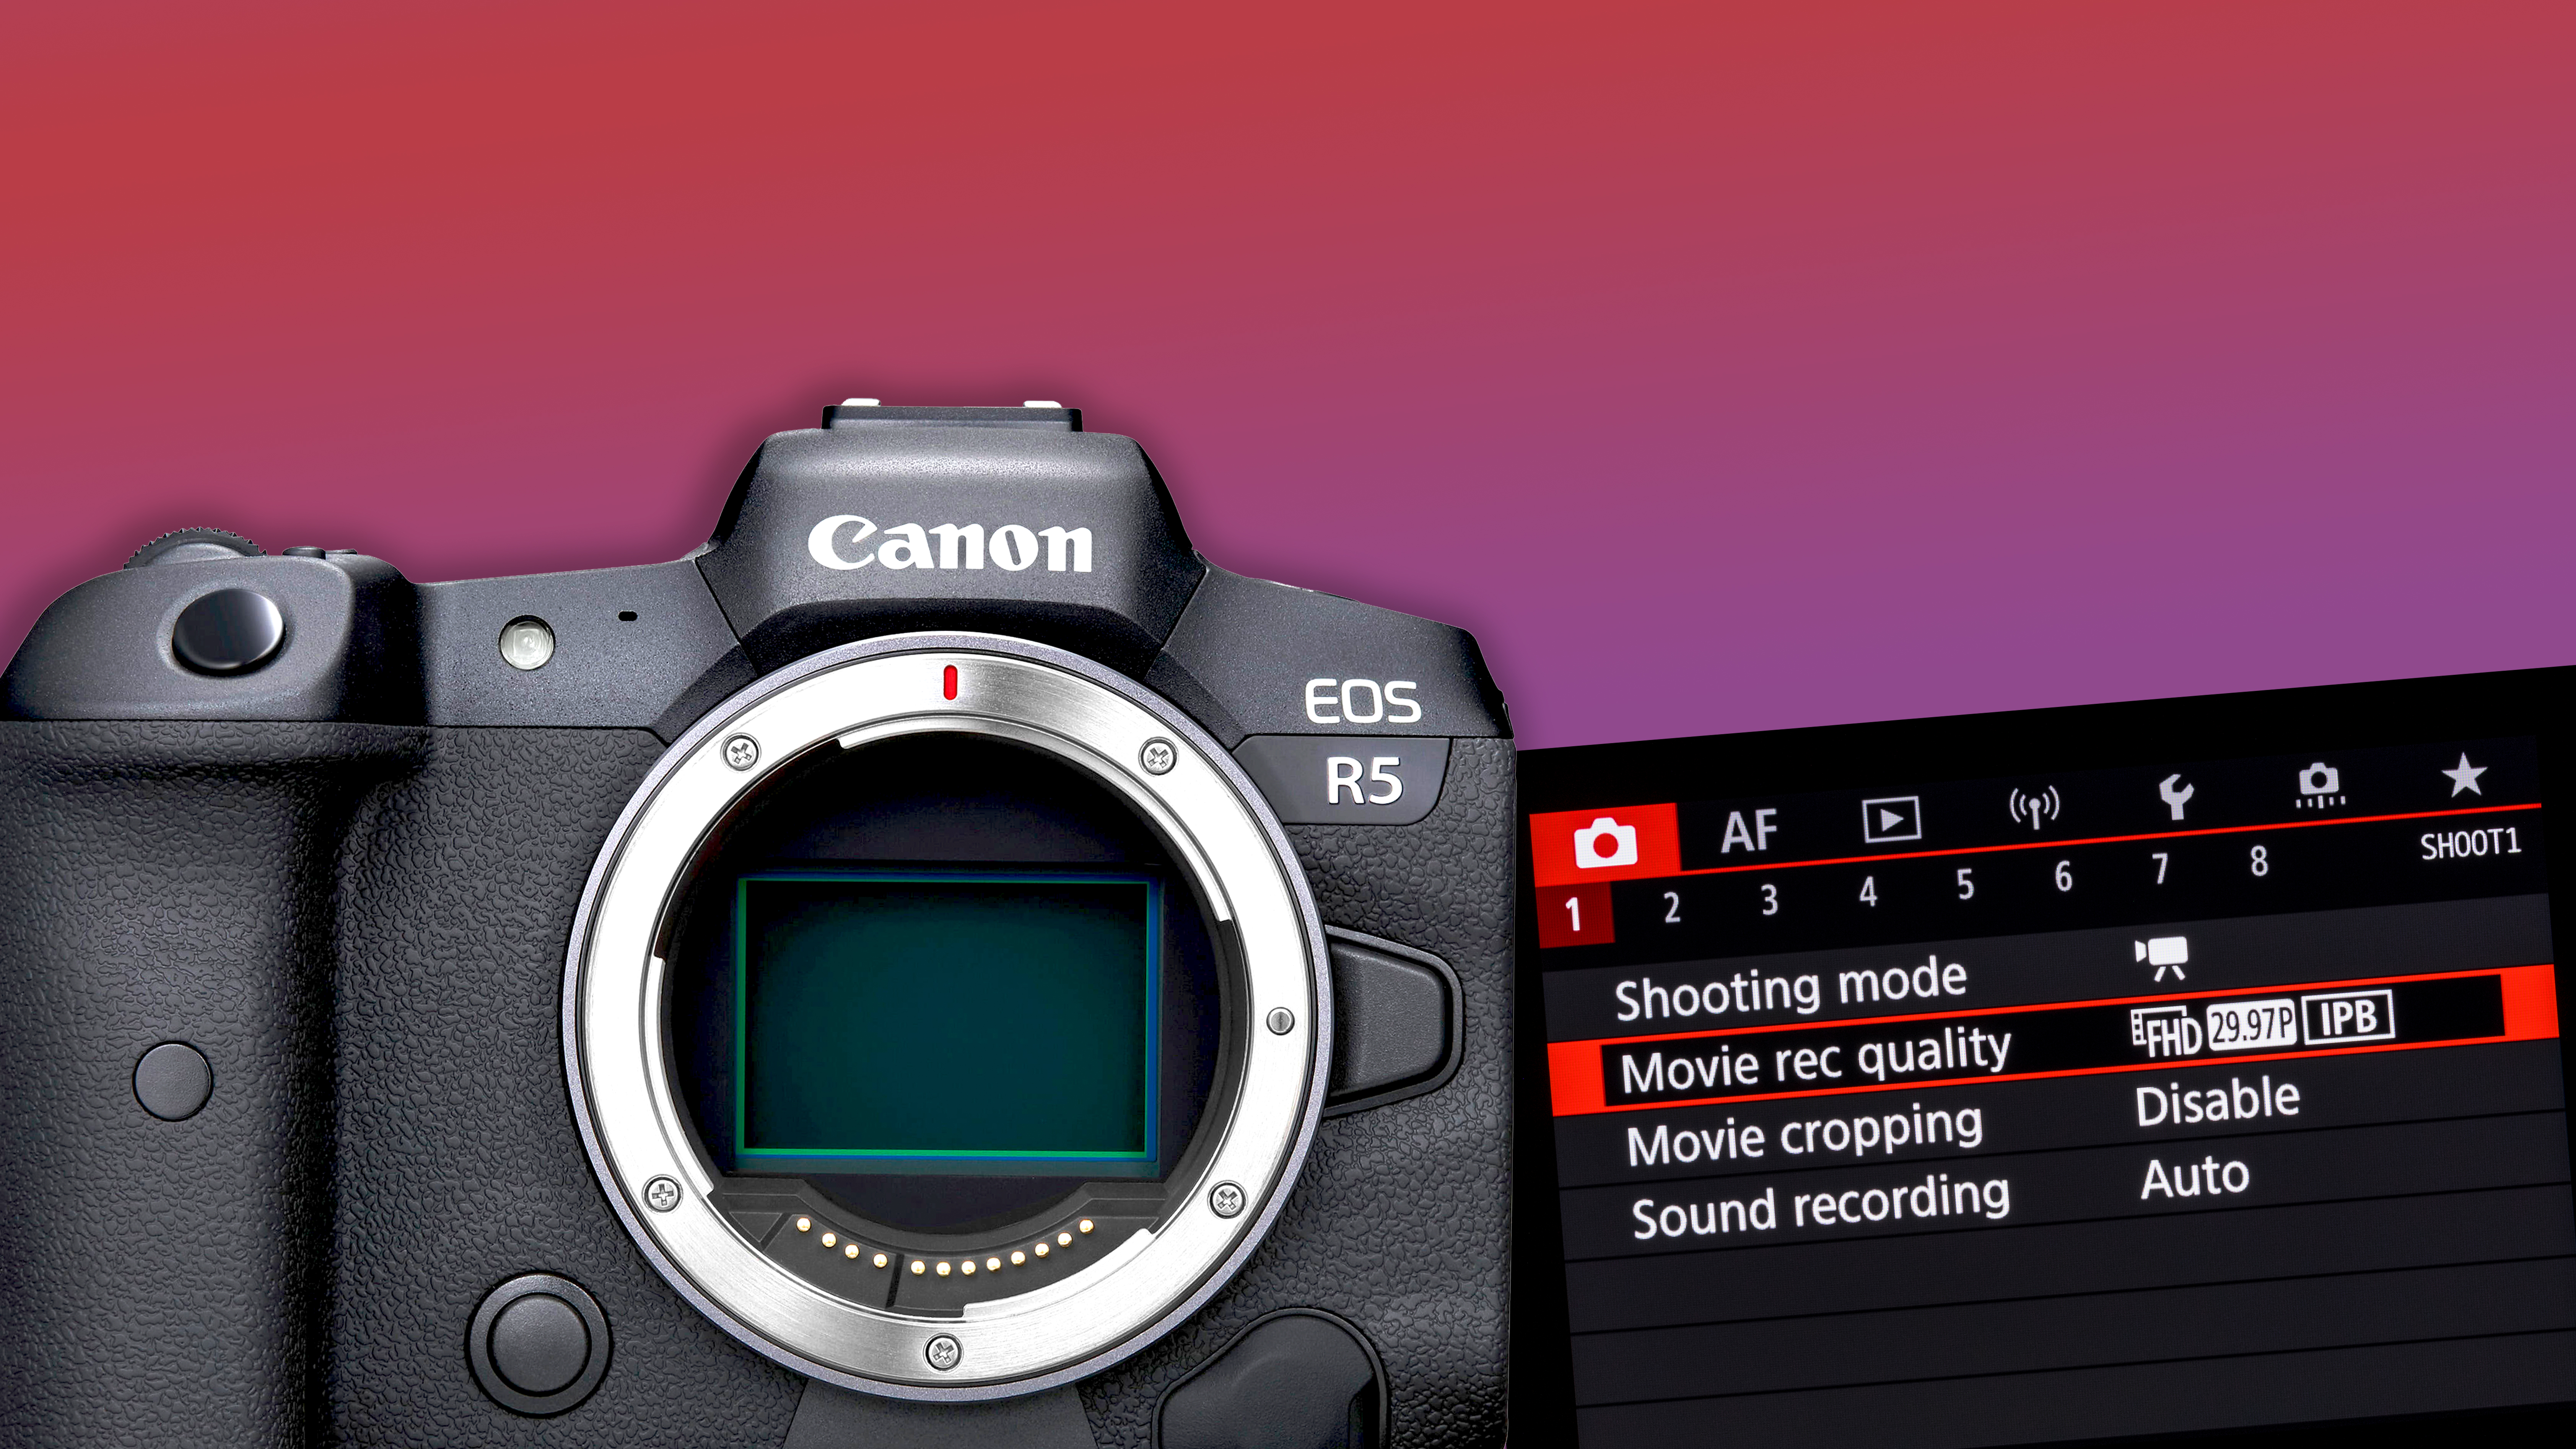
The red Shooting menu is where you’ll spend most of the your time when using a Canon camera, as that’s where the essential photo and video image settings are. Reassuringly, Image Quality is always at the top of the first page, followed by other core settings, such as how long the image is displayed on screen after it’s been taken (or whether it’s displayed at all) and an option that prevents a picture being taken without a memory card in the camera.
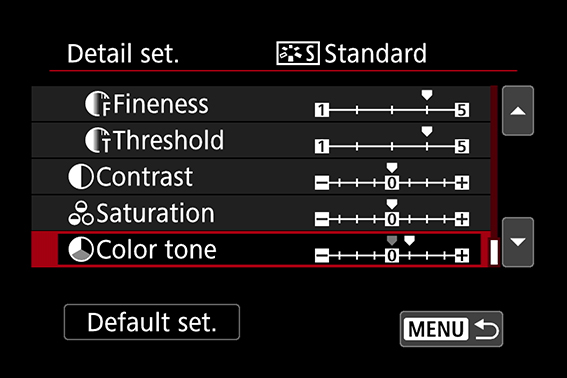
Exposure comp, ISO, White Balance and Picture Style are key components of the next couple of pages in the menu, as these are settings that you’re likely to return to on many occasions. You can, of course, access these functions by pressing Q to open up the Quick Control screen.
• You might be interested in the best Canon lenses
While it may seem unnecessary duplication to have the same options in the Shooting menu, it can be easier to simply zip through the menu, read the options and make adjustments, rather than being faced by a wall of icons on the Quick Control screen and having to work out what you need to select.
There can be some variation between cameras – Mirror lockup may be available as a Shooting menu option on some DSLRs, whereas it’s in the Custom Functions menu of others. But in general, the Shooting menu layout is similar across all current bodies, making it easy to learn where the most important functions are.
Canon EOS playback menu
How to customize your playback settings

Unless you want to regularly display your images on a TV screen or print directly from your camera, then the blue Playback menu is probably the one that you’ll spend the least amount of time in.
There are some useful features in there that can make life a bit easier when you’re out and about shooting though. Activating the Highlight alert function can save your bacon (and exposures), as it will cause any areas of an image that will be potentially overexposed to flash in the display when you review the picture, enabling you to reduce the exposure for subsequent shots.
You can also change the playback histogram from brightness to one that shows the individual red, green and blue (RGB) color channels. Sometimes the brightness histogram doesn’t give you the full picture, particularly when it comes to the detail captured in the red and blue areas of the picture.
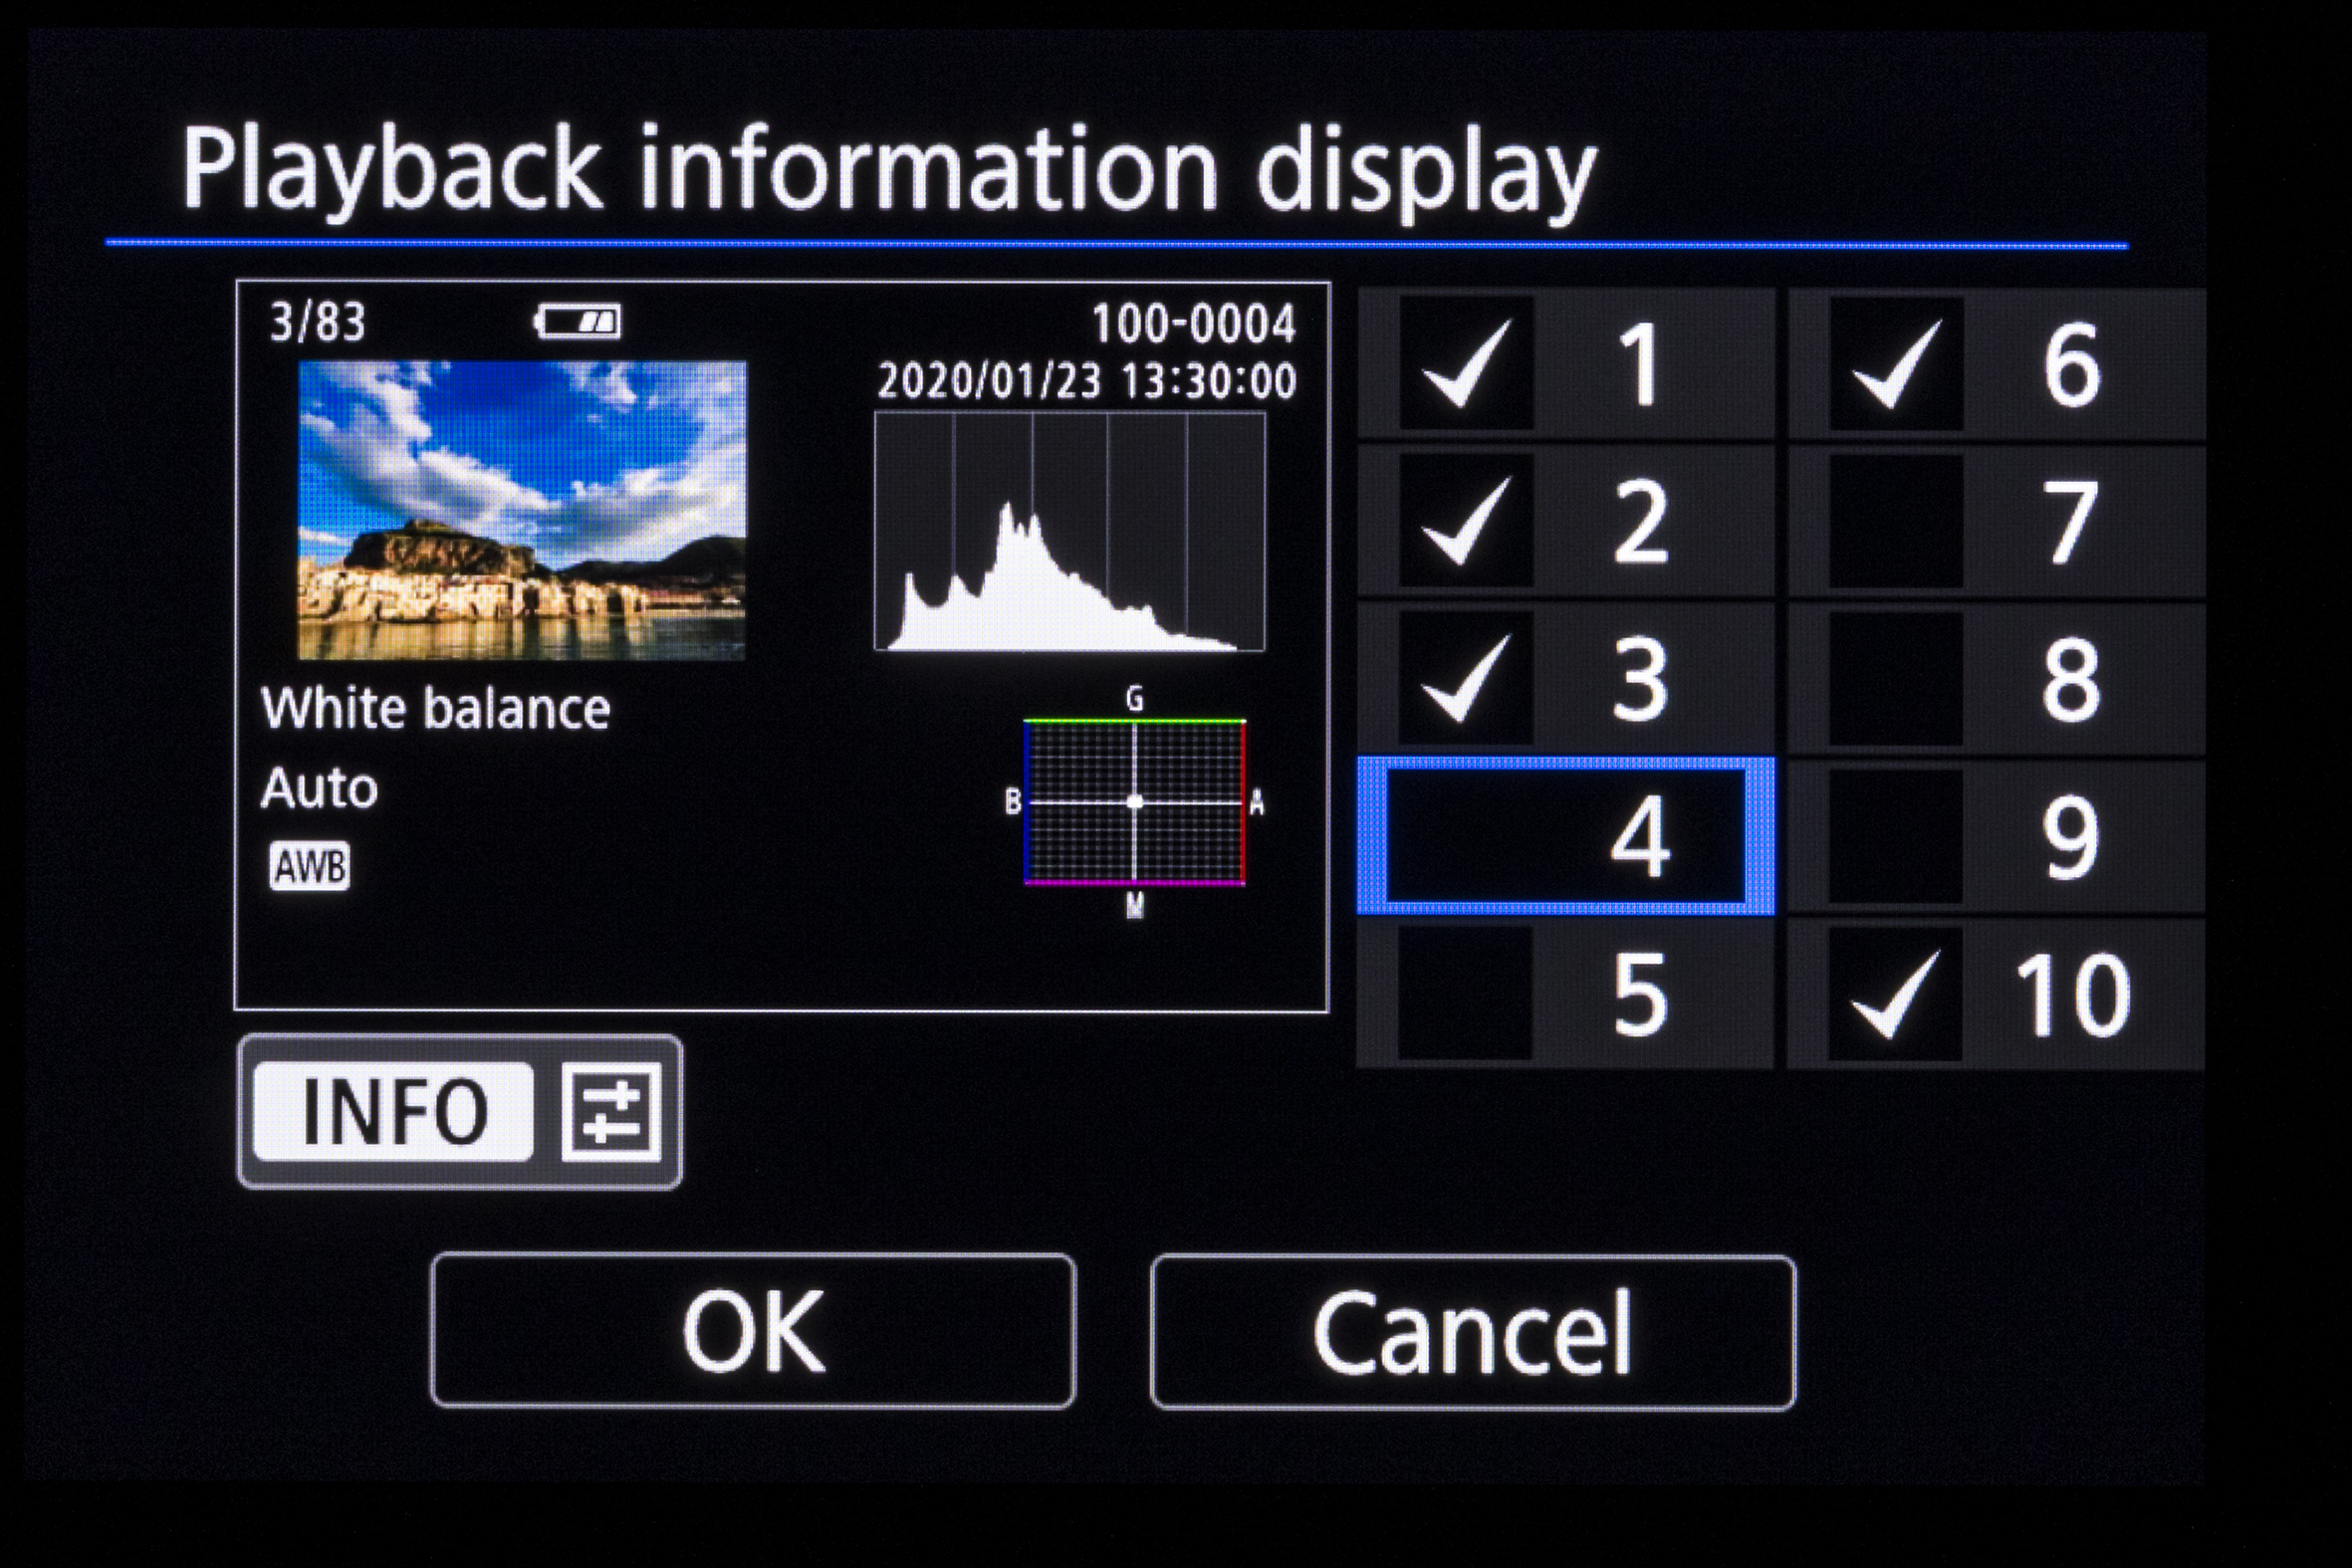
Some cameras also give you the opportunity to change the level of information that’s displayed when you review your images. If you don’t need to know which White Balance was set at the time the picture was taken, then you can remove that from the playback display by unchecking the box under ‘Playback information display’ in the Playback menu. Having fewer pieces of information to take in just helps to streamline the whole review process.
While you're here, you might like to look at review of the Canon EOS R10 and the Canon EOS R7, Canon's latest APS-C mirrorless cameras.
Discover why you should set a high ISO for better shots on your Canon camera and find out which flash modes is best on your Canon.
Get the Digital Camera World Newsletter
The best camera deals, reviews, product advice, and unmissable photography news, direct to your inbox!

Marcus has been passionate about photography for more than 25 years. A former editor of our sister publication Digital Camera magazine, he has written about photography and cameras for a wide range of clients, including Canon and Jessops. Last time we checked, Marcus was using a Canon EOD 5D Mark IV.
