World in wide-angle: Capture stunning images with ultra-wide lenses
Arrange images shot using ultra wide-angle lenses, for compositions with superior balance, detail and interest
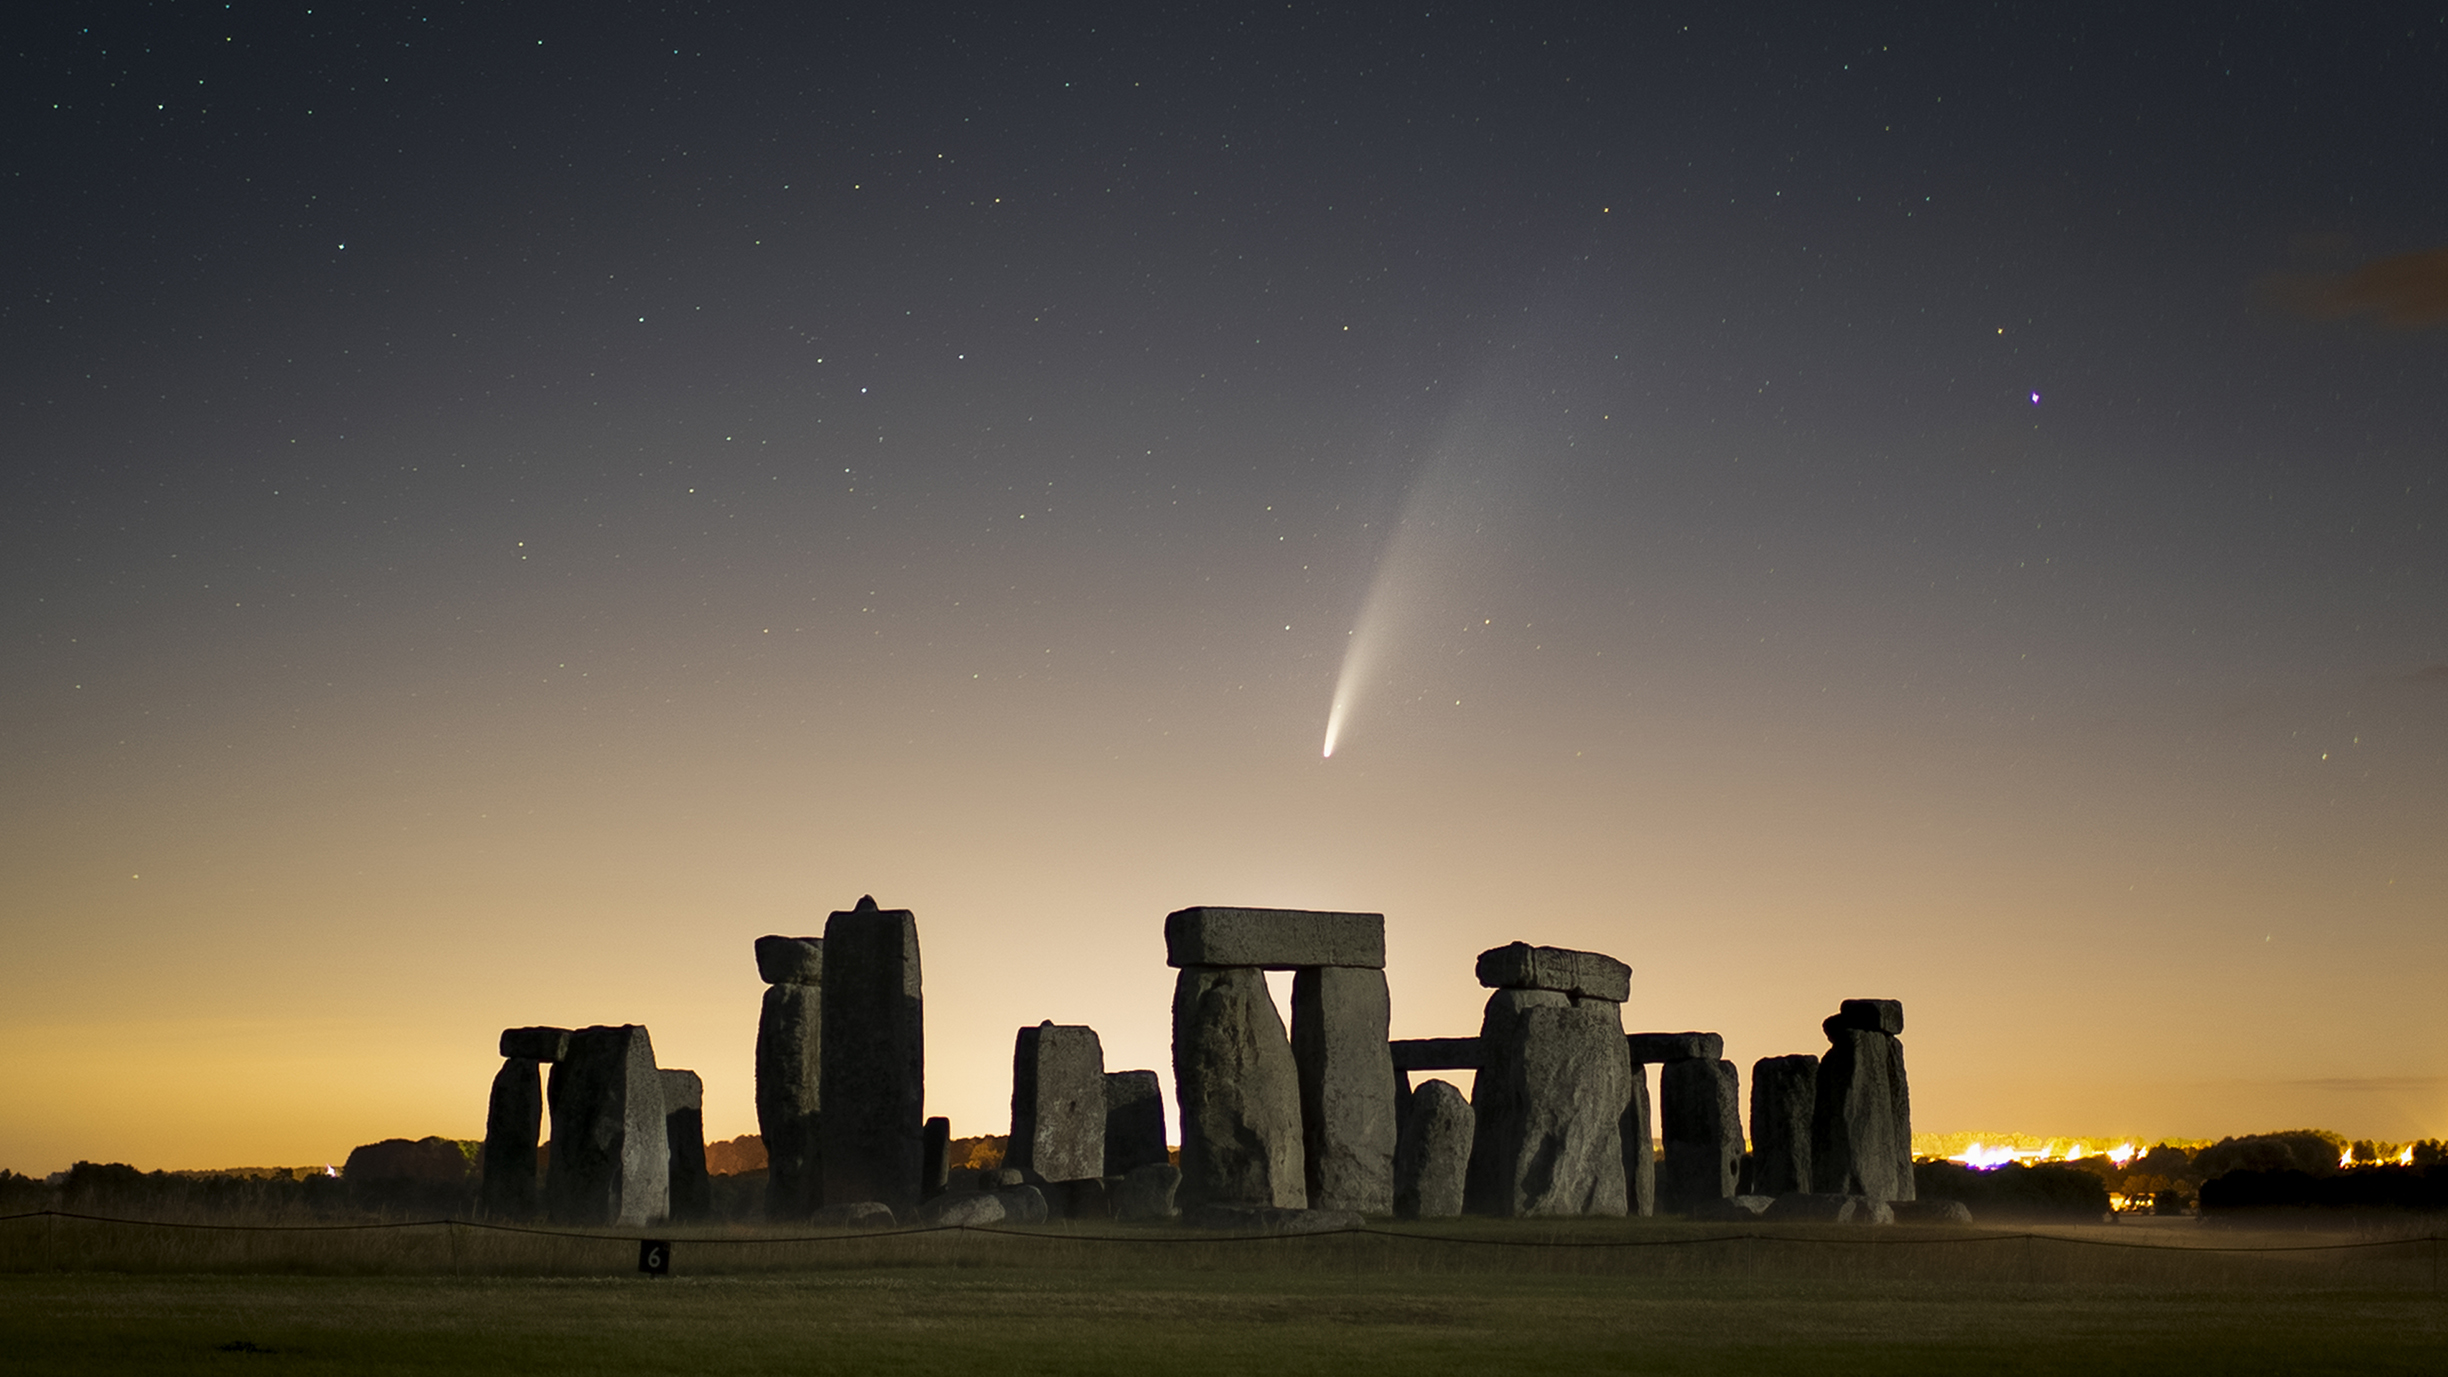
Wide-angle lenses can open up many opportunities for incredible perspectives of landscape scenes, interiors and even portraits, if used with care. This type of optic provides a wide angle of view, often measured across the diagonal, meaning a large proportion of a scene can be captured in a single frame.
While this has many advantages, though, when using an ultra-wide lens for the first time, many photographers find themselves unhappy with the results. Even seasoned professionals can encounter difficulties with the new breed of ultra-wide, full-frame optics, now available as wide as 12mm, offering an angle of view of around 120°.
• Read more: Best ultra wide-angle lenses
These usually stem from the underestimation of just how much detail can be recorded around the periphery of the frame, resulting in too many distracting elements being incorporated into the composition. There are more subtle, and arguably more challenging issues to overcome however.
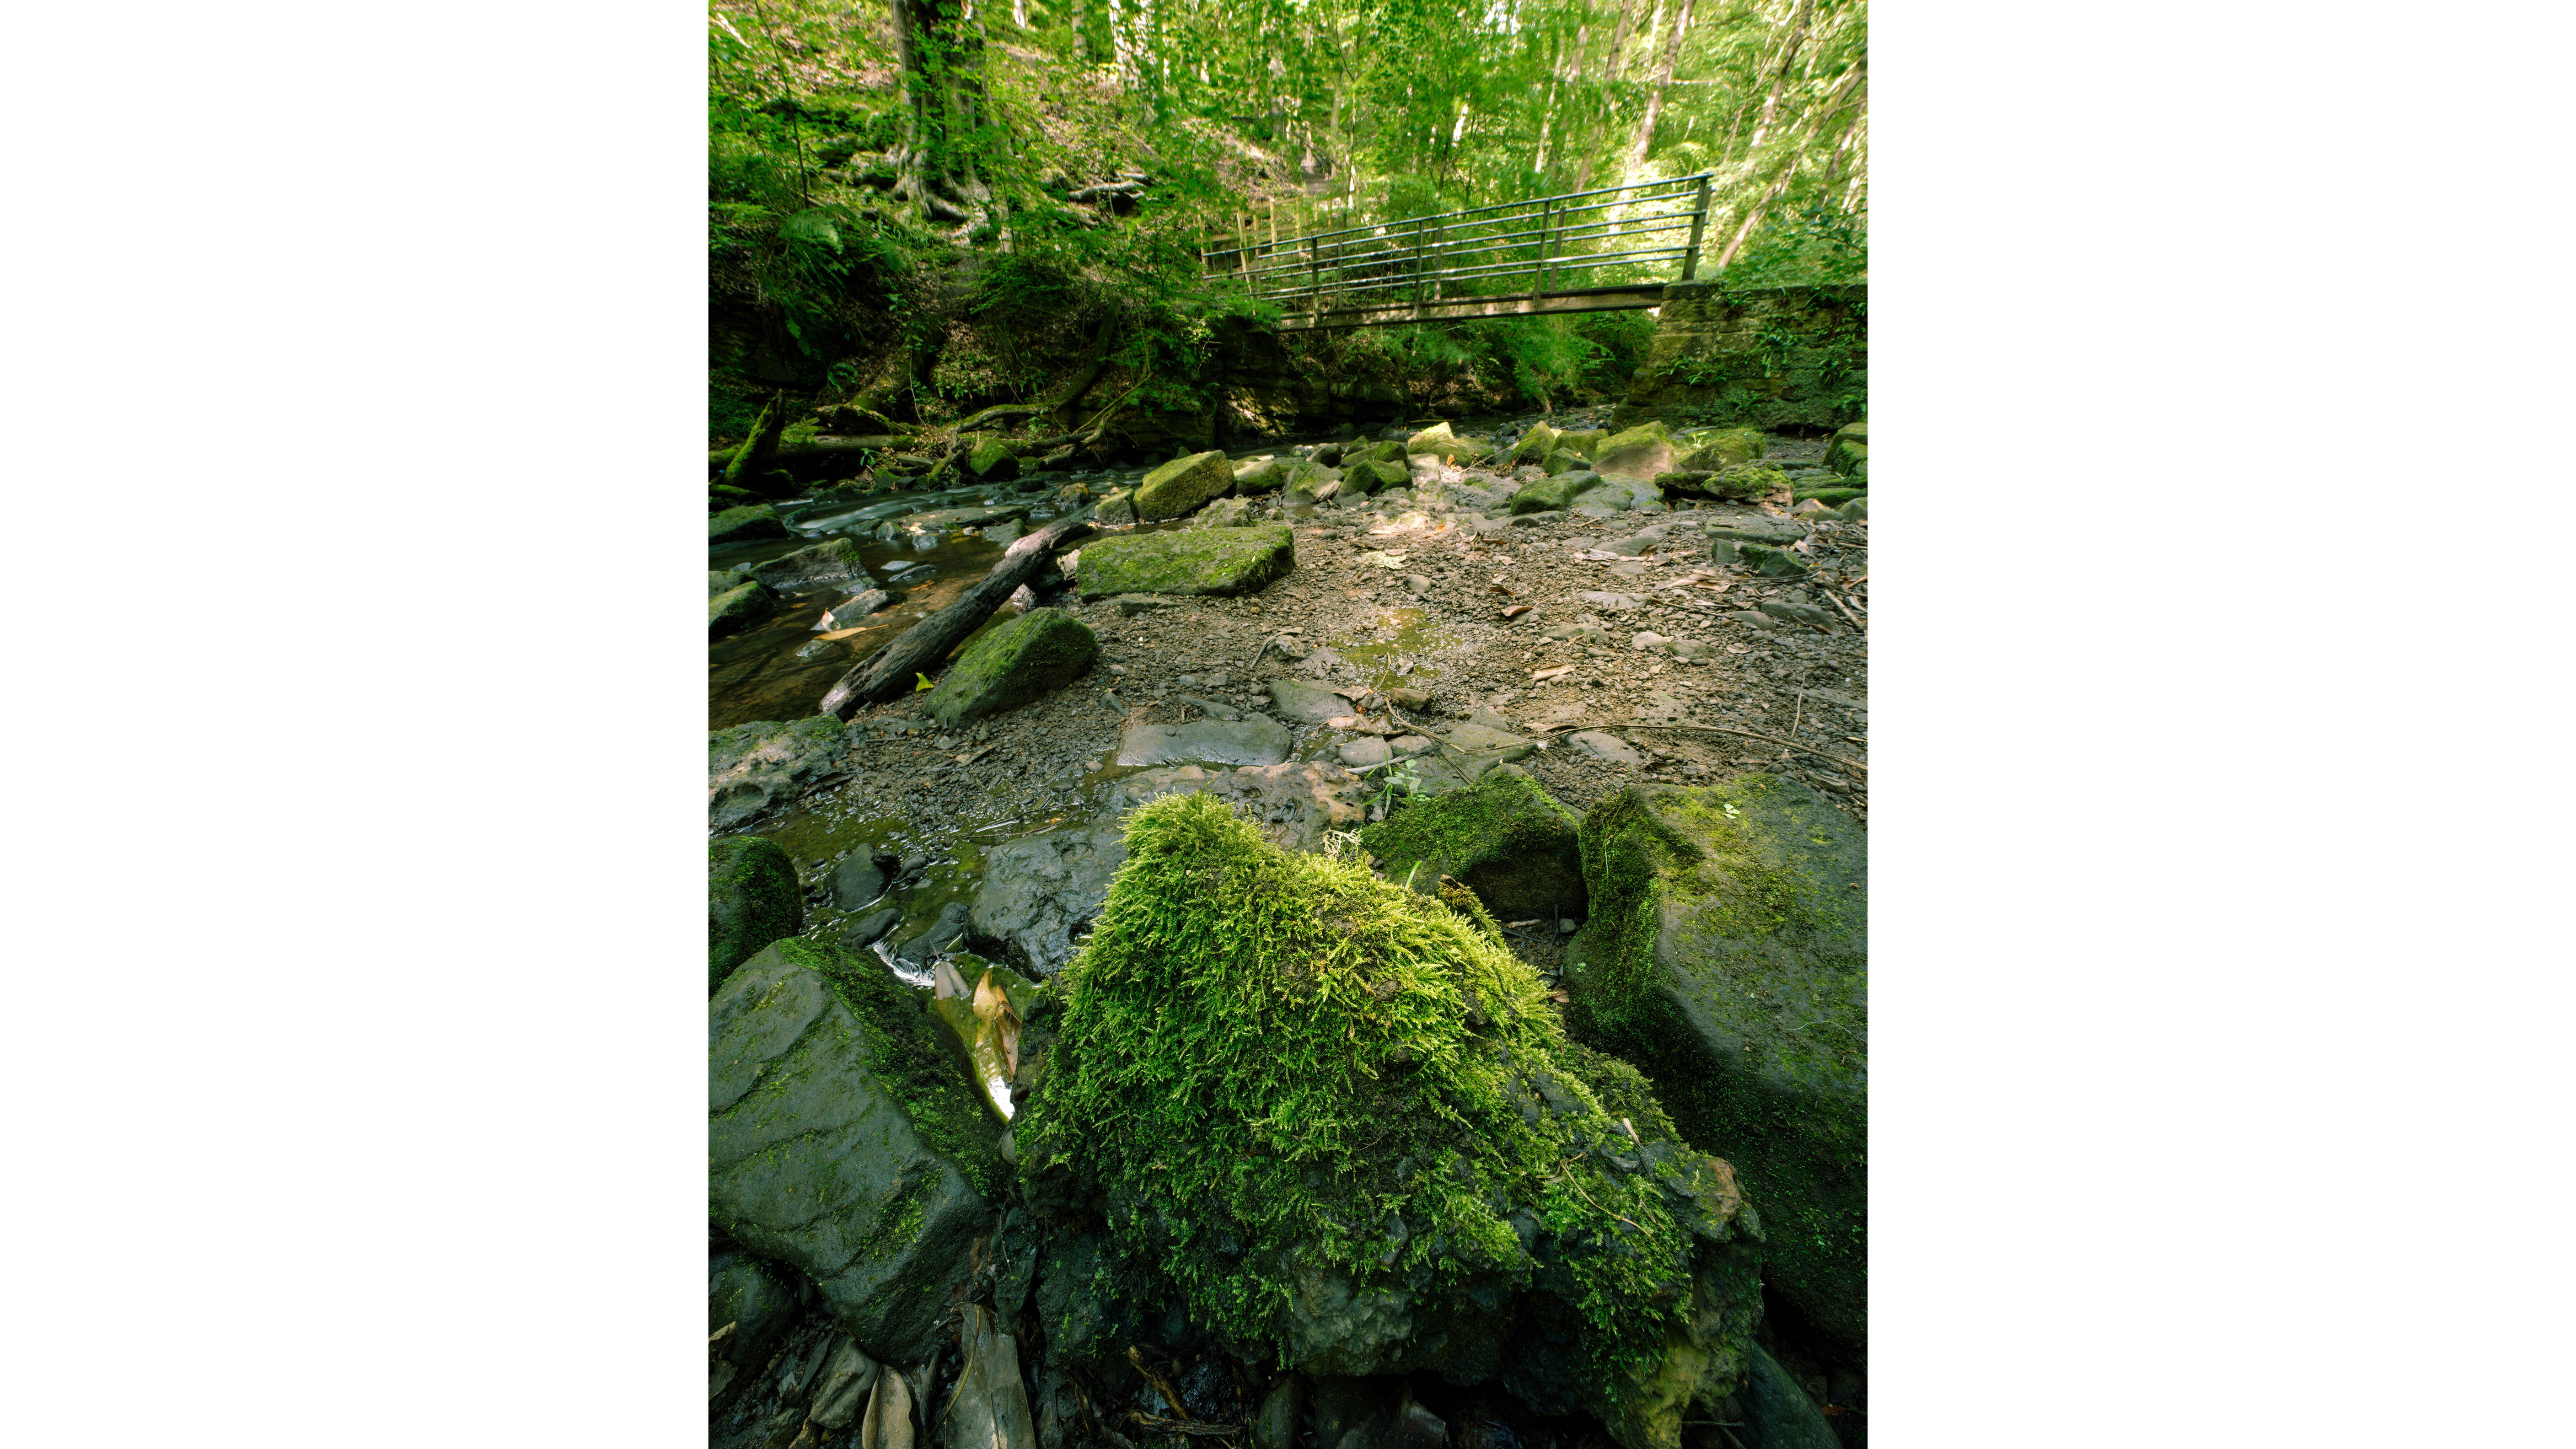

As perspective is stretched, too much mid-ground detail can be revealed – or, more troublesome, large expanses of empty space can be created in the center and bottom of the frame. This creates an imbalance of detail, reducing the impact of each scene element.
Here we take a closer look at how to create a wide-angle workflow, which can be applied to any scene type, to avoid these common mistakes…
Assess the scene
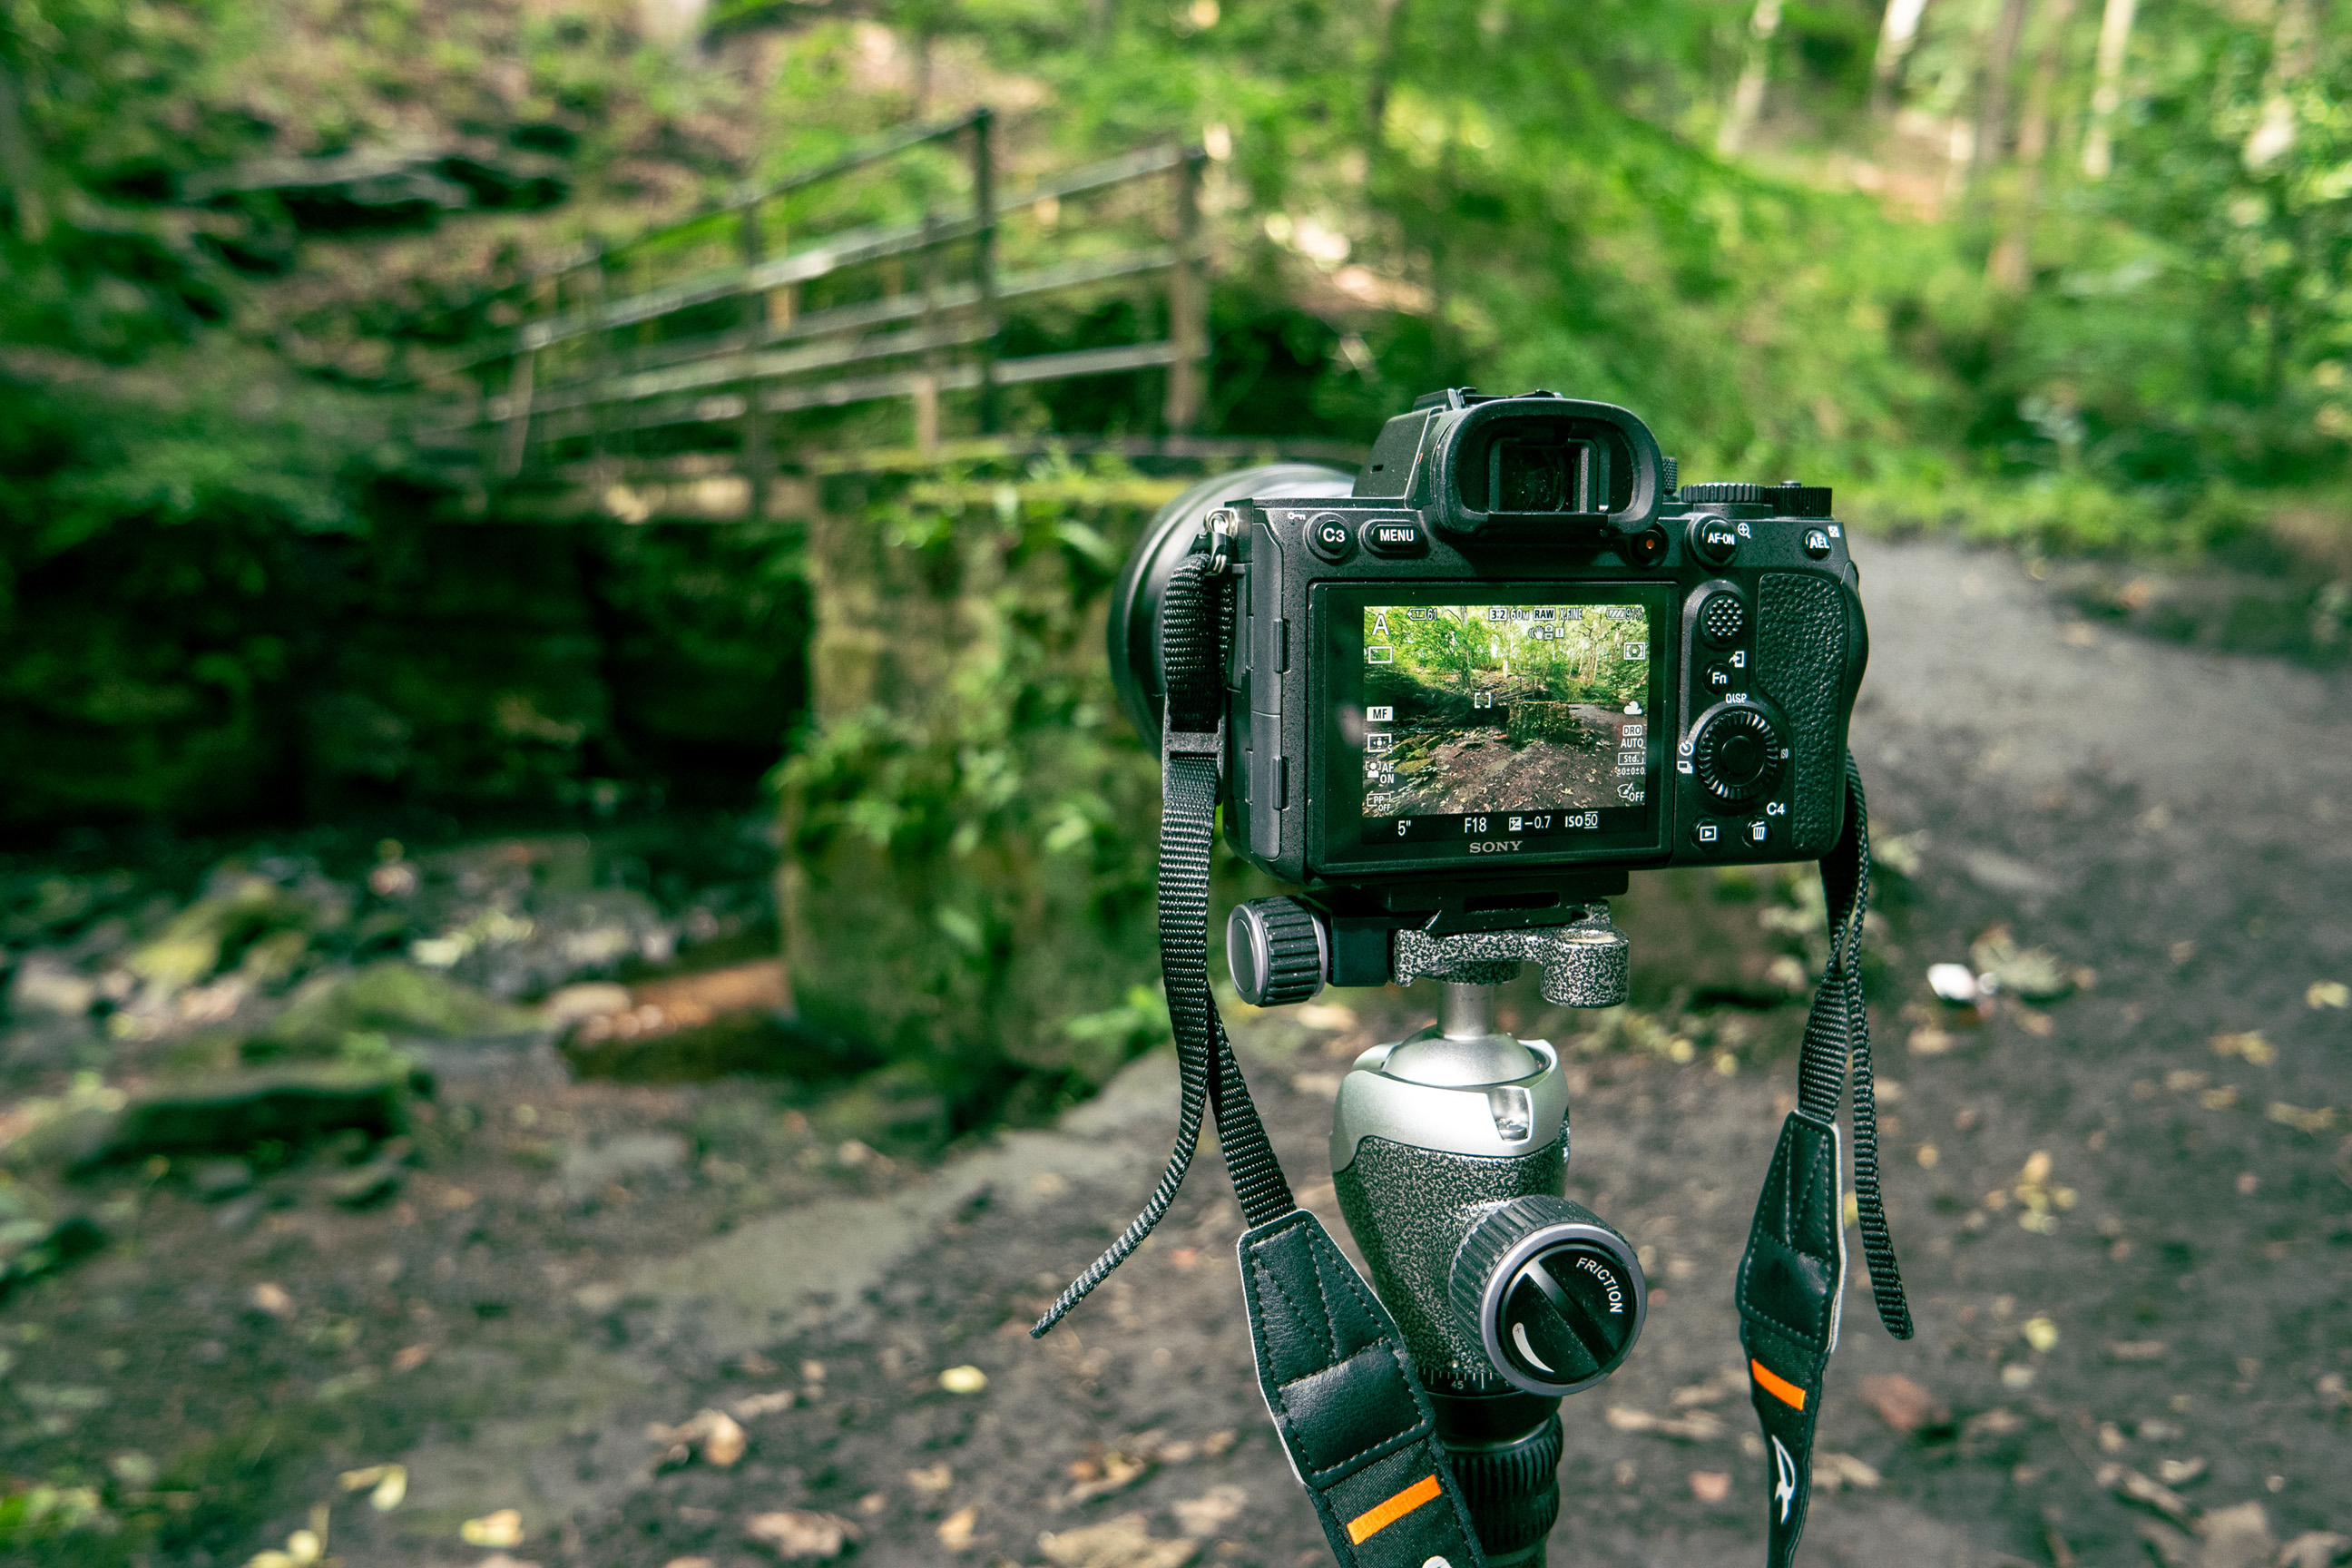
Before setting up your tripod, explore the setting to assess the distances between objects and work out how these might look when stretched by your widest focal length. Beware of mid-ground low frequency detail.
Select your height
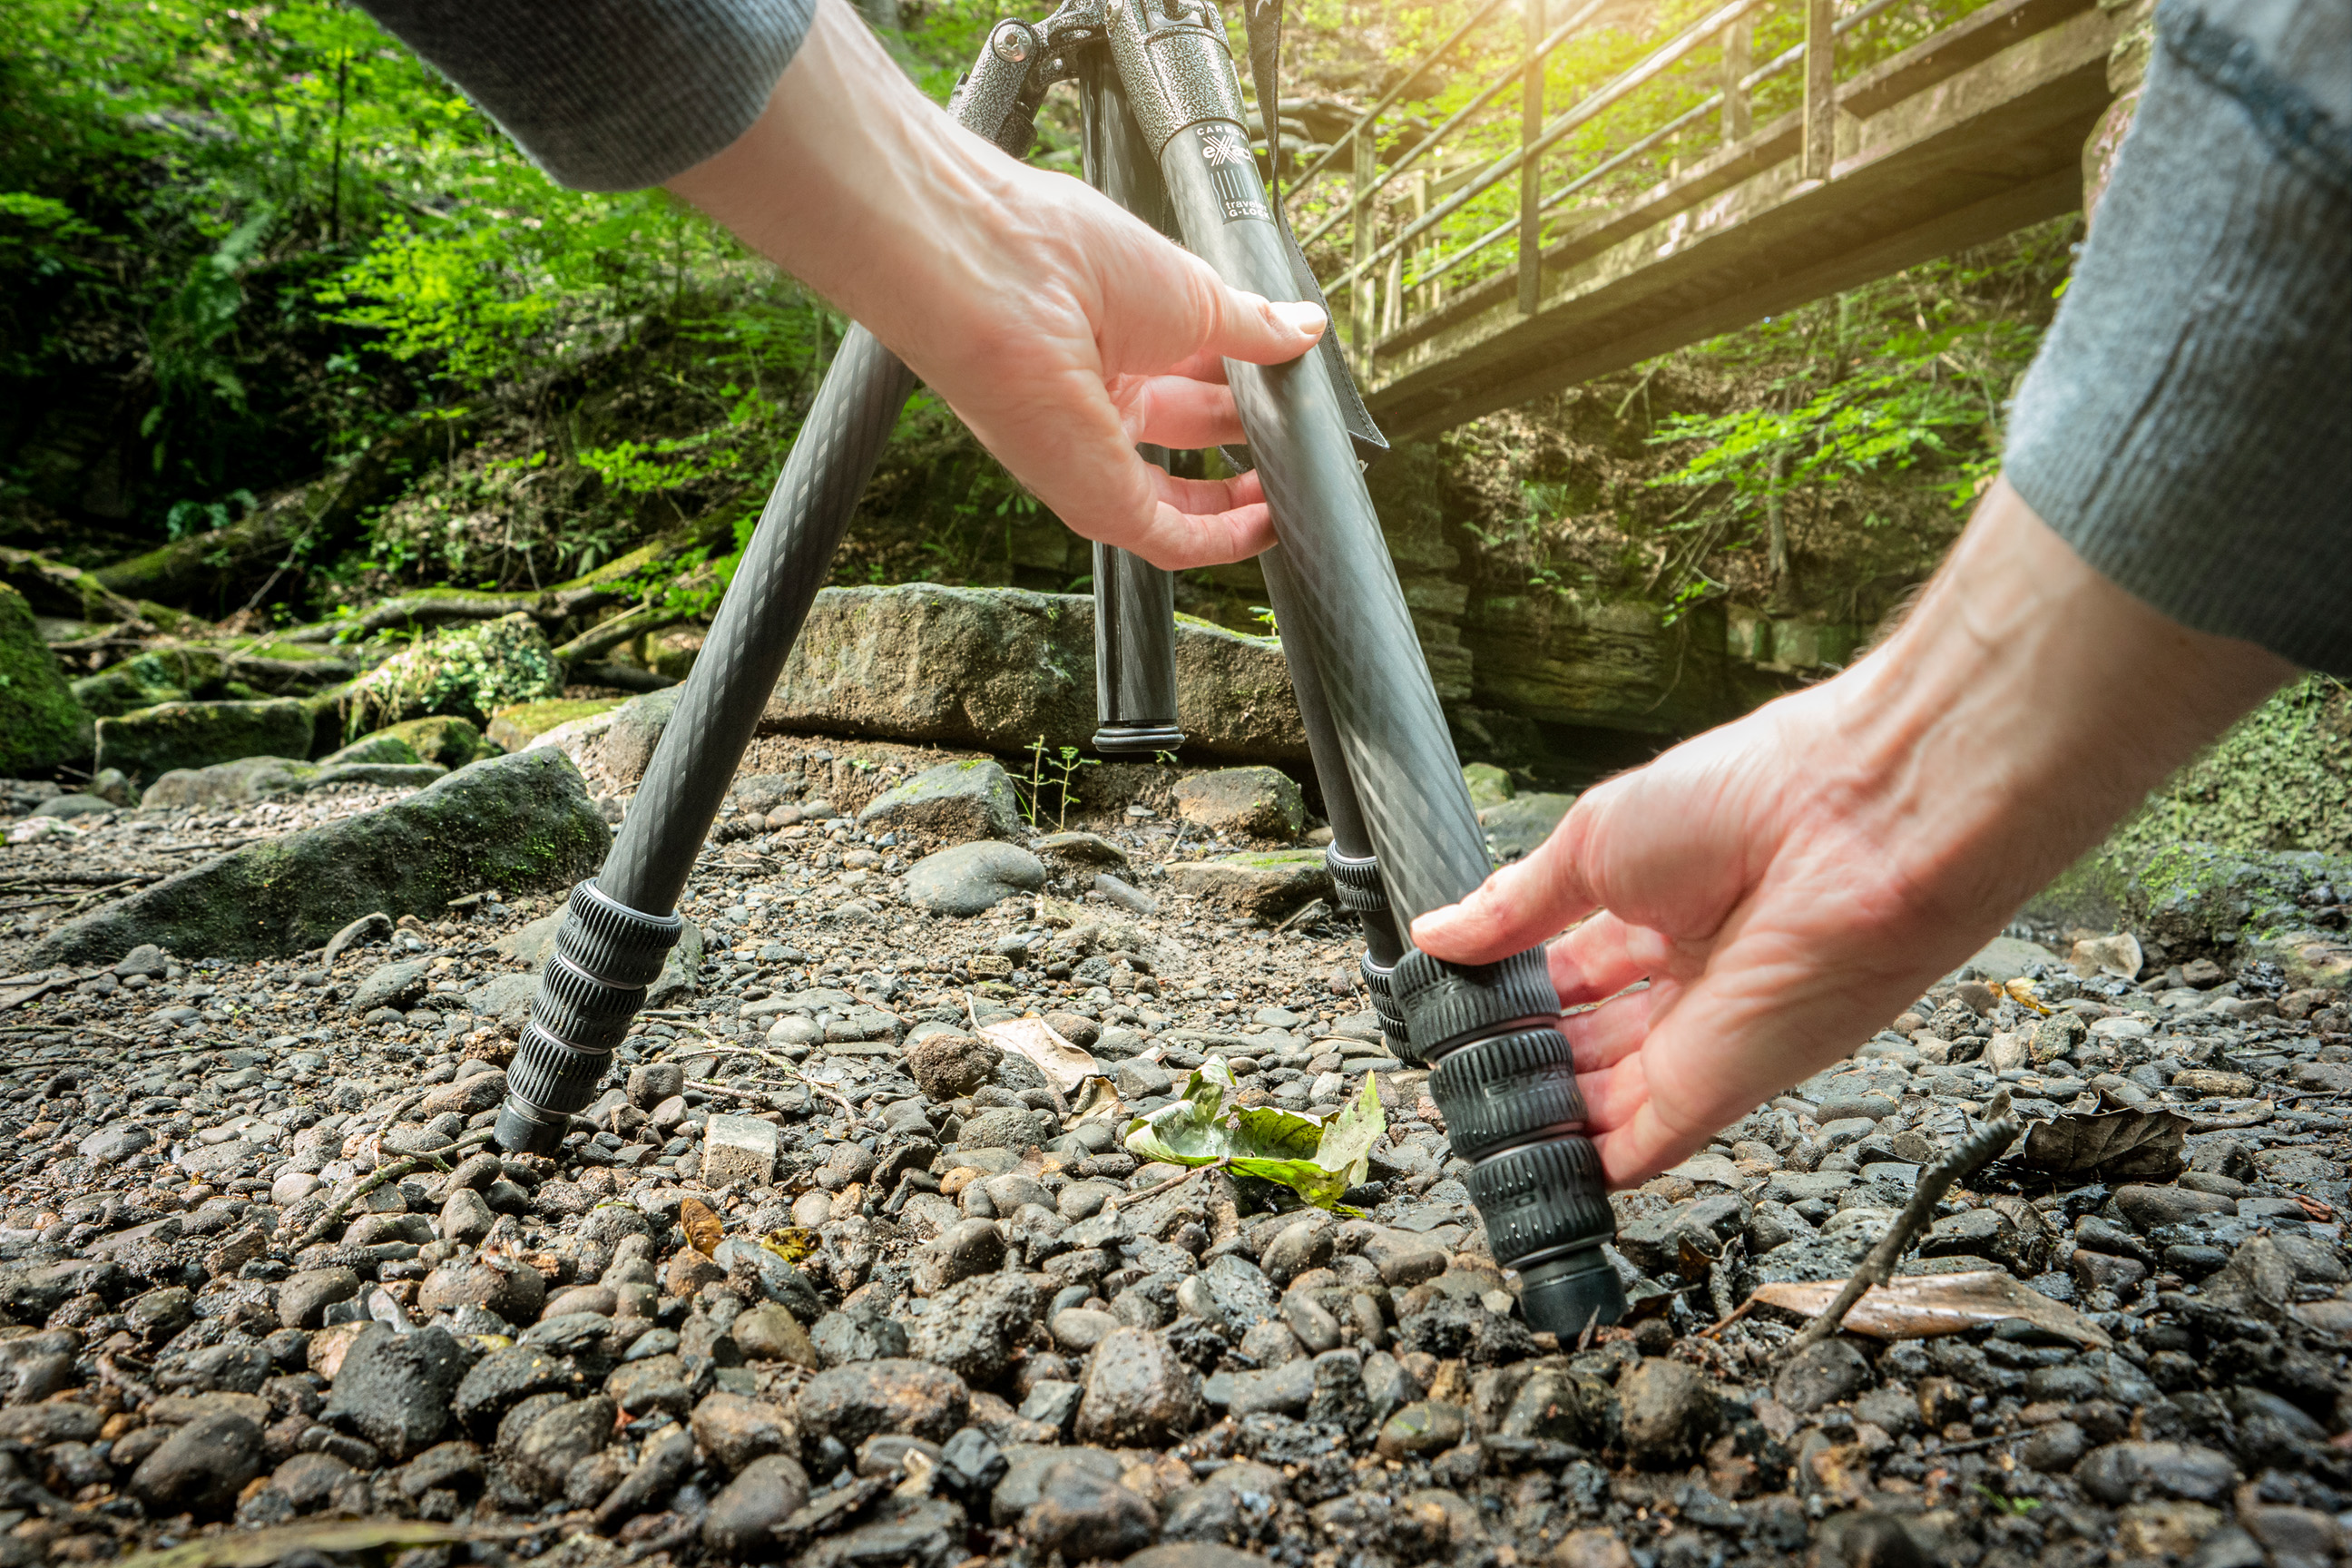
Err on the side of a lower camera level, as this will make more of a feature of foreground elements, creating the characteristic wide-angle depth while obscuring any extraneous or distracting mid-ground presences.
Check frame edges
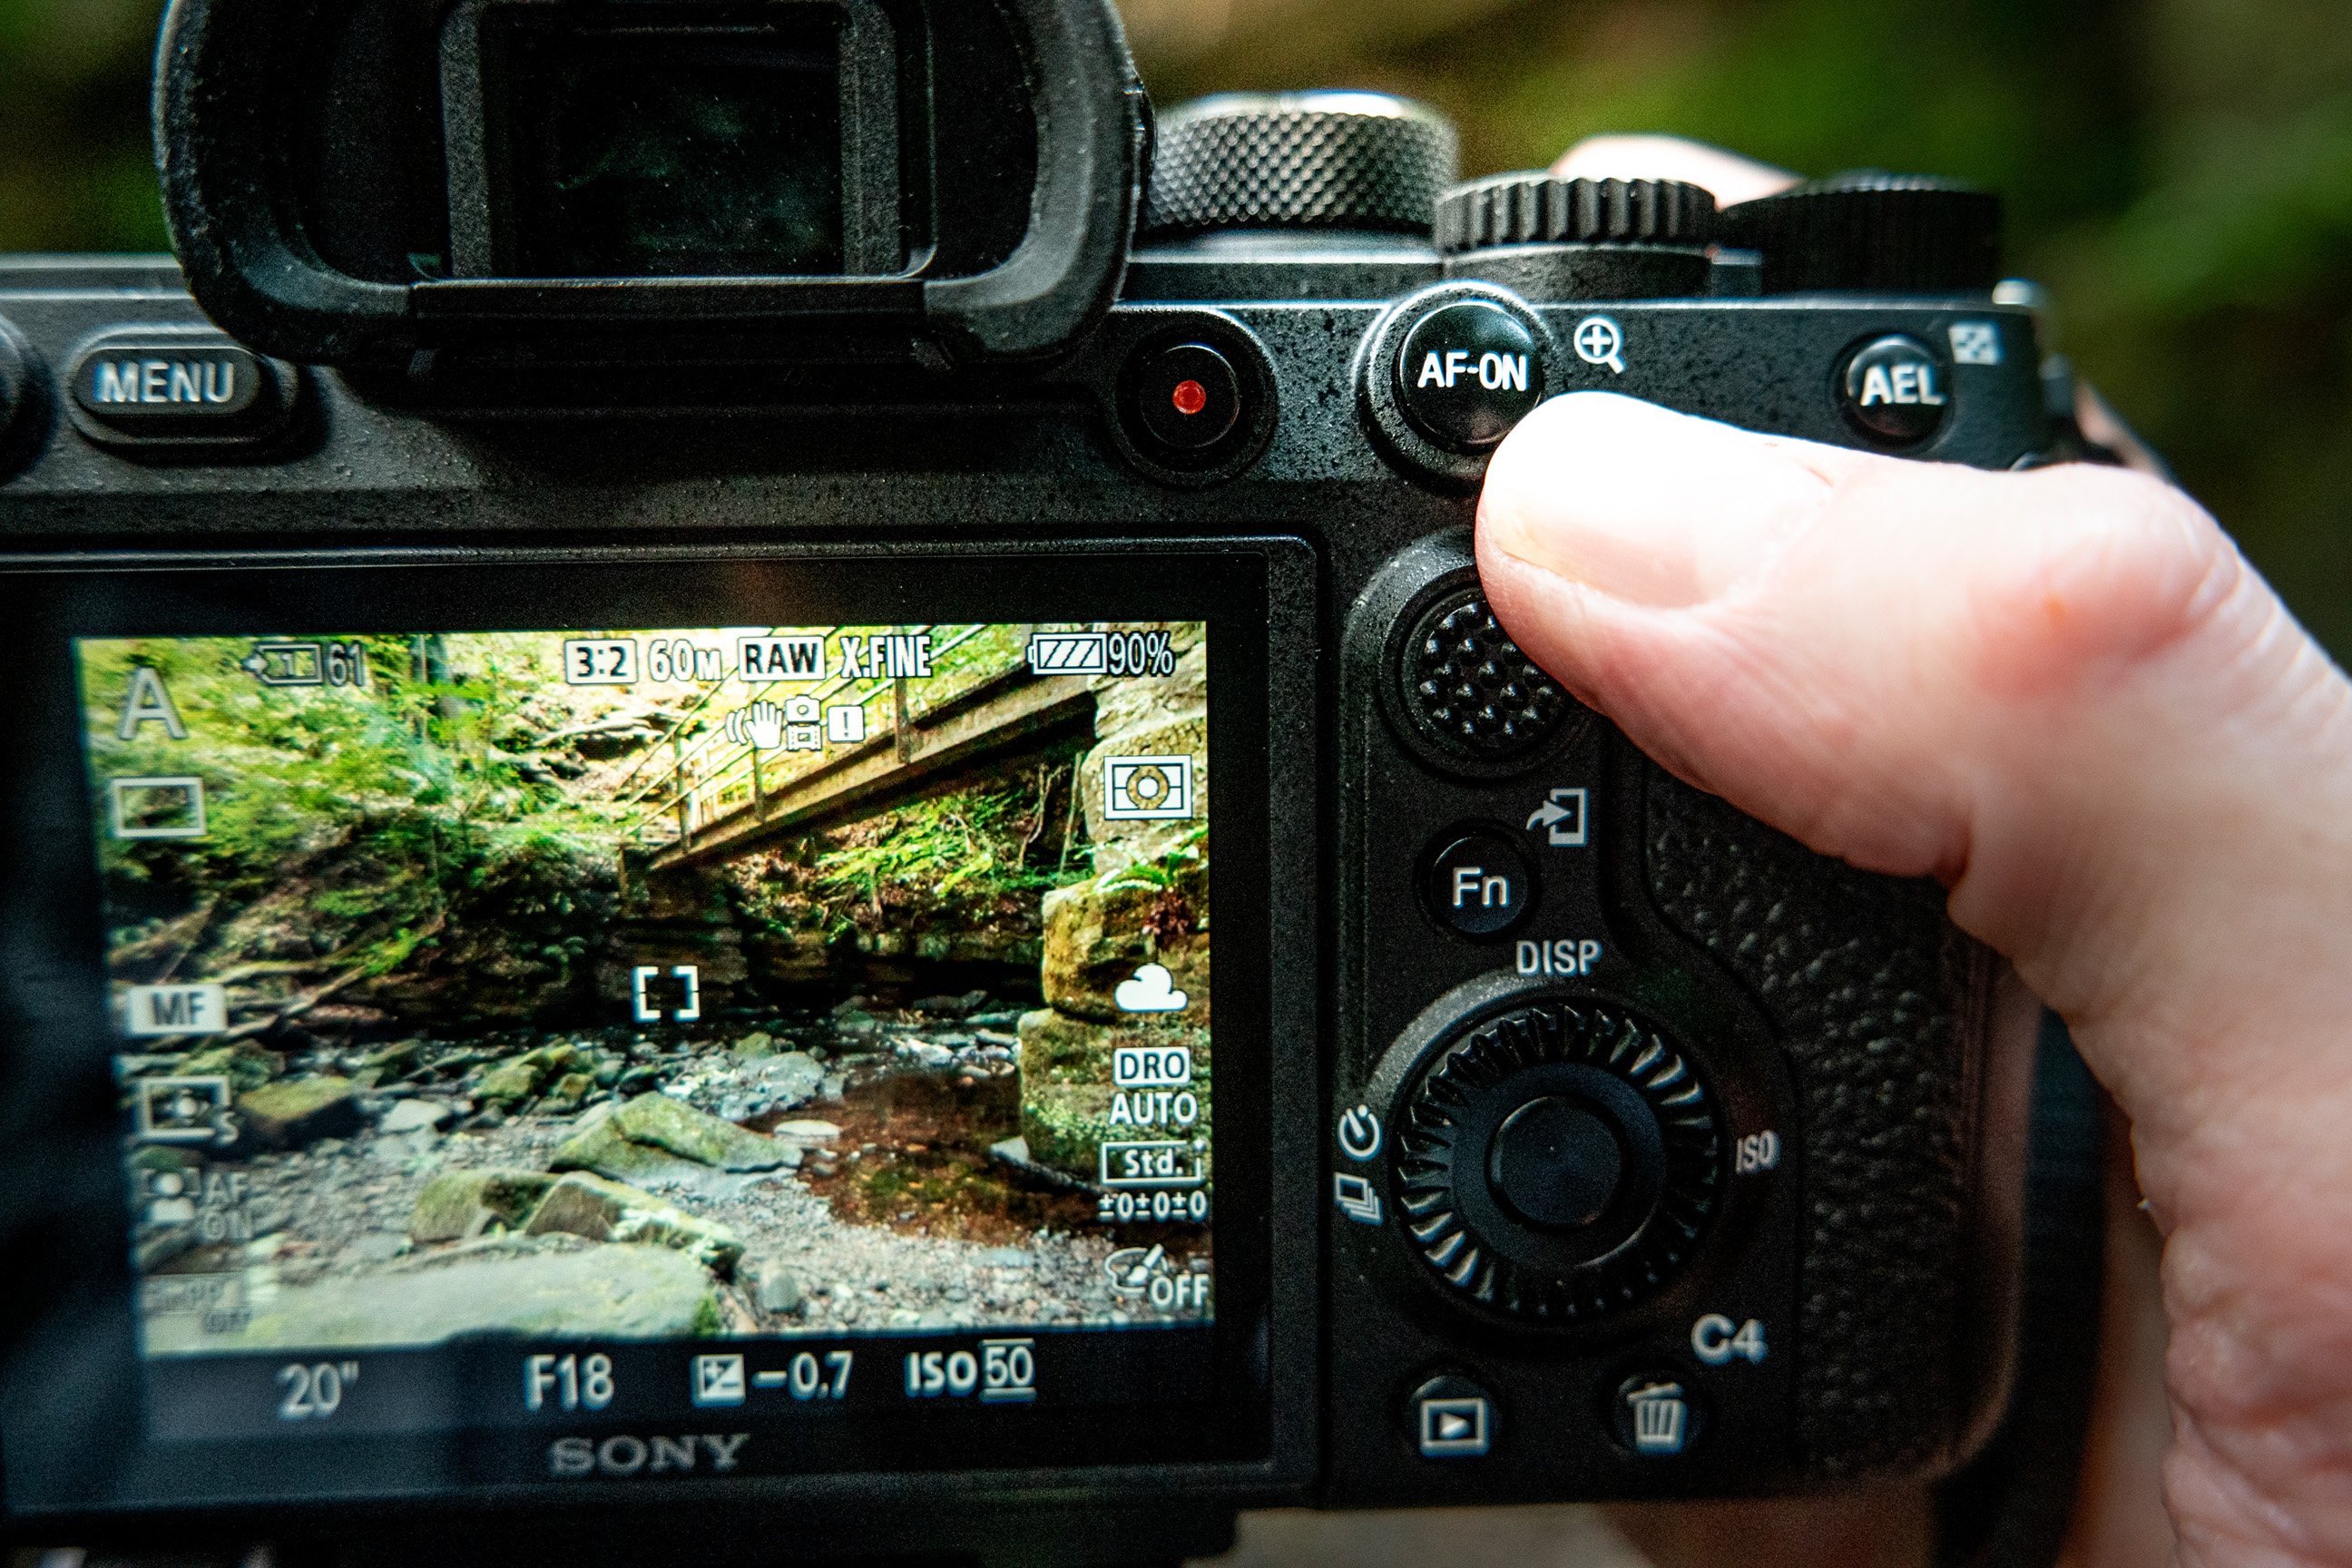
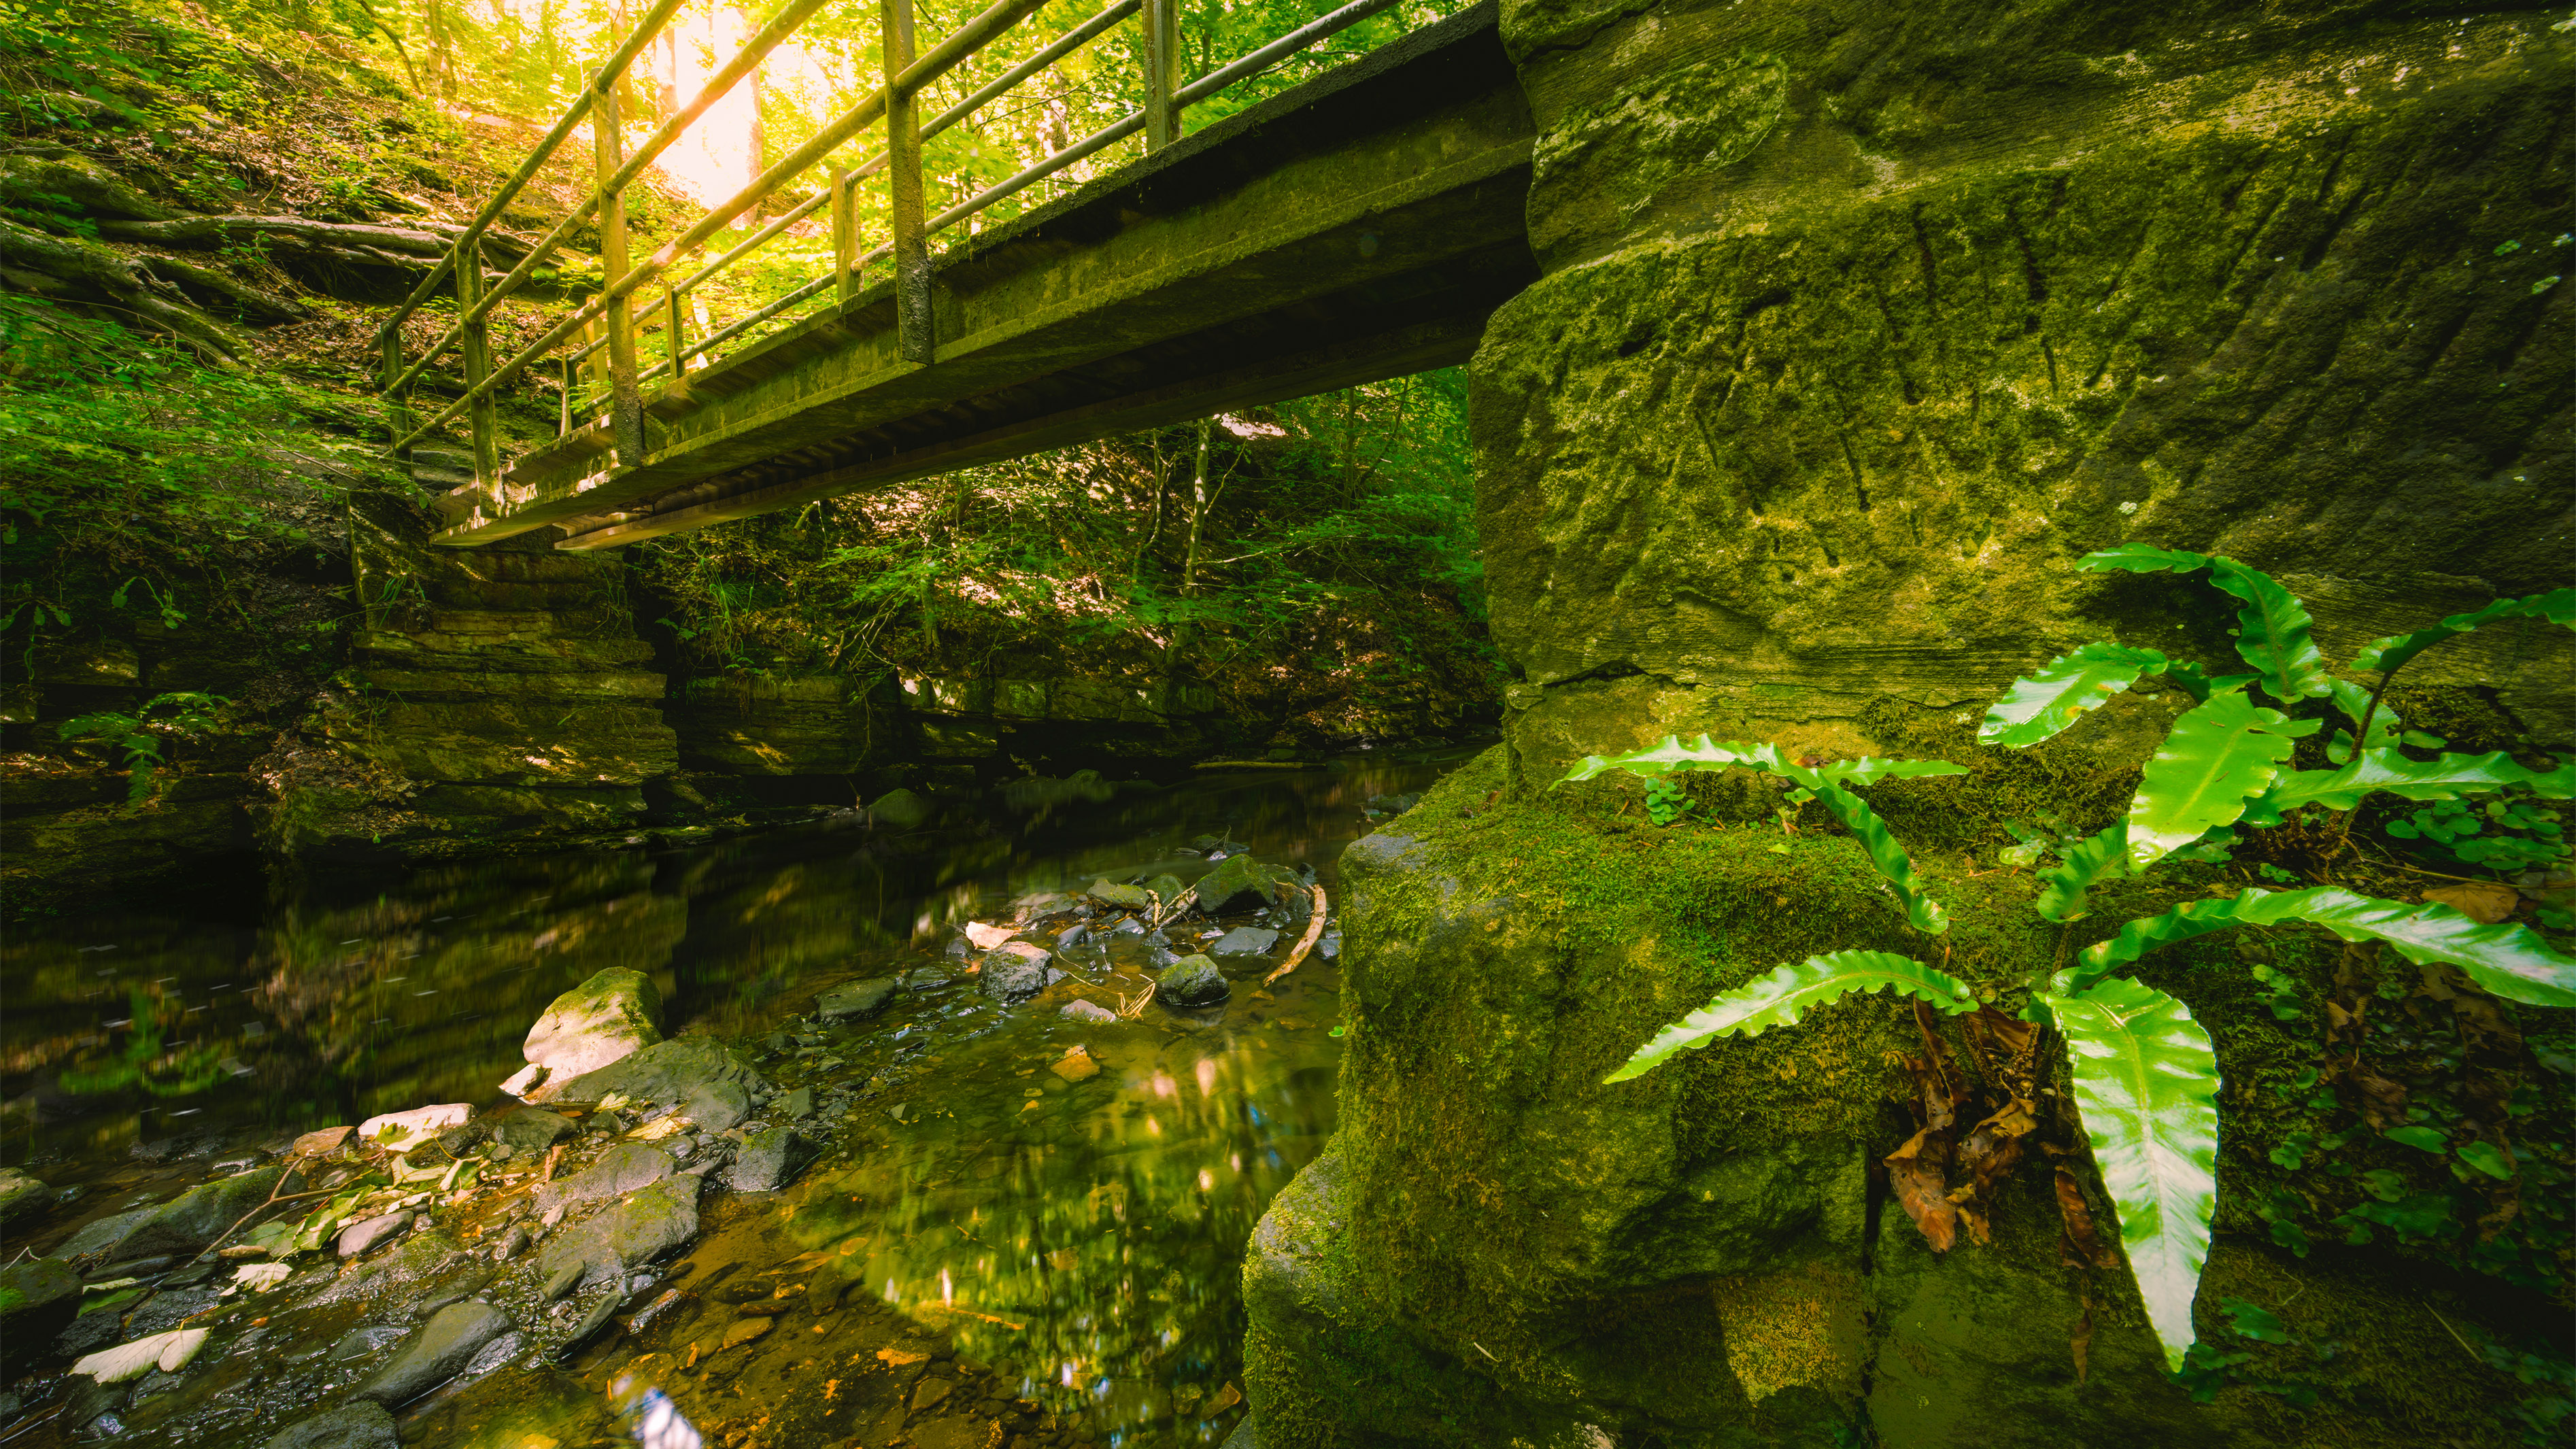
Explore the periphery of the viewfinder or rear screen to ensure that there is no empty space, either at the sides or the top and bottom of the frame. Also ensure that the stretching effect does not 'bleed' detail (such as the vegetation in our shot) out of the frame.
Zoom 1mm
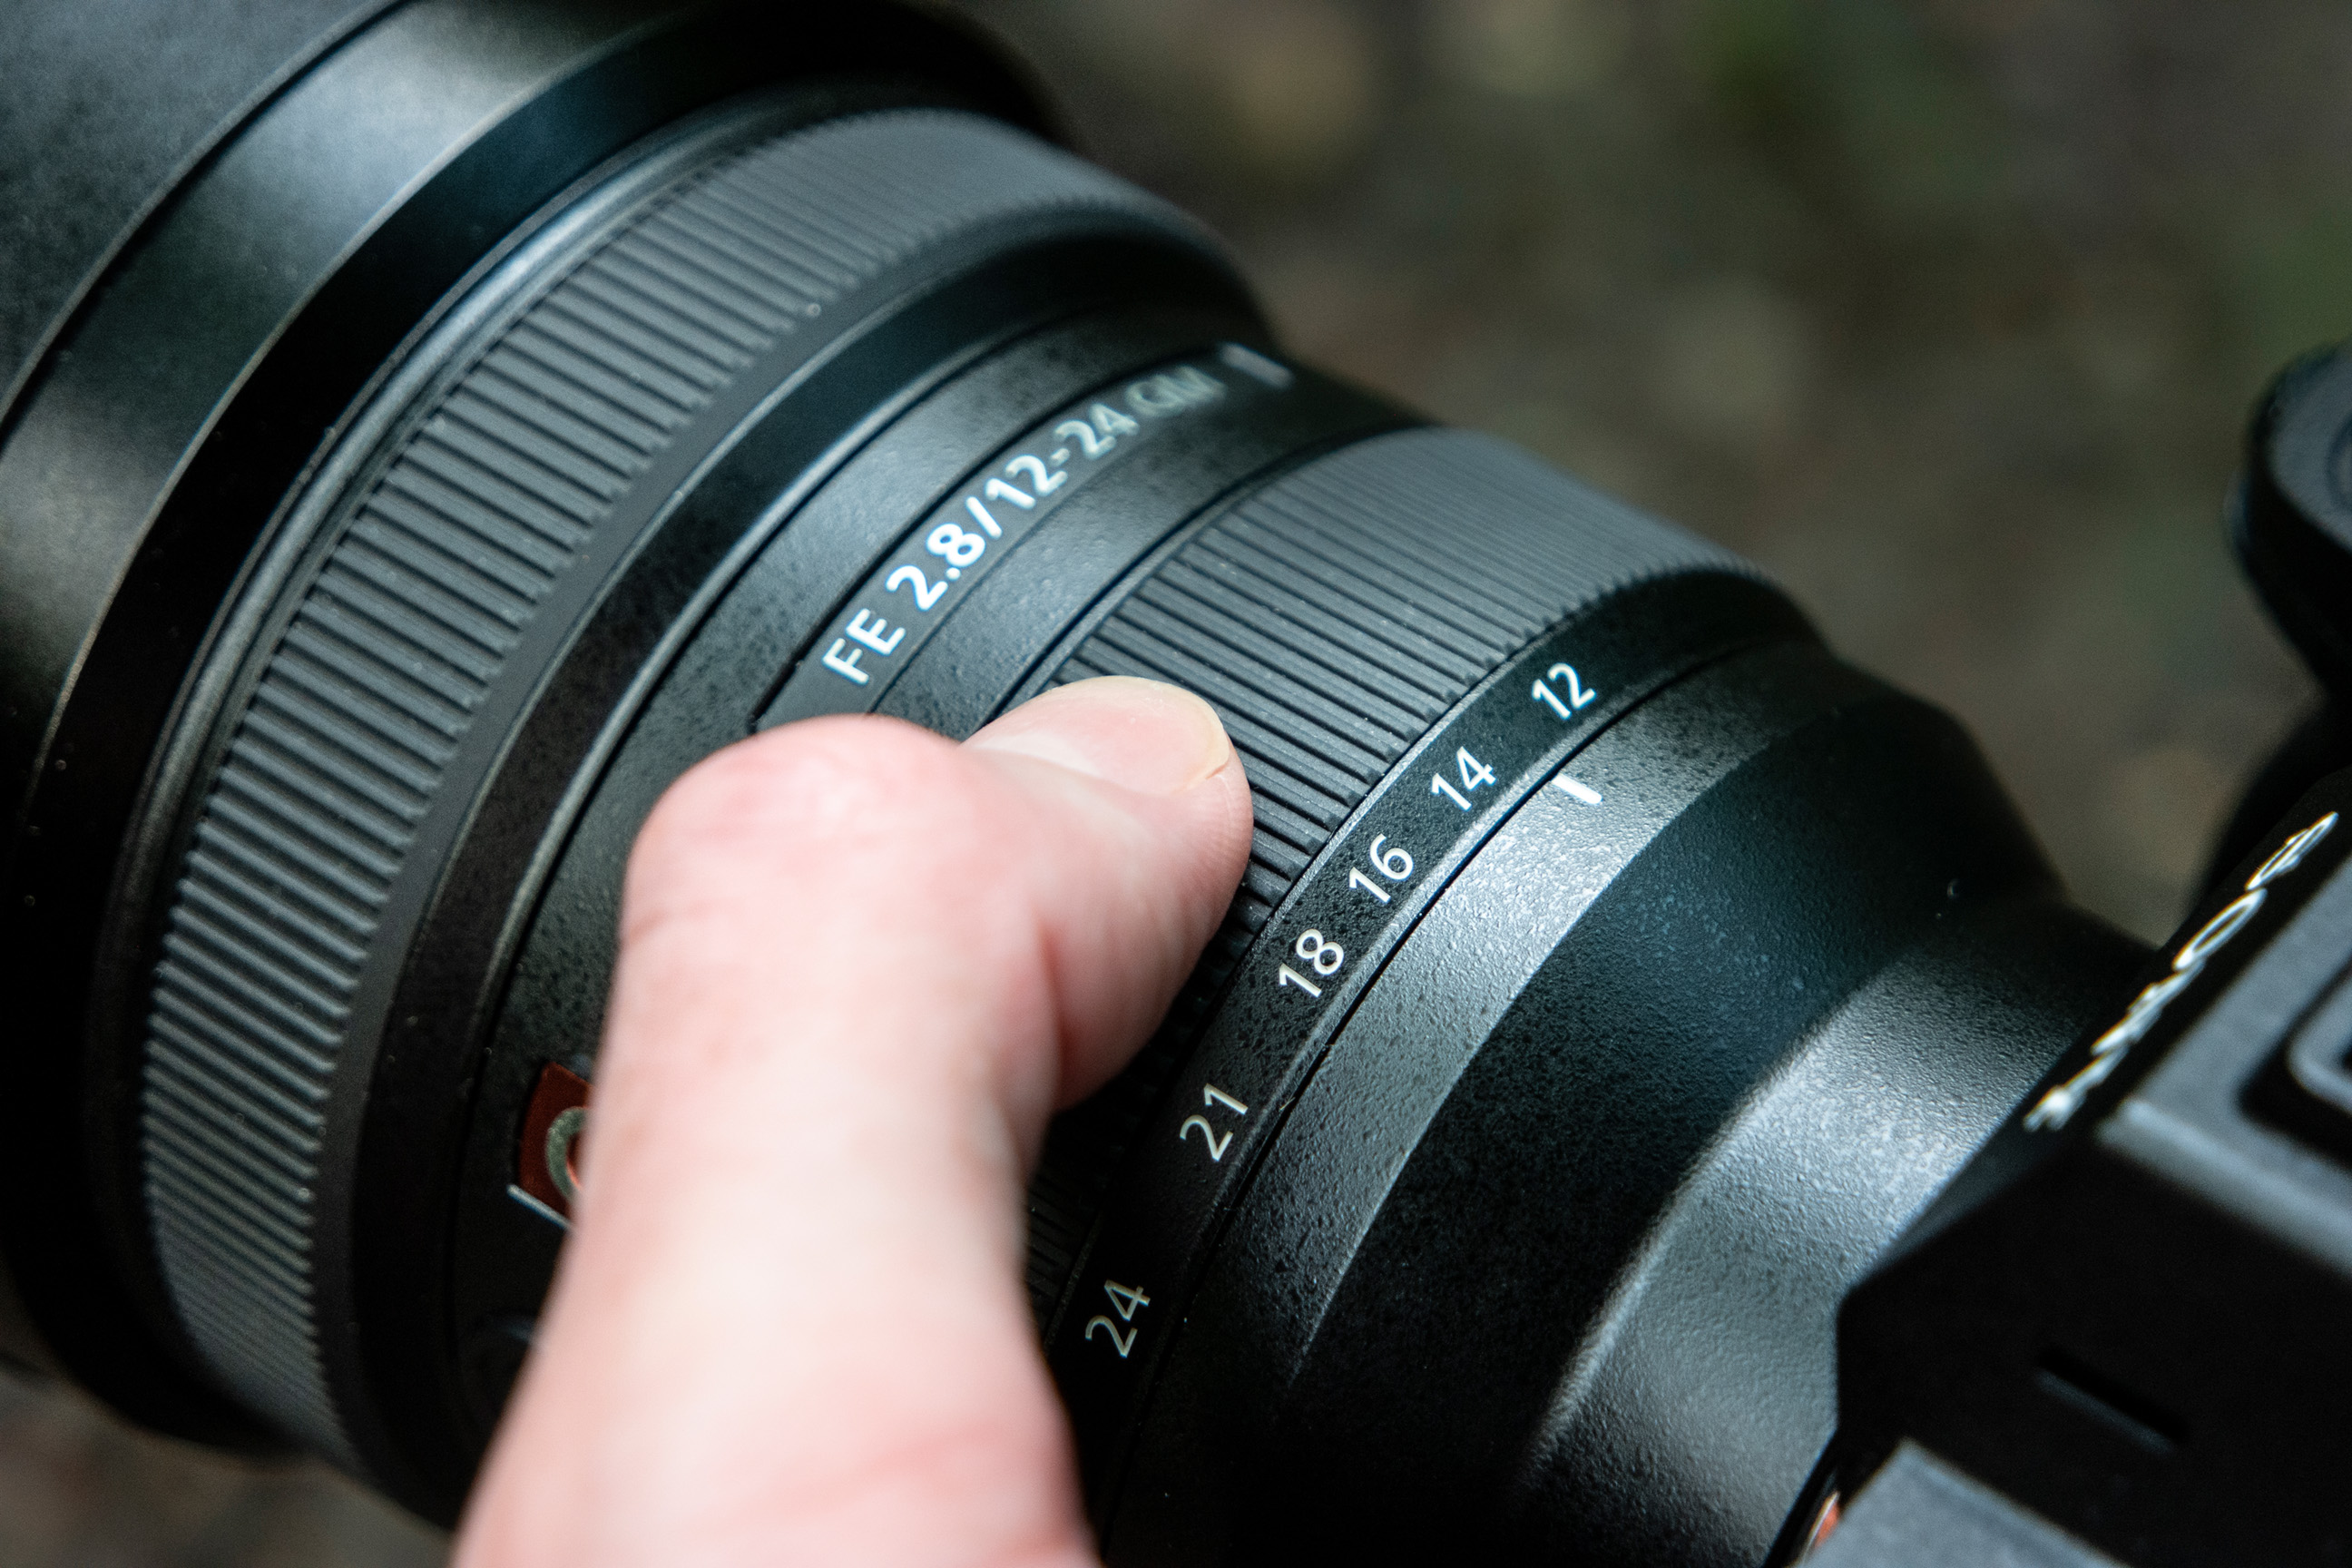
Sometimes a single millimeter of focal length can make the difference between balance and unsightly blank space. Use the widest setting to find your angle and then push in by 1mm to see what effect this has.
Vary your orientation
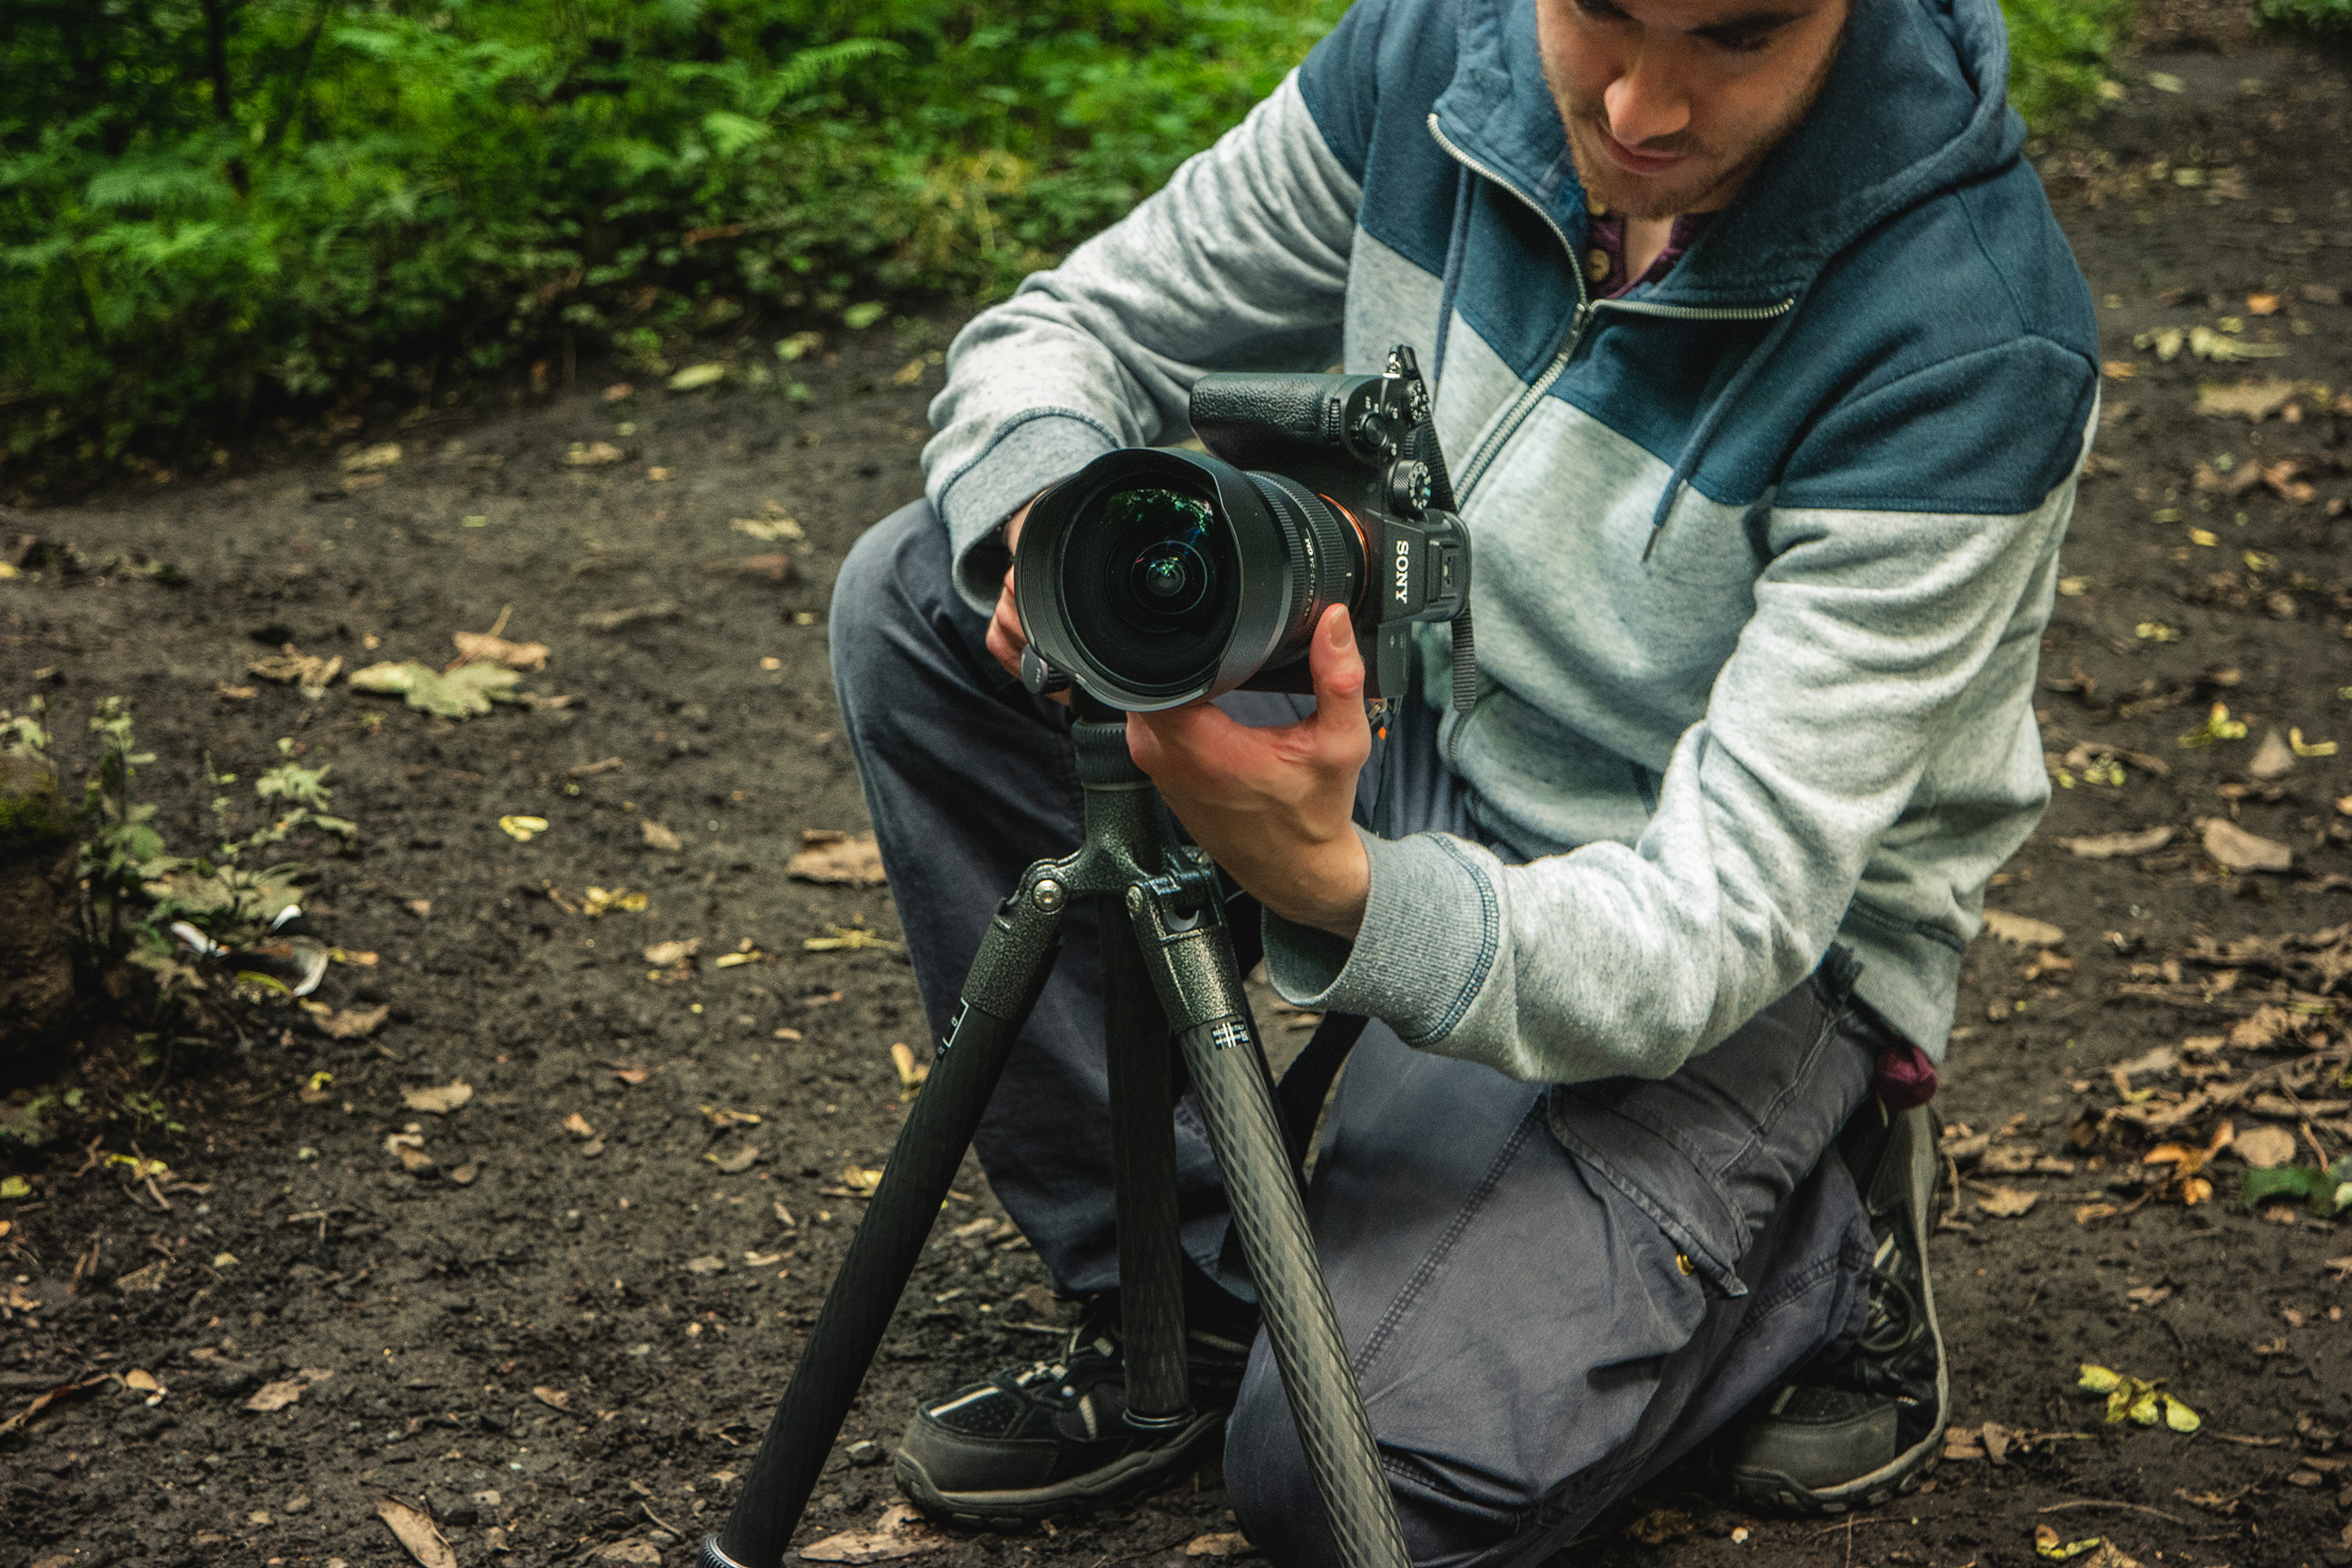
Flip into portrait orientation if shooting in landscape, and vice versa, to explore the compositional possibilities. Vertical frames will exaggerate foreground dominance if there is limited interest horizontally.
Shake up subject distance
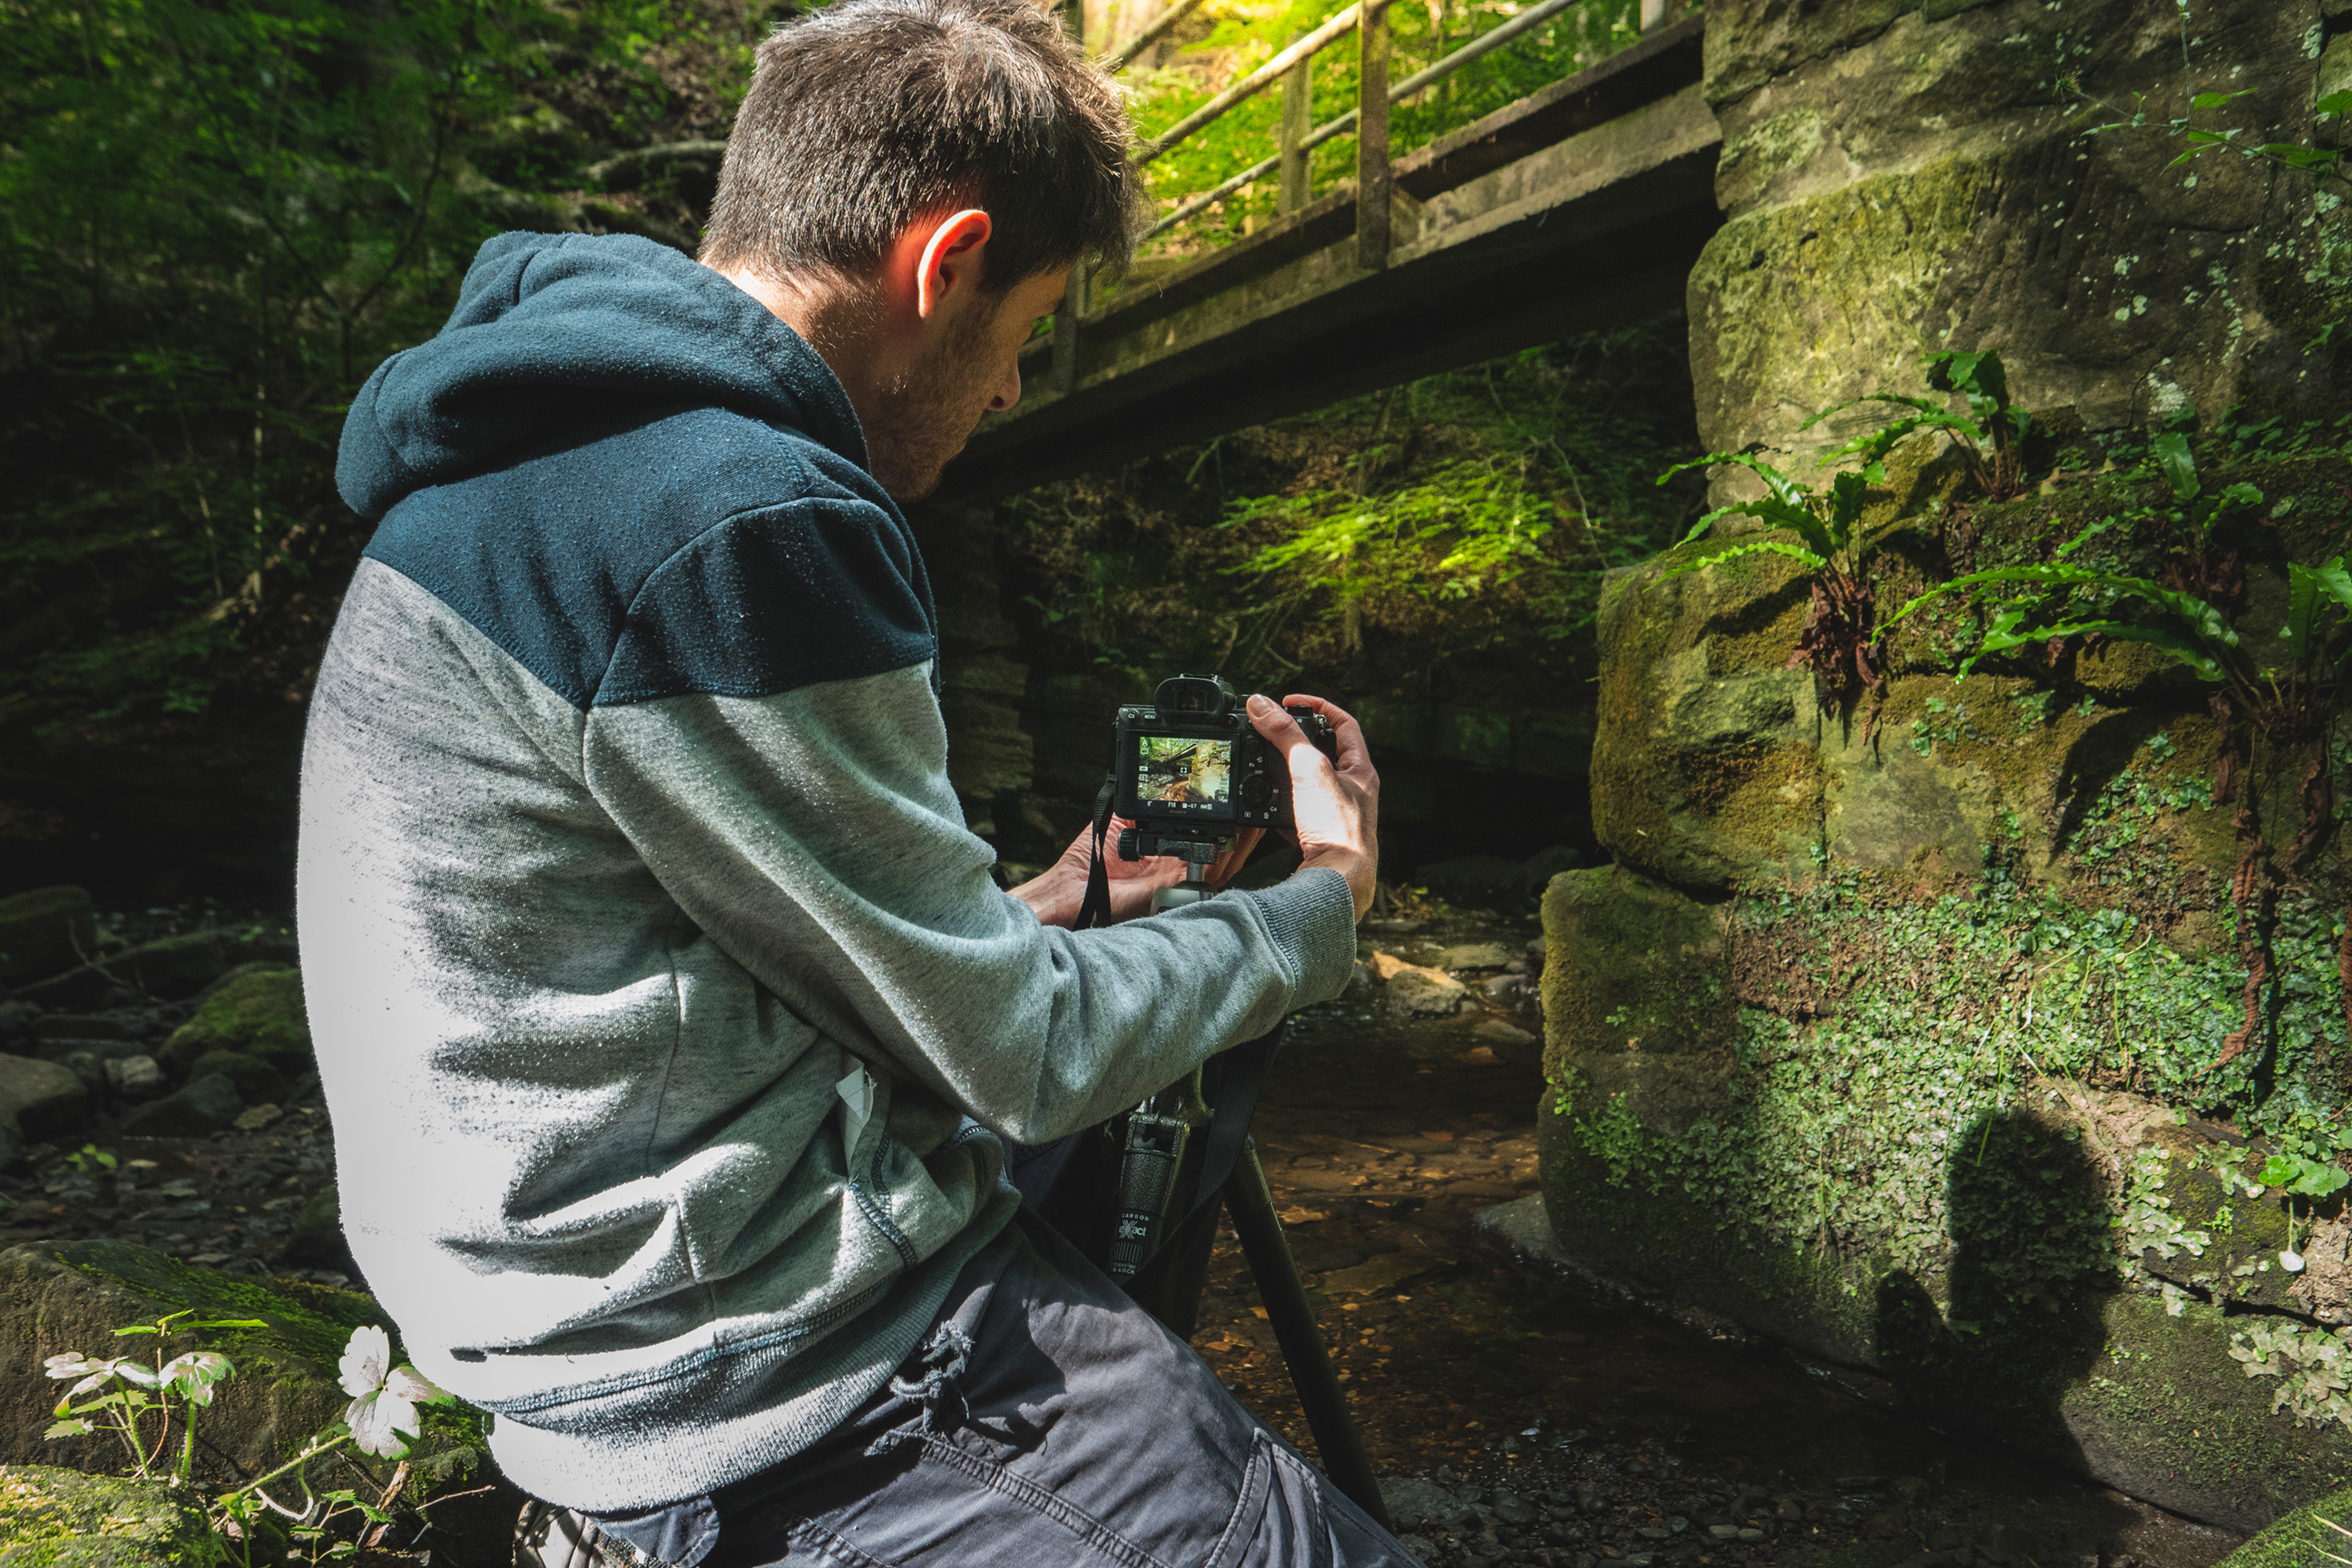
Ensure that there is good detail at the bottom of the frame by moving the camera in as close as possible to foreground elements. At best this will balance the entire frame, at worst it will make more of leading lines.
Get the kitbag essential for Enthusiasts and Professional photographers. Packed full of pro advice, tutorials, techniques, interviews and kit reviews, Digital Photographer Magazine will help you take your images to new heights.
Read more:
Best fisheye lenses
Best cameras for landscapes
Best lenses for landscapes
Get the Digital Camera World Newsletter
The best camera deals, reviews, product advice, and unmissable photography news, direct to your inbox!
As the Editor for Digital Photographer magazine, Peter is a specialist in camera tutorials and creative projects to help you get the most out of your camera, lens, tripod, filters, gimbal, lighting and other imaging equipment.
After cutting his teeth working in retail for camera specialists like Jessops, he has spent 11 years as a photography journalist and freelance writer – and he is a Getty Images-registered photographer, to boot.
No matter what you want to shoot, Peter can help you sharpen your skills and elevate your ability, whether it’s taking portraits, capturing landscapes, shooting architecture, creating macro and still life, photographing action… he can help you learn and improve.
