Watch video: Go low
It’s generally said that great photos are rarely taken at head height. So one of the easiest, and also cheapest, ways to add impact to your images is to simply change up your perspective and shoot from a higher or lower angle.
Shooting from a high angle can be the trickier of the two options – unless you’re very tall, you’ll need to find some steps or potentially use one of the best camera drones to get high enough to shoot down across the scene.
On the other hand, a low-angle perspective is easy to achieve; just get down on one knee and tilt your camera up to make your subject appear more dominant in the frame. A camera with a tiltable LCD screen will help you compose in Live View when shooting so close to the ground, as will a tripod that enables you to set up closer to the floor.
In this project I’ll cover the best tips and tripod options for shooting from a low angle.
1. Mini tripod
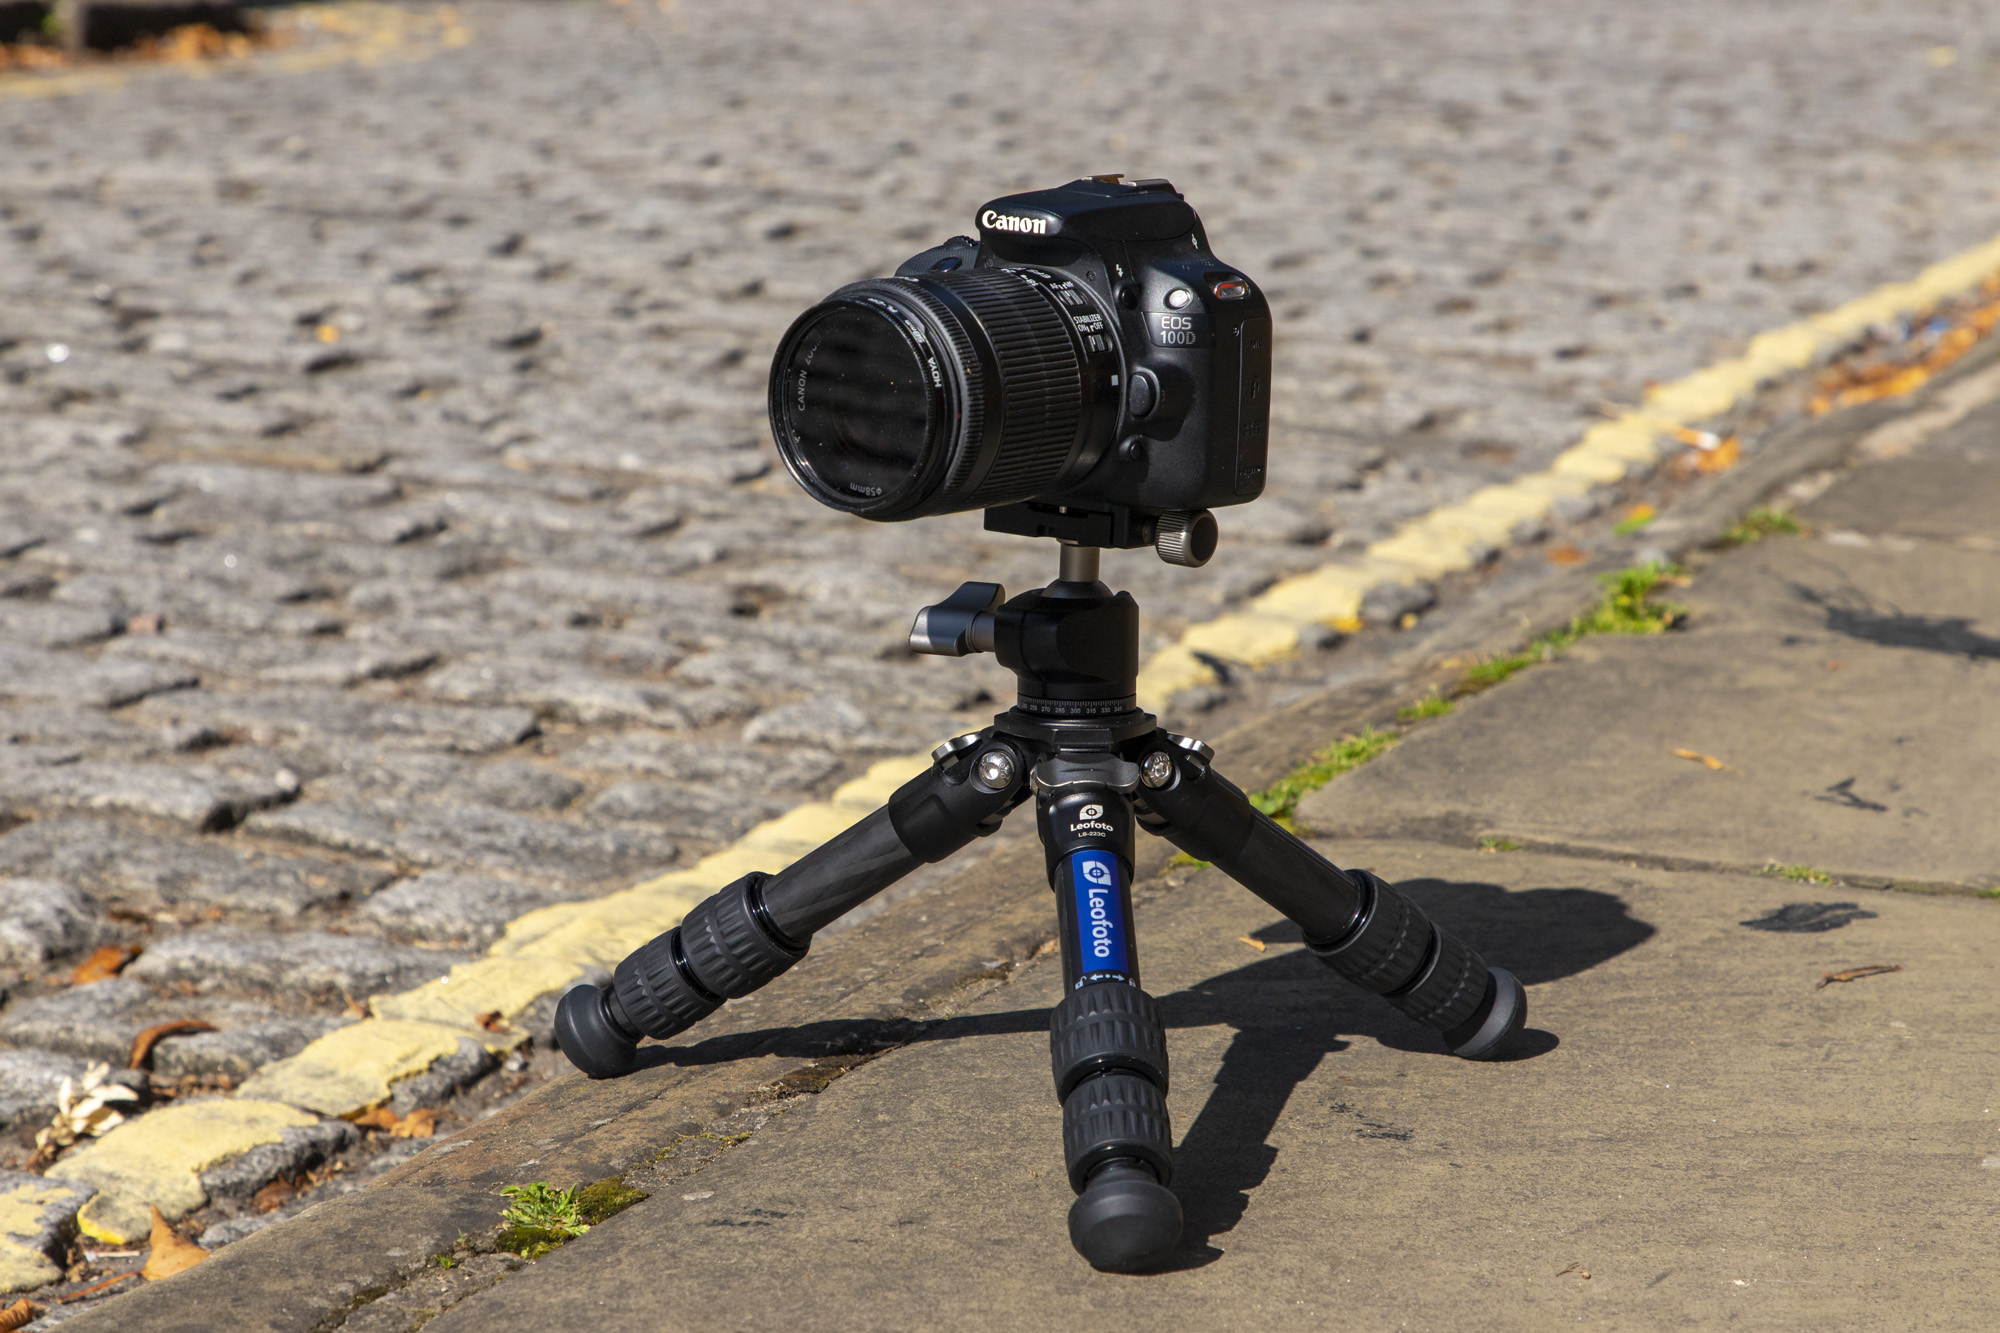
A miniature tripod such as the Leofoto Ranger LS 223C is perfect for low-angle shots and is ideal for saving space and cutting down weight. While it isn’t as versatile as a full-size tripod, it’s perfect if you’re intentionally heading out for low-angle shots.
2. Leg angles
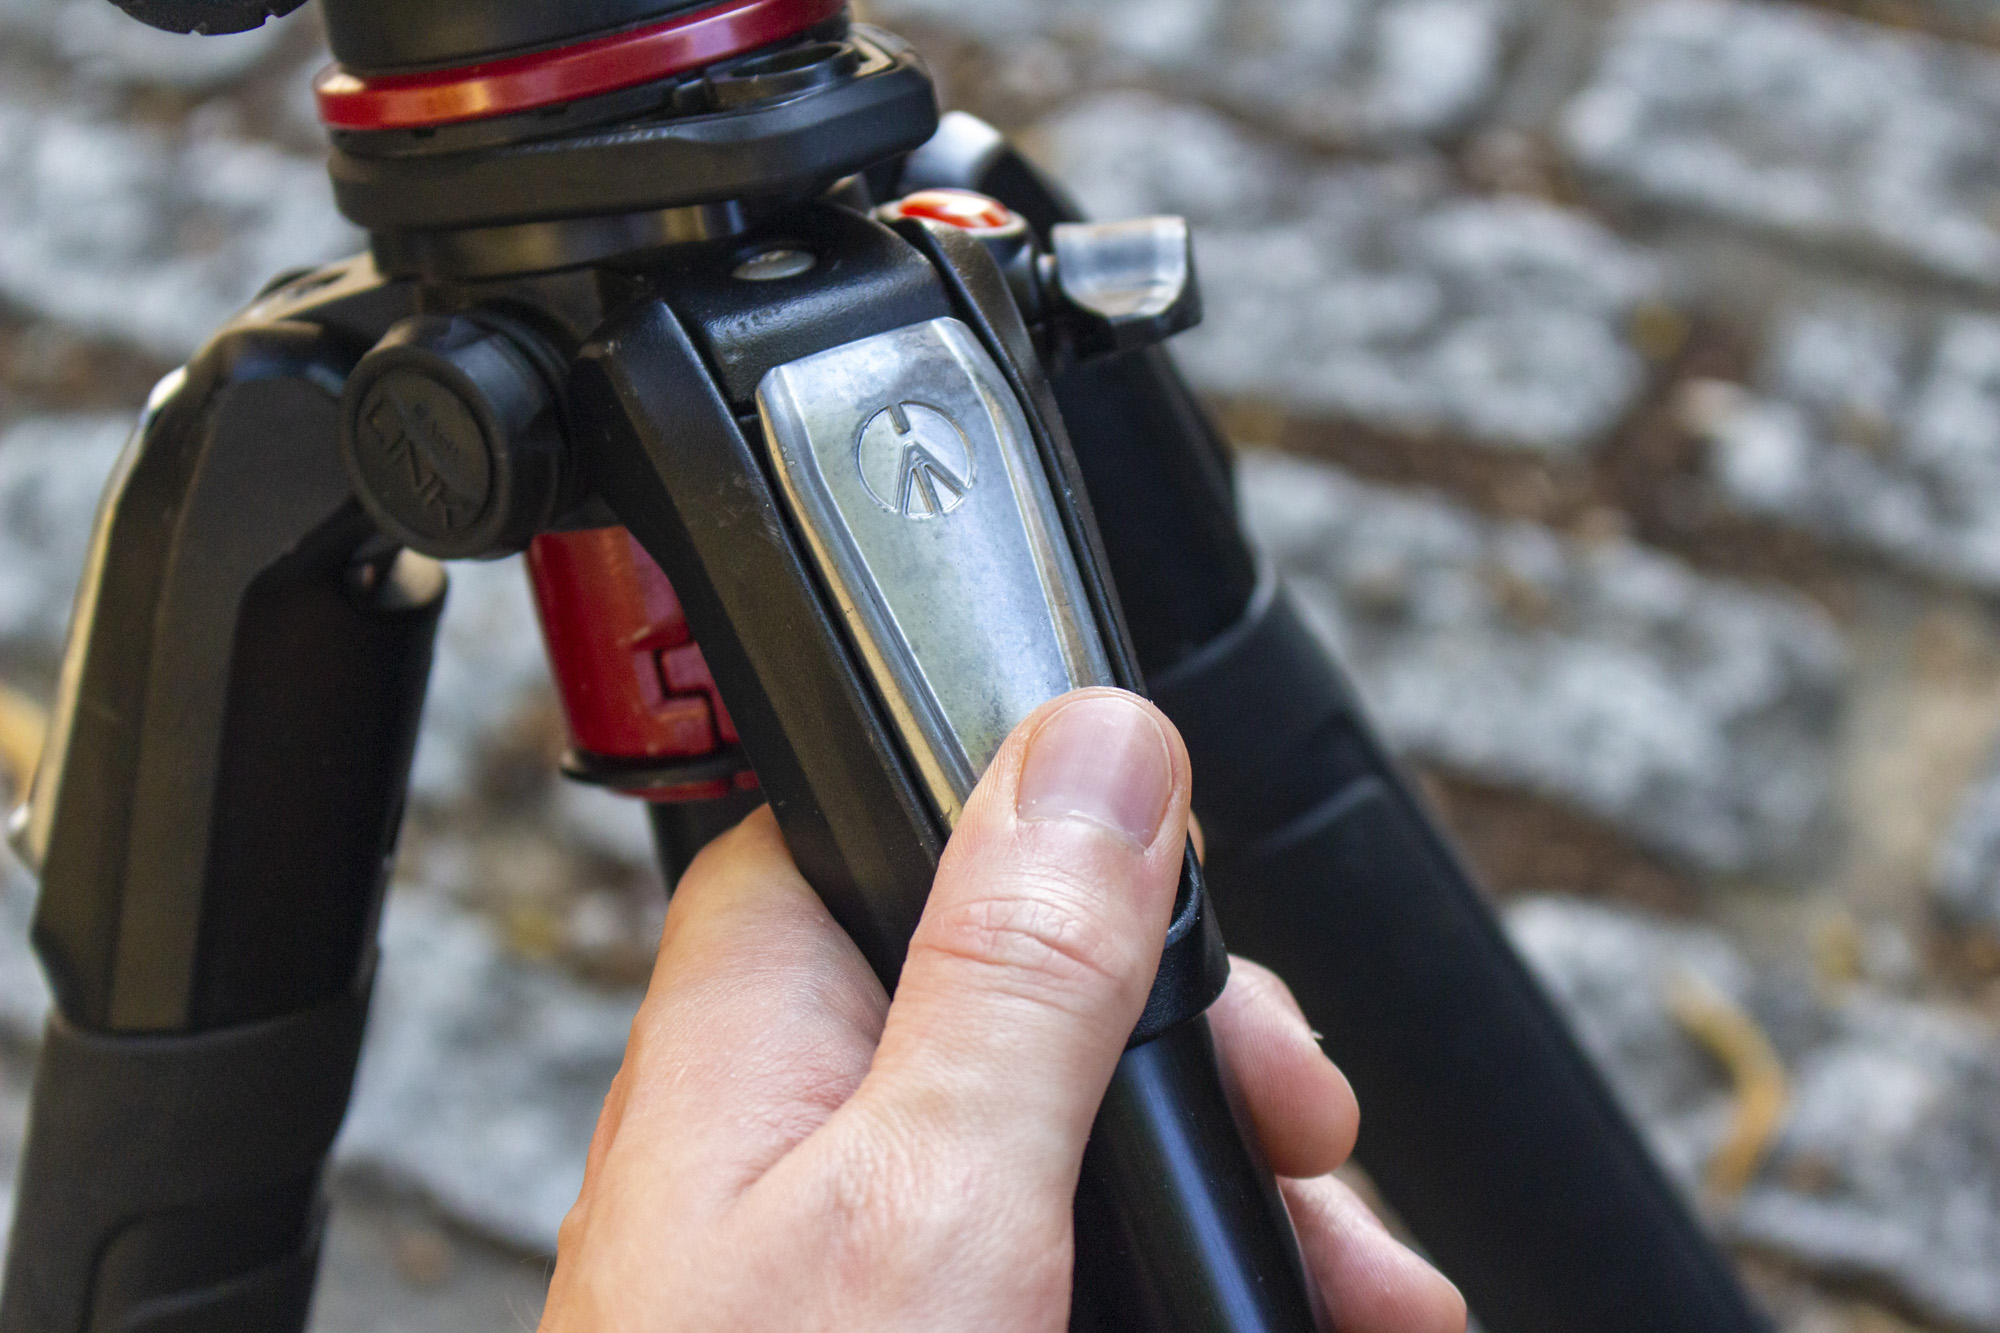
On budget tripods you’ll usually find that the legs are bound together for sharper video footage. One of the big differences with a professional photography tripod is the ability to change the leg angles, usually with a button found at the top of each leg, such as on this Manfrotto 055.
3. Stubby center column
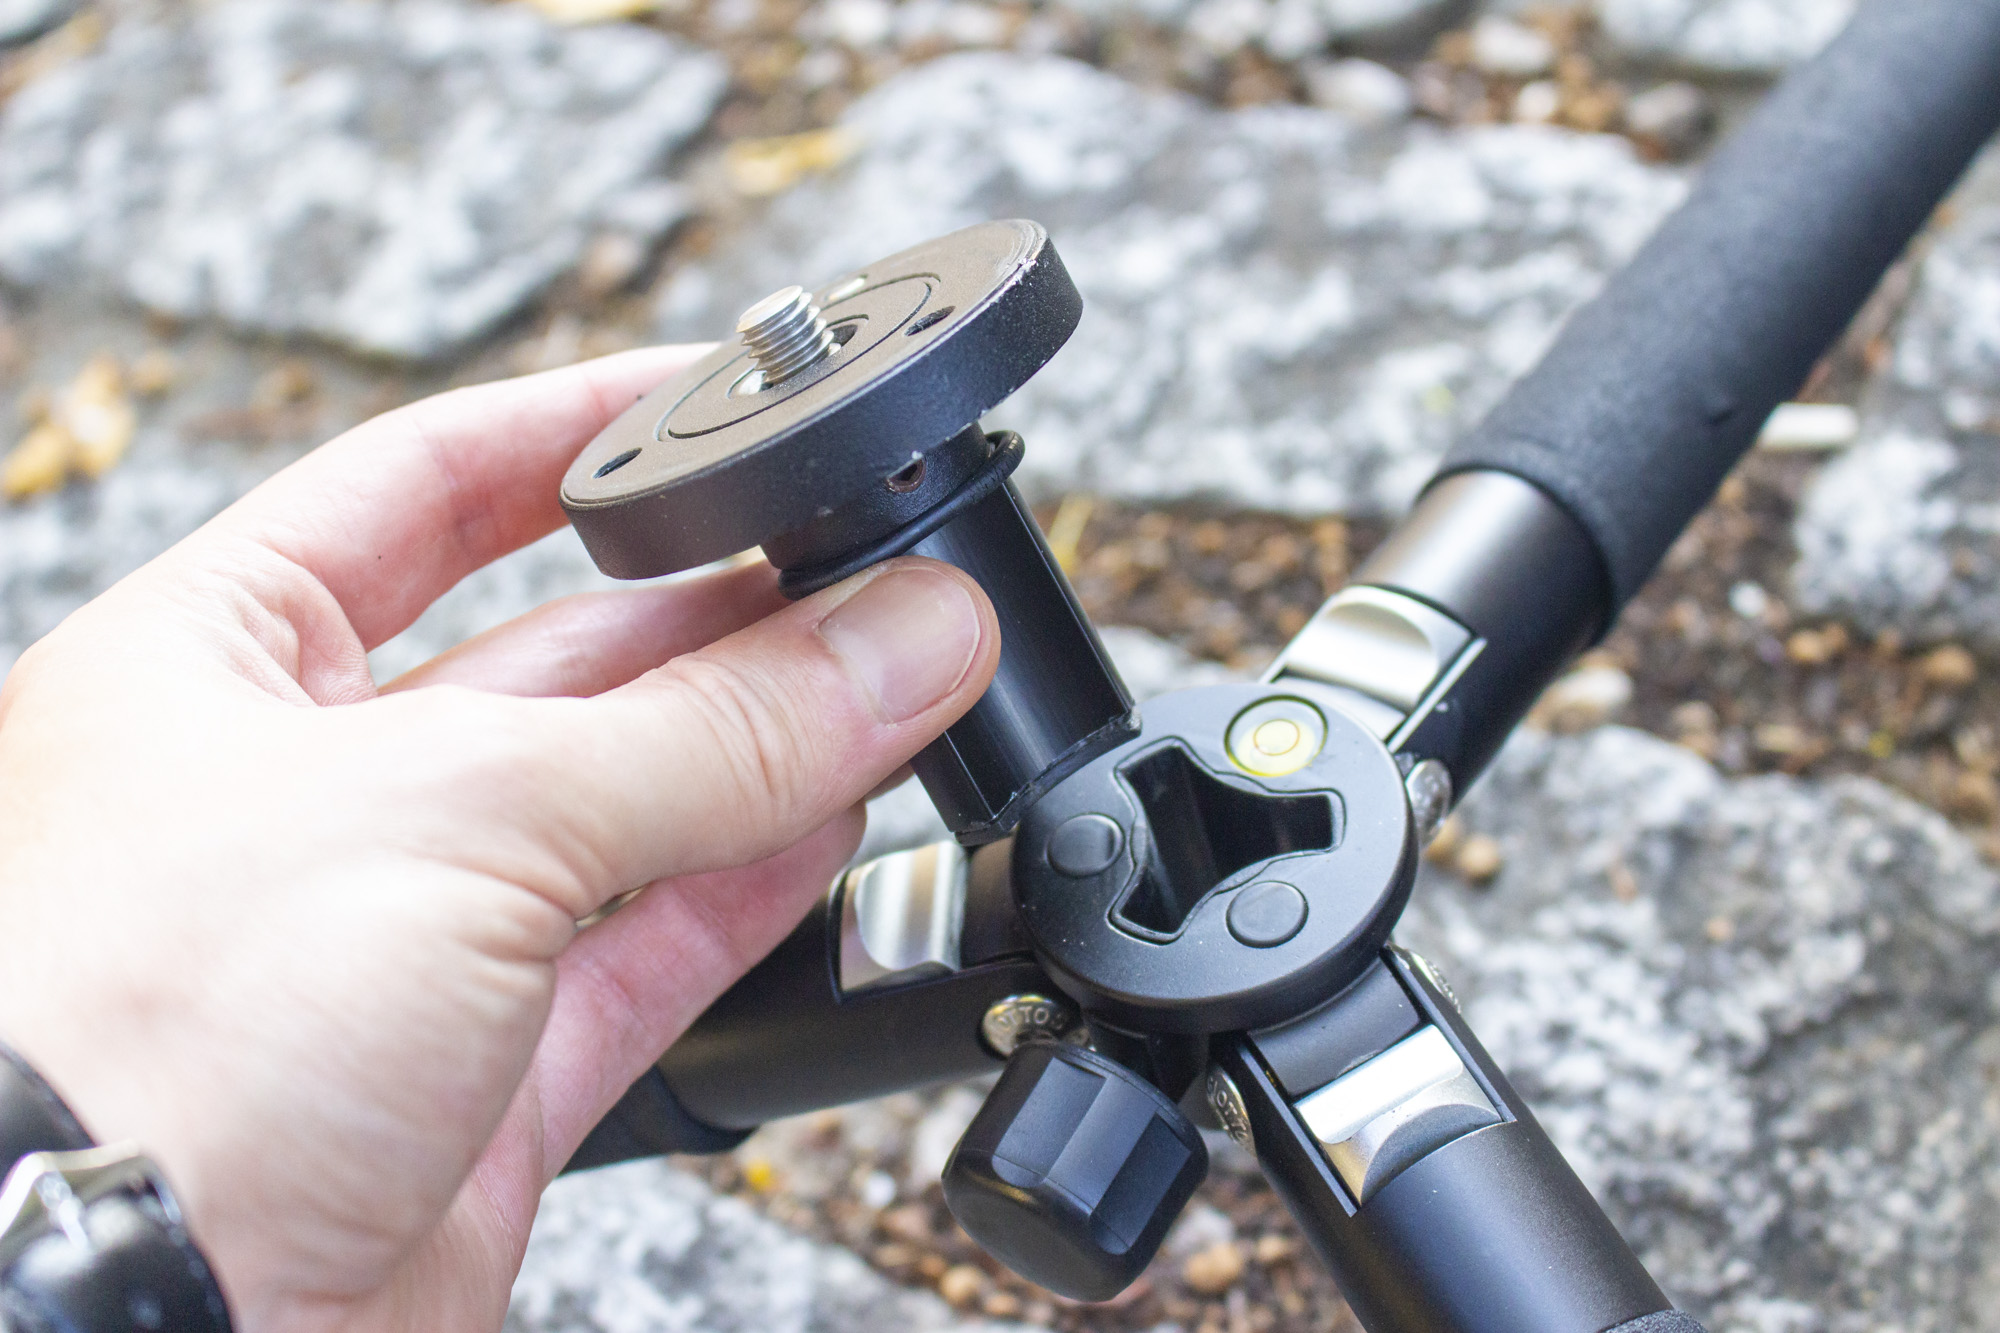
Some professional tripods come with a short center column that can be swapped out, so it doesn’t get in the way when you set the legs to their lowest position. Other center columns are built in two stages, and can be twisted to reveal a shorter setting.
4. Manfrotto swivel center column
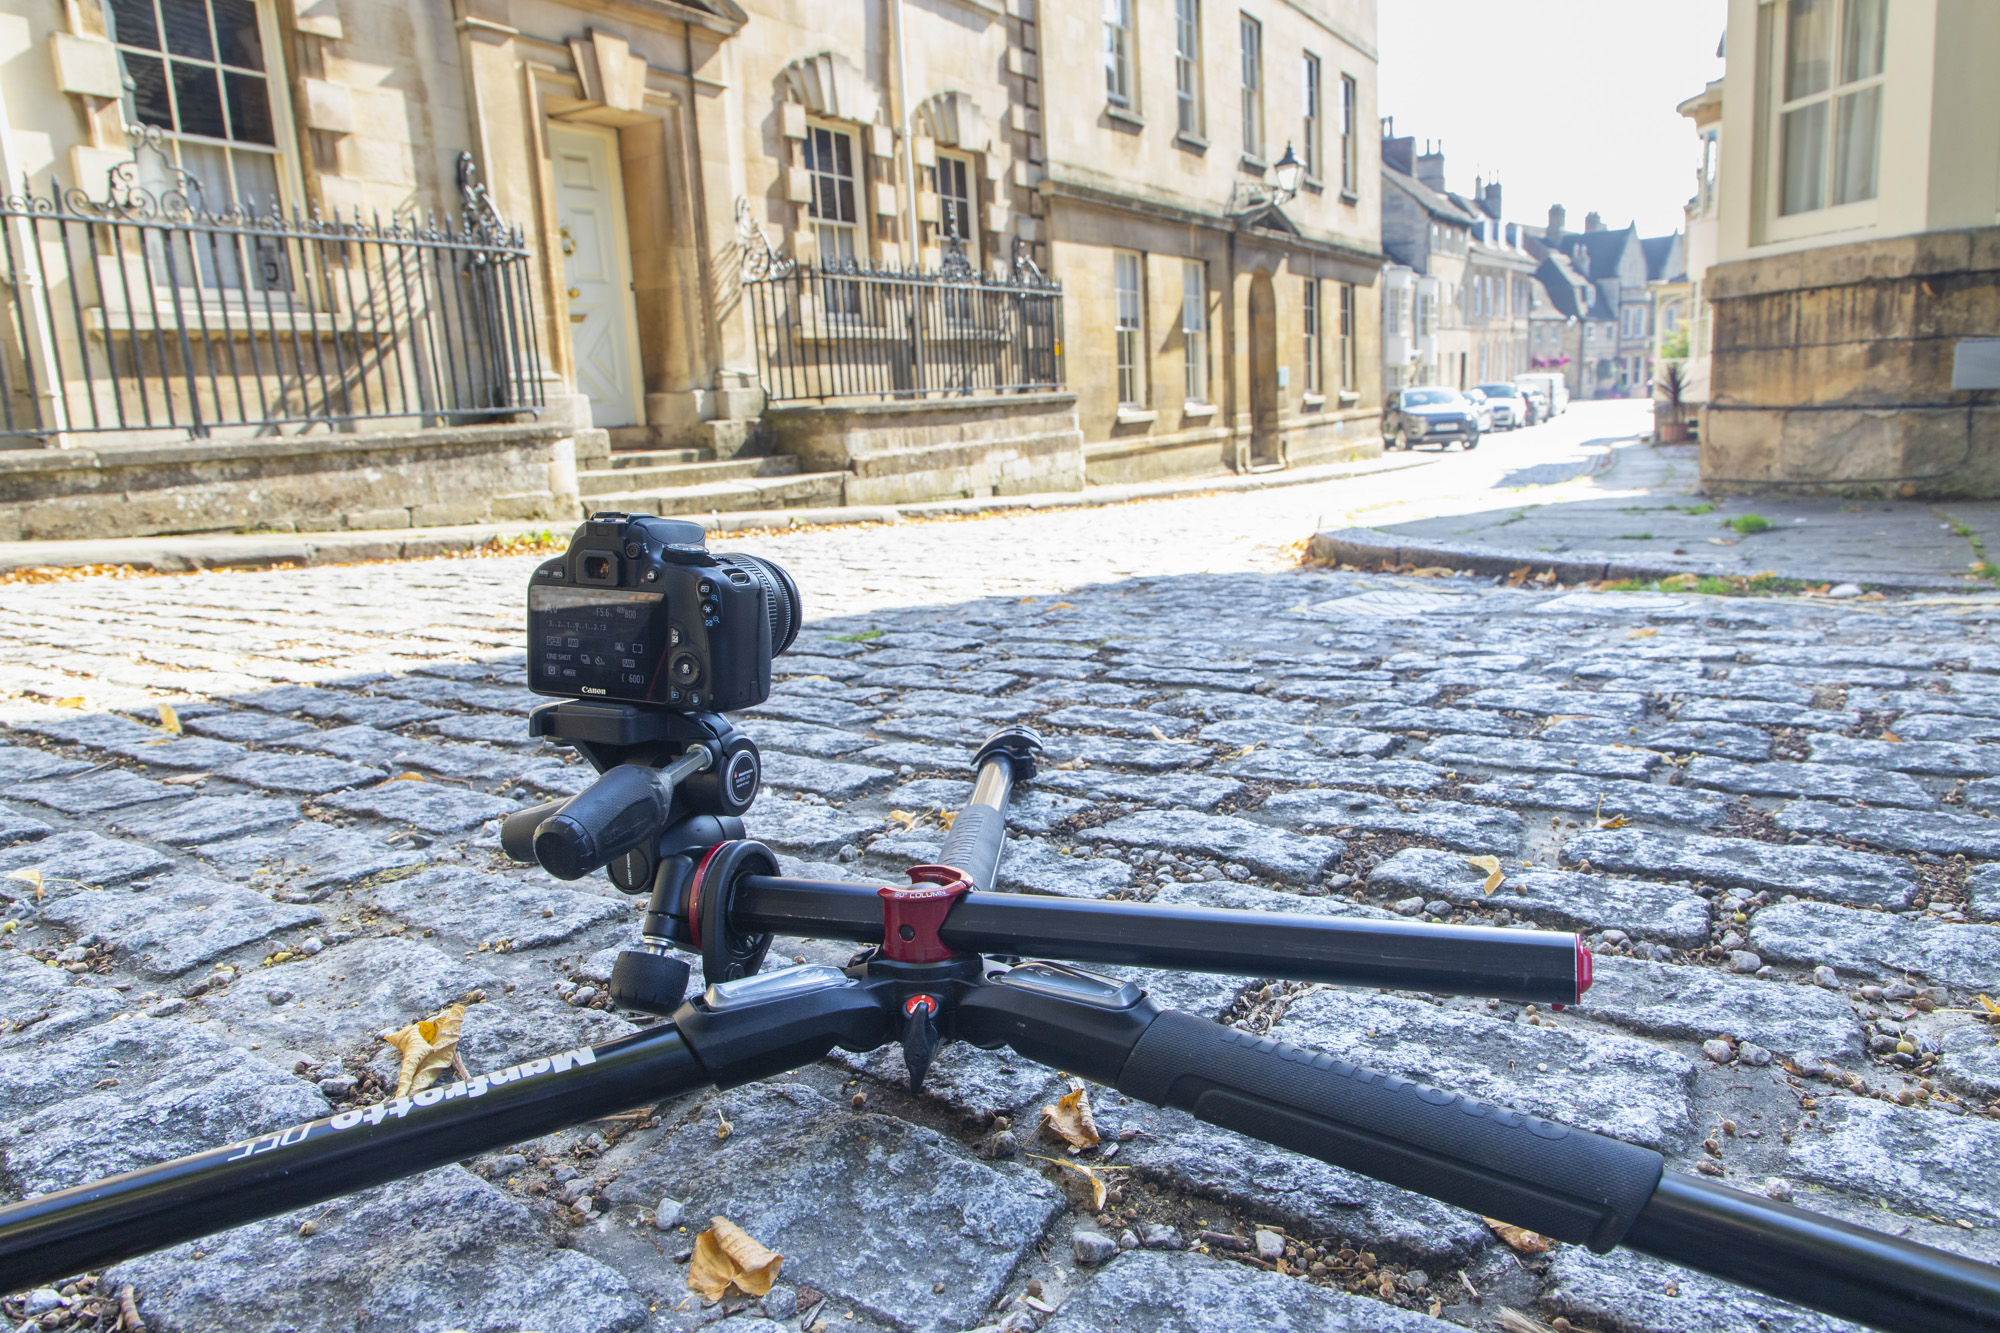
Many Manfrotto tripods, like our 055 model here, have a 90° center column. Although it cannot be removed or inverted, the center column can be positioned perfectly horizontal so that you’re still shooting with your camera in the correct orientation.
05 Tilt your LCD screen
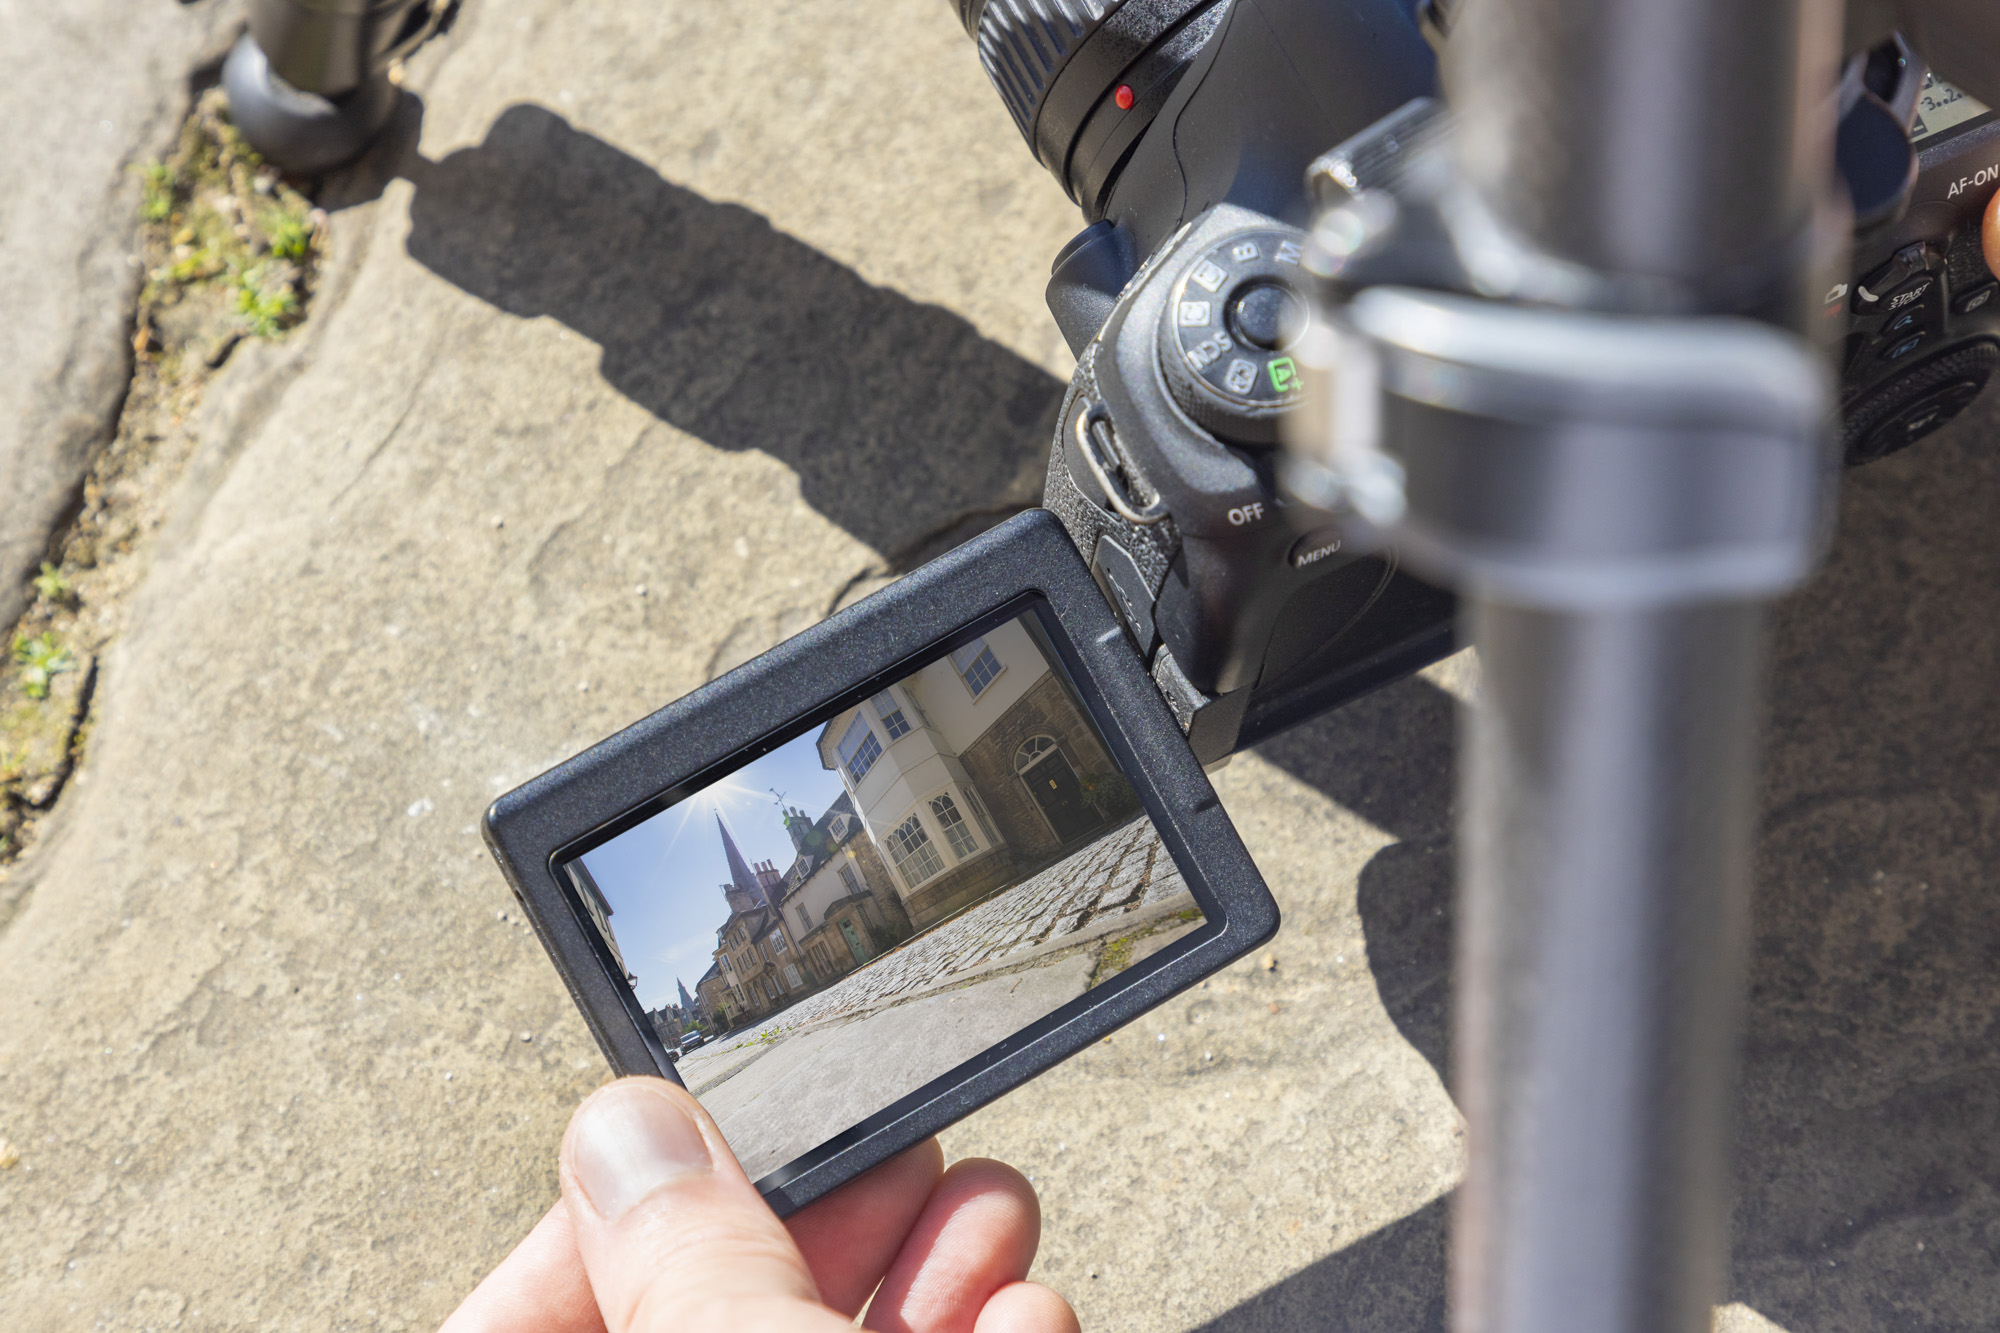
One of the best features on modern cameras is the tilting LCD screen, which makes it much easier to see your composition and frame up when your camera is close to the ground. All but the most entry-level cameras have a tilting or fully articulating screen, which you can use with Live View to see your composition and focus.
Alternatively, many cameras can be paired with a smartphone (using their corresponding app) for remote shooting, so you can see your composition via your phone screen if the screen or viewfinder is difficult to view.
06 Invert the center column
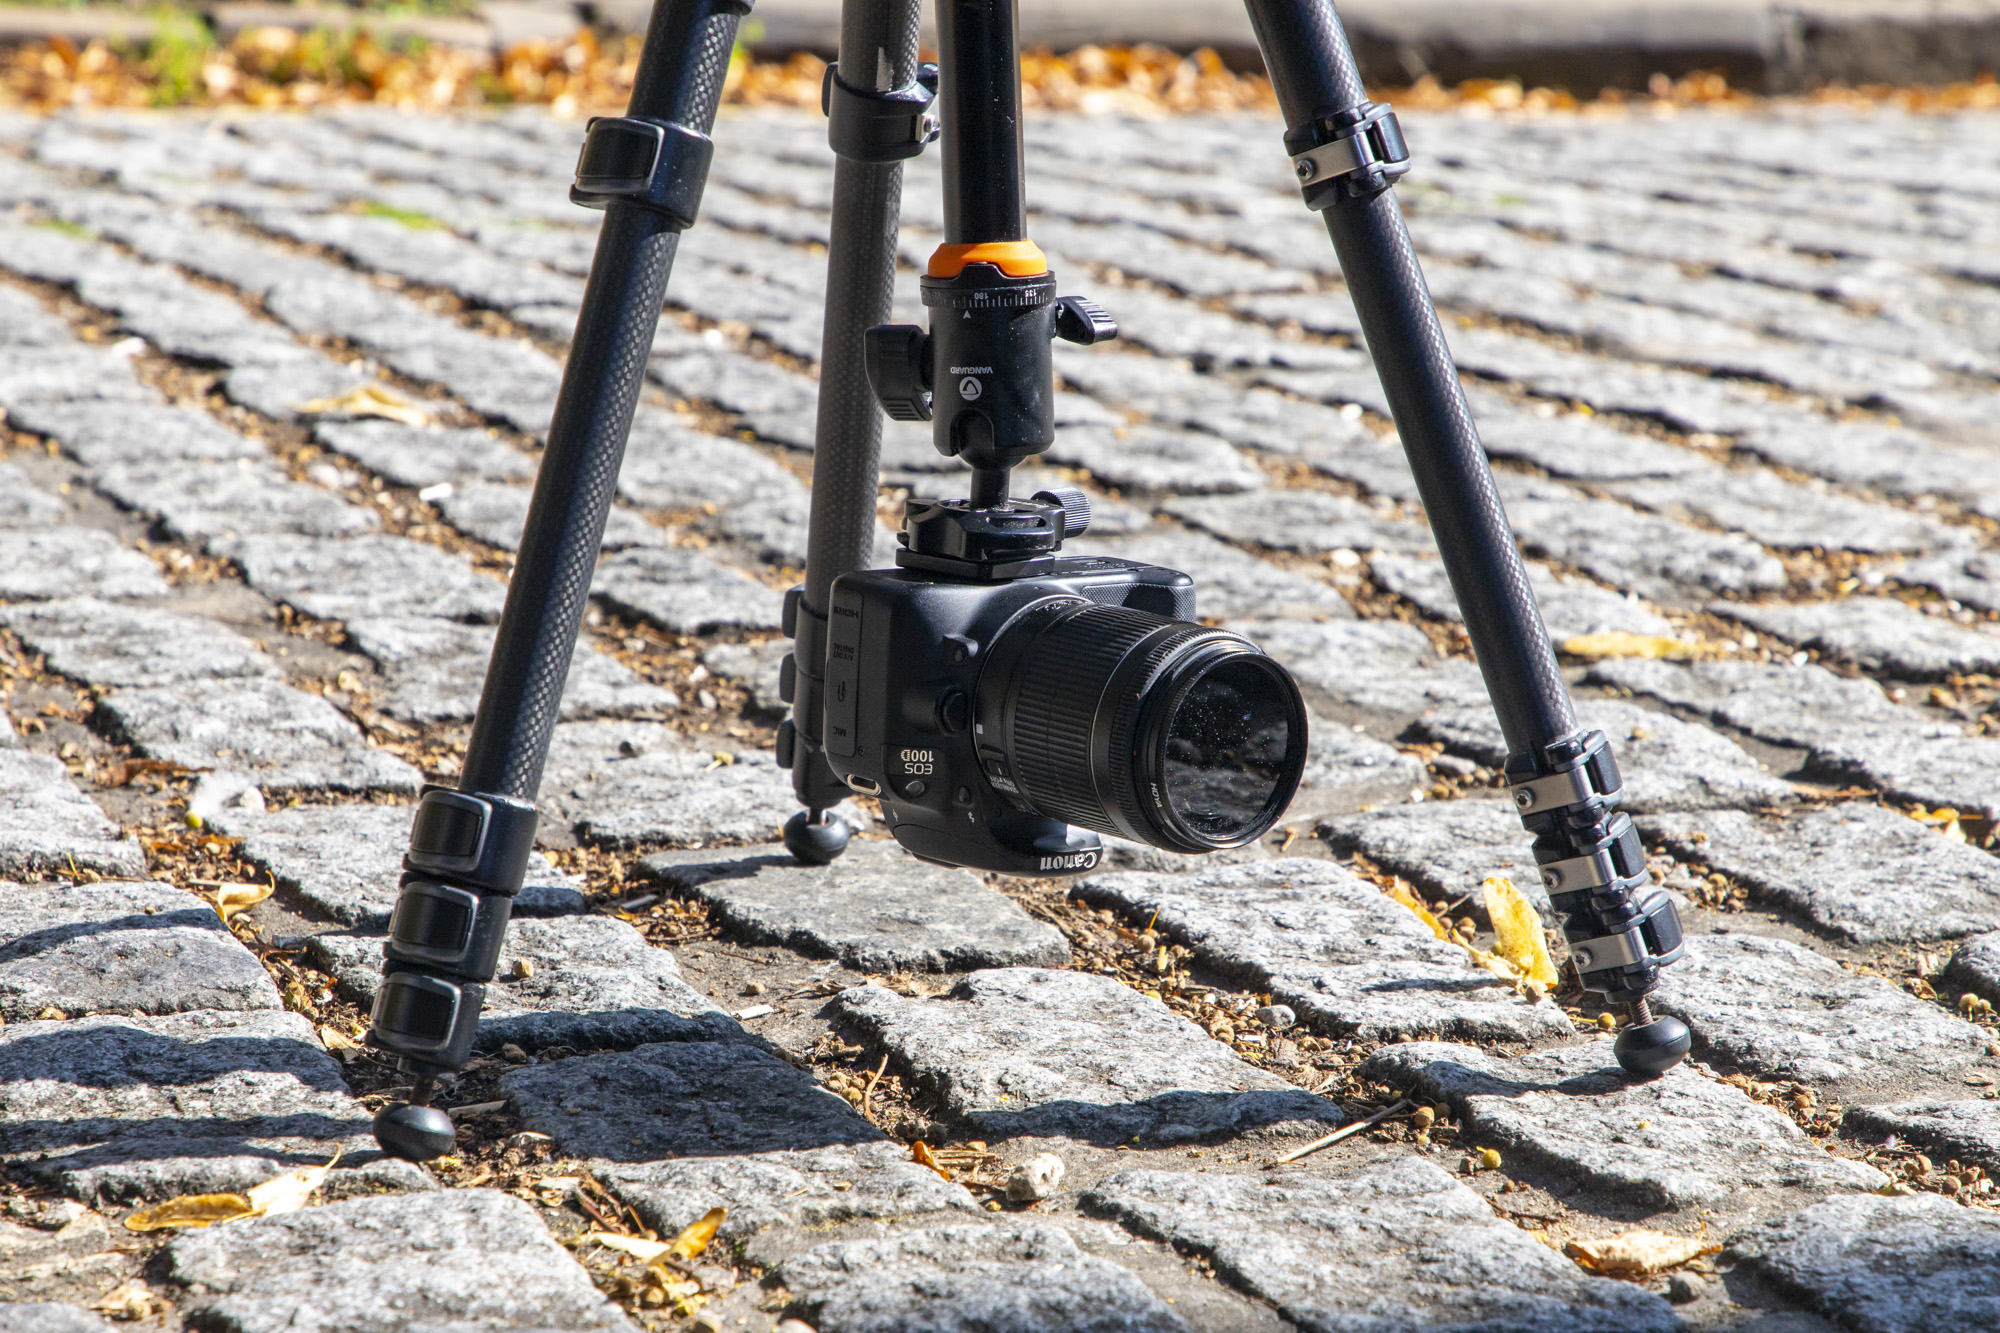
Many pro tripods have the ability for the center column to be inverted, so check the specs to see if yours can. Sometimes they flip over, while other times they need to be removed entirely and then re-inserted the ‘wrong’ way around.
07 Use a hot shoe adapter
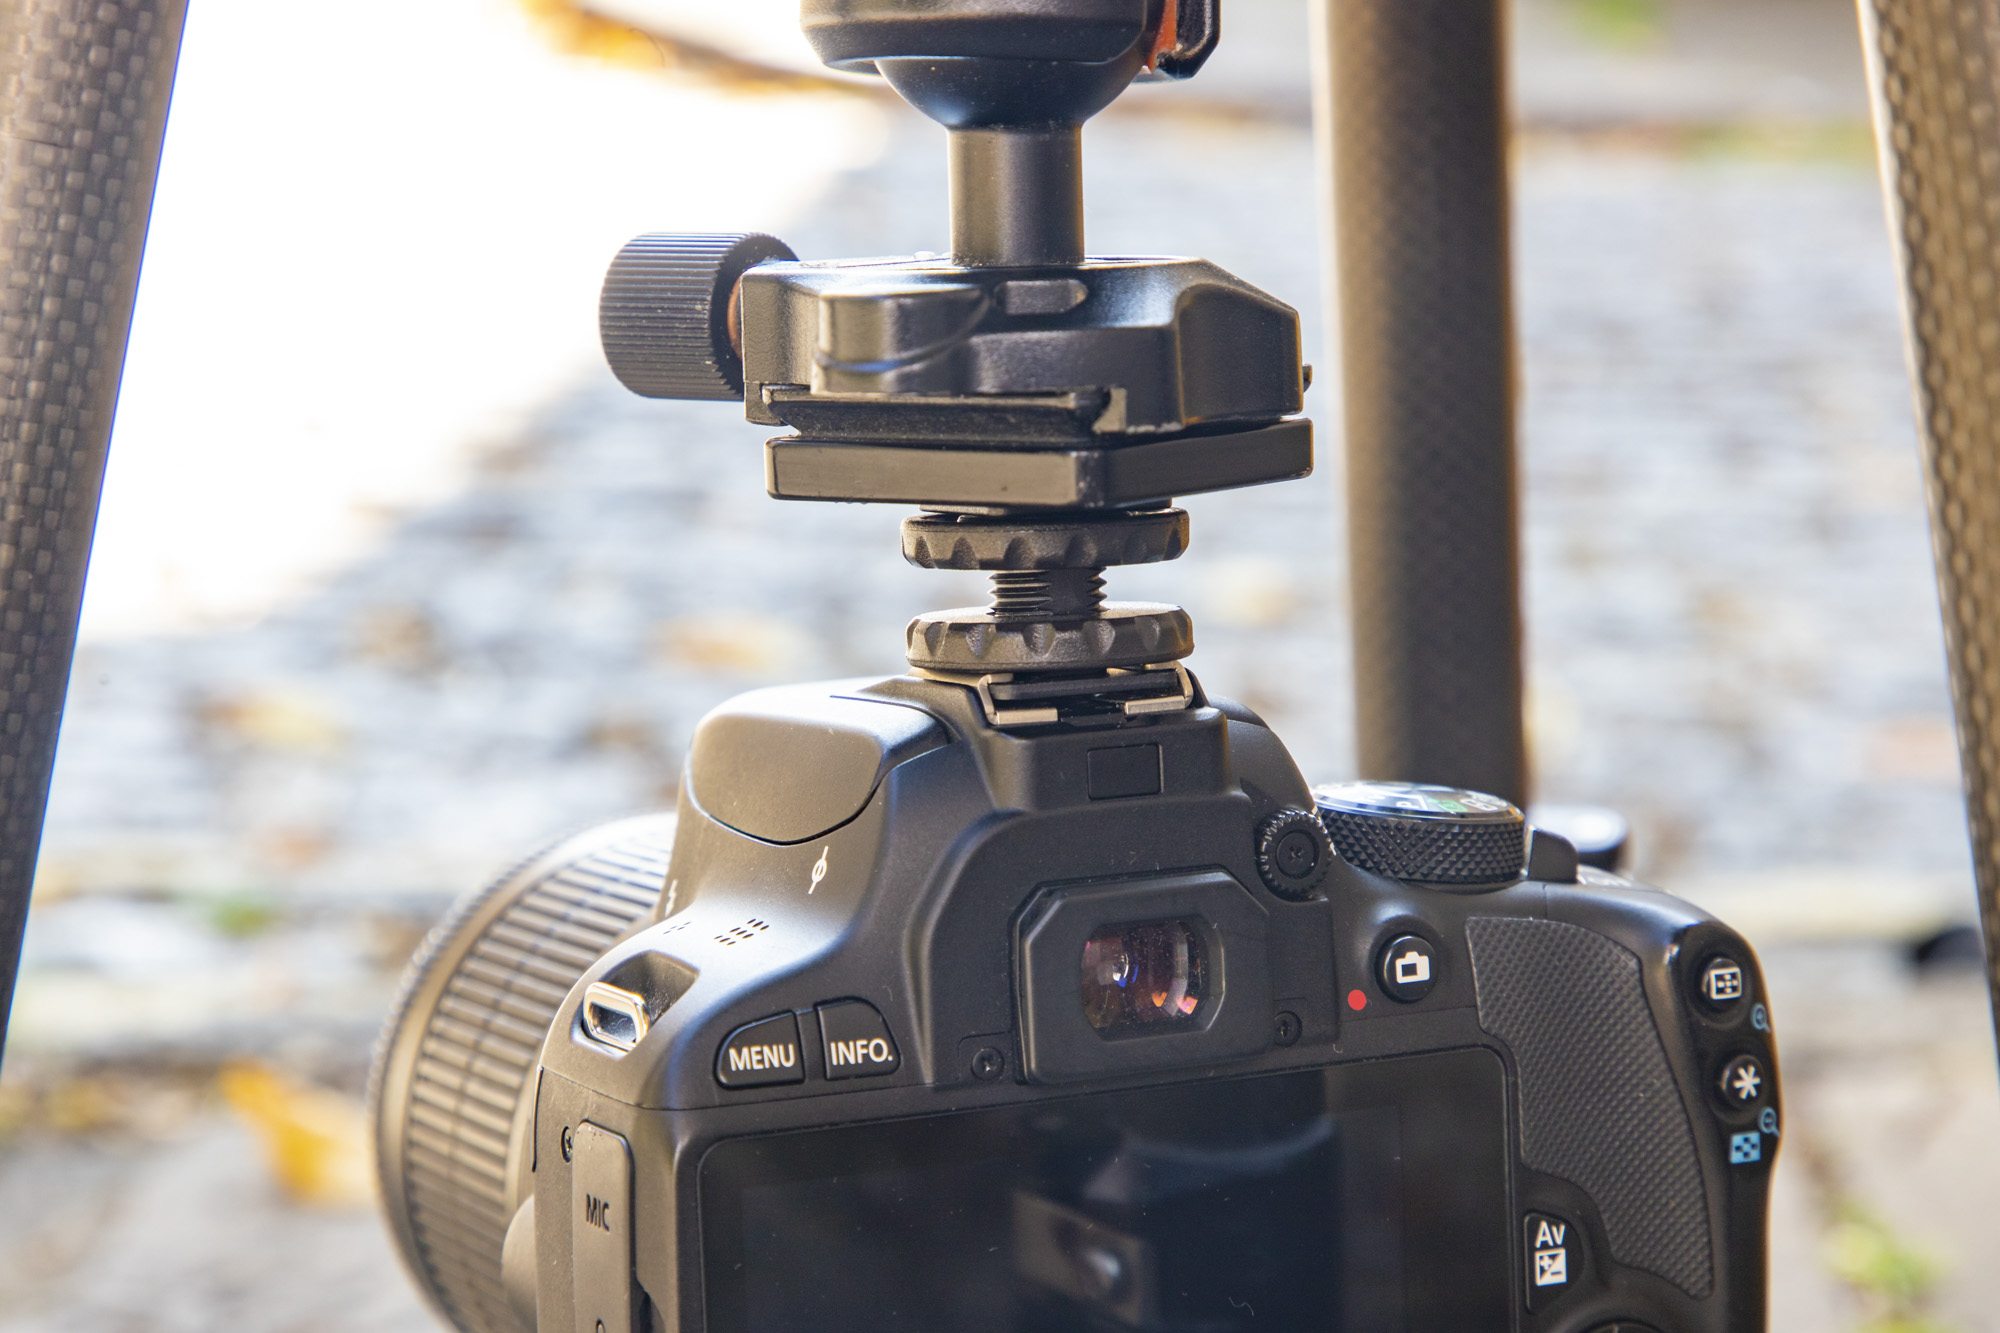
Composing on an inverted center column can be tricky with your camera and all its buttons upside-down. But you can buy an inexpensive adapter that enables you to hang your camera from its hot shoe, so you can shoot the right way up.
Pro Tip: Include a reflection
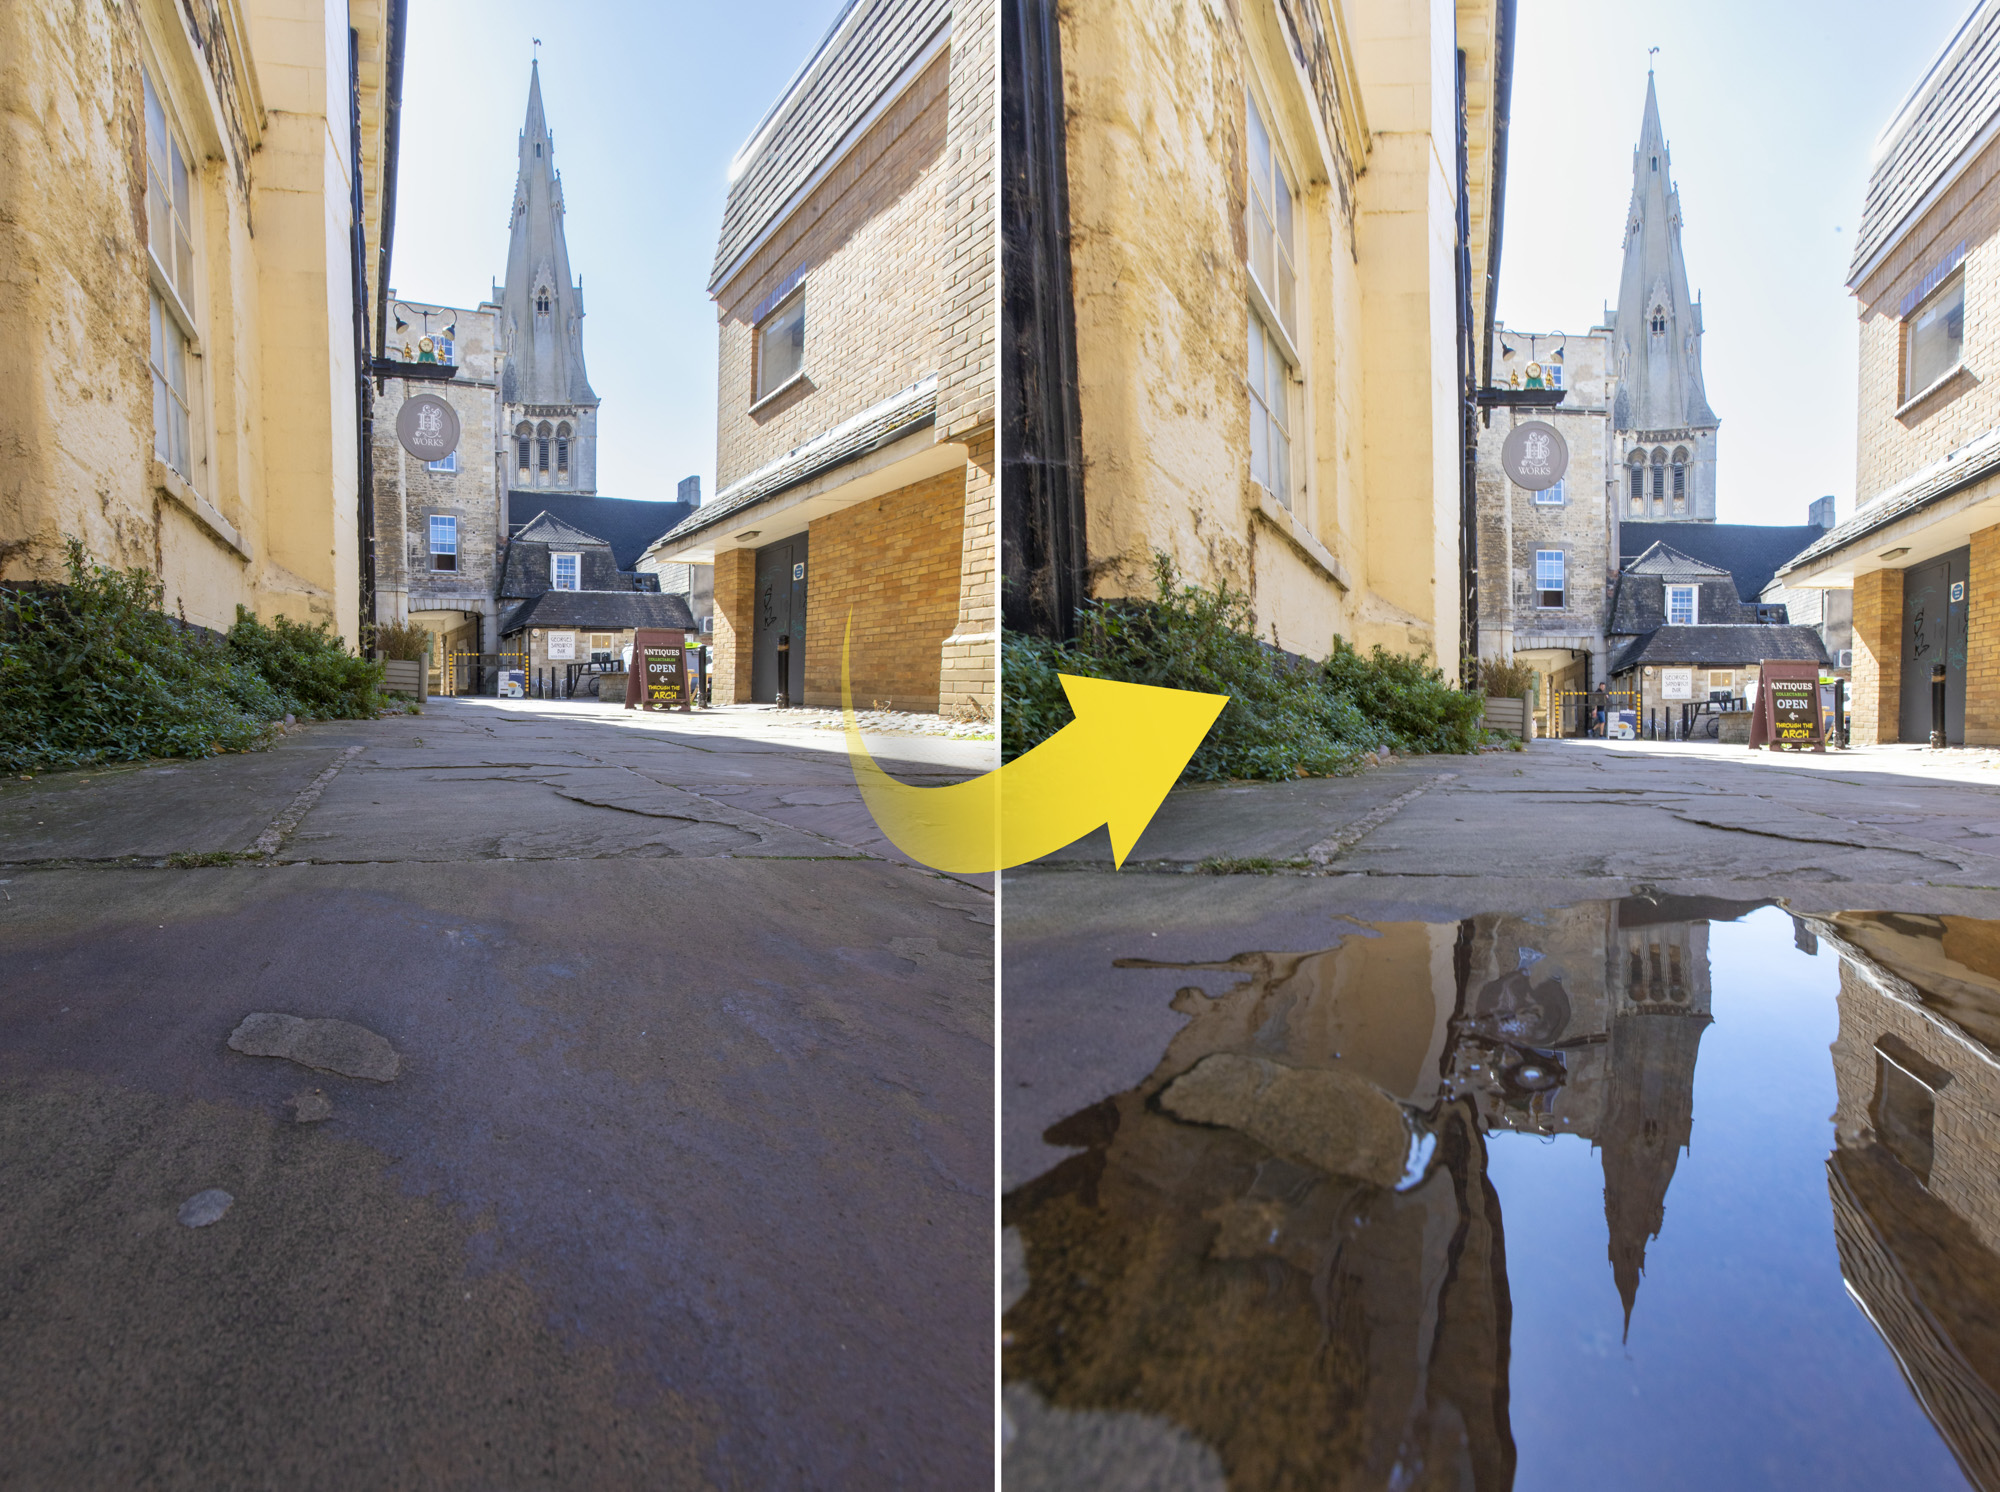
What’s better than one focal point? Two, of course! Look out for reflections in puddles of water on rainy days, or bring a large bottle of water with you to create your own! Flat sidewalks tend to work best for creating silky smooth reflections in your street scenes.
Using a wide-angle lens on your camera, you can get low down and close to the pool of water. This will enable you to create a composition including both your main focal point and its reflection, such as the church in our example. You can then decide whether to focus on your main subject or its reflection. You could also experiment with using a shallow depth of field, by opening up the aperture to turn either focal point into an attractive artistic blur.
PhotoPlus: The Canon Magazine is the world's only monthly newsstand title that's 100% devoted to Canon, so you can be sure the magazine is completely relevant to your system. Every issue comes with downloadable video tutorials too.
If you're serious about scenery, take a look at the best cameras for landscape photography along with the best lenses for landscapes.
Get the Digital Camera World Newsletter
The best camera deals, reviews, product advice, and unmissable photography news, direct to your inbox!

Deputy Editor on PhotoPlus: The Canon Magazine, Dan also brings his technical wizardry and editing skills to Digital Camera World. He has been writing about all aspects of photography for over 10 years, having previously served as technical writer and technical editor for Practical Photography magazine, as well as Photoshop editor on Digital Photo.
Dan is an Adobe-certified Photoshop guru, making him officially a beast at post-processing – so he’s the perfect person to share tips and tricks both in-camera and in post. Able to shoot all genres, Dan provides news, techniques and tutorials on everything from portraits and landscapes to macro and wildlife, helping photographers get the most out of their cameras, lenses, filters, lighting, tripods, and, of course, editing software.
