Essential exposure technique: settings for seamless backgrounds

Future
Before: The bright white background dominates the frame and the camera has attempted to render it midtone grey, resulting in ‘muddy’ underexposure of the whole composition (Image credit: Future)

Seamless black or white backgrounds are excellent for focussing the attention of your viewers onto the main subject of your images. By rendering the backdrop a solid shade, there are no distracting details, jostling for dominance. This type of background works equally well for portraits, still life shots and macro subjects, however the large expanse of bright or dark area can confuse your camera’s metering system. A black seamless background will often trick a camera into overexposing, since the system will perceive a low level of reflected light and therefore ‘assume’ ambient light levels are low. 

Conversely, a white backdrop may result in an underexposed, or even silhouetted subject, due to misread brightness. To side-step these common issues, we can experiment with metering modes, for more precise exposure measurement, and recompose the frame, to help the camera better assess the area of the scene that should be used as the exposure reference. 

More: What is exposure?

Alternatively, using the automatic metering system to estimate exposure, and then locking in these camera settings, will provide greater control over localised brightness. Here we combine these methods for a precise workflow. Regarding background colour, it doesn’t matter if yours is black or white, the method is equally applicable, although you should expect inverse warnings at Step 6.

1- Activate Spot Metering

Future

(Image credit: Future)

Since Evaluative metering is too easily confused by the bright background in this shot, using Spot metering will assess exposure from a smaller area of the frame - the space occupied by the subject.

2- Zoom in

Future

(Image credit: Future)

Metering for solid backgrounds is difficult due to the large area of the frame they occupy. Zoom in to fill more of the frame with the subject, essentially forcing the camera to take a reading from those areas.

3- Take an exposure reading

Future

(Image credit: Future)

Place the active AF point over your subject to take a test reading. Try to target the brightest part, to ensure highlight detail is retained - to create a bright white background, use positive exposure compensation.

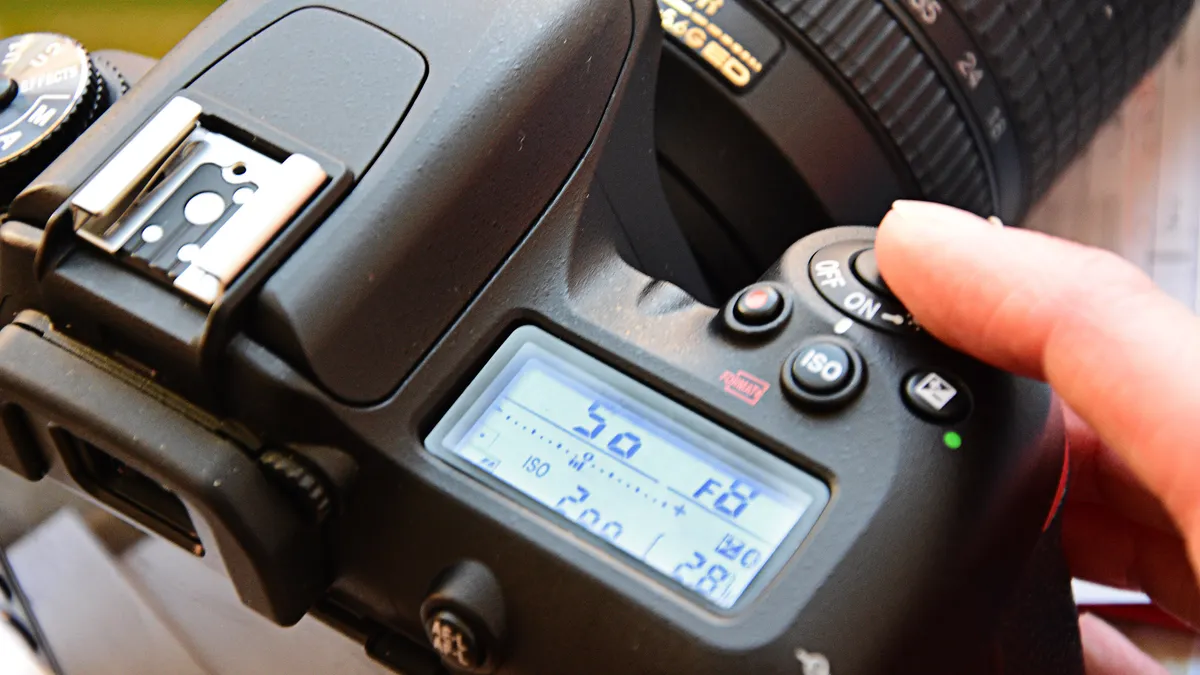
4- Lock your settings

Future

(Image credit: Future)

Once your exposure is centred, use the Auto Exposure Lock button or make a note of the suggested settings, switch the camera to Manual and enter these values, which will no longer be changed by the camera.

5- Shoot a test image

Future

(Image credit: Future)

Zoom back out and compose your image as required. Fire a test shot to assess the overall exposure, adjusting the shutter speed if necessary - aperture can be used, but here we want depth-of-field constant. 

6- Check LCD warnings

Future

(Image credit: Future)

Avoid histograms for assessing exposure as you can expect to see clipping, due to the intentional solid backgrounds. Use shadow/highlight alerts instead as these will show missing detail in your subject. 

Future

After: Corrected brightness - By better targeting the exposure of the main subject, its colour is maintained, while the solid background is rendered correctly and reliably, from shot to shot.  (Image credit: Future)

Read more

Get more from your camera's built-in flash

How to capture a double exposure

Canon School: How to correct exposure with a Canon camera

Peter Fenech

As the Editor for  Digital Photographer magazine, Peter is a specialist in camera tutorials and creative projects to help you get the most out of your camera, lens, tripod, filters, gimbal, lighting and other imaging equipment.

After cutting his teeth working in retail for camera specialists like Jessops, he has spent 11 years as a photography journalist and freelance writer – and he is a Getty Images-registered photographer, to boot.

No matter what you want to shoot, Peter can help you sharpen your skills and elevate your ability, whether it’s taking portraits, capturing landscapes, shooting architecture, creating macro and still life, photographing action… he can help you learn and improve.

Read more
The exposure triangle with pictogram examples of the effects aperture, shutter speed and ISO have on photographs
This is how I learned the exposure triangle and how I use it to shoot in manual mode
Low-key image, showing an up looking perspective from an inside of a historic building, where window features and stair railing were turned into abstract shapes and form
"The great thing about low-key photography is that it can be done at any time of the day, so you can create your own drama"
Three different portrait shots, showing a strobe effect, high contrast and film-noir style style
"For a more dramatic look, I add more lights to create high contrast and a dynamic that is hard to beat"
iPhone exposure compensation
Take control of your iPhone’s exposure – trust me, it will transform your images!
Stroboscopic flash portraits with a tennis player in a studio
Game, set and flash! Capture sensational stroboscopic portrait photos in a home studio
Superbike rounds a corner on a racetrack, with an inset roundel showing the exposure compensation dial on a Sony camera
I need to change my camera settings FAST, exposure compensation saves me every time – here's how...
Latest in Exposure
What is ISO in photography?
Superbike rounds a corner on a racetrack, with an inset roundel showing the exposure compensation dial on a Sony camera
I need to change my camera settings FAST, exposure compensation saves me every time – here's how...
Rear LCD of Nikon Z6 II showing live view with focus peaking activated, in front of a spread of scones and jam
Focus peaking completely changed the way I use my Nikon camera, here’s how
'Tiger dancer' performing Pulikali during India's Onam festival, with spiral of lights behind
Amazing 'tiger dance' photo was shot with pop-up flash and a slow shutter speed
Topplate Leica M-E at 1/500
1/500th is all I need for photography, maybe you do too?
Focus shift shooting
Focus-stack your close-up photos the easy way with Nikon’s Focus Shift Shooting mode
Latest in Tutorials
Total lunar eclipse
How I’ll photograph the blood moon total lunar eclipse tonight, one of the best astrophotography events of the year
Wildlife portrait of a gannet in front of a clean green background
10 tips for wildlife photography from birds in flight to insect close-ups
Mountain valley during sunrise. Natural summer landscape
9 landscape photography tips I think every photographer should know
Bride and groom hold hands aloft backlit against the sun on their wedding day
Want to be a wedding photographer? Here are my 11 tips that will help you get there the RIGHT way
Colourful trees frame a small river, photographed with a long exposure
I love to shoot long exposures in the rain – here’s why I head to the woods!
What is ISO in photography?