Home photography ideas: Shoot product photography with a single strobe
Work with directional lighting for dramatic but controlled product photography at home

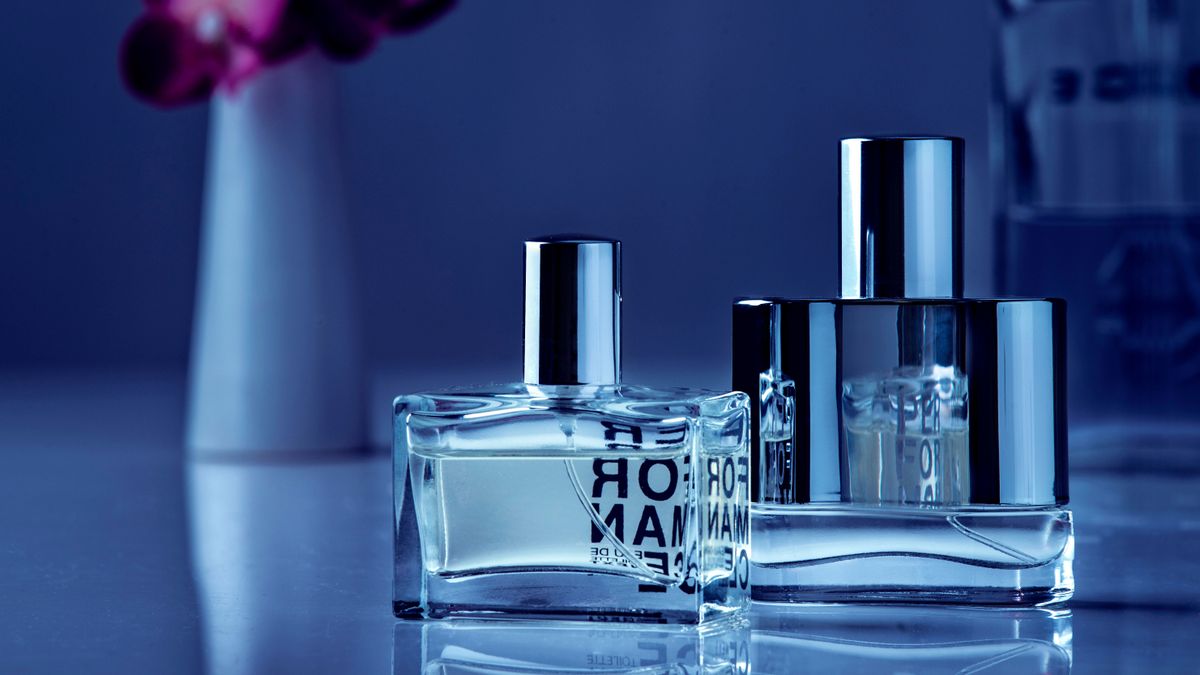
Product photography is a great genre to practice while we're all shooting from home, but it's a deceptively complex genre. In order to create the kind of professional level that you would see in magazines and adverts, lighting must be tightly controlled.
In many cases product photography professionals employ a multi-light setup. However, where space is limited or when working on a limited budget, a single strobe can suffice. In fact, in some cases a single light can be desirable to create a strong directional look, where using a second strobe would introduce too much light to the scene and add unnecessary complication to the photographer’s workflow.
• Get more Home photography ideas
• 10 best online photography courses


However, the main challenge with this approach is that one side of the product can appear underexposed – especially with dark, glossy materials. Where this occurs it is important to add a fill light, by reflecting some of the illumination back onto the surfaces not facing the light source. This provides a more subtle accent light effect than even the lowest power setting on a second strobe could achieve.
With a creative approach to lighting angles, and a good knowledge of how exposure relates to lighting output, a magazine-style result can be attained with minimal investment in time and potentially costly studio equipment.
• Best camera for product photography
Step 1: Place the light

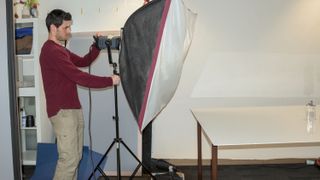
Attach a large softbox to your strobe. While we want a fairly tight light spread, background illumination can be altered later, while product highlights will be kept soft by the large light source.
Step 2: Arrange the products

Set out the items to introduce a sense of depth. Stagger the objects to avoid too much linearity, which does not produce an interesting perspective. Ensure good background separation.
Step 3: Choose a focal length

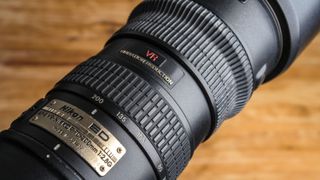
Depending on the size of your studio, a longer focal length will compress the scene, making items appear closer together, minimising optical distortion and cutting negative space within the frame.
Step 4: Set the aperture

To keep all of your subjects sharp, stop down to at least f/11. You may need to use a higher f-number to manage image brightness, so moving the items away from the background reduces unwanted detail.
Step 5: Adjust strobe power

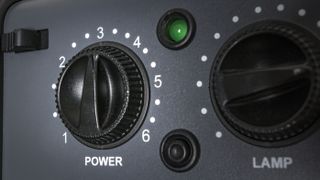
If your shot is too bright, with blown highlights on one side of the product, keep your camera settings the same and reduce strobe output. Don’t move the light back – this can create too much directionality.
Step 6: Use a reflector

Use a piece of white card or perspex to bounce back light onto the dark side of the items. This will create a similar look to a second softbox, but with a more manageable output. Vary position and angle.
• The best reflectors for photography
Step 7: Adjust settings

If your scene is still too bright, increase the shutter speed to around 1/200 sec. This will cut ambient light without exceeding the maximum sync speed with the strobe. Fluorescent white balance adds a cool tone.
Step 8: Adjust light position

If your background is too bright, angle the light at 45° towards the camera, slightly behind the products, to reduce spread and feather the subjects’ illumination. Be aware of flare and reduced contrast.
Read more:
Photography tips and techniques videos
The best lighting kits for home studio or location photography
Studio portrait lighting: essential tips and setups explained
Get the Digital Camera World Newsletter
The best camera deals, reviews, product advice, and unmissable photography news, direct to your inbox!
As the Editor for Digital Photographer magazine, Peter is a specialist in camera tutorials and creative projects to help you get the most out of your camera, lens, tripod, filters, gimbal, lighting and other imaging equipment.
After cutting his teeth working in retail for camera specialists like Jessops, he has spent 11 years as a photography journalist and freelance writer – and he is a Getty Images-registered photographer, to boot.
No matter what you want to shoot, Peter can help you sharpen your skills and elevate your ability, whether it’s taking portraits, capturing landscapes, shooting architecture, creating macro and still life, photographing action… he can help you learn and improve.
