How to photograph a frame within a frame
Get into the right frame of mind! Up your compositional game by learning how to photograph a frame within a frame
Watch video: How to photograph a frame within a frame
A frame within a frame is a popular compositional technique used to frame the subject of a photograph with a natural or man-made object. This could be anything from a window or doorway, to an avenue of trees or a row of bushes.
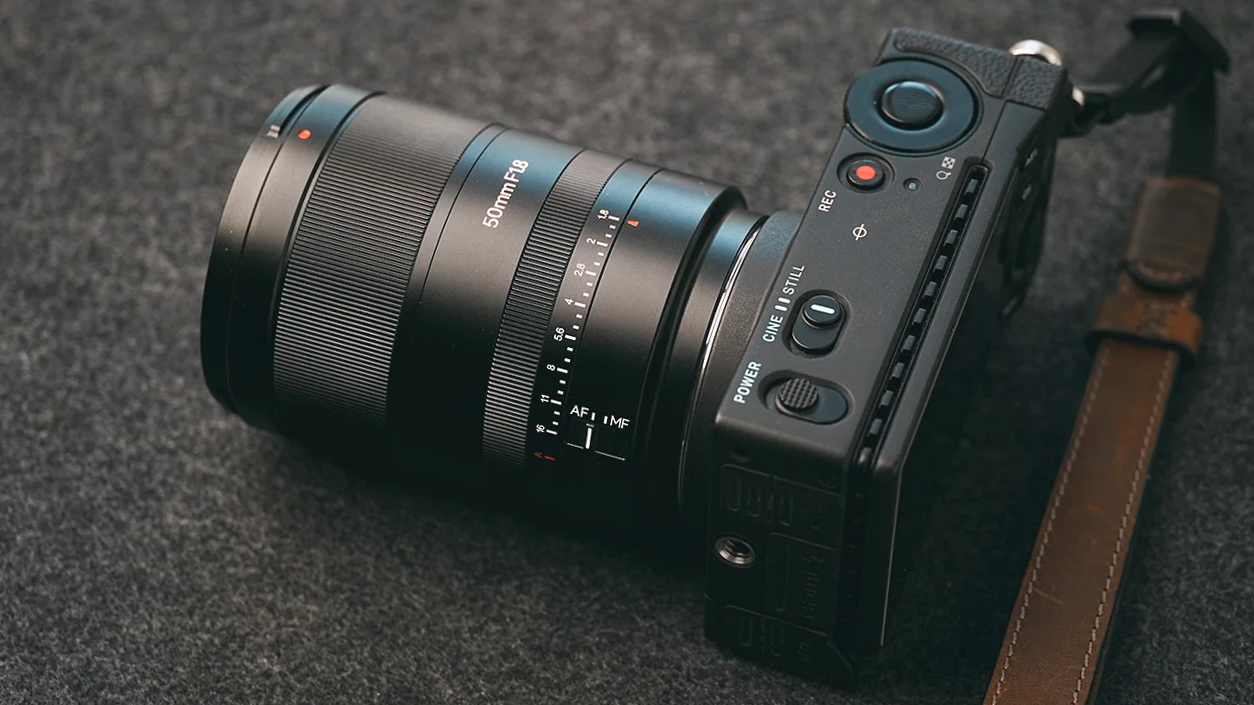
Frames can be captured with any optic, but are fun to spot while out on photowalks with the best 50mm lens. The frame doesn’t need to completely surround your subject, but it should be prominent enough to guide the viewer’s eye straight to the focal point. Frames are a great way to simplify overly busy scenes or obscure unattractive or boring areas of your images. Our photograph of Bath Abbey is a good example. The grand building is a beautiful architectural subject, but its size cuts a lonely figure as it protrudes high above everything else in the city, which makes it difficult to compose.
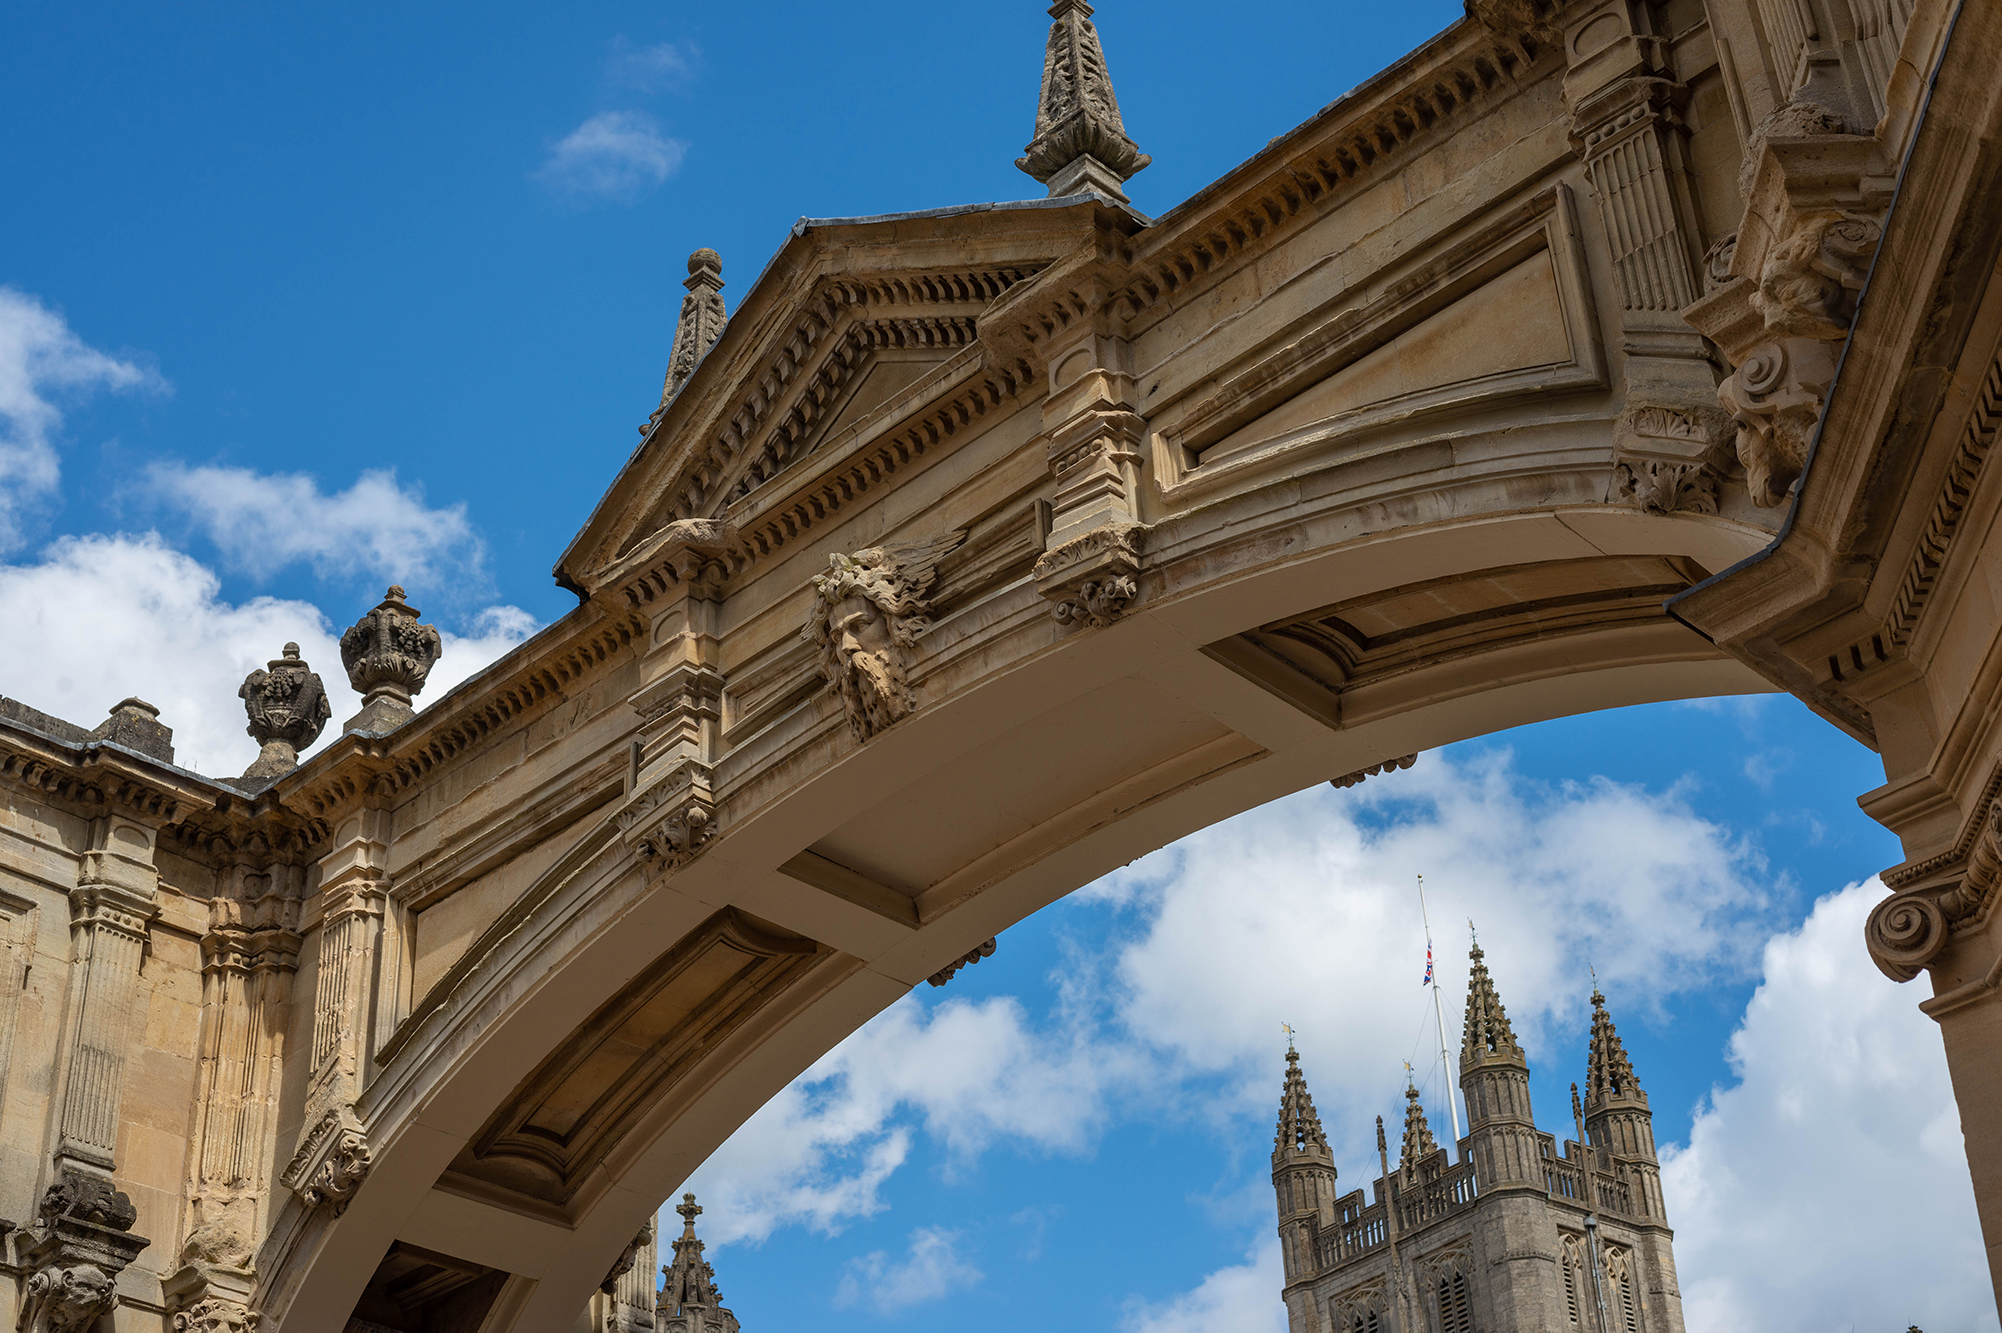
Thankfully a nearby archway allowed us to frame the magnificent structure, and create a much more balanced and interesting composition. The hard part is inevitably finding a suitable frame, particularly if you already have a subject in mind. However, you can search for frames whenever you’re out and about, even if you don’t have your camera on you.
Just like other compositional techniques, such as leading lines and the rule of thirds, if you practice long enough, you’ll start to notice frames within frames everywhere. Hopefully the steps below will help it to become second nature!
Step by step: How to photograph a frame within a frame
01. Find your frame
When you’re actively looking for frames within frames you’ll start to see them all over the place. However, if you have a specific subject in mind, it can be challenging to find a suitable frame. We walked in a circuit around our subject and eventually happened upon an archway that lined up with the building perfectly.
02. Think frames
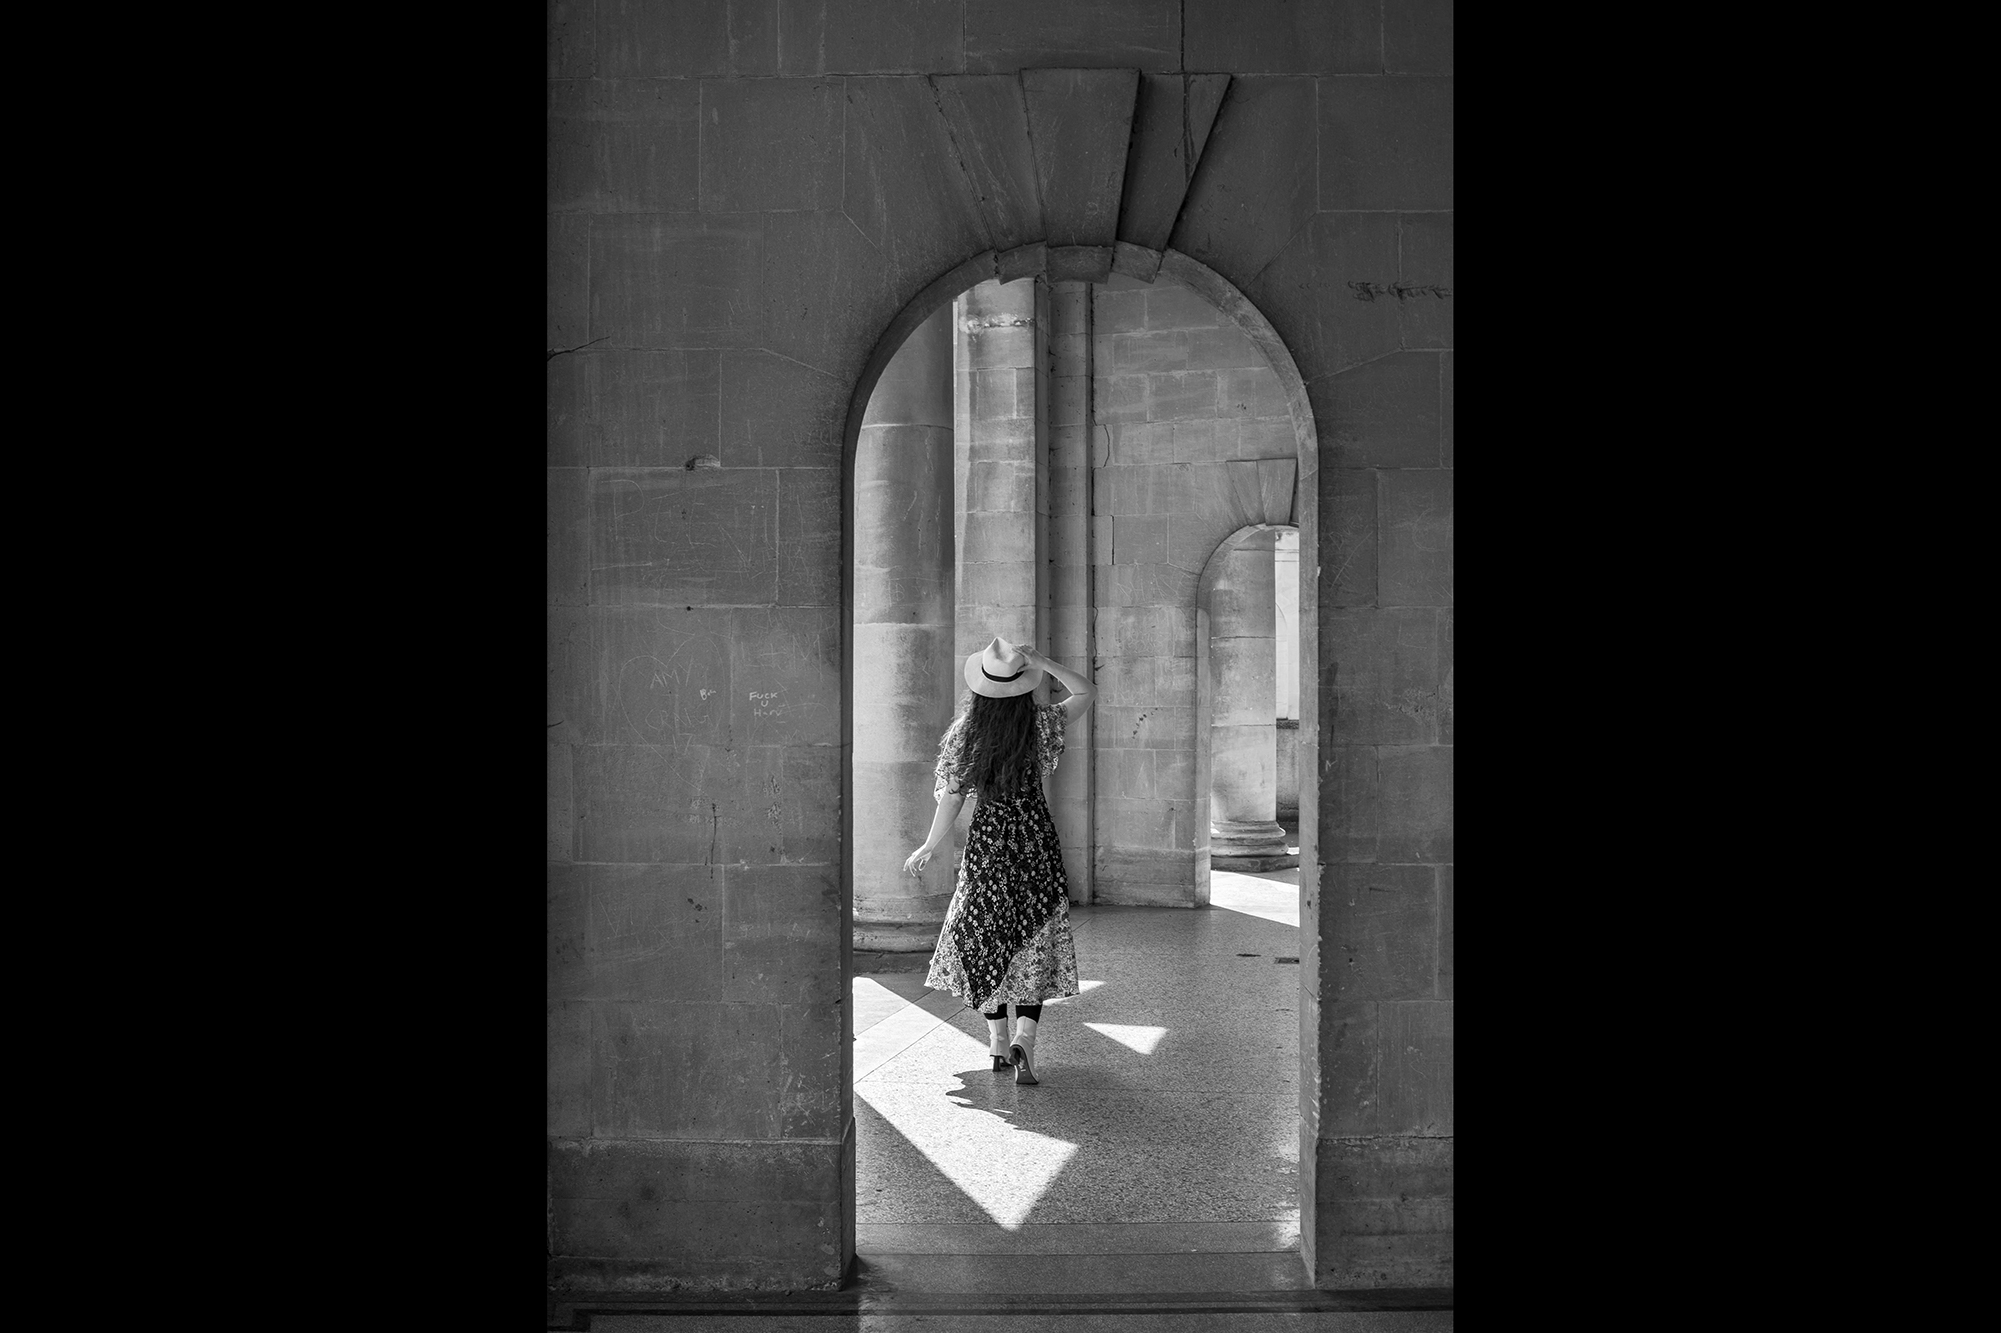
Man-made and natural objects can work as a frame and it’s important to note that they don’t necessarily have to surround your whole subject. Bushes, tree branches, plants, windows, doorways, arches, pillars, mirrors and even orbs of bokeh can all be used to frame your focal point.
03. Tripod vs handheld
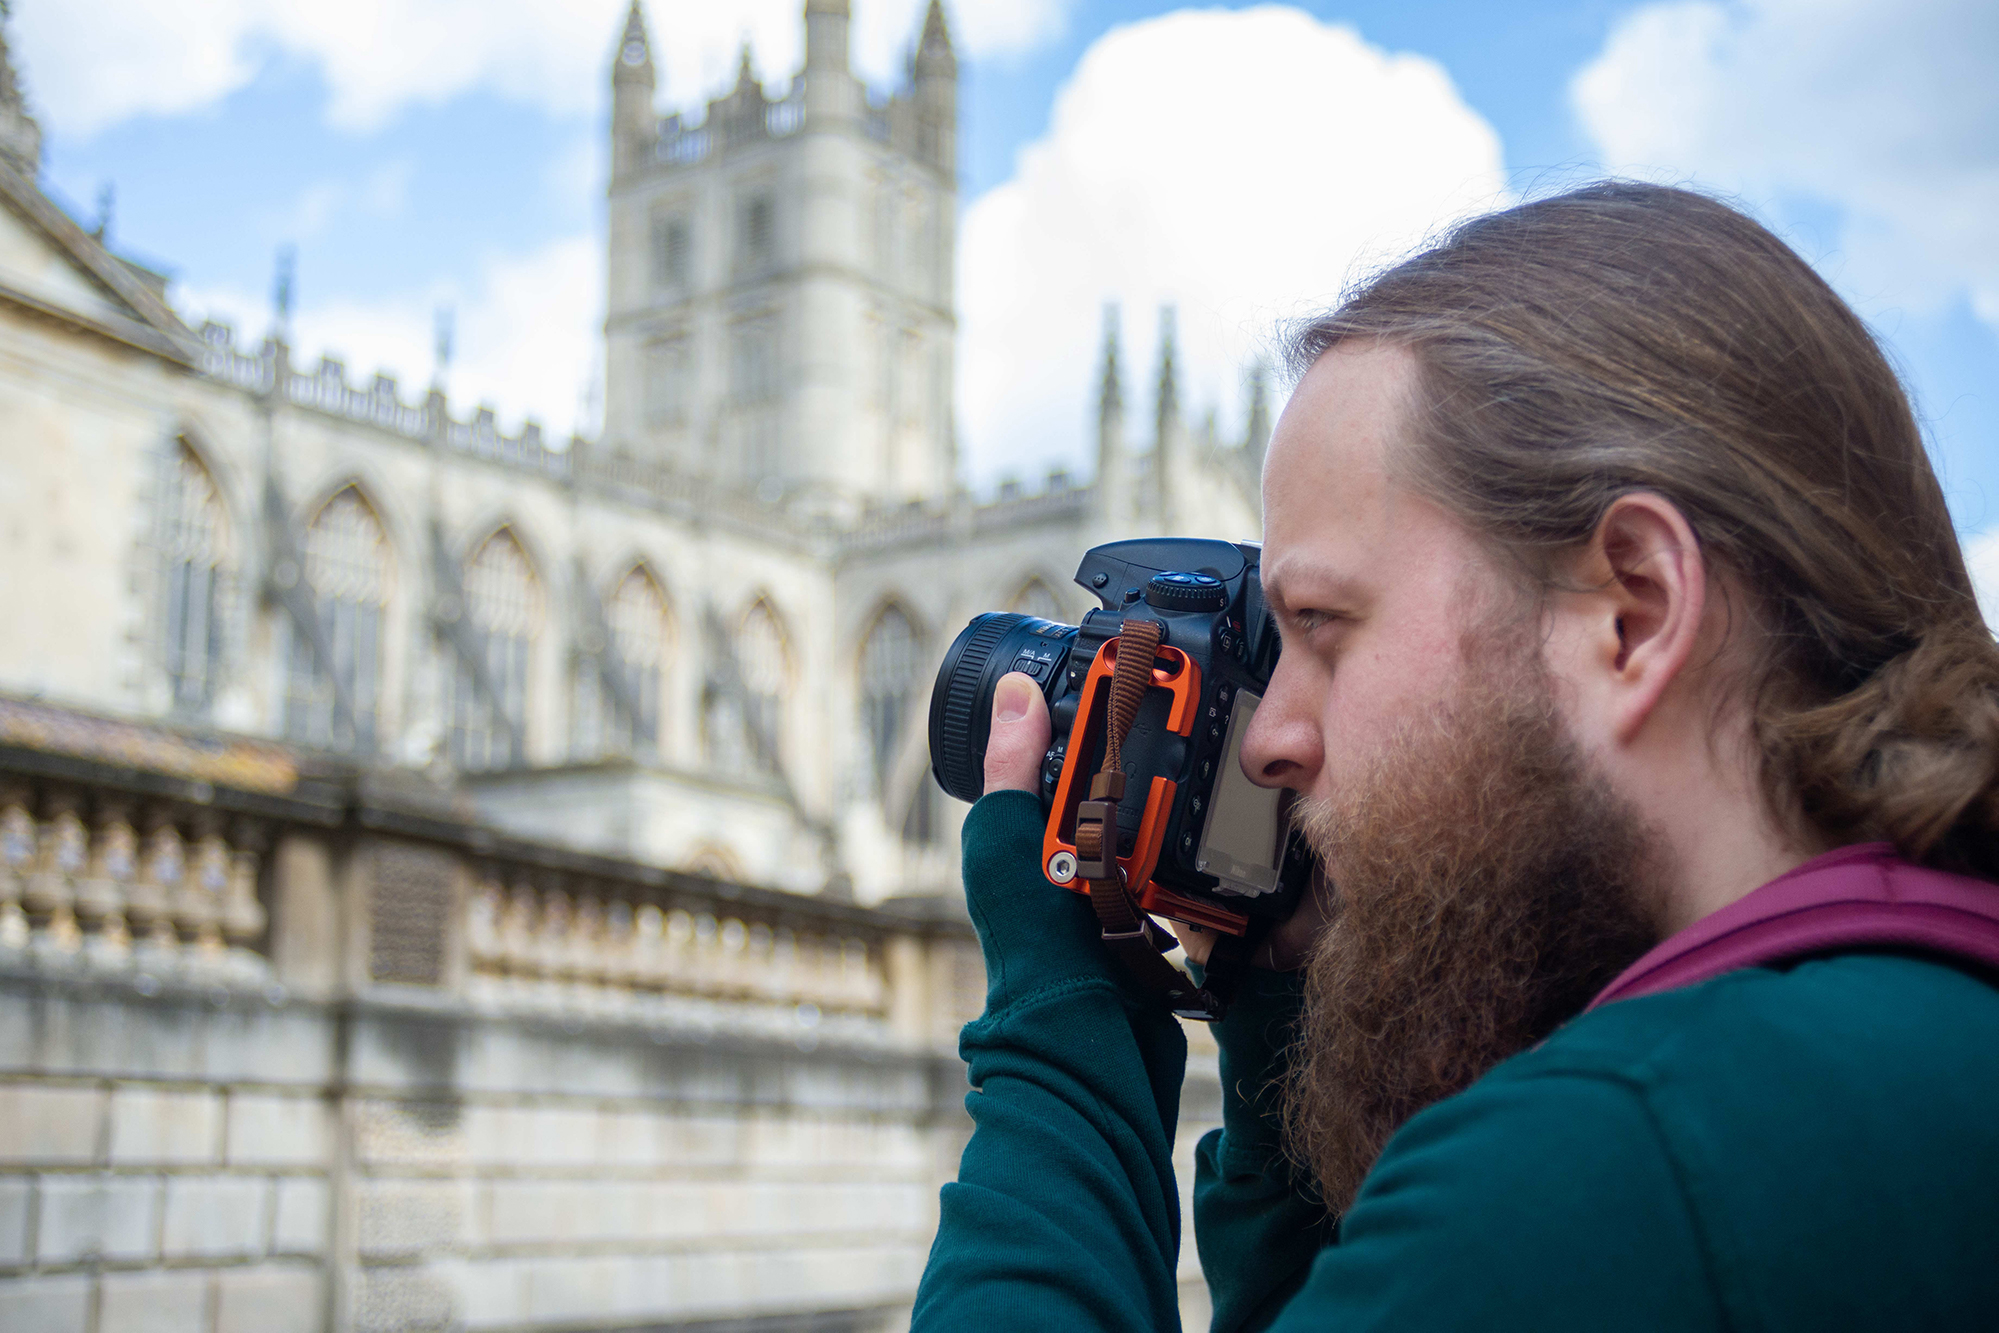
Tripods allow you to compose your scene using your Nikon’s rear LCD and the grid overlay for ultimate precision. However, when working within a town or city with ample light, we’d recommend shooting handheld. Tripods are a trip hazard on busy streets and are often not permitted on privately owned public spaces.
04. Where to focus
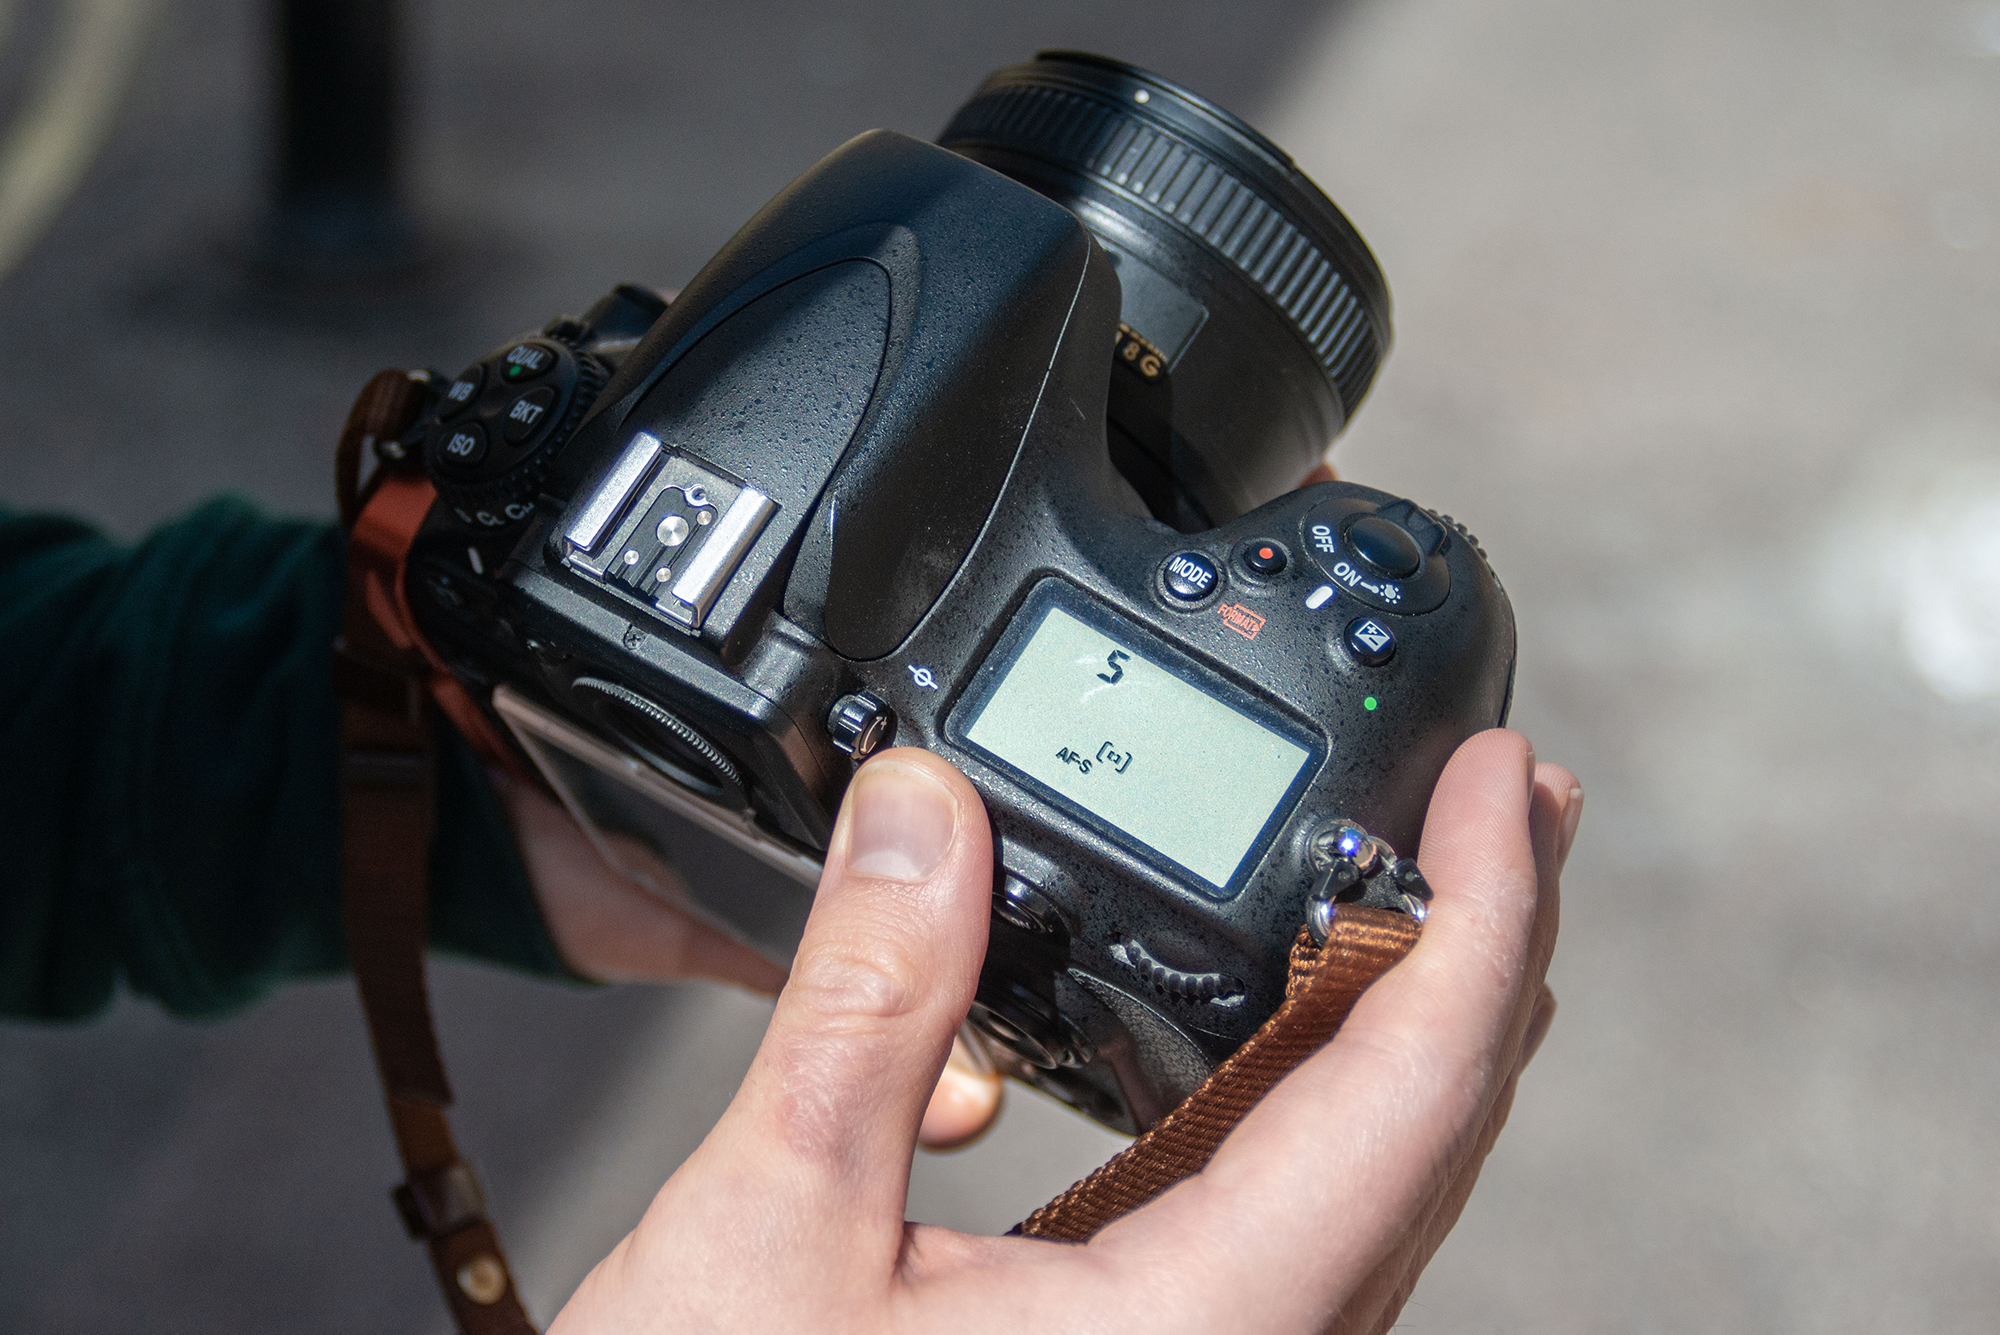
The purpose of a frame within a frame is to funnel the viewer’s gaze towards the focal point of the image, so we used single-point AF and single-servo AF to focus on the abbey. The advantage of using the latter (or back-button focusing) is that you can lock focus on your subject and then refine your composition before firing the shutter.
05. Camera settings
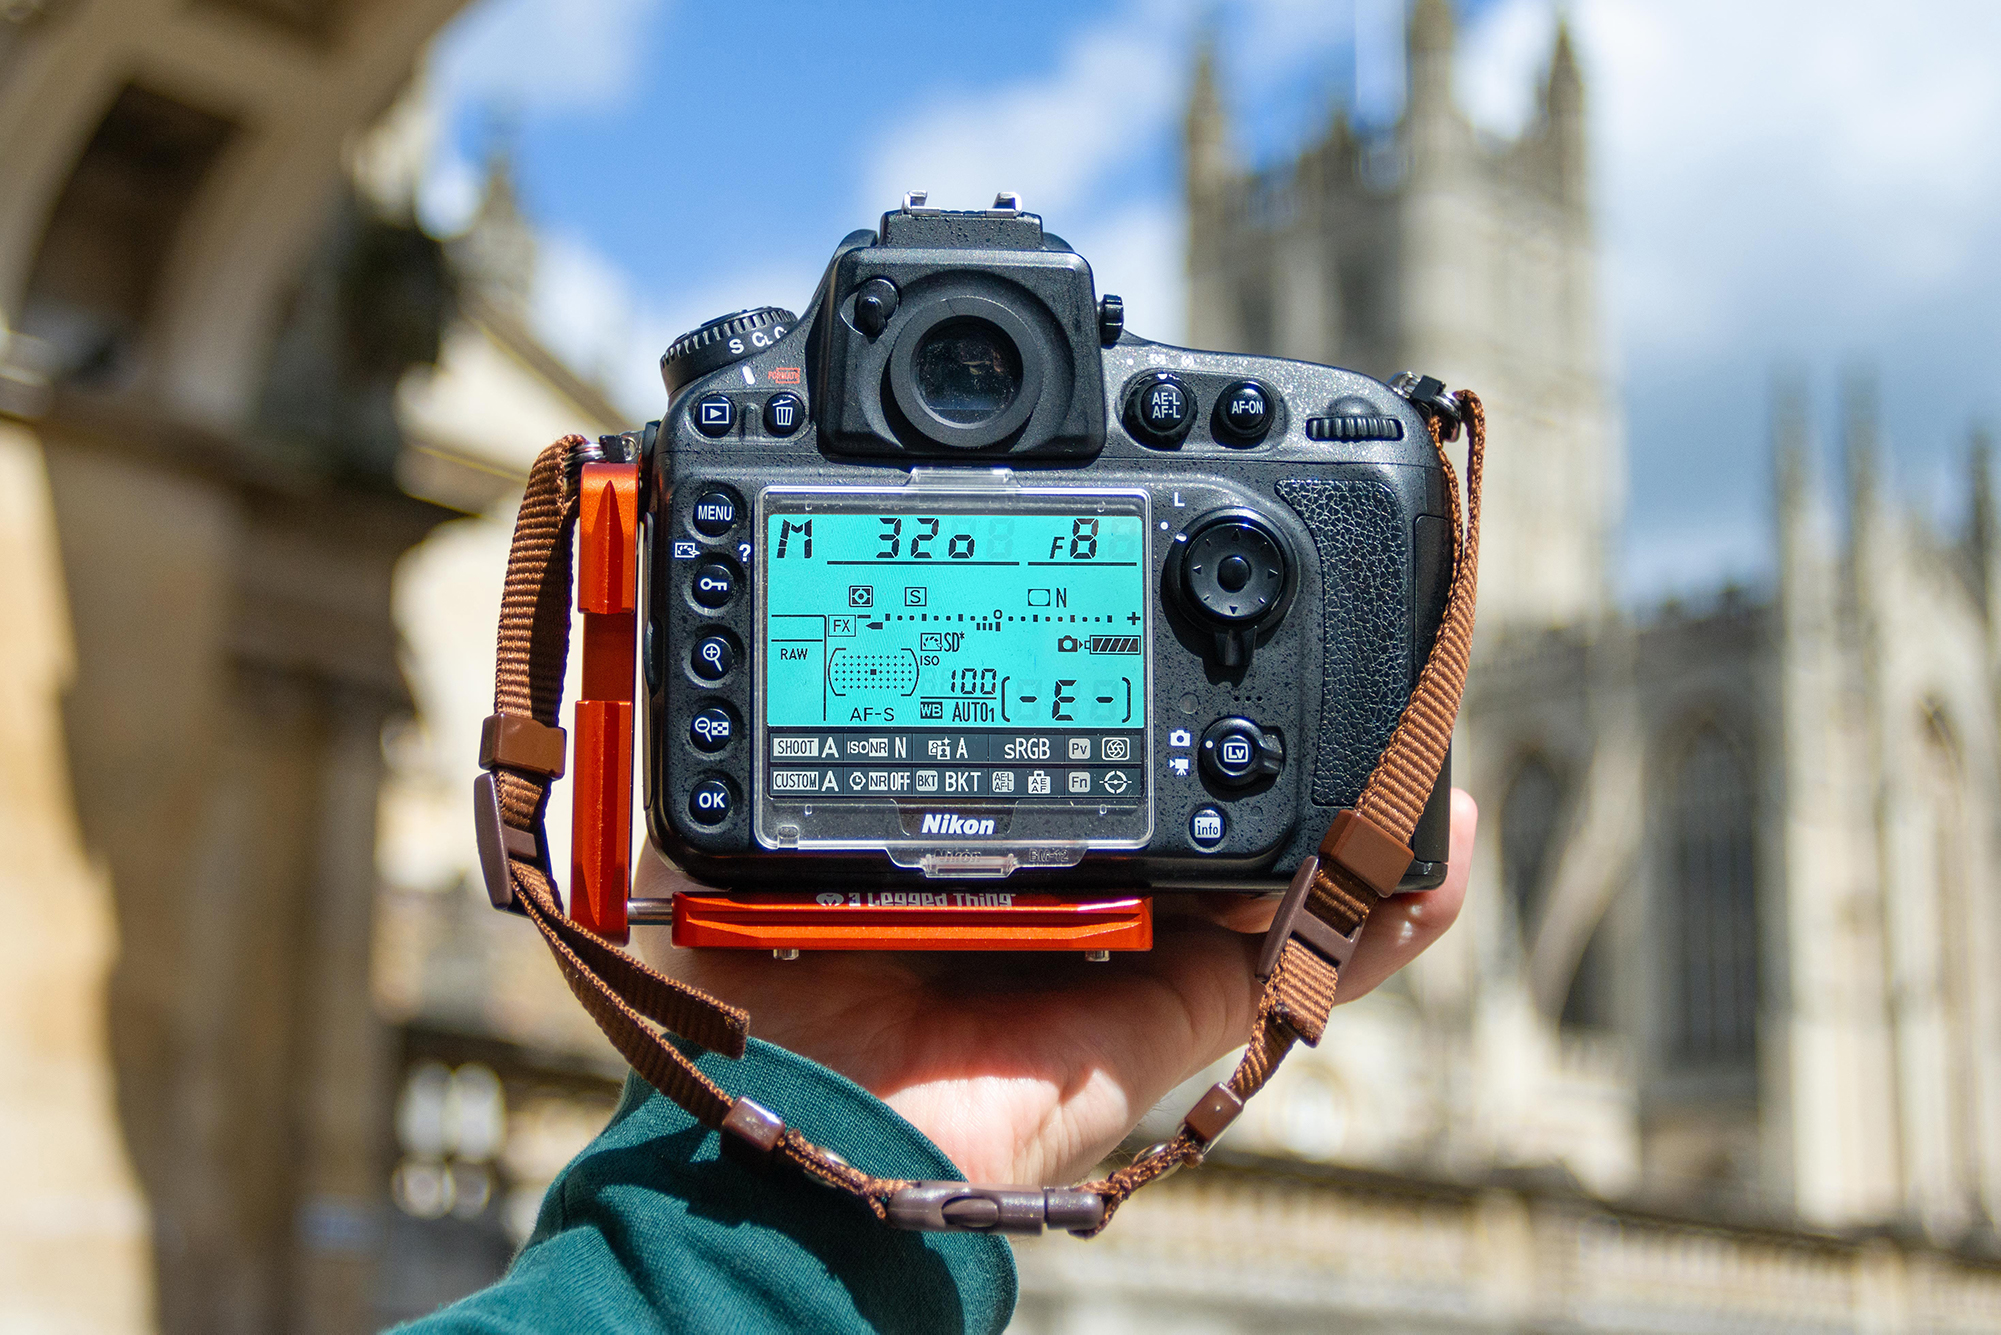
We kept our ISO low and used a shutter speed of 1/320 sec to mitigate camera shake. An aperture of f/8 to f/11 is a good middle ground, but you may wish to use a wide aperture and get close to your frame if you want to blur out the foreground. This works particularly well when using a colorful frame, such as flowers.
06. Make your own
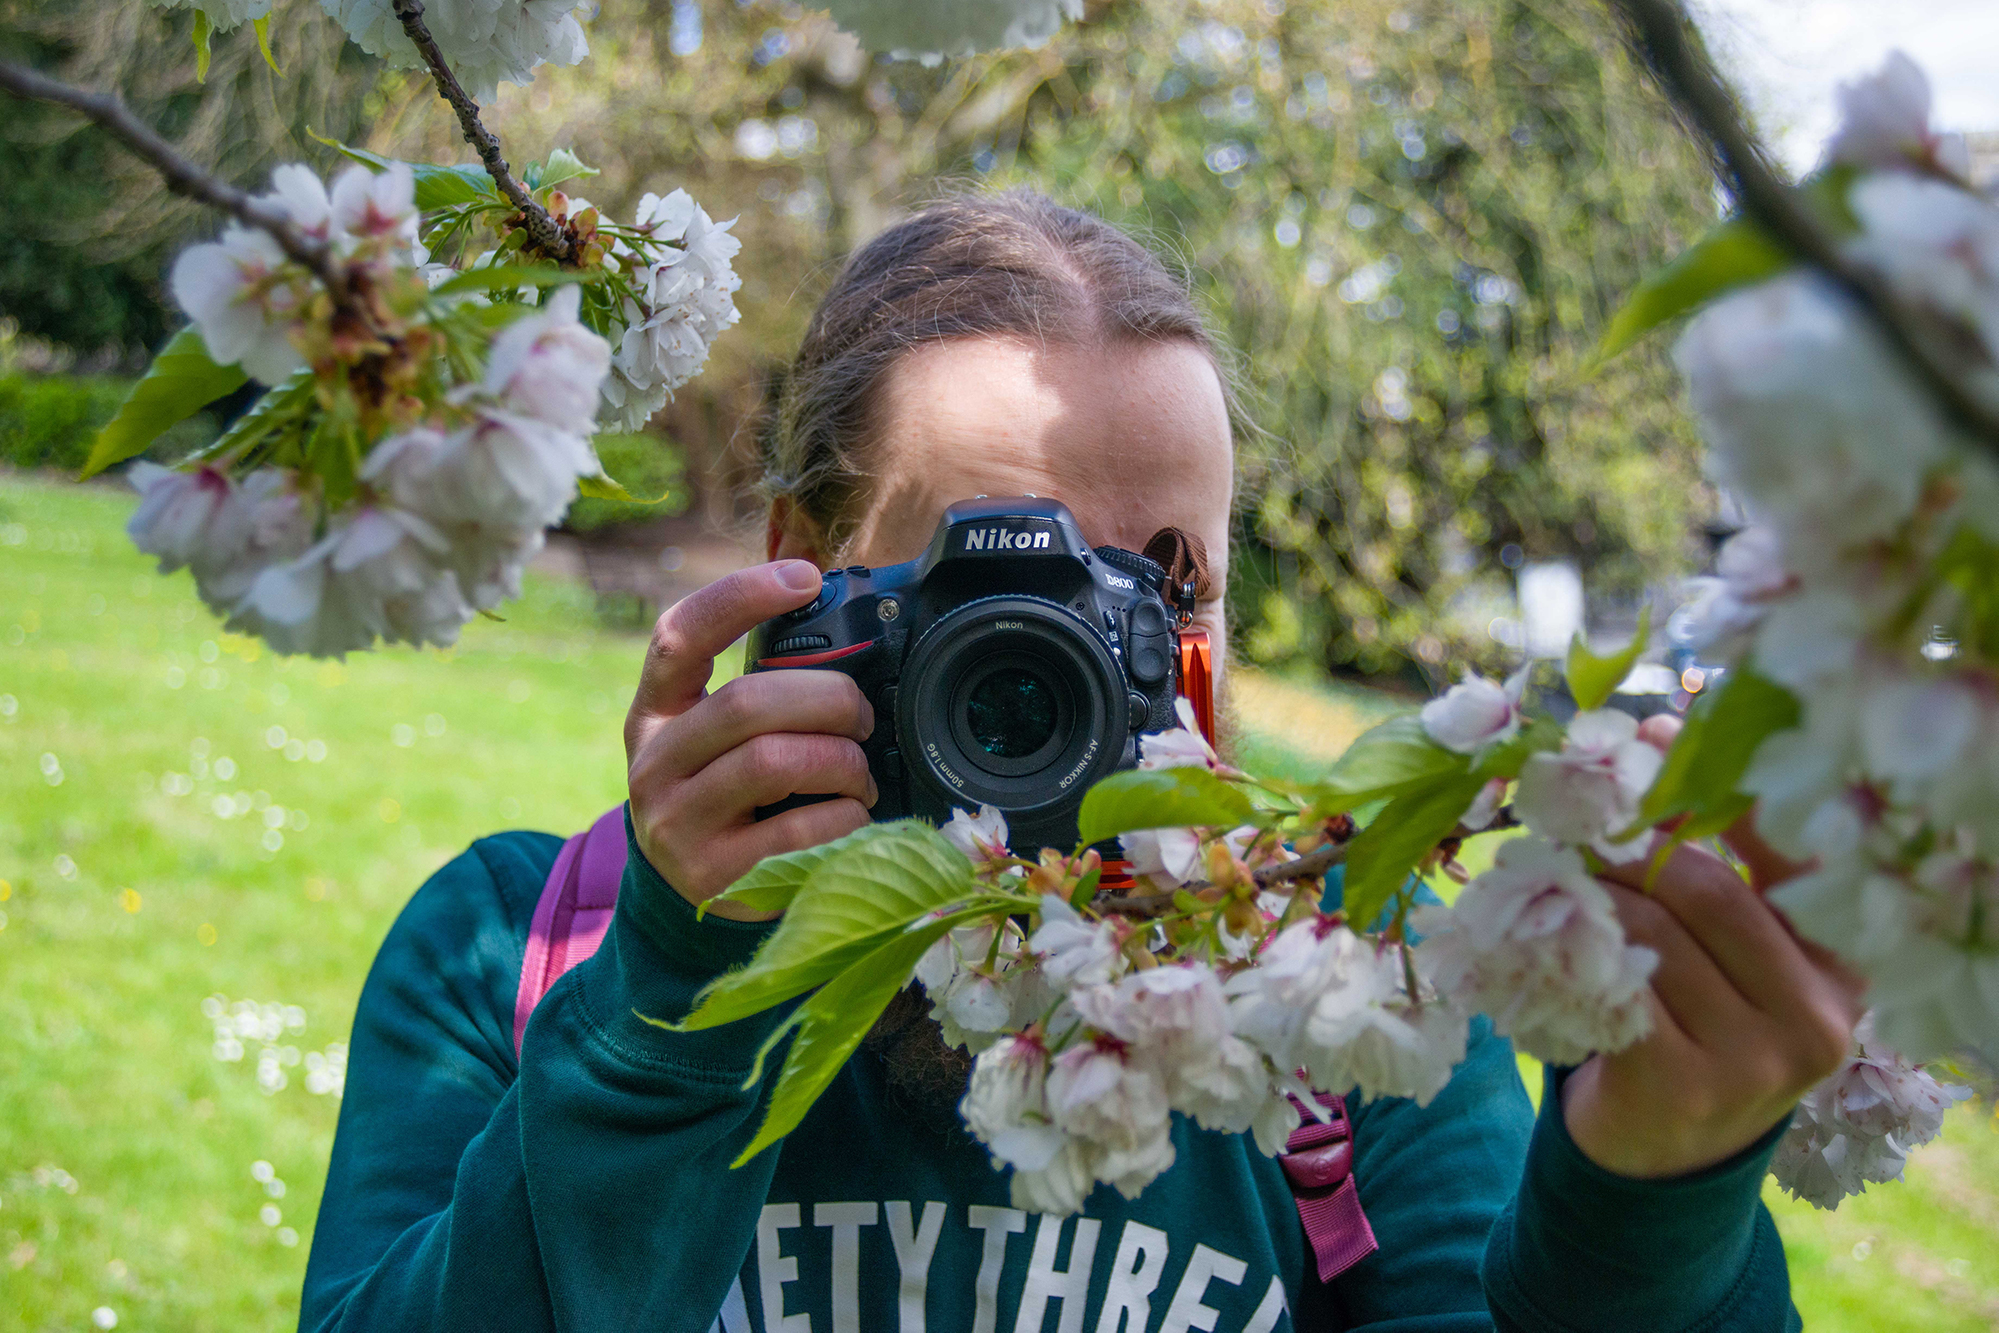
If you can’t find a frame you can DIY your own using items such as fallen branches. You can also gently guide flowers or branches in front of your lens to create a frame – but take care that they aren’t damaged in the process.
Read more:
The best standard zoom lenses
Photography tips
The best camera for beginners
Get the Digital Camera World Newsletter
The best camera deals, reviews, product advice, and unmissable photography news, direct to your inbox!

Mike is Digital Camera World's How To Editor. He has over a decade of experience, writing for some of the biggest specialist publications including Digital Camera, Digital Photographer and PhotoPlus: The Canon Magazine. Prior to DCW, Mike was Deputy Editor of N-Photo: The Nikon Magazine and Production Editor at Wex Photo Video, where he sharpened his skills in both the stills and videography spheres. While he's an avid motorsport photographer, his skills extend to every genre of photography – making him one of Digital Camera World's top tutors for techniques on cameras, lenses, tripods, filters and other imaging equipment – as well as sharing his expertise on shooting everything from portraits and landscapes to abstracts and architecture to wildlife and, yes, fast things going around race tracks...
